REVIEW – I’m sure that you keep your house clean by sweeping the floors, dusting the furniture, and picking up clutter. But did you know that there could be serious threats to your health silently lurking in the air you breath while you’re relaxing in what you think is a safe environment? I’m talking about dangerous Radon gas, and TVOCs (total volatile organic compounds). The Airthings Wave Plus detector will let you know if there is an issue in your home so that you can keep you and your family protected. Let’s take a look.
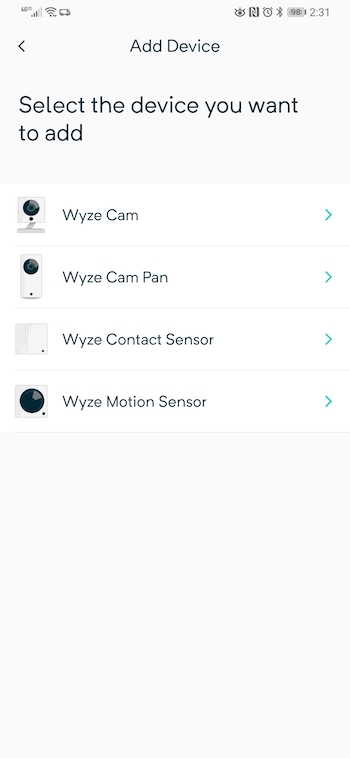
What is it?
Airthings Wave Plus is a battery-powered sensor that detects Radon, CO2, TVOCs, humidity, temperature, and air pressure. Radon gas is the leading cause of lung cancer in non-smokers, so it’s very important to know if there are high levels of this invisible, odorless gas in your home. TVOCs are emitted gases from things like paint, cooking, cosmetics, and more. TVOCs can cause headaches, eye, and throat irritations, to serious respiratory and even liver problems. High CO2 levels can also cause headaches, brain fog, drowsiness, and more.
What’s in the box?

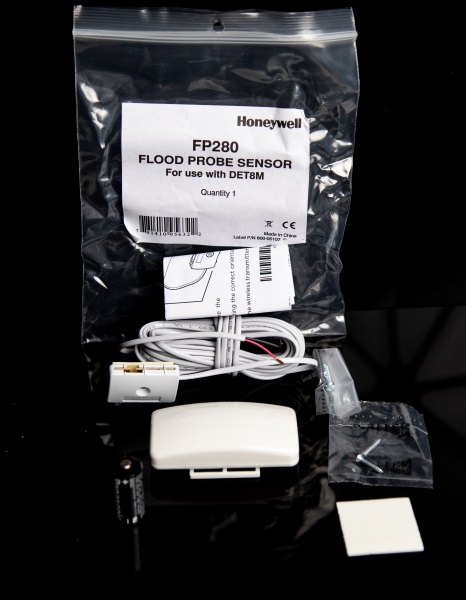
- Airthings Wave Plus smart indoor air quality monitor with radon detection
- 2 AA batteries
- Mounting screw
- Info sheet
Design and features

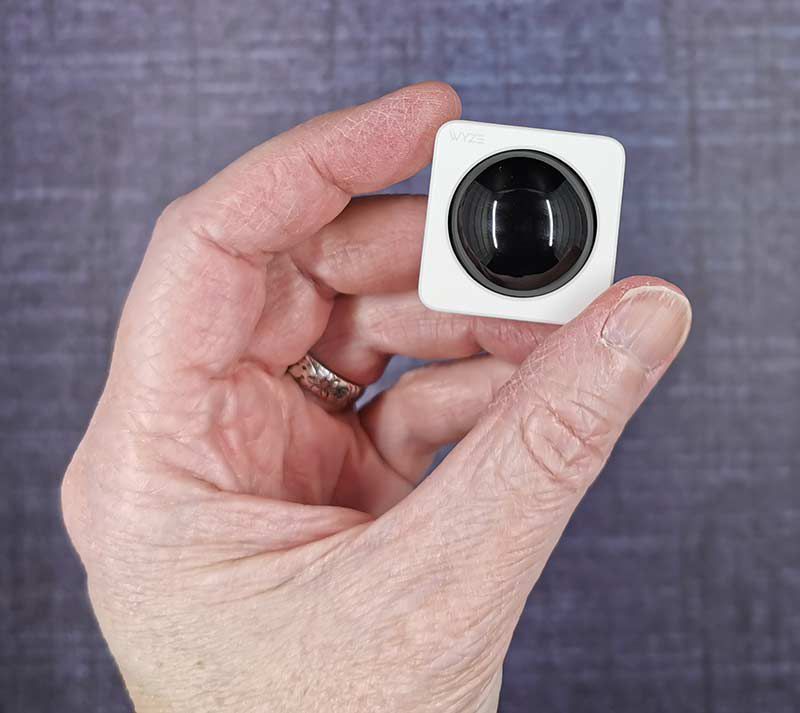
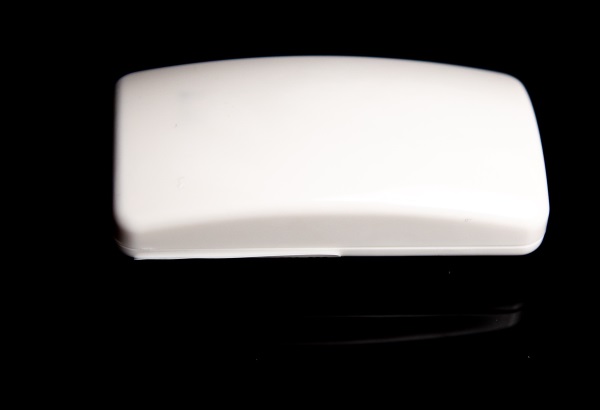
I reviewed the Airthings Wave last year and the newer Wave Plus looks very similar to that device, like a traditional smoke detector.

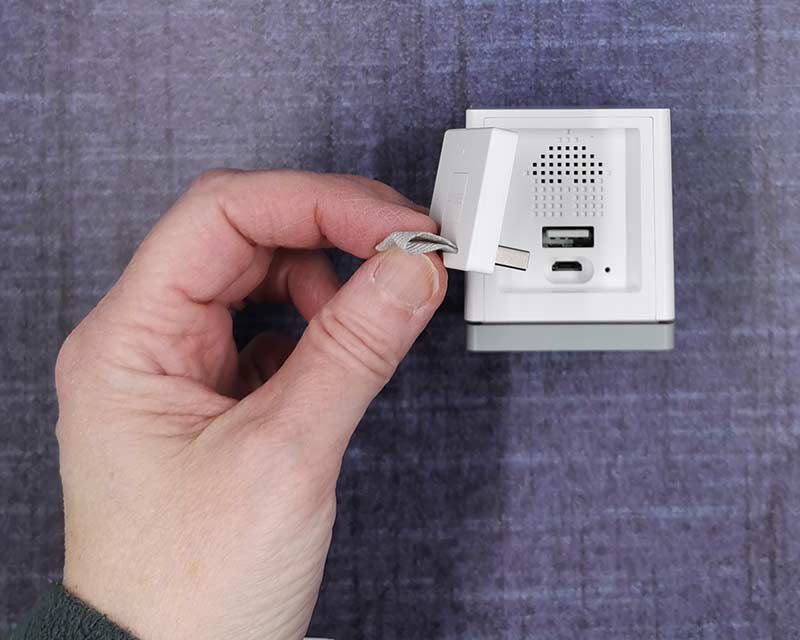
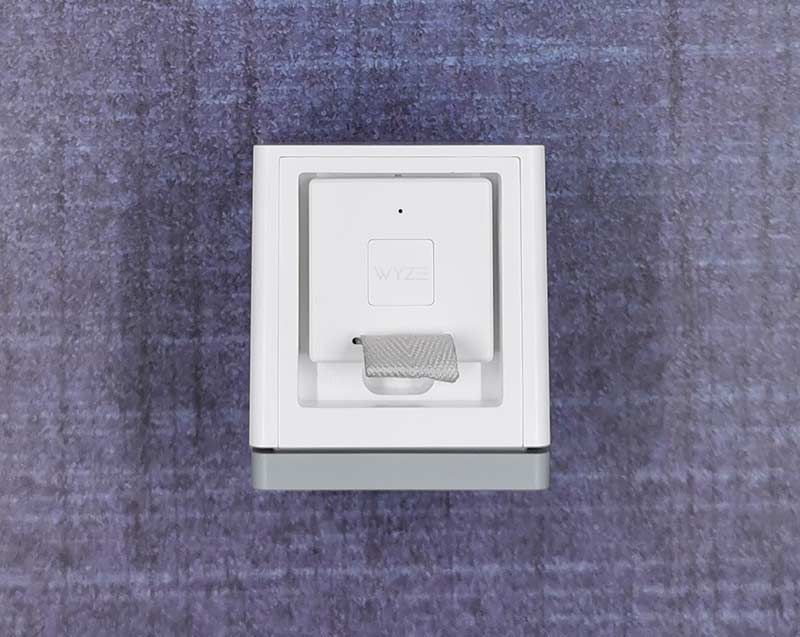
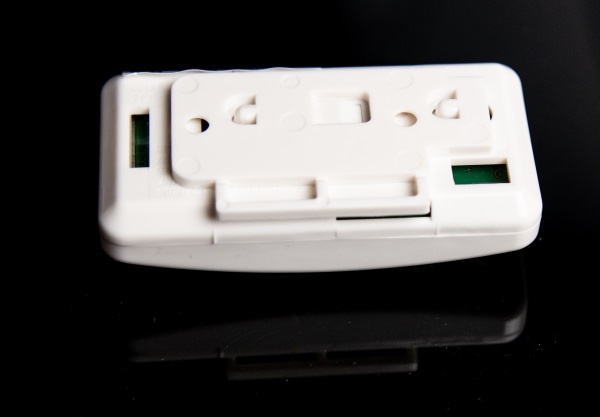
The bottom of the unit has a magnetic lid that has a hole in the center so you can mount it to a wall or ceiling using the screw that is included in the package.

Removing the lid will give you access to the battery compartments. The Airthings Wave Plus is powered by 2 AA batteries which are included with the unit and should last for up to 16 months before they need to be replaced.

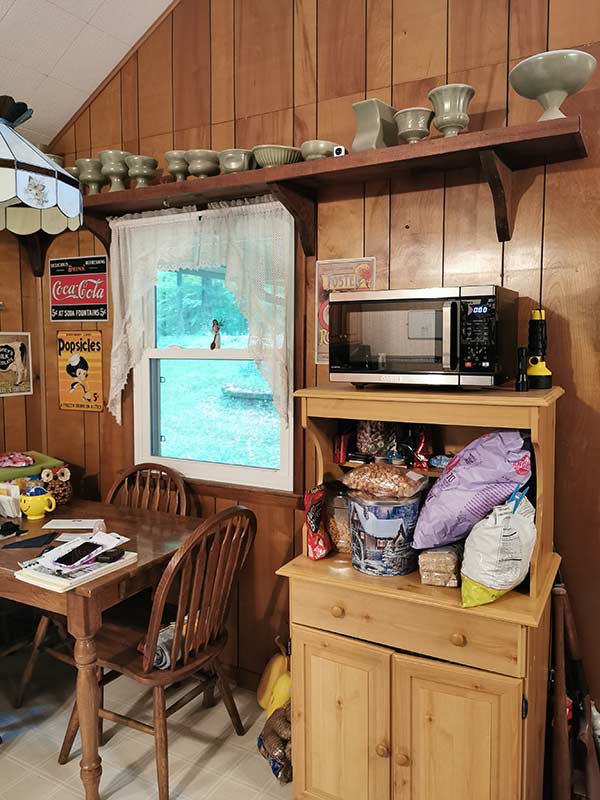
As mentioned, you can mount the Airthings on a wall or ceiling, or you can set it on a shelf. The advantage of putting in on a shelf is that you can walk by it and just wave your hand over the unit to see a visual indication of the air quality status.

There’s a built-in LED on top that will glow green if all the levels are safe, yellow when there is a problem, and red when you should run screaming from your house. Just kidding, but not really. If you see red, the sensor is telling you that the levels for Radon or TVOCs are not safe. But how do you get more details? You can use the Airthings mobile app or web client.
Airthings mobile app


The app’s data syncs automatically when your mobile device is within range as it uses Bluetooth to communicate with the monitor. The app’s dashboard shows the current levels for radon, TVOCs, CO2, Humidity, Temperature, and Pressure. If you want more info on each reading, you can scroll for a 48 hr, week, month and yearly graph.


The provides easy to interpret data for current sensor levels, but to get more info, you can use the Airthings web client.
I do want to mention that I’ve had issues with the app losing data when adding a 2nd device and once when I hadn’t synced in over a week due to being away on vacation. Since the unit uses Bluetooth instead of WiFi to sync, this could be an ongoing problem, but I’ve not taken another extended vacation yet to find out.
Airthings web client

The web client provides a better interface for viewing the graphs for each sensor’s data. Like the mobile app, the web client has a dashboard view, but clicking on one of the sensors takes you into graph page that makes it easy to spot trends.

You can see graphs for the past 12 hours, 48 hours, week, month, and even the past year.
I’m still trying to figure out what is triggering the high TVOC readings that you can see in the graph.

Changing to an expanded view helps provide more details and hovering over any part of the graph will show the date, time and level for each sensor.
You have the data, now what?
I became a fan of Airthings when the original unit that I reviewed last spring started reporting high radon readings this past fall. Everytime I’d walk by the unit and wave my hand over it, it would show red so I kept an eye on the readings and they were high. I’m talking through the roof high readings of 11 pCi/L. I read the following info on Airthings site:
It is important to do a long-term measure in places where you normally spend a lot of hours like bedrooms or your office. Overall, if concentrations are:
0 – 49 Bq/m3 (0 – 1.3 pCi/L): No action necessary.
49 – 99 Bq/m3 (1.4 – 2.6 pCi/L): Experiment with ventilation and sealing cracks to reduce levels.
100 Bq/m3 – 299 Bq/m3 (2.7 – 8 pCi/L): Keep measuring. If levels are maintained for more than 3 months, contact a professional radon mitigator.
300 Bq/m3 (8.1 pCi/L) and up: Keep measuring. If levels are maintained for more than 1 month, contact a professional radon mitigator.
After a month my radon levels were still too high, so I ended up having a mitigation system installed and within 6hrs the levels were down to 0.5 pCi/L and have remained that low. Whew! Crisis averted!


The high powered fan on the outside of my house isn’t the most attractive thing in the world but it sure helps relieve the anxiety of worrying that I (or Jeanne) might develop lung cancer from the radon gas. I’ve already had cancer once, and don’t want it again thank you very much. FYI, the smoke in the image above isn’t from the radon fan unit, it’s from the dryer vent and the fact that it was only 30 degrees outside when I took the pic.
What I like
- Easy to use
- Helps detect dangerous radon levels quickly
- Battery powered
What needs to be improved
- The app is buggy especially when used multiple Airthings devices
- Needs a carbon monoxide sensor too
Final thoughts
Airthings sensors are just as important to me and my home as our smoke detectors, carbon monoxide detectors, and security system. I will admit that I mainly pay attention to the radon levels and haven’t really cared that much about the TVOC levels unless they remain in the yellow or red (haven’t seen red yet) level for any length of time. So far the TVOC levels have only spiked a couple times into the yellow levels, so I’m not too concerned (yet).
The Airthings Wave Plus indoor air quality monitor with radon detection is pricy at $269 and I do wish it included a carbon monoxide sensor, but when you consider that this monitor can help protect your health, it’s priceless. If there are known issues with radon gas in your area you should consider a sensor like the Wave Plus or the lower priced Wave.
Price: $269.00
Where to buy: Amazon
Source: The sample for this review was provided by Airthings.
Filed in categories: Reviews
Tagged: Home and Kitchen, Sensor
Airthings Wave Plus indoor air quality monitor with radon detection review originally appeared on The Gadgeteer on February 18, 2019 at 11:05 am.
Note: If you are subscribed to this feed through FeedBurner, please switch to our native feed URL http://the-gadgeteer.com/feed/ in order to ensure continuous delivery.


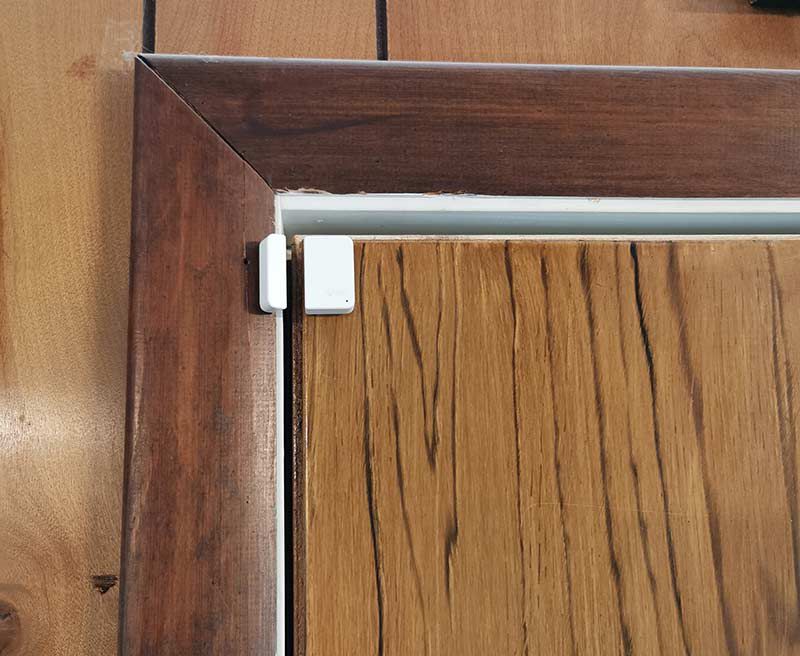


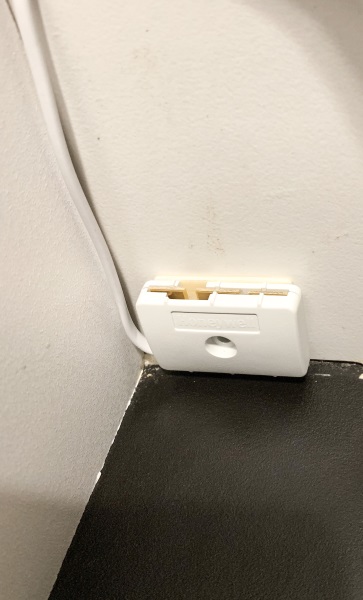
 Using the provided double-sided, I attached the sensor on the side of the wall right above the floor and within the recommended height above floor level.