MGCOOL Cam 360 action camera review

Typically, the videos we capture stimulate our eyes and ears and that’s usually as far as it goes. But with cameras like the MGCOOL 360, watching videos captured with this camera can be an interactive activity rather than a passive one.

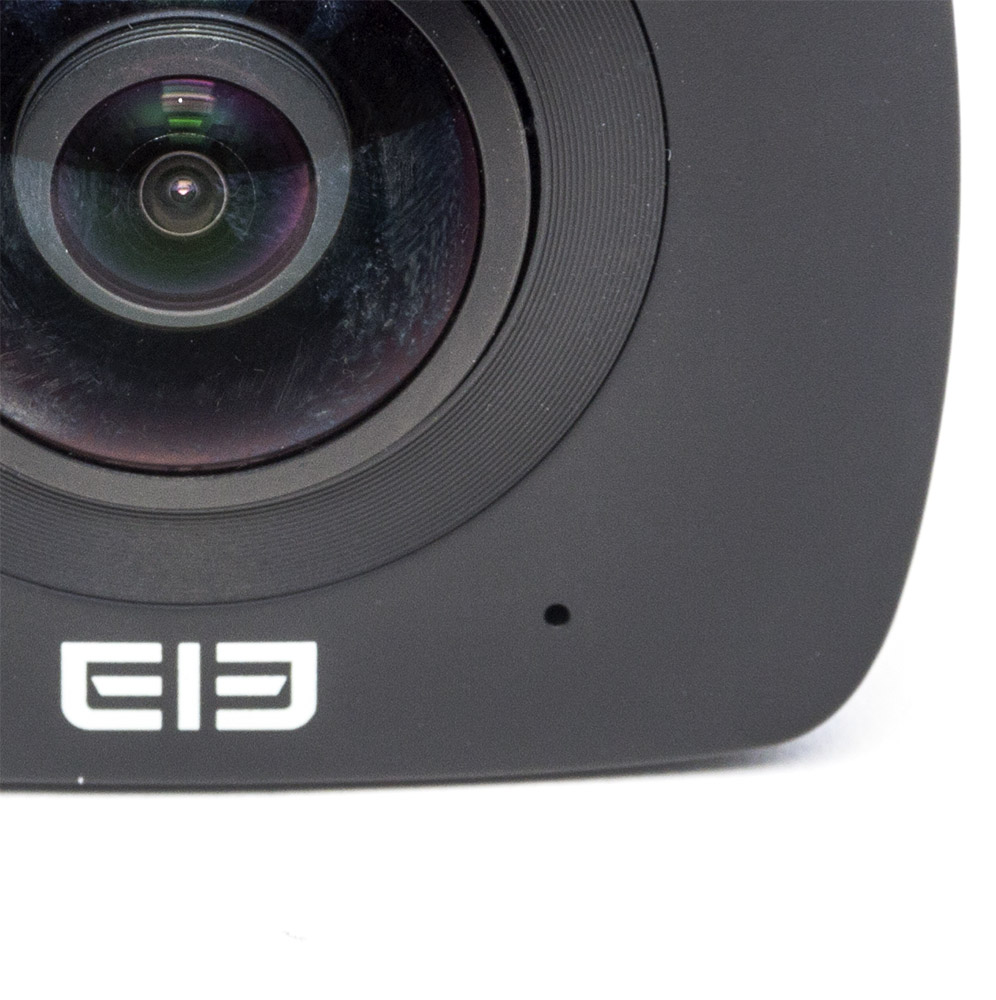
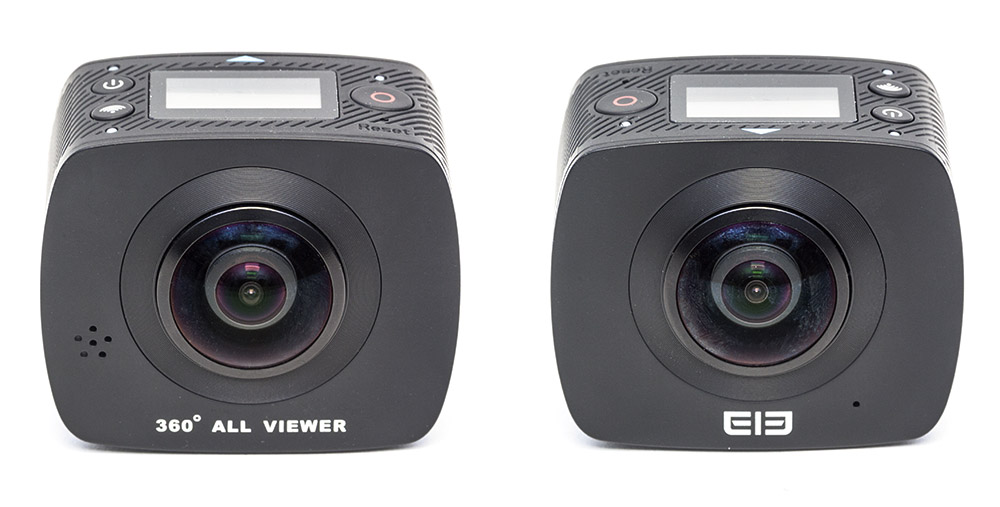
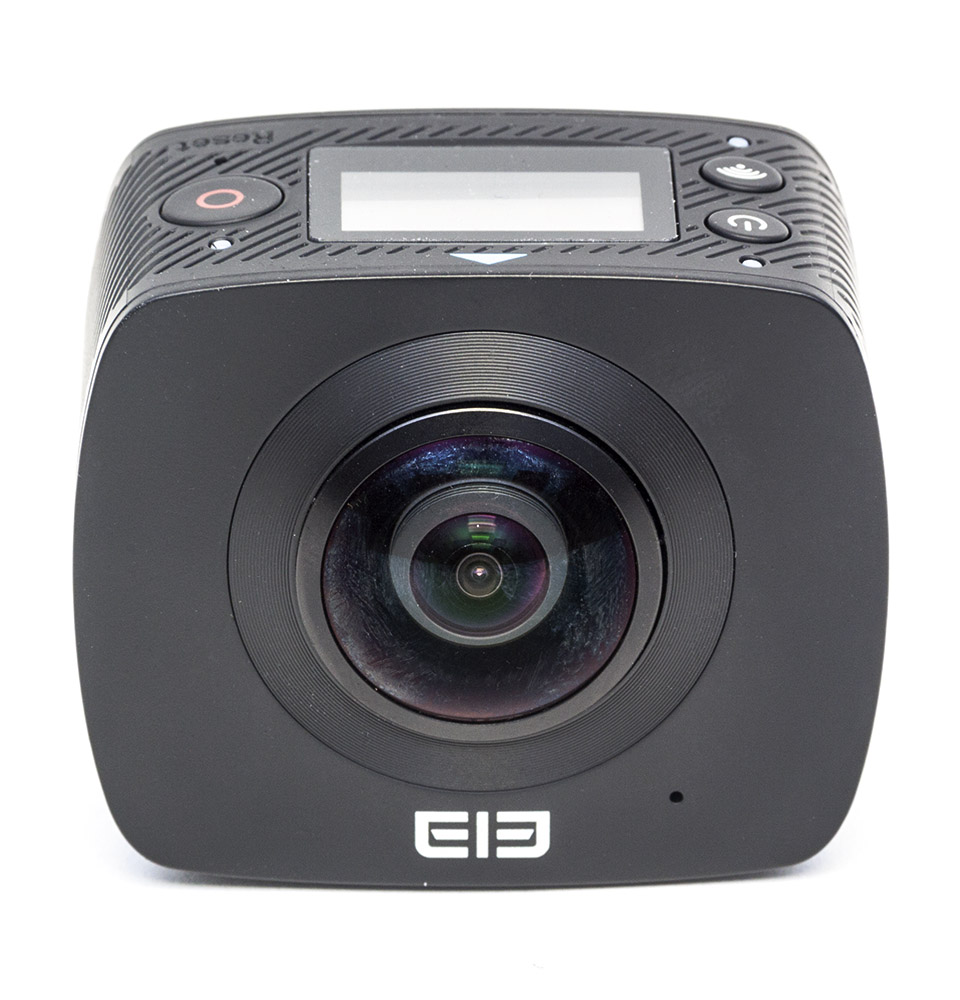
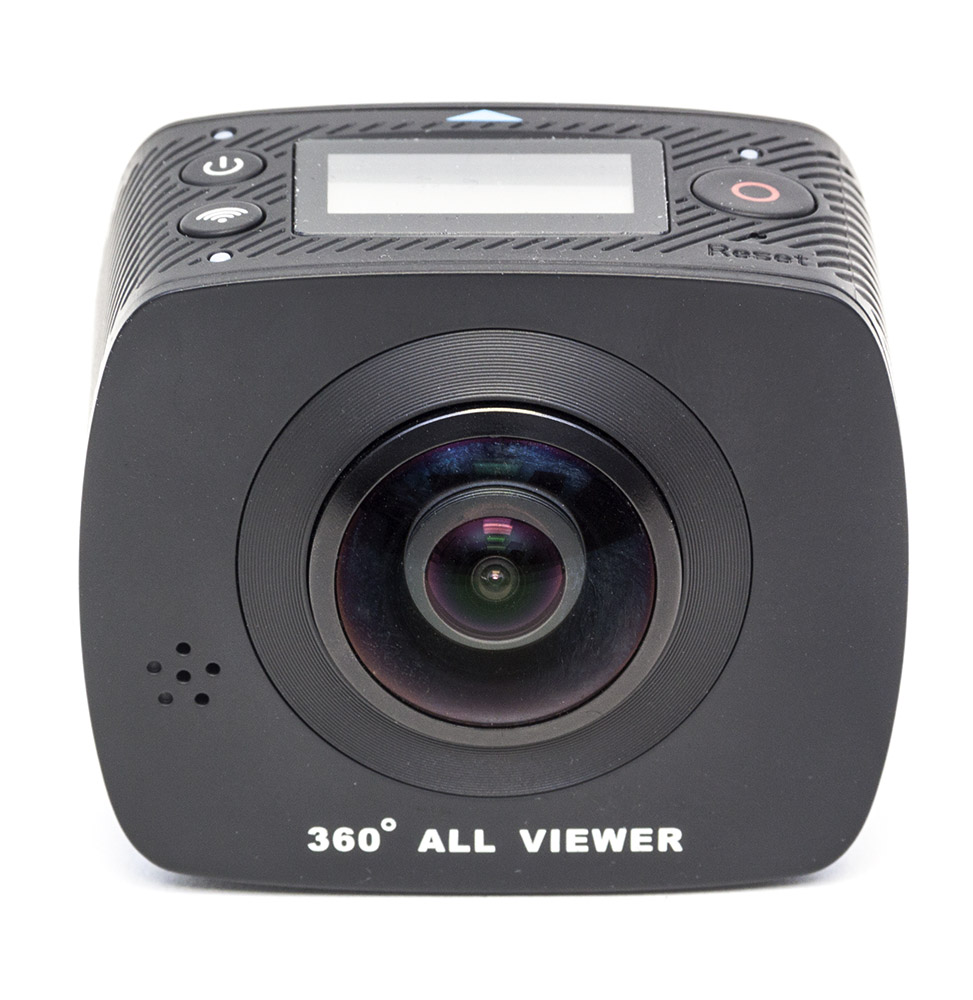
MGCOOL is Elephone’s newly-established sub-brand covering sports cameras, intelligent wearable devices, and other gadgets. Their flagship products are sports cameras and 360 degree cameras. The MGCOOL 360 is a camera equipped with two 220° panoramic lenses that record simultaneously capturing footage from both the front and rear of the camera. The aperture of the lenses are f/2.0 and the focal length of the lenses are 1.1mm. The physical dimensions are 2.36” x 1.93” x 1.26” inches (6.00 x 4.90 x 3.20 cm) and the camera weighs 0.120 kg or 4.23 oz.

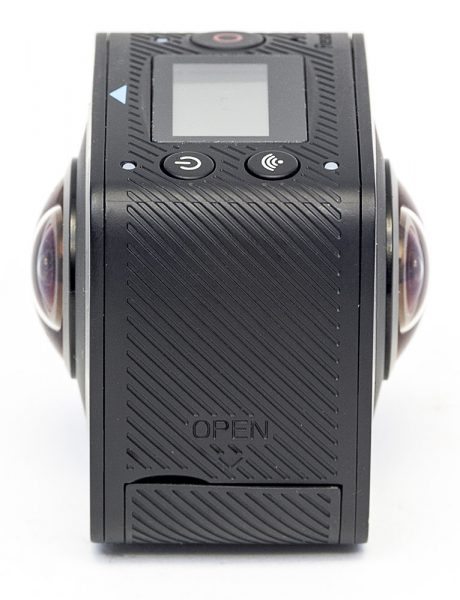
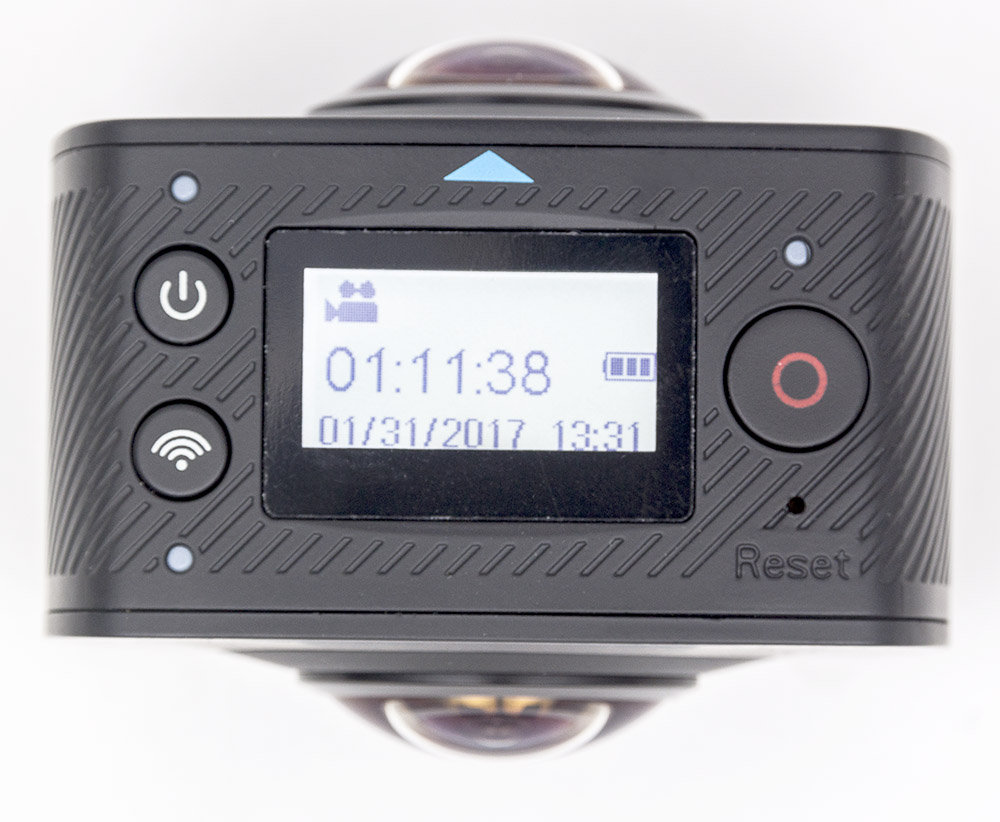
On the top of the camera is a small LCD screen where you can read the status and Menu items. Along the edge of the LCD screen is the Power Button, the Wi-Fi Button, and Record Button, and also a pin hole for the Reset button.

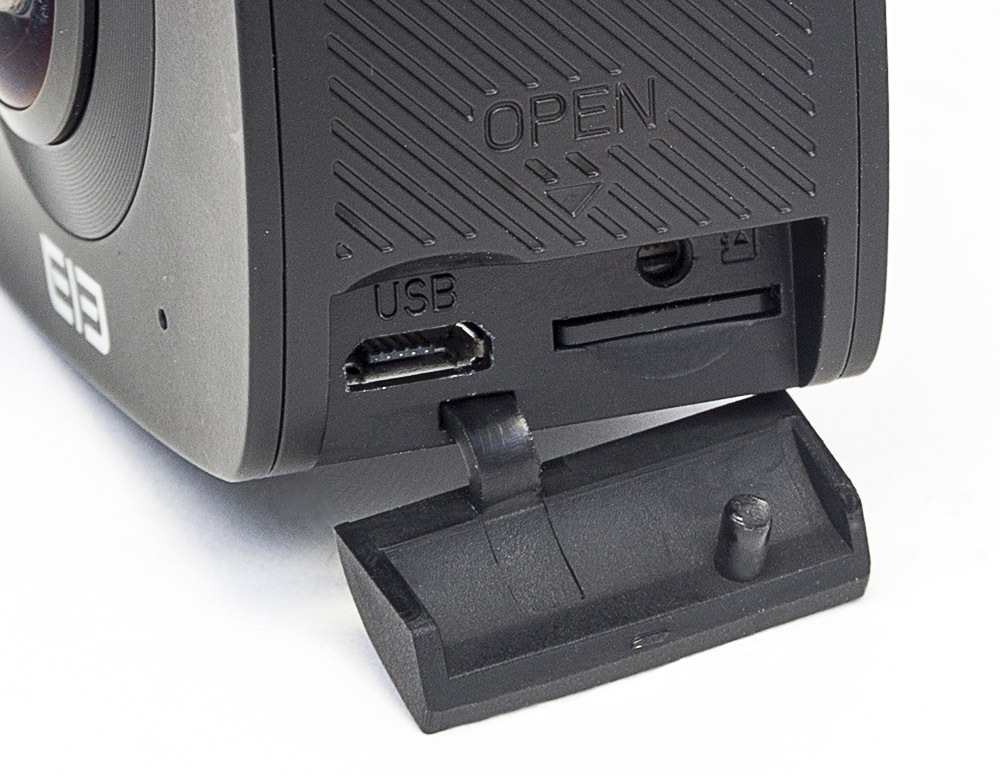
On the side of the camera is a small flap which covers the MicroSD card slot as well the MicroUSB port. From the micro USB port, you can charge the batteries of the camera. The MGCOOL camera supports MicroSD cards up to 32gb. Make sure to use at least a Class 10 MicroSD card or you will not get the camera to read the MicroSD card properly. If you can afford a more expensive UHS (ultra high-speed) MicroSD card then go for it. When I first unboxed the camera, I had a Class 6 card laying around that I popped in the camera for a quick test but I couldn’t even get the camera to record with that card in it. So, then I switched to a Class 10 MicroSD card and it started recording as soon as I hit the Record button.

Overall, this is a set it and shoot camera. Just attach it to your tripod, mount, or whatever you want to use with it and start recording. Naturally, you can hand hold this camera but I find that having the camera mounted securely makes for better viewing footage. On the bottom of the camera is a threaded screw mount for tripods, extension poles, or selfie sticks. This is a nice feature to have in case you don’t have or want to use one of the included mounts to secure this camera down.

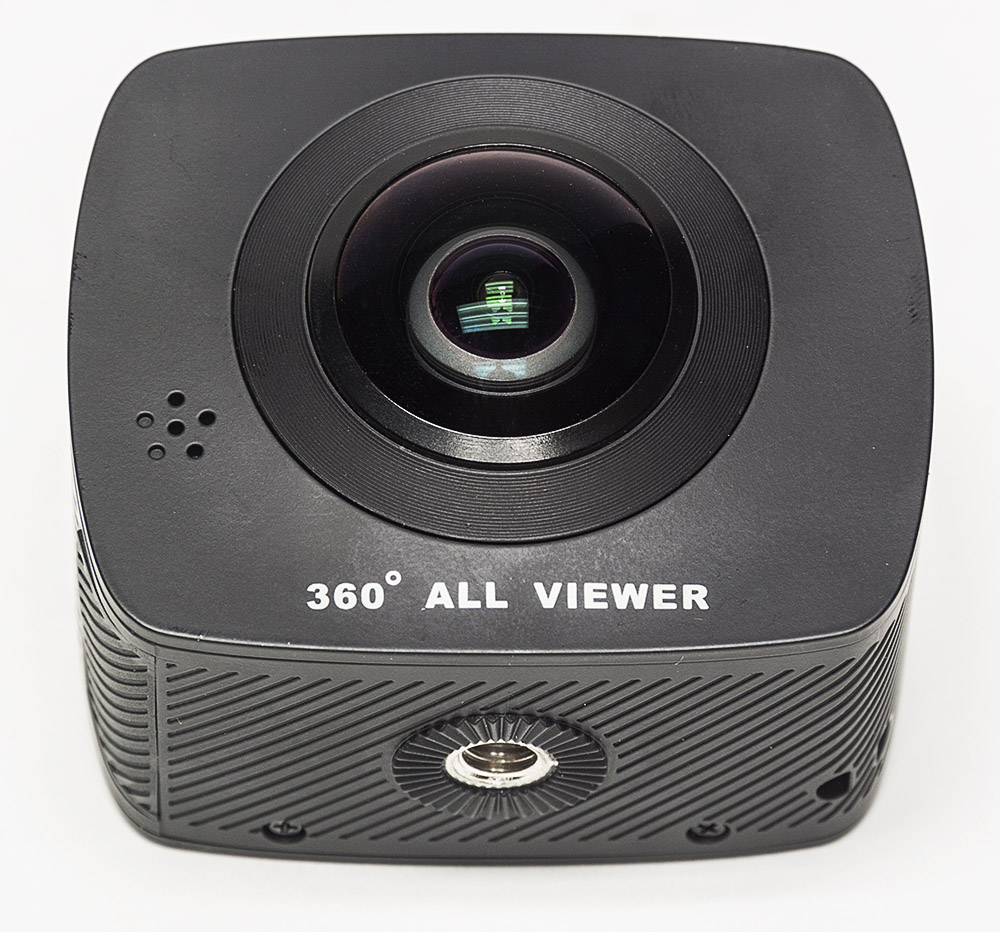
There aren’t any manual settings to change such as exposure, ISO, or frame rate like on other action cameras such as a GoPro or a SJCAM cameras. However, there is a setting on the app to change the white balance. The recorded image was pretty good in bright sunlight as well as a cloudy day. I haven’t had a chance to record anything at night yet so I can’t comment on the low light factor.

The MGCOOL camera has a built-in 1500 mAh Lithium-ion battery with an average battery life of an hour. This is about the same as other action cameras I have used but the thing about this camera is that you can’t swap out batteries. However, I have read that the company has plans in the future to have a removable battery. 

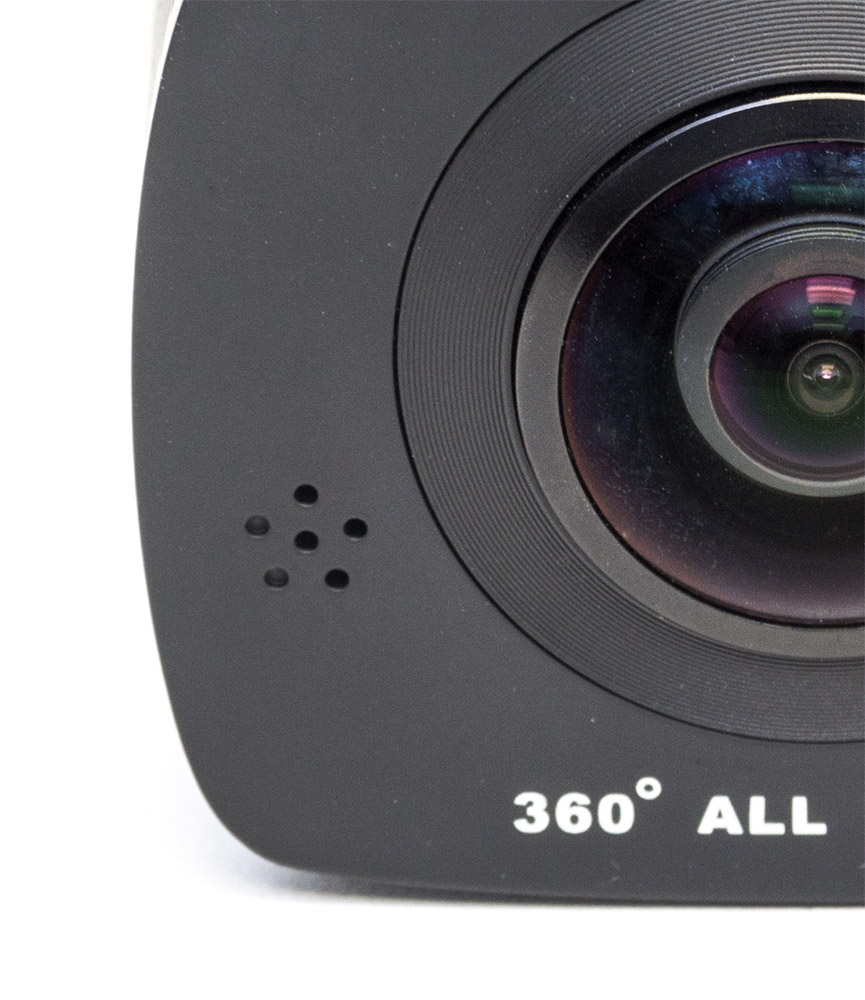
Since having two camera lenses doesn’t leave any room for a monitor, the only way to frame or review your footage is through the camera’s app on your smartphone. I didn’t have any issues of installing the app nor did I have any problems using the app. The app worked just fine for me and I was able to use it right after the install on my phone. You connect to the MGCOOL camera via Wi-Fi. And on top of the camera is the Wi-Fi On and Off button.

The camera and my smartphone synced and communicated with one another flawlessly. I was happy that I wasn’t spending a lot of time trying to connect the two so I got to test out the camera right from the start. Right away you can rotate the view on your phone and experience the camera’s ability to capture the 360 footage around you.

Capturing footage on the MGCOOL camera is only half the battle because there is going to be a point where you want to share your video and have others see and experience your video too. Unfortunately, you are not able to just share a video by uploading it to YouTube or anywhere else. You have to convert your video first and then upload to YouTube. That’s fine for me since I like to edit and tweak my footage before I upload it but the majority of people probably would rather just want an easy Share button. However, for quick and easy videos I wouldn’t mind having a convenient Share button that could just upload to YouTube but at this time there isn’t one.

You can download the smartphone app as well a player for your PC or Mac here: App and Player

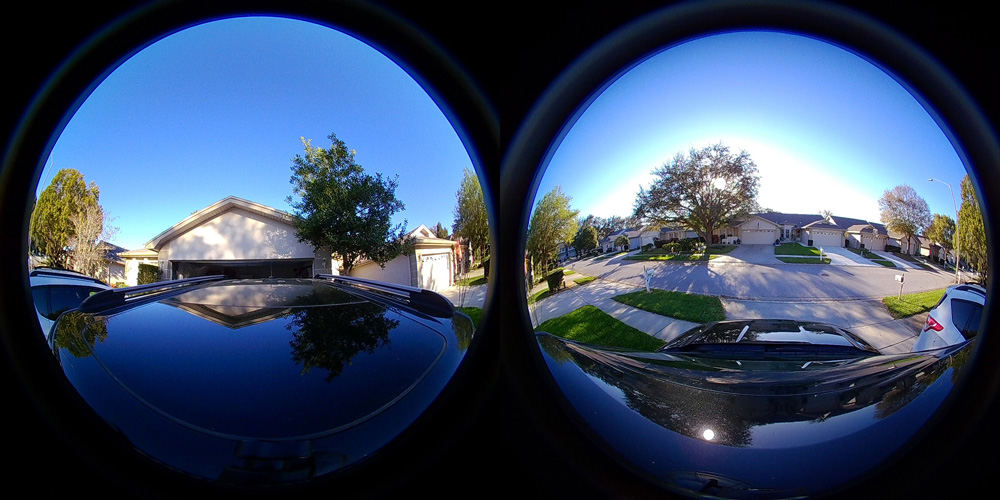
Also, when you take photo with this camera you will get an image with two spheres.  Unfortunately, there is no photo editor provided with the camera so you will need to get a software to stitch the image. If you want to share photos to sites like Facebook then you will have to inject the metadata into the photo as well for Facebook to identify the photo as a 360° image. You can’t just upload photos from the app to Facebook or other sites. You will only upload an image like the one above. The MGCOOL camera takes photos at a 3008 x 1504 resolution.

Since the manual doesn’t go into detail on how to get your footage uploaded correctly to YouTube I will share the method the was easiest for me through research on the internet. First and foremost you need to download and install the 360 Converter app or get it here at EnterVRWorld .

And you also have to also download and install the 360 Video Metadata app for YouTube. This Metadata app creates a 360 enabled video file and lets YouTube know that your footage is a 360 type video.

The first thing was to copy the footage I recorded from the MicroSD card onto a folder on my computer. Then you have run the footage through the 360 Converter. Once that is done, you take your newly converted footage and run it through the 360 Metadata app. There are instructions on the YouTube site for the settings that you need when you run your footage through the 360 Video Metadata app. It’s basically making sure that one of the check boxes is checked only.

I trimmed my footage in Premiere Pro and exported the video using the YouTube export settings. After the export, I ran that footage through the 360 Converter. Then when the 360 conversion was done, the last step before I uploaded the video to YouTube was to run converted footage through the 360 Video Metadata app. It seemed like this was a lot to go through to upload the captured footage to YouTube.  I think since the camera only records at 1080 x 960 (@30fps) the was a black circle at the top and bottom of converted footage where the footage was stitched.

I was concerned about the clip I uploaded to YouTube since the video seemed softer and not as sharp as the video clip on my computer. This is weird because the clip I exported from Premiere Pro was significantly sharp but when I view it on YouTube the footage to me isn’t very desirable. See for yourself below.

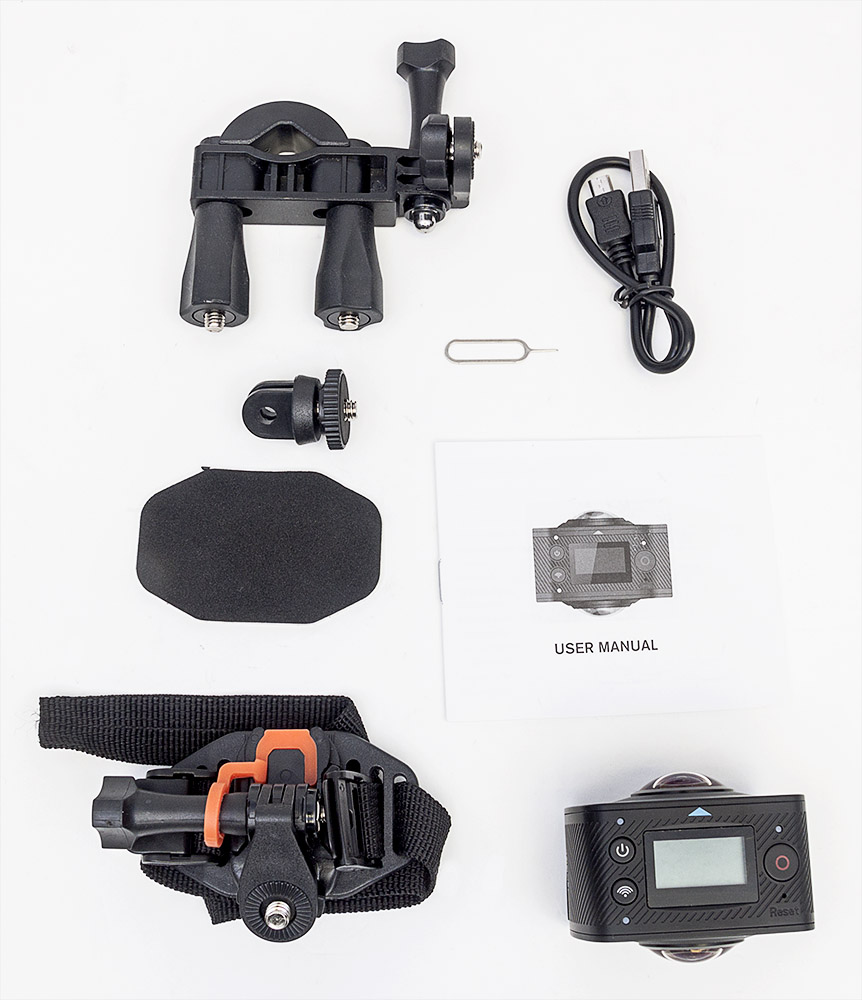
The MGCOOL 360 camera comes with a manual, Reset pin, MicroUSB cable, bike mount, and a couple of other mounts. I do wish that it came with a few more mounts like SJCAM provides with their cameras such as the SJCAM X1000. At least the X1000 includes a waterproof housing, whereas this MGCOOL 360 camera has their waterproof housing sold separately.  You can read my review on the SJCAM camera here: SJCAM X1000.

To learn more about the MGCOOL 360 camera, you can go to these sites: MGCOOL Site and MGCOOL Facebook.

Source: The sample for this review was provided by MGCOOL. Please visit their site for more info and order one at Amazon.


Product Information

Price: $99.99
Manufacturer: MGCOOL
Retailer: Amazon
Pros:
  • 360 degree footage capture.
  • Includes several mounts.
  • Ease of use.
  • Dual lenses.
Cons:
  • No manual settings.
  • No photo editing software included.
  • No video or photo share option.
  • Waterproof housing not included.

Filed in categories: Camera Gear, Reviews

Tagged:

MGCOOL Cam 360 action camera review originally appeared on on February 28, 2017 at 8:45 am.

Note: If you are subscribed to this feed through FeedBurner, please switch to our native feed URL http://the-gadgeteer.com/feed/ in order to ensure continuous delivery.

Gadgeteer team EDC update – Bill Henderson

Once again, it’s The Gadgeteer’s version of “What’s in your wallet?” or in this case, bag. This year, I’ve decided to reverse my trend of loading up a backpack by slimming down—my bag, at least.

I’ve put away my overly bulky, but wonderful Everki backpack and have moved to the svelte, leather Waterfield Maverick messenger bag (to be reviewed). Because of that, a bunch of stuff had to be put on a shelf, including three pairs of earphones, a trusted battery backup (I switched to a smaller and lighter one), and assorted wires. Do I really need to carry three mini plug AUX wires of different lengths along with countless charging cords? Heck, while digging through the backpack, I came upon an old Apple 30-pin connector—haven’t used it in a couple of years.

After editing, my current messenger bag consists of:

  1. Anker and TYLT battery backups: I had—and still use—the iBattz Mojo BattStation Optimus 20400, but it’s a bit much for this bag.
  2. Earphones/headphones: Whatever I’m reviewing. Currently, I have the Rock Jaw Resonate earphones with their customizable filters. The Resonate is the new flagship in the Rock Jaw line. I also have the Audeze iSine 10 planar magnetic earphones. They may look like something from a Spiderman movie, but audiophiles around the world are going nuts over these. These are going to be fun reviews.
  3. iPad Pro and Apple Pencil: I recently upgraded my iPad Air 2 to a 12.9 in. iPad Pro mainly because I wanted the Apple Pencil. As an art director, I have many friends who are illustrators and EVERY one of them are ga-ga over the Apple Pencil. Now I know why, but man is this thing big! It barely fits into the Maverick bag.
  4. Fingernail file: Wishful thinking on my part because I bite my nails.
  5. Tums: Don’t ask.
  6. Other items: A wallet, company ID badge, various cords and other cra… stuff.

I’ve didn’t include my iPhone 7 Plus in the photo because it’s usually in my pocket. I did have the Maverick bag more loaded while on a NYC business trip, but that was temporary—this is my day-to-day use. As I become more accustomed to the bag, things may come and go to better fit my style.

Filed in categories: Articles

Tagged: ,

Gadgeteer team EDC update – Bill Henderson originally appeared on on February 28, 2017 at 6:43 am.

Note: If you are subscribed to this feed through FeedBurner, please switch to our native feed URL http://the-gadgeteer.com/feed/ in order to ensure continuous delivery.

Set the mood without a flame using the ArcLighter

What do birthday candles, scented candles, candles for binding spells and incense sticks all have in common? They all need something to light them. If you’re anything like me, when it comes time to light a candle, it’s a chore to find a box of matches or a lighter that still works. The ArcLighter is an elegant alternative to matches and traditional lighters because it doesn’t require lighter fluid and it doesn’t even use a flame.

The ArcLighter features a rechargeable battery and a slide out zinc alloy and ceramic tip that generates a high-intensity electric 2012° F arc that lights candles instantly.

The ArcLighter can light up to 90 times per charge and recharges via micro USB or an optional charging dock.

You can ready more about the ArcLighter at arclighter.com and buy one for $39.99 at Amazon.

Filed in categories: Home and Kitchen

Tagged:

Set the mood without a flame using the ArcLighter originally appeared on on February 27, 2017 at 4:13 pm.

Note: If you are subscribed to this feed through FeedBurner, please switch to our native feed URL http://the-gadgeteer.com/feed/ in order to ensure continuous delivery.

Bellroy 13-inch Laptop Sleeve Extra review

Like you, I have a sizable investment in my gear so I am always on the lookout for anything that helps me protect that investment.  And I choose bags and sleeves like I choose my clothes – smart, stylish and functional always attracts my attention.  Bellroy – a company I have known more for their wallets than any other type of product – has a laptop sleeve that satisfies my first two requirements, but how well does it do with my third – functional?  Read on to find out. 

Fit and Function

The first thing to catch my eye with the 13-inch Laptop Sleeve Extra is the color and material combination.  I personally think the combination of leather and a canvas-type material can be very business-like and on this sleeve the combination is stunning.  The sleeve I received to review is the Warm Grey Woven version, a tan leather with a medium gray body.  This color combination nicely accents the black leather Tumi bag I carry my laptop in.  The sleeve also comes in a Charcoal Woven (black leather accent with a darker gray body) and Teal Woven (medium gray leather with a teal body) in case you are a taste hipper (or not) on the color scale.

The sleeve is well made.  The stitching is tight and no loose threads.  There is a very small and subtle stamp of the company name on the top flap so you don’t feel like a walking billboard.  On the back of the leather accent, there is an imprint of the owl logo for the company.  Personally, I would like that in reverse, but if the name is going to be front and center at least it was done nicely and with style.  There is a magnetic catch to hold the case closed and under the top flap there is a very small pocket.  More on that in a minute.  The interior of the sleeve is lined with a microfiber and the bottom of the sleeve has about a 1.5-inch opening.

Depending on the task and the client, I switch frequently between an early 2015 13 inch MacBook Pro Retina, a Microsoft Surface Pro 4 (12.3-inch screen) and Microsoft Surface Book (13.5-inch screen).  According to the information on the front of the package, the sleeve “Fits MacBook Pro, MacBook Air, and other 13 inch models”.  Going in, my expectations were that the MacBook and the Surface Pro would fit nicely and the Surface Book would be questionable.  I started with the first on the list, the MacBook Pro.

MacBook Pro Retina

I would have thought that having been called out specifically on the packaging this would have been without question the one that worked.  And I was wrong.  No matter what I did, I could not get my MacBook in the sleeve and get the flap to lock in place with the magnet.  When inserting the laptop I could get it about a third of the way in reasonably easily, but the remainder took quite a bit of effort as did removing the laptop from the sleeve.  To be fair, I would hope that over time this would become easier, but I tried this 10 times and each time it was just as difficult as the time before.  I have a decal on the front of my MacBook and a few times the friction from removing the laptop caused a part of the decal to come off.

The bigger problem, though, is that when fully inserted the protective flap just can’t close over the top let alone get to a place where the magnet can engage.  As you can see in the second picture above, it looks like it should close, but the laptop is just too thick for the sleeve to handle.  And that is where the second problem comes in – the front pocket.  There is a pocket on the front of the sleeve that is just below the leather trim (where the other part of the magnet is located).  At just 6 inches deep, I am not entirely sure what you can store in there – it is too small for an Apple power supply or most mice, and it definitely will not hold papers or writing tools.  Plus, when a thick laptop like the MacBook Pro is in the sleeve, anything in the pocket will protrude from the front of the sleeve.  There will also be a gap at the opening of the pocket that will serve as a scoop to collect anything rattling around inside a larger bag.

So, on to the Surface Pro 4…

Microsoft Surface Pro 4

My Surface Pro 4 is slightly thinner and smaller than the MacBook Pro, and it is better suited for this sleeve.  The tablet hybrid fits snugly all the way in the case and the flap locks nicely in place.  When secured, the Surface is protected all the way around except, as expected, at the opening at the bottom.

The tablet is easy to put in and remove from the sleeve, so in this case, the sleeve passes my third test.

The unique hinge on the Surface Book simply laughed at the sleeve and suggested the ridges on the hinge would rip the stitching out of the sleeve.  Since it wasn’t really made for this device, I passed on the attempt.

Final Thoughts

So the Laptop Sleeve Extra is smart, stylish and in the case of the Surface Pro, functional.  Is it a value for the money, though?  At $139.95 retail for the 13″ version, it certainly is pricey.  It is made from quality materials and feels well made, but in my opinion not actually worth the price tag especially since it fails at the thing it tells you it does best – fit the MacBook Pro.  It protects my Surface Pro in my daily carry bag, but I am not willing to pay the “style tax” that goes along with owning this.  At a more reasonable $99.95, I would be an enthusiastic customer.

Source: The sample for this review was provided by Bellroy.  For more info visit their site and Amazon to order.


Product Information

Price: 12 inch: $129.95; 13 inch: $139.95; 15 inch: $149.95
Manufacturer: Bellroy
Retailer: Amazon
Pros:
  • Stylish
  • Well-made
Cons:
  • Pricey
  • Fails at its primary mission – the MacBook Pro

Filed in categories: Cases and Covers, Reviews

Tagged:

Bellroy 13-inch Laptop Sleeve Extra review originally appeared on on February 27, 2017 at 8:30 am.

Note: If you are subscribed to this feed through FeedBurner, please switch to our native feed URL http://the-gadgeteer.com/feed/ in order to ensure continuous delivery.

Gadgeteer team EDC update – Steve Holt

I use many gadgets on a daily basis, but these gadgets are the ones that I couldn’t live without.  I use them literally every day and they are an important part of my life.  If I lost one of them (which has happened) I would be like a small child who drops their ice cream cone on the pavement.  It’s not pretty, believe me. 

  1.  SpotCam HD Eva security camera – The SpotCam is what gives me a piece of mind when I am away from home.  It has motion detection built-in, it allows me to transmit my audio so that people within earshot of the camera can hear me, and I can control it from my phone.  It also records 24-hrs of video in the cloud so I can go back to review the footage.
  2. Plantronics Voyager Edge Bluetooth headset – Aside from my cell phone, the Voyager Edge Bluetooth headset is on my person 24 hrs a day.  I talk so much on my phone and need to use my hands at the same time that the idea of holding the phone to my head to talk is painful.  And because of its small size, I have accidentally left it many different places.  It announces in my ear who is calling and I can tell it to answer the call or push to voicemail.  And the portable charge enables me to get a quick charge when I need it.
  3. Plantronics Voyager Edge headset charger – The portable charger is good for about 2-3 charges for the Voyager Edge.  It charges using a standard micro-USB cable.
  4. Choetech Qi fast wireless charging pad – The Choetech sits beside my bed at home and I use it every night to charge my phone.  I also use it to grab a quick charge when I need to charge my phone up to go out for the evening, and it truly is a quick charge!  I love that it is small and it never gets hot like some of my other wireless charging gadgets.
  5. Kenu Airframe+ leather edition – I have tried many cell phone mounts in my car over the years, but I stopped looking once I found the Kenu Airframe.  Easy to use, ultra-portable, and sturdy.  I will never use another mount in my car.
  6. Nonda Zus USB car charger and smart car finder – I have gotten to the point in my life that when I go into a store or restaurant, I often forget where I parked when I come out of the store.  Don’t judge.  The Nonda will not only guide you to your car using their smartphone app, it has a parking meter alert, car battery health meter, and built-in dual USB charging ports.  It stays plugged up in my car daily. I don’t use the USB charging ports daily (see #7 below) but I use it to find my car all the time.  Unfortunately.
  7. Choetech 15,600 mAh dual USB battery pack – If your car is like mine, your lighter charging port in your car just doesn’t cut it.  I think the last time I tried it, my phone said it was going to take like 4 hours to charge my phone.  So I use the Choetech battery pack daily in my car because it charges my phone just as if it was plugged up to the wall.  I get probably 4 charges for my phone which is great.  It also has 2 USB ports so my wife can charge her phone at the same time.
  8. Nexus 7 Android tablet – I am pretty pumped about the new Nexus 7 tablet supposedly coming out this year.  In the meantime, my Nexus 7 tablet that I got back in 2013 will have to suffice.  I use it daily.  I use it to read news and social media posts at night before falling asleep.  It is my alarm clock.  I check the weather first thing in the morning.  It tells me about the traffic in the morning and tells me when I need to leave for my first appointment.  Just like my cellphone, I couldn’t live without my Nexus 7.  But it is showing age, so I can’t wait for the new version to come out.
  9. Samsung Galaxy S6 Edge+ – One of the worst names for a cell phone, but a great phone nonetheless!  I love the big screen, the camera is the best one I have ever seen, and it has built-in wireless charging and quick-charge.  The battery isn’t the greatest, and I don’t actually use the curved edges like I thought I would.  But it’s fast and looks beautiful.  I might walk out of the house without shoes on, but I would never go anywhere without my Edge+.

Filed in categories: Articles

Tagged: ,

Gadgeteer team EDC update – Steve Holt originally appeared on on February 27, 2017 at 7:30 am.

Note: If you are subscribed to this feed through FeedBurner, please switch to our native feed URL http://the-gadgeteer.com/feed/ in order to ensure continuous delivery.