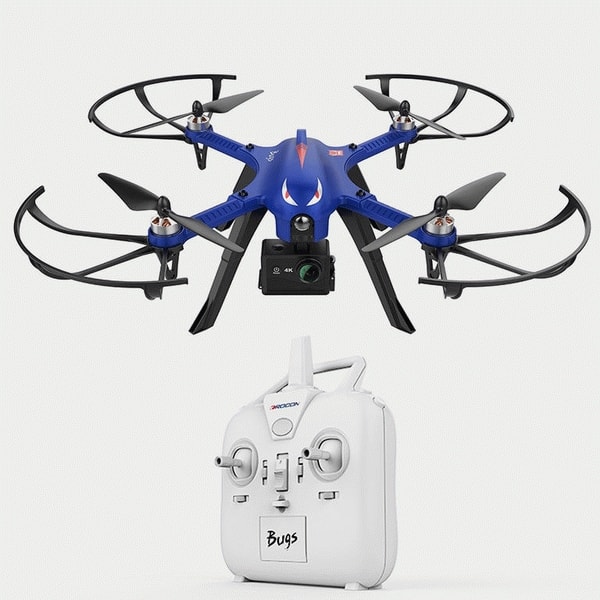
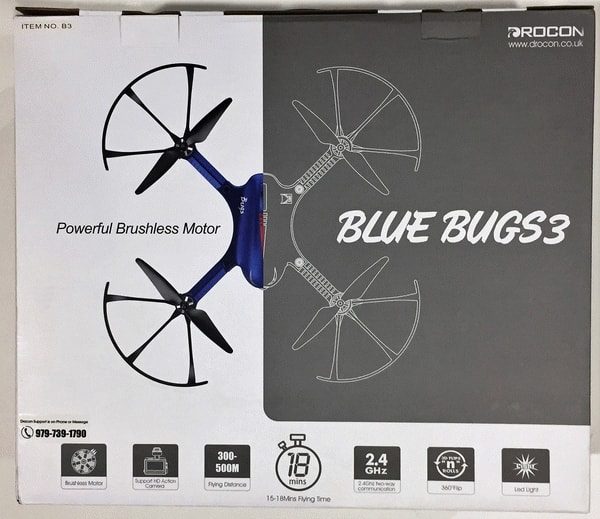
If you have a HERO4 (or clone) then you may want to take some shots from the sky. The MJX Drocon Bugs 3 is an low-priced entry level hobby-grade drone that comes standard with a HERO4 camera mount and features great speed, range and battery capacity. Read on to see what I think!
Bugs 3 is a drone that has enough power to proficiently carry a HERO4 shaped action camera. The drone features 2.4 GHz two way communication for security and control, brushless motors for speed, power and efficiency, a 1800 mAh battery for extended flight time, and a body design that makes upgrading or replacing parts an easy to accomplish task. While the drone doesn’t have flight by GPS, altitude hold mode, one key take off landing, or headless mode, it does have gyro stability and can be flown with the speed and agility of a racer. In fact, with the addition of a FPV camera this could also be an entry level racer drone. I believe it would sell well if it were sold with the FPV camera instead of the action camera mount. (The FPV can be purchased from here.)
Throughout the review you may see the manufacturer as Drocon or MJX. I believe that Drocon is marketing the Bugs 3 drone in Europe and the US but the drone is actually manufactured by MJX R/C in China.
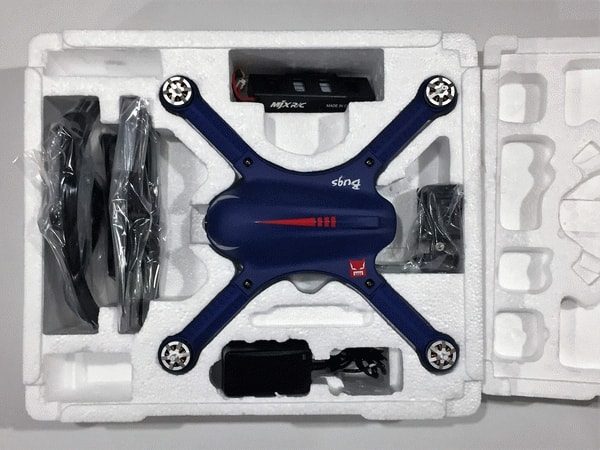
What’s in the box?
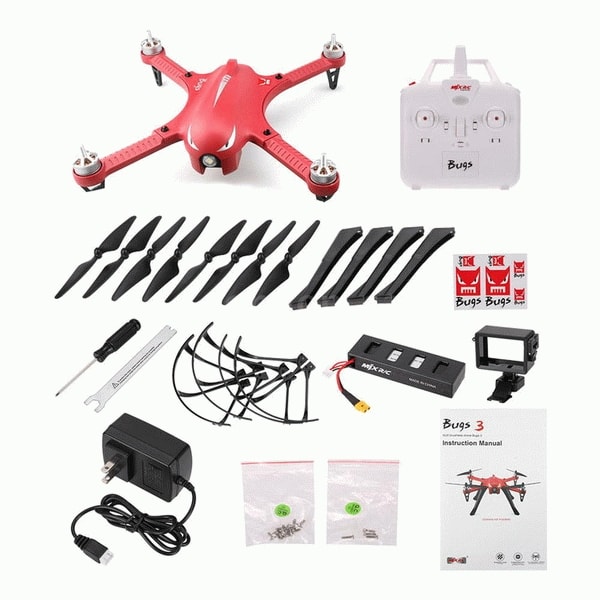
MJX BUGS 3
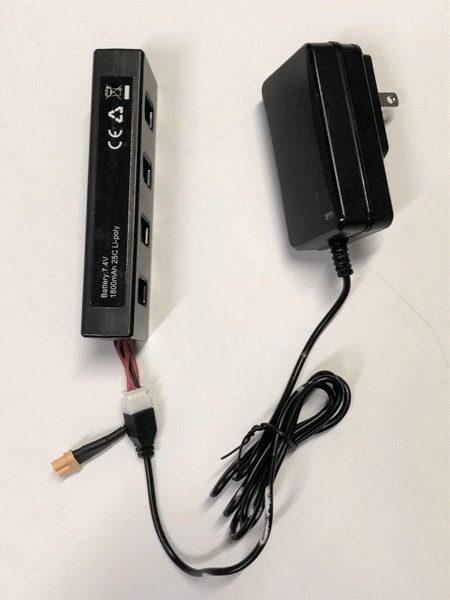
Battery 7.4V 1800mAh 25C LiPo
2.4GHz Controller (power from 4 × AA is purchased separately)
Camera mount
4 × carrying screws
4 × spare rotor
4 × rotor protection
4 × landing mounts
Charger
A set of spacers (to compensate for gaps when installing cameras)
Set of branded stickers
Tool (screwdriver + key for unscrewing the screws)
User Manual
Design and features
Prerequisites
There are a couple of prerequisites for flying this drone:
Because of the weight of the drone is above the minimum weight requirement of 0.55 lbs. or 8.8oz, it must be registered with the FAA at the following weblink: https://faadronezone.faa.gov/#/
This should definitely not be the first drone you pilot. Even though the parts on it are readily replaceable and the controls are relatively easy to use this is a big powerful drone that can easily reach high altitudes and rapid speeds. Don’t get this caught in a tree on your first flight.
Unboxing
One of the first things you notice is how big the drone is. The unit has a 31 cm wheelbase. However, the box is only designed to hold the unassembled unit and the protective packaging in the box is a cast styrofoam which is likely to break after repeated use. If you would like a storage case for the drone you’ll need to create your own.
Assembly
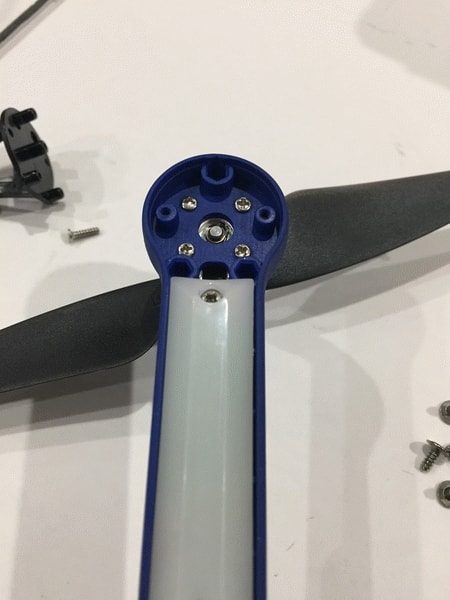
putting the drone together is straight forward. Installing the correct props on each motor is a breeze (see what I did there) since they are each labeled with a letter corresponding to the pitch (A brief primer: The props on a quadcopter each rotate in a direction opposite from the adjacent motor. The pitch of each prop is designed so that lift is provided when the motor turns correctly.) 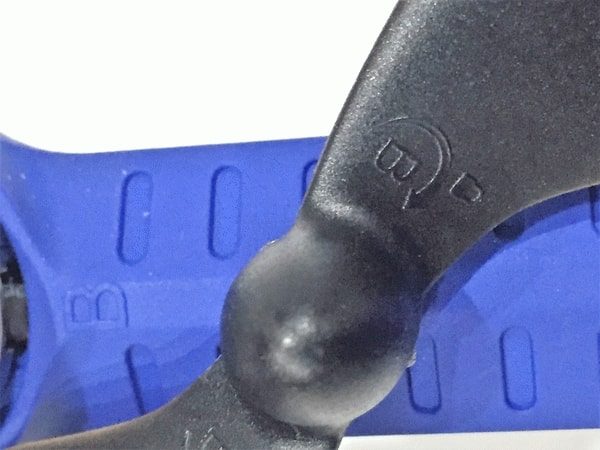
The drone comes with these little feet at the bottom of each prop motor. But the screws need to be removed if the rotor guards are going to be installed. Below the screws that require removal are shown.
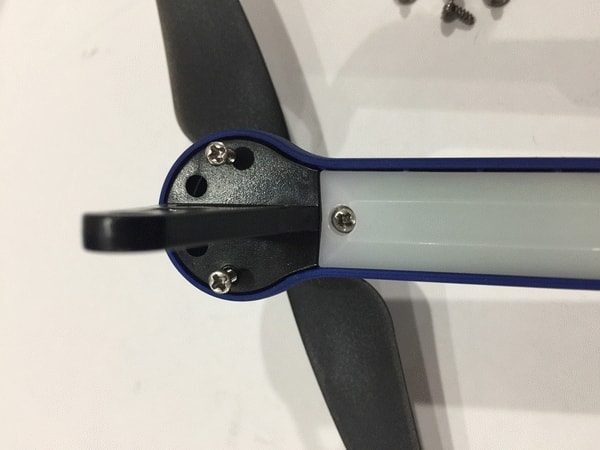 The components all screw into the nylon frame. the frame has been designed with adequate reinforcement around the screws. There are also some holes along the bottom of the body chassis to install the extended legs that provide the clearance required by the camera mount. The frame is pliable rather than rigid, as it would be if it were carbon fiber. But, the frame is also very affordable to replace, costing less than $10 at some on-line retailers.
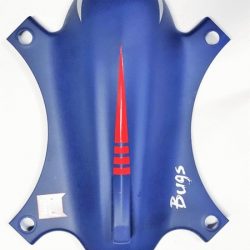
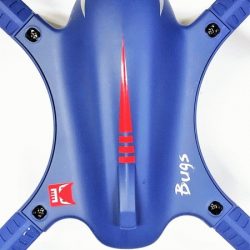
Also, the canopy is removable without tools.
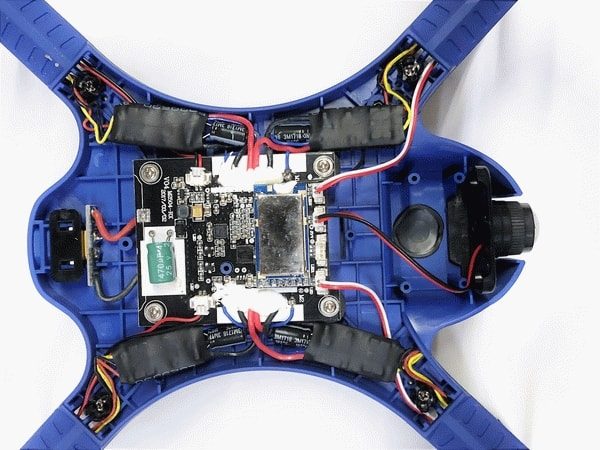
Installing and removing jumpers can hypothetically be done in the field without tools. With the canopy removed you can see that the motherboard has separate electronic speed controls for each motor (each sealed). The motors are soldered to the Flight control board under some pretty heavy glue, but the LEDs are all connected with molex and can be easily removed if desired. There’s also a molex for the FPV camera presumably to trigger a photo or video capture.
Design
This is the first brushless motor drone manufactured by MJX. They have designed their own flight control board and speed controllers to work with the MT1806 1800KV motors. These motors provide 230g of thrust as stated by the manufacturer but Halfchrome put this on a test rig and determined the combined thrust at 1090g, which is 272g each motor. Either way, the drone has some serious lift. If the FPV is installed, adding 40g, the drone still has a T/W ratio of 1.8 if you go by the 230g figure or 2.1 if you use Halfchrome’s measurement. These performance figures should allow the drone to operate nicely, even in heavy wind. Well, there is a bit of a catch to my last claim. The camera mount isn’t on a full gimbal, so when the drone tilts in a pitch or roll to correct location the camera tilts too. This type of performance is typical for FPV but should be avoided during aerial photography.
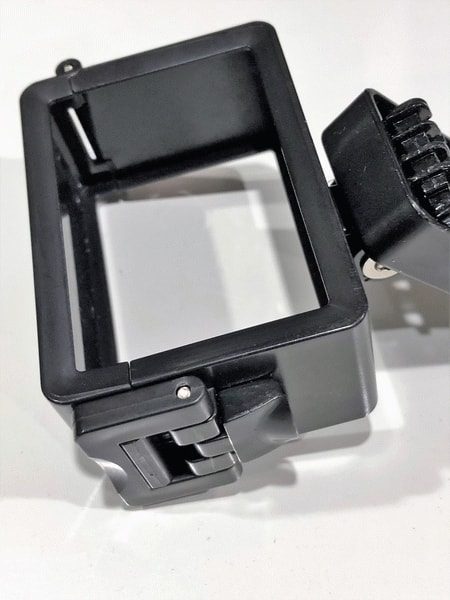
The camera is supported by a hinged mount that operates in only one direction attached below the battery cage. The topside of the hinge is designed with a vibration isolation box consisting of a plate surrounded by silicone ribs fit into a small box. It seems to work well in limiting the high frequency jitter of the captured video.
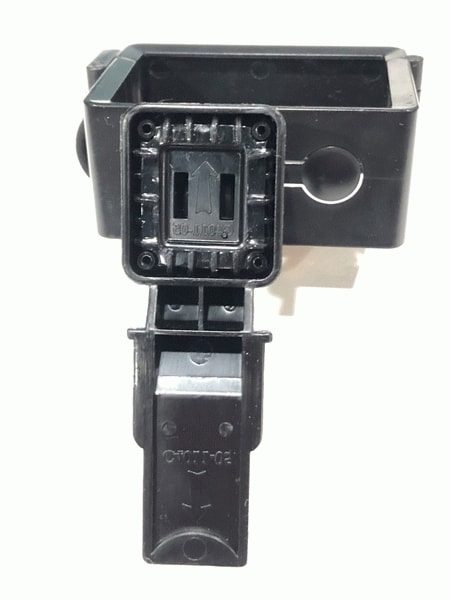 The Whole camera mount slides into a groove below the battery and is help in place by a rotating tab. This is useful so that the camera can be mounted and dismounted from the drone easily, but concerns me that the rotating tab could shake free mid flight. The camera fits inside of a frame that surrounds the outside of the camera frame. If the camera doesn’t have very similar dimensions to a GoPro it may not fit. the surround has a tab to allow the top button to be pressed but conceals the rest of the camera’s sides.
Operation
The Bugs 3 comes with a 7.4V 1800mAh 25C Li Poly battery that is a proprietary design with standard features. The battery connects to the drone with an XT30 connector and has close to standard dimensions, but the battery comes with a balance port that works quite well with the built in charger and has a plastic enclosure around the main body fits perfectly into the battery bay. Without the camera and tall landing legs, and with an unconditioned battery on a cold day, I got 15 minutes of flight. With the camera and tall gear installed I got about 11 minutes.
The claimed range of the controller is 300-500 meters which is probably farther than it may be legally operated (hobbyists must fly within visual line of sight). There is a low signal warning that the controller will emit if the signal strength diminishes. I didn’t have a chance to fly it real far not did I have a way to judge exactly how far I did fly it. MJX gives this disclaimer in their literature, “Just make sure you can find your drone in the sky and distinguish the right direction to call it back.”
Performance
I’ve recorded a couple of videos to convey the abilities of this drone to act as a platform for aerial photography and also act as a racer. The videos were recorded with a point and shoot strapped to my head. I didn’t have the angle set right so the drone goes out of frame, but it is just above the top of the frame in the smaller video to the left.
What I like
- Affordably priced for a brushless drone
- Good for aerial photography and intro level racing (no acro mode)
- Long lasting battery
- Well calibrated gyros
- Inexpensive replacement parts
- Easy to modify
What needs to be improved
- Fixed gimbal
- Tall gear may get in camera view
- No acro mode and no betaflight
Final thoughts
The Bugs3 lands somewhere between a low budget camera drone or intro racer, and a high priced aerial drone or racer. I prefer to focus on the advantages that this unit has above its lower priced cousins. It’s really enjoyable to fly and on a calm day and in open spaces it can provide a great picture.
Price: $89.99
Where to buy: Amazon
Source: The sample for this review was provided by Drocon.