REVIEW – You probably don’t think of a garage door opener as being something super techy or cool right? I didn’t either until LiftMaster changed my mind when they offered to let me test their WLED garage door opener with built-in Corner to Corner Lighting system. Let’s check it out.
What is it?
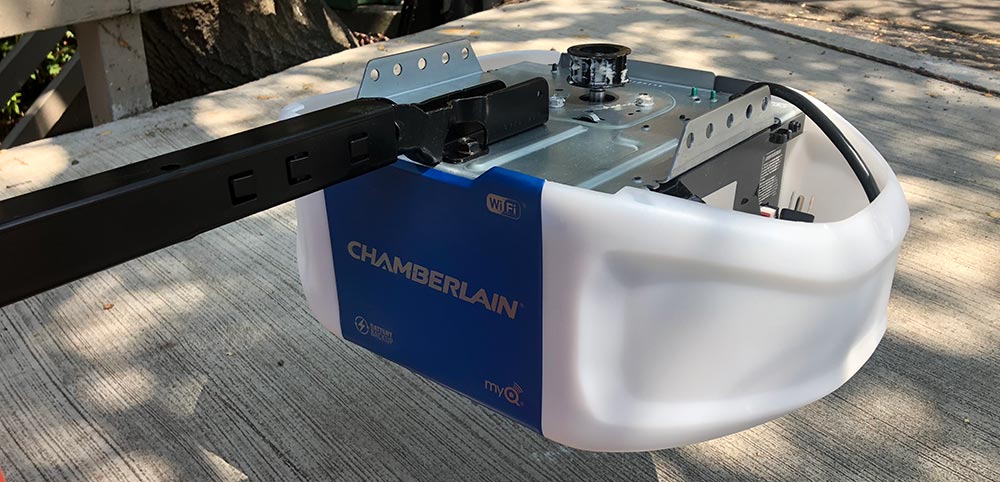
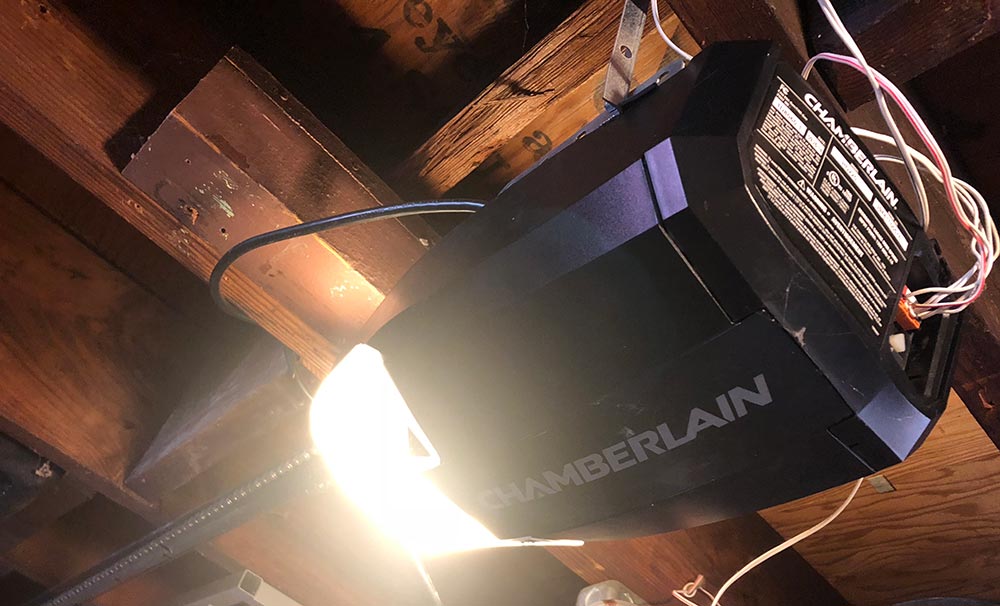
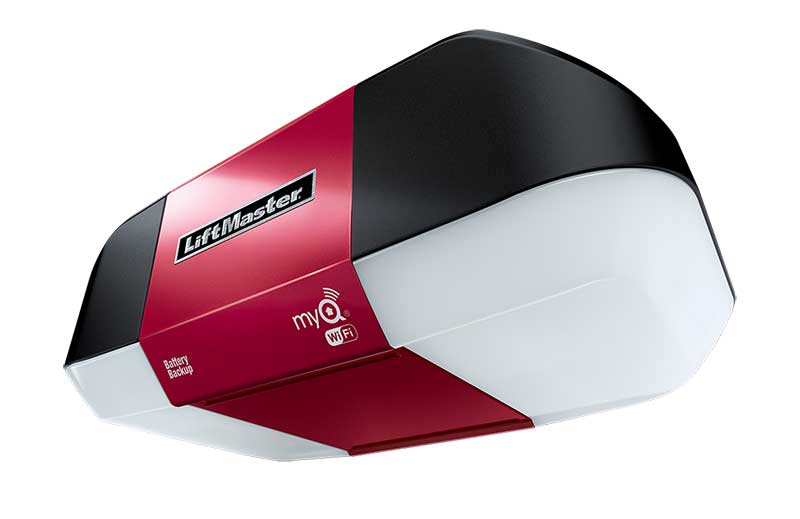
The LiftMaster WLED DC Battery Backup LED Wi-Fi Residential Garage Door Opener is just you have already guessed it is. It’s the motor box that lifts and lowers your garage door. But this one from LiftMaster has some great tech features built-in like high powered LED lights, motion detection, WiFi control, and more.
What’s in the box?
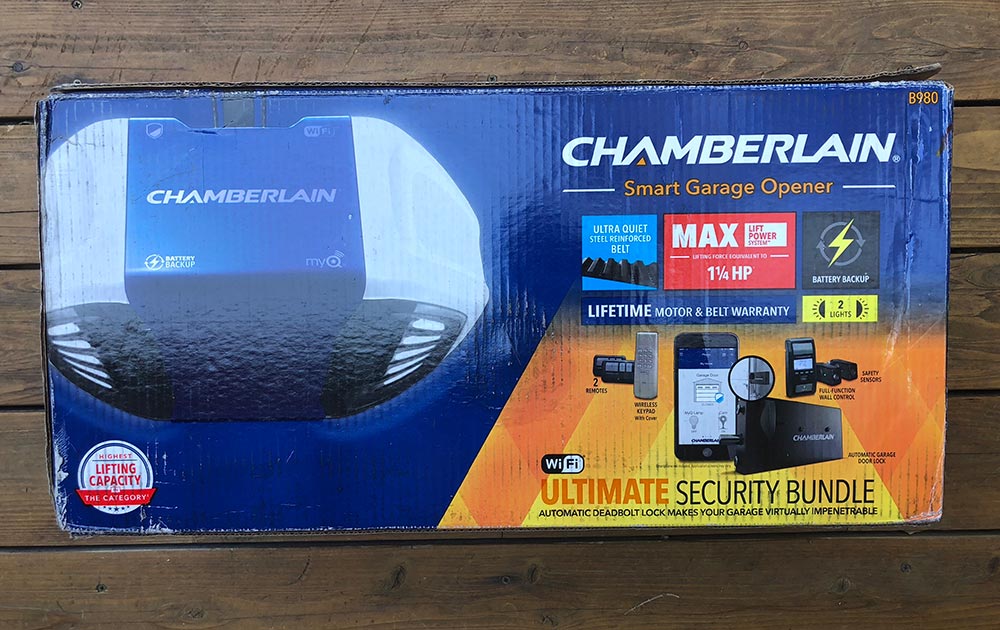
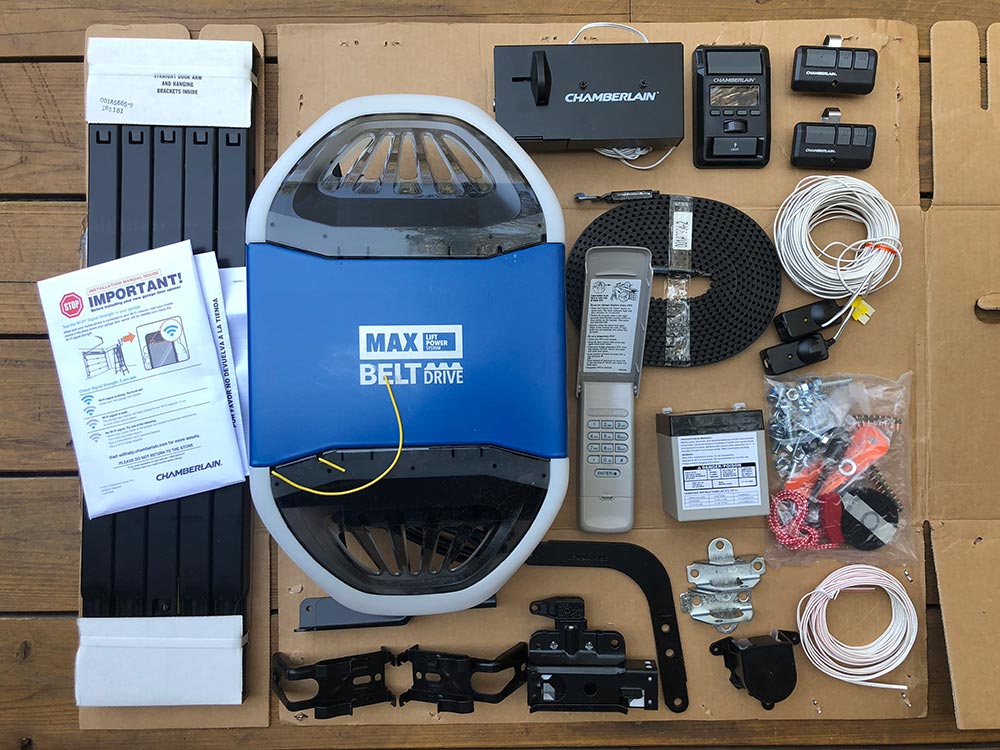
I don’t have a complete listing of what was in the box because the LiftMaster WLED garage door opener is packaged for professional installation and not for a DIY homeowner installation. Chamberlain, LiftMaster’s parent company, sells similar products online and through major retailers (e.g. Home Depot, Lowes, etc.) for those homeowners who wish to install it themselves (no dealer necessary). Chamberlain’s version of this particular WLED can be found here.

- LiftMaster WLED garage door opener
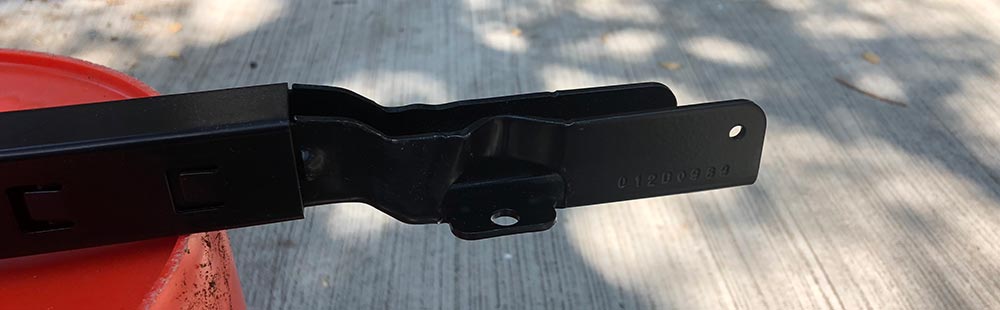
- Installation hardware
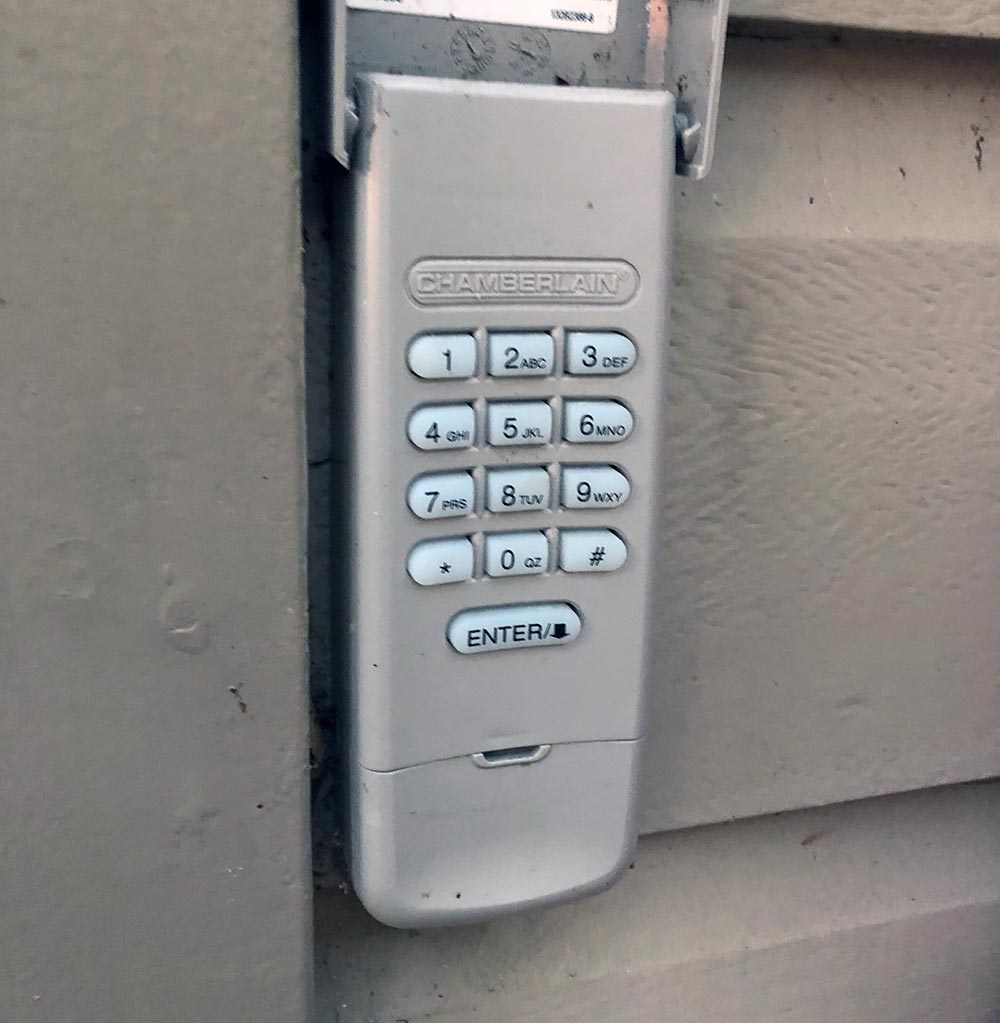
- 2 3-button car remotes with clips
- Wall door controller
- User guide
I have a 3 car garage that has one overhead door that has to be lifted manually and two others that have Craftsman openers.
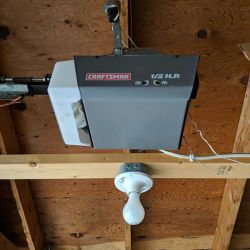
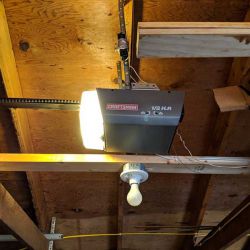
I’ve not had any troubles with the Craftsman openers except that the one on Jeanne’s side of the garage has a really crummy 1-bulb light built into it.
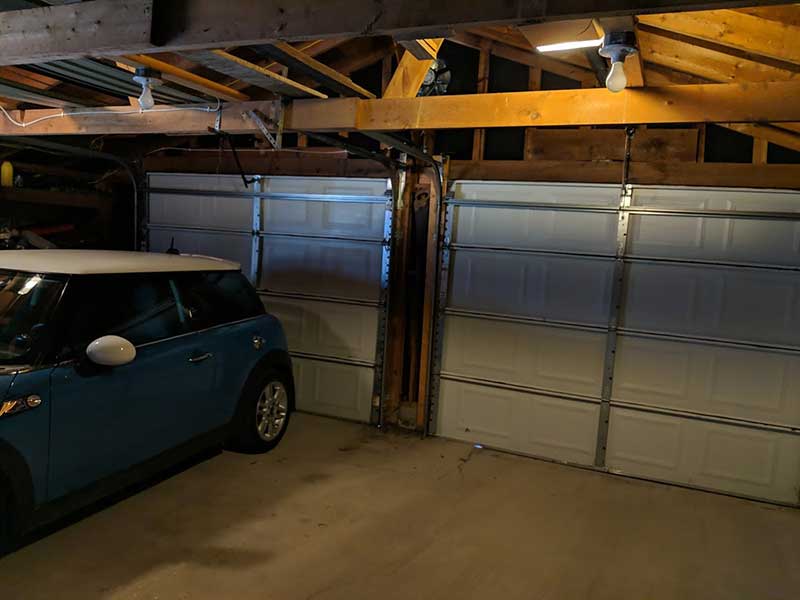
Jeanne’s always complaining that the light isn’t bright enough to see to get her belongings out of the car when she gets home at night. The garage doesn’t have any windows, so it’s pitch black except for the garage opener light when she gets home after dark.
Besides the dim light, neither openers work if the power is out. Unhooking the openers so that they can be lifted manually isn’t difficult, but getting them hooked back up later is always a pain in the you-know-what. I don’t know why, but I always have a heck of a time reattaching chain thingy. Yes, that’s what I call it. Don’t judge me!
Design and features
When LiftMaster contacted me to ask if they could install their WLED WiFi enabled garage door opener so I could test it and write about it, I immediately thought of Jeanne and her complaints about the lighting in the garage and said heck yeah to their offer.
They shipped me the box with all the hardware and then set up an appointment to have a local garage door company come to do the installation for me.
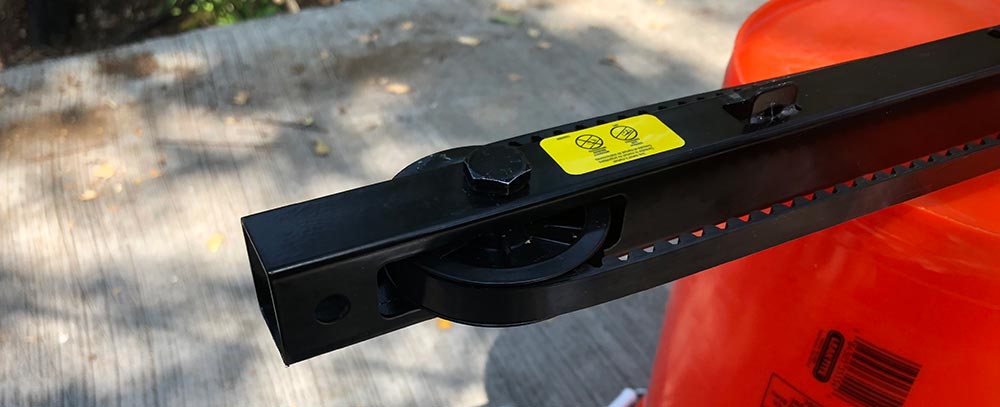
The LiftMaster WLED garage door opener features:
- Built-in Wi-Fi and myQ technology: provides the ability to open and close the garage door from anywhere and send alerts if it’s left open.
- Battery Backup: Keeps the opener working in a power outage so you don’t have to raise and lower the door manually.
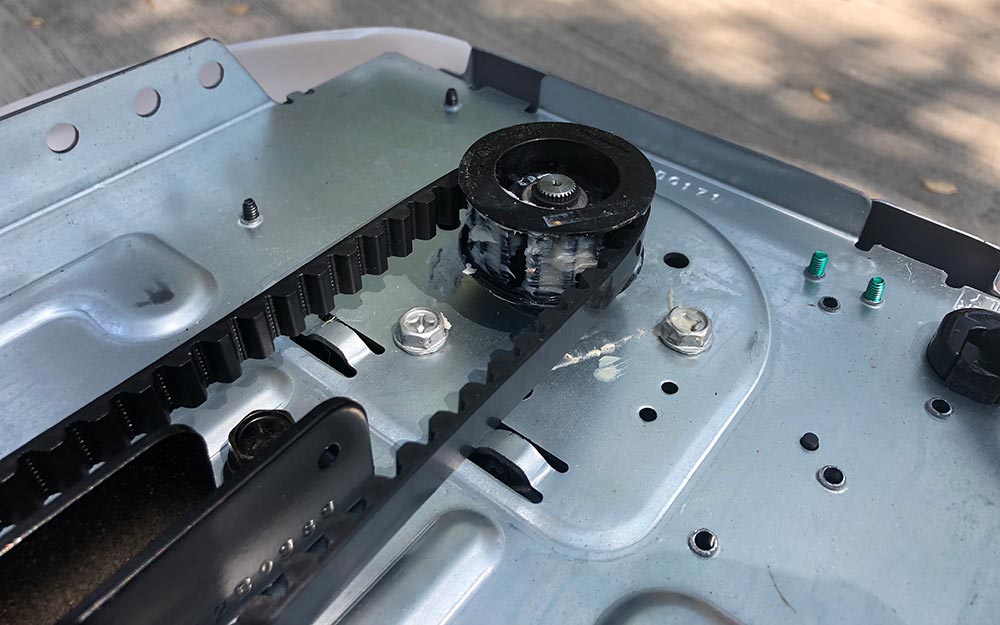
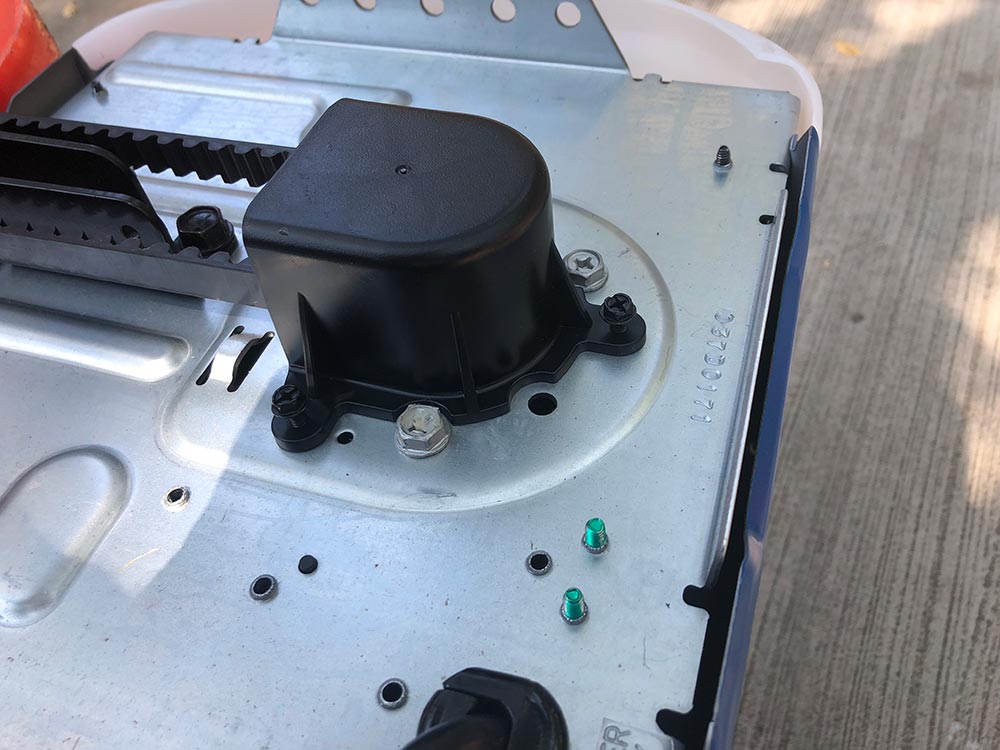
- Quiet Operation: An ultra-quiet DC motor and soft start/stop vibration reduction.
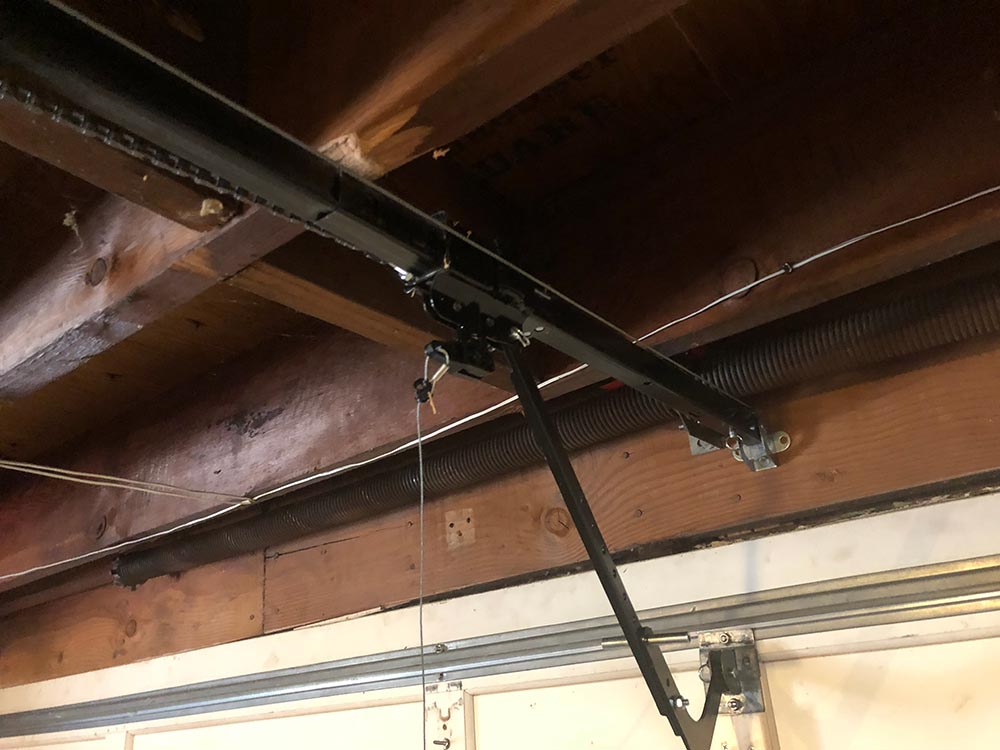
Installation
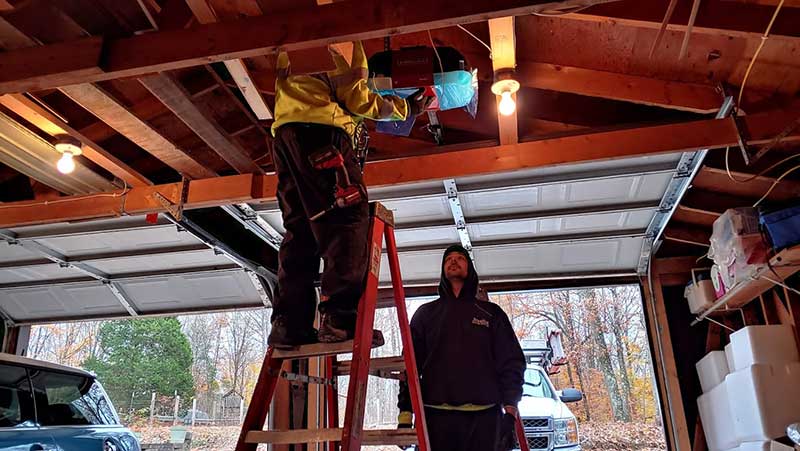
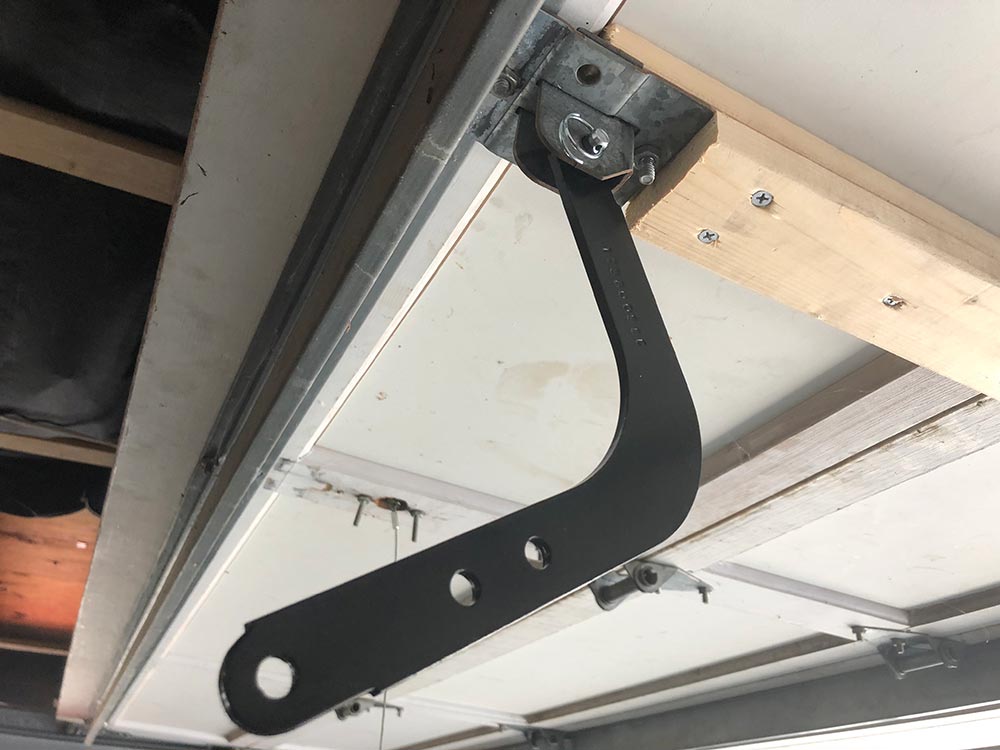
On a cold afternoon a couple weeks ago, two guys from Sterling Garage Door in Columbus, Indiana arrived and got to work on the install. I didn’t stick around to watch them install it because it was about 40 degrees outside (and in the garage since it’s not heated).
Less than an hour later, they were gone and I was left with a brand new shiny new garage door opener with a nice set of tech features that I never knew I needed until that day.
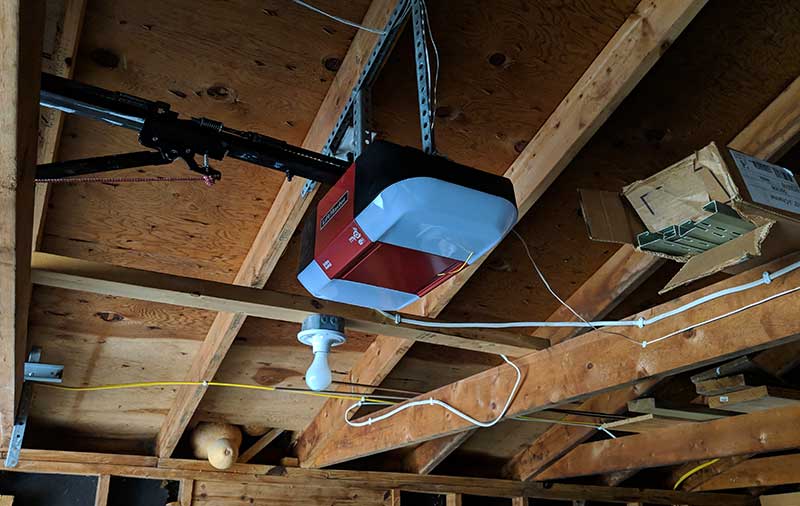
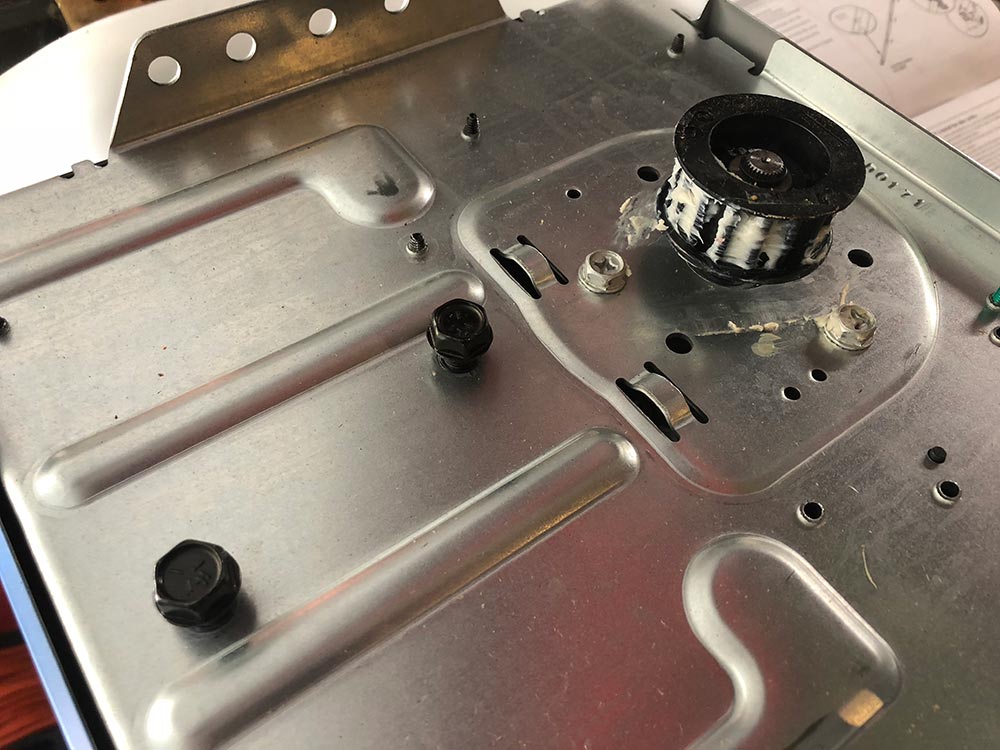
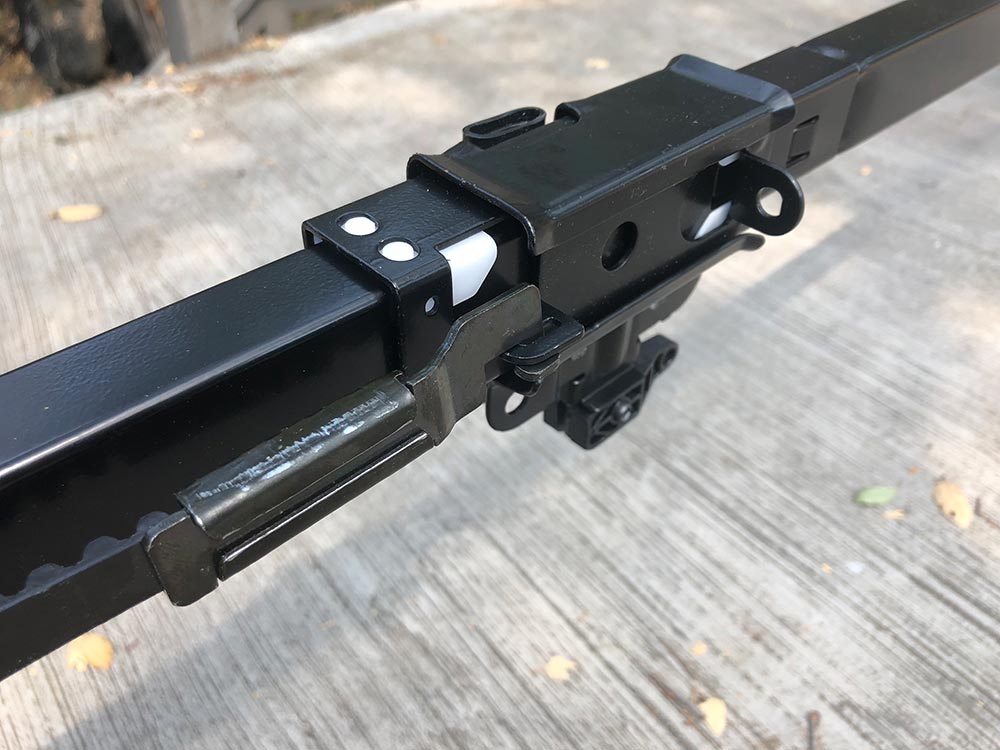
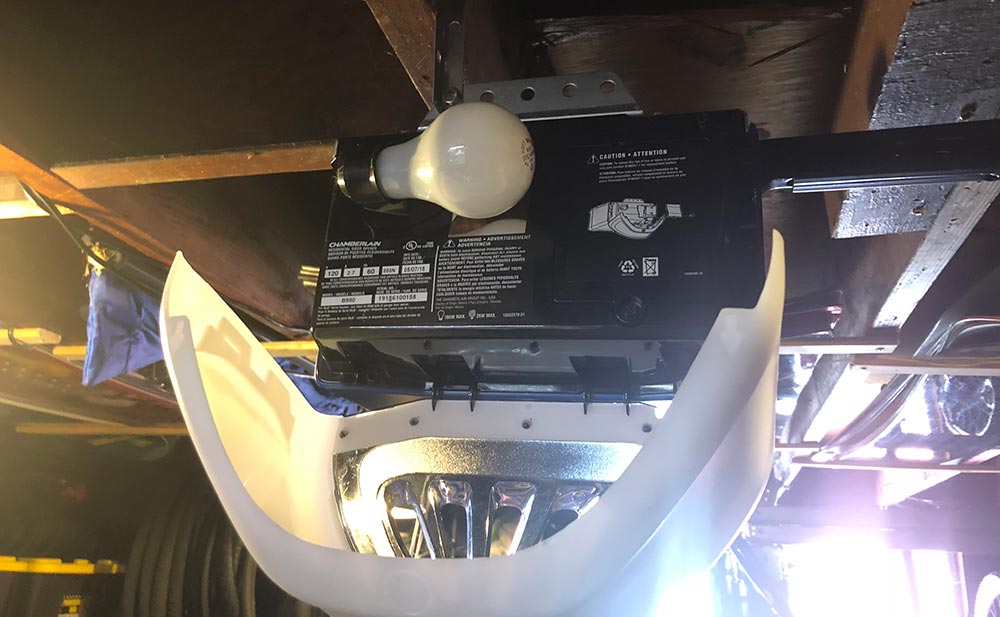
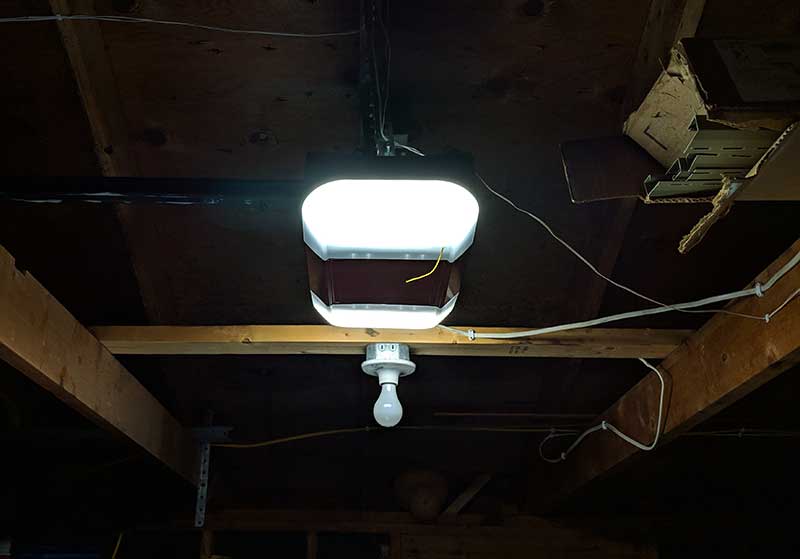
The LiftMaster garage door opener is larger than the one that was previously installed in the same space as it has lights on both ends instead of just the one.
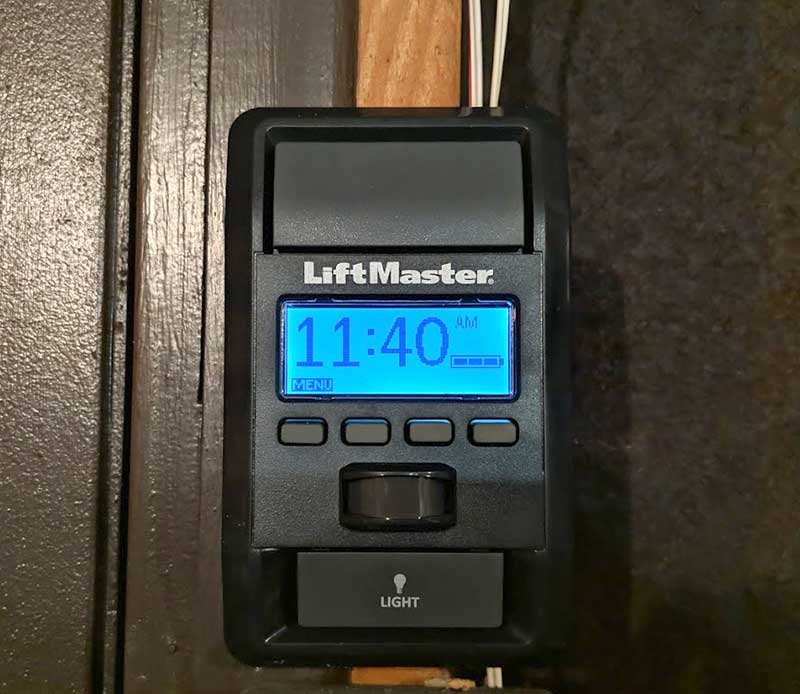
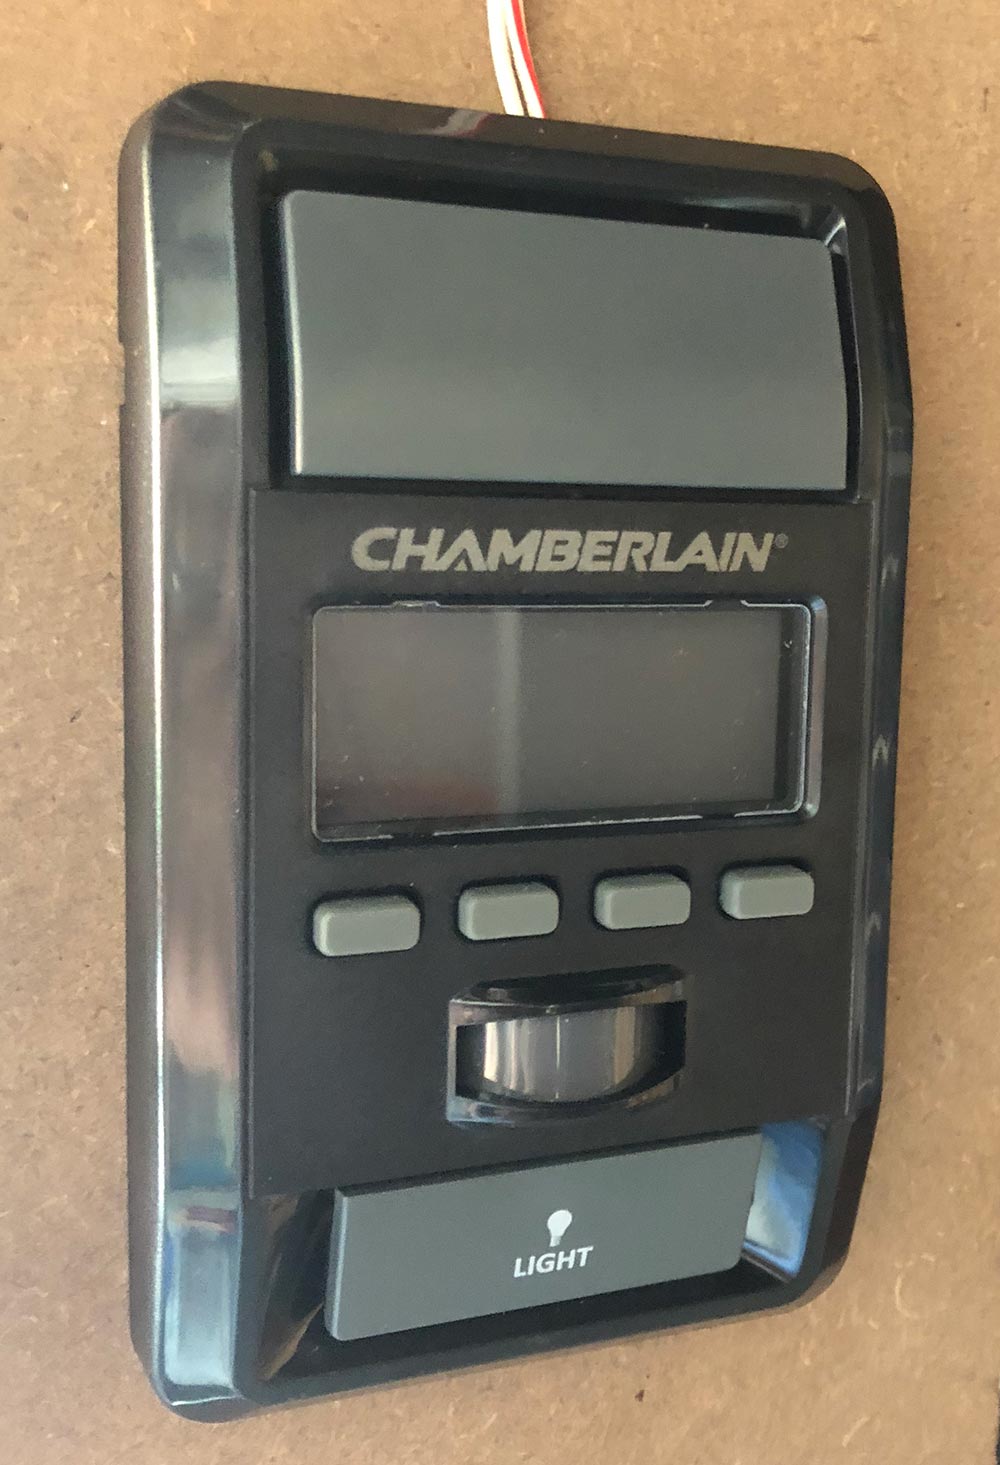
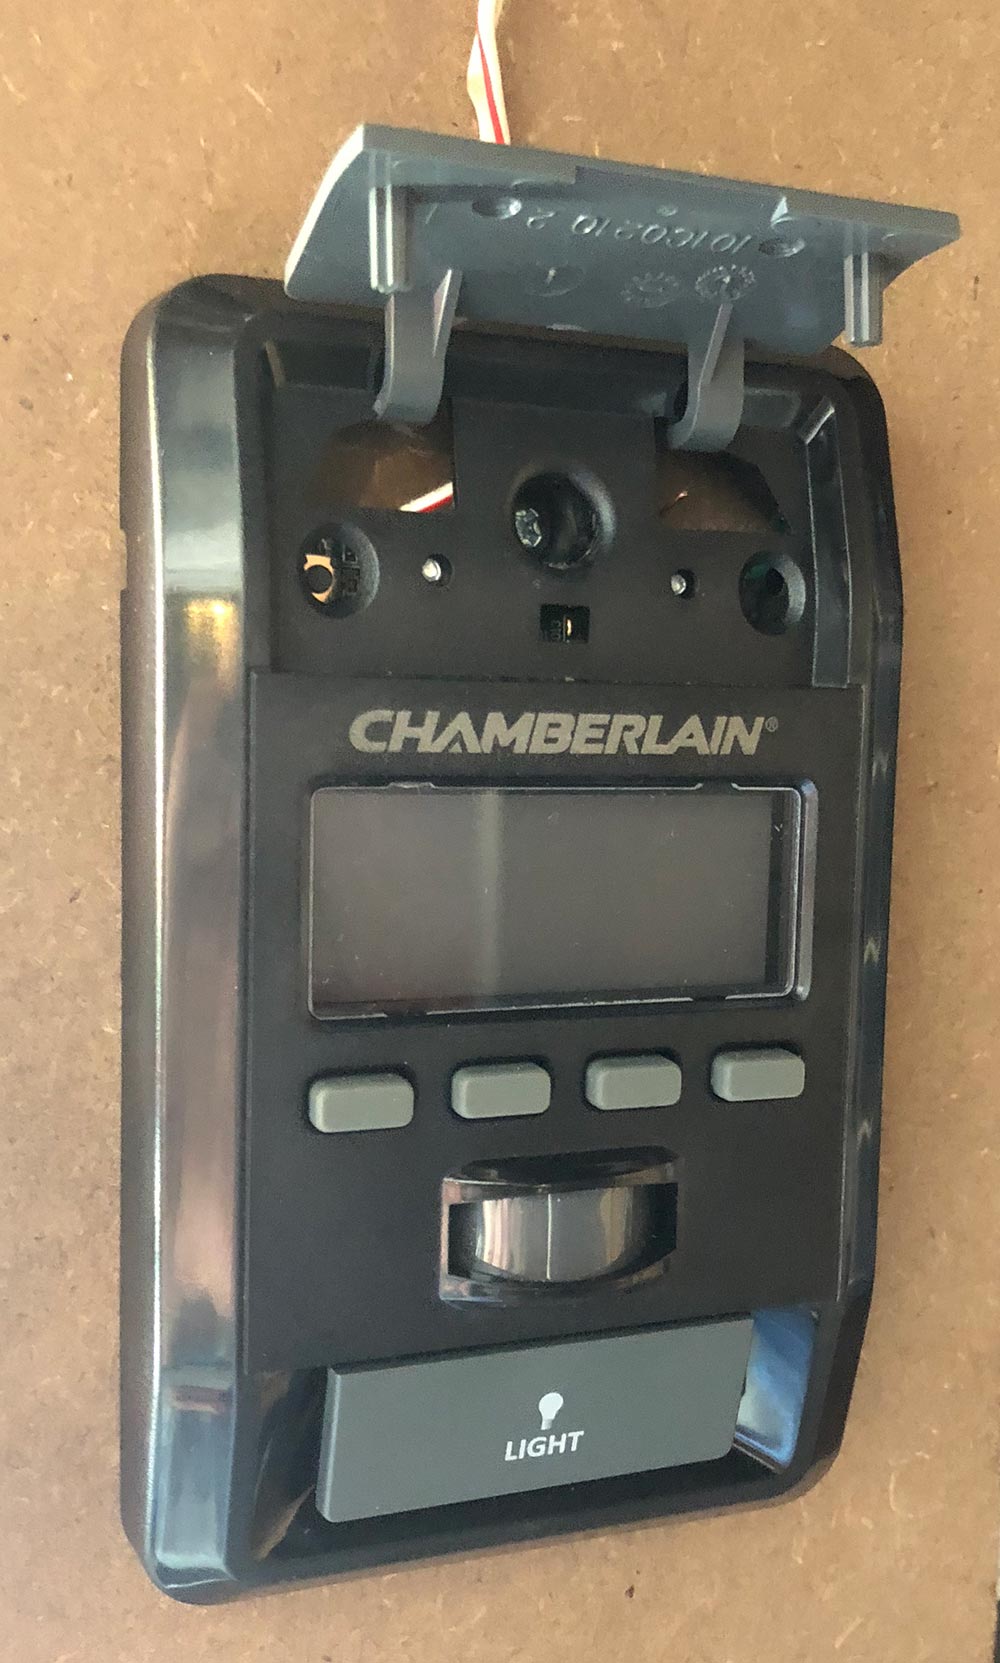
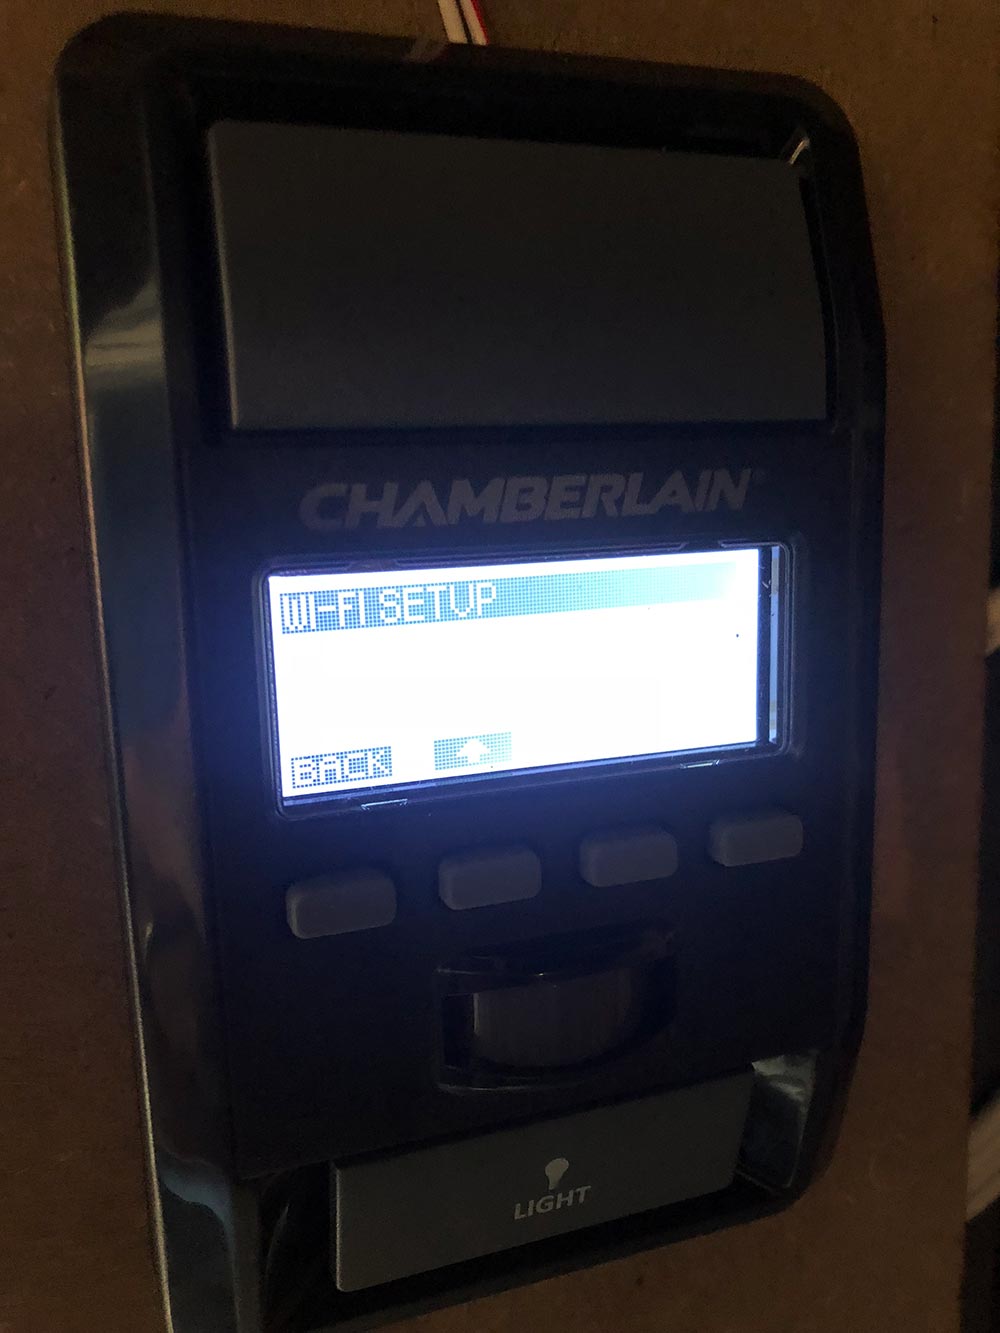
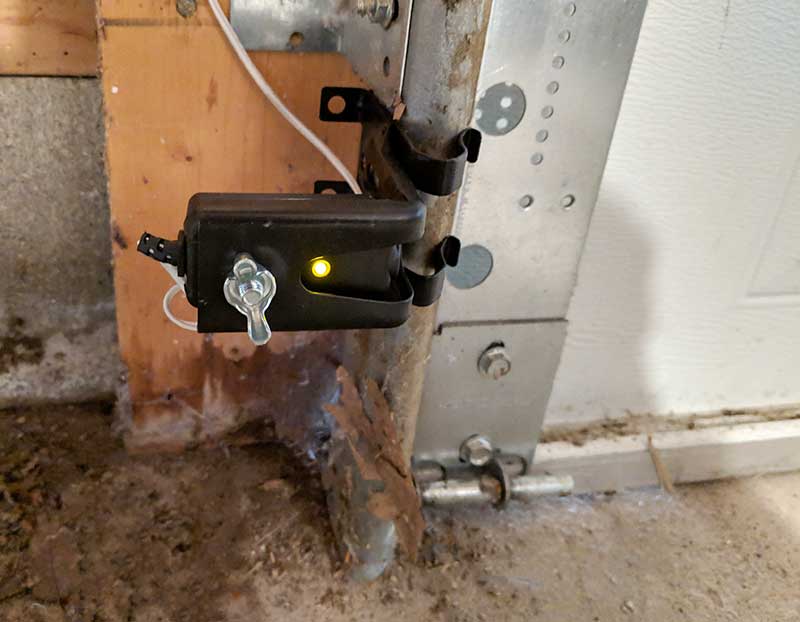
A nod of satisfaction came when I went to the newly installed controller mounted where the old one had been. I guess I should have taken a picture of the old one before it was removed but it was basically one button like an old-school doorbell. As you can see, the new one has a bright backlit screen with the time of day in large easy to read numbers. The display cycles between showing the time and temperature which I really like. It also shows the built-in battery capacity of the opener in event of a power outage.
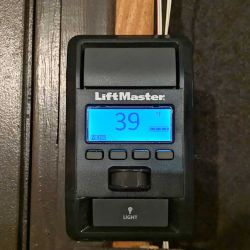
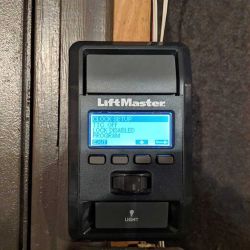
Above the display is the opener button and below the display, there are four buttons which are used to interact with the menus to customize settings for the clock, time to close, language, lock, WiFi setup, and more.
Below the buttons are two more features that I like. First of all, there’s a motion sensor which will automatically turn on the garage door opener’s lights when it’s tripped. I LOVE this feature because I leave the house before the sun is up and always have to feel around for the opener button to open my garage door when I walk into the garage to leave for work. Now that the LiftMaster WLED is installed, I just open the door to the garage and the motion sensor flips on the opener’s lights.
There’s also a button below the motion sensor that toggles the opener’s lights.
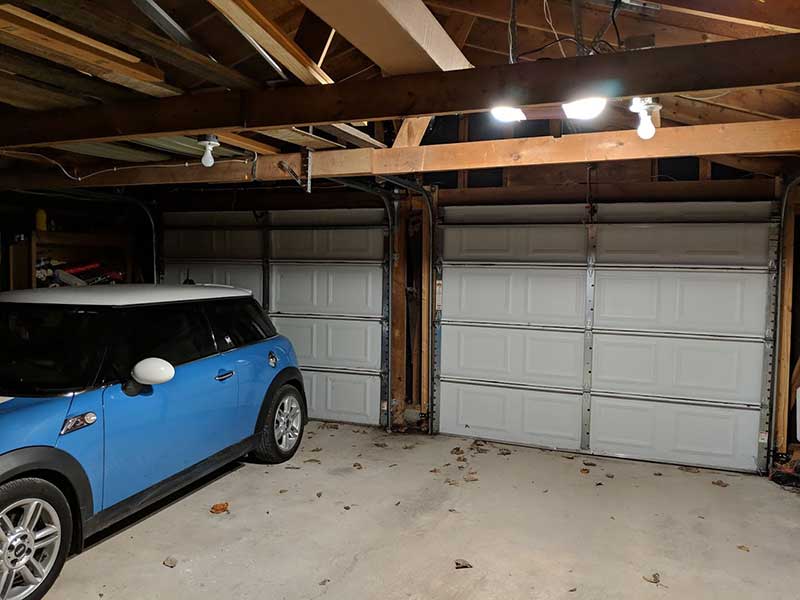
If you scroll back up towards the beginning of this review, you can see how the previous garage door opener’s light lit up the garage. Weak right? Now, look at this image. It’s like night and day  Sorry, I couldn’t resist. But seriously, the LED lights on the LiftMaster are really bright. 3100 lumens to be precise. Jeanne no longer complains about how dark the garage is when she gets home at night.
We both love how the lights come on automatically as soon as we open the walk-thru door to walk into the garage. The motion sensors are a great feature especially when your hands are full.
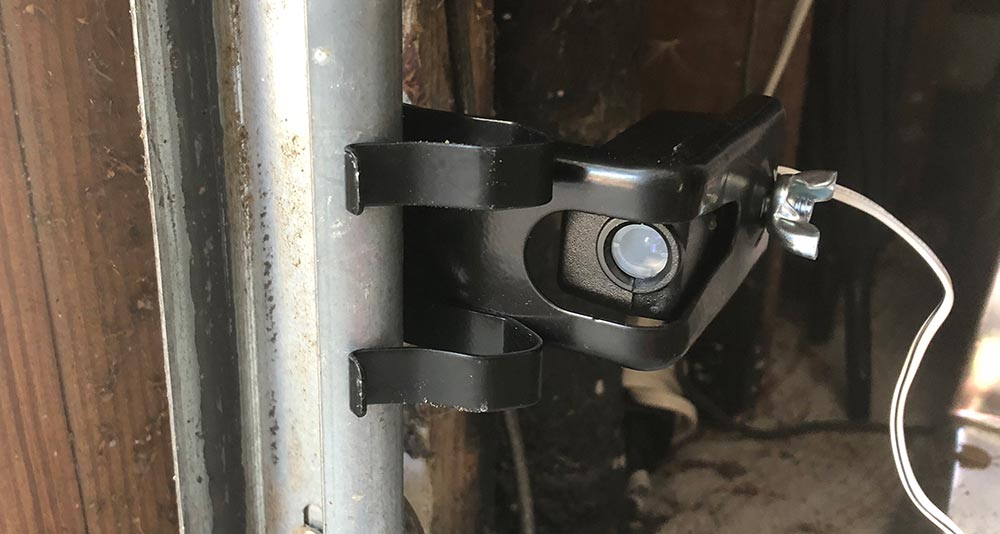
Safety Sensors
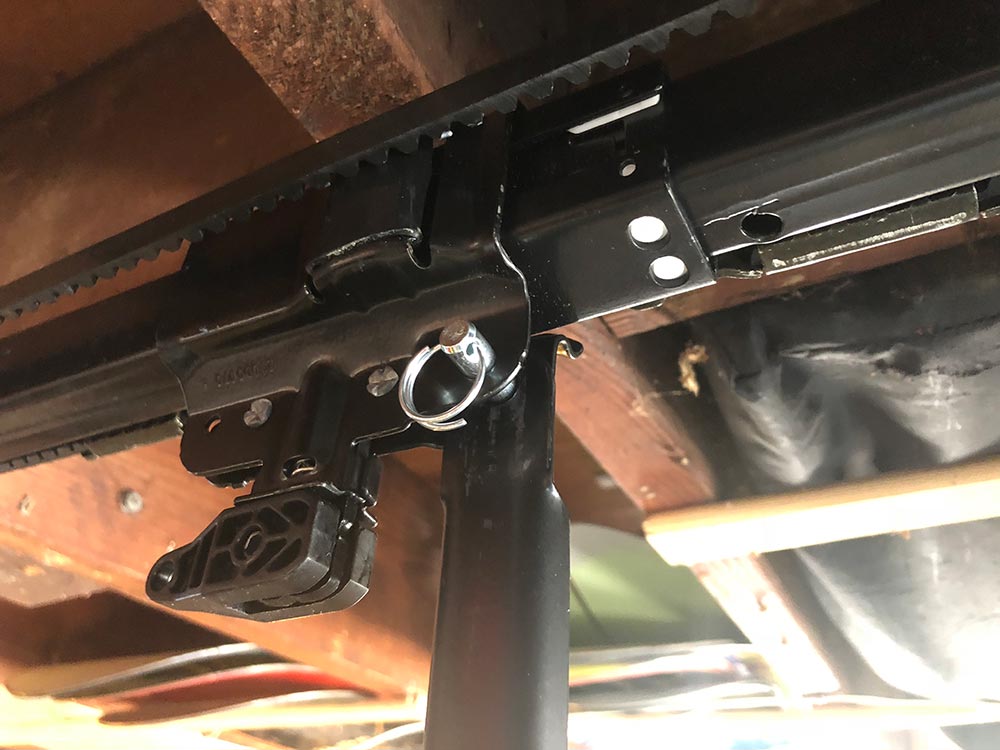
We haven’t had safety sensors configured correctly with the old doors. Whoever installed them, just taped them together and ran the wires out of the way. The guys that installed the LiftMaster had to do the install to code, which means we now have a light beam sensor on each side of the door at the bottom. These sensors are designed to protect people, vehicles, pets, etc. but stopping the door from closing on obstructions and reversing (opening) the door. When this happens, the lights on the opener will flash 10 times to signal the problem.
Time will tell if the sensors become more trouble than they are worth though as we get a lot of leaves that like to pile up in from of the garage and sometimes if it’s windy, they will blow into the garage. I’m curious if we’ll have any issues with the door not wanting to close. I’ll report back if that is the case.
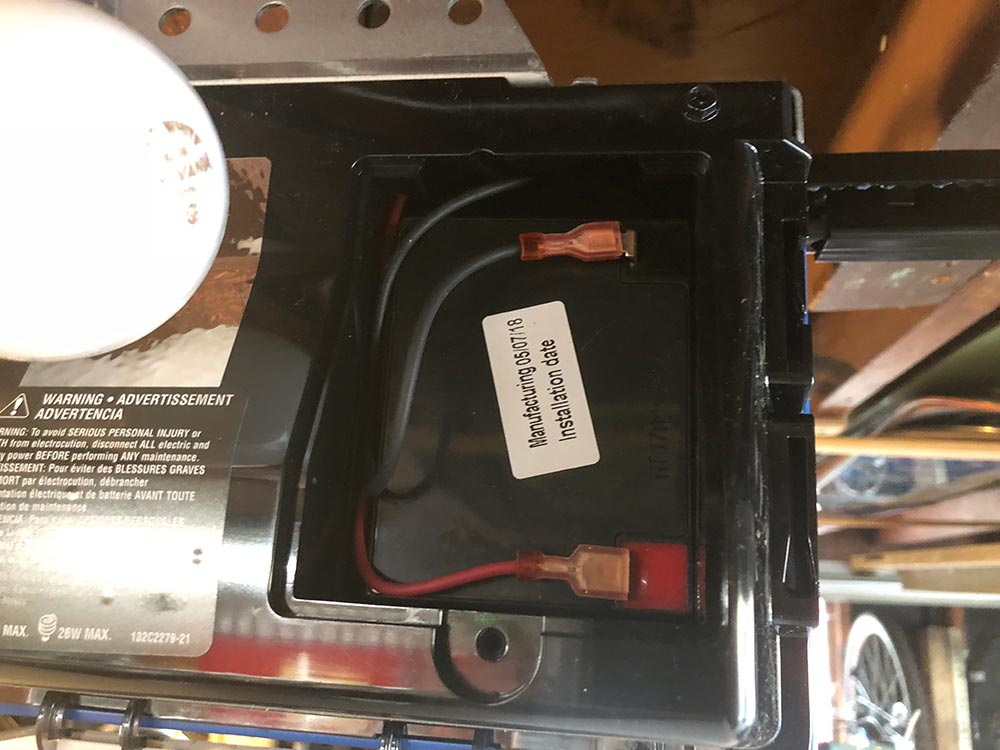
24 hour battery backup
The LiftMaster WLED has a built-in battery that will provide power to the opener for up to 24 hours if the main power goes out. I live in a rural area where the power goes out at least once a month if not a lot more. Heck, I was working on this review a couple days ago and the power was out 3 different times in one day for 1-2 hours each time. I’m lucky because I have a whole home generator, BUT my garage is on its own circuit box. That means if the power goes out, I have to use the emergency release handle and operate the door manually. UGH. I know, first world problems… But with the LiftMaster, I don’t have to worry about that. If the power goes off, I can still operate the door normally. Note that the door will run slower, and the lights will not turn on. But that’s a small price to pay.
Note that I’ll need to replace the battery from time to time, which according to some googling, will cost me around $20-$30 from stores like Walmart.
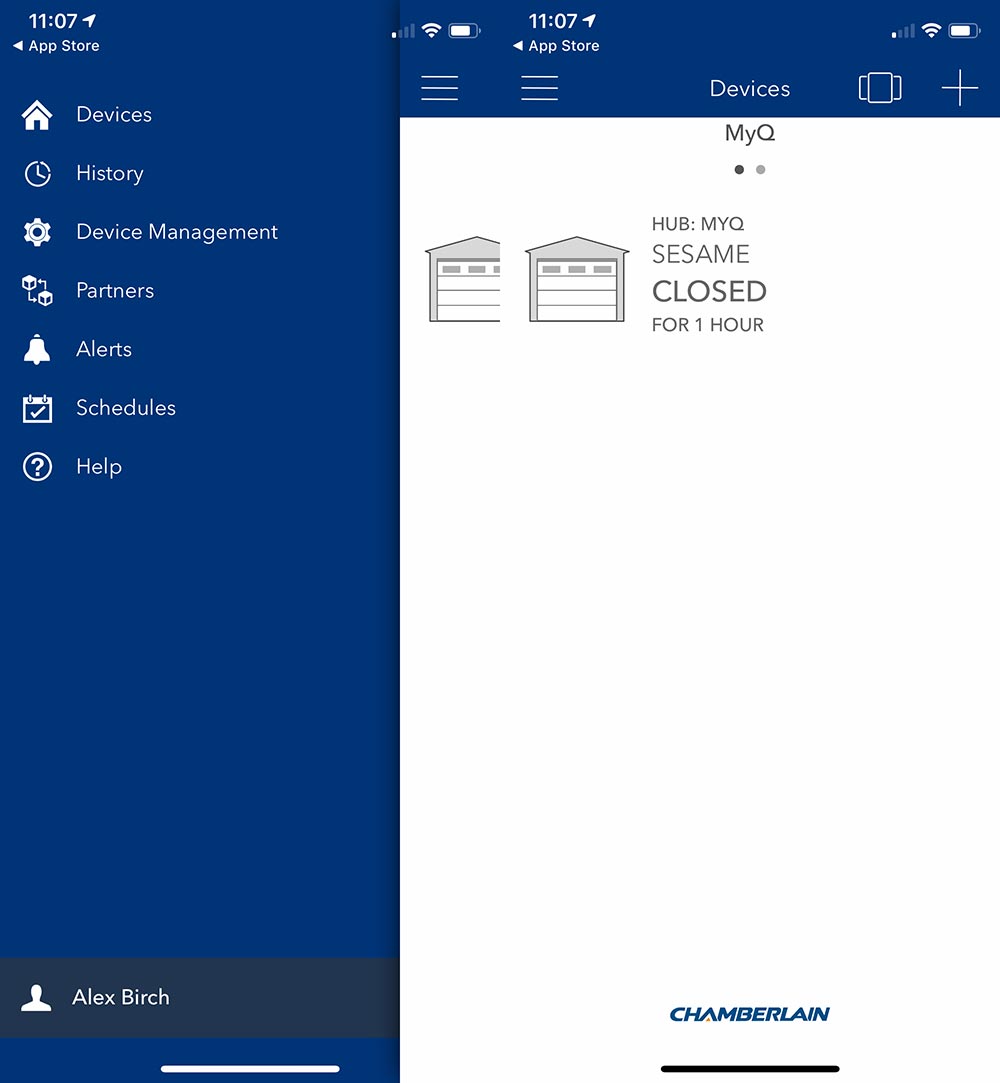
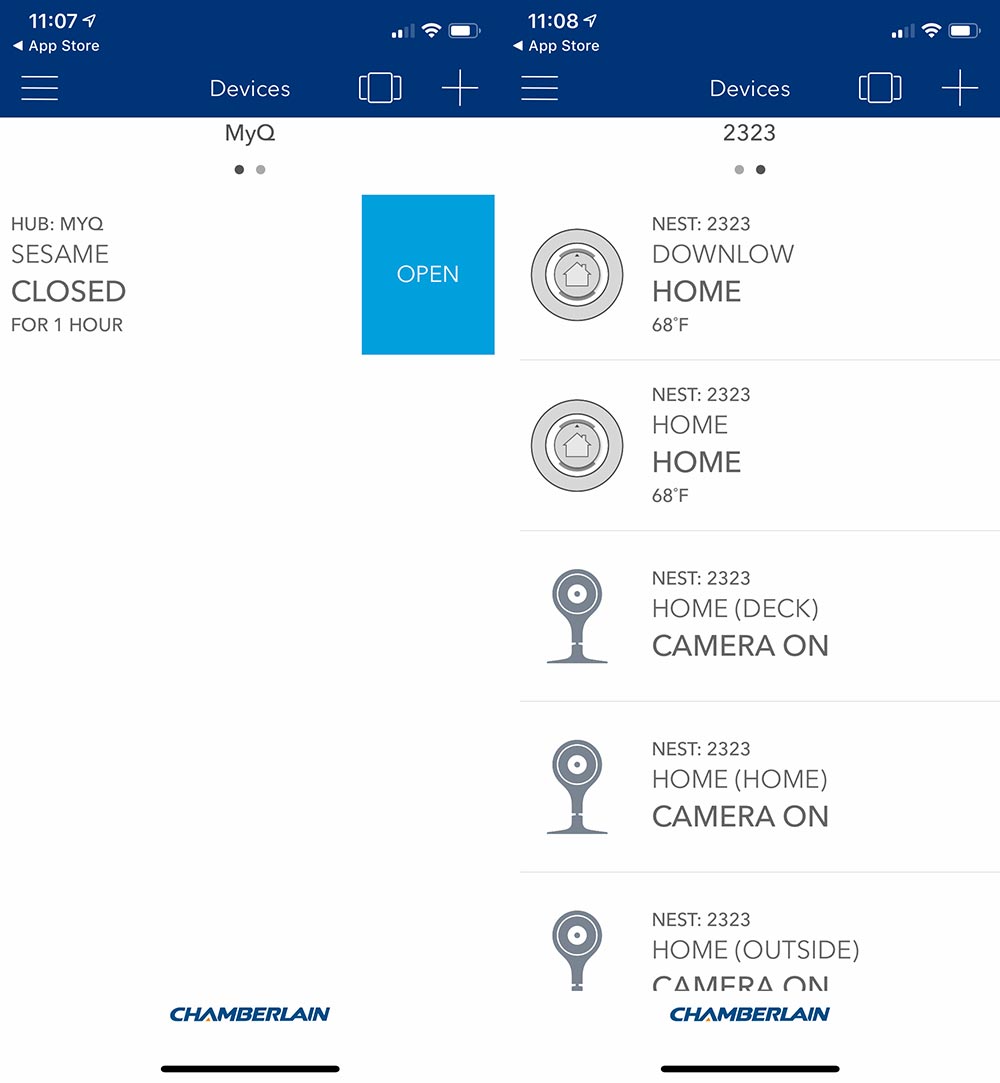
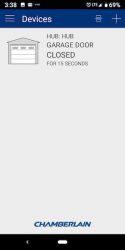
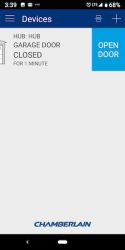
Using the myQ app
In addition to the features I have already mentioned, you can also control the LiftMaster WLED garage door with your phone. As long as the LiftMaster opener is within range of your home’s WiFi (2.4Ghz, 802.11b/g/n), you can do things like open and close the door remotely, know the status of the door, up or down no matter where you are in the world. You can also set a recurring schedule to close a garage door and use the app as a door opener if you happen to lose remote openers that come with the LiftMaster.

Setting up the myQ app with the LiftMaster was as easy as setting up other smart devices. I just installed the myQ app, then used the wall remote to get into the WiFi setup screens and from there I followed the onscreen prompts in the app which told me what to do on the remote.
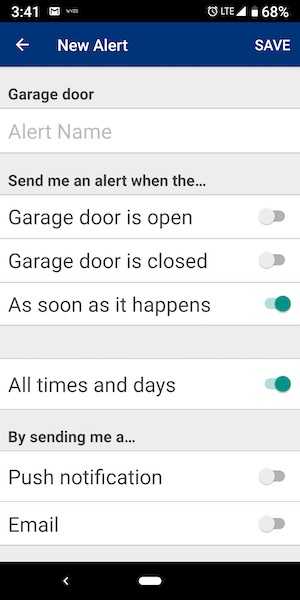
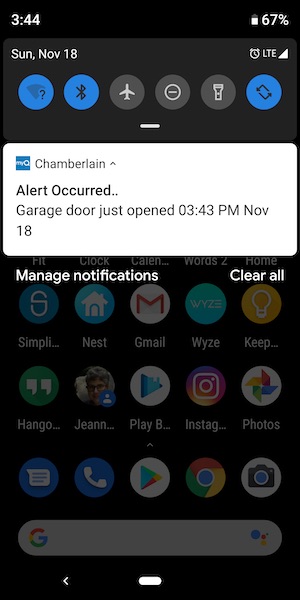
The app can be set up to provide real-time notifications to alert you when the door goes up or down. This is an added home security measure provides extra peace of mind when you’re waiting for someone to come home late at night when you’re already in bed, or when you get an alert when you’re not at home that the door has gone up.
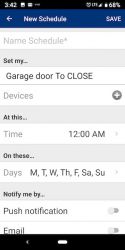
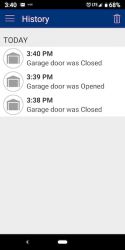
You can also set schedules when to shut the door. I’m not exactly sure why you might want this feature, but it’s there if you need it. Note that you can only schedule a time to close the door. You can set a schedule to open the door and you can see a history of when the door was opened and closed.
I mentioned that you can’t set a schedule to close the door, but you can set the TTC (timer to close) feature which will automatically shut the door after 1-99 minutes. This might be a good thing to set for people who can’t seem to remember to press the remote button after they leave the house 
What I like
- Bright LED lights that light up the whole garage
- Quiet, smooth operation
- Motion detector on the wall remote automatically turns on the lights when you walk in the door
- Ability to know the status of the garage door (up or down) using the myQ app
- Lifetime warranty on motor
What needs to be improved
- Nothing
Final thoughts
The LiftMaster WLED garage door opener was a product that I didn’t know I needed or wanted until I got one. From the ultra quiet operation, extra light that it provides in my garage, and the fact that I can control the door remotely with my phone and get notified when the door opens provides extra home security benefits, the LiftMaster gets two thumbs up from me. Now I want to replace my other opener so I have a matching set.
Price: $450 – $500 (including installation)
Where to buy: LiftMaster certified dealers, or the DIY Chamberlain version is available on Amazon.
Source: The sample for this review was provided by LiftMaster.
Filed in categories: Reviews
LiftMaster WLED Garage Door Opener review originally appeared on The Gadgeteer on November 19, 2018 at 10:00 am.
Note: If you are subscribed to this feed through FeedBurner, please switch to our native feed URL http://the-gadgeteer.com/feed/ in order to ensure continuous delivery.