REVIEW – I survived a helmet-less era growing up and began wearing a helmet for my own preservation in action sports. Doing so had the added benefit of instilling that behavior in my kids which I’m tremendously thankful for. It’s pretty easy to grab a helmet with all your other gear as you head out of the house for a specific activity. It’s a different story when it comes to dealing with a helmet after getting to work, or having it handy as you decide to hop on a sharing service bike or electric vehicle to run lunch errands or get to a meeting across town. Hedkayse has introduced a helmet claiming to address these additional needs and more while meeting the standard needs of a cycling helmet. As luck would have it, I’ve got one here for review.
What is it?
Hedkayse One is a one-size-fits-all cycling helmet built to protect against impacts as well as being able to collapse to a compact size so you’re more likely to keep it with you.
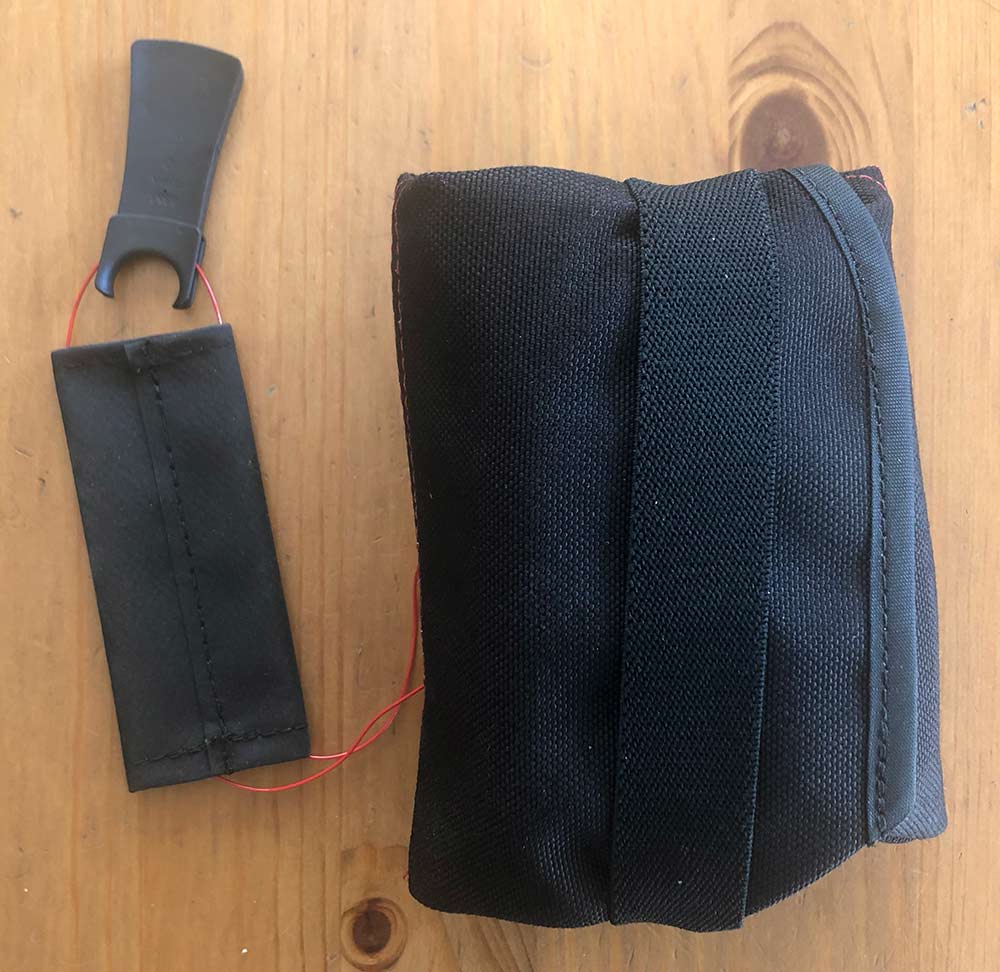
What’s in the box?
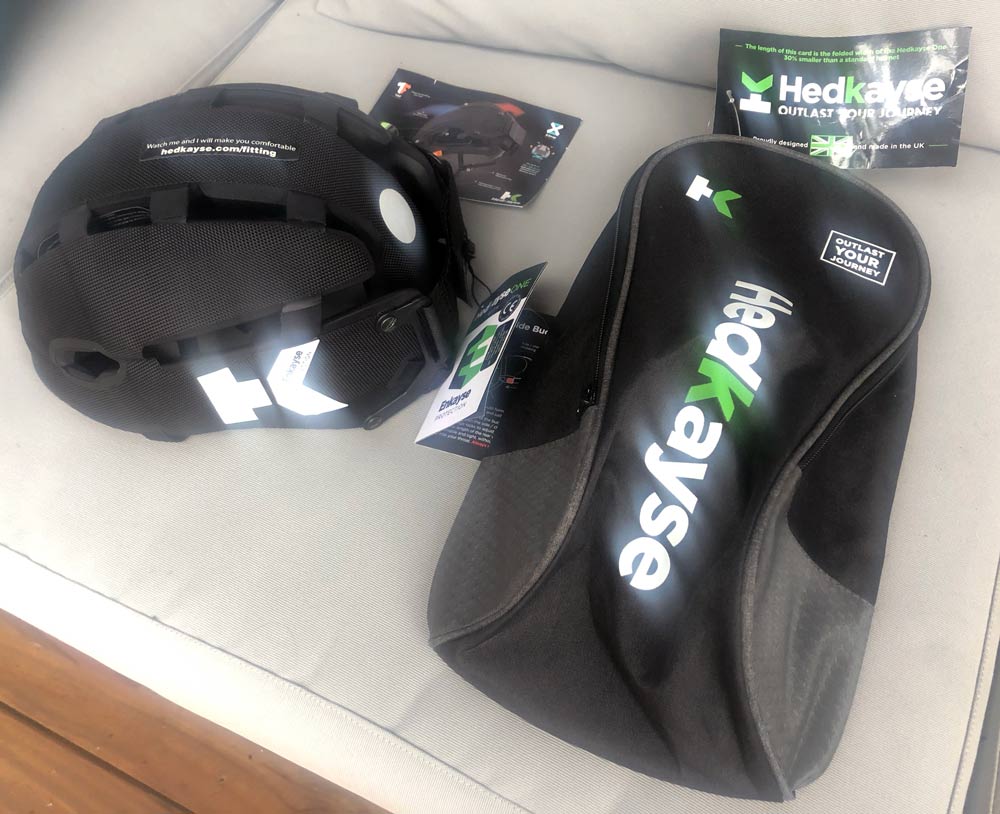
- Hedkayse helmet
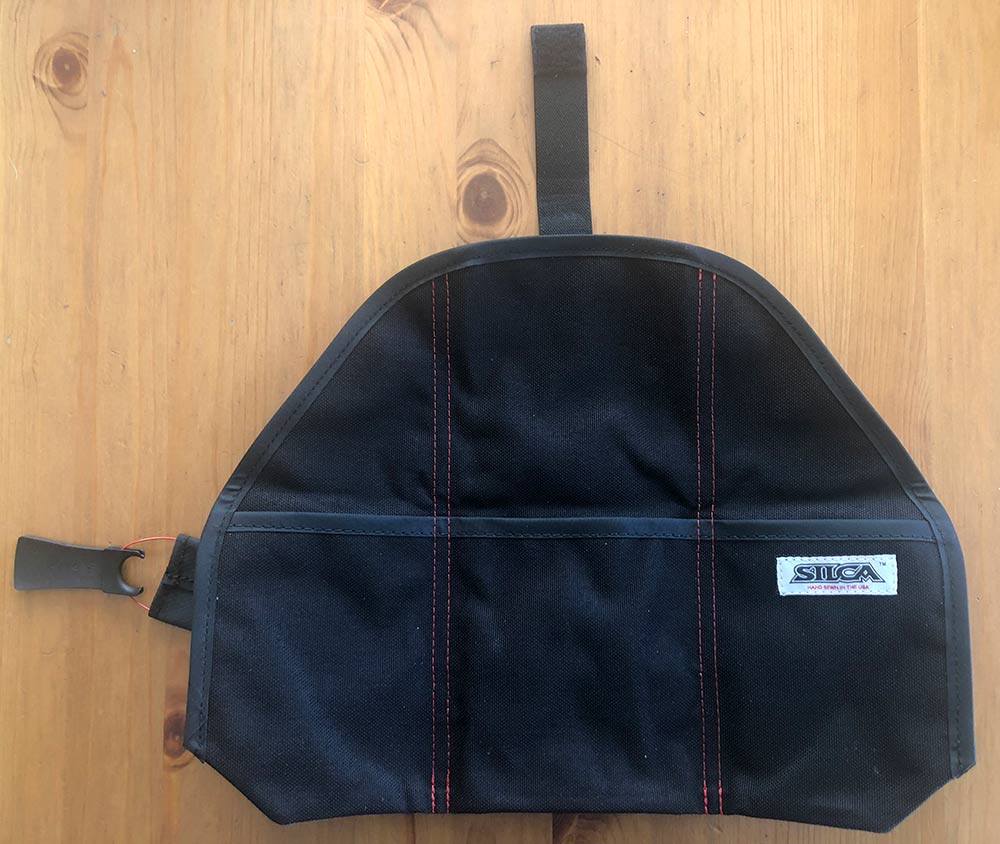
- Helmet bag
- Compression strap (not pictured above)
- Info cards
Hardware specs
Weight: 500g
Size range: 49.5-58.5cm
CE certification: EN1078 safety standard
Design and features
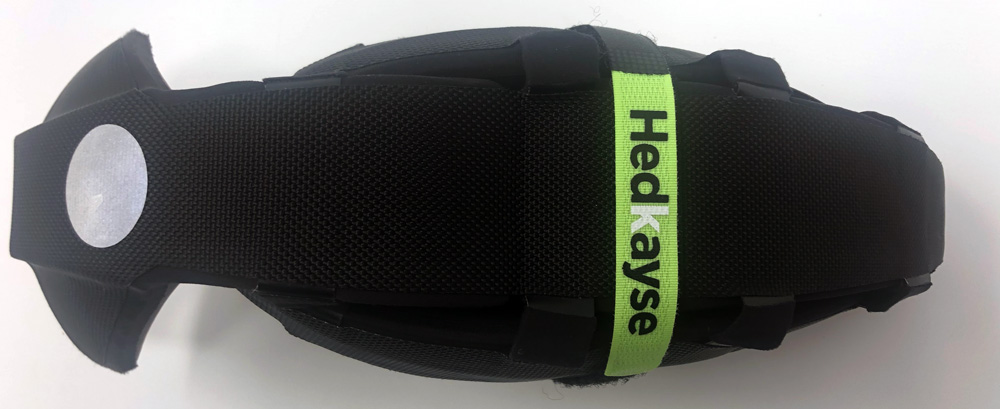
On first look it’s the materials and construction that stand out.
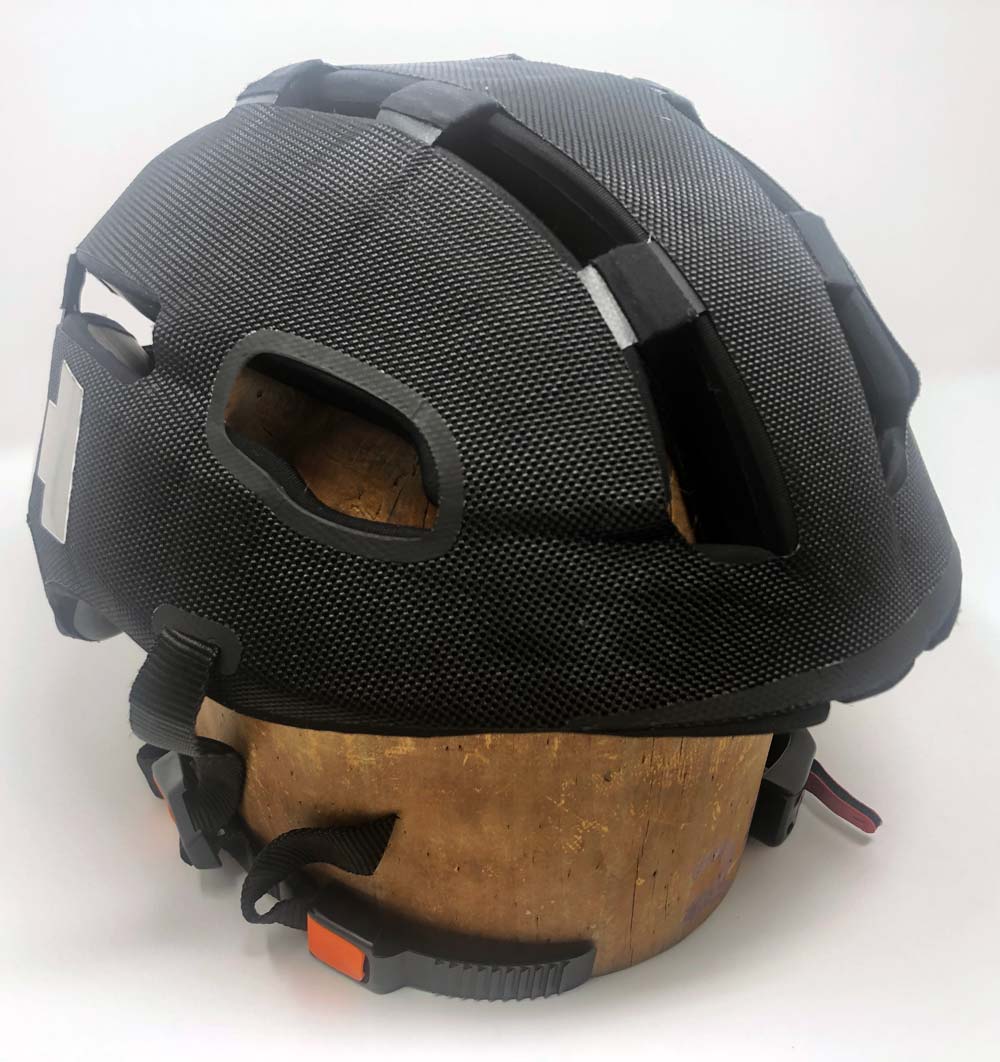
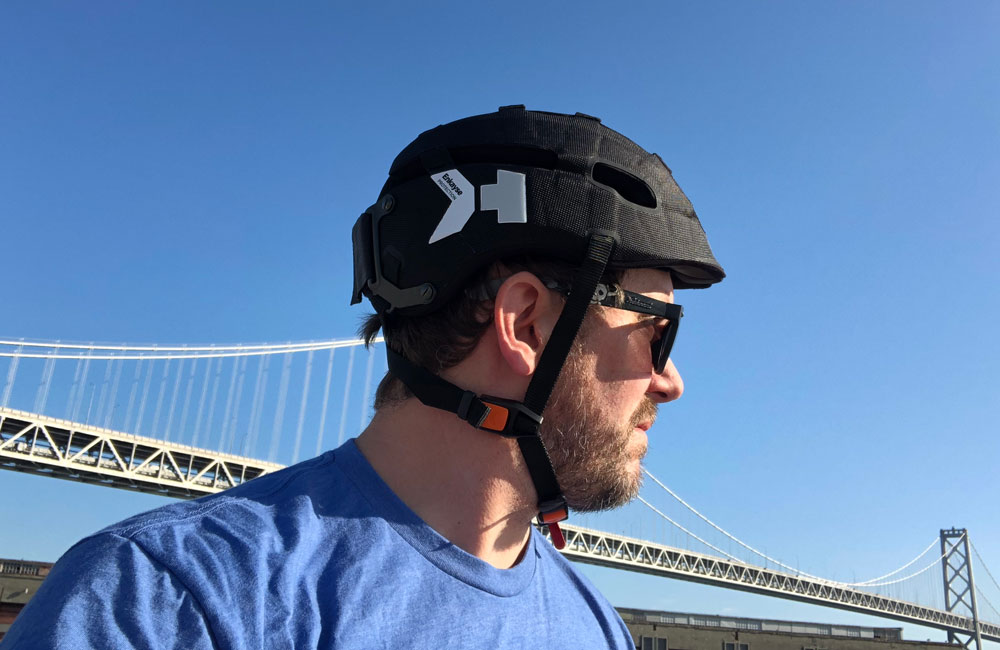
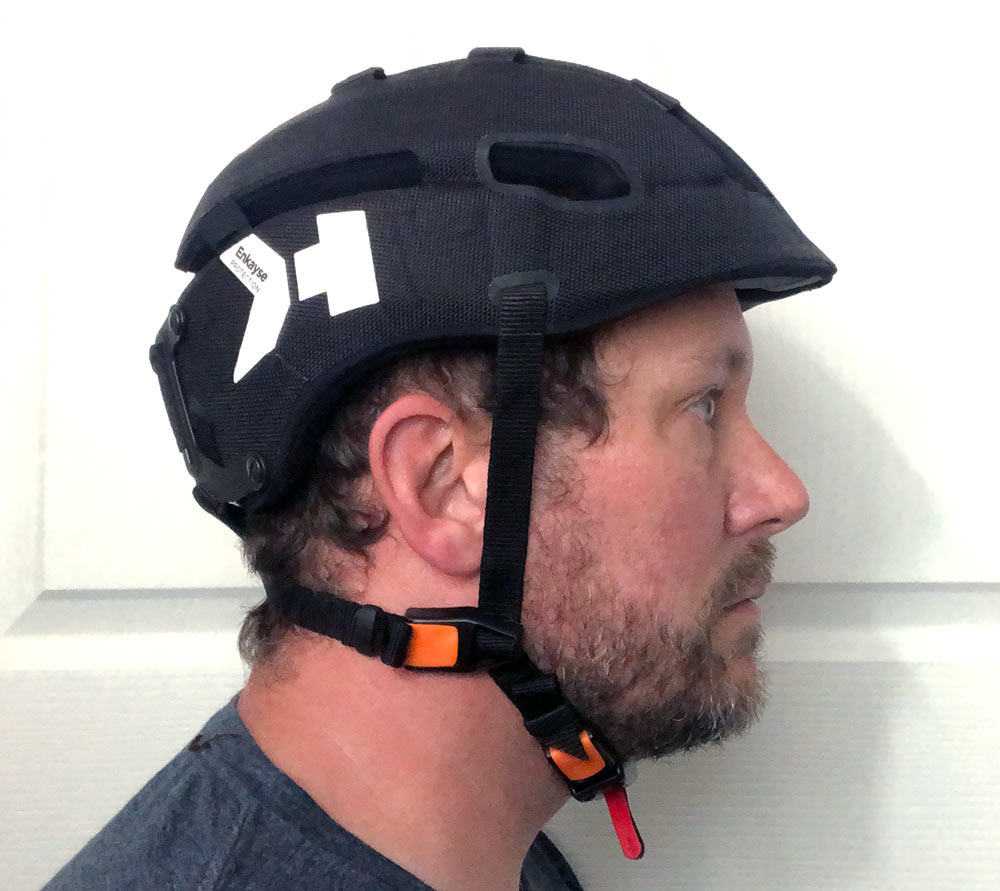
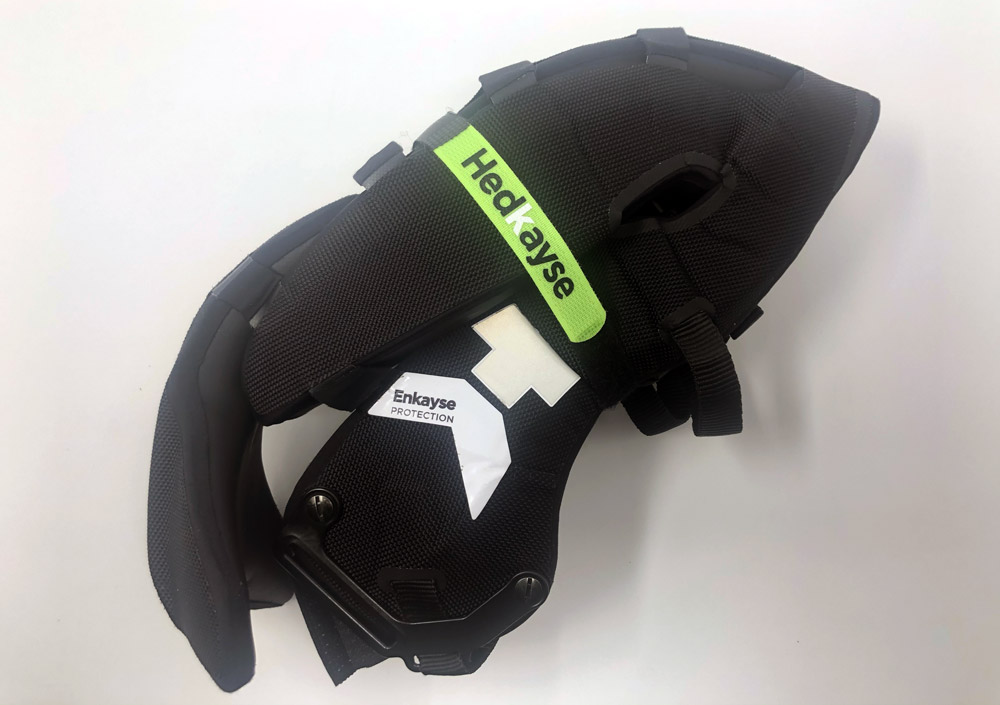
The heavy-weight cordura adds a sturdy but refined texture to the exterior of the helmet. All the materials are expertly cut and welded to flex and fold in the right places.
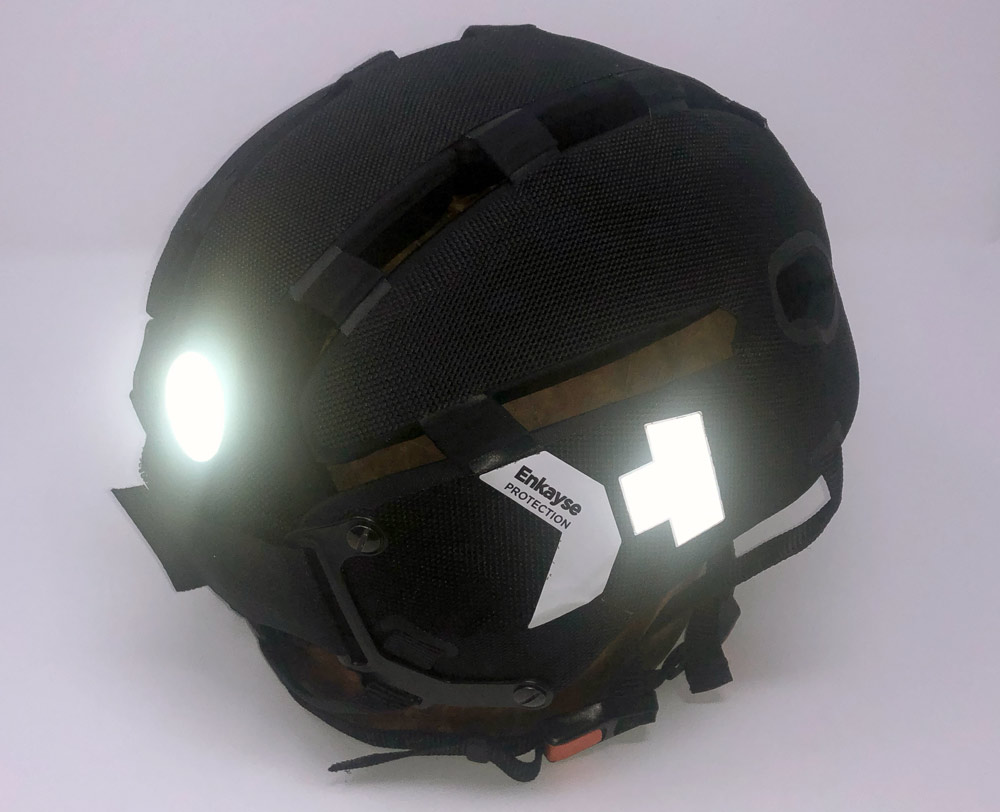
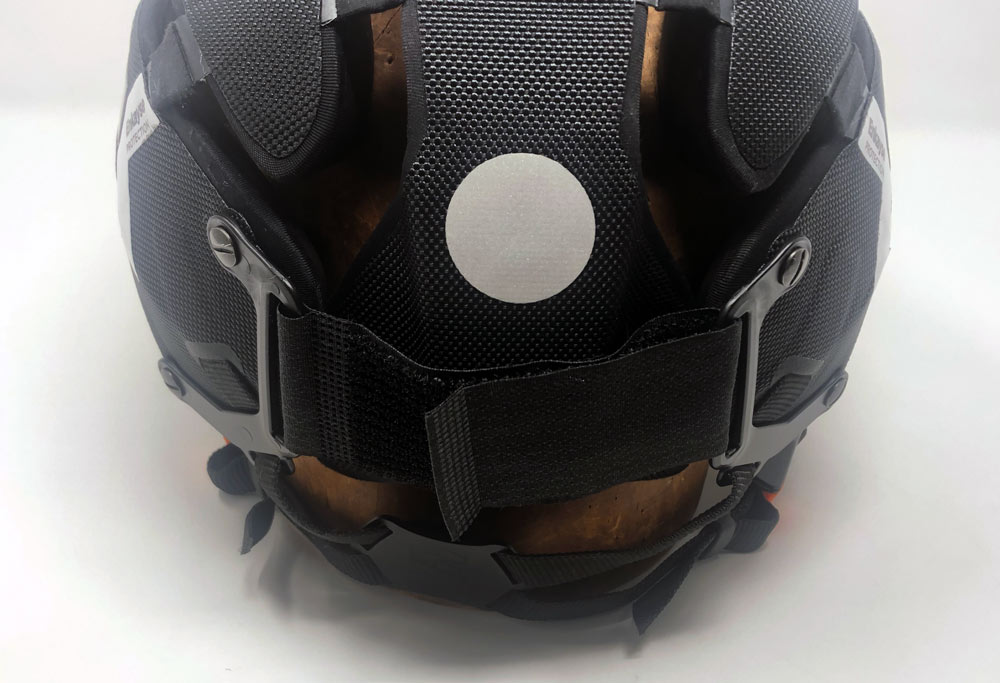
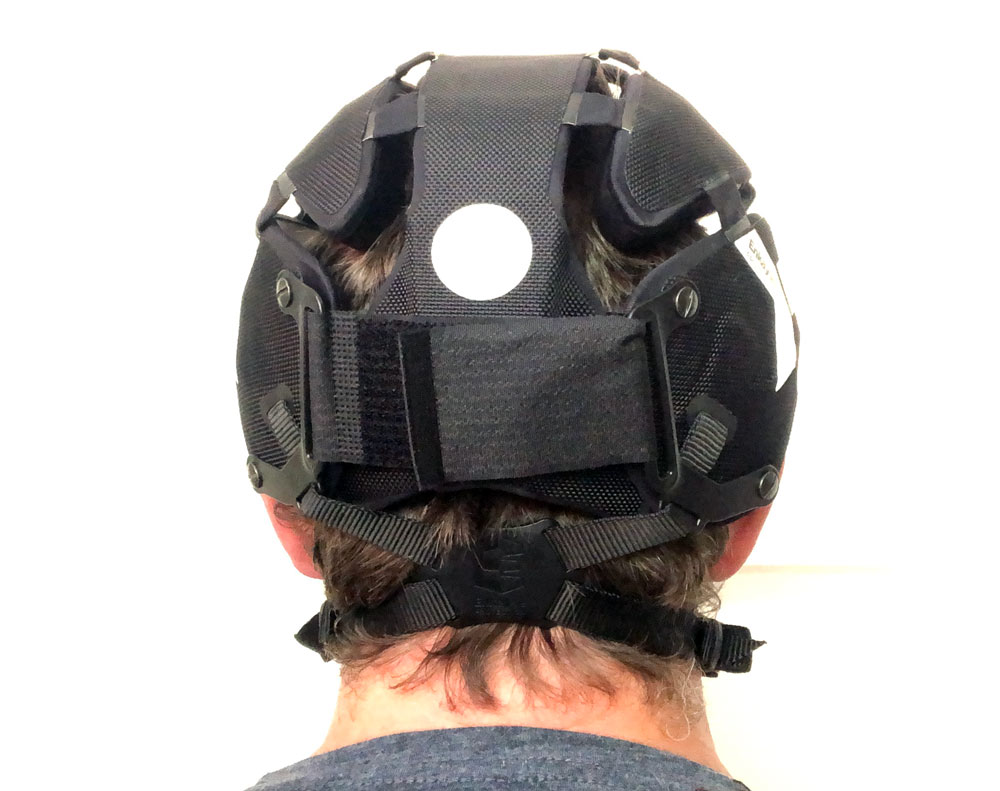
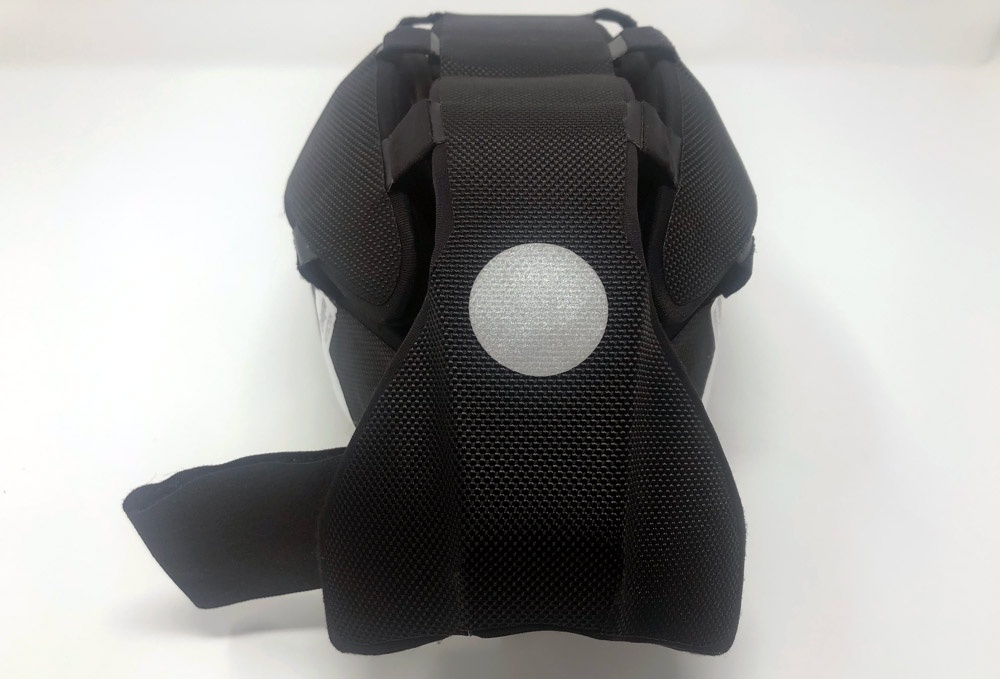
Part of the Hedkayse logos on the sides and all of the large dot on the rear are all retro-reflective for high visibility when hit with oncoming lights.
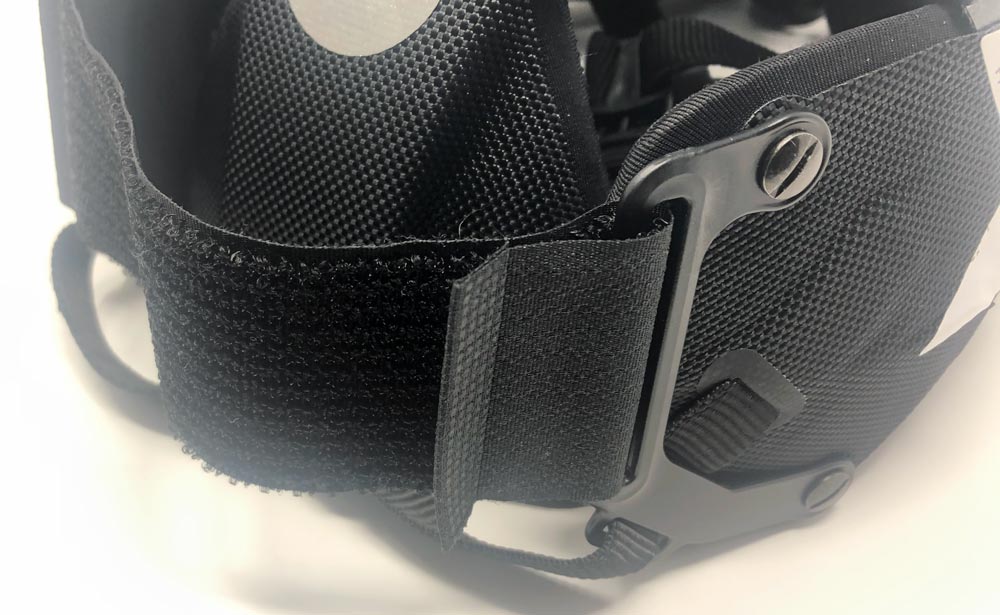
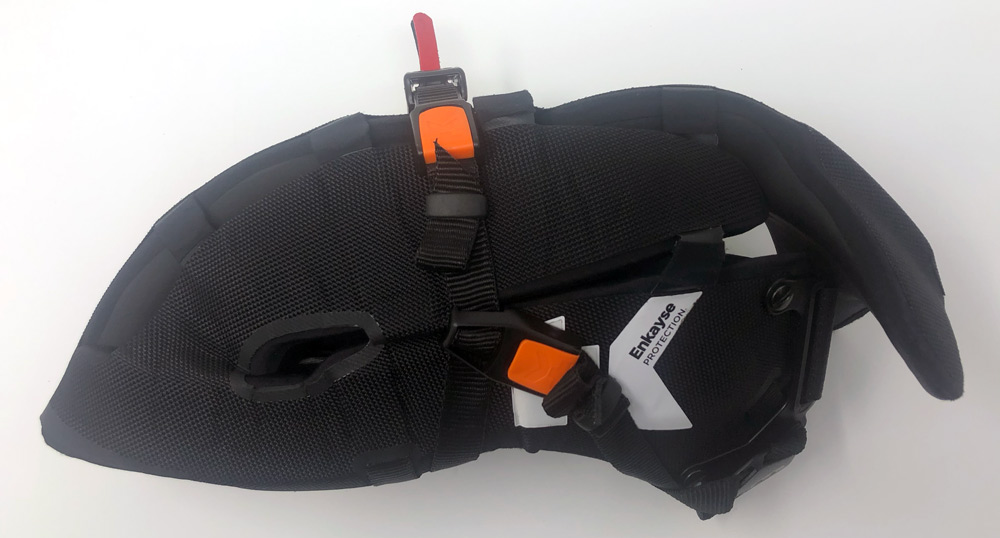
The rear has two plastic brackets that hug close to the shell and allow for the wide velcro to easily adjust the sizing and fit with a single motion.
The straps form an X from the rear of the helmet through the plastic clip down to under your chin. This auto adjusts to hug the base of your skull.
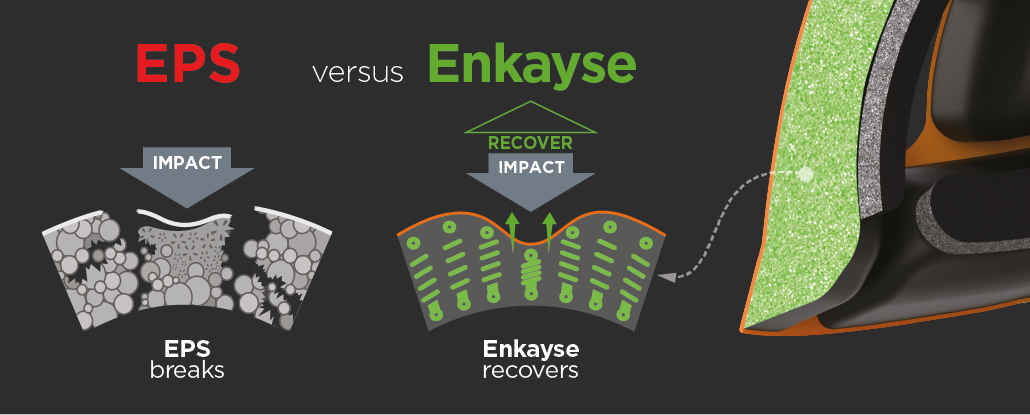
Enkyase is the material that they’ve developed to use as the foundation for the majority of the helmet. Helmets traditionally use a polystyrene (EPS) as a “good-enough” material that deforms to absorb large dangerous impacts while smaller impacts get transferred through to your head. It’s a key reason why you should replace your helmet after any serious crash. Enkayse is able to meet safety requirements and maintain that performance across multiple impacts both large and small. Here’s an image from their site depicting that information.
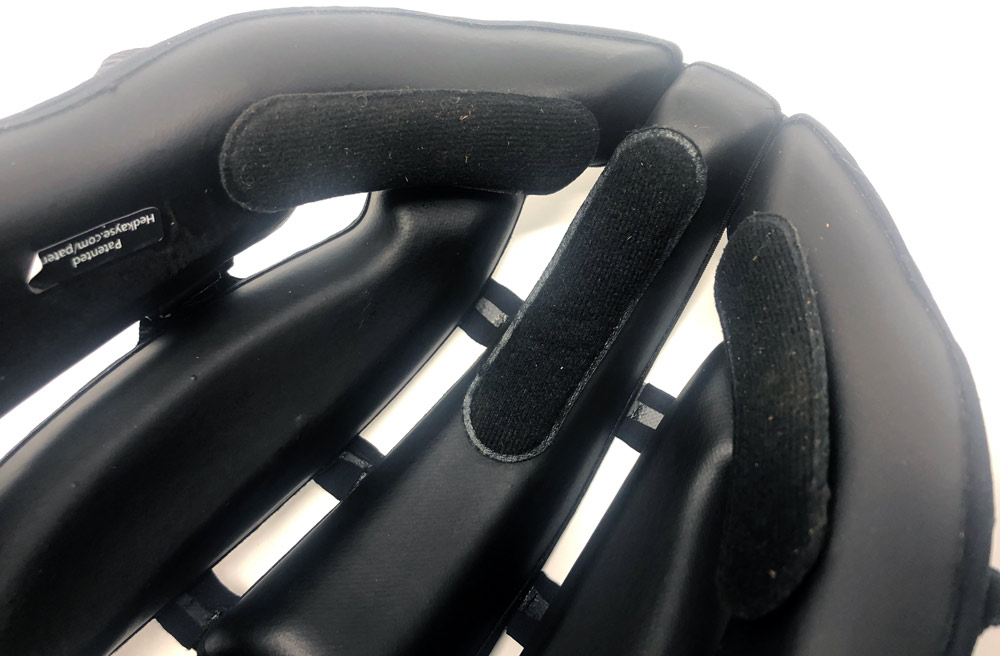
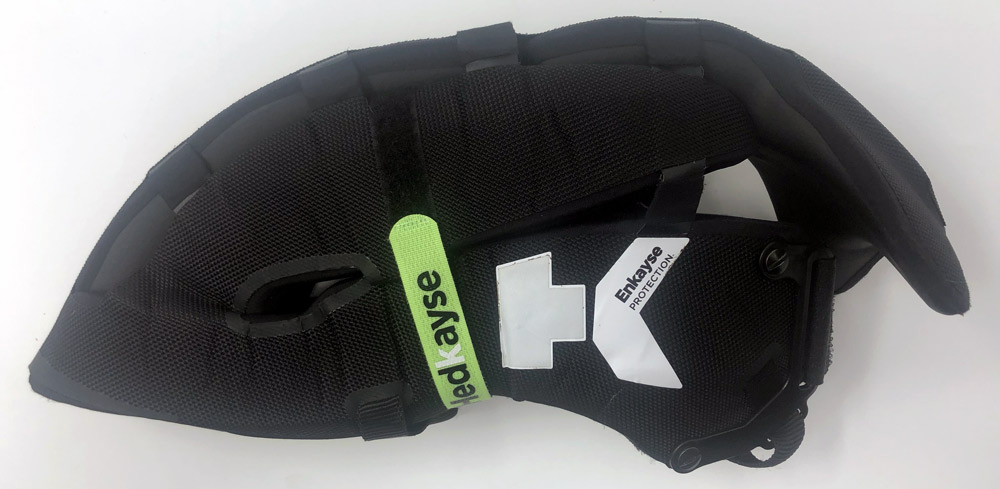
The inside of the helmet is super smooth and appears to be the “skin” of the Enkayse material as molded. It’s both flexible and wipeable. Small, soft pads are adhered in a few places for comfort, fit and to help absorb persperation during use.
Under the chin, the helmet closes with a ratchet strap that allows for micro adjustment and releases with a small pull tab that’s easy to find.
Folding is one of the key features of the Headkayse One. It’s not hard, but takes a time or two to start to do it quickly. Here’s how that works.
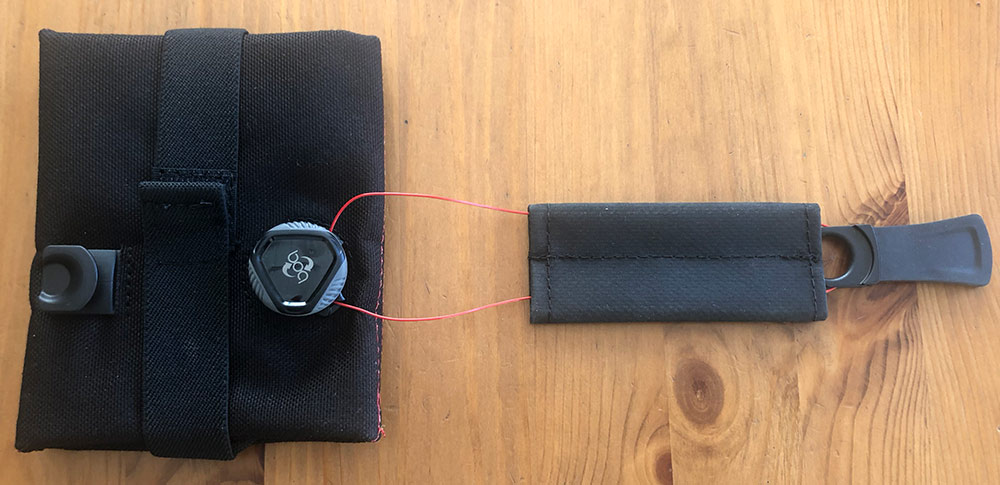
To fold: Undo the velcro on the rear completely and pull the whale tail outside the two velcro brackets. The helmet can now collapse in width and you can use the accessory wrap strap to keep it compressed if needed.

To unfold: Remove the wrap strap if used and repeat the process in reverse. Push the whale tail inside the two side panels and feed the velcro strap back through the receiver side and close the velcro in a loose position.
Setup
Unlike traditional, sized helmets the Headkayse One is designed to fit all users with a single size. Getting it setup for your head is a few adjustments and then some small tweaks for comfort. Let’s walk through it.
Put the helmet on and reach around to the velcro.
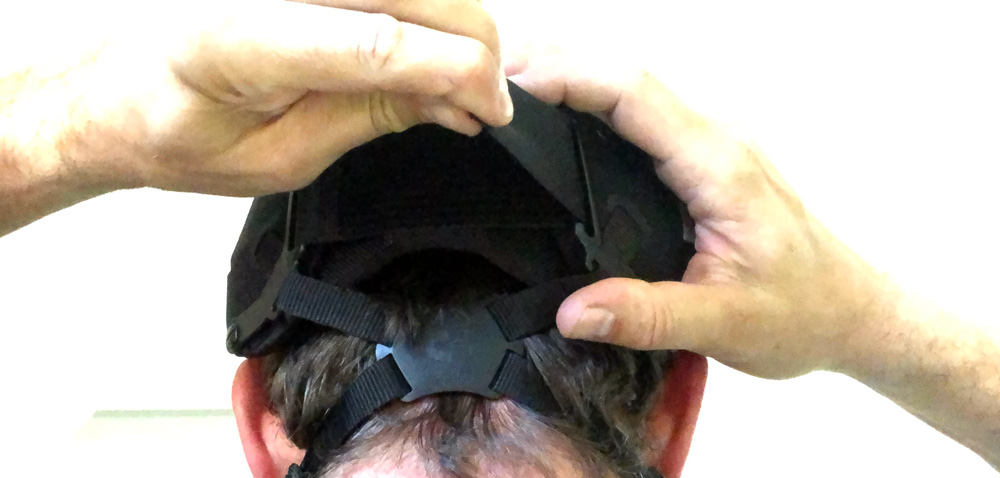
Find the loose end, pull until the fit feels comfortably snug then close the velcro. This is an adjustment you’ll need to make everytime you put on the helmet after unfolding.
The remaining adjustments should be a one-time affair unless you’re sharing this helmet with someone else. Reach behind and grab the straps running behind your ears.
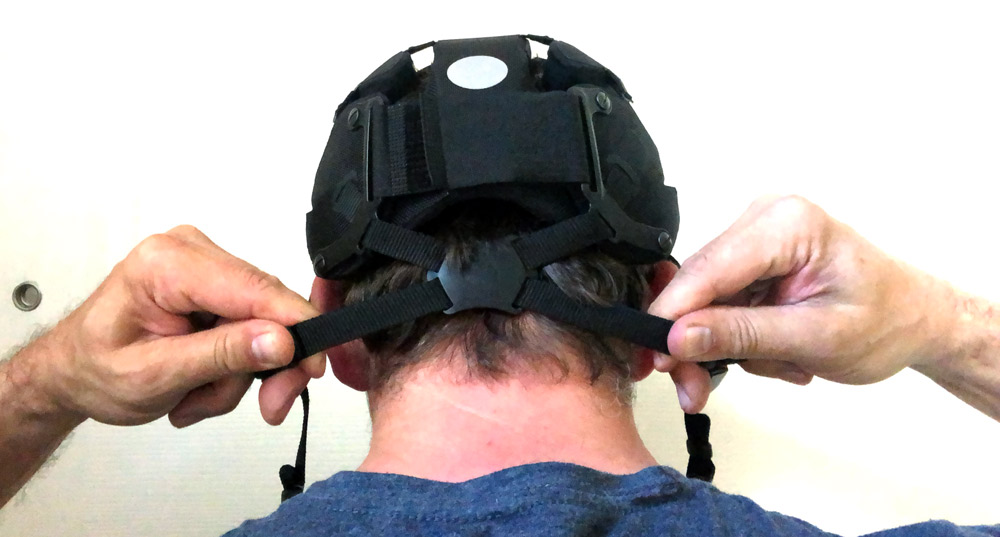
Pull across away from your ears and the plastic guide in the back will slide up and automatically center. You should now be able to get a feeling for how much you will need to adjust the positioning clips that should sit under your ears and slightly above your jawline.
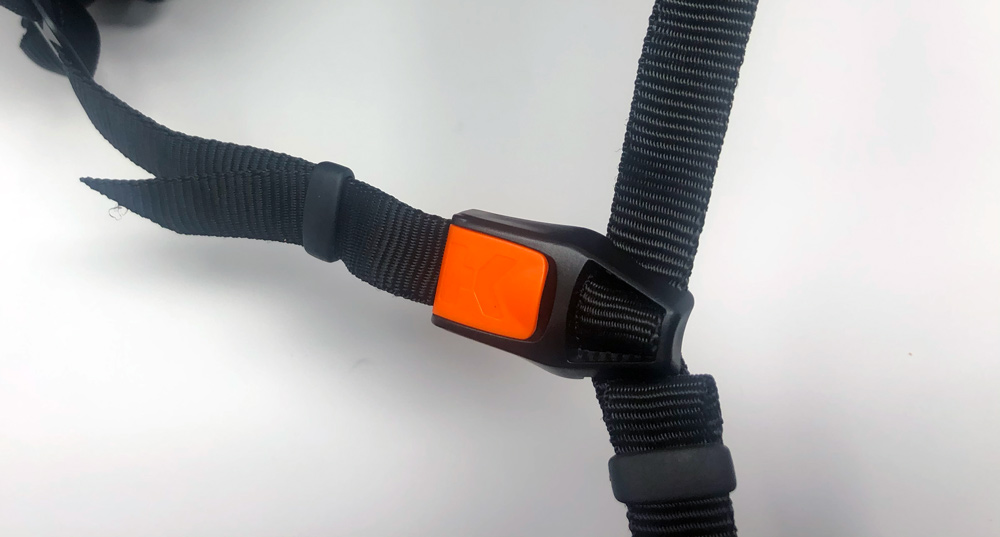
These clips adjust fore/aft with a cam-lever and up/down with a tension path through the clip. Play around with these until you get the fit comfortable and out of any annoying ear lobe contact. You may also want to check your fit with any sunglasses you wear in case further adjustment is needed.
Performance
Ok. So here’s the deal. How do you review the crash performance of a helmet without putting yourself in danger? Well, you don’t, or you spend a fair amount to have an independent lab run impact tests. (Fill this out)
What I can review is all the other things that come with wearing and living with a helmet.
How about fit and comfort? I was skeptical that a one-size solution could be a good choice for me. I mean, flex-fit baseball caps hurt my head after a short span of time. The Velcro adjustment here works well and more than that feels very secure. Additionally the helmet feels substantial which is a good thing, like you actually have protection up there.
Actually, the only area where I had a fit concern was at the base of my skull. Hedkayse One provides better coverage than most of the foldable designs that I’ve seen and more than a lot of standard helmets for that matter. Turns out that my regular cycling helmet has a dial that I crank in and provides more pressure. There’s actually the same amount of coverage, just a little less hugging feeling down low.
If you need to adjust the positions of the “sweat” pads, peel them back slowly and hold the adhesive velcro dots against the shell as you remove the pads as they don’t seem to stick to the Enkayse skin very securely until you’ve worn it a bit as now they’re stuck real solidly.
The ratchet mechanism under the chin is easy to close and open and the micro-adjustability is a great feature should you need a little more room to run a thin wind-block beanie under your helmet on a cold day.
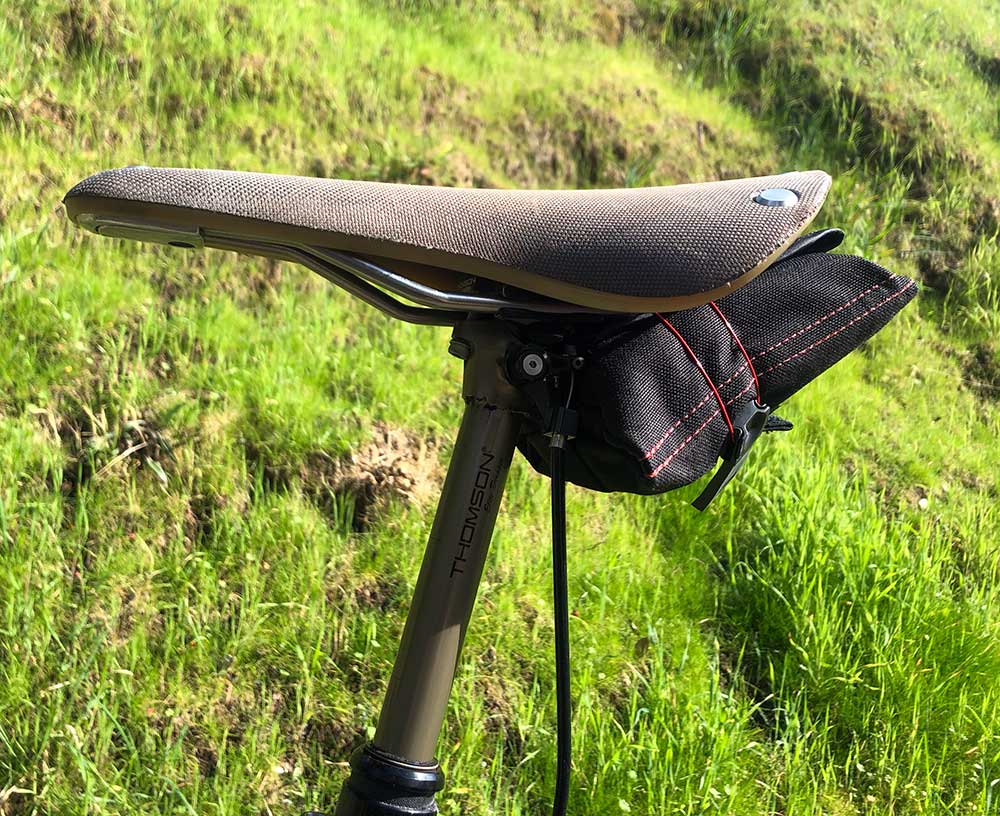
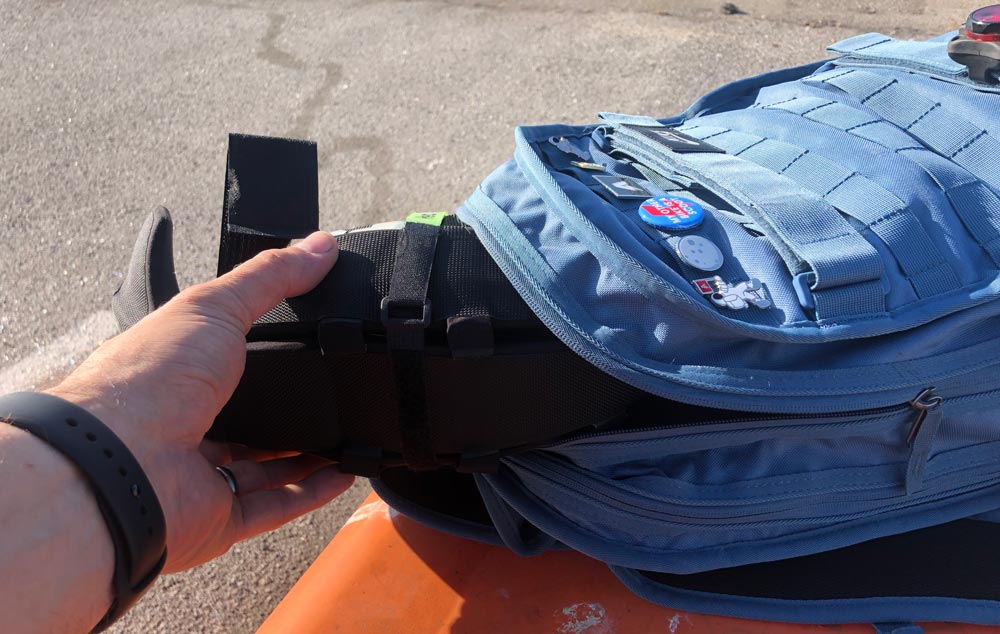
How about folding? There are a number of folding helmets available on the market and they all seem to address it differently, many by possibly compromising protection. I can confidently say that Hedkayse kept protection their top priority. Folding the helmet reduces its width by about a third into a shape that almost resembles a football.
Using the compression strap creatively you can get that even flatter.
Either way it takes up a good deal less room in your bag than a full-size helmet which is super useful if you want to keep a helmet on hand.
There’s really only two small nitpicks that I’ve encountered in a month of using the helmet that I’ll poke at.
One: On unfolding, make sure to close the velcro after feeding it back through the receiver otherwise it’s real easy to have the velcro pull back out when putting the helmet on your head and it’s a real pain to feed it through while wearing it.
I’m not sure there’s a better way to do this as you do need to fully disengage while folding, but if you remember to close on unfold this becomes a non-issue.
Two: The compression strap is definitely helpful for keeping the folded helmet as small as possible, but it’s an additional thing to keep track of.
I got to work one morning and the strap was not in my bag or any of my pockets. At the end of the day I found it on the ground next to my car and was surprised it hadn’t blow away. I did find that with the straps adjusted to my head I was able to loop that strap around and just get one click. If one of the two chin strap sides were easier to slide, this might be a great solution for all.
I didn’t use the storage bag at all as it’s just an extra step. It will come in handy in the rainy season, or for storage for anyone that does have an off season.
What I like
- The fit, comfort and look
- Quality construction and hardware
- Enkayse material and cordura shell
What I’d change
- A solution for completely unthreading the velcro when folding/unfolding
- A solution for folded compression that doesn’t require a separate strap that can get lost
Final thoughts
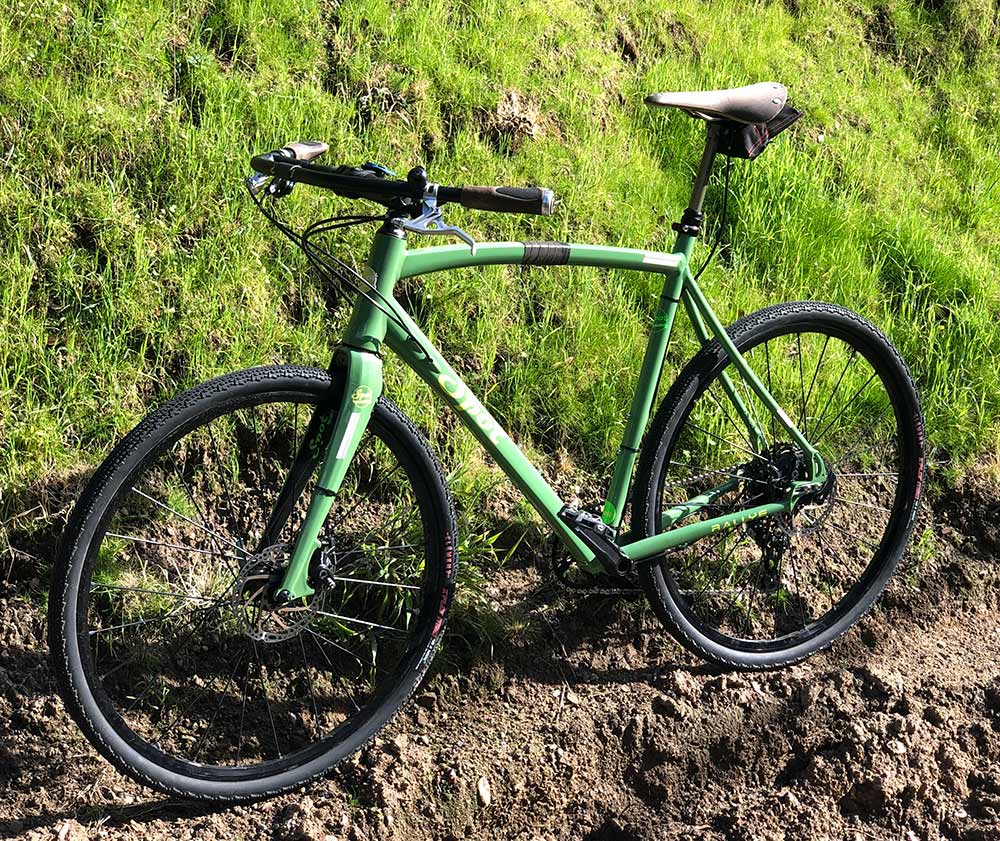
I live in Oakland, work in San Francisco and ride a bicycle almost every day. The number of cyclists I see without helmets scares me. When you look at riders on shared electric vehicles that ratio falls through the floor. I get it that as a cyclist or rider you feel in control of your vehicle, but road conditions can be abysmal and cars… well they’re just large and unforgivingly metal and heavy. Please recommend a helmet (any helmet!) to someone you know that is routinely on a personal vehicle in traffic. Help keep them safe. I’ve said my piece.
Overall I’m really happy with how the Hedkayse One fits me. The composition is reassuringly solid and if you do bump your head (or a friend bonks you on the helmet) it has a diminished feel to it instead of that instant jolt normal helmets tend translate.Hedkayse has an amazing product here. They didn’t set out to just create a foldable helmet, but have instead created a helmet that arguably protects better and collapses to make it easier to keep on your person.
Price: $180
Where to buy: Hedkayse
Source: The sample of this product was provided by Hedkayse.
Filed in categories: Reviews
Hedkayse One foldable helmet review originally appeared on The Gadgeteer on August 24, 2019 at 10:30 am.
Note: If you are subscribed to this feed through FeedBurner, please switch to our native feed URL http://the-gadgeteer.com/feed/ in order to ensure continuous delivery.