REVIEW – As a photographer and videographer, editing videos including 4K videos and editing photographs are integral parts of my work. Also, viewing both in “true” color makes my editing process easier and more accurate. As a huge BenQ monitor fan, I have been looking forward to the opportunity to test and review a 4K BenQ monitor. Here is a summary of my experience.
What is it:
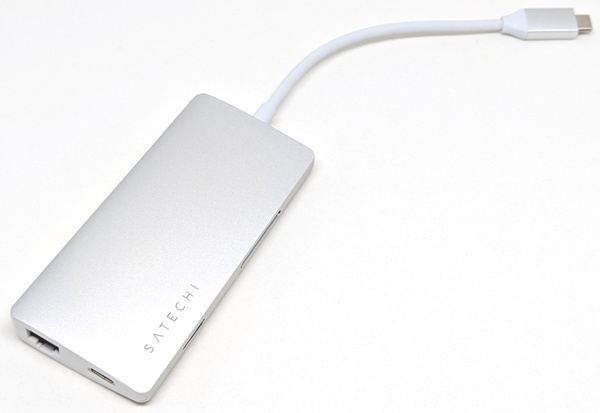
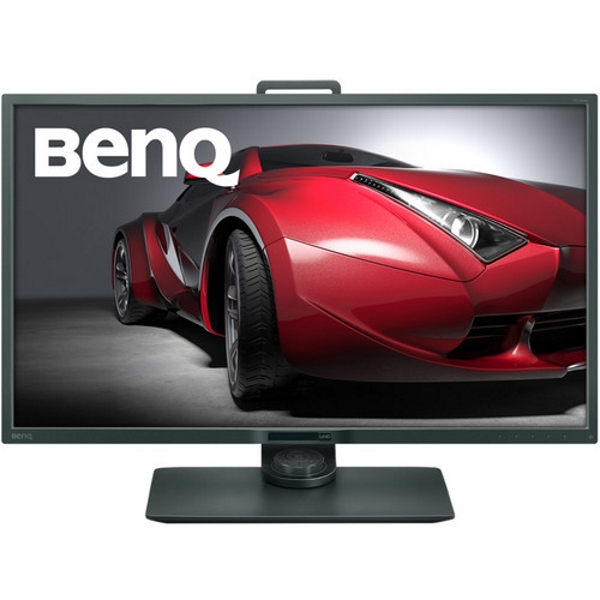
The BenQ PD3200U is a 32″ 16:9 4K IPS Monitor with enhanced color accuracy. It is 100% Rec 709 and the sRGB color space supports Darkroom, CAD/CAM, and Animation display modes. It has a built-in KVM switch that allows you to control two different computers from this single display with a single mouse and keyboard. It also features DualView mode to display content in different viewing modes side by side and BenQ has included a Hotkey Puck that simplifies switching between modes. The HotKey Puck is also programmable so that it can be used to quickly adjust the displays settings.
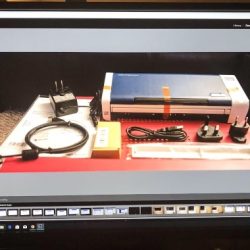
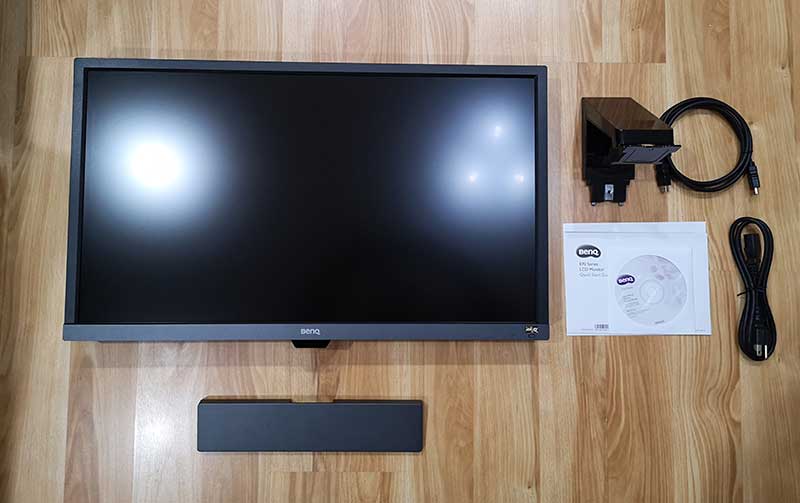
What’s in the box
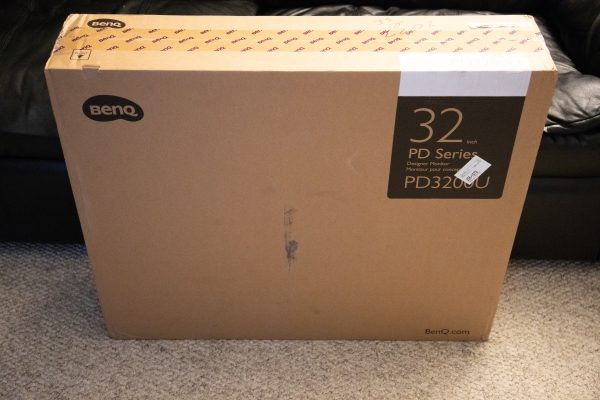
The monitor comes in a large brown shipping carton that is well padded inside to perfectly protect the contents.
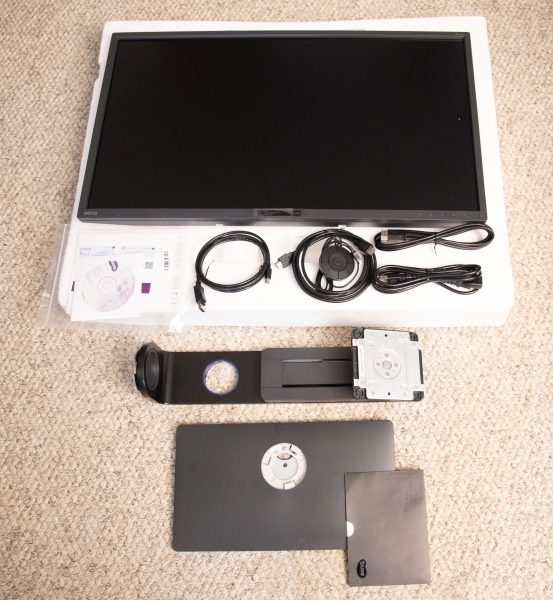
1 x BenQ PD3200U Monitor
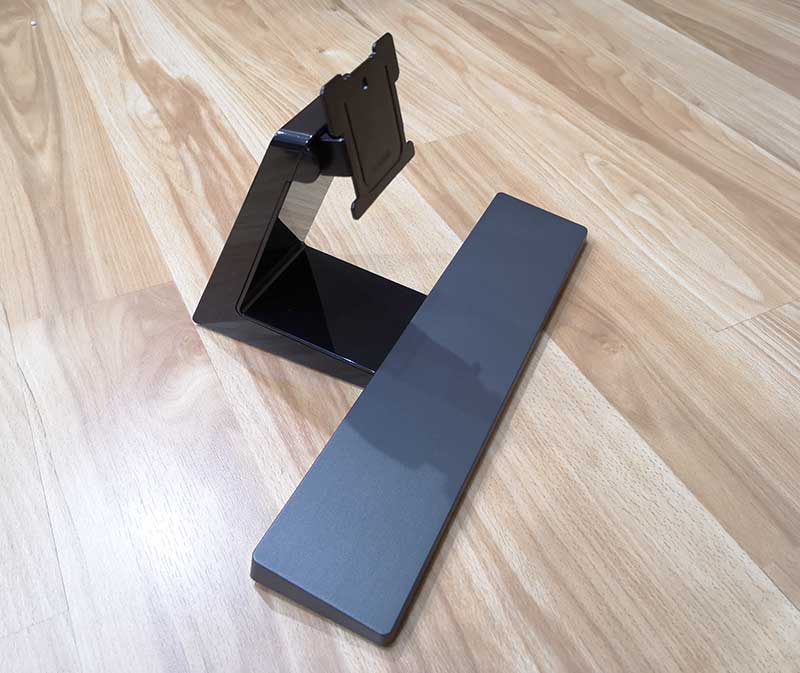
1 x Monitor Stand
1 x Monitor Base
1 x AC Power Cord
1 x Video Cable: DVI-D Dual Link
1 x Video Cable: DisplayPort cable
1 x USB Cable
1 x Hotkey Puck
1 x CD Rom Driver/Manual CD
1 x Quick Start Guide
Design and features
Specifications:
Size: 32″
Screen Area: 27.9 x 15.7″ / 70.8 x 39.9 cm
Native Resolution: 3840 x 2160
Aspect Ratio: 16:9
Maximum Brightness: 350 cd/m2
Contrast Ratio: 1000:1
Dynamic Contrast Ratio: 20,000,000:1
Refresh Rate: 60 Hz
Bit Depth / Color Support: 8-Bit+FRC (1.07 Billion Colors)
Look-Up Table: 10-Bit
Color Gamut: 100% sRGB
Response Time: 4 ms
Viewing Angle Horizontal: 178°, Vertical: 178°
Connectivity: 1 x 3.5 mm Input/Output ,1 x 3.5 mm Output, 4 x USB Type-A (USB 3.0) Output, 2 x DisplayPort 1.2 Input, 1 x HDMI 2.0
HDCP Support: Version 2.2
Built-In Speakers: 2 x 5 W
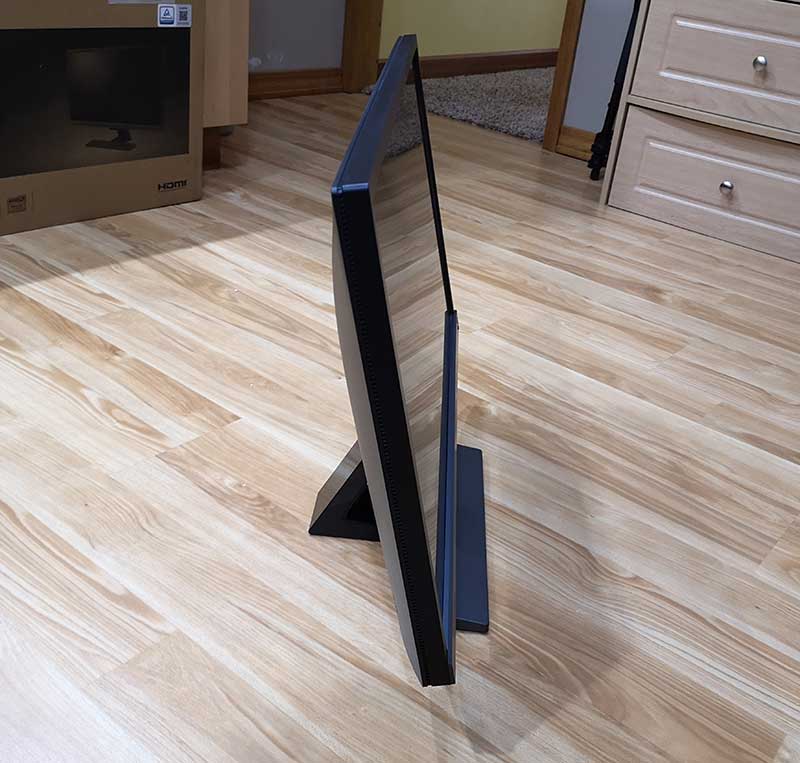
Height Adjustment: 5.9″ / 15 cm
Rotation Adjustment: 90°
Swivel Adjustment: 90° (-45 to 45°)
Tilt Adjustment: -5 to 20°
Mounting-Hole Pattern: 100 x 100 mm
Dimensions: (W x H x D) 29.1 x 19.4 x 9.2″ / 74.0 x 49.2 x 23.4 mm (With Stand), 29.1 x 17.2 x 2.6″ / 74.0 x 43.6 x 6.6 mm (Without Stand)
Weight: 18.7 lb / 8.5 kg
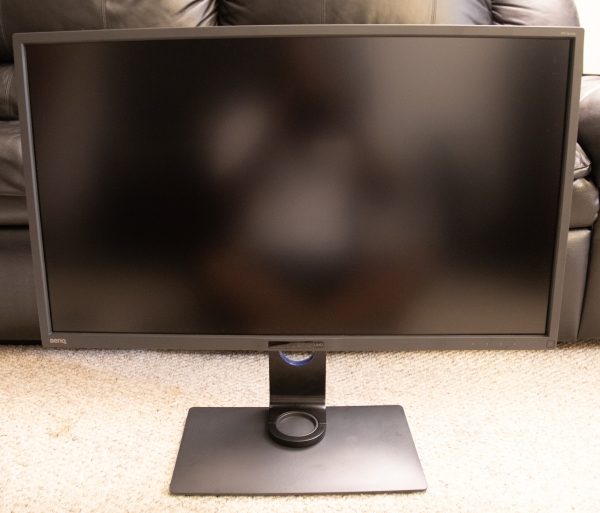
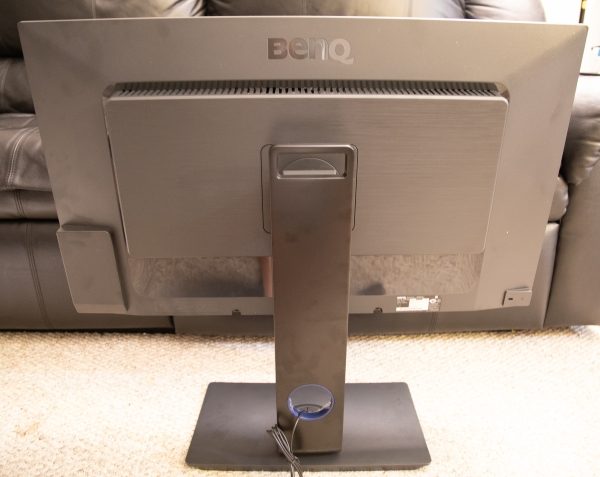
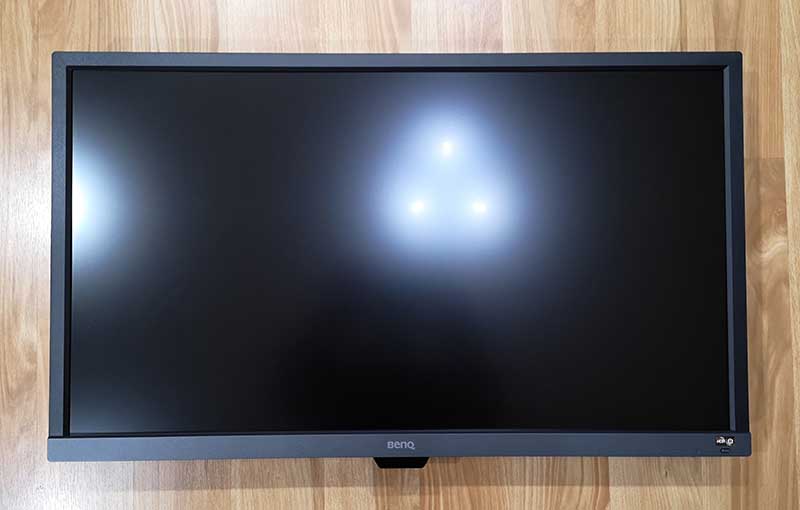
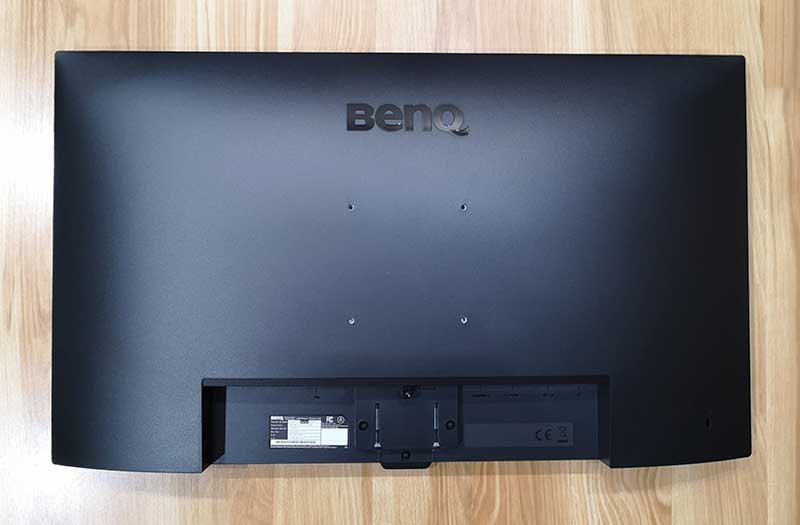
When you look at the front of this 32″ monitor, it looks sleek and impressive even with the small bezel around the edges. The back is vented and the stand “clicks in” to the back for a nice, clean look.
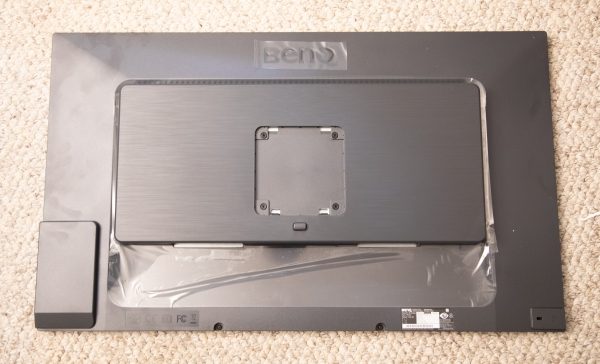
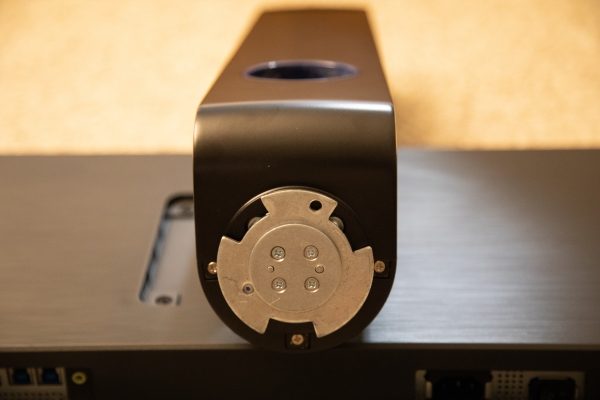
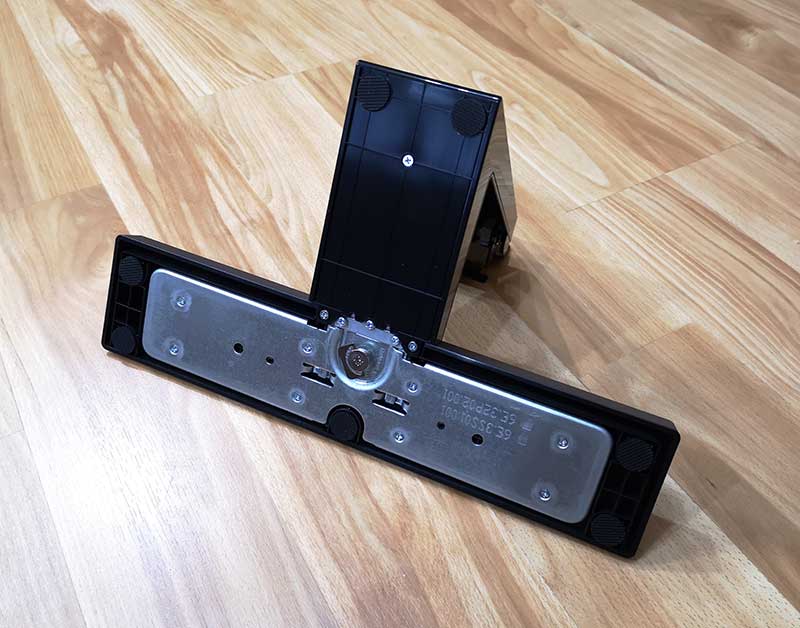
When you first remove the monitor from the box and lay it flat to assemble it, there is a Vesa square mount that allows you to simply “click in” the stand for a perfect and secure fit. The button that you see below the Vesa square is used to release the stand from the monitor.
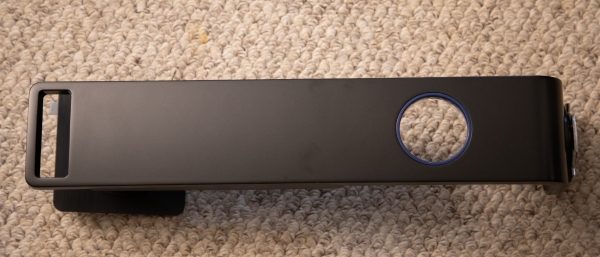
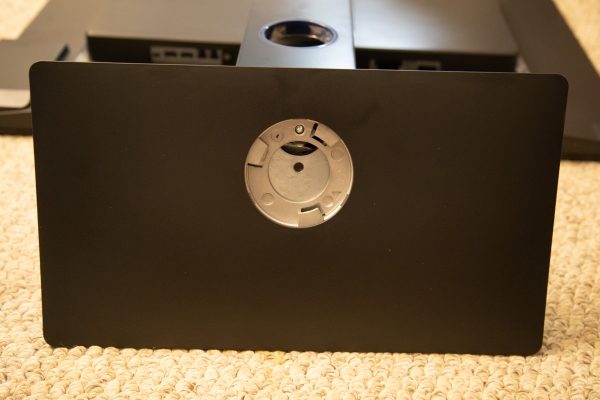
The included stand has a pass-through hole for the cables, a sliding mechanism for you to adjust the height of the monitor, and a metal interface for the base.
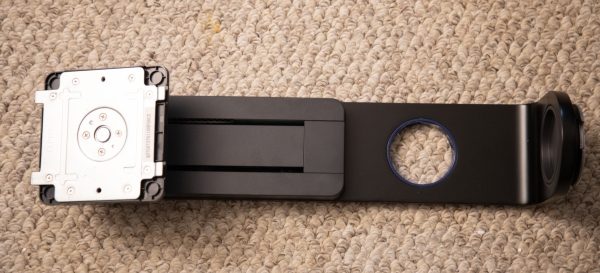
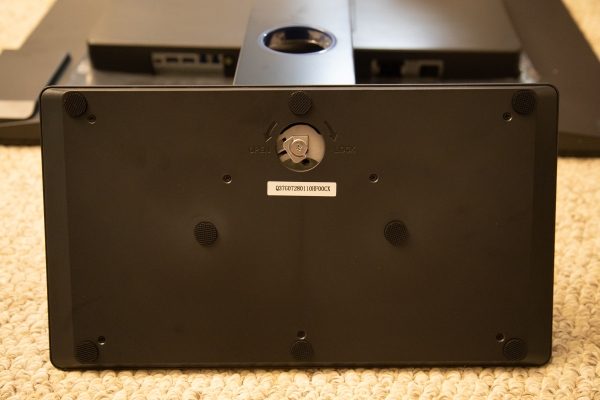
The base of the monitor has a receiver that connects with the stand’s metal interface as indicated above, and there is a wingnut type screw that is used to connect the two.
Connectivity
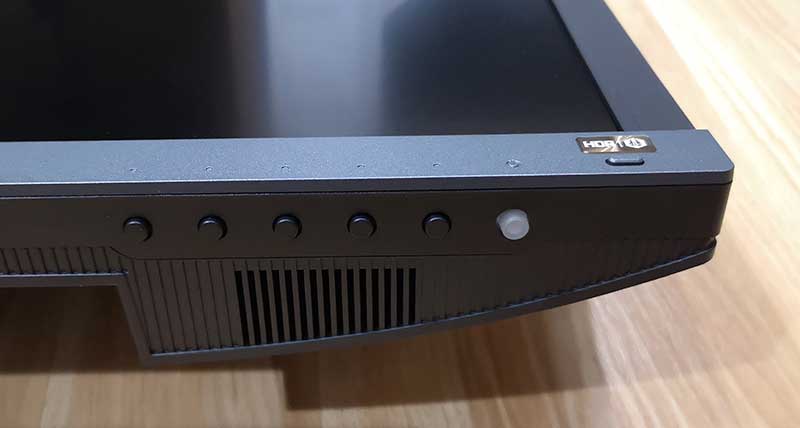
This monitor has many available connections. Starting with the controls, on the front of the monitor as shown below and starting from left to right on the bottom bezel, there is the light sensor/Eco sensor that is in the middle, the five control buttons and the power button.
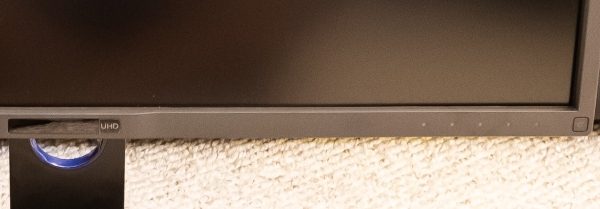
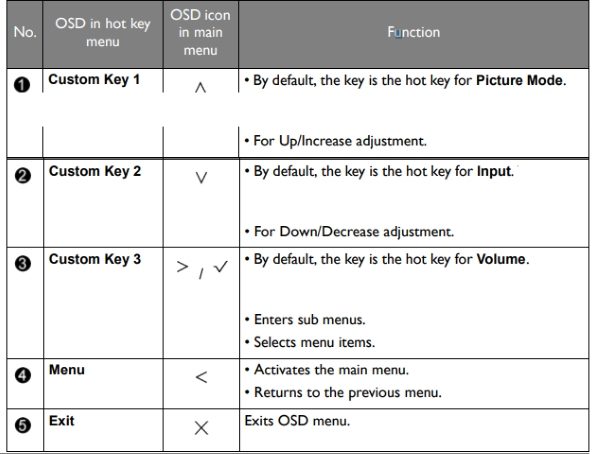
The following table shows the functions for the five control buttons from left to right.
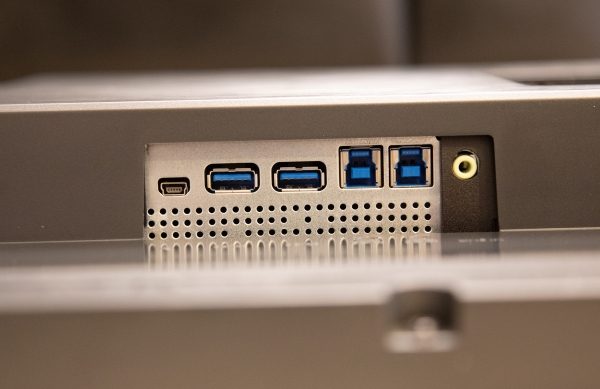
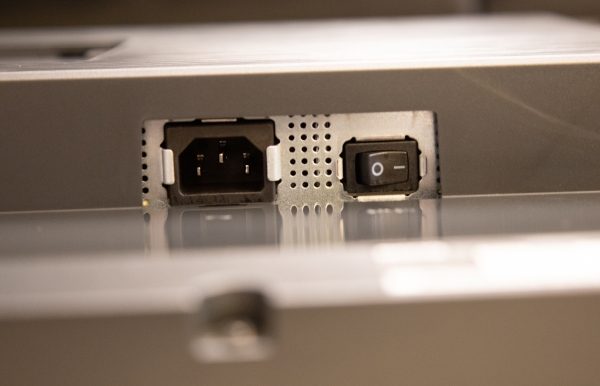
If you are facing the back of the monitor, the following are the controls from left to right at the bottom of the back of the monitor.
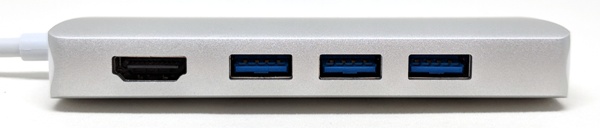
In the first picture: Hotkey Puck socket, USB 3.0 ports (downstream; connecting to USB devices), USB 3.0 port (upstream 2; connecting to the PC), USB 3.0 port (upstream 1; connecting to the PC) and the Audio Line In.
In the second picture: The AC power input jack and the AC power switch.
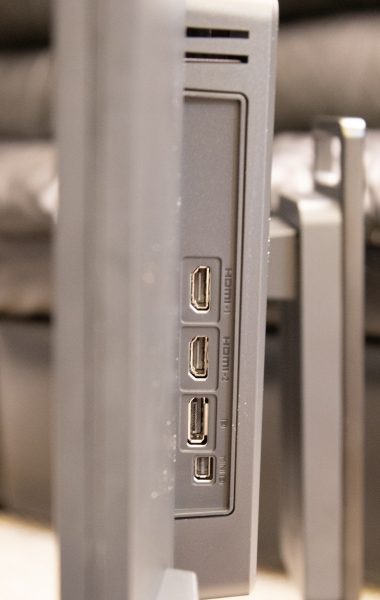
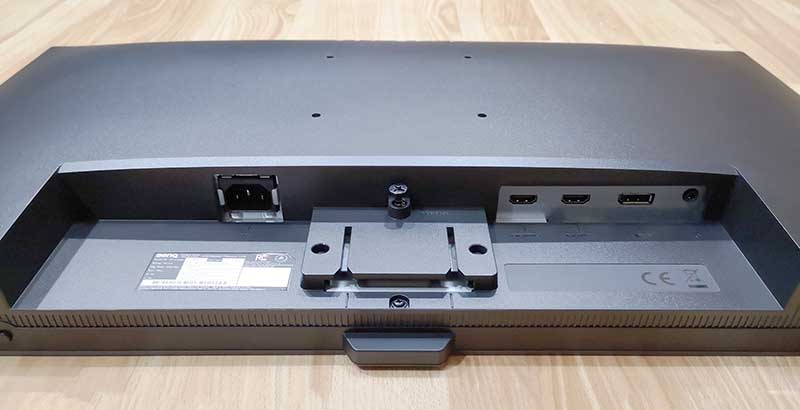
Again facing the back of the monitor, there are ports on the left side of the back section of the monitor that has the vents and that connects to the stand.
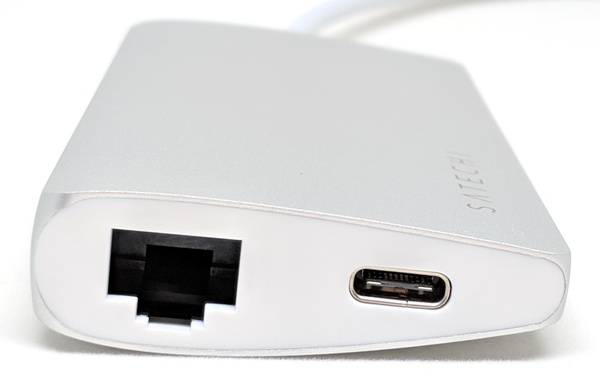
From top to bottom as shown below: DVI-D socket, HDMI socket, DisplayPort socket, and Mini DisplayPort socket.
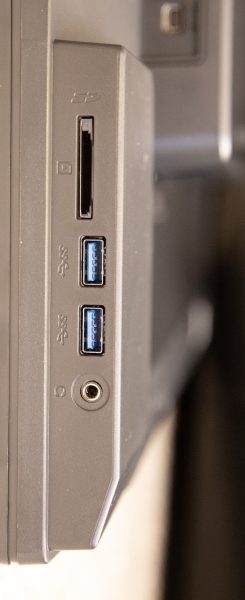
When facing the back of the monitor, on the left edge of the front section of the display housing, there are the following ports:
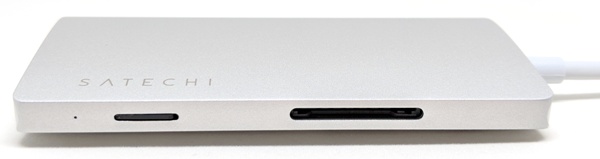
From top to bottom: SD card slot, 2 x USB 3.0 ports (downstream; connecting to USB devices), and the Headphone jack.
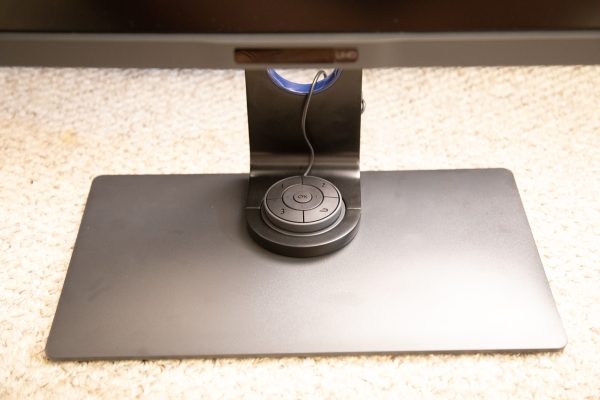
The picture below shows the included Hotkey Puck that simplifies switching between modes. It is also programmable so that it can be used to quickly adjust the displays settings.
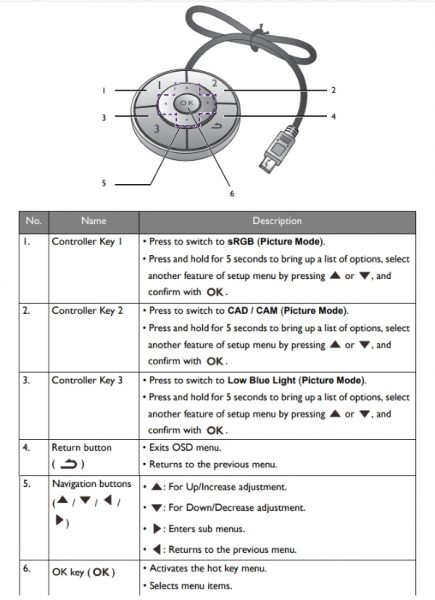
The following is BenQ’s control chart for the HotKey Puck.
Performance
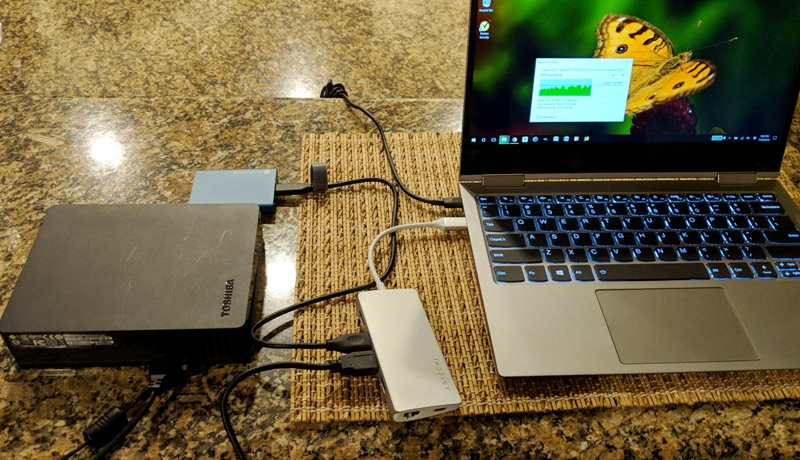
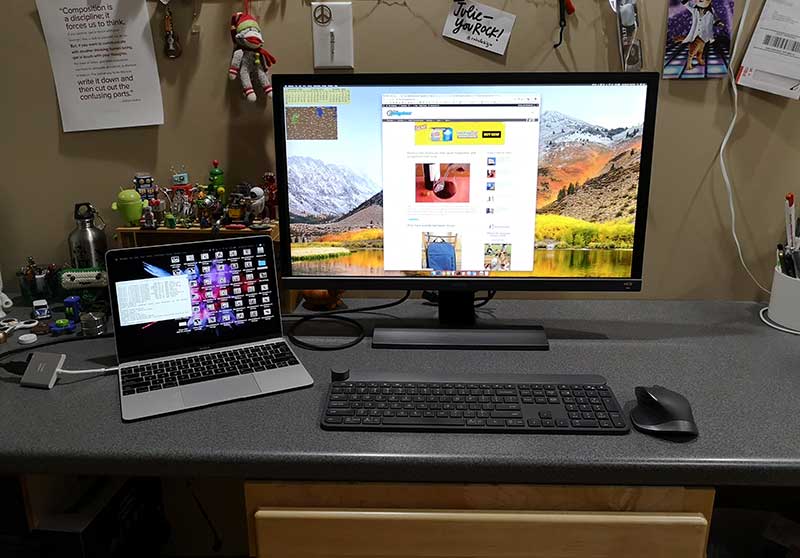
First and foremost, this is a well-built monitor with a hefty base and stand for maximum stability. Assembly was relatively easy with a bit of patience needed when aligning the screw hole and wingnut screw to connect the base to the stand. When I turned on this monitor I was immediately blown away by the color accuracy and brightness and vividness levels that for me were perfect right out of the box. I did have my calibration tools at the ready, but I did not need to calibrate the monitor to use any of my editing software or otherwise. I connected my monitor using a DisplayPort cable to my Workstation, and I was able to free up a couple of ports on one of the 3 USB hubs that I use by connecting the keyboard and mouse to the monitor. This is a great convenience for me since when they were connected to my powered hubs, it would sometimes be a “pain” when I would lose power and forget to power up the hubs when I regained power. While I tested the SD card slot which works like my other card slots, I still use the SD card module on my Lexar Workflow Hub for daily use because it is easier than reaching to the side of the monitor to use the built-in card slot. However, it is a nice convenience when I just want to pop in a client’s SD card for a moment to grab some files. The functionality of the USB ports is also great. If you connect a USB cable between the computer and the monitor using the upstream USB port, you can transmit data between the computer and any USB devices connected to the downstream ports on the monitor. This works for USB flash drives and other USB drives that are USB or externally powered. The HotKey Puck is really very convenient for using the On Screen Display menus. It takes a bit of getting used to, and I am still playing around with it and trying to get used to it. It is very responsive with very little lag between pressing the button and the on-screen response.
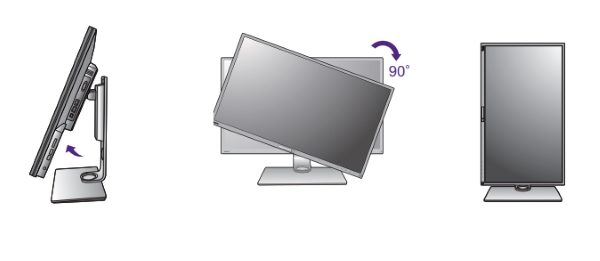
In terms of manipulating the monitor itself, BenQ offers Display Pilot Software on their website that you can download and add functionality to the monitor including switching it into portrait mode. This allows you to extend the monitor to its maximum height, tilt it the full 20 degrees that it can tilt, and then rotate it 90 degrees clockwise. To be honest, I never use any monitor in portrait mode, and my cabling setup does not work properly when the monitor is in portrait mode. However, to demonstrate this function here is an illustration photo that I put together:
 The built-in speakers are decent on this monitor with enough volume to work with ambient room noise. they are also clear sounding.
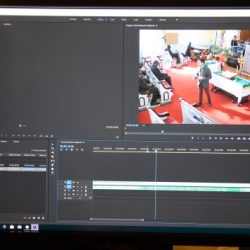
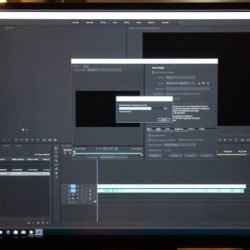
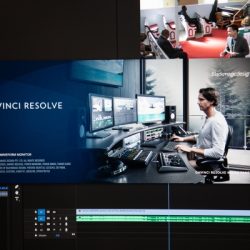
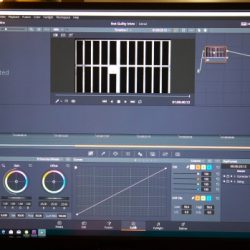
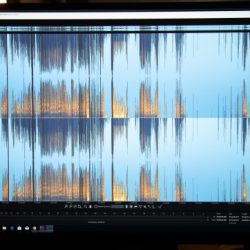
As a photographer/videographer/filmmaker, I regularly use the following programs:
- Adobe Premiere
- Adobe LightRoom
- Adobe Photoshop
- DaVinci Resolve
- Izotope Rx
- PortraitPro Studio
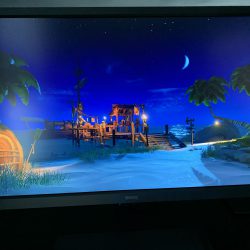
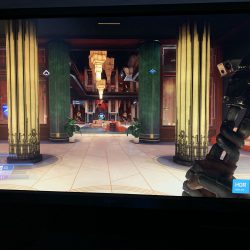
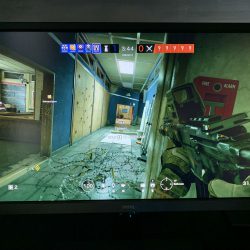
Every day when I sit in front of my workstation to use one or several of these applications, it is really an enjoyable experience with this monitor. Here are some pictures of the screens that use in my various projects:
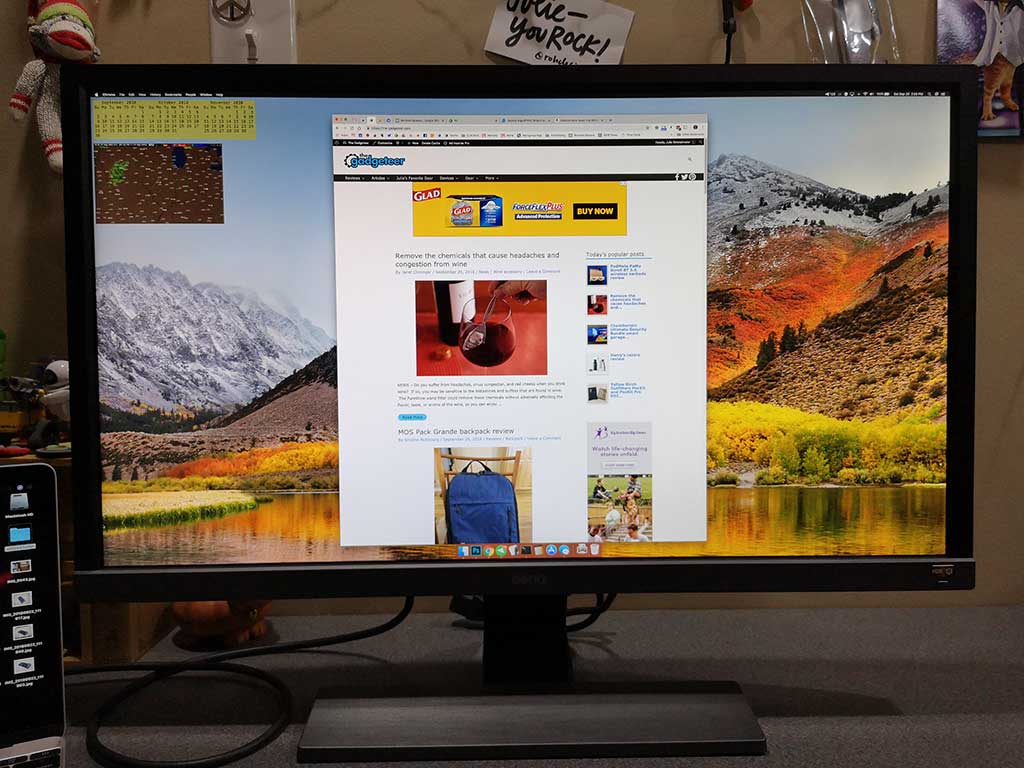
In addition, when I use this monitor for daily tasks like reading emails or internet browsing, the text is clear and the colors on the websites just seem more brilliant than my other monitors.
What I like
- The color accuracy right out of the box
- The number of connectivity options
- The size of the monitor
- The KVM capability
- The stability and adjustability fo the monitor
- The build quality
What can be improved
- An easier connection of the base to the stand
Final thoughts
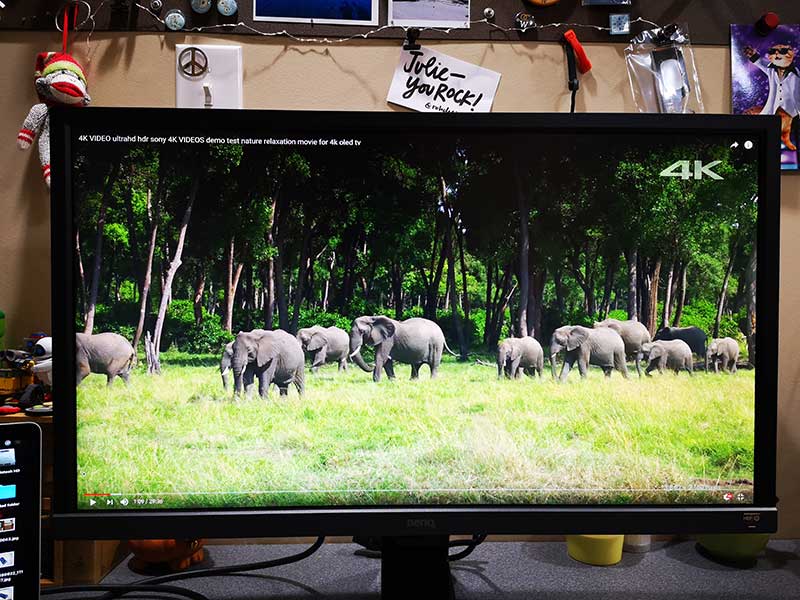
The BenQ PD3200U is now by far my most favorite monitor. Rarely do I say that a monitor is perfect, and I demand a lot from a monitor. The controls are responsive and the color right out of the box is simply amazing. I spend an enormous amount of time editing photos and video footage and this monitor is simply gorgeous to look at and use. Whenever I need a break, I open a YouTube 4K video of some nature footage, just so I can be completely immersed and totally block out the world around me. The underwater 4K videos look phenomenal. While we all have our own preferences, and some of us can be more critical than others, for me, this is a win!! Win!! Win!! I absolutely believe that anyone in the photography/videography industry would find this monitor to be a very good fit in their workflow and for their productivity. I can’t wait to see what BenQ comes up with next to beat this one.
Price: $899.99
Where to buy: Amazon
Source: The sample for this review was provided by BenQ.
Filed in categories: Reviews
Tagged: 4K, monitor
BenQ PD3200U 4K Monitor review originally appeared on The Gadgeteer on September 24, 2018 at 11:00 am.
Note: If you are subscribed to this feed through FeedBurner, please switch to our native feed URL http://the-gadgeteer.com/feed/ in order to ensure continuous delivery.


 At least that’s what I think was the issue and after increasing the mouse cursor movement speed, I’ve not noticed any more issues with my MacBook feeling sluggish.
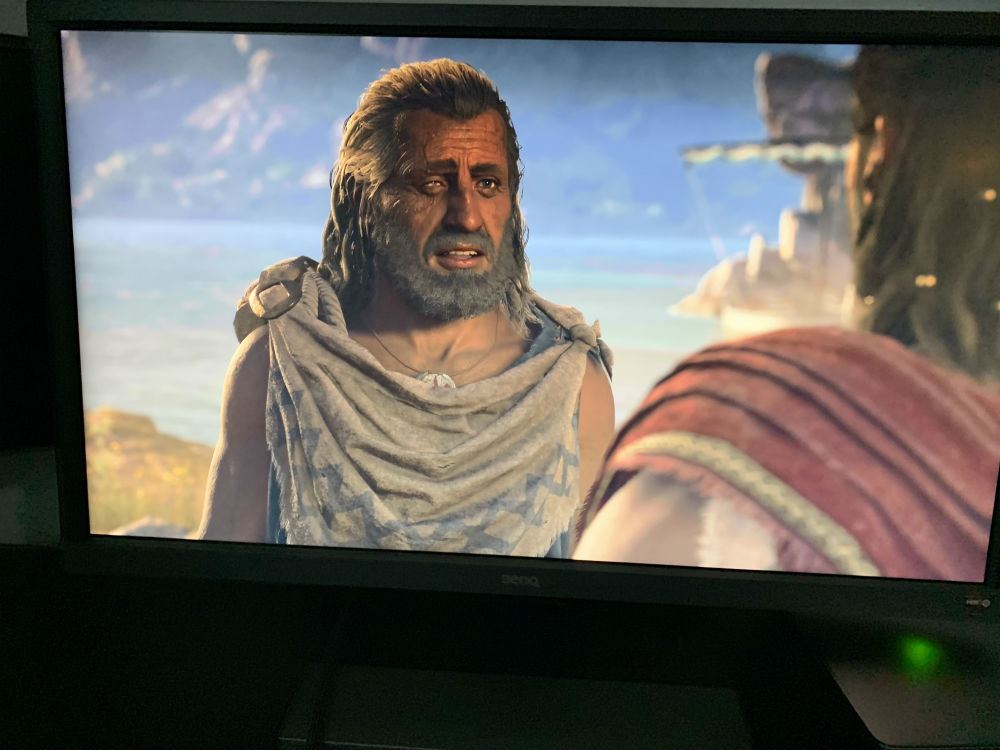
 REVIEW