REVIEW – The Juku is the newest 3D printing pen from the 3Doodler Create/Wobbleworks team. Their first pen launched back in Q1 of 2013 and was fully funded in a few hours. It was something unseen in the 3D printing space and enabled freehand creation and exploration without CAD. Fast forward to now and they’re at it again with a pen that feels infinitely more refined and professional. Let’s take a look.
What is it?
In short, the Juku is a handheld extruder. It’s a slightly crude analogy, but think glue gun, but with a fine tip and better aim. You can choose from a few different materials, lots of colors and let your imagination run wild.
What’s in the box?
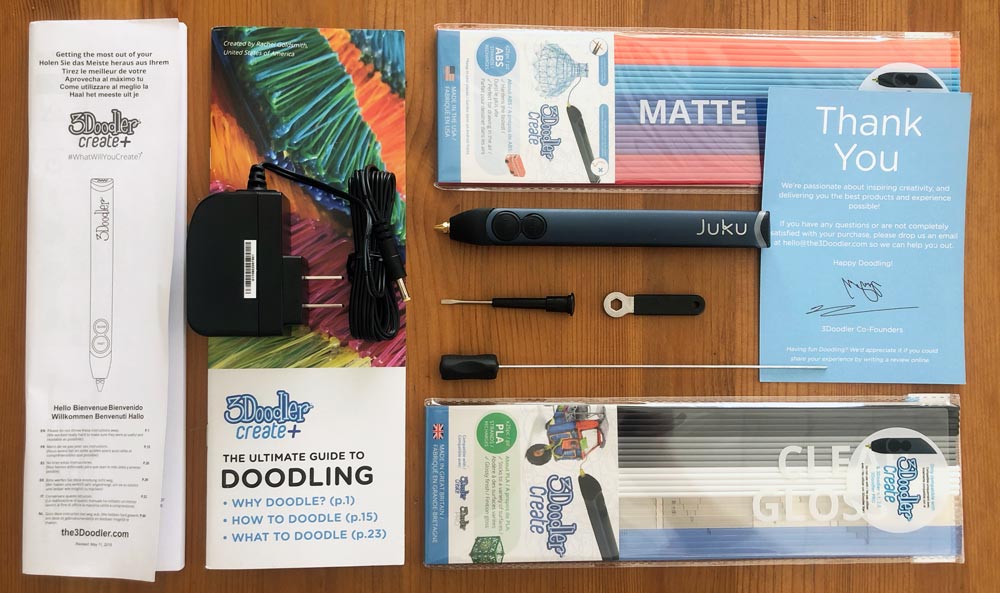
- Juku Doodler
- Power adapter
- Tools: Mini Screwdriver, Mini Spanner, Unblocking Tool
- Instruction Manual
- Doodling Guide
- ABS and PLA sample packs (25 strands each)
Hardware specs
Power Adapter Specs:
• Input 120-240v AC, 0.5A max, 50-60Hz
• Output+5v DC, 1.2A
• CE certification
Controls:
• Off, Lo, Hi switch for adjusting temperature/material choice
• Fast and slow buttons for adjusting feed speed
• Temperature adjuster for fine tune temp control
Additional:
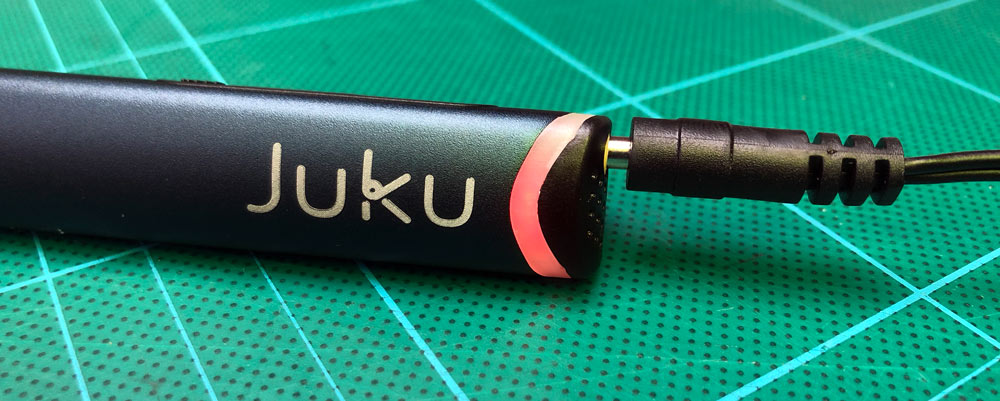
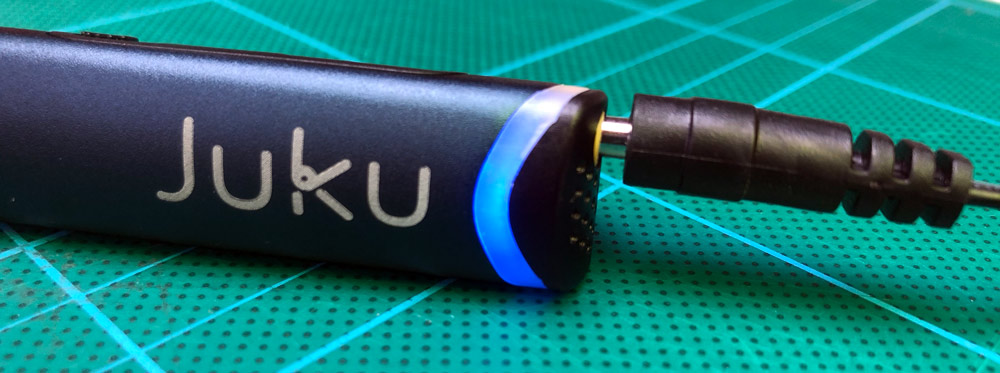
• LED for communicating Doodler is ready to use
• Nozzle where material is extruded
• Maintenance cover for seeing what’s going on
• Drive gear which pushes material through the pen
• Control port
Design and features
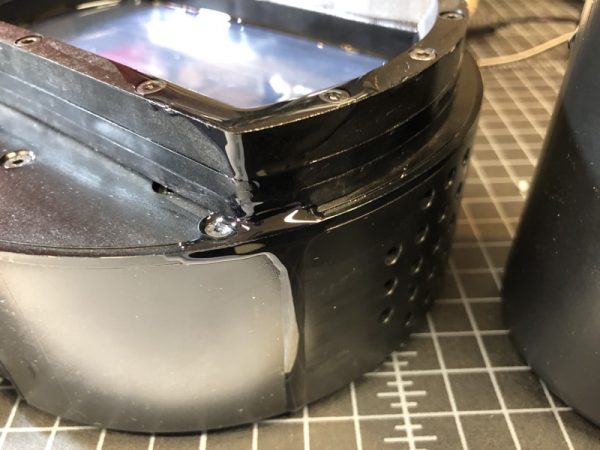
To really appreciate the Juku it helps to take a look at the original 3Doodler first, so here’s a shot of them side by side. Their first pen was a full hand hold with larger fan to help keep things cool.
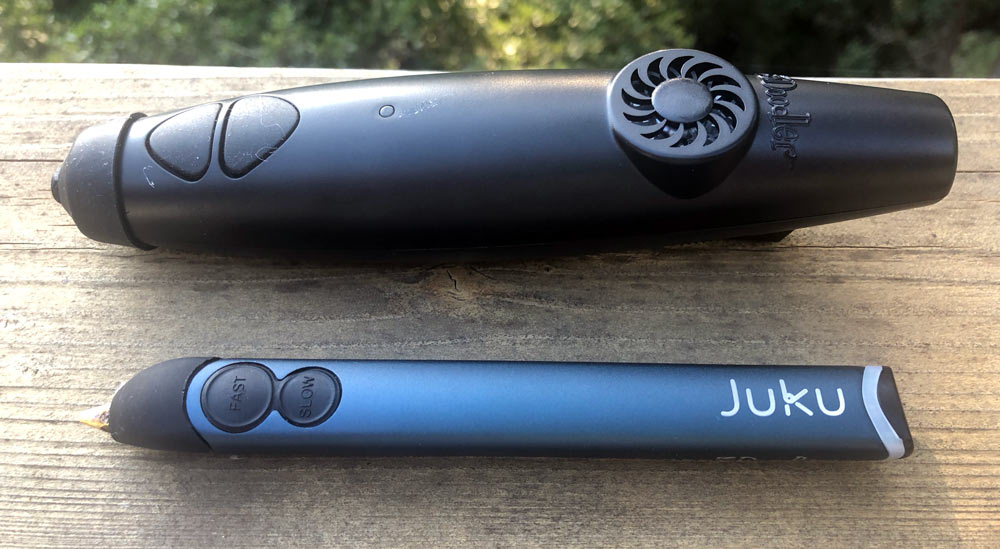
As you can see, the new Juku is significantly smaller with a trapezoidal shape that is much easier and very comfortable to hold.
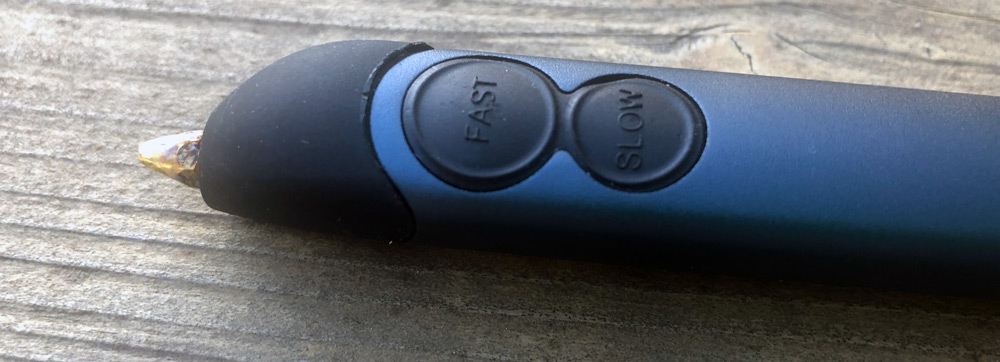
The fast and slow speed buttons are clearly labeled and easy to press, although the act of pressing can result in some wobble in your print.
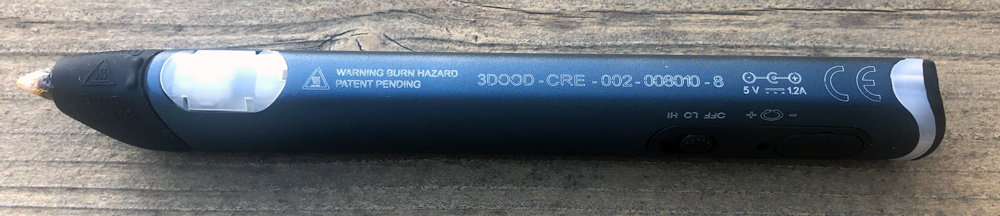
All your warnings, serials and CE markings are on the underside of the pen. The clear back end is the LED for ready status and the clear section toward the front is a maintenance cover that exposes the inner workings.
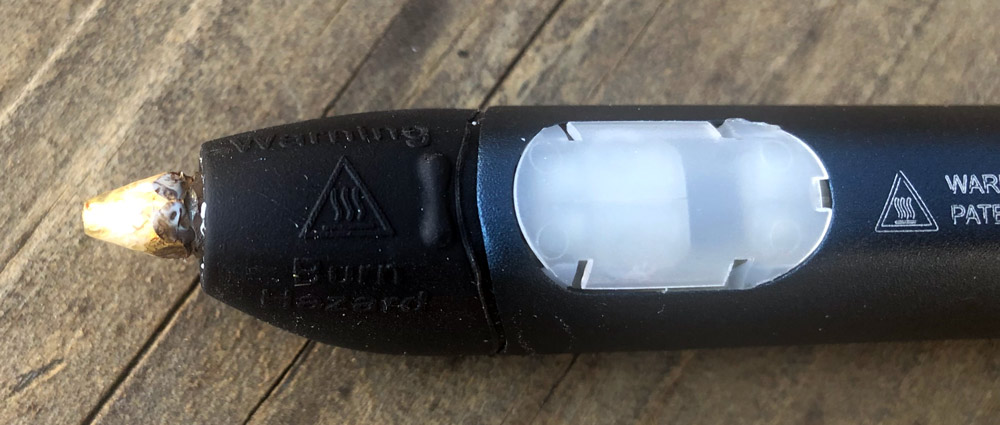
The front rubber cover helps to protect you from heat and has the temperature warnings molded in.
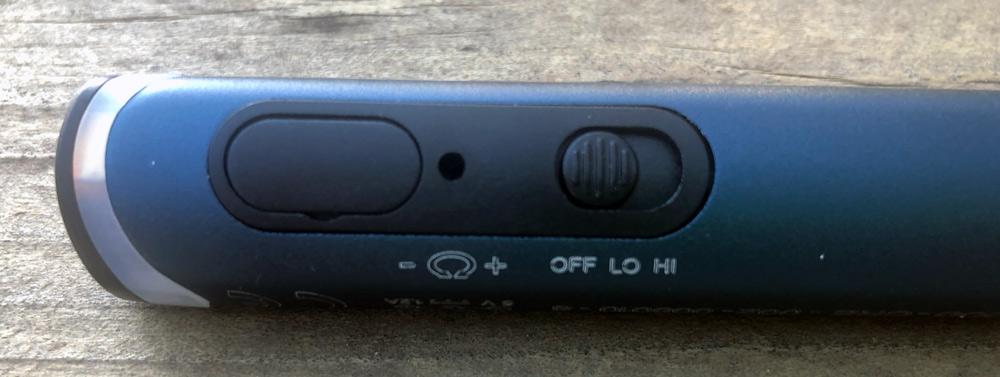
The final controls are the Off/Lo/Hi switch which is primarily a temperature control for the material types. PLA uses LO and ABS uses HI. The small hole allows for finer control over those temperature settings with the included small screwdriver.
The large oval is a cover that exposes the control port. Info on this port is absent on their website, but seems to be aimed at expansion around foot pedals, CNC connection and DIY.
Setup
Here’s the setup as described in the instruction manual in italics. My additional comments follow each step.
1. Plug the adapter into the wall, and the connector into the end of the pen. Switch the unit on into the HI position for ABS and wait for the LED to change from RED to BLUE signifying it’s ready. The barrel jack connector is long and has a gap when fully seated, so don’t try to push it all the way.
2. Select your ABS strand color and then click on the FAST button and push the plastic strand into the back of the pen until you feel it get pulled in. Start Doodling. To stop, click any button once.
3. Push down onto a surface as you start doodling for it to stick then you can lift up, holding steady to doodle in the air.
Performance
Off the bat, I think it’s helpful to set expectations. If I were to hand art pens to a few different people, the resulting art would vary wildly depending on the user. Juku is similar in that anyone can start using it with very little instruction, but they should expect to have a bit of a learning curve. As you browse 3Doodler’s site or see some of the creations in their email blasts, it’s clearly possible to do amazing things.
I gave the pen a quick run through with a cutting mat and its built-in grid. Getting the material strand inserted and correctly pulled is pretty easy although it’s a bit tricky to initially tell that it’s being pulled.
When drawing you need to press against your drawing surface to get it to stick and then you draw. To change directions significantly you’ll need to again press against your surface beforehand.
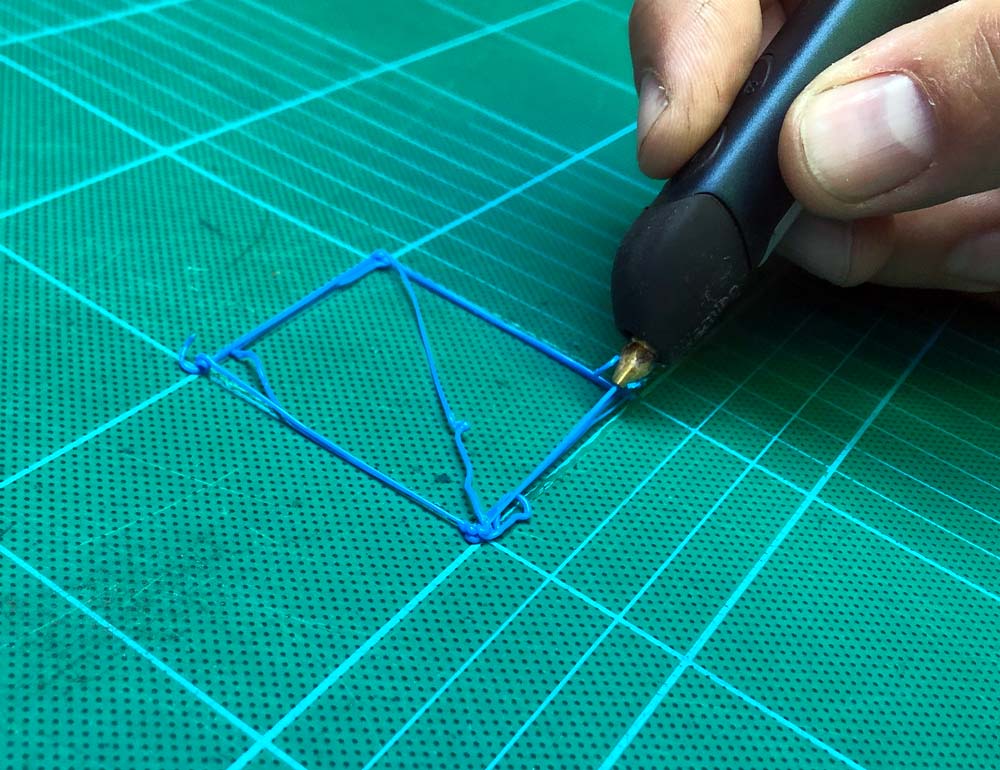
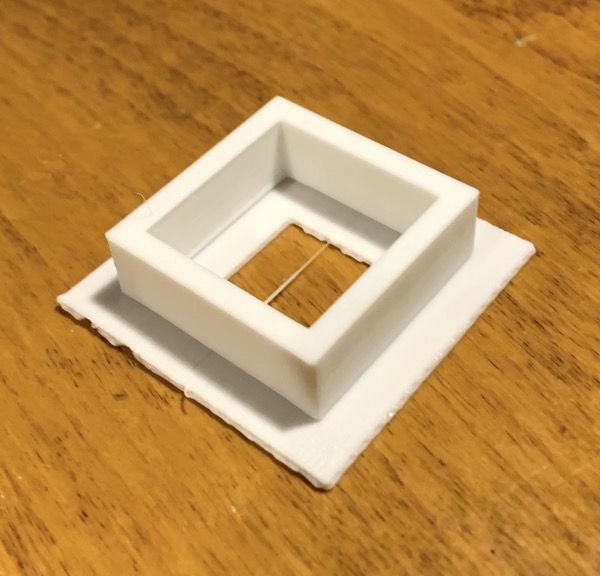
In the square I’ve drawn above, you can see that it has some extra material in a few places. First, this is literally the initial thing I ‘drew’. Second, there’s a bit of a delay in starting and stopping the process which takes some time to get a feel for. As you get used to using the Juku you’ll want to plan what you’re drawing and think about where you’d want to overshoot lines and trim ends.
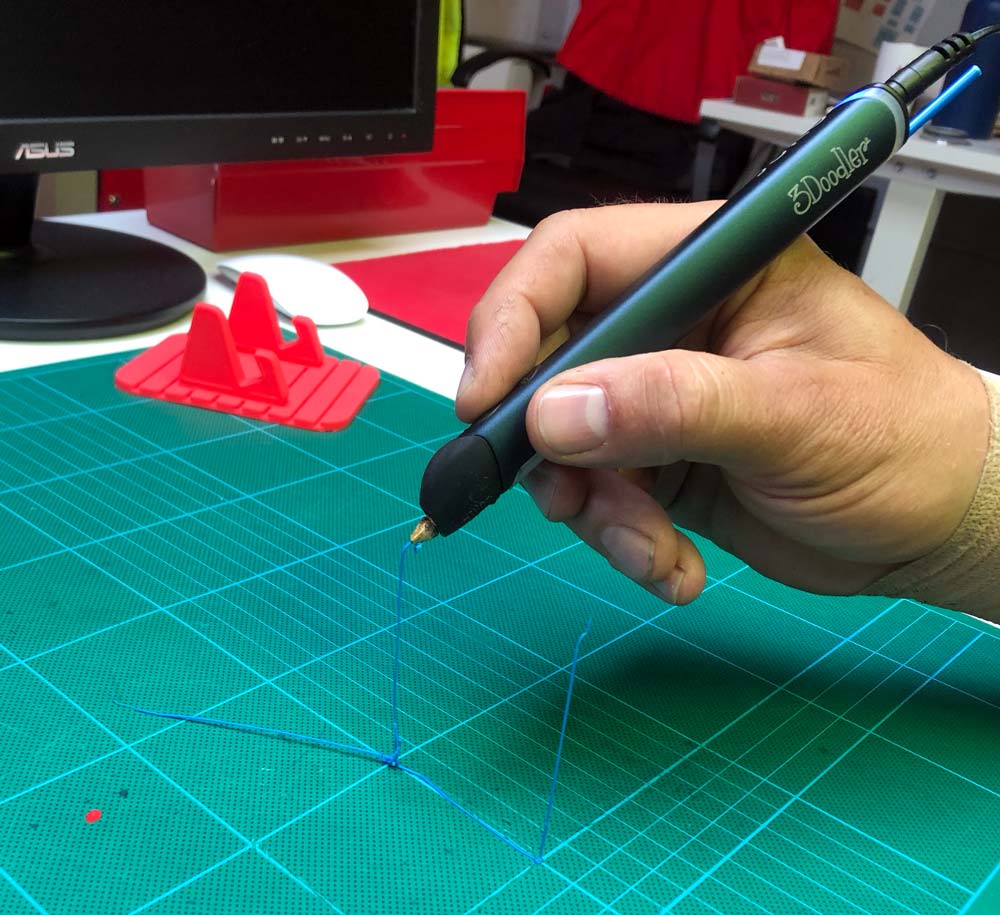
Above, I’m attempting the drawing “in-air” they’ve described. It’s a process of matching your speed to the rate of extrusion and cooling. It’s a lot easier to layer organic curves and shapes than it is to try to make angles as you would need to pause to end and then restart in the new direction. Here’s something my son doodled which is the layered approach.

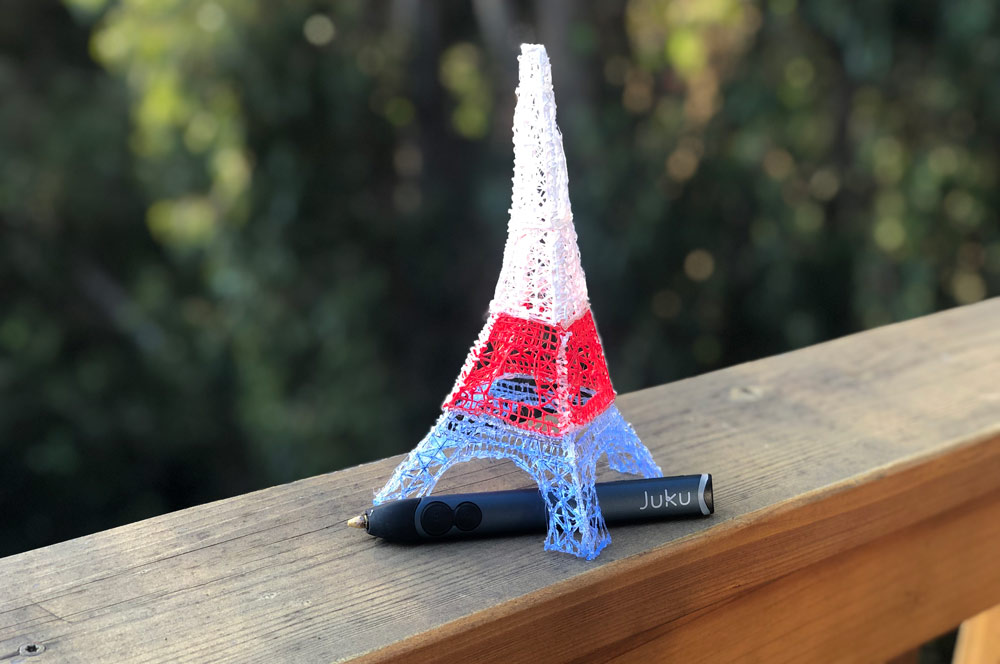
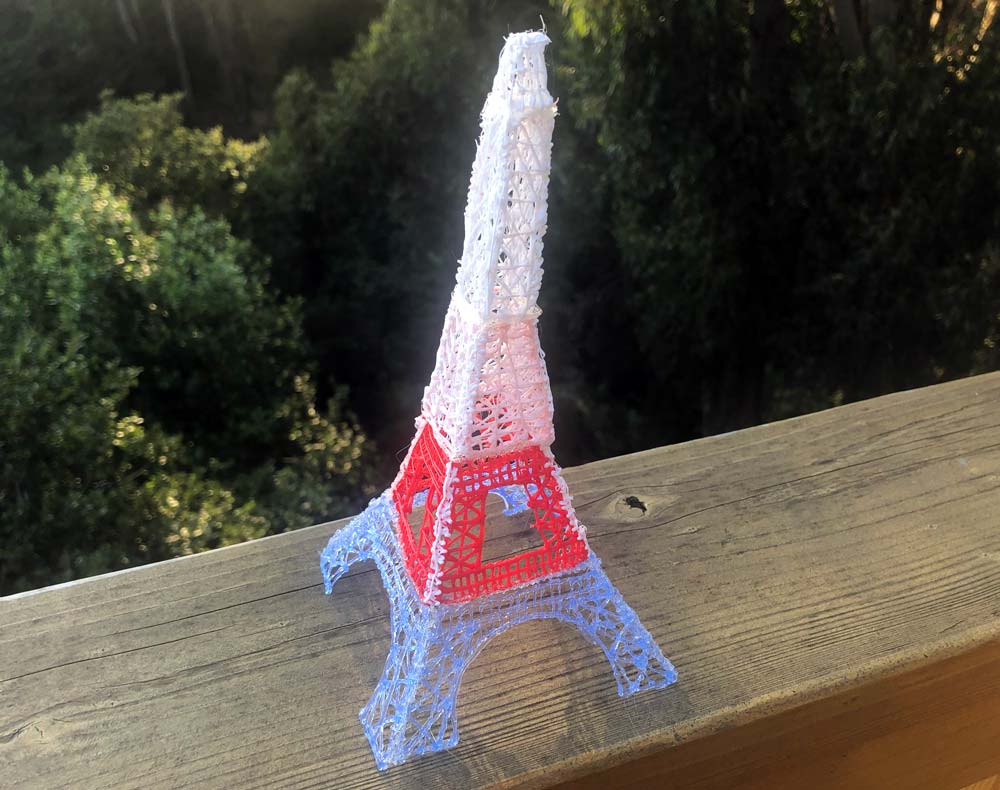
I asked my teenage daughter to have a crack at using the Juku without my input. School’s out for the summer so it made for a lazy, but creative day at home. She dove right in using a template of the Eiffel tower from the creation guide. That template and many others works by building flat sections that you then weld together. Take a look.
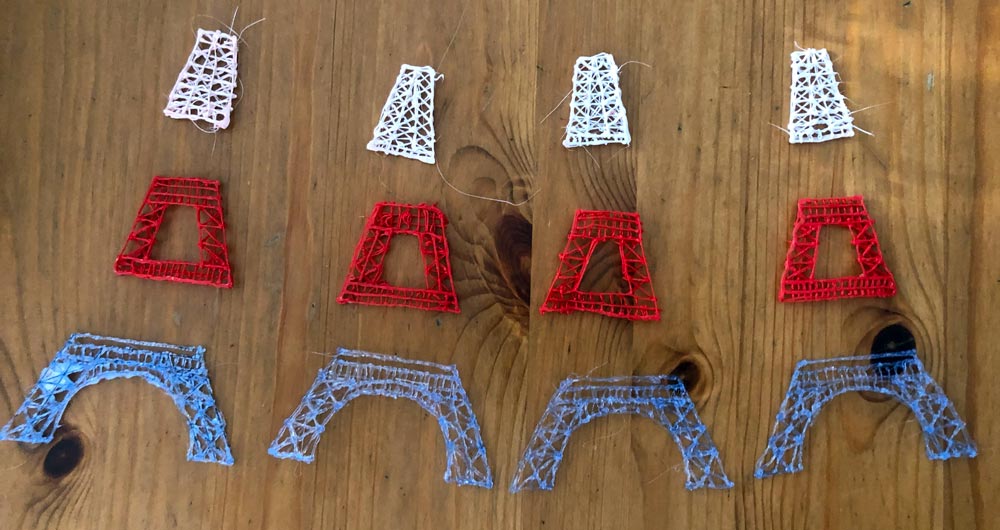
The majority of her build was done with the PLA material at the slow feed setting. It turns out, she did not read the instructions and ran the pen at the higher ABS temperature. It did not cause any issues other than possibly being a bit too fluid which contributed to the blobby spots in a few areas. Here’s the finished tower which took about 3 hours of effort.
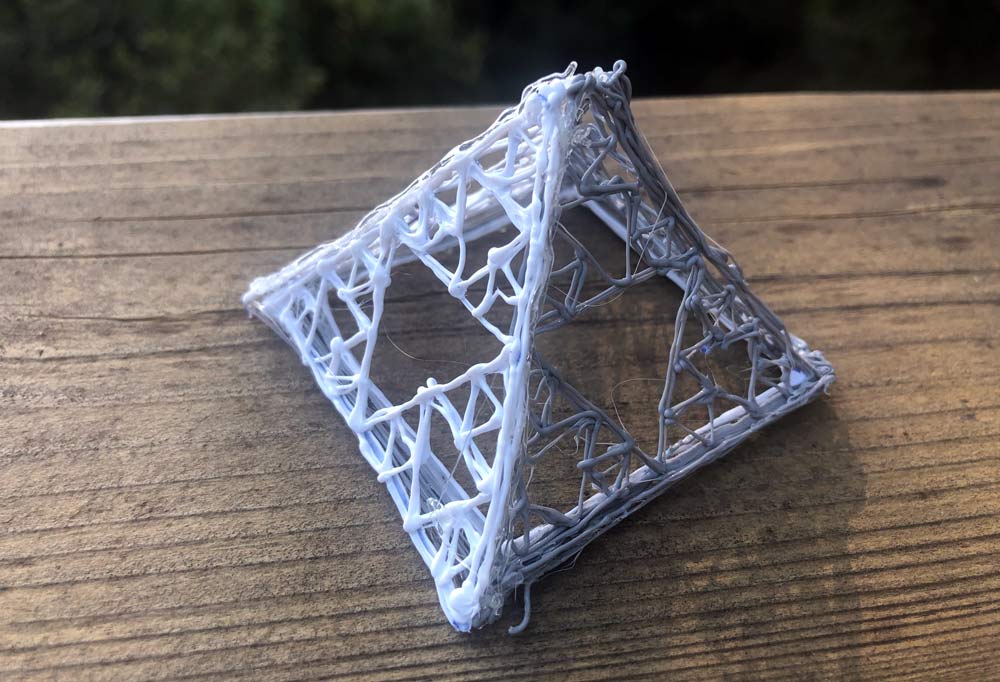
Here’s a pyramid that my son drew from his own freehand template.
Here’s a couple of things you’ll want to know. The pen does get warm and at the ‘printing’ end it does get very hot. You will want to supervise younger creators closely. You’ll also want to make sure you protect the surface you’re working on. The cutting mat I used worked great, but that material isn’t too far off of the extruding material and melted in a couple of spots. We had the best result with thicker craft paper on top of a cutting mat.
For now, the Juku is available exclusively at Office Depot and is not present on 3Doodler’s site.
What I like
- Small and compact
- Easy to start, create and experiment
- Hours of fun
What I’d change
- Heat reduction – the front end can get pretty hot
- Faster start and stop control
- Longer power cable
Final thoughts
The Juku is a fun creativity tool. It’s not a toy, but it’s also not a precision prototyper. I’d put it in a creative craft category or the maker/stem area for sure. It’s fun to use and lets you build things that can feel substantial. The best advice I can provide is that you’ll want to manage expectations on output on first builds until you get a feel for the start/stop cadence and other material quirks.
Price: $74.99
Where to buy: Office Depot
Source: The sample of this product was provided by 3Doodler.
Filed in categories: Reviews
Tagged: 3d printing
Juku 3Doodler 3D printing pen review originally appeared on The Gadgeteer on June 29, 2019 at 11:00 am.
Note: If you are subscribed to this feed through FeedBurner, please switch to our native feed URL http://the-gadgeteer.com/feed/ in order to ensure continuous delivery.


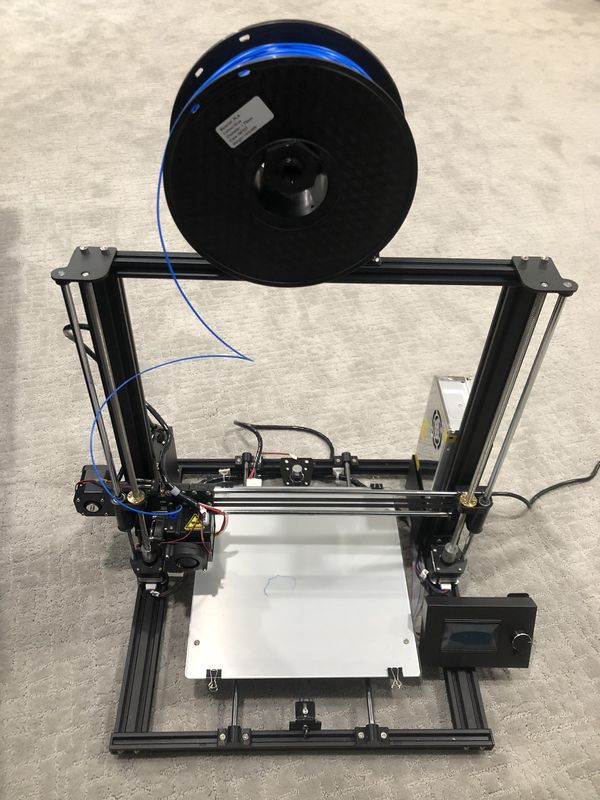 REVIEW – The Anet A8 3D printer was introduced in 2017 and quickly gained a following because of its affordability, capability, and adaptability to modification. On the downside, however, the printer had poor documentation, a relatively steep learning curve, a shaky frame, and a potential safety issue. The Anet A8 Plus is the successor to this product. Read on to see what I think!
 There is a modification to create this on
 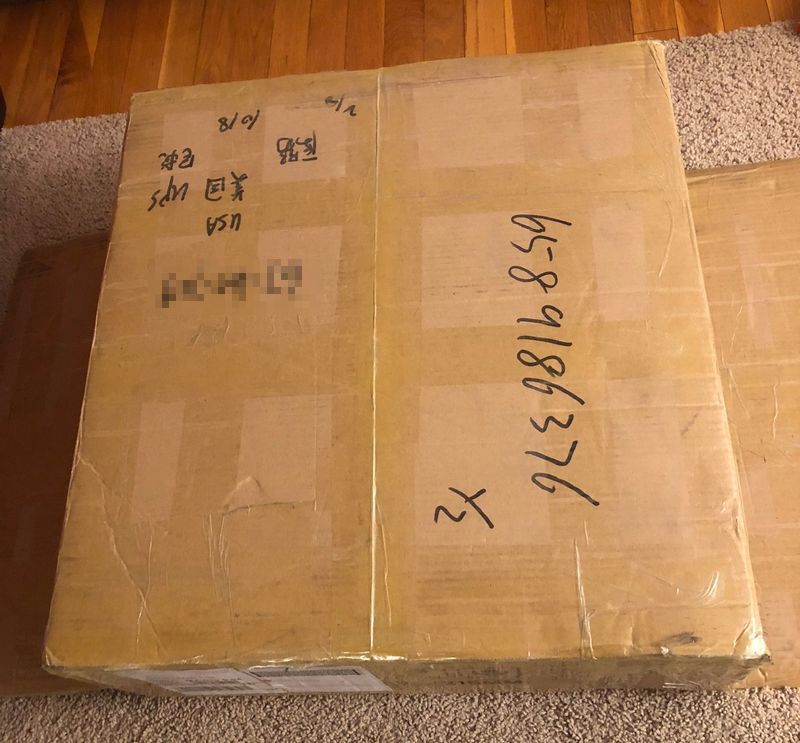 It is nicely packed with styrofoam to ensure that after the journey from China the items arrive safely.
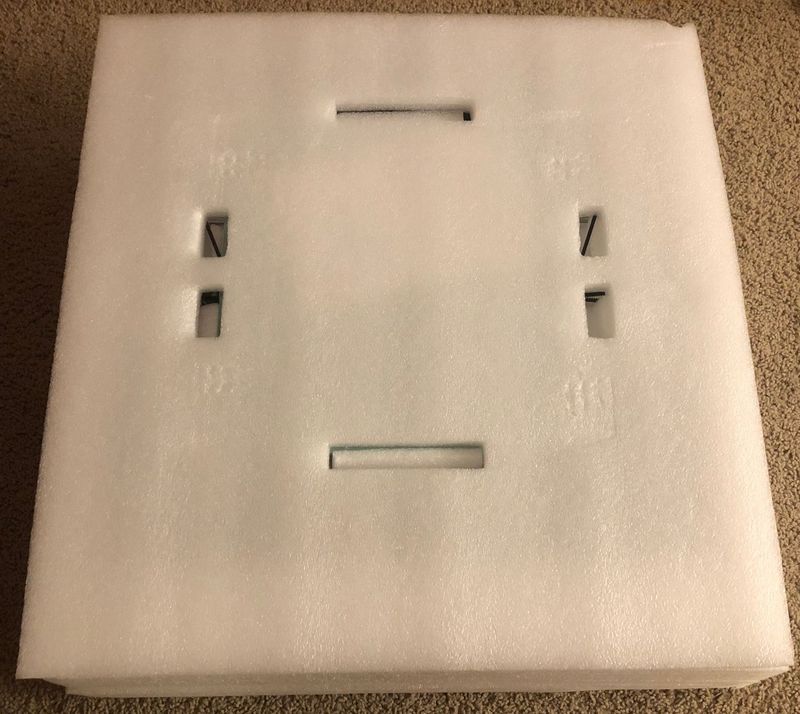
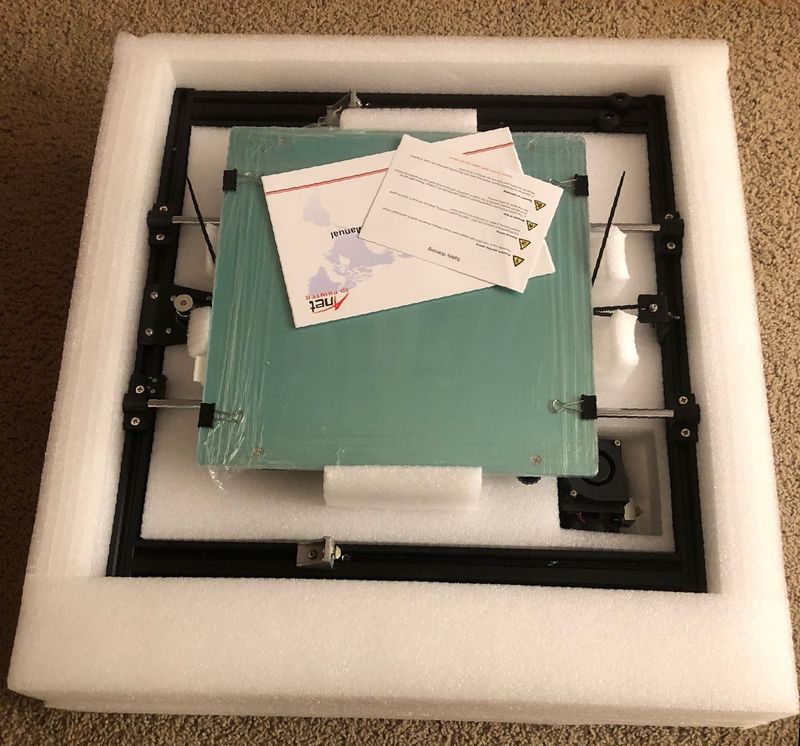
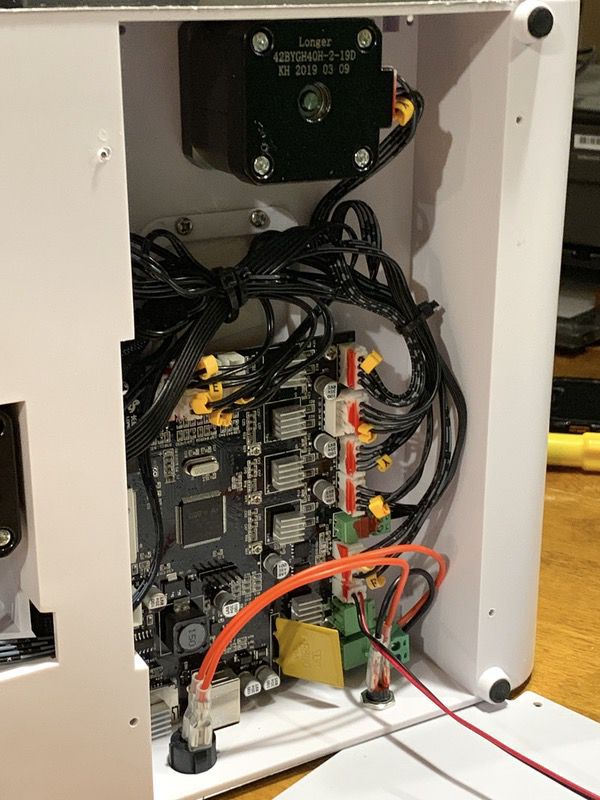
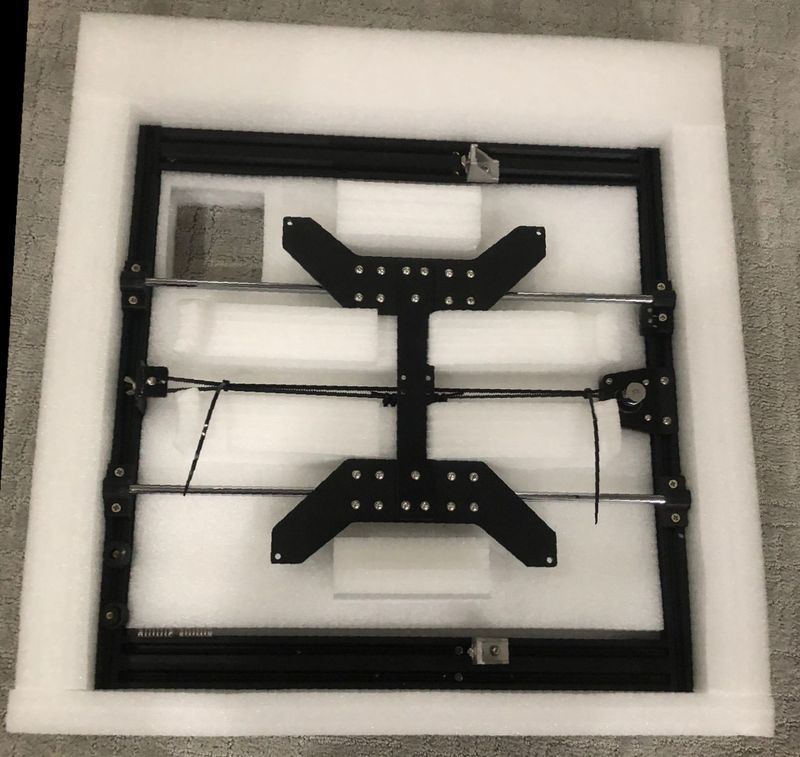 The box contains a long list of parts that must be assembled before an operation begins. Fortunately, Anet has preassembled some of the most complicated parts. The chassis and vertical frame already have the motors, polished rods, threaded rods, and belts assembled. The extruder is pre-mounted on the vertical frame X axis. The Anet website claims that assembly is easy and only requires 10 minutes, but even their own
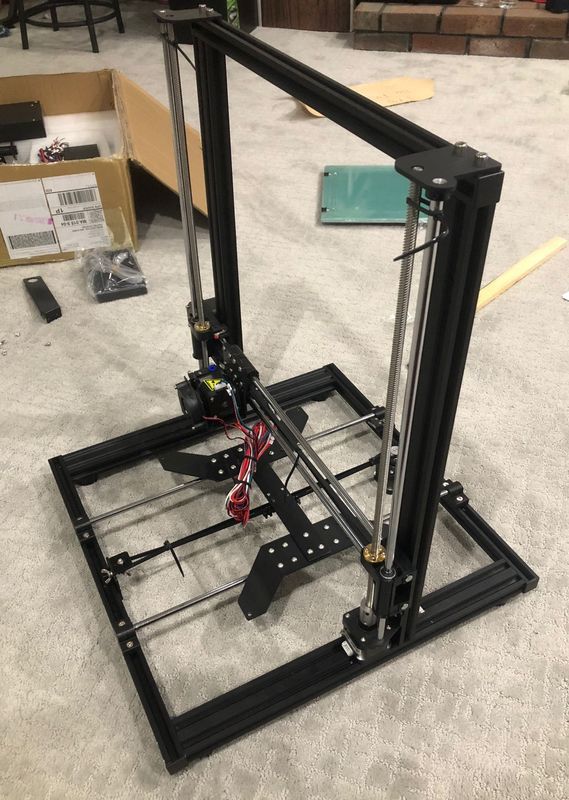
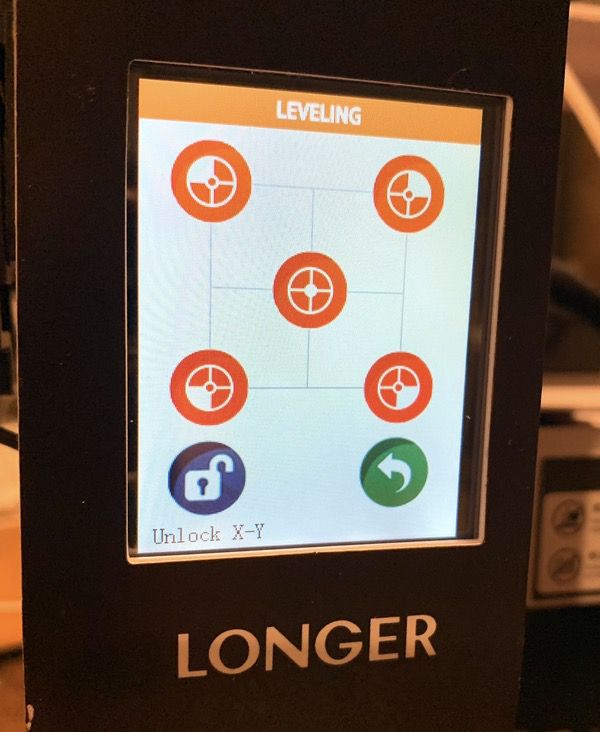
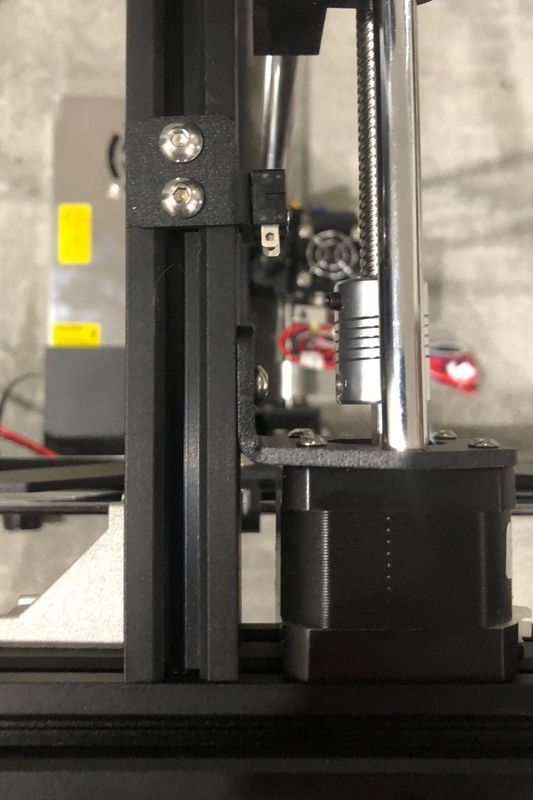
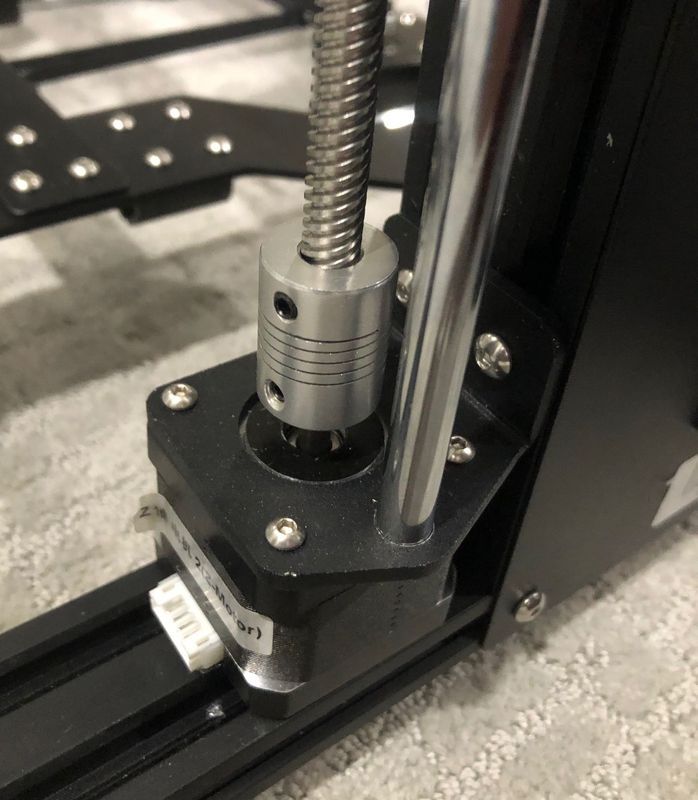 This step ensured that both ends of the X-axis were at the same level.
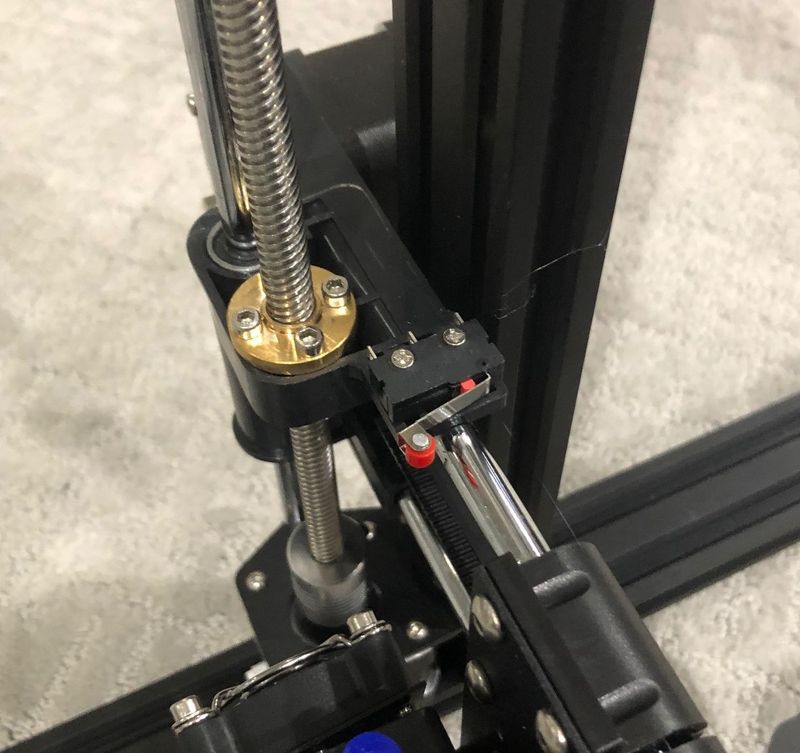
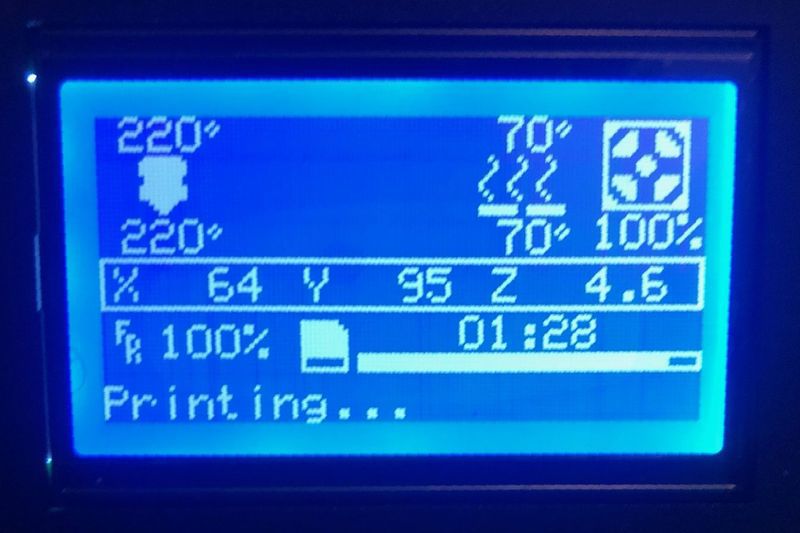
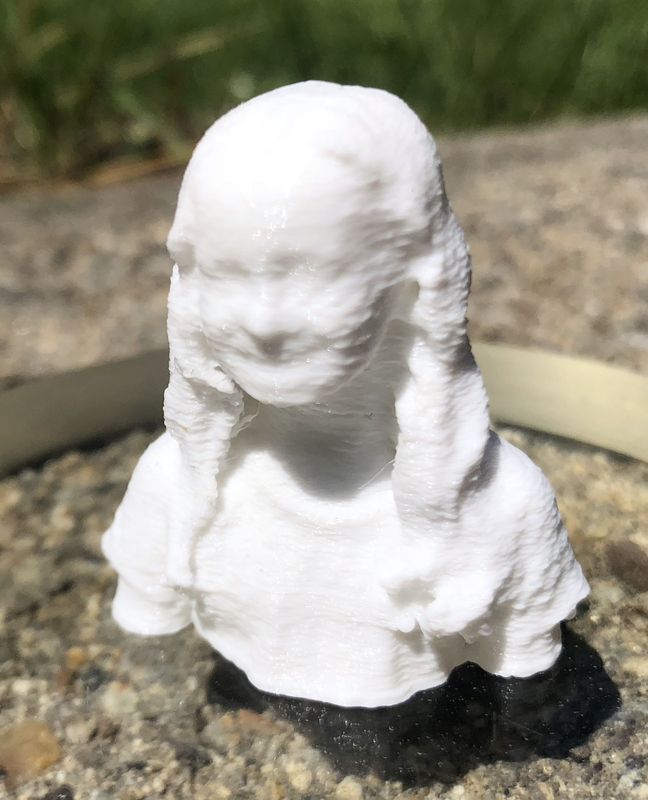


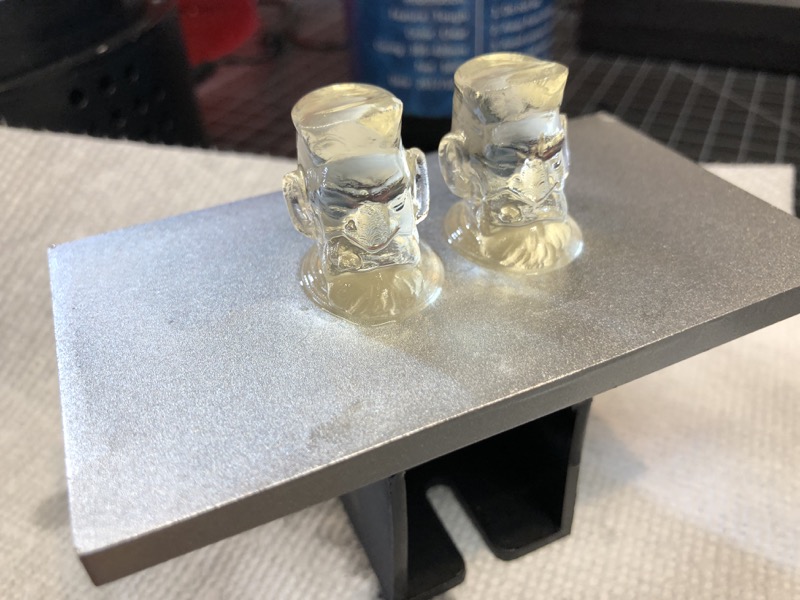
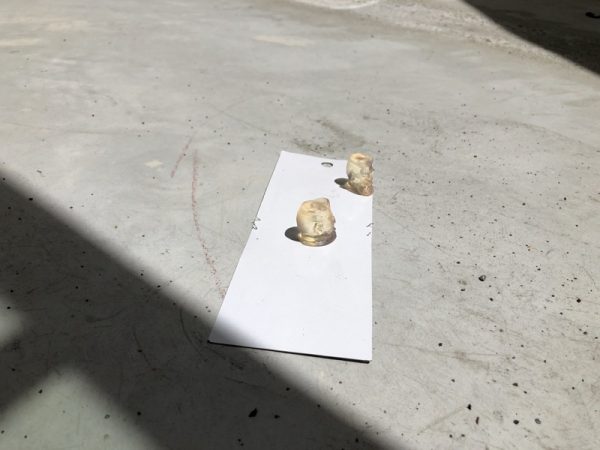
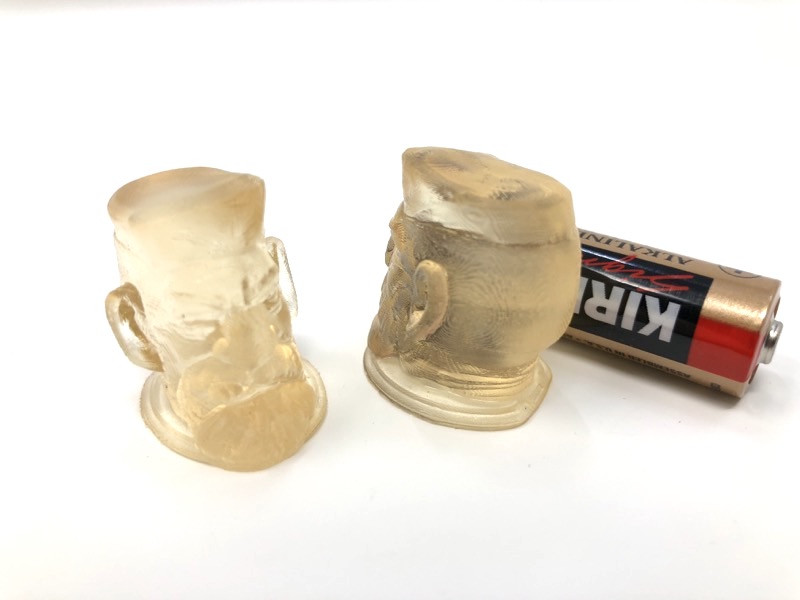
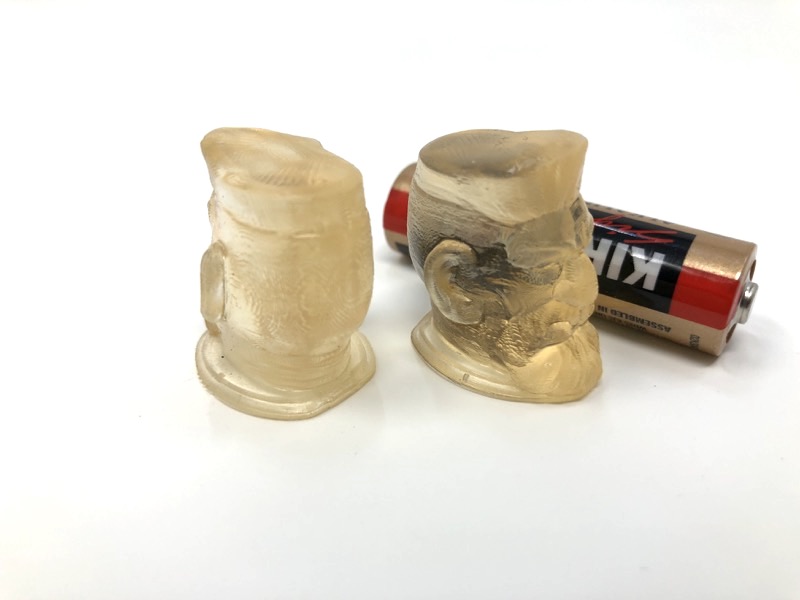
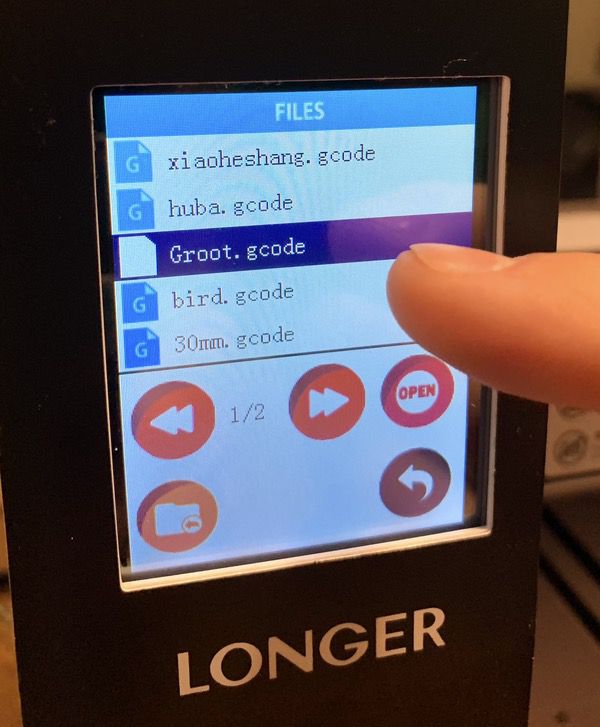
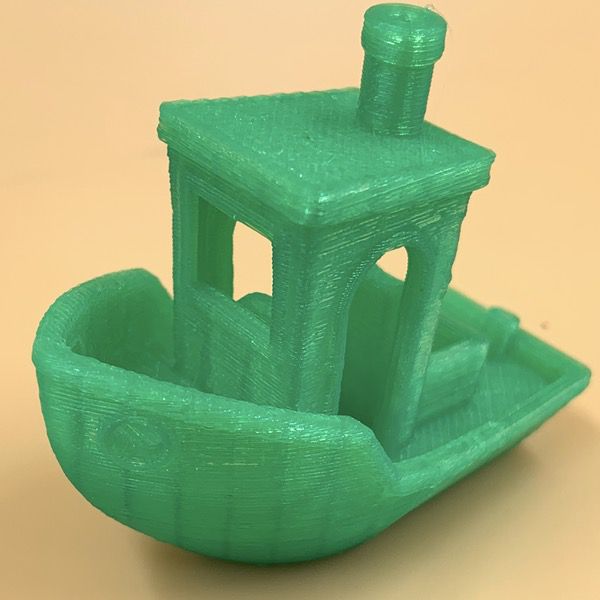
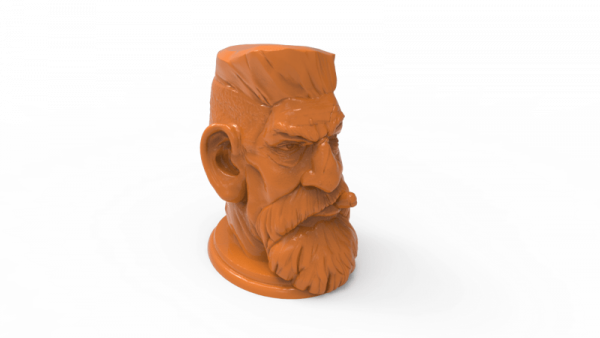 For my print sample, I chose this stout little head. What could go wrong?