 REVIEW – I really prefer using a mouse over my laptop’s trackpad and Bluetooth mice are ideal because they don’t take up my valuable USB-A port. Satechi recently came out with the M1 Wireless Mouse which is a beautiful mouse – the top and wheel are made of aluminum. I got the chance to review this mouse and I found that it is a nice travel companion for me because it takes up a small amount of space due to its low profile. It was easy to pair to my laptop and provides basic typical functions using the left and right click mouse buttons and the wheel/middle click button, however, it doesn’t seem to work well on my granite countertop where my laptop resides (thus it may not work on other shiny surfaces either).
What is it?
The Satechi M1 Wireless Mouse is a computer input device used to move a cursor around on the computer screen. This particular mouse connects to a computer wirelessly via Bluetooth 4.0 and recharges using a USB-C-to-USB-A charging cable.
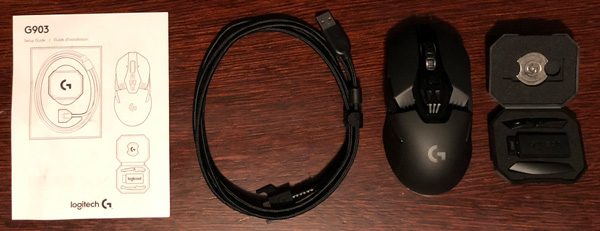
What’s in the box?

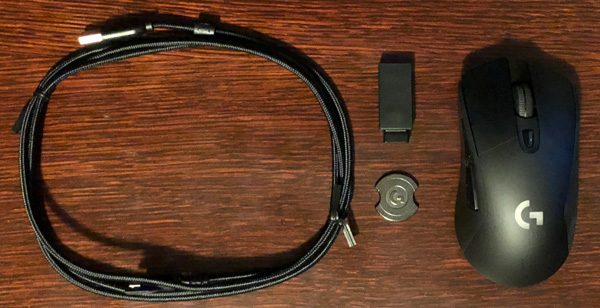
- Satechi M1 Wireless Mouse
- User Manual
- USB-C (USB-C to USB-A) charging cable
Hardware specs
- COMPATIBLE DEVICES: Mac Mini, iMac, iMac Pro, MacBook Pro/Air, MacBook, Chromebook, Microsoft Surface Go, Dell XPS, Lenovo, HP Spectre, ASUS, most Bluetooth-enabled computers and tablets. Supports Mac, Windows, Android and Chrome OS. Not compatible with iOS devices.
- CONNECTOR TYPE: Rechargeable Type-C port
- DIMENSIONS & WEIGHT: 4.37″ x 2.25″ x 1.25″, 6.2 oz
- MODEL NO/UPC: ST-ABTCMS/879961008277 (Silver), ST-ABTCMM/879961008260 (Space Gray), ST-ABTCMG/879961008291 (Gold), ST-ABTCMR/879961008307 (Rose Gold)
- GUARANTEE: 1 Year Manufacturer Warranty
Design and features
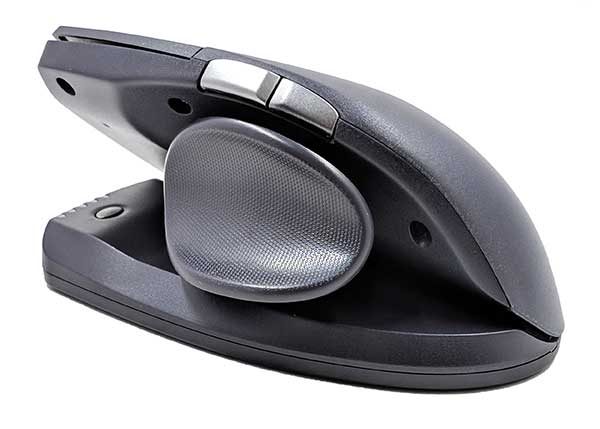
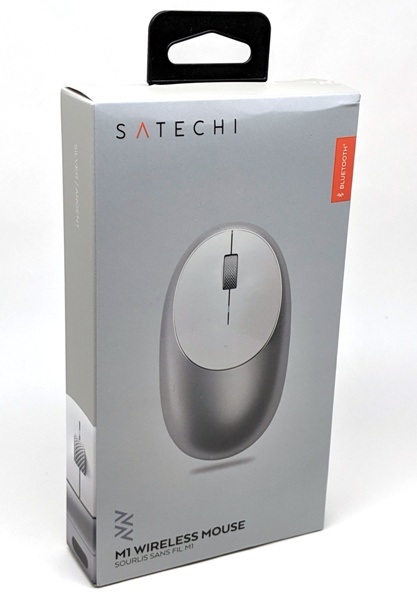
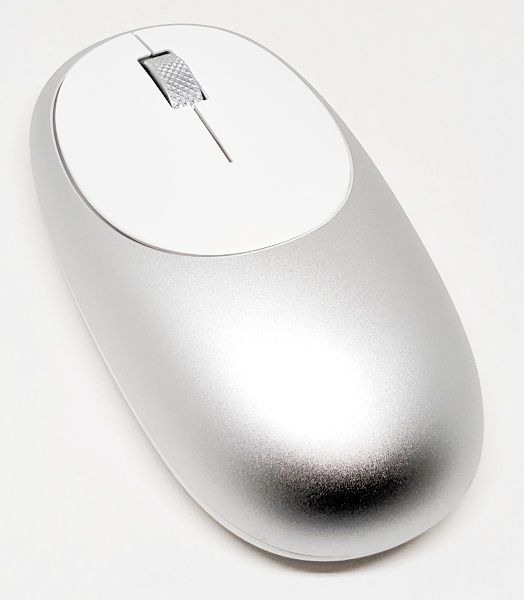 The Satechi M1 Wireless Mouse is a sleek looking basic Bluetooth mouse. The top and wheel of the mouse are made from aluminum. Satechi sent me a silver mouse, but it also comes in gold, rose gold, and space grey colors.
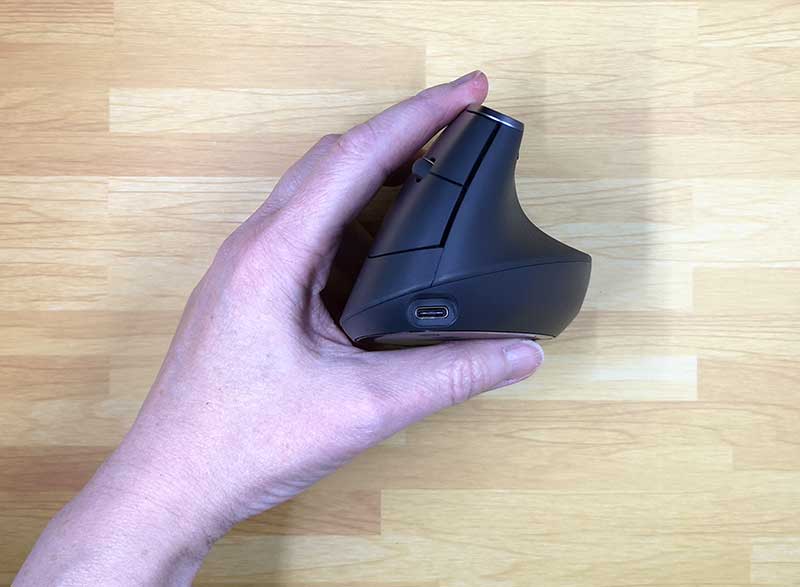
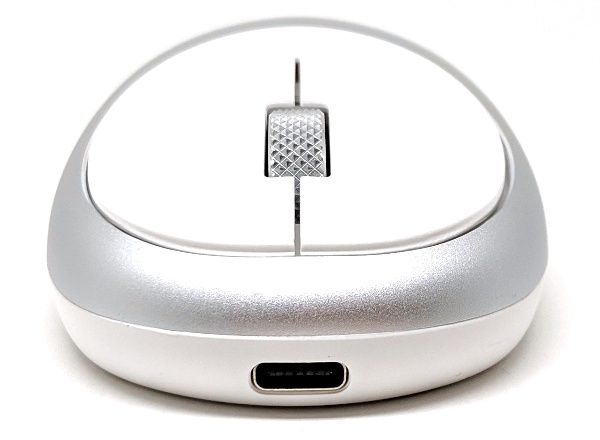 This mouse does not need batteries. It is recharged via USB-C cable.
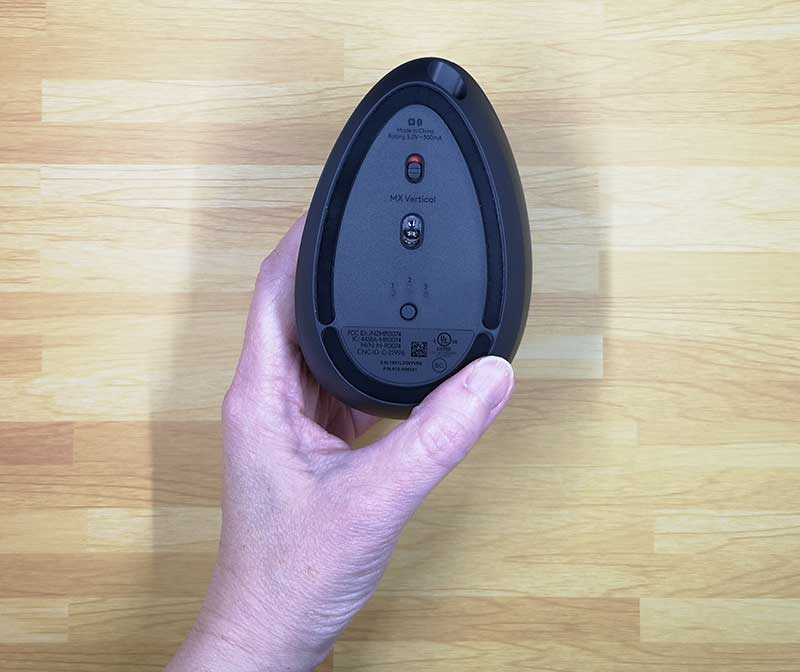
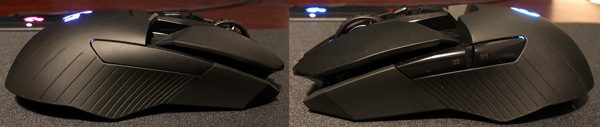
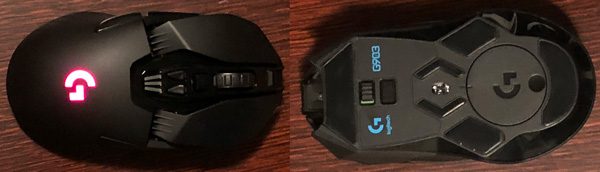
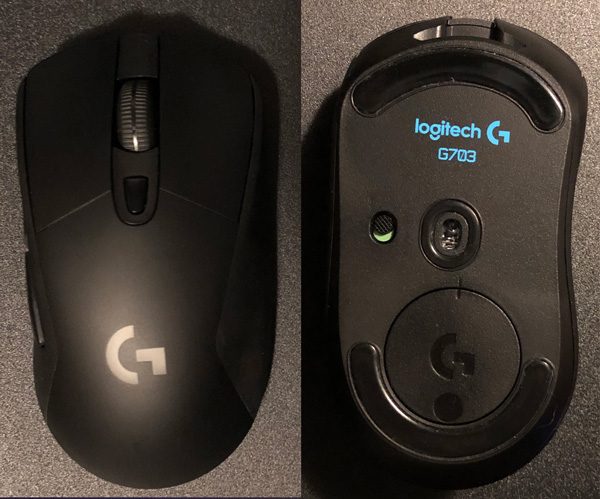
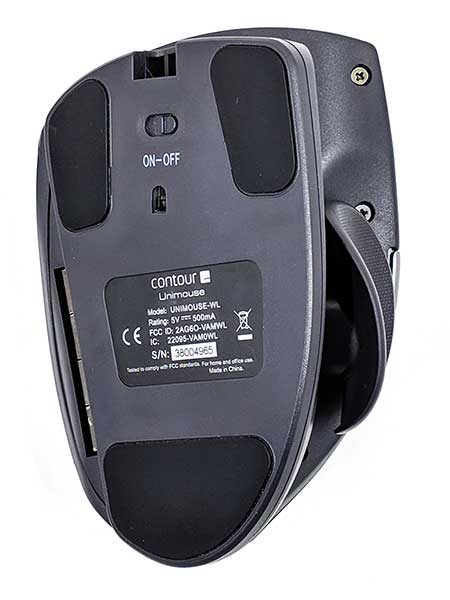
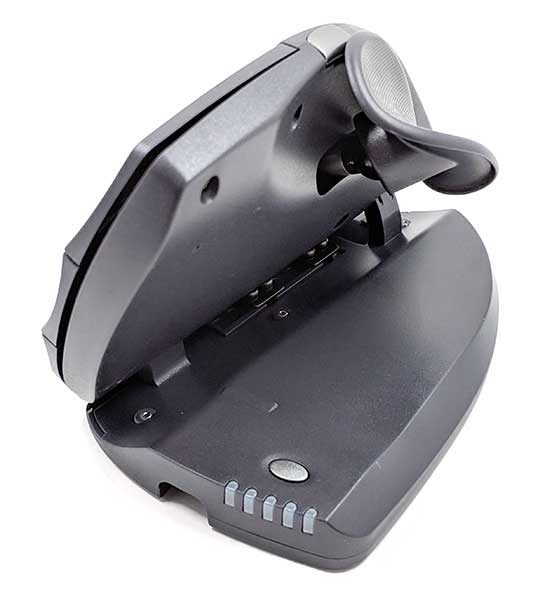
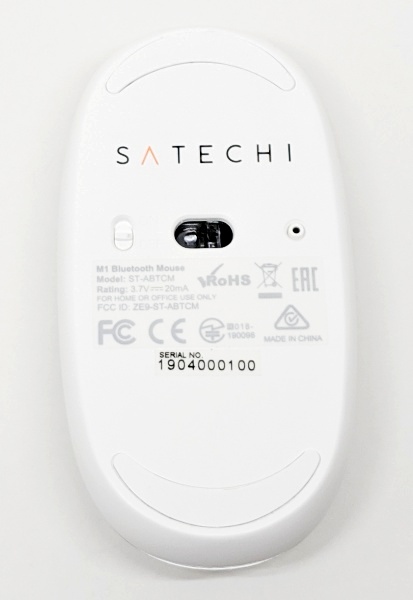 The bottom of the mouse contains the On/Off (Power) switch, the red LED and optical sensor, and the Connect button (or Bluetooth pairing button).
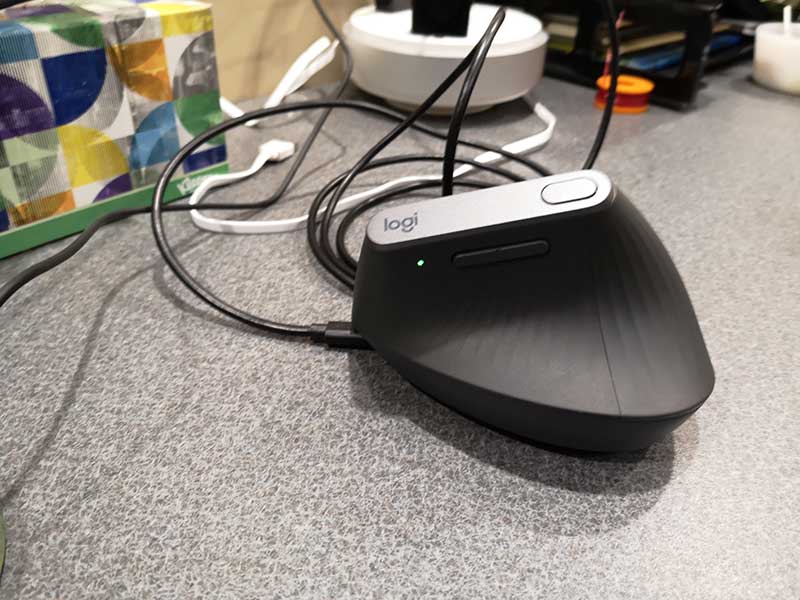
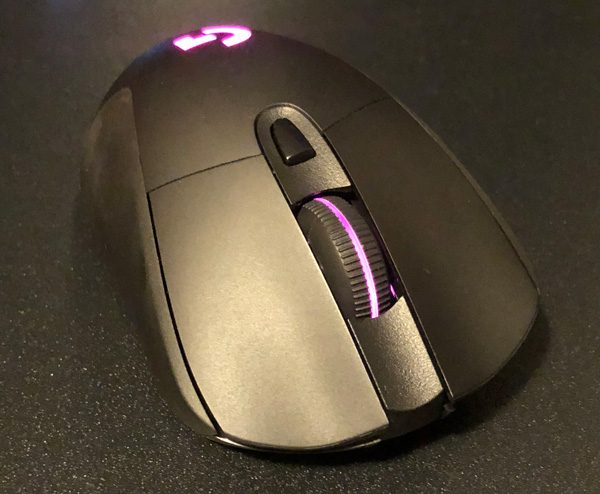
 There is a small LED located below the scroll wheel of the Satechi mouse that lights up blue when the mouse is charging and is supposed to shut off when it is finished charging. This LED will also flash red when the mouse is low on battery.
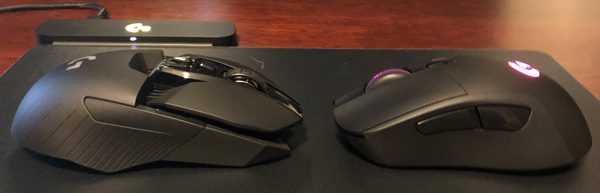
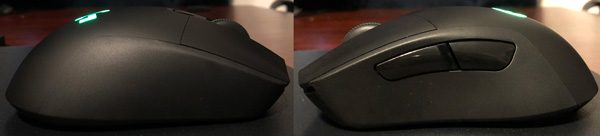
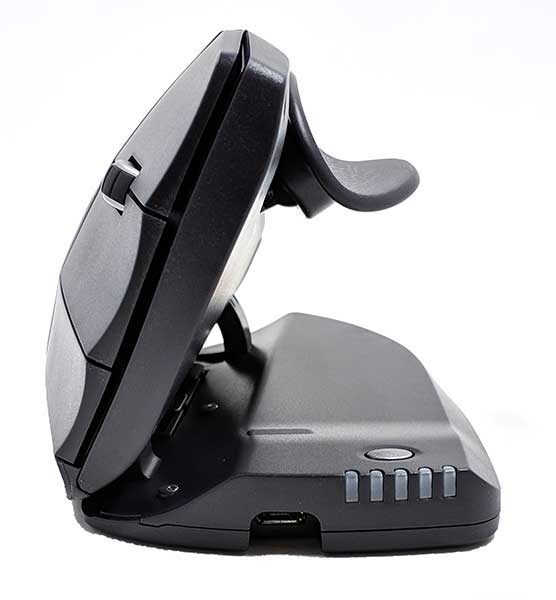
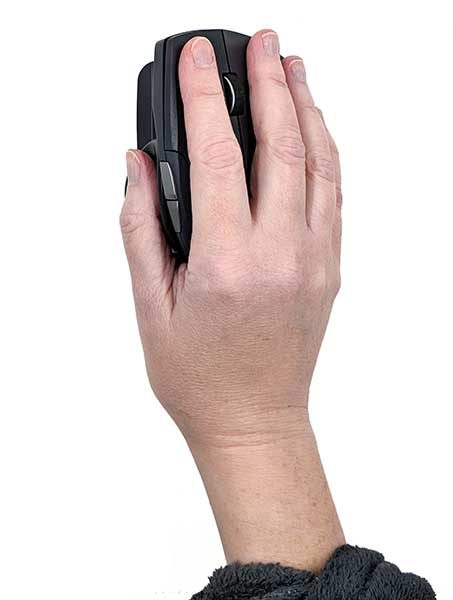
The Satechi mouse is a little longer than my Logitech M585 mouse.  And it has a lower profile compared to my Logitech mouse.
The dimensions compared:
- Satechi M1 Wireless Mouse – 4.37″ (111 mm) L x 2.25″ (57 mm) W x 1.25″ (32 mm) D
- Logitech M585 mouse – 4.05 in (103 mm) L x 2.52 in (64 mm) W x 1.57 in (40 mm) D
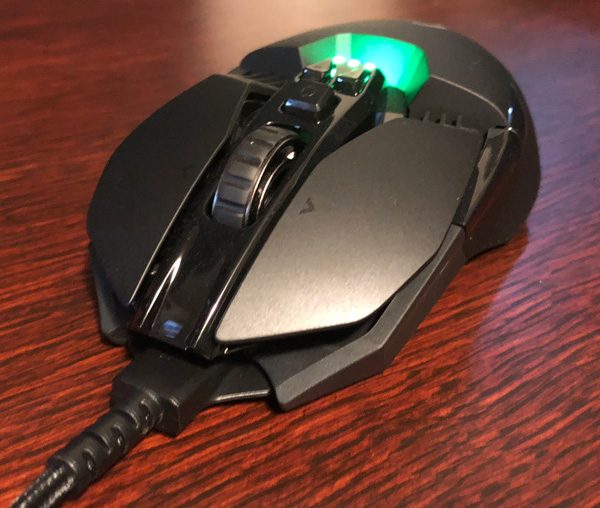
 When both mice are powered on, you can see that the Satechi mouse has a visible LED versus that of my Logitech mouse.
Setup
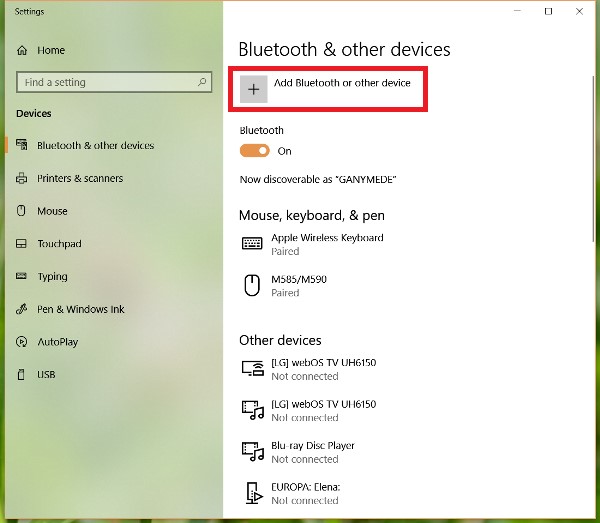
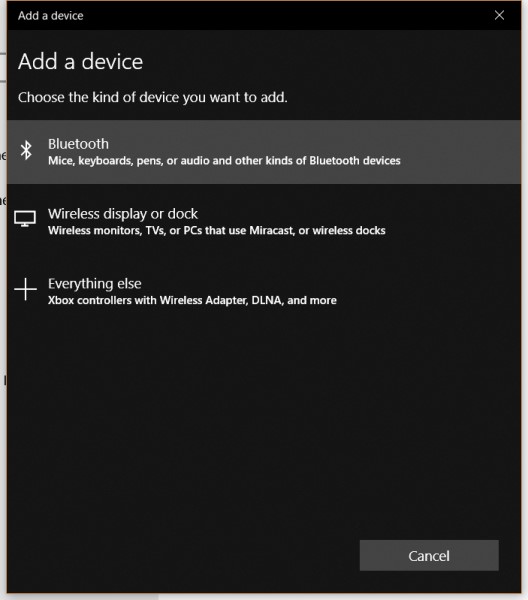
To pair the Satechi mouse with my Windows 10 laptop, I went into my laptop settings (Start > Settings > Devices) and made sure that my laptop’s Bluetooth was on. I then clicked on “Add Bluetooth or other device” as shown in the left screenshot above. Afterward, I clicked on “Bluetooth (Mice, keyboards, pens, or audio and other kinds of Bluetooth devices)”.
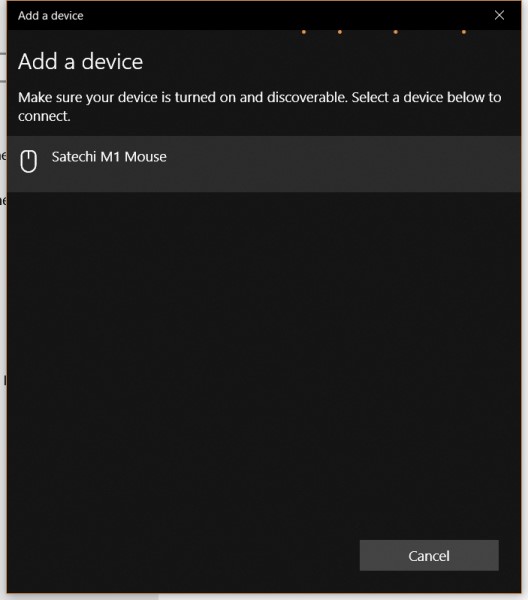
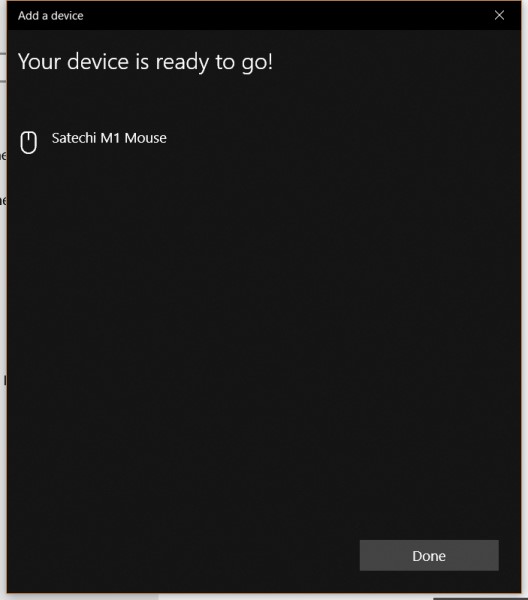
The “Add a device” screen told me to make sure that my device that I was trying to pair to my laptop was on and discoverable. With my Satechi mouse powered on, I pressed the Connect button on the mouse for about three seconds after which I saw the LED on the mouse flash blue. Then on my laptop, I saw that the Satechi M1 Mouse was discovered. I then clicked on it and it was successfully paired to my laptop.

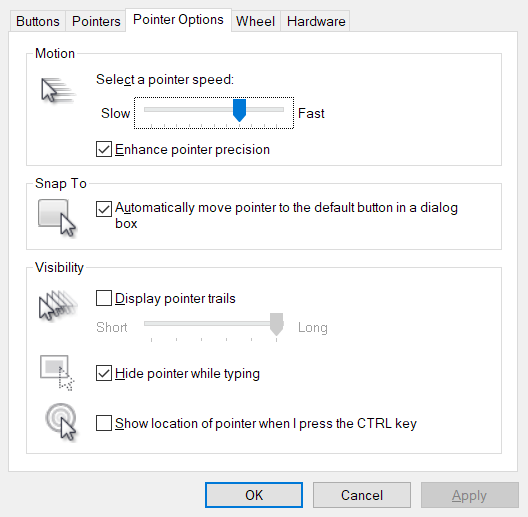
I tweaked the Satechi mouse features by going into the Settings on my computer (Start > Settings > Devices > Mouse > “Additional mouse options”). I like a little faster pointer so I increased the pointer speed under the Pointer Options tab.
Performance
After pairing the mouse to my laptop, I tried using it. I discovered immediately that stuttered. I found out that this was because I was using it on a shiny granite surface where my laptop normally sits. This problem did not exist if I used a mouse pad. It’s been a long time since I’ve used an optical mouse that had trouble on any surface, probably because I’ve been using solely Logitech mice in the past which have never given me problems on any of the surfaces I use them on.
The Satechi mouse provides basic functions with the normal left and right click buttons and a scroll wheel/middle click button. Tracking seemed accurate enough as long as I was using the mouse on a non-glossy surface. I had no problems placing my cursor in specific places in a document that I was working on or selecting things with the left click button or bringing up menus with the right click button. Using the middle click button (short press on the wheel) opened web pages in a new tab and closed Chrome tabs without issues. The Satechi mouse also has a low profile making it is easily portable when traveling (it fits nicely in my laptop travel case).
However, while using it, I found that I really missed being able to horizontally scroll through web pages (navigate forward a page or backward a page by tilting the mouse wheel to the left or right) which is a feature that my Logitech mouse has. I also found that periodically after several days of not having used the Satechi mouse with my laptop, I had to remove the mouse from the list of paired devices then re-pair the mouse to the laptop for it to work again. And one last thing to note: the documentation states that the Satechi mouse is compatible with Mac computers and laptops but not with iOS devices.
What I like
- Beautiful brushed aluminum finish (my mouse is silver colored) which is possibly more durable because the top and wheel are made out of aluminum
- Its low profile is good for travel
- Provides basic left and right click buttons and wheel/middle click button functions
What I’d change
- Does not work well on granite (or possibly other shiny surfaces)
- Not compatible with iOS devices
- No wheel tilt for horizontal scrolling
- Periodically need to be re-paired with my laptop
- I have more functions on my Logitech mouse (M585) than this mouse which costs about the same
Final thoughts
The Satechi M1 Wireless Mouse is a really beautiful mouse whose face is made out of brushed aluminum. It comes in silver, gold, rose gold, and space grey colors. It provides very basic functions (left and right click mouse buttons and a scroll wheel/middle click button). It doesn’t work well on my granite countertop where I do most of my work on my laptop, but it works well on all other surfaces that I have tried. When contrasting the Satechi mouse with my Logitech mouse, the Satechi mouse has a lot fewer features for the same price. However, in addition to its good looks, this mouse has a low profile and thus stores in my laptop’s travel case much better than any of my Logitech mice. I recommend this mouse if you only need basic functions and you really like the brushed aluminum look.
Price: $29.99
Where to buy: Satechi or Amazon
Source: The sample of this product was provided by Satechi.
Filed in categories: Reviews
Tagged: Wireless mouse
Satechi M1 Wireless Mouse review originally appeared on The Gadgeteer on July 2, 2019 at 8:00 am.
Note: If you are subscribed to this feed through FeedBurner, please switch to our native feed URL http://the-gadgeteer.com/feed/ in order to ensure continuous delivery.