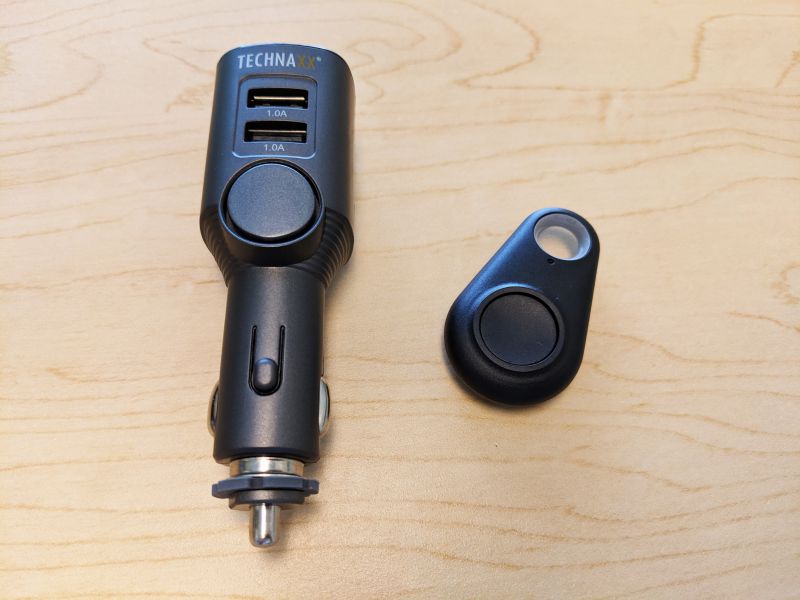
REVIEW – Andy reviewed the iOttie Easy One Touch Connect car mount almost 2 yrs ago and now iOttie has updated the Easy One Touch with Alexa. Let’s take a look.
What is it?
The iOttie Easy One Touch Connect is a car mount for your mobile phone that can be attached to your windshield or your dashboard and has built-in Alexa functionality.
What’s in the box?
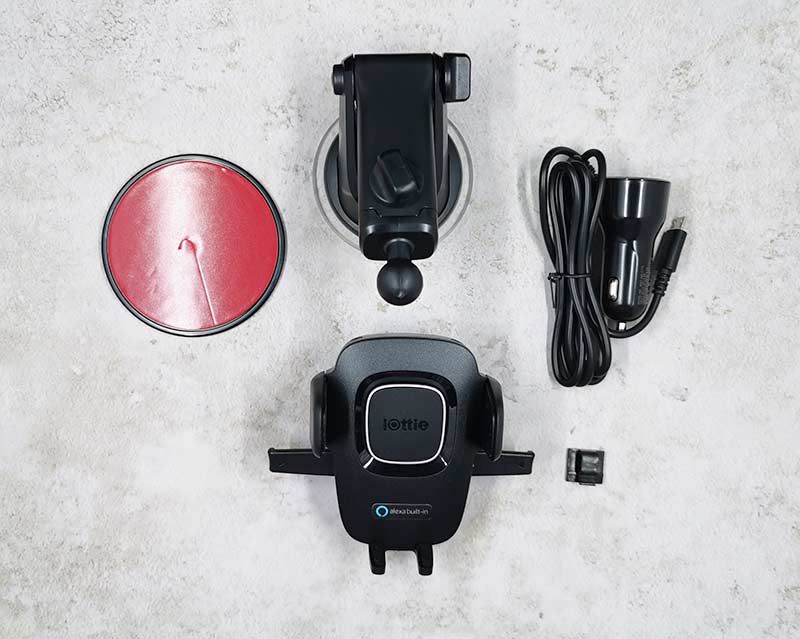
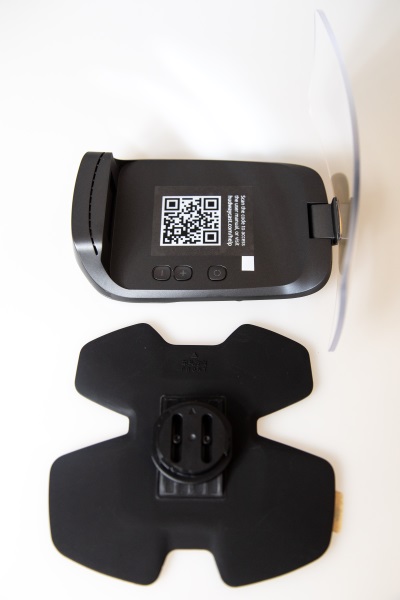
- iOttie Easy One Touch Connect
- Adjustable dash/window mount
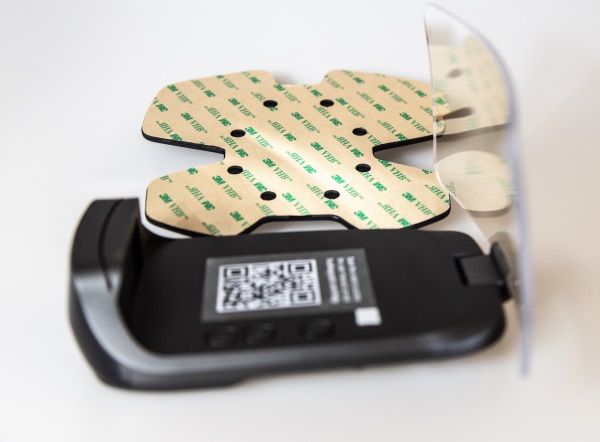
- Dash pad
- 12V power adapter with USB port
- Instructions
Design and features
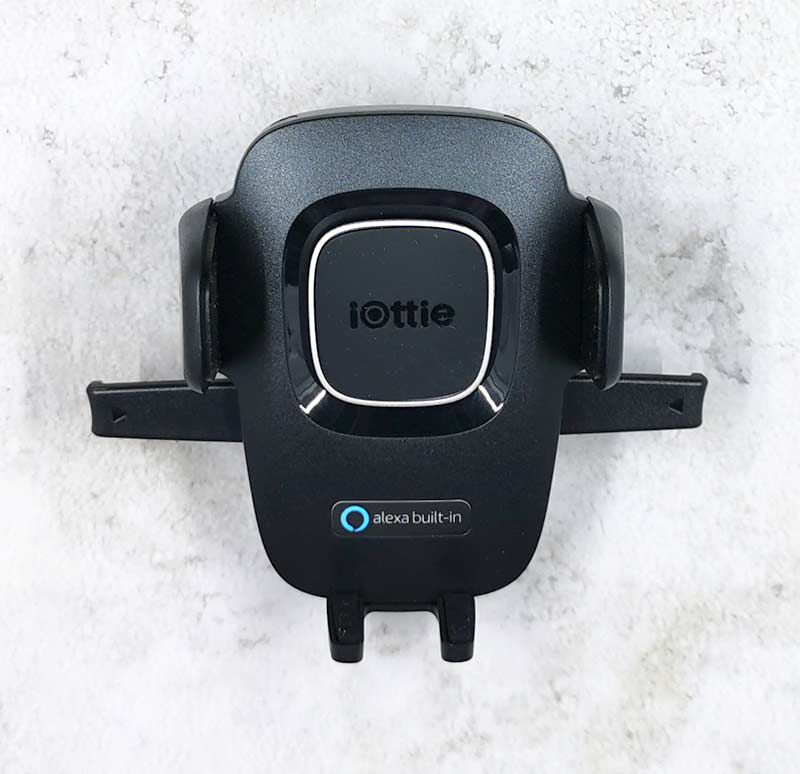
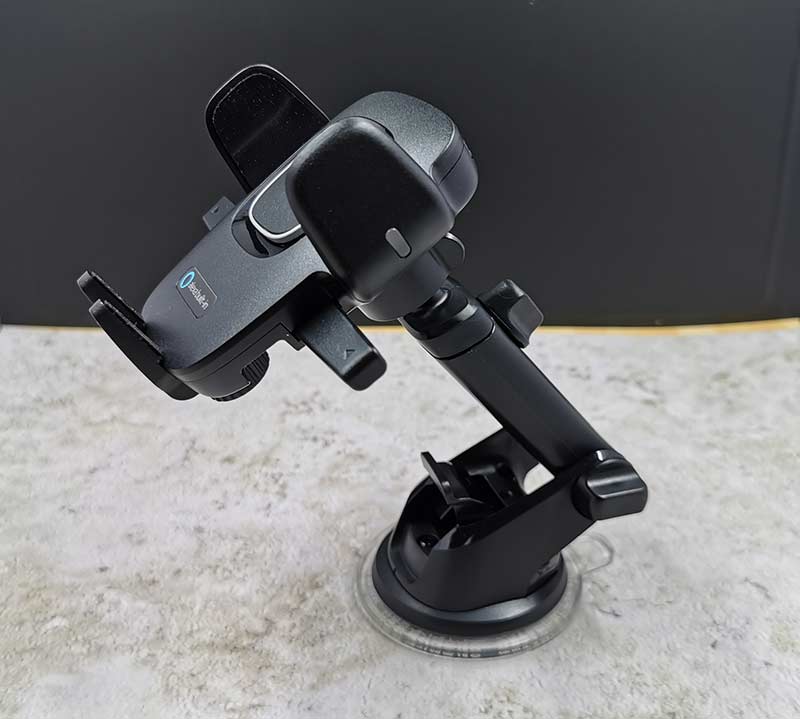
The phone holder features a one-handed mechanism that has two gripper arms that hug the sides of your phone, a “foot” rest for the bottom of your phone, and a rubber-covered backrest that doubles as the eject button. There are also two more arms on the sides that you squeeze to open the main gripper arms. See the video clip below that demonstrates how the mechanism works.

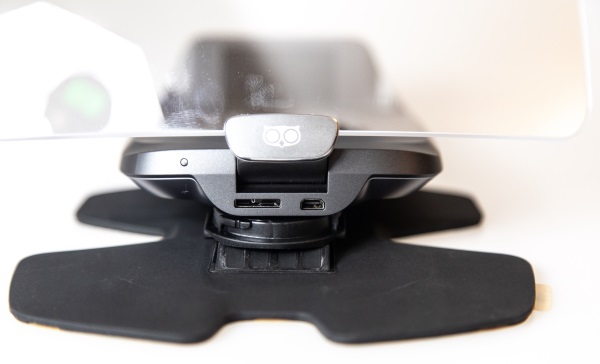
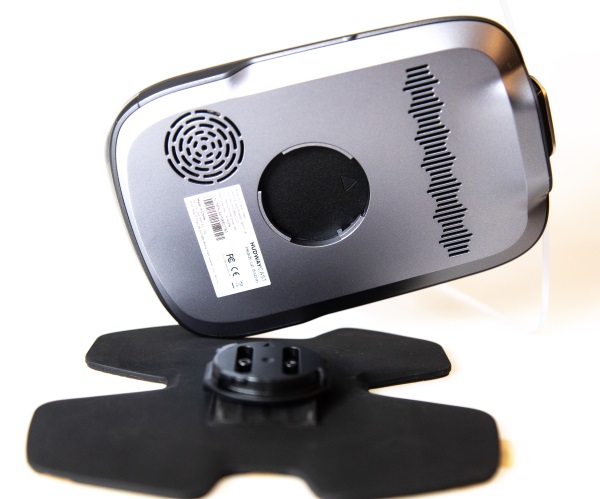
A view of the back of the iOttie shows the adjustable footrest at the bottom, the micro USB charging port above it, the adjustable windshield/dashboard mount arm connector in the center, and the microphone mute toggle button at the top.
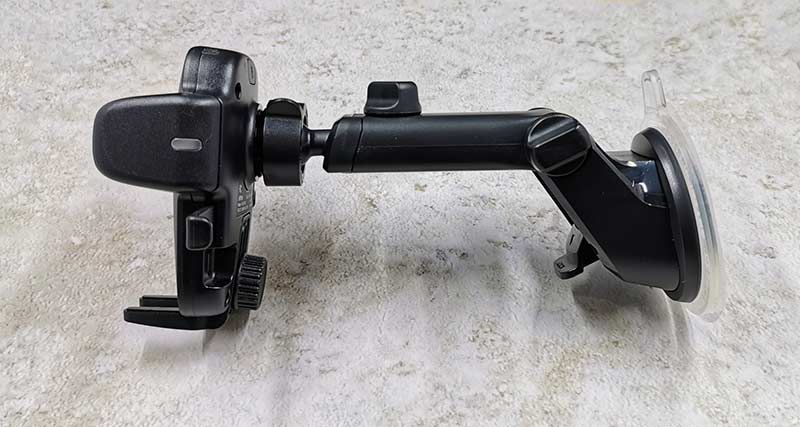
Attaching the iOttie phone holder to the adjustable mounting arm is as easy as loosening the collar around the connector, snapping the mount in place and tightening the collar again.
The mounting arm has two adjustment points that allow you to customize the length and angle of the arm. In the image above, the arm is at its smallest length.
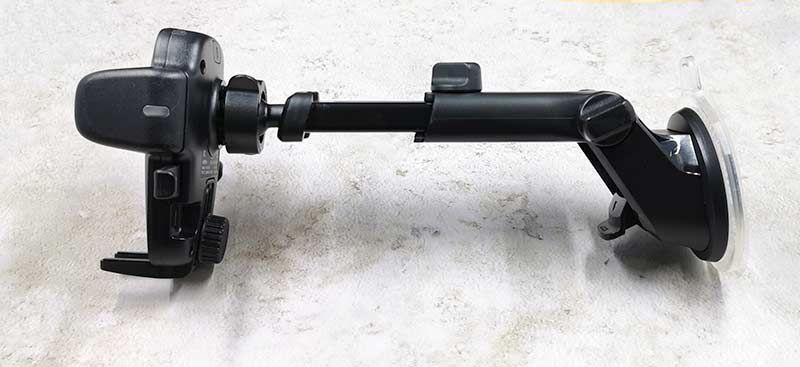
Now we see the arm fully extended. A thumbscrew on the center of the arm allows you to customize the arm to the desired length.

Another thumbscrew near the base allows for adjustment of the angle of the arm.
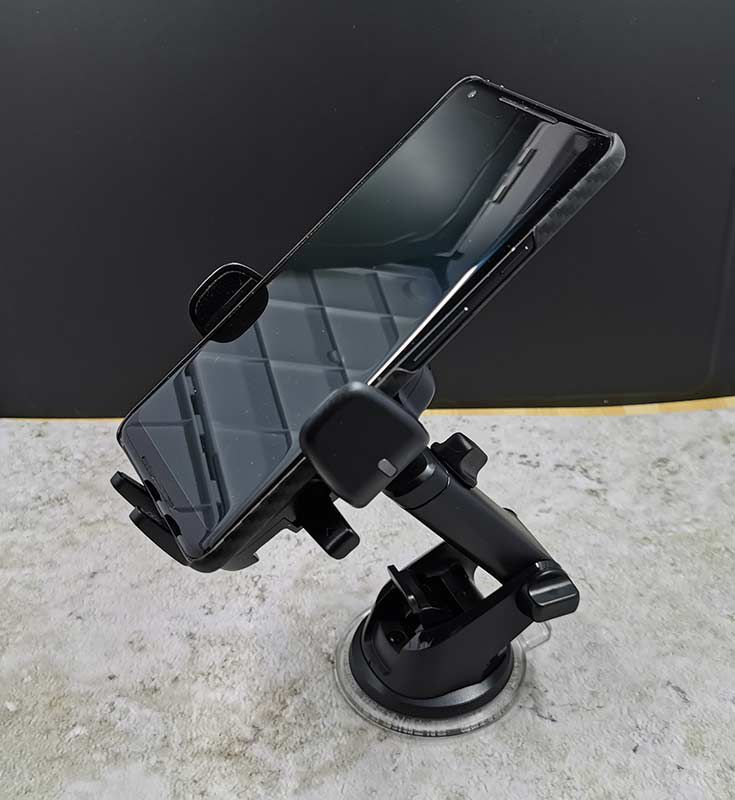
I tested the iOttie Easy One Touch mount with my Huawei P30 Pro. The gripper arms had no issues accommodating it or my Pixel 2XL shown in the image above (I was using the Huawei P30 Pro to take the pics). In the image, you’ll also notice that there are LEDs built into the gripper arms. These LEDs provide a visual cue when interacting with Alexa.
Installation
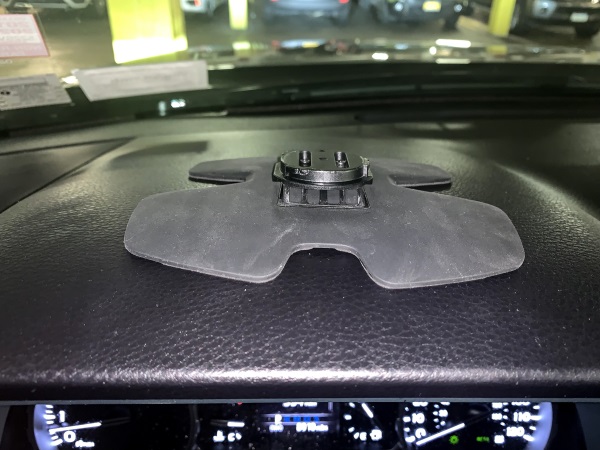
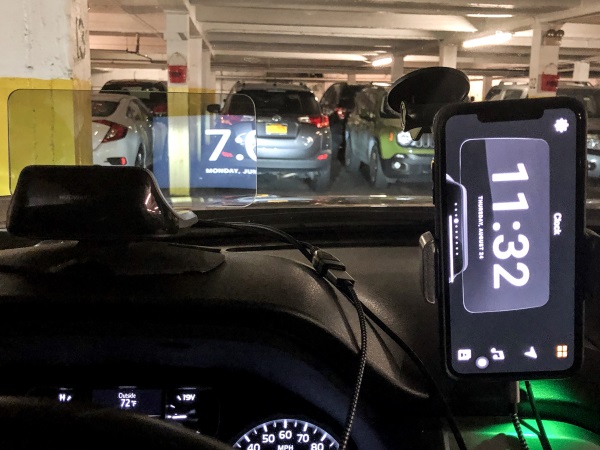
I drive a 2013 MINI Cooper S and didn’t think that I’d have an issue attaching the iOttie mount in my car when I agreed to review it. I knew I wasn’t going to be attaching the plastic mounting pad on my dashboard because the thoughts of sticking something with adhesive to my dash makes me a little queasy. I figured attaching it to my windshield would be no issue because I review dashcams all the time.
Unfortunately, my car is so small that there really wasn’t a good place to put the mount where it wouldn’t interfere with my view of the road. I ended up just stuffing it in one of my cup holders during the testing phase.
Alexa, can you hear me? Alexa? Yoooooo hoooo, Alexa?
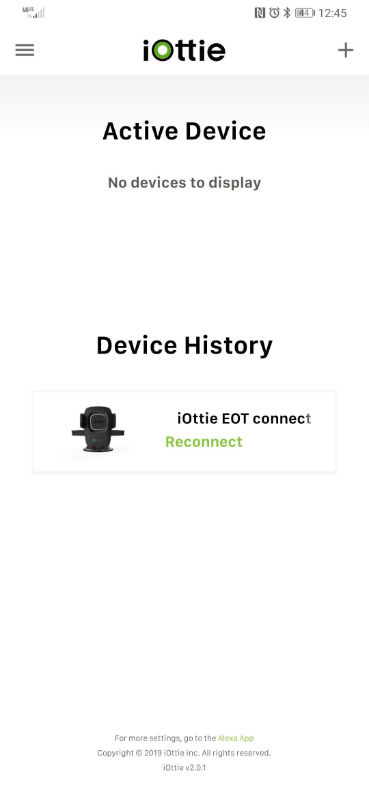
After you attach the mount to your windshield or your dash, the next step is to install the iOttie Connect app on your phone. The sole purpose of this app is to connect the mount to the Amazon Alexa app that you also need to install on your phone in order to take advantage of the built-in Alexa functionality.
And here we come to the biggest issue (besides the fact the mount can’t charge my phone) I have with the iOttie Easy One Touch Connect car mount. The Alexa feature just plain sucks. First of all, you have to have the Alexa app on your phone running in the background whenever you want to use Alexa “in” the mount.
I found that even with the app running, the connection between the mount and the app would rarely work without me fiddling with it for a few minutes. Most times the Alexa app would show that the iOttie was offline until I unplugged the 12V power adapter and plugged it back in. Or if I stopped and restarted the Alexa app.
Then when it finally would start working, I would start my drive only for it to stop working at some point during the trip. At least that was my experience many times during my testing of this product. Frustrating for sure.
When the Alexa feature was working, all I had to do was say “Alexa”, and the LEDs on both gripper arms would glow blue and I would hear the iconic Echo tone letting me know that I could give my command to Alexa.
See that’s the thing, the iOttie mount is really just an extra microphone so that you can leave your phone in your bag or pocket. It’s not like a self-contained Alexa device like an Amazon Echo. You have to have your phone for the internet connection AND for the audio which you should setup to go through your car’s Bluetooth.
In all honesty, it is less of a hassle and expense to just leave my phone on the car seat next to me with it paired to my car’s Bluetooth and run the Alexa app on the phone.
See it in action
What I like
- Easy to mount and unmount device with just one hand
- Built-in microphone allows you to leave your phone in your bag while interacting with Alexa
What I’d change
- Add wireless charging capability
Final thoughts
As a vehicle mount, I like the easy one-handed operation of the iOttie. But the fact that it lacks wireless charging capability when it is priced at $70 and the problems that I had with the built-in Alexa feature has me unable to give my recommendation as a good buy. Even if the Alexa feature was reliable, I’d still think this mount is a bit overpriced. Sorry iOttie.
Price: $69.95
Where to buy: Amazon
Source: The sample for this review was provided by iOttie.
Filed in categories: Reviews
Tagged: Alexa, Car Gear, Device mount
iOttie Easy One Touch Connect car mount with Alexa review originally appeared on The Gadgeteer on July 25, 2019 at 11:00 am.
Note: If you are subscribed to this feed through FeedBurner, please switch to our native feed URL http://the-gadgeteer.com/feed/ in order to ensure continuous delivery.
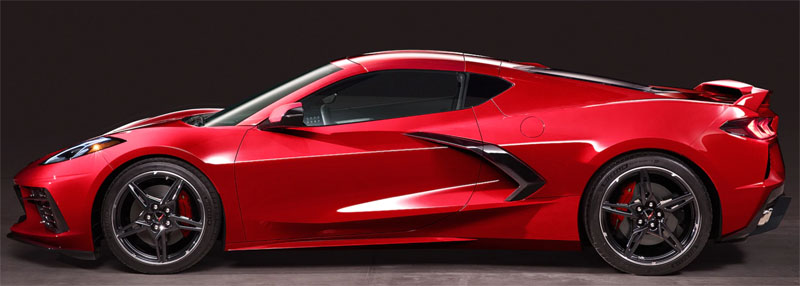
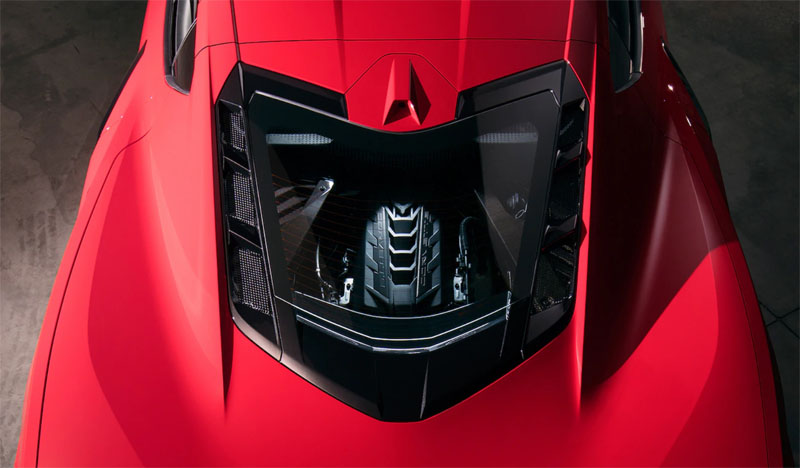
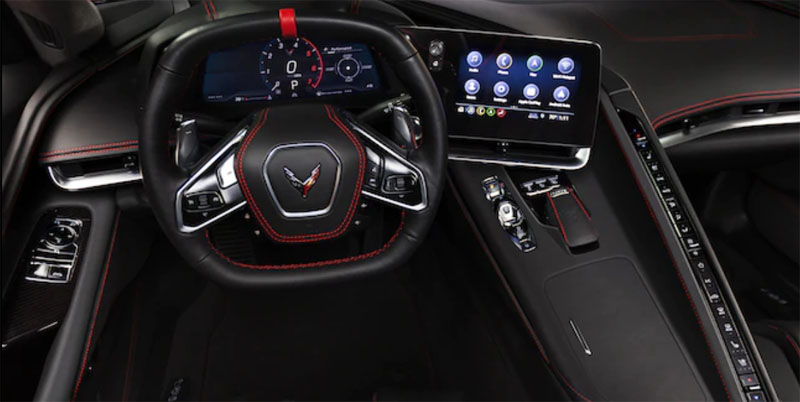
 NEWS – Chevrolet has finally announced the long-anticipated 2020 Corvette with a brand new mid-engine design. Moving the engine behind the seats changes the overall weight and balance of the vehicle for better overall performance. This has long been the case in exotic supercars like Ferrari and McLaren for the well-healed that can afford $100K – $250K or more for their daily driver.