REVIEW – The Internet of Things (IoT). That’s the term applied to essentially all connected devices that bring us the ability to control various items via connected apps on our PCs, tablets, and phones. As soon as we do that, we open potential doors into our networks for bad guys to hack in and do nefarious things. What to do, what to do?
HighIot, an Isreali-based security company, developed Akita to help address that issue.
What is it?
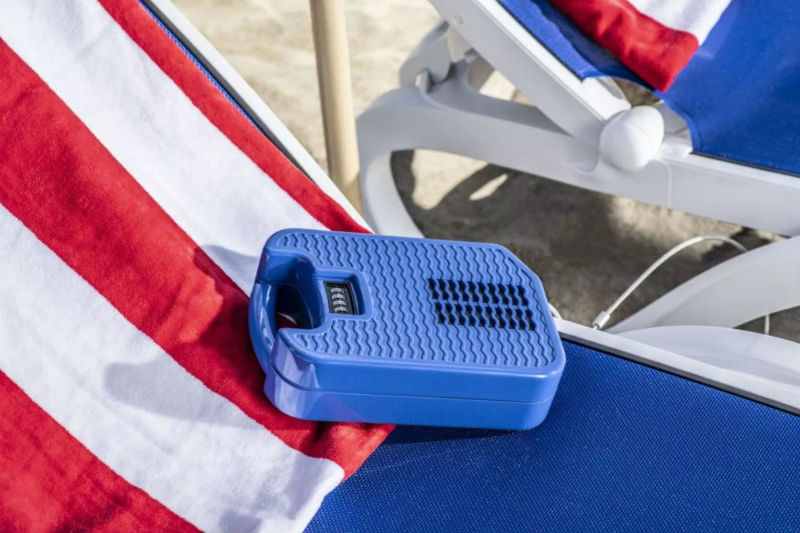
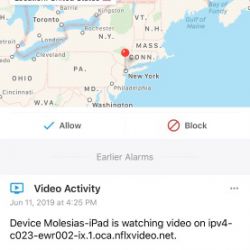
Akita is a small, stylish device that you connect to your network. It then discovers your Wi-Fi IoT devices and watches them for unusual traffic. If Akita detects anything odd, it immediately shuts down the affected device and alerts you.
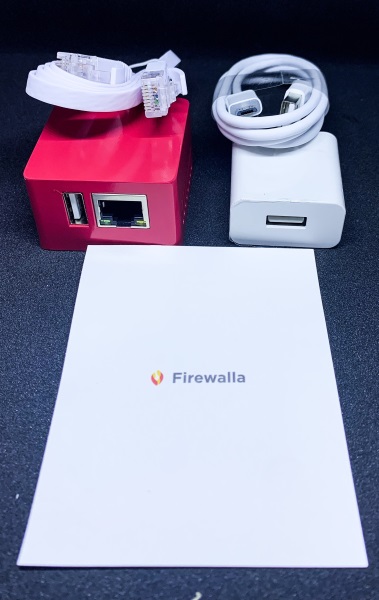
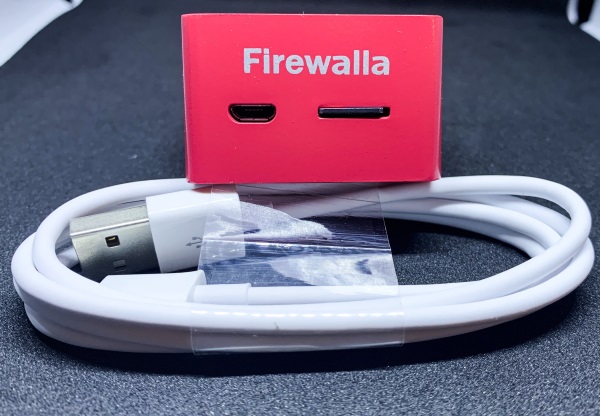
What’s in the box?
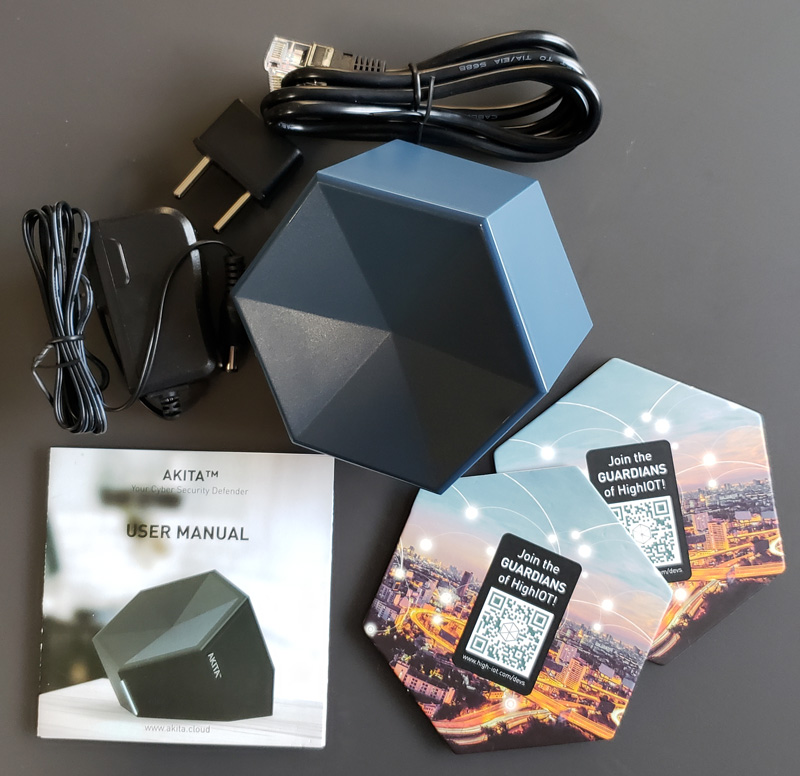
- Akita device
- Power cord
- International power cord adapter
- Ethernet cable
- User manual
- Two cardboard coasters
Hardware specs
- Dimensions: 3.6″ L x 3.6″ W x 3.1″ H
- Weight: 9 oz
- Connectivity:
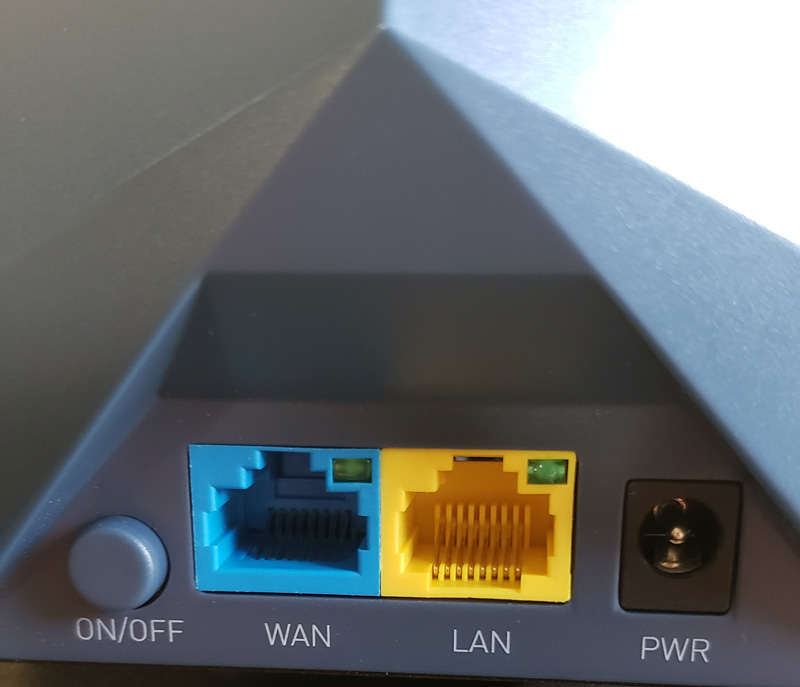
- 1 RJ45 Ethernet WAN port (not used)
- 1 RJ45 Ethernet LAN port
- IEEE 802.11b/g/n dual-antenna Wi-Fi
- Processor: Qualcomm QCA9532 650 MHz
- Memory:
Design and features
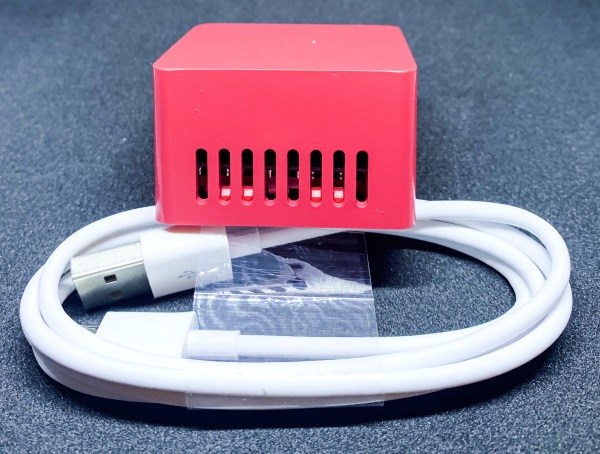
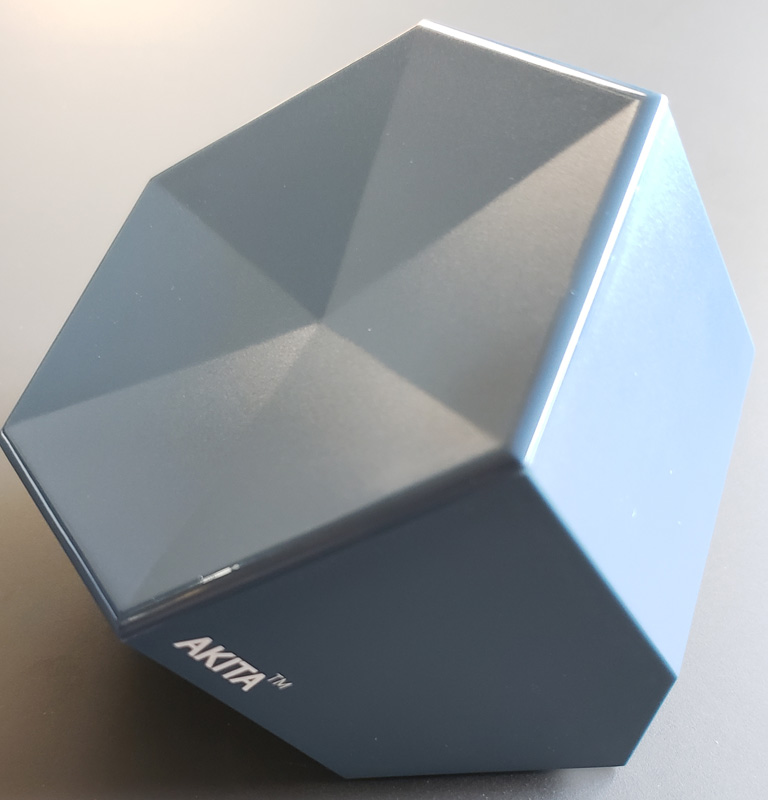
Akita is a hexagonal unit that comes in a semi-matte white or gray. I received the gray version.
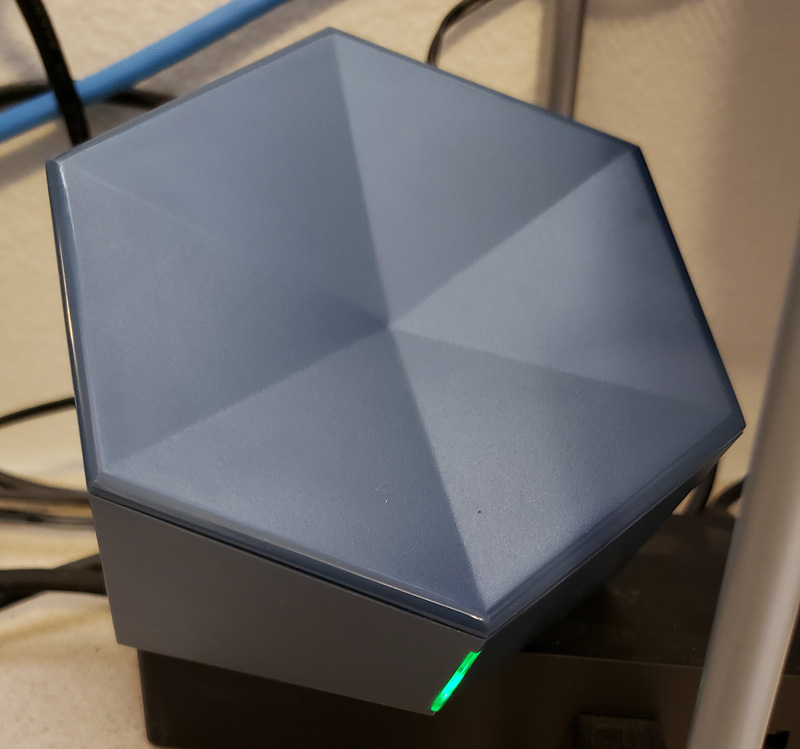
The front vertical edge holds the status LEDs that flash green or blue, depending on the operational mode.
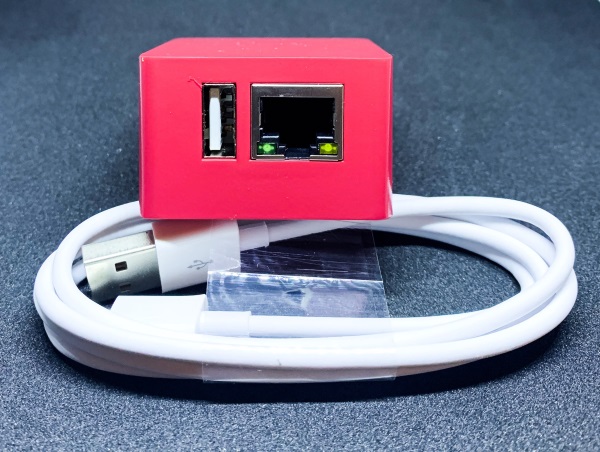
The back of the unit has the LAN and WAN ports, power port and power switch.
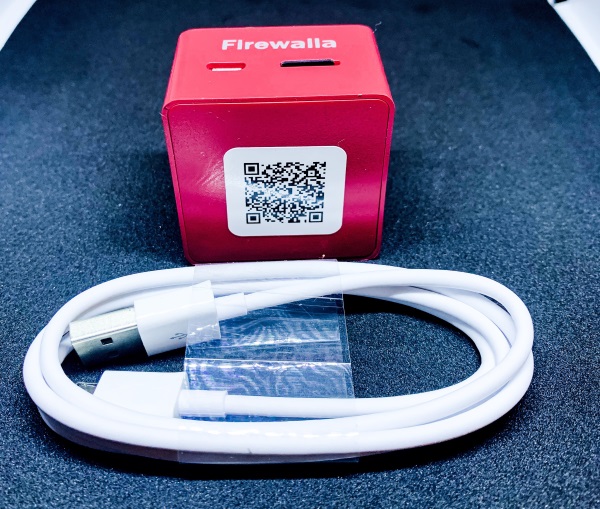
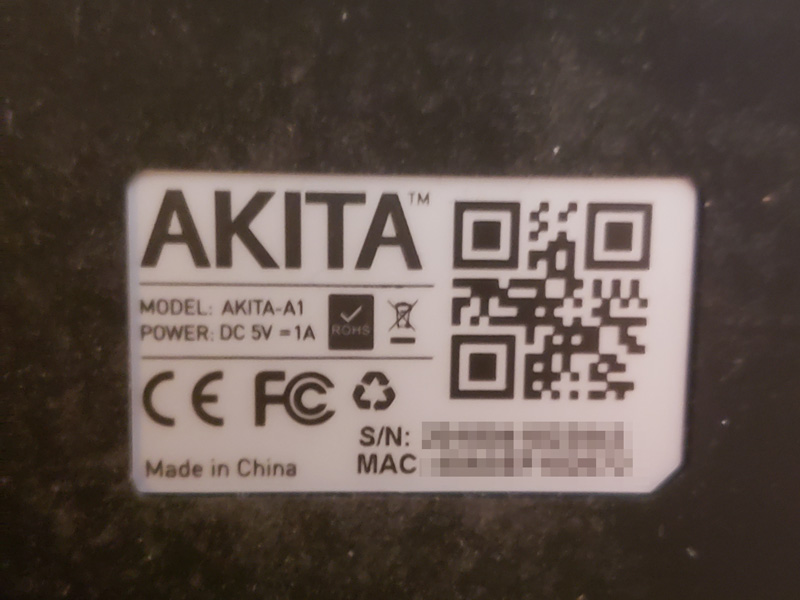
On the bottom, we find the product label. That label has the serial number needed for setup, the MAC address and a QR code for the serial number, plus all the usual product info. I masked the MAC address, and inadvertently masked the serial number as well.
Setup
Setup starts out pretty standard and as billed as 60-second simple. Install the app (IOS or Android), plug the Ethernet cable into Akita and your router, plug in the power cord, turn on Akita, scan the QR code on the bottom or manually enter the serial number and *BOOM* you’re online and protected. It was at this point that everything came crashing down for me.
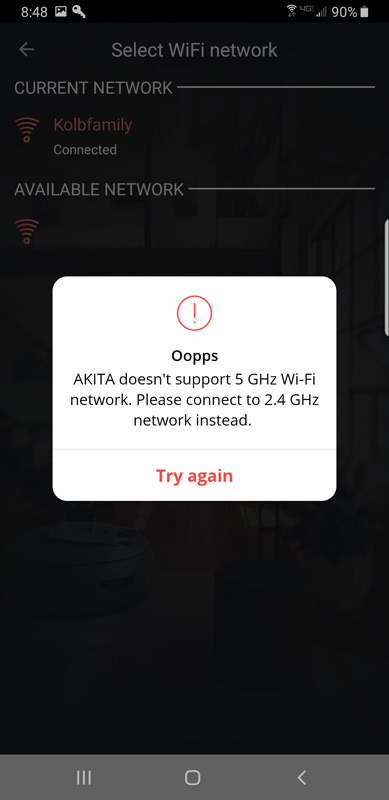
I use an eero mesh router for my home network. It has a main router plus two wireless remote routers that connect to each other to blanket my house in strong Wi-Fi. They broadcast on both 2.4GHz and 5GHz frequencies, and seamlessly hand supported devices between the two bands depending on signal strength. 2.4GHz is stronger and longer-range yet slower than the shorter range 5GHz. They accomplish this with a single service set identifier (SSID), otherwise known as your wireless network name.
I tried everything, but since my phone automatically connects to the faster 5GHz band, and I have no option to force it to 2.4GHz, I was dead in the water.
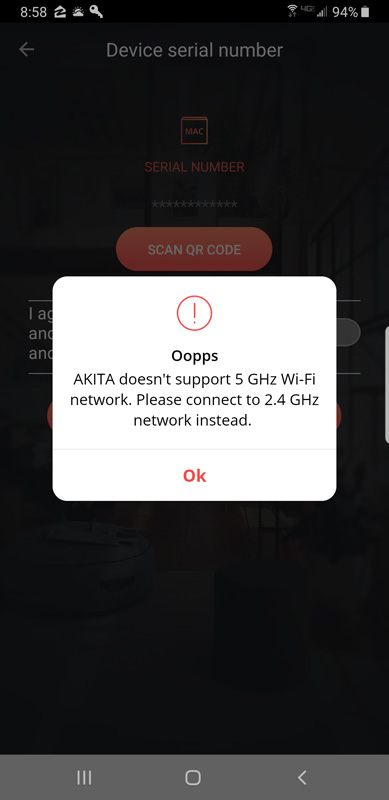
After contacting Akita support, I waited. I waited for six days. Then, I finally got a reply asking me for my Akita serial number. I replied with that, and within an hour, I got a reply. They were able to remotely activate my Akita and confirmed that it was my eero that was causing the problem. They asked me to go into the app, click on my network and provide the password to allow Akita to start monitoring the Wi-Fi devices. *BAM* – roadblock #2.
After another back and forth with support, all done very quickly, I was told to click anywhere but on the “Oopps” [sic] window. When I did, it went away and I was able to click on my network and add the password. Then…
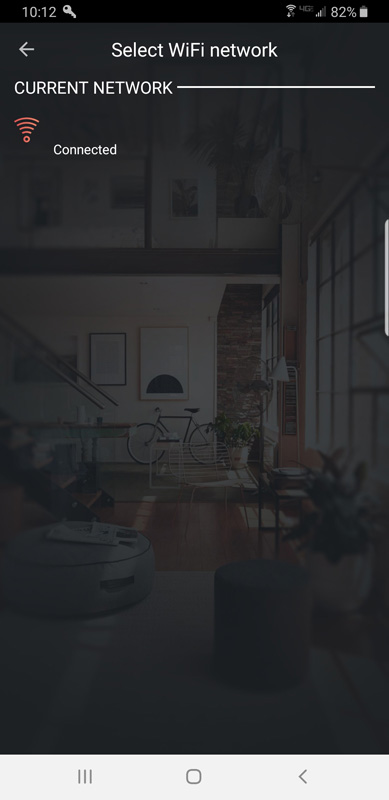
My network name disappeared. It was there, but the name was gone. Another e-mail exchange with Akita and they were able to restore it. They said it was expected behavior. Odd.
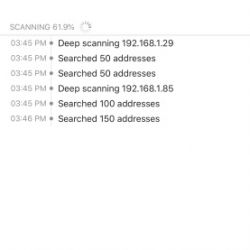
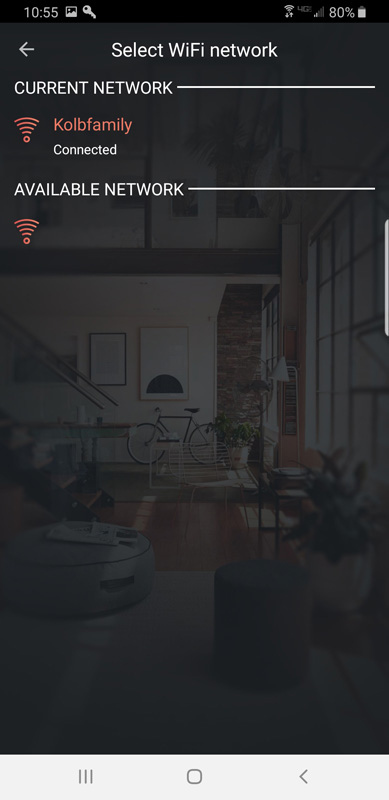 So, I was finally online. The lights started switching from green to blue and back, indicating that Akita was looking for IoT devices on my Wi-Fi network.
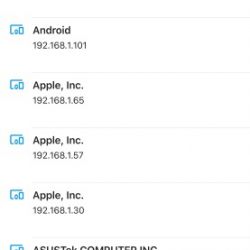
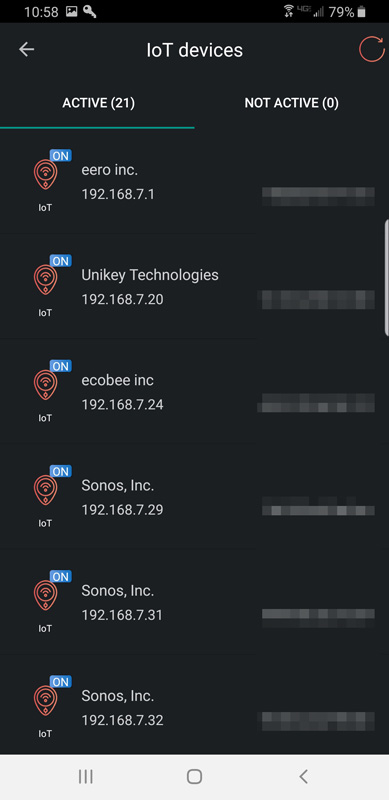
Akita quickly found 21 devices connected to my network – again, I have blurred the MAC addresses.
Unfortunately, right after that, my eero received a firmware update and rebooted. Timing is everything.
Tech support did report that Akita hardware is limited to 2.4Ghz and can’t connect to 5Ghz networks, however, Akita uses 2.4GHz to connect to the network and will monitor 5GHz devices as long as both SSIDs are on the same subnet. They further reported that initially Akita was not designed nor advertised to support mesh networks and 5 GHz bands. They just updated Akita software several days ago to support mesh networks and hidden SSIDs. Again, timing is everything.
Performance
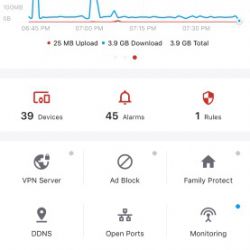
Now that I am online and Akita ultimately discovered 36 devices and has reverted into monitoring mode. Opening the app, we see the status screen.
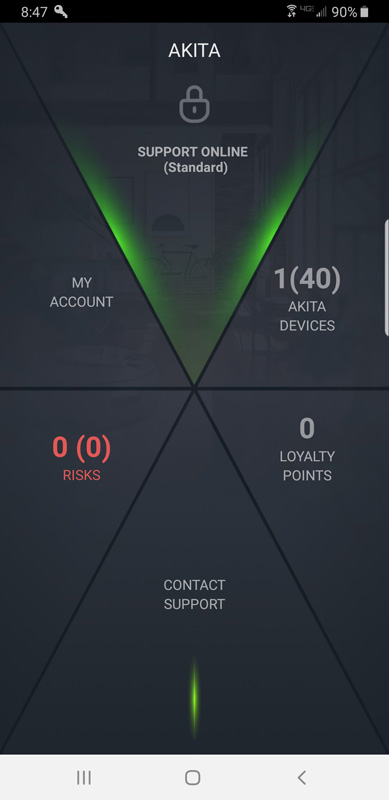
The visual layout of the screen resembles the hexagonal shape of the Akita itself. Each of the six buttons is clickable. Clicking the top support button brings up the support subscription window.
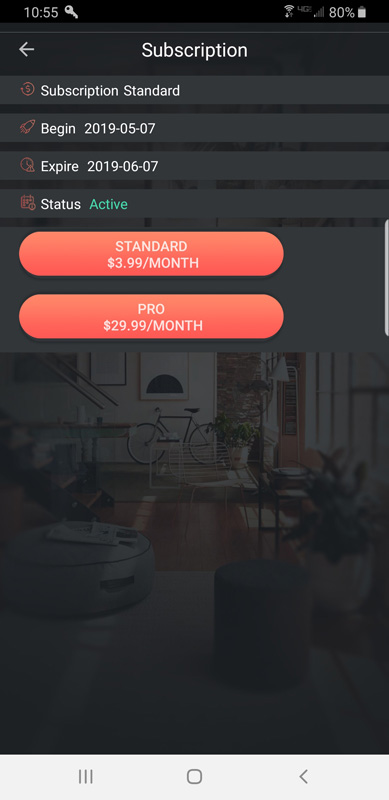
Akita offers three support options:
Free – Active protection for your Smart Home
- $0 / month
- Network status report
- Vulnerabilities list
- Critical alerts
- Monthly network security report
Advanced Protection – Human assistance and enhanced protection
- $7.99 / month
- Now available for only $3.99/month*
*Limited to the first 1,000 subscribers
- All Free features plus
- Human assistance to help you solve the security issues discovered by Akita
- Constant monitoring for unusual activity
- Cutting-edge botnet attack protection
- Real-time abnormal behavior alerts
- Router security verification
Full-Service – Fully customized professional support
- 29.99 / month
- All Advanced Protection plan features plus:
- A dedicated network security expert who will solve the security issues discovered by Akita for you
New users get one month of Advanced Protection included. Oddly, the website calls the two paid levels “Advanced Protection” and “Full-Service” but the buttons in the app call them “Standard” and “Pro”. There is no mention of the free level in the app, only the paid levels.
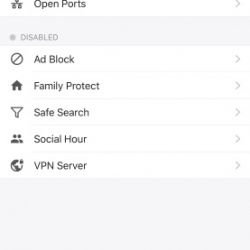
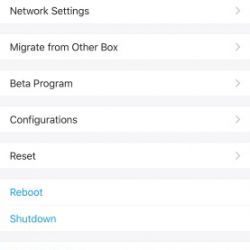
Clicking on the Akita devices button brings up your device.
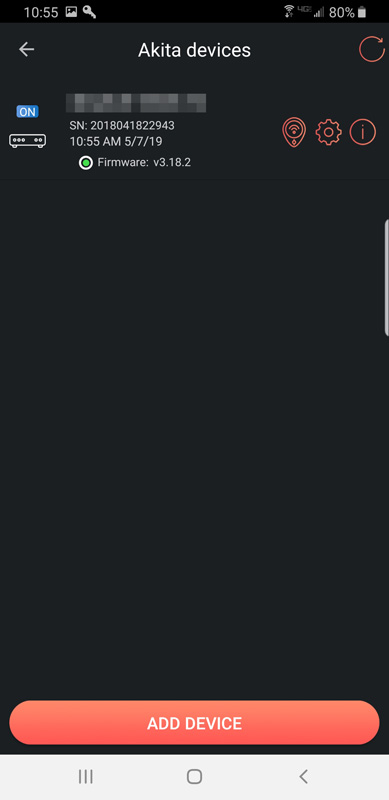
Here you can add more Akita devices – I think that is more of a business thing than a home user thing. You can also see your Akita and get to the settings screen. The settings screen only shows the network and I showed that screenshot above. The left button is the connected devices button. That brings up the device screen that I also showed above.
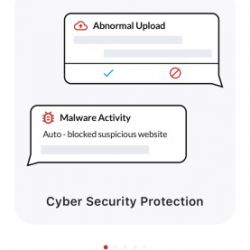
Clicking on the Risks button brings up the risks screen.
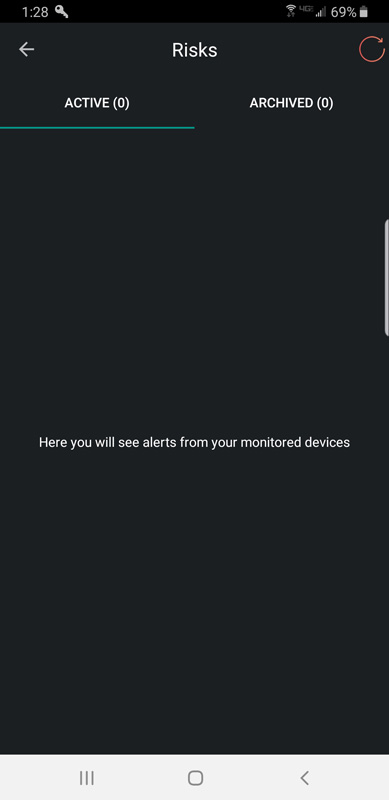
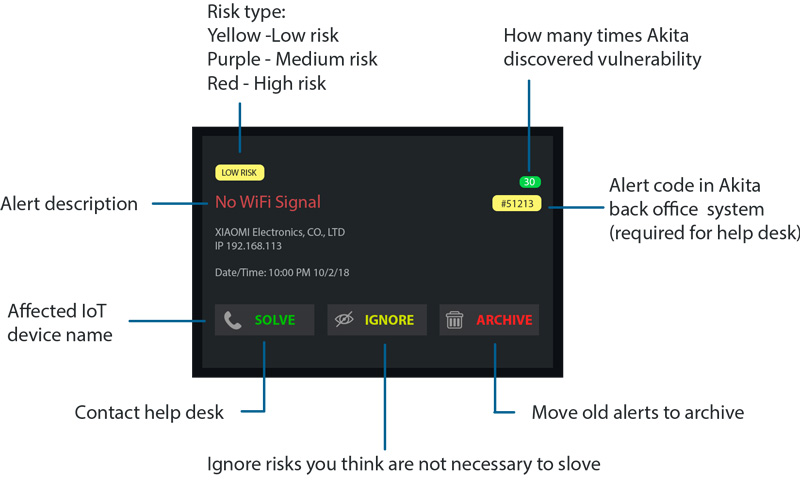
It’s pretty boring and that’s a good thing! If there were risks to report, for paid customers, it would have alerts like this:
The Account button brings up a screen where you can change your user name, subscription level and enable app notifications.
The Loyalty button brings you to their loyalty screen where you can earn points or use points. Both options take you to Akita’s website with no further information. This looks like a future feature.
The Support button brings up a pop-up window with a link to call support.
Other items of note:
From Akita’s website:
Akita protects WiFi devices only. It does not operate on Zigbee or Z-Wave, but it will protect any WiFi-connected hubs/controllers associated with those systems.
So, if you have any of those devices as I do, those will remain unprotected. Lutron Caseta switches are a great example.
Akita has two types of reporting – a network status report and a monthly network security report.
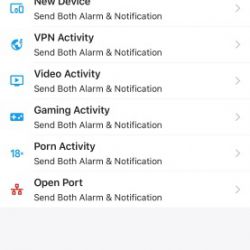
For paid subscribers, the initial and monthly reports are being delivered via email. In the mobile app, customers receive notifications(alerts) which explain what kind of vulnerabilities were found. Each alert has a “Learn” button which leads to the page with resolving procedures for each of vulnerabilities. Full-Service customers may give Akita experts access to their network, so they could resolve their issues remotely. Advanced Protection subscribers have human assistance via email. Paid subscribers will continue receiving emails from support until the vulnerabilities are solved.
Free subscribers get:
- Network status report – I have a copy of that below
- It shows the number of problems found, however, for free subscribers the report doesn’t point on exact problem and device affected
- Vulnerabilities list – Possible vulnerabilities list and ways to resolve them
- Critical alerts in mobile app
- Monthly network security report – Similar to the initial report, but this report contains information about the number of problems found in last two month with a comparison table, so customers can learn if they resolved the issues on their own correctly
Report
I received my first network status report and have copied below. I replaced the MAC addresses of my three eero routers with a description.
Dear Garry Kolb
This is your initial home network security and vulnerabilities report from Akita.
AKITA is protecting your home since 5/7/2019
Please find bellow initial report to provide a record of what work your Akita has done by far and the status of your home network.
|
Akita (SN: 2018041822943) workstream:
Routers (<mac addr1>, <MAC addr2>, <MAC addr3>) security verification
* See below problems description
Network traffic monitoring
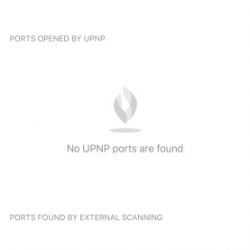
| Blacklisted IP Addresses |
N/A |
| Blacklisted ports |
N/A |
Network performance
| WAN connectivity |
Good |
| WIFI connectivity |
Good |
|
How to interpret your report
|
Parameters |
Good |
Bad |
| Router security verification |
WiFi password |
Strong |
Empty |
| Using default credentials |
No |
Yes |
| and more than 5 others … |
|
|
| Cyber Threat intelligence |
Third party#1 Scan result |
0/0 |
> 0/0 |
| Third party#2 Risk Level |
1 |
> 3 |
| Third party#3 Risk Level |
Not detected |
Detected |
| Third party#4 Risk Level |
Not detected |
Detected |
| WAN connectivity |
Average connection timeout |
< 300 ms |
> 300 ms |
| Average number of network errors per minute |
< 5 |
> 5 |
| WIFI connectivity |
Signal strength |
> -67 dBm |
< -67 dBm |
|
As you can see, it reported one issue but gives me no indication of what that issue is. It provides good and bad ranges for a variety of network parameters but provides no indication of what those values are for my network. To me, this report is essentially useless. Given that I was given a paid subscription for my first month, I am pretty disappointed with this report. Based on this report alone, the reporting is essentially useless. I know I have a problem, but don’t know what it is or how to deal with it.
The next day, I received a separate email with the following information:
We want to notify you regarding compromises in your network security. AKITA found several vulnerabilities on your eero router (<mac addr1>, <MAC addr2>, <MAC addr3>):
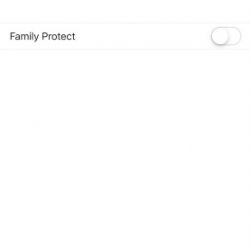
Enabled UPNP – Some models of routers have bad implementation of UPnP. This makes your router vulnerable. Such vulnerability can help hackers change DNS setting on router. After that all devices on a LAN can be routed to a phishing site, a ransom demanding page or even encrypt your files.
The malware located on any device on the LAN can initiate as many outgoing connections to its server as it wants. If the router has UPnP enabled it means that it would trust any outgoing connections and allow to forward a port. Thus the malware would be able to bypass the router, establish a connection with malicious server and as a result provide a permanent access to your computer.
In eero routers UPNP enabled by default. If you’d like to turn it off, toggle the slider so it’s no longer green.
Based on that email, I did disable UPnP. Since my issue count was “1”, my expectation is that this resolves all identified issues with my network. So, the combination of the report and the email does add value, but they came a day apart.
Akita does state that for paid customers, they will continue to reach out to them on critical issues until they are resolved.
What I like
- Nice visual design
- Easy physical connectivity
- Easy setup process, although it didn’t work for me
- It did identify a potential vulnerability in my network
What needs to be improved
- Inability to connect to 5GHz networks
- Support for more than Wi-Fi devices
- Better support for mesh networks with single SSIDs
- More responsive tech support – waiting six days was pretty bad
- Once they made contact, further contacts did come quickly
- Reporting alone conveys almost no information at all and requires a separate, follow-up email to be useful
Final thoughts
Akita is an interesting device. For users with a more straightforward network than mine, setup should be really simple. Akita does monitor and find vulnerabilities, as it did on my network. The amount of information you receive about those is determined by whether you opt for the free subscription or pay $3.99 (if you’re in the first 1,000 subscribers) or $7.99 per month, or more for the full-service support option.
Is it worth it? That’s up to you. Is insurance worth it? That all depends on how much risk you want to take on yourself. And that’s what Akita essentially is – insurance. If nothing ever happens to your network, then Akita is a total waste of money. Kind of like fire insurance is a waste of money if your house never burns down. But, we carry insurance to ease the pain of a catastrophic loss. Akita goes one step further by working to prevent that kind of loss on your network by proactively identifying vulnerabilities and also by turning off access to compromised devices.
Price: $99
Where to buy: Ingiegogo
Source: The sample of this product was provided by HighIoT.
Filed in categories: Reviews
Tagged: Network, Security
Akita connected home Wi-Fi security watchdog review originally appeared on The Gadgeteer on May 15, 2019 at 11:00 am.
Note: If you are subscribed to this feed through FeedBurner, please switch to our native feed URL http://the-gadgeteer.com/feed/ in order to ensure continuous delivery.