REVIEW – I have been looking for a security camera for inside my front door. When the opportunity came up to review the Momentum Robbi, it seemed like a great fit. Was it? Read on!
What is it?
Robbi is a 1080P, plug-in HD video camera that connects to your network via Wi-Fi.
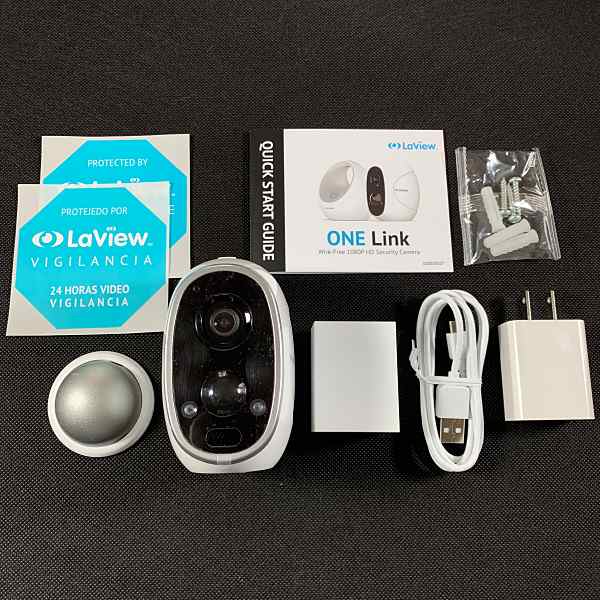
What’s in the box?
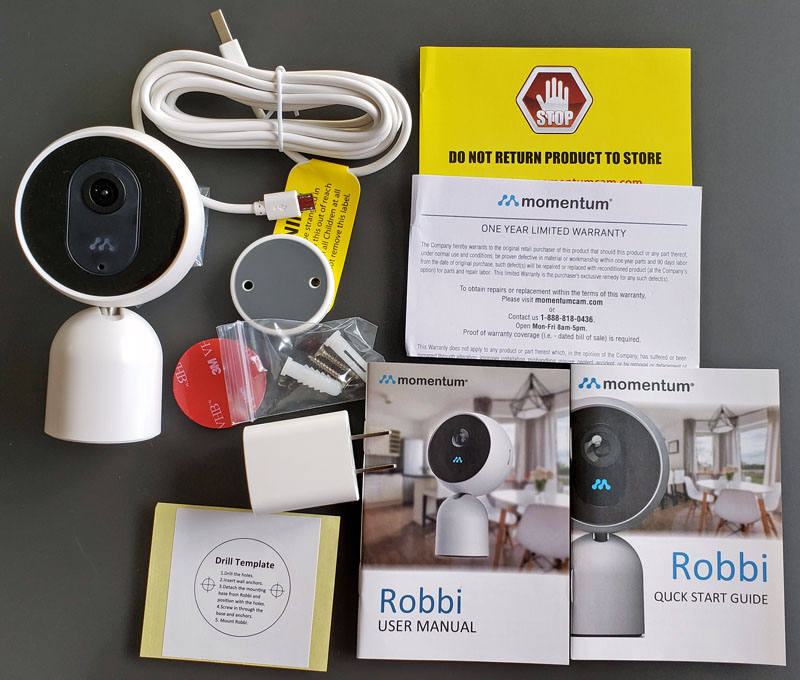
- Robbi camera with articulated neck and magnet base
- Plug-in USB power adapter
- 8-foot USB-A to micro-USB cord
- Mounting disk with magnet attachment to Robbi
- 3M adhesive mounting disk
- Wall anchors and screws
- Drilling template for wall anchors
- Instruction sheet for how to handle returns/issues
- Warranty information
- User manual
- Quick start guide
Hardware specs
- Camera: 1080P Wi-Fi
- Field of view: 130° wide-angle lens
- Motion detection: adjustable sensitivity with push notifications
- Night Vision: infrared LEDs that illuminate up to 25 feet with automatic night vision mode
- SD card slot: Micro SD Slot (up to 128GB SD card)
- Connectivity: 802.11 b/g/n Wi-Fi connection @ 2.4/5GHz
- Audio: two-way audio
- Dimensions: 4.51” x 2.52” x 2.03” (h x w x d)
- Weight: 0.27 lbs
- Power: 5V DC
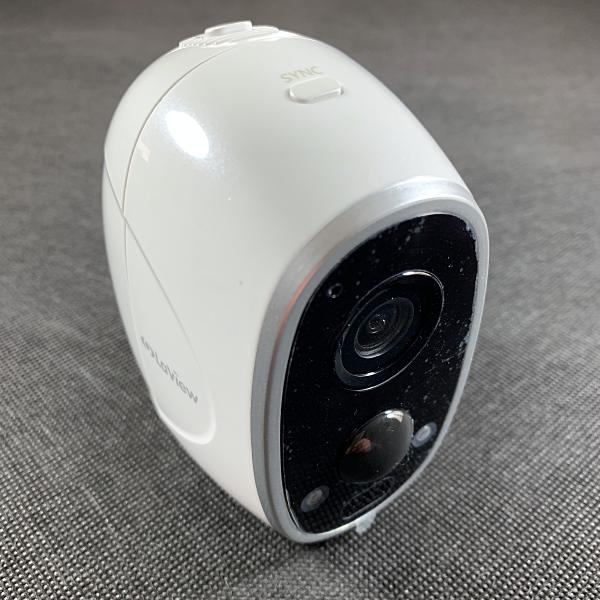
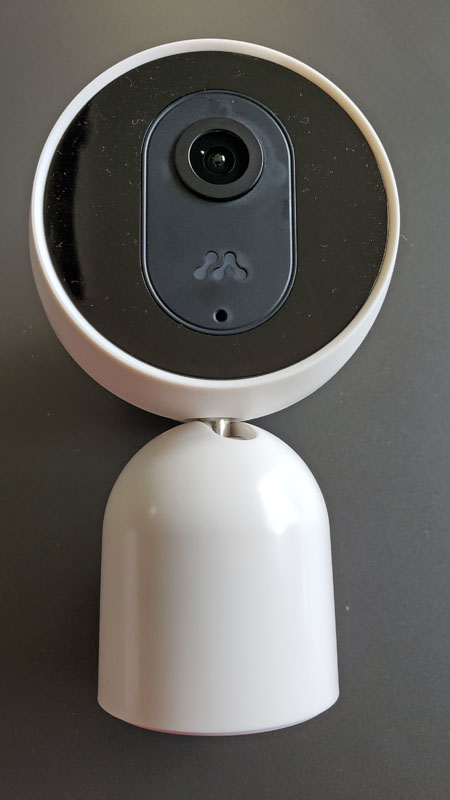
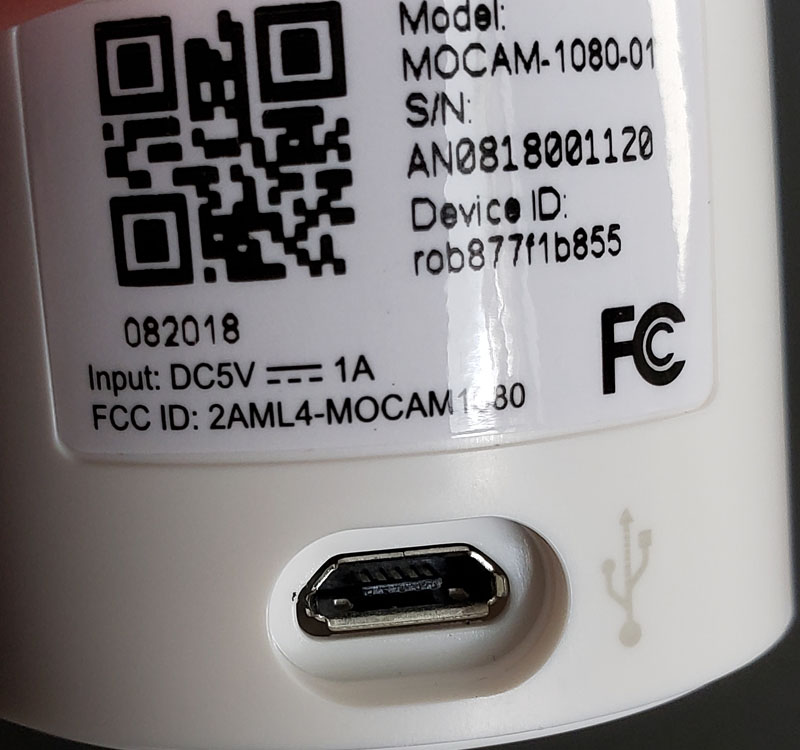
Design and features
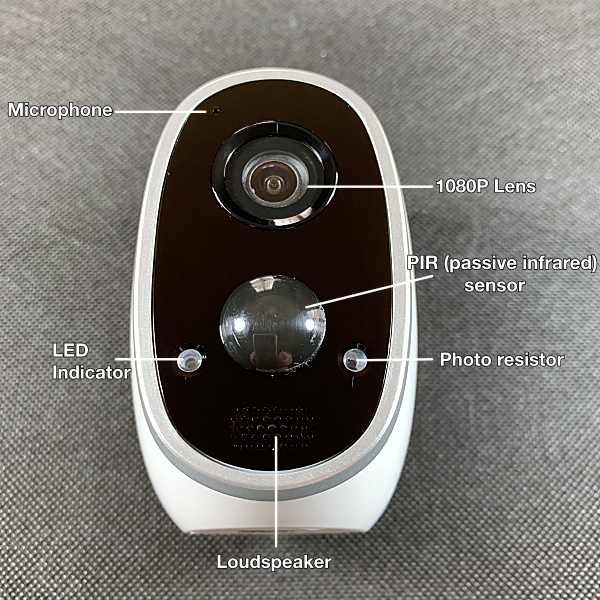
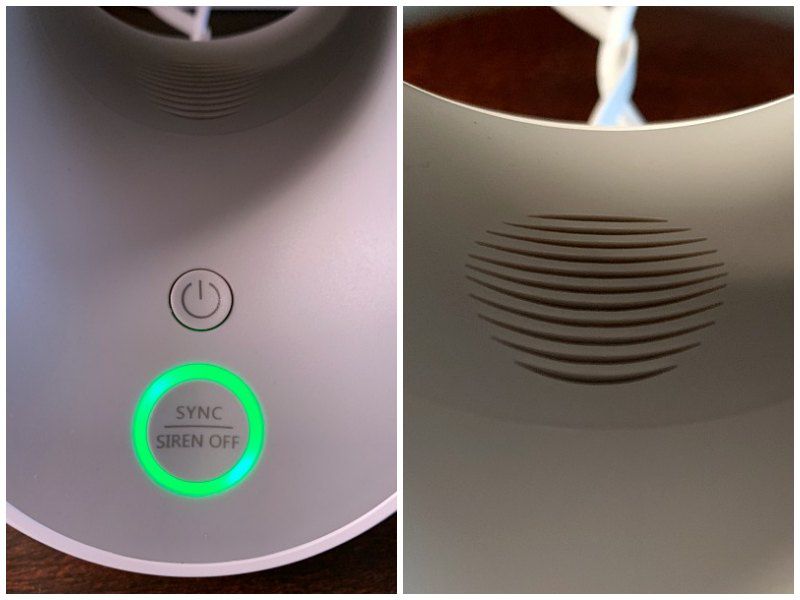
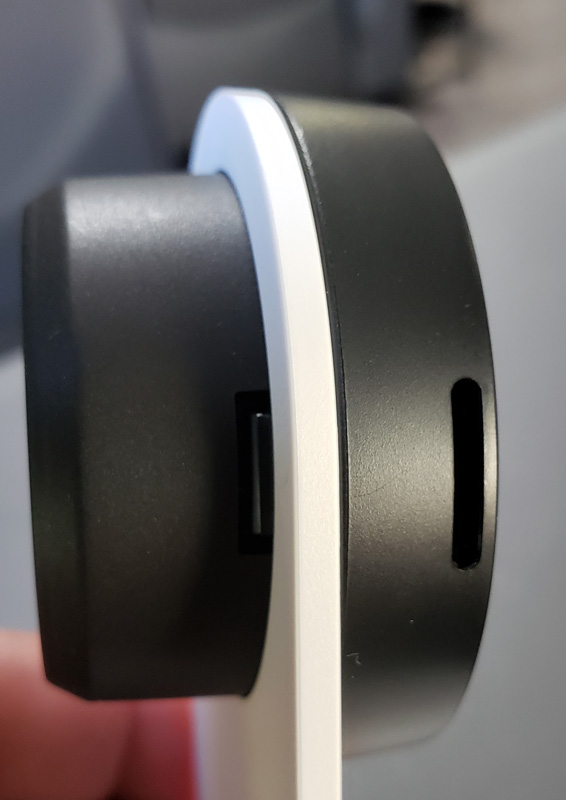
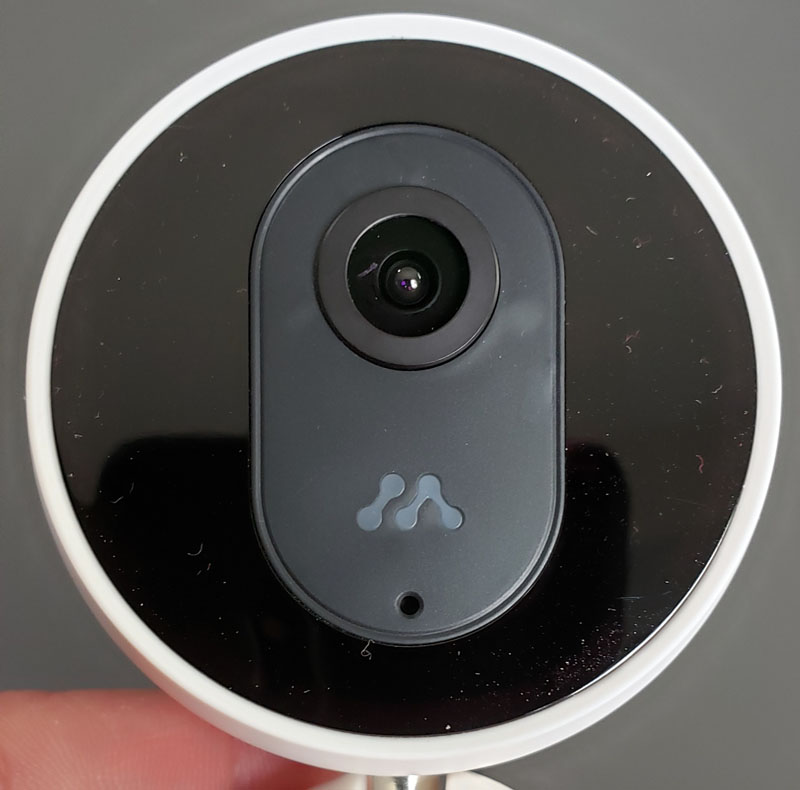
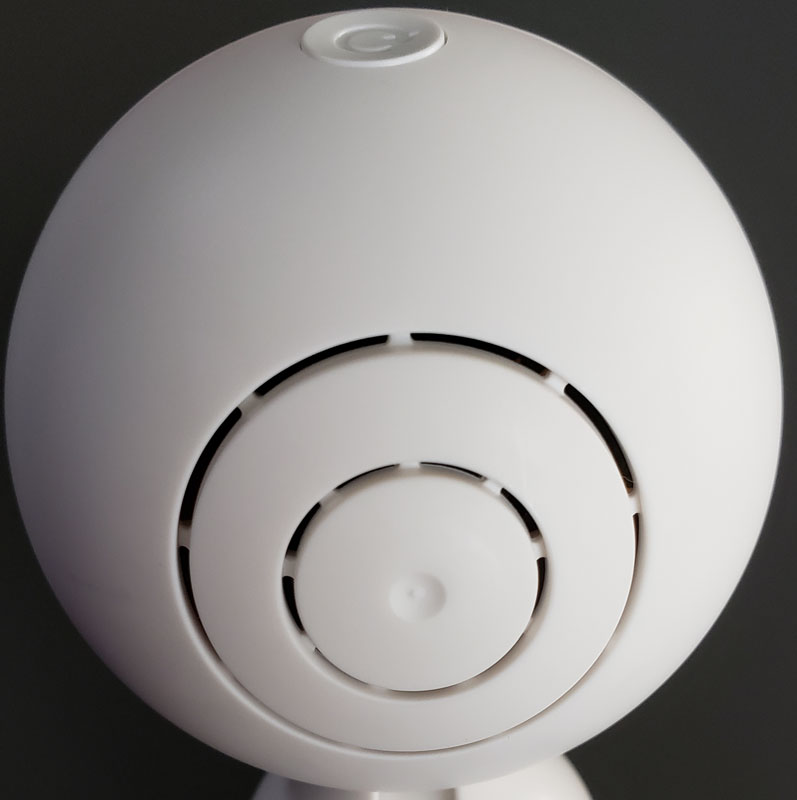
The Robbi camera is a pretty cute little camera. The face of the camera features the lens and a Momentum logo that lights for various statuses. It glows red when rebooting, blue when online, etc.
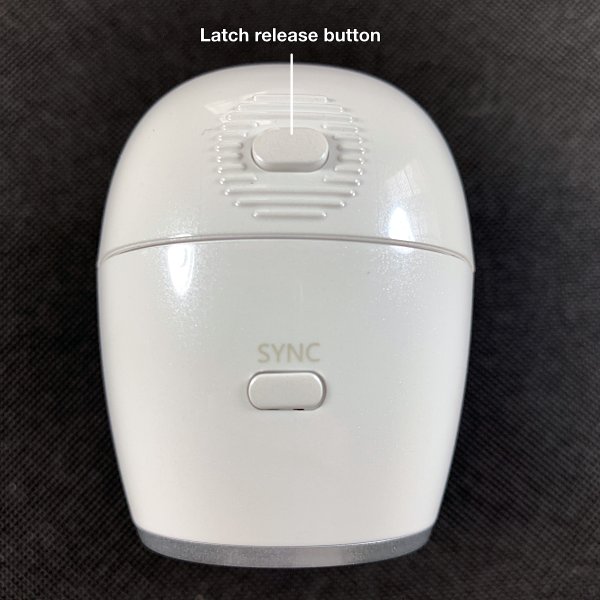
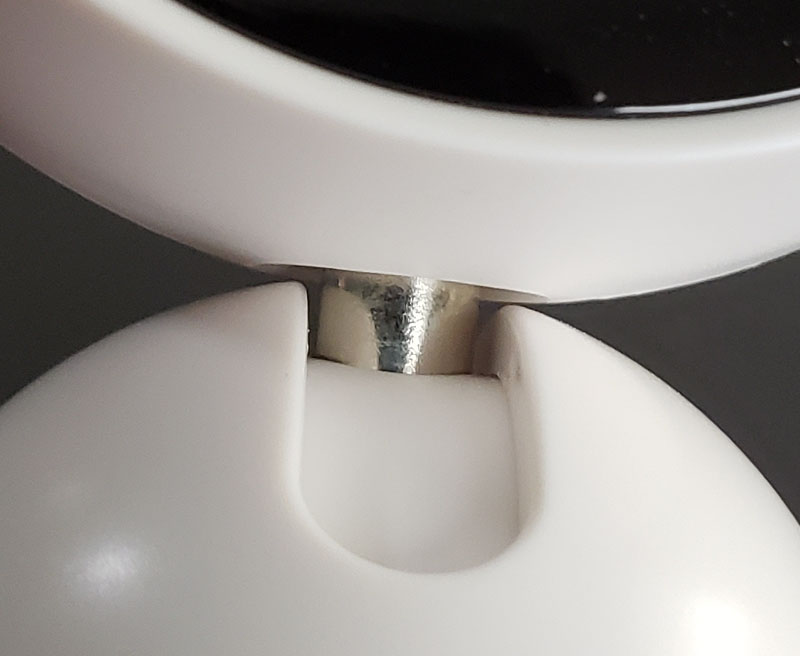
The top of the camera is mounted to the body with a metal rod that allows the head to both tilt and swivel. It’s a simple mechanism that works very well.
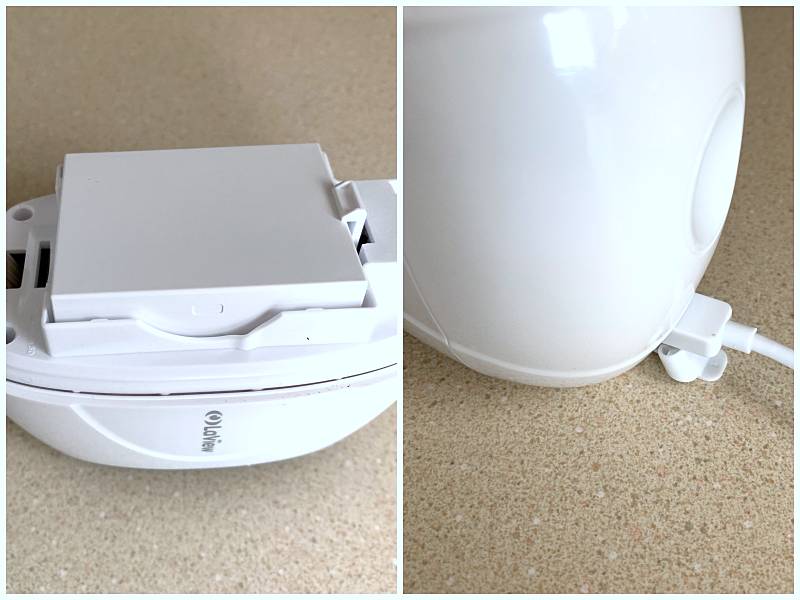
The bottom is magnetic so it will attach firmly to the magnetic mounting base. That base can be stuck to a surface with the included 3M mounting disk or screwed in place with the included wall anchors and drilling template.
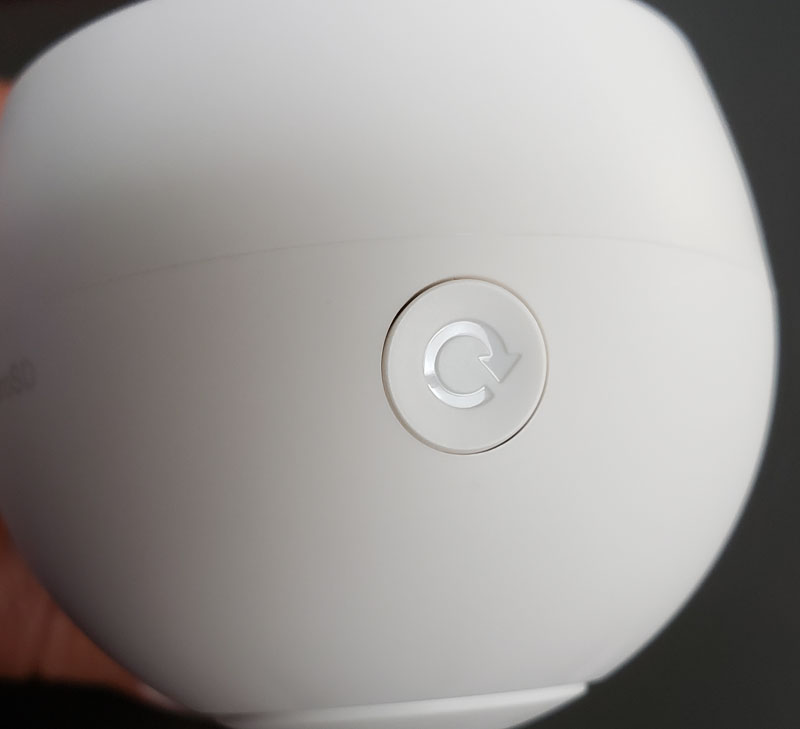
On top of the camera, we find the reset button, to be used in the event of a camera lock-up.
On the back is the speaker grill for the alarm and for two-way audio.
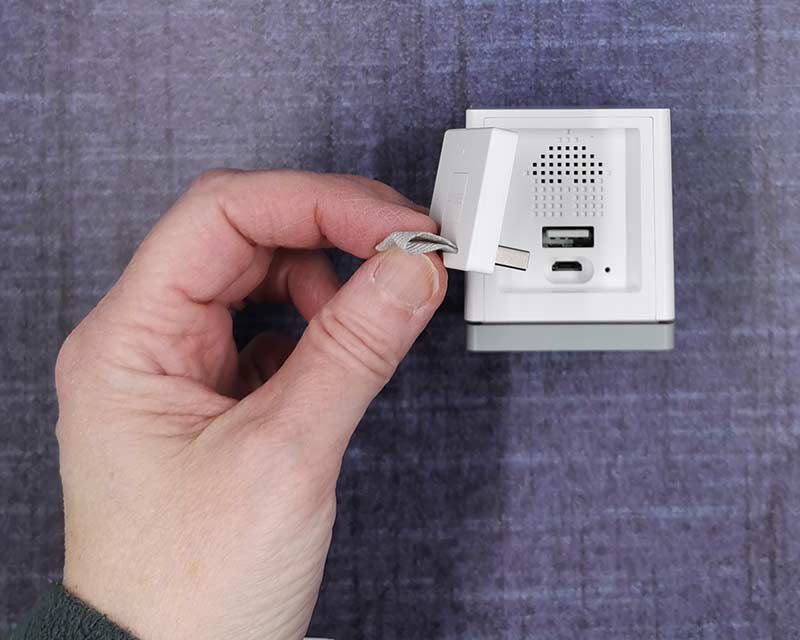
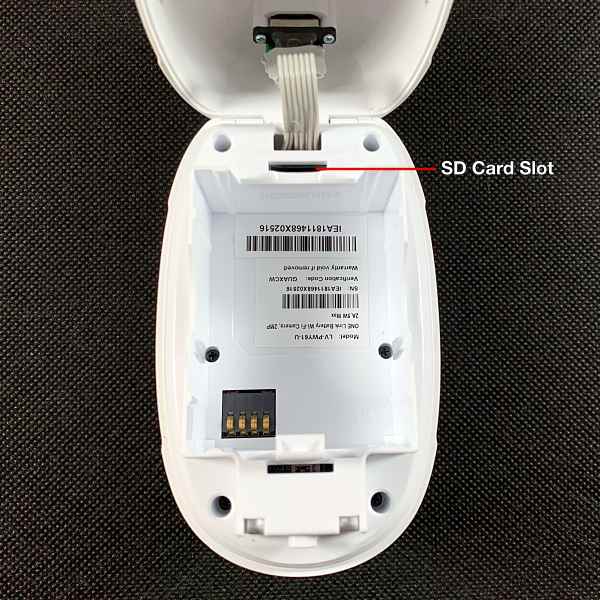
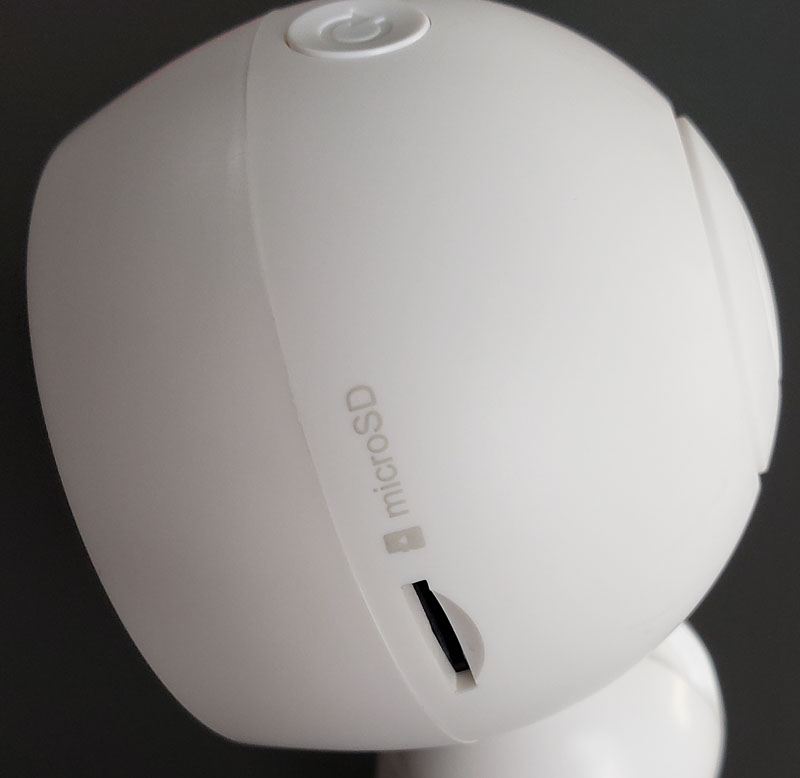
On the side, we find the SD card slot. Note that none of this is sealed as this is an indoor-only camera.
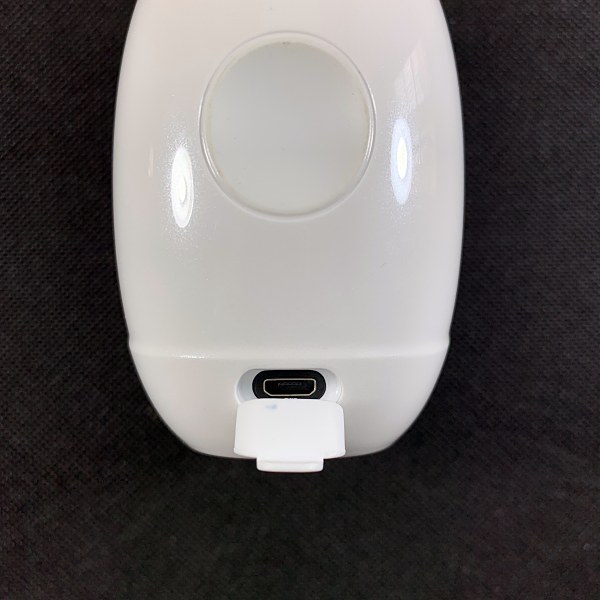
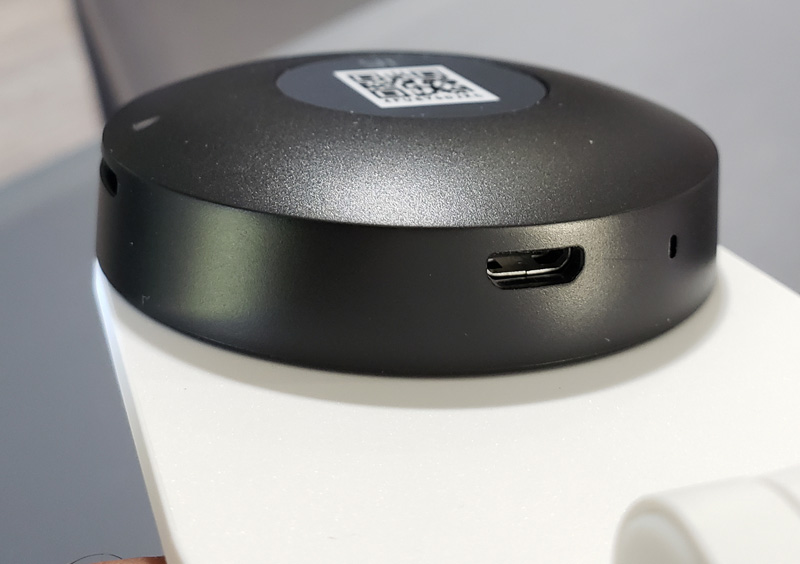
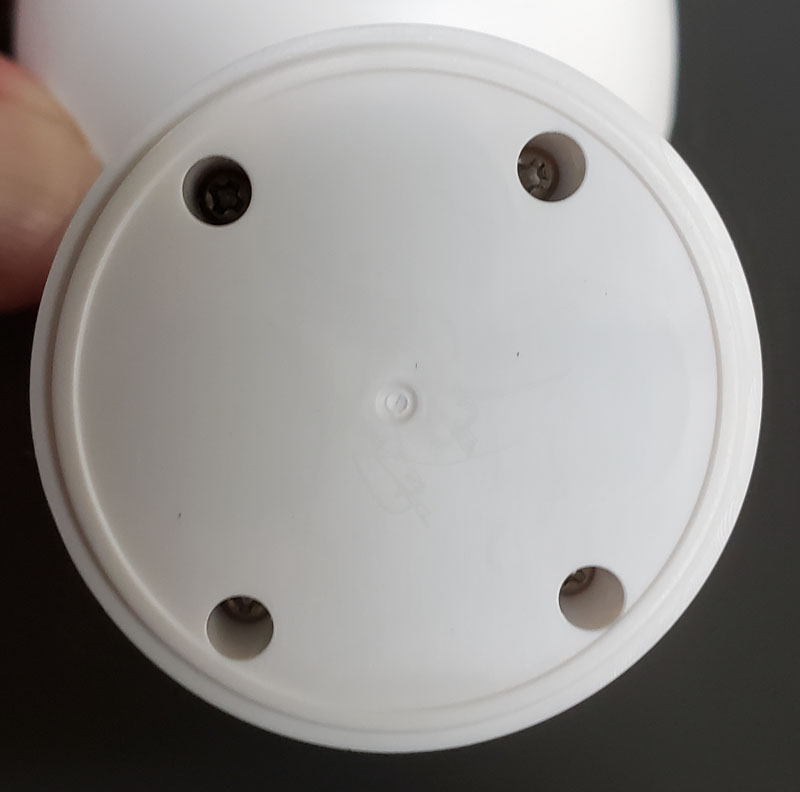
Finally, the identification sticker is on the back of the base as is the micro-USB power port.
Setup
I started the setup by installing the Momentum app (available for IOS and Android) on my Samsung Galaxy S9+. This is where I ran into my first issue.
The instructions included a QR code for the app. I decided to take the easy route and scan it. This is what I got:
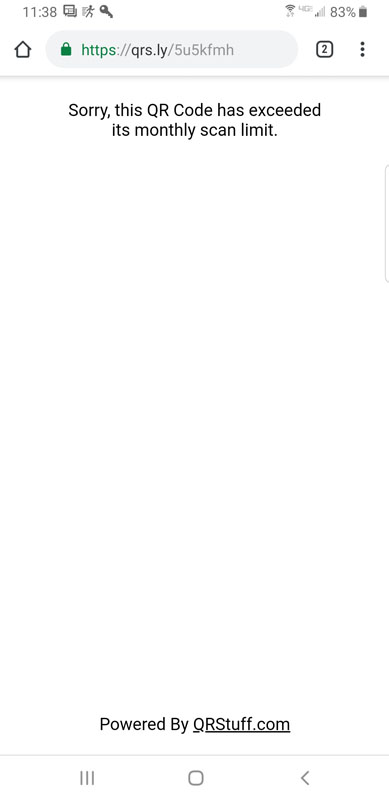
So, it appears that Momentum isn’t keeping up with that very well. I went to the Play Store and installed the app manually.
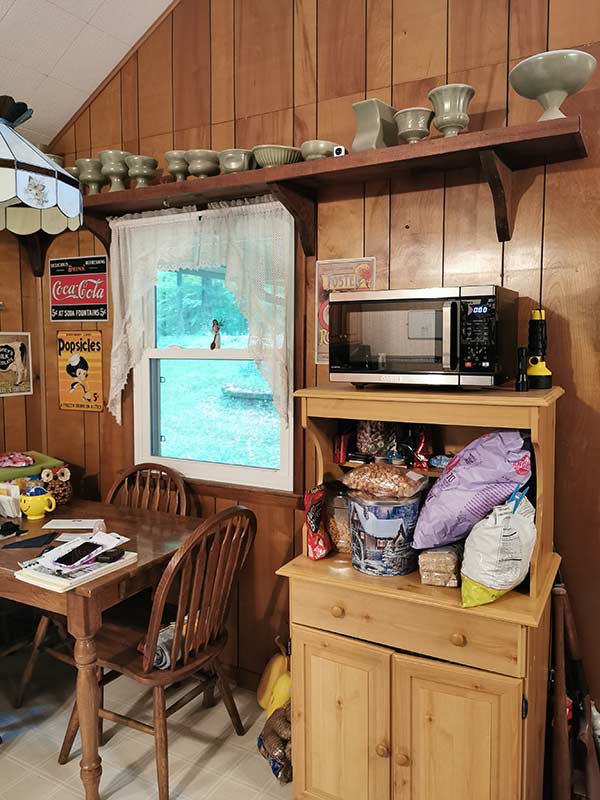
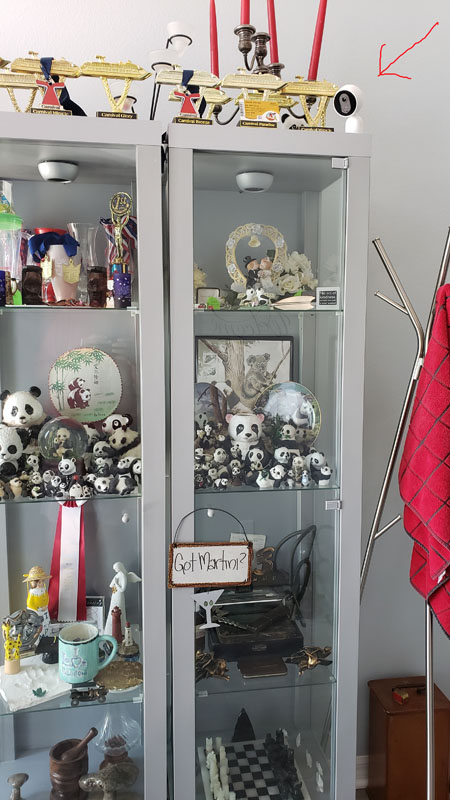
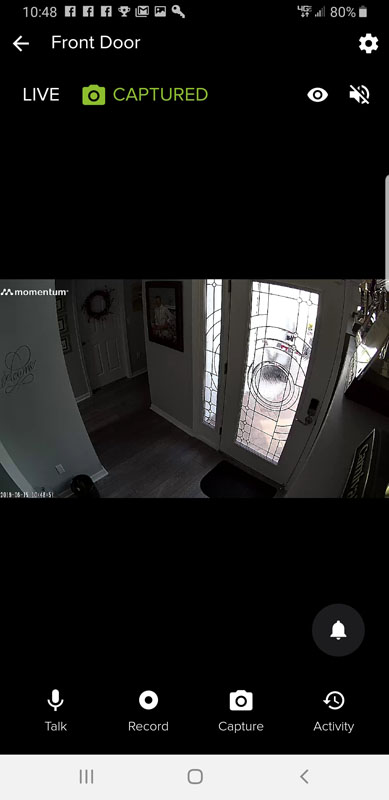
I placed the camera on the top right corner of our curio cabinets with a view of the front door. The included eight-foot USB cable and magnet base made this all incredibly simple. And, I’ll answer this before anyone asks – yes, my wife really likes pandas.
With the app installed and the camera in place, I started setting it up.
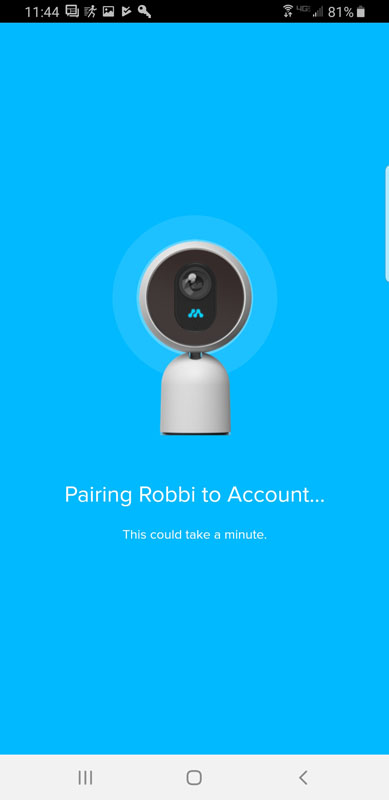
Pairing went perfectly and the camera provided an audible confirmation that pairing was successful.
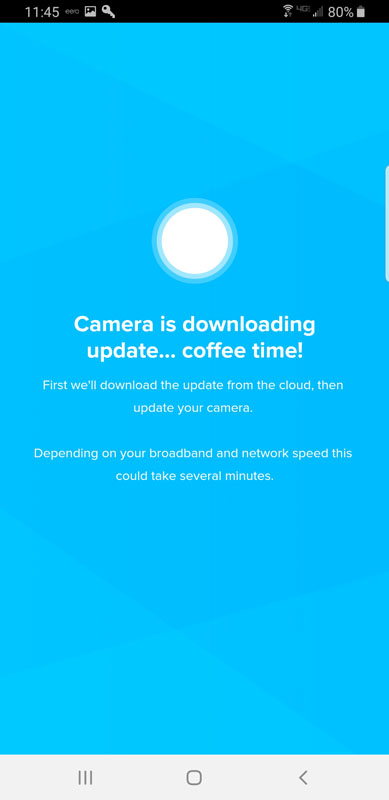
As soon as we were paired, the app determined that an update was needed.
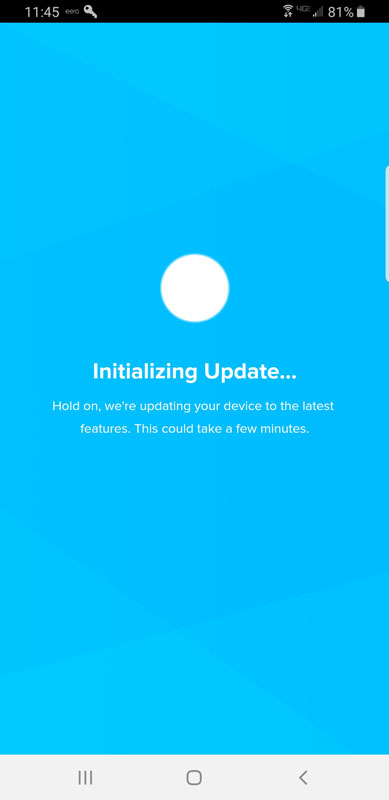
The app provides friendly updates along the way and the update went quickly.
At this point, I was prompted to choose a cloud storage plan. A very nice feature is that Momentum provides free storage for 24 hours.
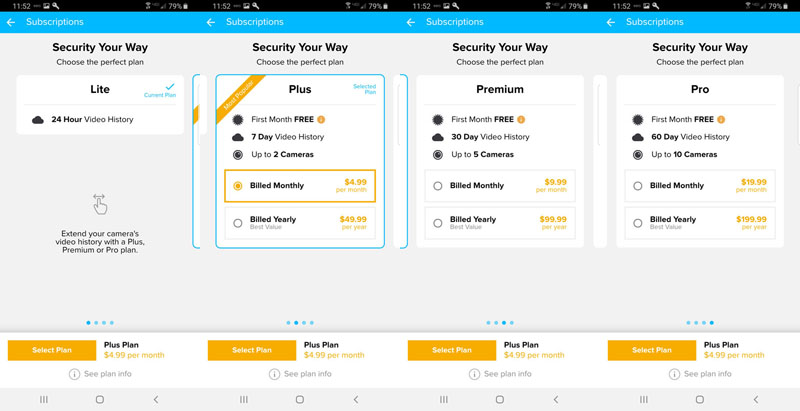
I opted for the free plan and also popped in an 8GB Micro SD card I had sitting around as a local backup of recorded events.
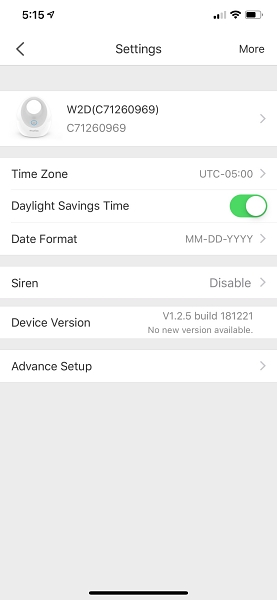
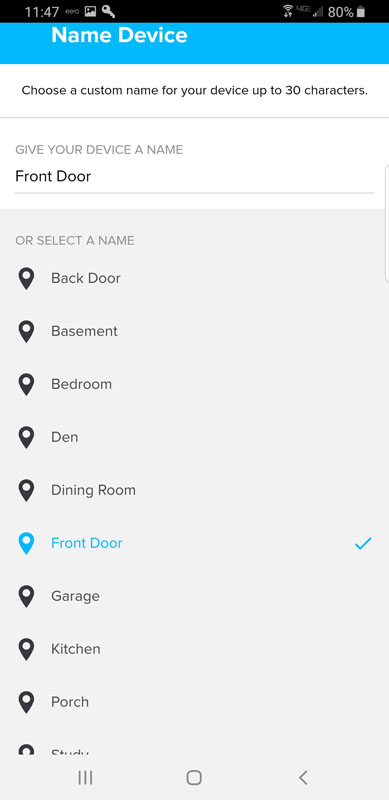
The app supports multiple cameras and you can provide meaningful names for each.
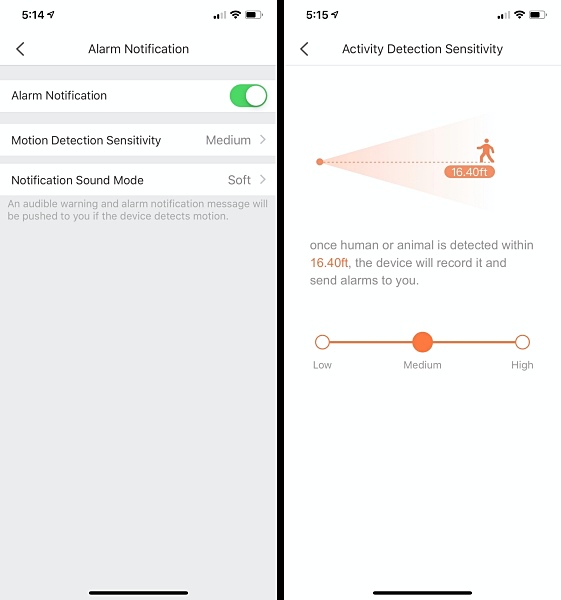
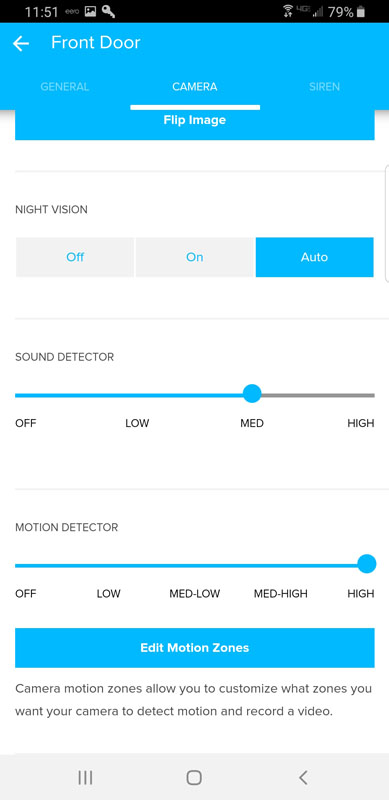
Each camera can have its own settings for sensitivity to motion and sound as well as image orientation.
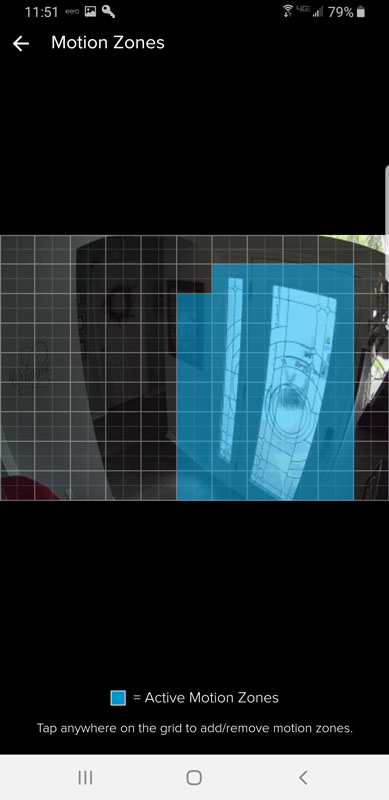
You can also limit the zone where the camera will detect motion. The blue squares are the motion zone. I opted to not include the area to the left so I wouldn’t get notified every time someone went to use the guest bathroom.
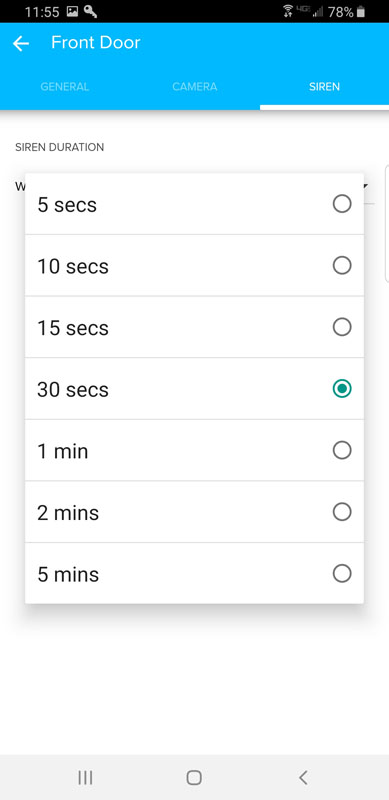
The final setup item was for the siren duration whenever the siren is invoked.
Performance
So far, other than a minor issue installing the app, setting up the Robbi camera has been pretty pleasant.
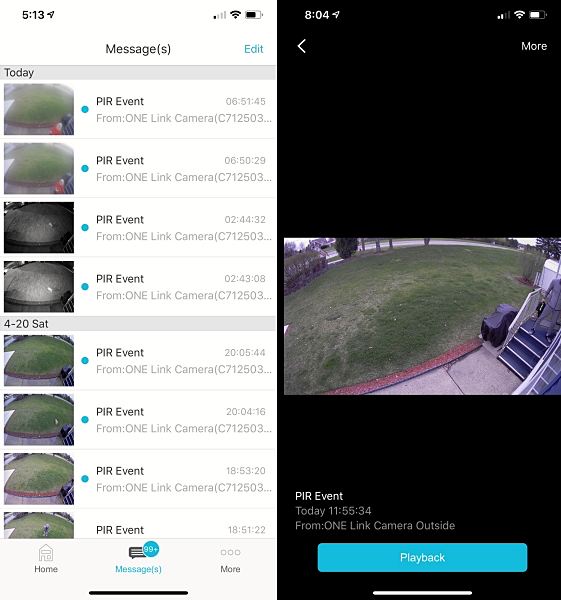
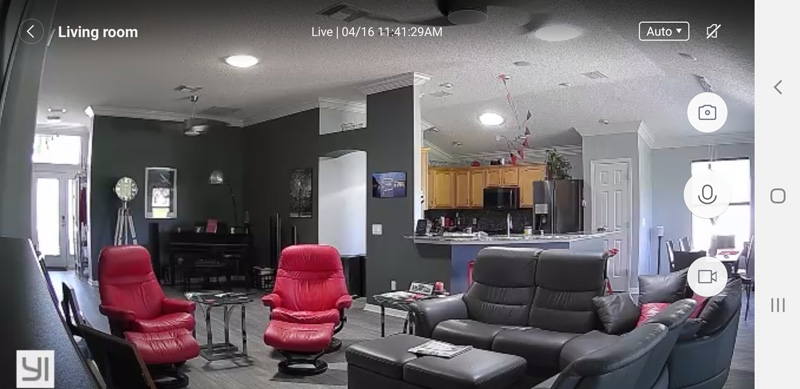
I didn’t modify the default dashboard for the camera. This is where you access the stored events and camera rules as well as triggering the siren.
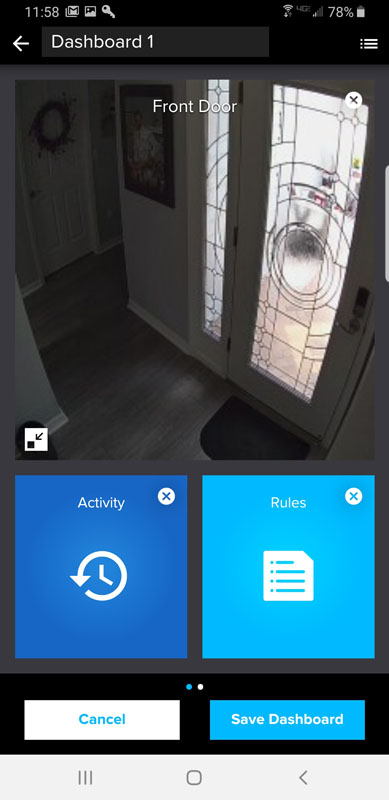

Rules determine what happens when an event occurs.
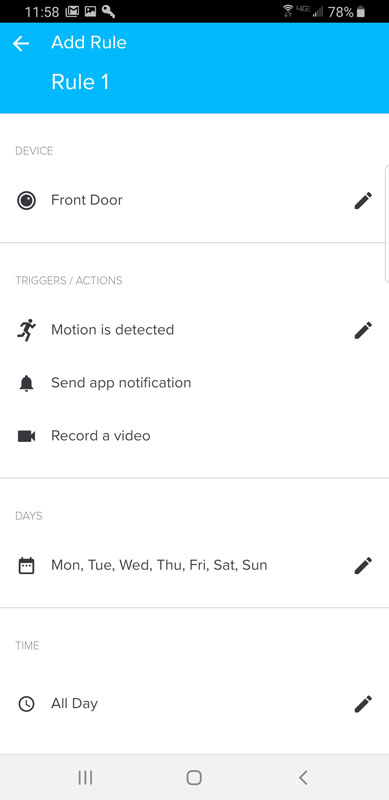
As you can see, I have it set to send a push notification and record video whenever motion is detected, 24×7.
The performance part of this review is where the wheels fall off.
First, let me address the last setup item above – the siren. The odd thing is that the siren can only be triggered manually in the app. I was expecting an option for motion or sound to trigger the siren, based on time of day. Nope. The only way to trigger the siren is to open the app, open the specific camera you want to sound and push the siren button.
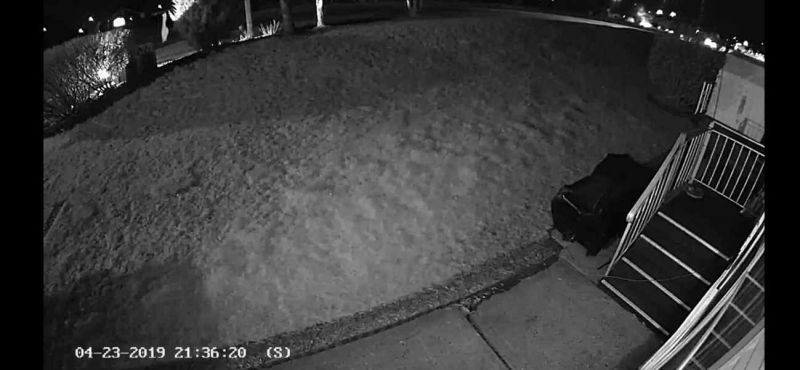
When I set up the camera, I opted for the automatic night vision mode. The camera will turn on night vision when the ambient lighting is too low for a quality picture. What really happened was this – as we were sitting watching TV that first night, we kept hearing a clicking sound every few seconds. I finally figured out that even though I had the foyer light on like I do every evening, Robbi couldn’t decide on night vision or no night vision, so it was continuously turning the night vision LEDs on and off, each time with a fairly loud click. To make matters worse, every time it did that, the camera interpreted that as motion and sent a motion push notification to my phone. So our evening sounded like: click – beep – click – beep – click – beep. I tried turning up the brightness of the foyer light (I usually have it at about 20%), to no avail. Click – beep – click – beep. I finally lowered the motion sensitivity to low and the beeps stopped but the clicks continued. I finally turned off night vision. Of course, later, after the foyer light turned off, the camera was useless. Turning on night vision permanently makes daytime images black and white and poor quality.
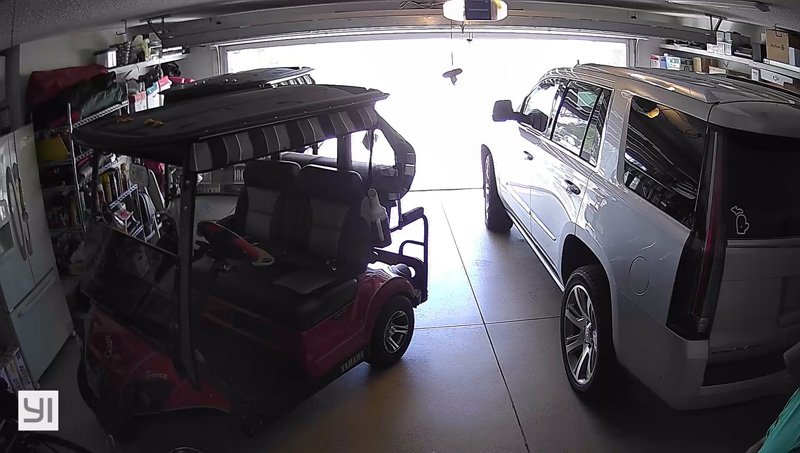
The joy continued when I tested actual motion. I walked out the front door. Nothing. I walked in. Nothing. I stood in front of the camera and waved frantically. Nothing. Then, I clicked to manually record a video of me waving frantically. The camera will allow a 20-second manual clip. It said it recorded. Nope. Not in the cloud and not on the SD card.
I tried capturing a still image.
When I looked on the SD card, the image was available, so I know the SD card storage was working.
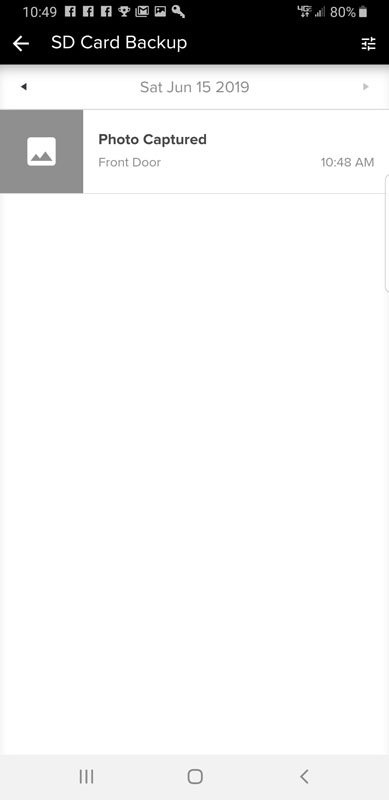
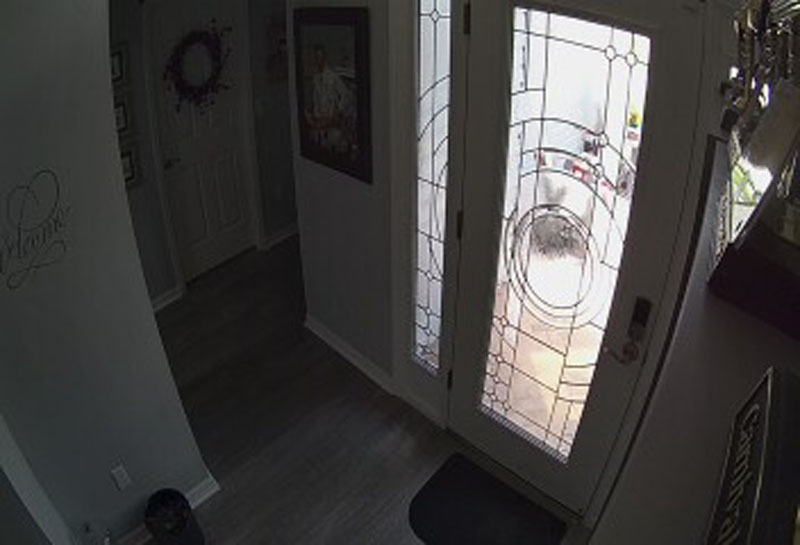
And, I could view the image.
But when I tried capturing video:

There was nothing saved to the cloud.
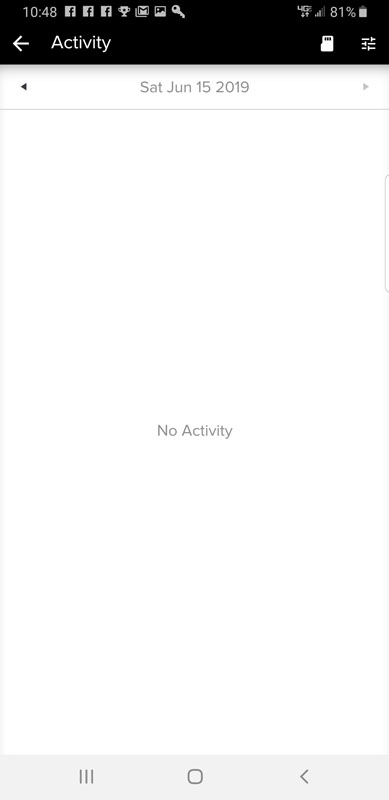
And, nothing stored on the SD card.
I reached out to Momentum support with all of these issues. It has been several days and I have received no response.
And then everything changed…
Fast forward two days…<insert swirly video and funny sounds here>
Suddenly, and inexplicably, I started getting motion notifications on my phone. A lot of notifications. And, video was being recorded for all those events, both in the cloud and on the SD card. For example, here’s a portion of notifications from 6/20:
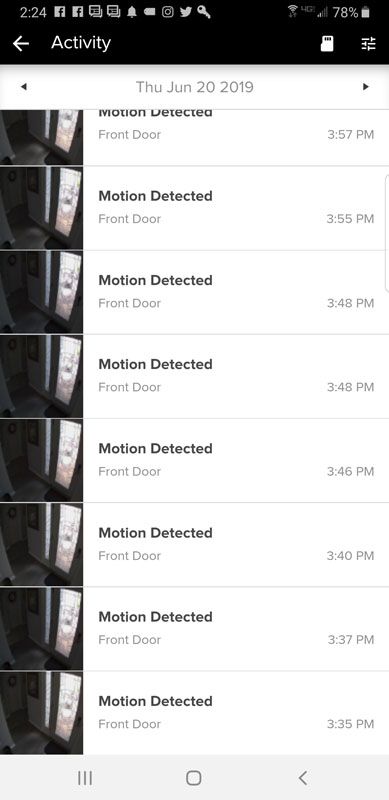
As you can see, I was getting notifications essentially continuously, and I verified that the sensitivity was set to low. Here’s an example of what was recorded:
If you listen closely, at 9 seconds in, you can hear the notification of movement sound go off on my phone. The bottom line is that even on its lowest sensitivity setting, the tiniest of change in lighting is interpreted as movement and triggers the camera to send a notification. I even have the sound trigger turned completely off, so noises don’t trigger events.
So, I went from no notifications, even with frantic waving to constant notifications with no actual movement. It is recording video to the cloud and to the SD card, so that’s an improvement.
The ultimate outcome here is that the camera provides so many false notifications, the notification feature is essentially useless to me. I understand that I am placing the camera into a very difficult lighting condition. But a change in lighting, any change, is interpreted as motion. In fact, as I typed those last two sentences, a cloud came over the sun and then passed, so the sun came out again. I got two motion notifications while I typed.
What I like
- Attractive physical design
- Easy, step-by-step setup
- Long USB cable adds installation flexibility
- SD card backup
- Free 24-hour cloud backup
What I’d change
- Start detecting motion when motion exists (it did after a couple of days)
- Stop interpreting changes in lighting as motion
- Save supposed motion event videos (it did after a couple of days)
- Allow recording video manually (it did after a couple of days)
- Improve ambient light detection
- Have some sort of automatic siren options with schedules
- Have tech support return email
Final thoughts
I really wanted to like this camera. I liked the design and it installed perfectly for my application. But given that it simply didn’t work and then did, with absolutely no application changes or hardware changes makes me concerned. In addition, tech support is completely non-responsive. Solely relying on contrast changes to identify motion means that this is useless in any application where lighting conditions change at all. I would say that if you’re looking at the Momentum Robbi as a security camera, you should keep looking.
Price: $99.99
Where to buy: Direct from Momentum also available for $79.99 from Amazon
Source: The sample of this product was provided by Momentum.
Filed in categories: Reviews
Tagged: security camera
Momentum Robbi Wi-Fi camera review originally appeared on The Gadgeteer on June 28, 2019 at 8:00 am.
Note: If you are subscribed to this feed through FeedBurner, please switch to our native feed URL http://the-gadgeteer.com/feed/ in order to ensure continuous delivery.