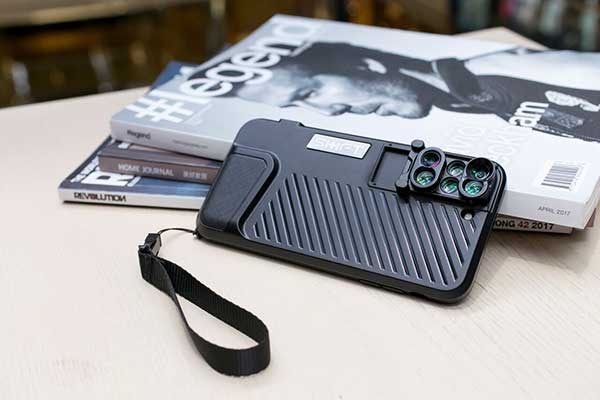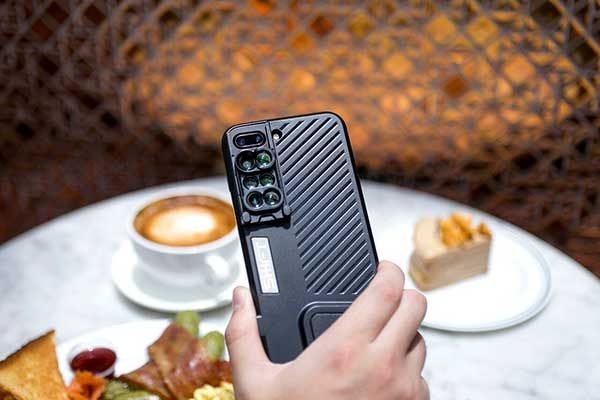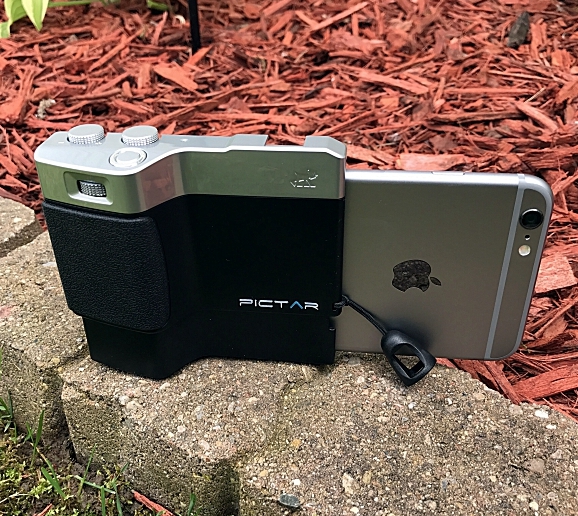
I fashion myself as somewhat of an amateur photographer. I’ve been fascinated with photography ever since I took Mr. Bunton’s “Intro to Photography” class way back in the ninth grade. And like a lot of people I love taking photos with my iPhone. Apple forever changed the way we take photographs when they introduced the first iPhone 10 years ago. With each iteration, the iPhones camera gets better and better. It takes amazing photos, but taking them has always presented different issues. The fact is the iPhone isn’t a camera, it’s a phone, and holding it with one hand to take a photo can be tricky. And if you want to use a tripod you have to buy special cases and or mounts made specifically for the iPhone. Miggo has changed all of that with the Pictar and Pictar Plus. Pictar is a camera grip that claims to turn your iPhone into a DSLR camera. Since I love taking pictures with my iPhone both recreationally and for my product reviews for the-gadgeteer, I jumped at the chance to review the Pictar Plus. Does it really turn the iPhone into a DSLR camera? Let’s take some photos and find out.
I don’t usually start off a review by talking about the product’s packaging, but when I received the Pictar Plus from Miggo I was really impressed. I thought to myself “Wow if they put this much thought and innovation into the packaging I can’t wait to try out the actual product”. The box opens like a book (the front flap is held closed by a magnet) and the Pictar Plus is displayed behind a plastic window. The box itself is covered with lots of information about the Pictar Plus. A real nice presentation that I thought was worthy of a mention.
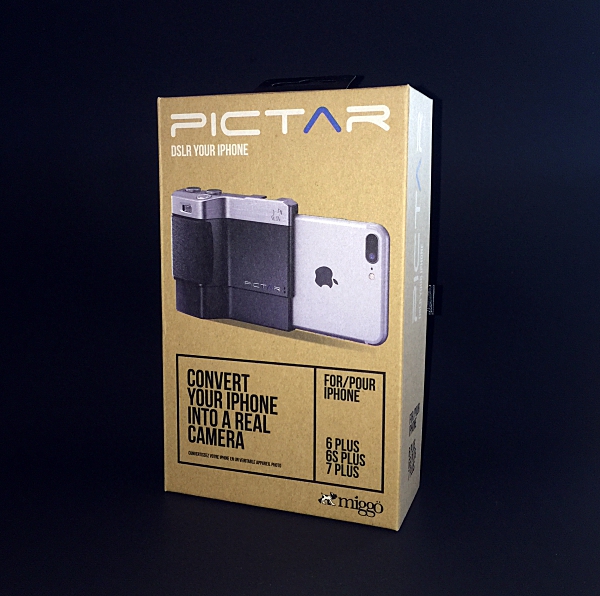
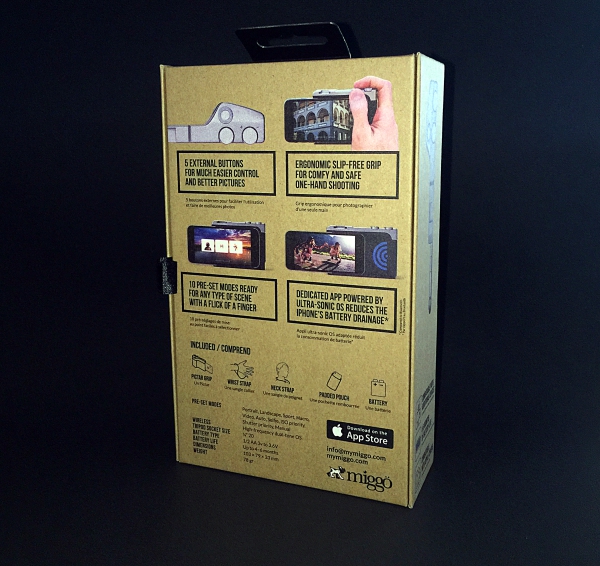
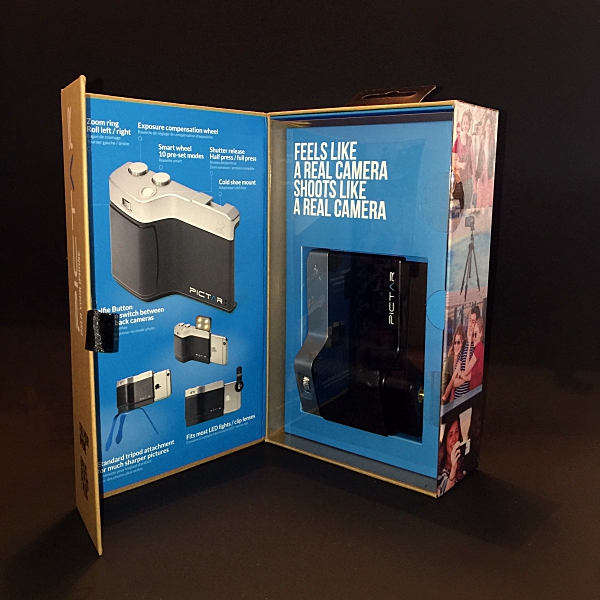
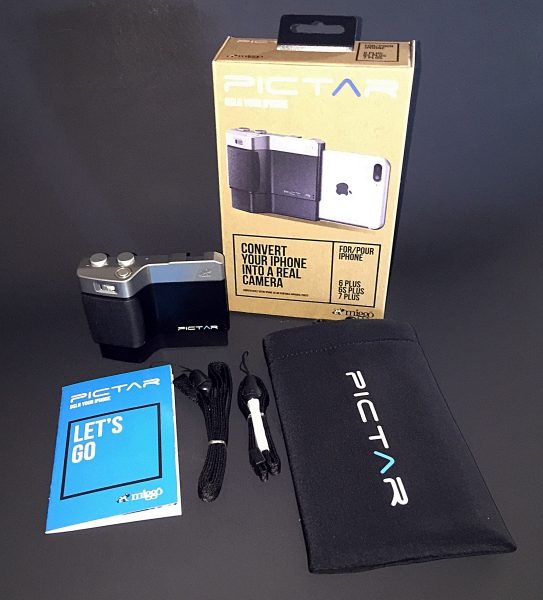
Inside the box, you get the Pictar Plus, wrist strap, neck strap, neoprene padded carrying case and Users Manual.
The Pictar comes with a CR1/2AA battery already installed. To activate the battery, first, open the battery compartment by pushing in the release catch and removing the battery cover. Then pull out and discard the pull tab at the bottom of the battery. This will then allow the battery to connect fully with Pictar. Then click the battery cover back in place. According to Miggo, the battery should last up to 6 months with normal use.
Installing my iPhone into Pictar was easy. After taking it out of its case (you can use Pictar with some very slim-fitting silicone bumper cases) I slid it into the spring loaded bottom of the Pictar, with the back of the phone facing in. Then pressed down until the top of the iPhone clicked into place. Removing it was just as easy.
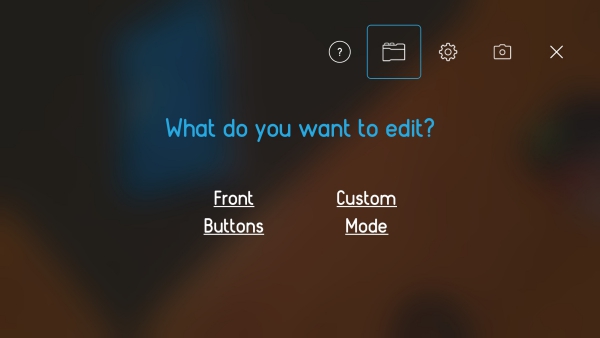
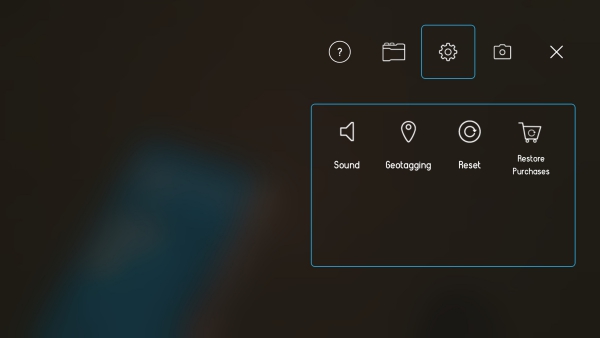
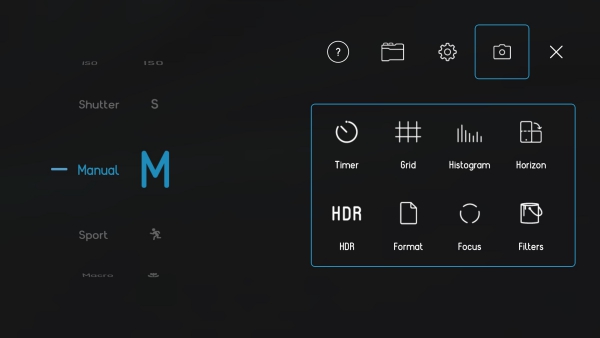
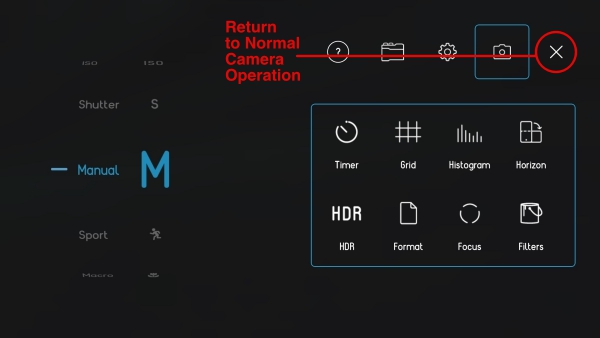
Before you can use Pictar you have to download their free app from the app store. The app is really the brains of the whole operation. Pictar’s Camera app unlocks key features that are inaccessible on iPhone’s native camera app. It connects with the iPhone using a high-frequency dual tone that is inaudible to the human ear. When used, each dial and button emit a unique tone that is detected by the app generating a corresponding action. This also significantly increases the battery life when compared to Bluetooth connectivity. The app itself is easy to use. The first time you launch it there is a short tutorial that prompts you to use each different dial and button, showing in real time what function each performs. The app has nine different built-in modes, Auto, Sports, Macro, Shutter priority, ISO priority, Manual, Selfie, Movie, and Filter. A note about the Filter mode. There are 38 different filters that can be applied before taking a picture which is really cool. However, only 2 of them are free to use. If you want to use any of the other 36 you have to purchase them. Separately each is a $1, or you can buy the bundle for $10. All things considered, that’s not bad, but it would have been nice to include more than 2 free filters. Clicking on the gear icon in the upper-right corner of the Home screen allows you to change and customize lots of settings. There are five main icons at the top right of the settings screen. The question mark icon takes you to the Tutorial / User Guide menu, the Pictar icon to the customization of buttons menu, the Gear icon to Sound, Geotagging, Purchase Restore and Reset menu, the Camera icon to the camera settings menu and the X returns you to normal camera operation.

Much like a DSLR camera, Pictar Plus offers five external control buttons. This allows you to easily change settings and take pictures with one hand. No more tapping your iPhone’s screen to set focus, exposure, etc.
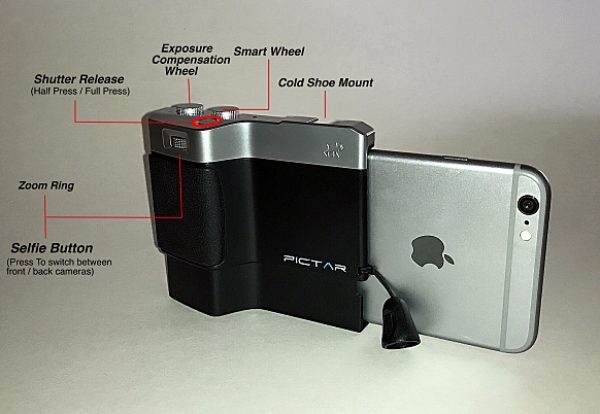
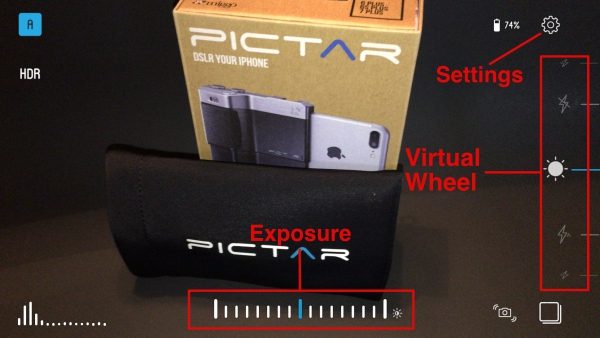
The Smart wheel allows you to choose between Pictar Plus’s 9 different modes. The Exposure compensation wheel allows you to control brightness levels even before shooting. And just like with an advanced camera, the exposure compensation wheel changes the exposure in steps of 1/3 aperture, and the clear display appears at the bottom of the iPhone screen. The Shutter release has two functions. A half-press locks focus and exposure for easy tracking of a moving object and a full-press for immediate shutter release. The shutter button also allows you to take pictures while wearing gloves during the cold weather. The Zoom Ring allows you to zoom in on a subject without having to touch the screen to pinch-and-zoom. It also doubles as a Selfie button. Clicking the Zoom ring will switch between the iPhone’s front and back camera for easy “selfie” shots. The Virtual Wheel is located on the right side of the Camera app screen and allows you to control different modes such as Flash modes, Shutter speed, ISO and more – simply by using your thumb.
The dials can all be reprogrammed to do different things. For example, you can have the Zoom Ring control the flash, white balance, etc. In that case, zoom in and out would be done by “pinching” the iPhone’s screen, like before. All of this can be done in the settings menu I mentioned earlier.
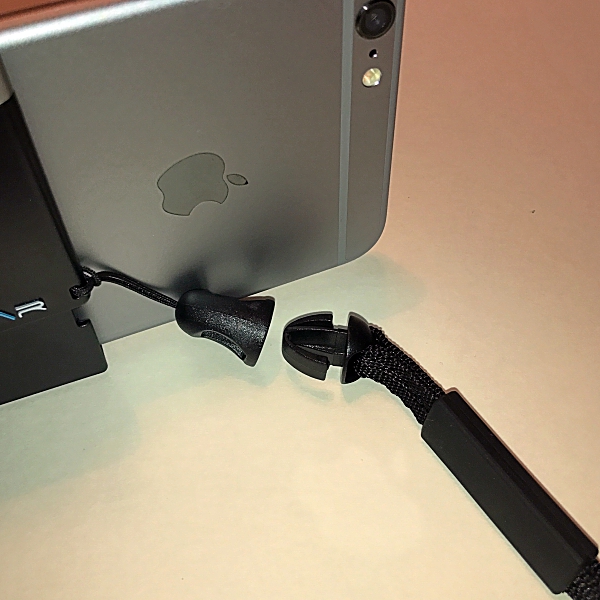
The Pictar Plus also comes with wrist and neck straps. This is nice because if you’re like me you’ve dropped your iPhone more than once trying to get that perfect shot. Once you attach the connector to the Pictar Plus you can easily change between the two straps with just a snap.
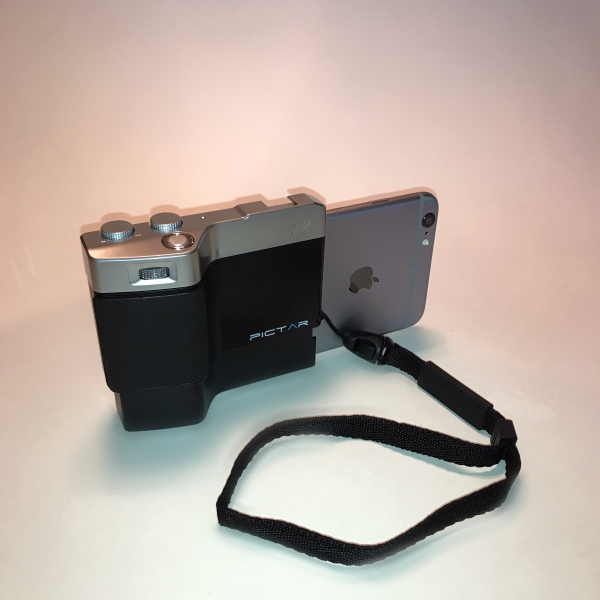
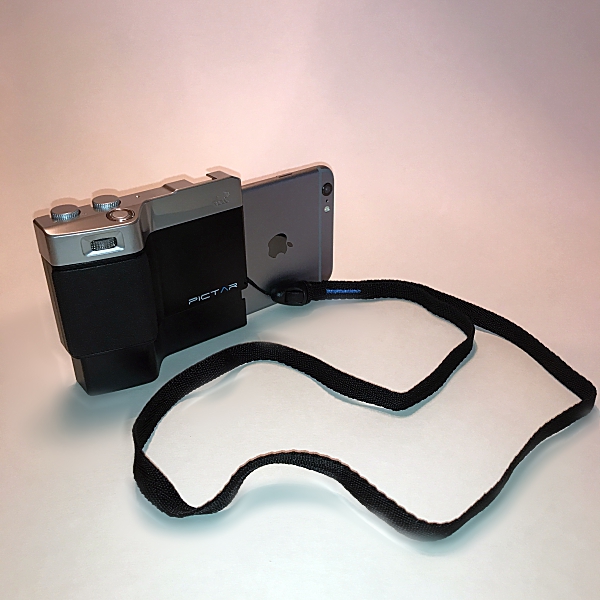
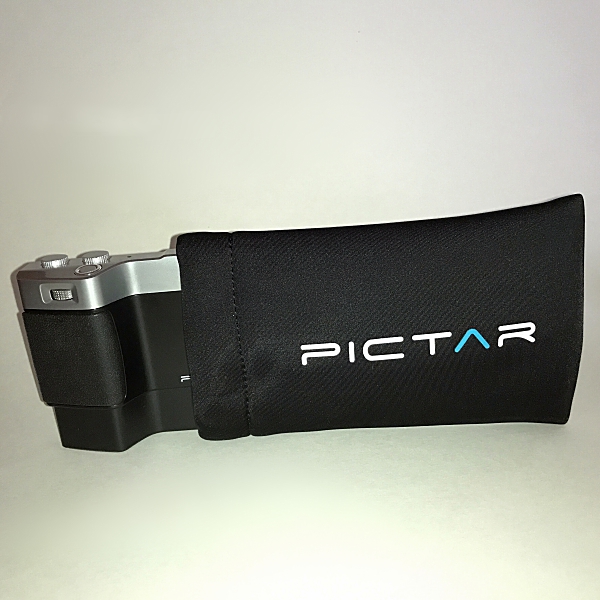
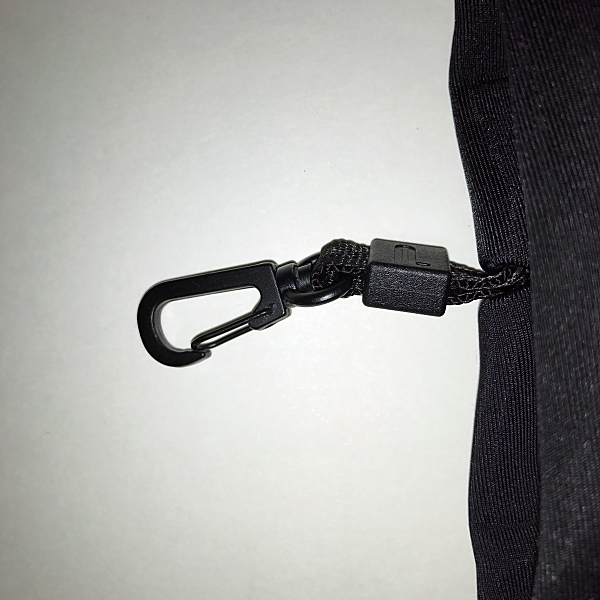
There’s also a nice neoprene padded carrying case for the Pictar Plus. It comes with the added feature of a small metal carabiner that can be attached to a bag or belt loop.
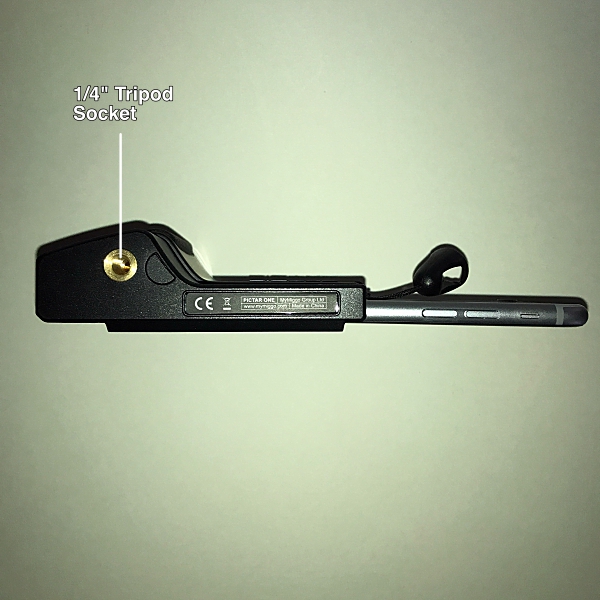
Just like a real camera, Pictar has a standard 1/4” thread tripod socket on the bottom. This is ideal to attach a tripod or other stabilization device and is great for selfies or night time shots, that require long exposure times where the camera needs to be steady.
The top of the Pictar has a standard-size cold shoe mount to allow you to attach many full-size camera accessories, such as LED lights or microphones. I also like that the iPhone’s lens is open when attached to Pictar, giving you the ability to attach most ‘clip on lenses’.
I really loved using the Pictar Plus. It turned taking pictures with my iPhone into a more camera-like experience. It’s really light weight coming in at .17 lbs. so it doesn’t add any extra weight to the iPhone. I like how it’s designed to be held and operated with one hand. And the non-slip grip and wrist strap gave me a real sense of security. I took Pictar Plus along with me while walking my dog and took some photographs using some of the different functions and modes. I was very impressed with how much easier the Pictar Plus made taking photographs. I took a selfie with my dog Zoey and liked being able to switch cameras from back to front simply by pressing the Zoom Ring.


Using the Action Mode I took pictures of the flags that were flying above the local High School football field. It was really windy, but with the Action Mode I was able to capture the flags with no blur, and the images came out sharp and clear. With the Zoom Ring, I was even able to get a close up of Old Glory.


Miggo even provides a link to a Mobile Photography Workshop that has videos on how to use Pictar to capture better pictures in different scenarios. Definitely worth checking out before using Pictar. I look forward to using these tips on my next photography adventure with the Pictar Plus.
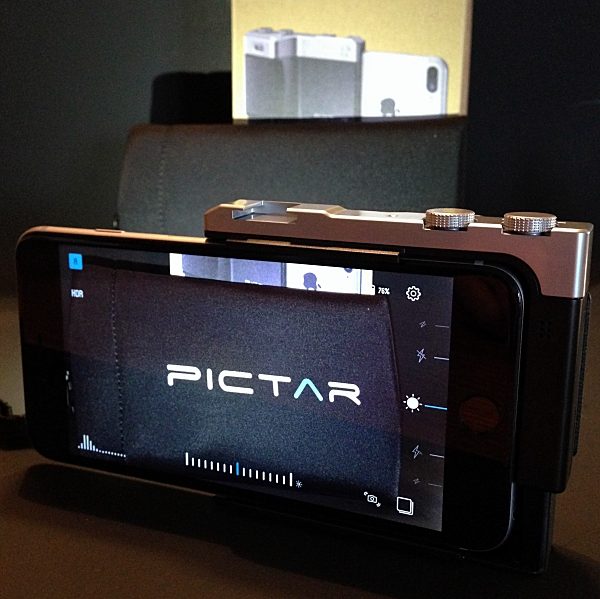
Does the Pictar Plus turn your iPhone into a DSLR camera? I might not go that far, but it’s pretty darn close. All and all I think it’s a great product. It makes taking photographs with your iPhone fun and easy, whether you’re an amateur like me or a seasoned photographer. And with all of the Pictar Camera apps built-in features, the photo possibilities are endless. I know it got me excited about taking pictures with my iPhone and I’m sure it will do the same for you.
Pictar comes in 2 models, Pictar, for iPhone sizes, 4s / 5 / 5s / 6 / 6s / SE and 7 and, Pictar Plus, for iPhone, 6 Plus / 6s Plus and 7 Plus. They’re priced at $99.99 and $109.99 respectively.
Source: The sample for this review was provided by Miggo. Please visit their website for more info, or Amazon to purchase.
Product Information
| Price: |
$109.99 |
| Manufacturer: |
Miggo |
| Retailer: |
Amazon |
| Pros: |
- Easy to use
- Can operate with one hand
- Lightweight
- Wrist and neck straps
- Multiple modes and settings
- Neoprene carrying case
|
| Cons: |
- Not enough included free filters in Camera app
|
Filed in categories: Reviews
Tagged: Camera gear, iPhone accessory, Photography
Miggo Pictar Plus iPhone camera grip review originally appeared on on June 23, 2017 at 8:46 am.
Note: If you are subscribed to this feed through FeedBurner, please switch to our native feed URL http://the-gadgeteer.com/feed/ in order to ensure continuous delivery.
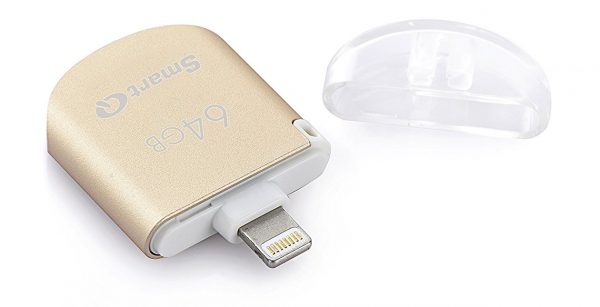
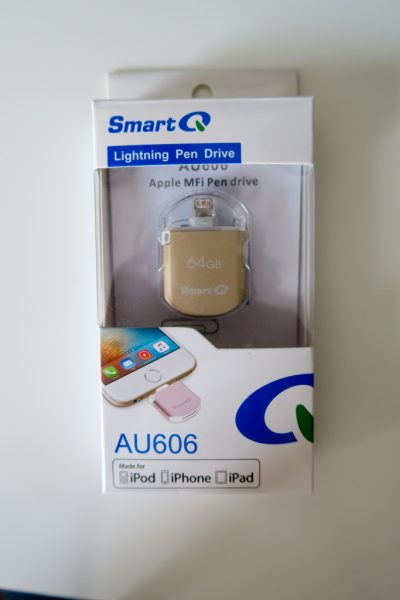 The SmartQ comes in various space sizes and colors. I received a 64GB drive with gold finish.
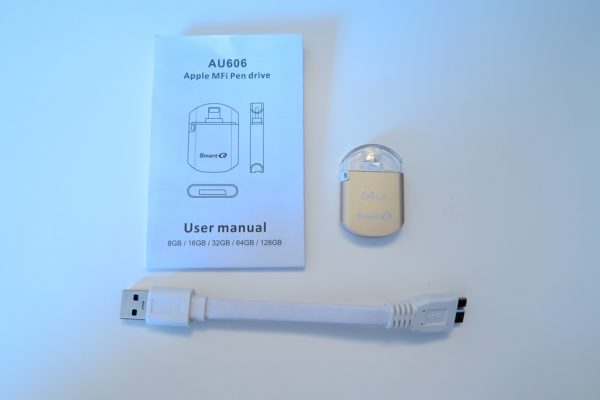 It comes with the drive, a short A-Male to Micro-B USB cable, and a user manual.
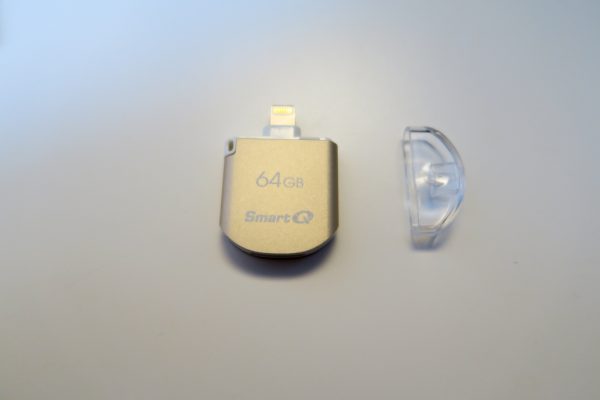 The SmartQ comes with a small plastic cap to cover the lightning port when the drive isn’t in use.
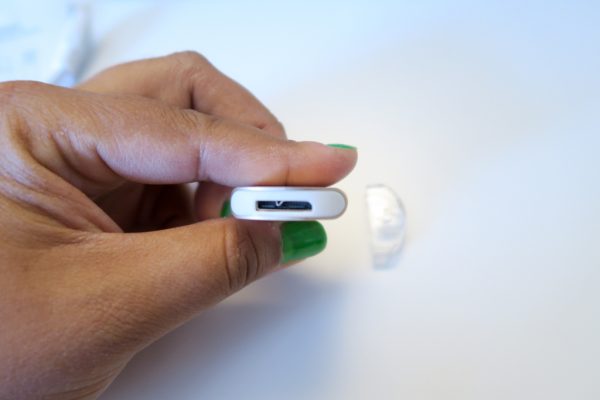 Here’s the bottom of the SmartQ drive
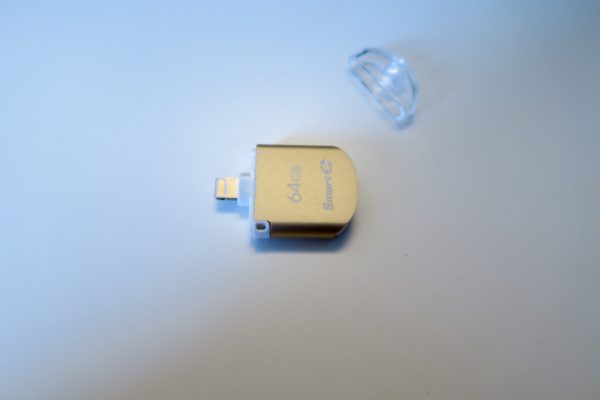 There’s a small loop to use if you want to hang the drive off of a key chain.
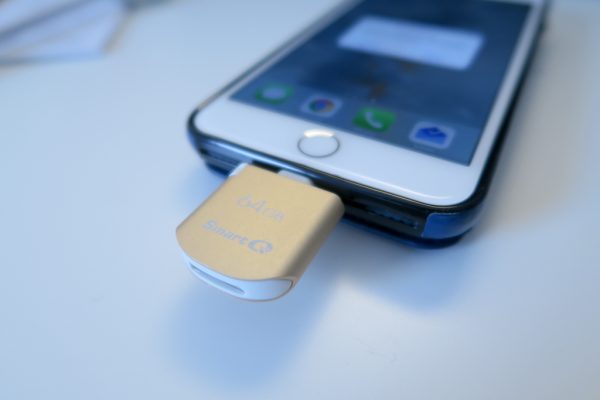
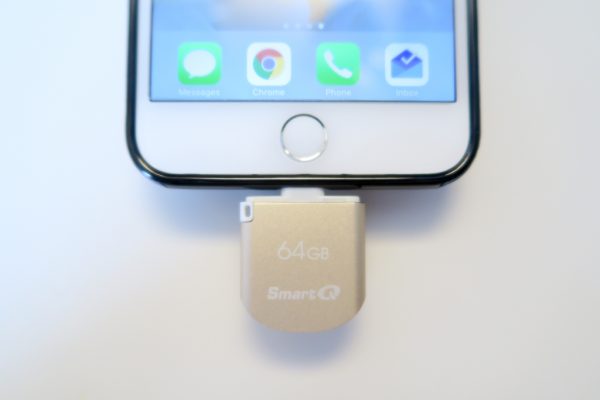 The SmartQ is here on my iPhone 7 Plus, and as you can see it sticks out a bit. I don’t mind this as I have a case on my phone and there’s still room to use the drive.
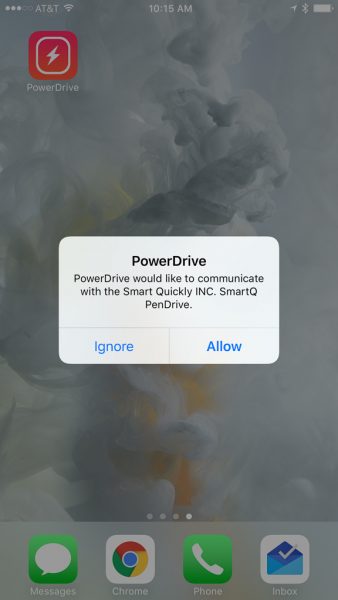 After downloading the PowerDrive app in the iOS App Store, you can plug in the SmartQ drive. It will prompt for access.
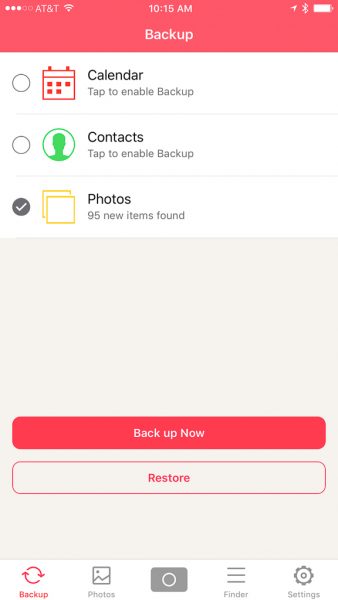 Inside the app, you can select Calendar, Contacts, or Photos to back up. It’s very easy to do and backs up in under a minute or two.
 There’s also an option to use Touch ID or just a passcode to unlock the app, which is nice to keep your files private on the SmartQ drive.
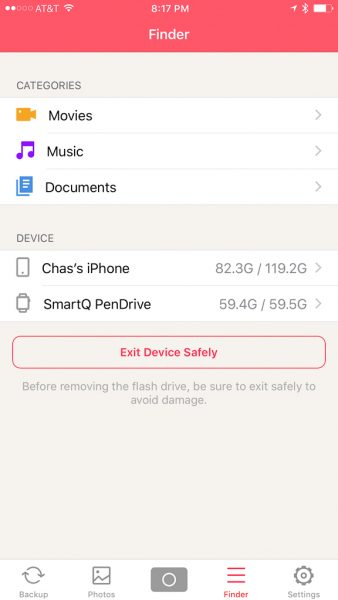 In the PowerDrive’s finder, you can look for your files under Movies, Music, and Documents. You can also see how much space is left on your phone, and on the SmartQ.
 If you need to find your backed up photos, just use the PowerDrive finder to see them. It displays easy to view thumbnails.
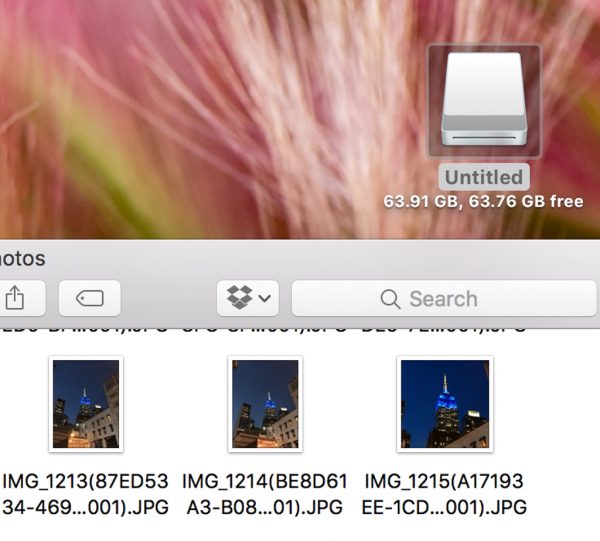 You can also view the files on the SmartQ drive on your computer. On my Mac, It showed up as an Untitled drive. If you had a password in your app, you just need to give it temporary access via the PowerDrive app, and the files will mount in the finder (Or Windows Explorer) as any other USB drive.
