REVIEW – These days, everywhere you look you can easily find someone taking pictures with their smartphones. This convenience has become the norm since phone cameras have become pretty darn good for general photography, and since just about everyone has one. What I have found is that unlike my ergonomic DSLR, holding the phone just right can sometimes be a challenge, especially while having to touch the screen to activate the shutter and while making sure to keep my fingers from blocking the camera lens. Also, taking lots of photo on my phone especially when I constantly need to use the flash really puts a dent in the charge level of my battery. The Adonit PhotoGrip QI may solve all of my issues.
What is it?
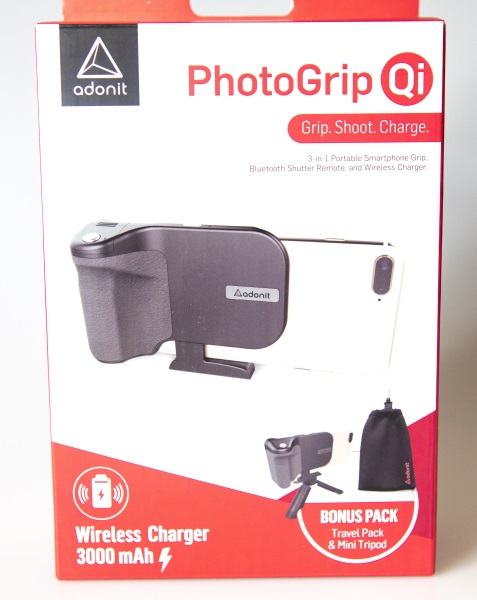
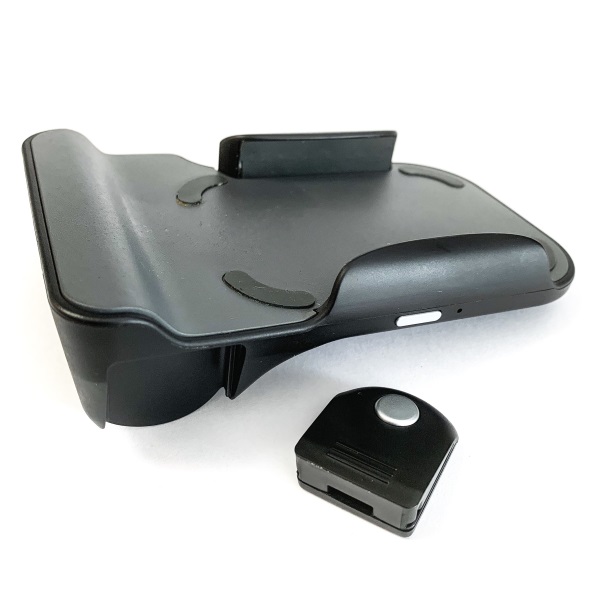
The Adonit PhotoGrip is a uniquely designed smartphone camera grip that allows you to easily take photos continuously in a very comfortable way. It also features Qi charging via its built-in 3000mAh battery and remote control via its removable Bluetooth shutter button.
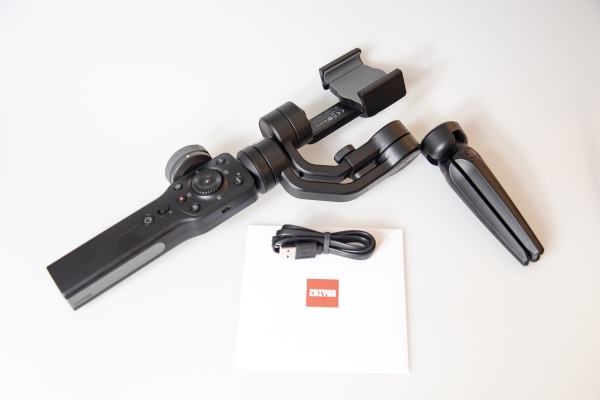
What’s in the box
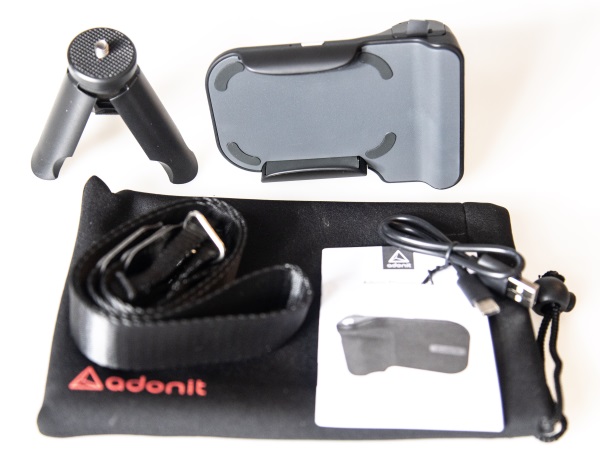
1 x Adonit PhotoGrip
1 x Mini Tripod
1 x Neck Strap
1 x Carrying Pouch
1 x USB-C Charging Cable
1 x User Guide
Design and features
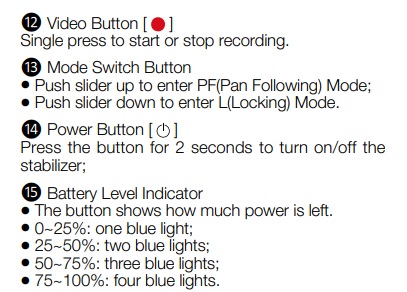
Specifications
Bluetooth: 3.0 and Above
Size Compatibility: 4.5″” or larger smartphones
Width range: 58mm – 85mm
Max. Depth: 10mm
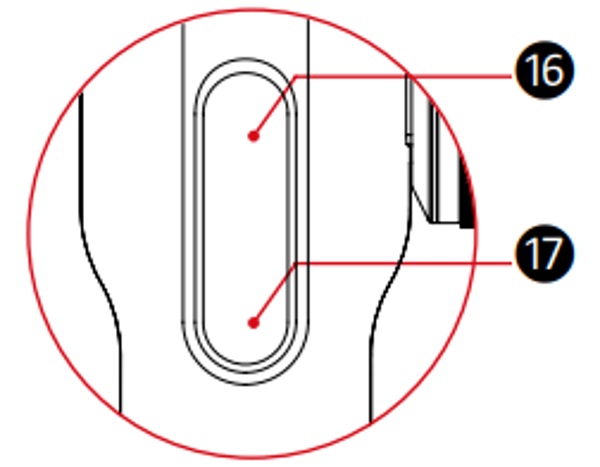
Battery for Wireless Charging Input: USB Type C
OS Compatibility: iOS 5.0 and above / Android v4.3+
Battery Capacity for Wireless Charging: 3000mAh
Battery for Shutter Remote: CR2016
Shutter Remote Continuous Use: 1000 hours
Weight: 129.6g
Dimensions: 120.6 * 82 * 43.9mm
Material: PC+ABS/Silicone Rubber
Color: Black or White/Mint
Features
- QI Wireless Charging
- Bluetooth Shutter Remote
- Self-Standing Base
- Bonus Travel Pack
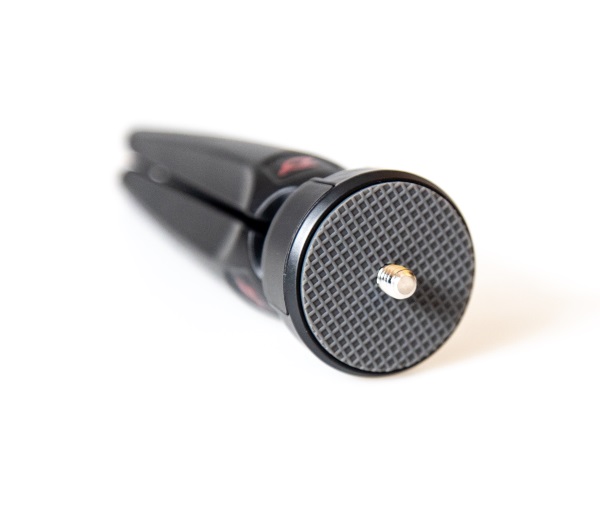
On the bottom of the PhotoGrip, there is the micro USB-C charging port to charge the internal built-in battery and the 1/4-20″ mount that will fit any tripod.
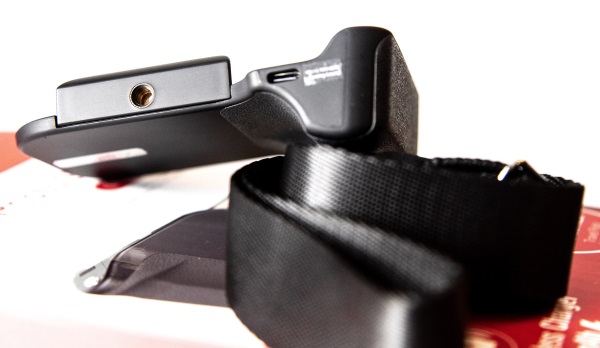
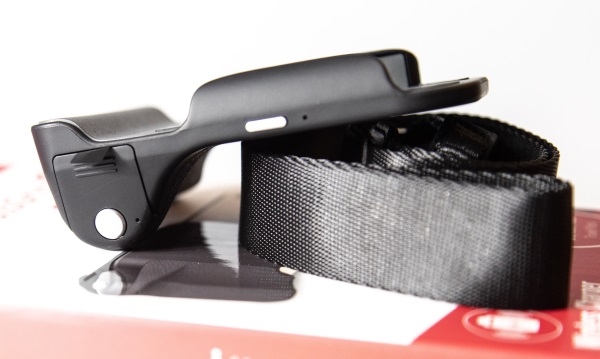
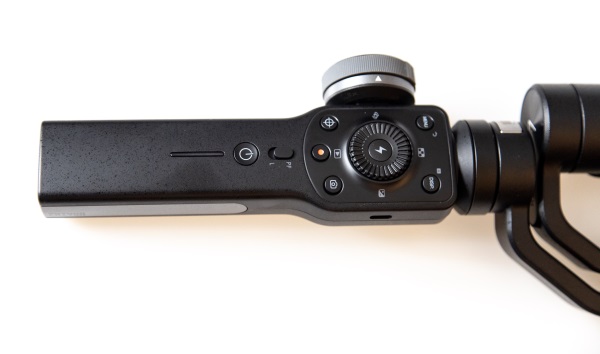
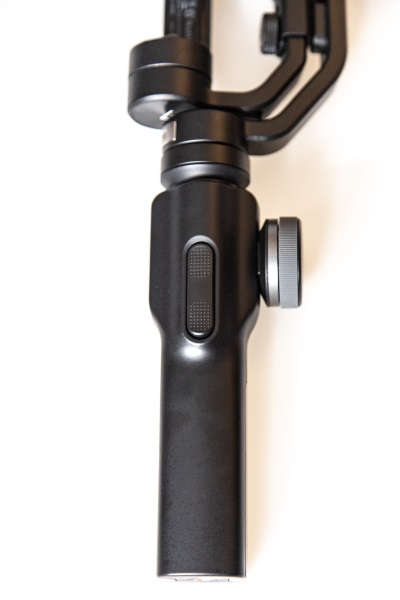
On the opposite side of the PhotoGrip, there is the removable shutter module and an on/off button. To the right of the on/off button, there is a LED indicator light that shows the following levels of battery charge:
- White: Power levels at 70% to 100%
- Yellow: Power levels at 30% to 69%
-
Red: Power levels under 30%
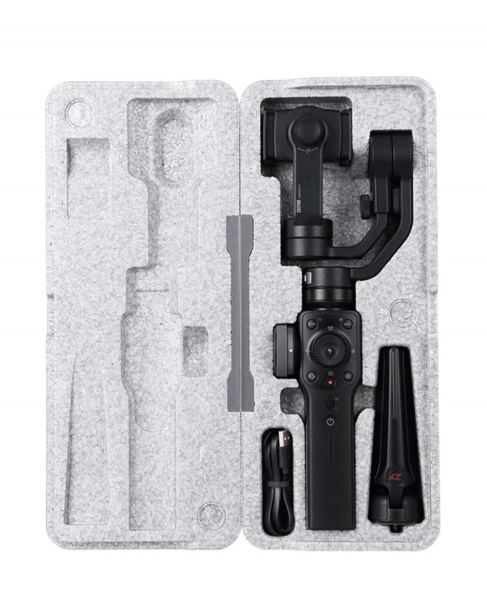
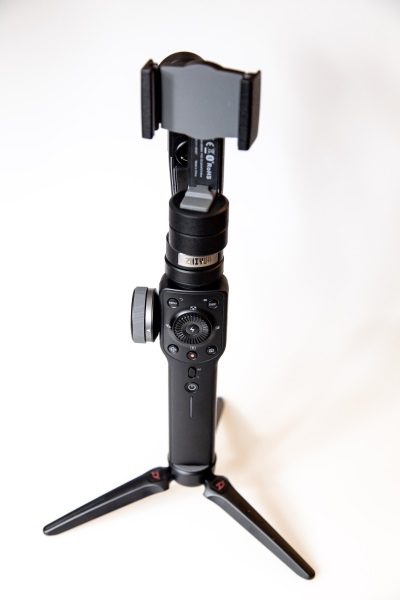
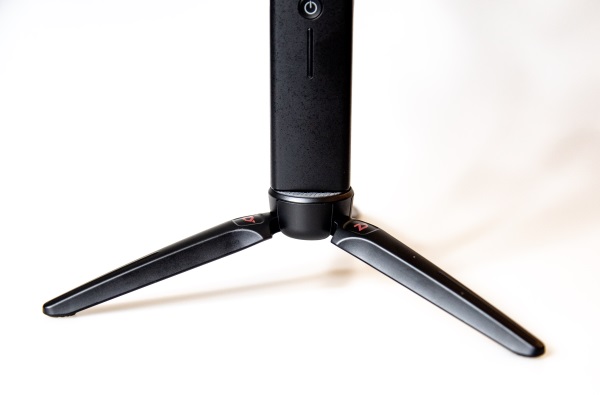
The PhotoGrip comes with a bonus pack that includes a mini tripod.

Performance
The Adonit PhotoGrip is easy to use and works very well. Once fully charged, you power it up and then pair to your Bluetooth and it is ready to go. To pair to your Bluetooth, you first turn on the shutter remote by pressing the button on the shutter remote control, and the LED next to the Shutter button will flash green. You then go through the usual routine on your smartphone to pair.
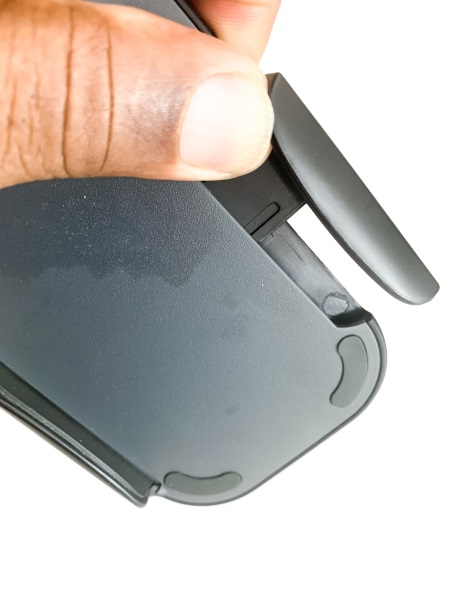
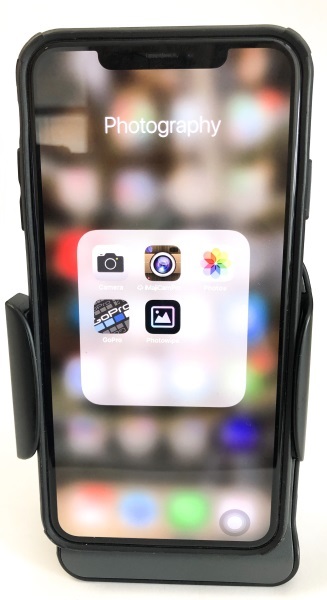
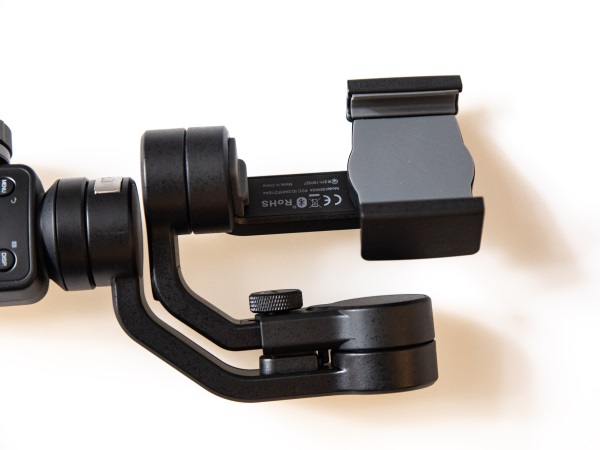
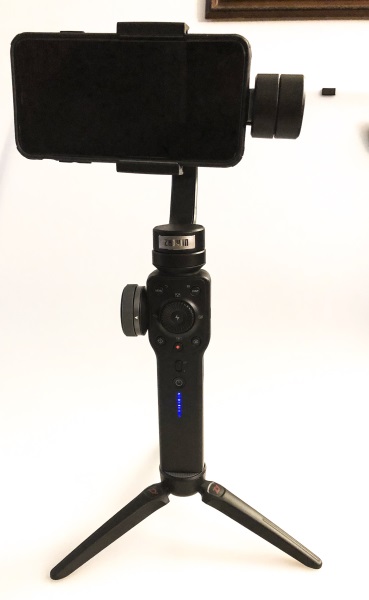
One side of the phone holder is spring loaded and expands to accommodate various sizes of phones.
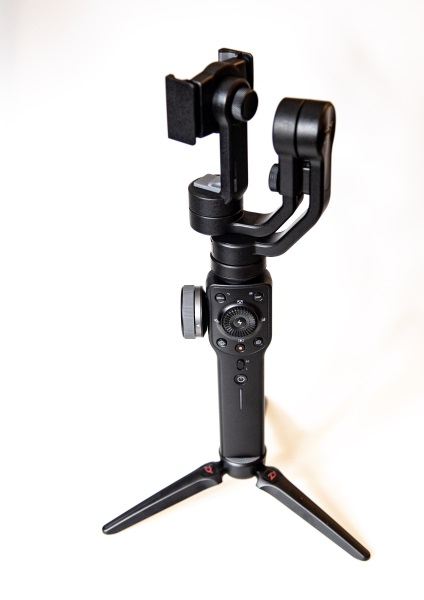
A nice small tripod is included with the bonus pack and that allows you to mount the PhotoGrip and have it stand alone and then use the removable shutter button to take pictures either of yourself, or if you want to take some nature shots and maybe need to be a bit away from the phone so that you don’t disturb your subject. There are obviously many more scenarios where this feature can be very convenient.
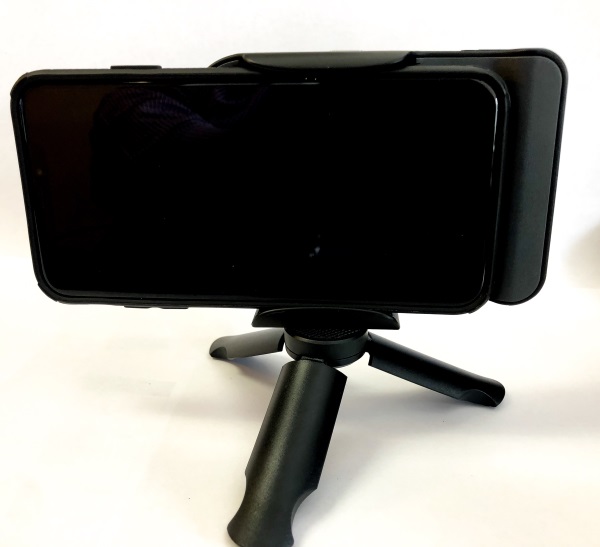
In the case where you want to take handsfree portrait pictures, the PhotoGrip stands on its own.
The instruction manual states that the remote shutter will work up to about 10 meters away. I tested it up to about 6 meters away and it worked.
What I like
- The build quality
- The built-in battery
- The Qi wireless charging
- The built-in tripod Mount
- The removable shutter button
What can be improved
- It does exactly what it is designed to do
Final thoughts
While I hate carrying around extra “stuff”, I really like this device. It really does make it easier to take pictures when using my smartphone. There are many occasions when I know I will take pictures but I don’t want to take my DSLR. This device is small and portable and works every time. I can even place it in a “perfect” spot and take pictures remotely. And, since it has the built-in battery, neck strap, and Qi wireless charging, it takes care of every need. I am giving the Adonit PhotoGrip Qi a well done and two thumbs up!
Price: $59.99
Where to buy: Adonit website and Amazon
Sample: The sample for this review was provided by Adonit
Filed in categories: Reviews
Tagged: Camera gear
Adonit PhotoGrip Qi review originally appeared on The Gadgeteer on June 21, 2019 at 8:00 am.
Note: If you are subscribed to this feed through FeedBurner, please switch to our native feed URL http://the-gadgeteer.com/feed/ in order to ensure continuous delivery.


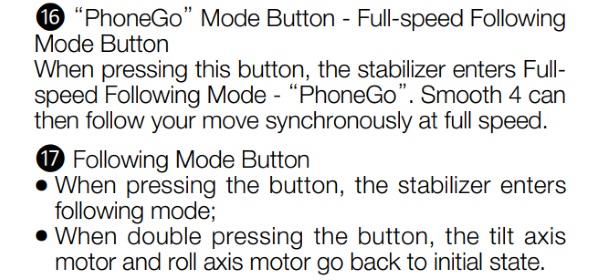 At the bottom of the gimbal, there is a female 1/4-20″ tripod mount.
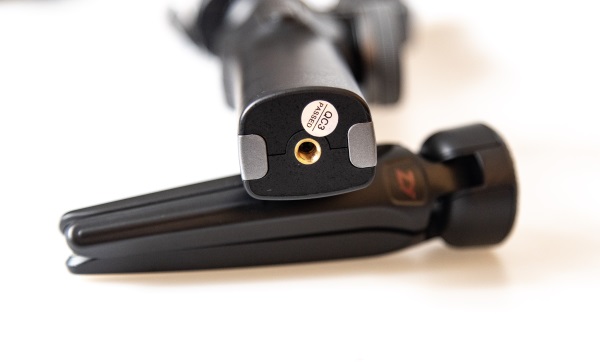


 The gimbal is capable of many modes of shooting video including follow mode, panoramic, subject switching, etc. You can click


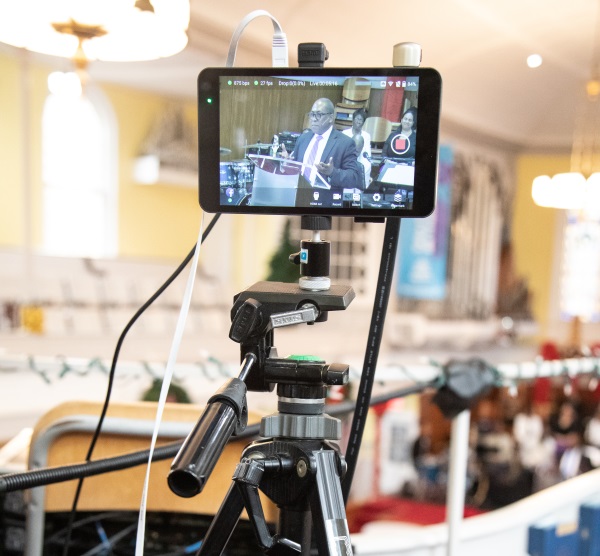
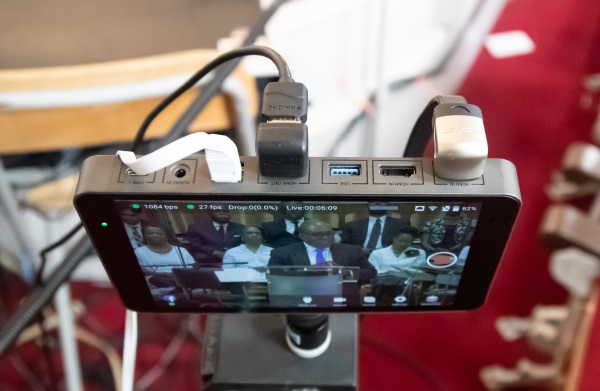
 I have been using the hard wired ethernet cable choice since I have been live streaming the sermons from my church and I prefer not to risk any signal issues that may occur when using a wireless connection. As you can see in the picture below, I mounted the Yolobox with the 1/4-20″ head to a tripod so that I could operate it at eye-level. The touchscreen response is great, but the screen does attract fingerprints that are actually only visible once the device is powered off.