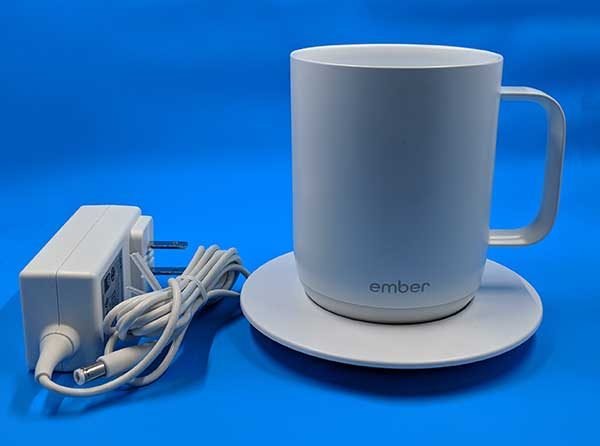
Hot beverages like coffee, cocoa, and tea are obviously meant to be enjoyed when the beverage is hot. But if you don’t chug your mug of joe minutes after pouring the cuppa, your hot beverage quickly becomes lukewarm. I usually get up at least twice to reheat my mug of tea in the microwave before I’ve consumed it. There has to be a better way to keep your drink at the perfect temperature from the first sip to the last drop right? Ember thinks they have solved this problem, so I ordered one of their Ember Mugs and am here to share my experience with it.
What is it?
The Ember Mug is an 8-ounce mug that has a built-in heating element that will keep the contents of the mug at the right temperature for your beverage.
What’s in the box?
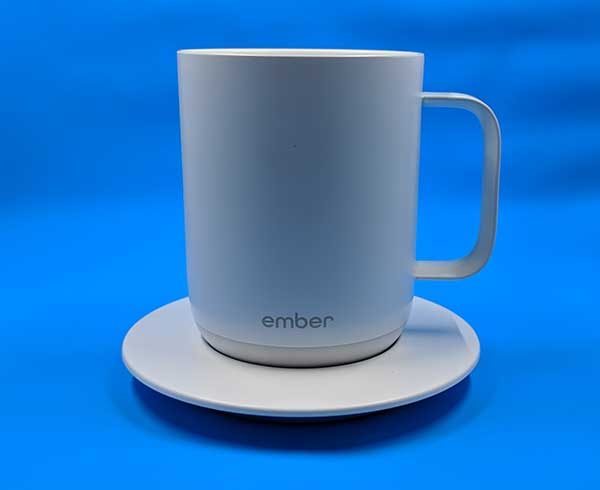
Ember Mug
Recharging saucer
AC adapter
Specs
Capacity: 10oz.
Weight: 0.75lb
Size: 4.2 x 3.25 x 4.3 inches
Temperature range: 120° F – 145° F
IPX7 rated (fully submersible under water)
Cleaning: hand wash only
Design and features
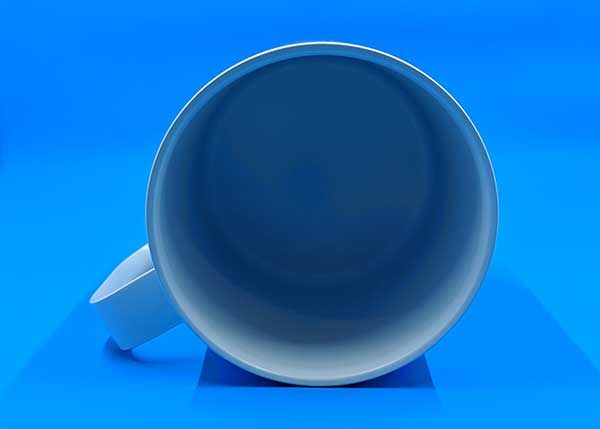
At first glance, most people would mistake the Ember Mug for an ordinary white ceramic coffee cup. But the Ember Mug is actually made of stainless steel with a FDA food grade ceramic-reinforced coating.
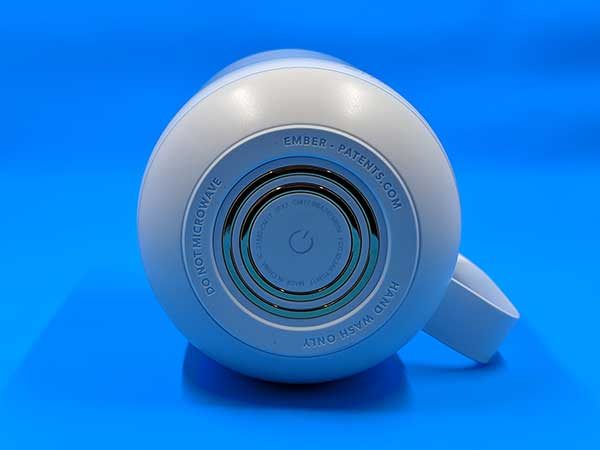
The bottom of the mug reveals a non-slip base, a power button, and gold rings.
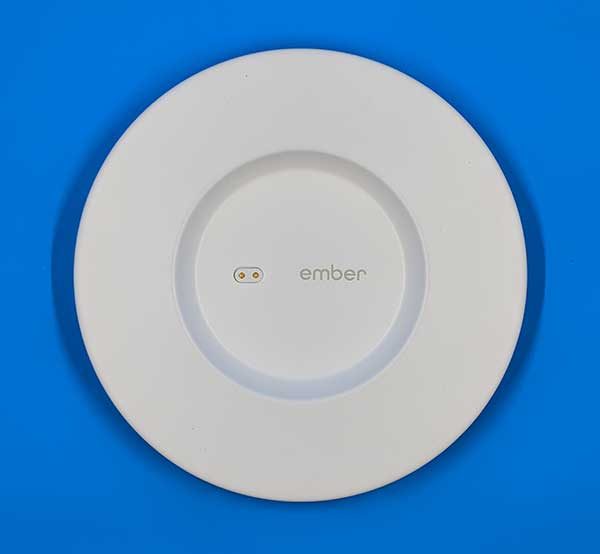
The rings are electrical contacts that connect to the saucer which is used to recharge the Mug’s built-in rechargeable battery.
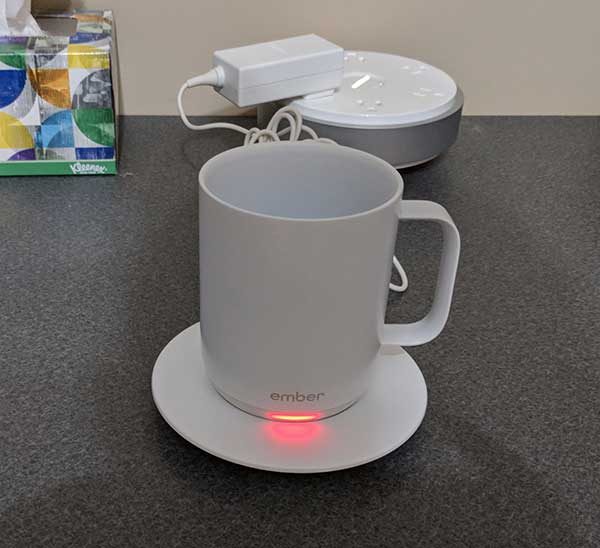
Connecting the included AC adapter to the saucer and then setting the Ember Mug on top will cause the status LED on the base of the mug to glow red to indicate that the Mug’s batteries are recharging.
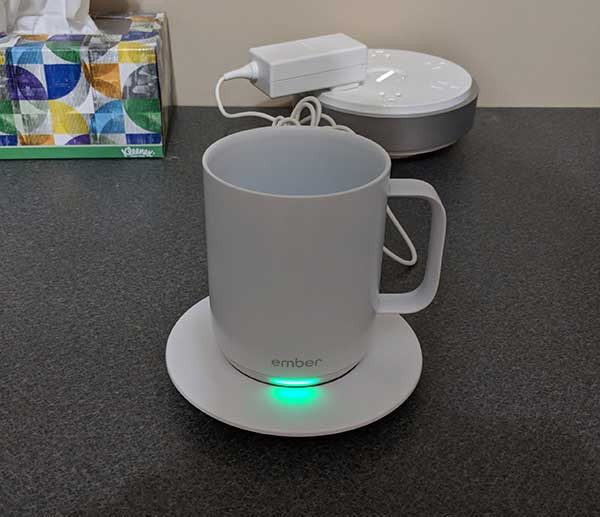
After about an hour and a half, the mug’s battery is completely charged and the status LED glows green.
Once fully charged, you’re ready to start using the Ember Mug. However, you might want to wash it first! But only wash it by hand because it’s not dishwasher safe due to the electrical components inside. The saucer should only be wiped clean and not submerged in water.
To use the Ember Mug, all you have to do is pour in your hot beverage and enjoy. By default, the mug will keep the beverage at a temp of 130° F degrees from full to the last sip. If you want to customize the temperature, you will need to install the iOS or Android Ember app and pair the mug with your mobile device.
The app has temperature presets that you can choose for different beverages, or you can choose any temperature from a minimum of 120° F to a maximum of 145 °F.
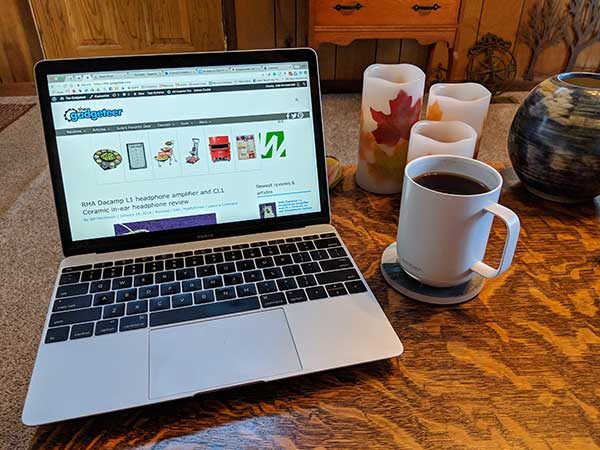
Using the Ember Mug
The first time I used the Ember Mug was at home before installing the app. I boiled water on the stovetop like I always do and poured the water into the Mug over a tea bag. I waited a few minutes, removed the tea bag and moved to the couch where I sipped the tea for 90 minutes or so. Every time I wanted a sip, the tea was still hot which was great. I didn’t have to get up and reheat the tea in the microwave which helped me improve my couch potato skills. The only troubling thing that I noticed was that the LED on the mug started glowing red after an hour to let me know that the battery was getting low. I was surprised that the mug’s battery only lasted for 60 minutes because the tea in the mug was hotter than the set temp, meaning the mug was not having to use any juice to keep the tea at the right temp.
The next day I took the Mug to work with me and that’s when more problems with this product started becoming apparent to me.
First of all, at work, I don’t have access to boiling water like I do at home. I do have access to a hot water machine, but the water is only 160° F at its hottest, which isn’t the right temp for brewing the black tea that I prefer. Since you can’t put the Ember Mug in the microwave to heat the water to boiling, which is what I have been doing several times a day with a traditional mug when I’m at work. I filled my glass mug with water and put it in the microwave to boil the water.
Once the water was boiling, I put the teabag in the Ember Mug and dumped the water from my 10-ounce mug into the Ember Mug. Problem #1: The Mug’s true useable capacity is only about 8-ounces instead of 10-ounces and Problem #2: I made a mess pouring water from the glass mug into the Ember Mug.
Here’s a history of the temps using the Ember Mug and an IR thermometer which I pointed straight down into the center of the mug.
- 160° F degrees out of water machine in a glass mug
- Microwave glass mug of water 1.5mins to a temp 185° F degrees. Transferred water to Ember Mug with a teabag.
- 167° F degrees after 3 mins steeping. The status LED starts pulsing white to show that the temp is either over or under the desired temp.
- 152° F degrees 5 mins later
- 142° F degrees 5 mins later
- 130.5° F degrees 10 mins later – The status LED glows solid white to show that the desired temp is achieved.
- 129.5° F degrees 3 mins later
- 123.5° F degrees 3 mins later – The status LED is pulsing to show that the contents are below the desired temp.
- 127.5° F degrees 15 mins later
- 125.5° F degrees 15 mins later
- 126° F degrees 5 mins later and the cup is empty.
I then set the mug on the saucer to charge it. For my next test, I went with green tea which can steep at the temp out of the hot water machine. I also installed the Ember app so I could compare what it thinks the beverage temps are vs. what my IR thermometer reports.
- 142° F degrees 8:46am
- 132° F degrees 8:54am – app shows 136
- 125° F degrees 9:04am – app shows 132
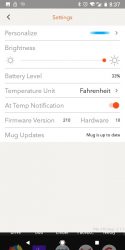
The app reports a higher temperature than my IR thermometer. Not a big deal though. What is a big deal is that the app loses connection with the Mug and it has to be paired again when you want to use it to check the temp or customise it. Almost every time that I would launch the app, it would not reconnect to the mug. I finally got frustrated and stopped using the app altogether since I am fine with the default temperature setting of 130° F degrees.
What I like
- Perfect hot beverage temps from the first drink, to the last drop.
- No cables to plug in for charging. Just set the mug on the saucer to charge.
What needs to be improved
- Capacity
- Battery life
- App loses connection to the mug
Final thoughts
I had high hopes for the Ember Mug at work and thought it would be the perfect solution to my lukewarm tea woes. Unfortunately, the fact that the mug doesn’t hold that much liquid and the battery life is too short makes the Ember Mug an expensive novelty item. Sure, I could just place the Mug on the charging saucer and not worry at all about battery life. But then I can also buy a cup warmer like this one from Amazon for less than $10. Disclaimer: I’ve never used a cup warmer plate, so I don’t know how well they really work. But, the cup warmer can be used with any mug including my favorite glass mug which I can use in the microwave to boil water to brew my tea. I plan to order one and try it.
When it’s all said and done, the Ember Mug is a nicely made product but needs to have a larger capacity and at least double the battery life before I would recommend it.
Price: $79.95
Where to buy: Ember
Source: The sample for this review was purchased with my own money.


