REVIEW – Everyone either has or wants a drone and it’s hard to fault them because drones are both fun and useful. They are fun because you can capture awesome video from locations that you would otherwise never be able to do. And drones are useful because you can use them to see things like your roof, gutters, etc, without climbing a ladder. All this fun and usefulness can also equal an expensive and bulky gadget. Let’s check out the AirSelfie2 pocket-sized flying camera and see if it’s just a toy or a worthy pocket drone.
What is it?
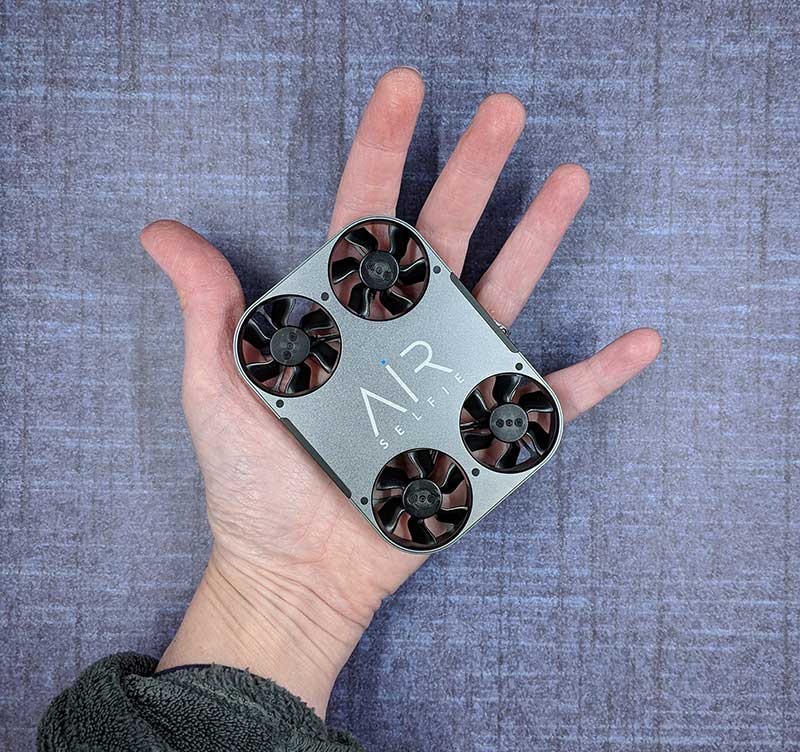
The AirSelfie2 is the 2nd generation AirSelfie flying camera which is a small playing card deck-sized drone that is designed to… you guessed it… take selfies and capture video.
What’s in the box?
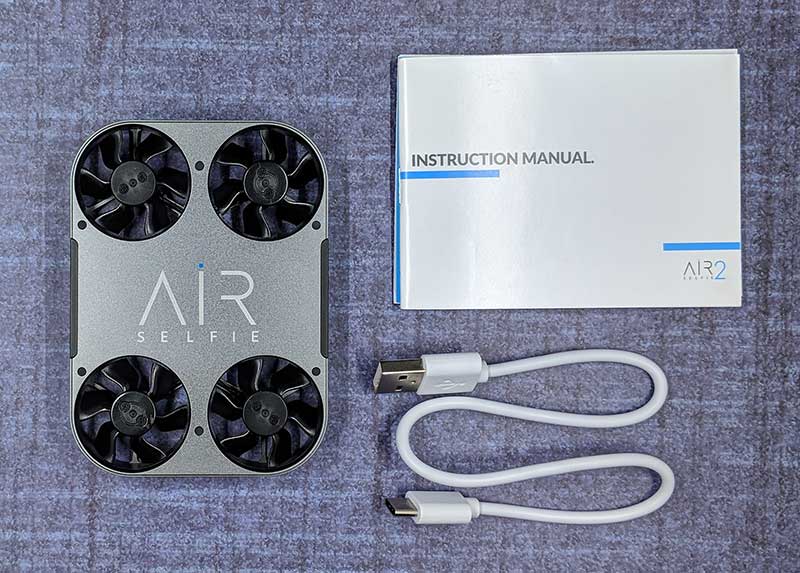
- AirSelfie2 drone
- USB-C charging cable
- Storage case (this was missing with my sample)
- Instruction manual
Hardware specs
Video:1080p 30fps – Photo:12MP wide-angle (81°)
Wide-angle: ƒ/2.0 aperture
Gyro/Barometer/Geomagnetic sensor
Brushless motor
Built-in Micro SD card 16GB
400mAh 7.4v Built-in Battery
2.4G Wi-Fi
Control distance 65 feet / 20 meters
Size:98.5 x 71.2 x 13.6mm (3.8”x2.8”x0.5”)
Design and features
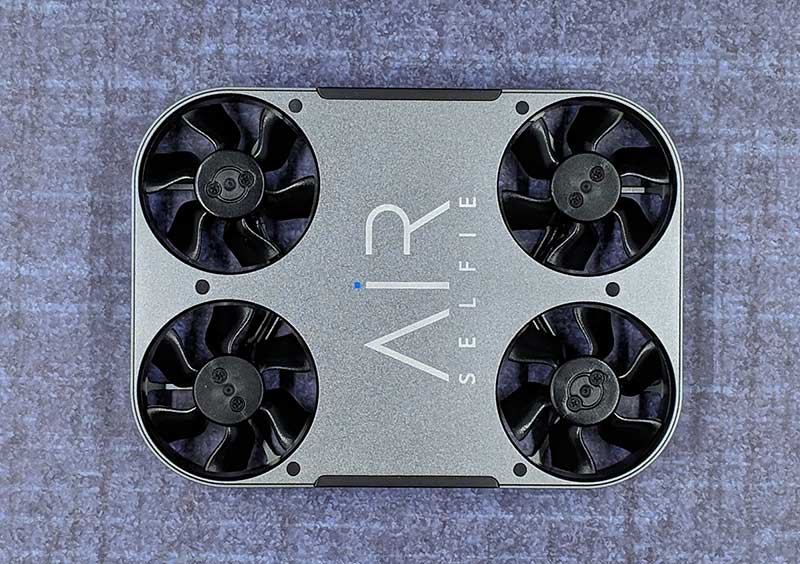
The AirSelfie2 is a sharp looking little drone with a gray metal colored aluminum housing and four propellers.
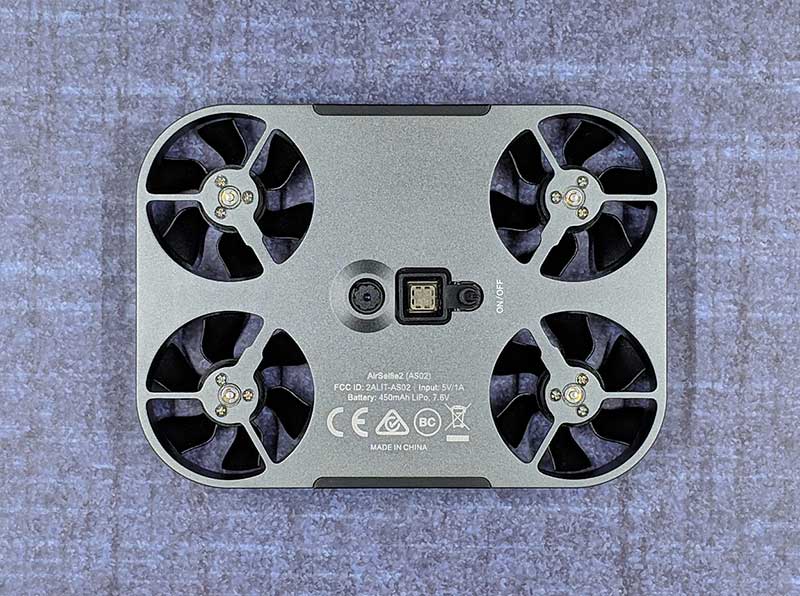
On the bottom side of the drone, you find two sensors and the power switch. The round sensor on the left is the visual sensor and the square sensor next to it is the sonar sensor. The small button on the right is the power switch which you have to hold in for a few seconds to toggle power.
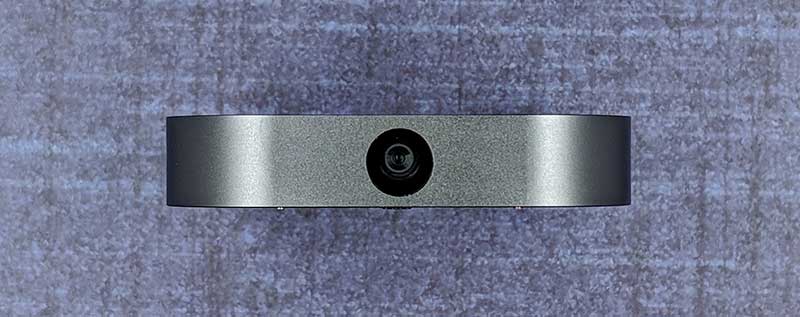
There’s a 12MP camera one end.

And on the opposite end, you’ll find a USB-C charging port.
The AirSelfie2 looks like a gadget that James Bond would use on a mission. Although it’s lightweight, it doesn’t look or feel like a toy. It’s well made and the design looks much more robust than some small plastic drones I’ve tested in the past.
Let’s fly!
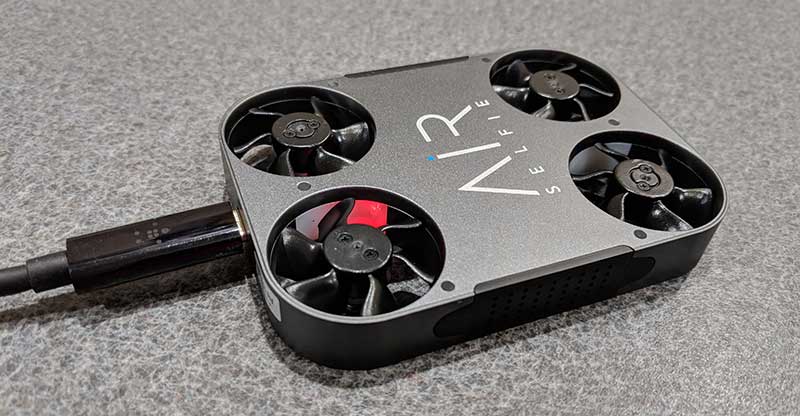
Before you can fly the AirSelfie, you have to charge it using the included (or any) USB-C charging cable. It takes about an hour to fully charge the battery from fully empty to full which provides up to 5 minutes of flight time. While charging, an LED in one of the propeller areas glows red. When charging is complete, the LED turns off. This status LED also glows blue when the AirSelfie is powered on.
You will also need to install the iOS or Android Airselfie app on your phone or tablet. I tested the AirSelfie2 with my Pixel 2 XL.
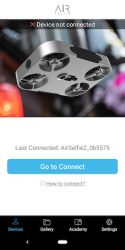
The app doesn’t use Bluetooth to control the drone. It generates its own WiFi connection. Each time you want to fly the AirSelfie, you have to power it on, launch the AirSelfie app, and then go into your WiFi settings to connect to the AirSelfie’s WiFi.
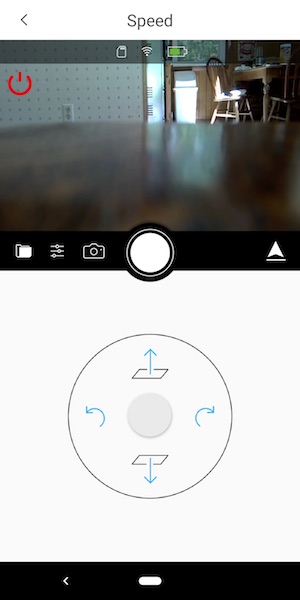
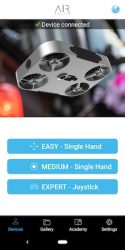
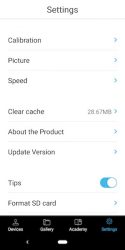
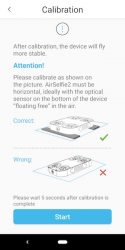
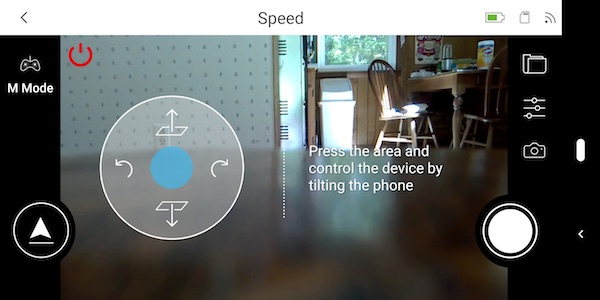
The app is pretty basic, It offers 3 different flight control styles, a way to calibrate the drone, and a few settings that you can customize. The flight control styles include an easy one-handed version shown above on the left and a slightly harder one-handed version on the right which controls the drone by physically tilting the phone in the direction that you want it to fly.
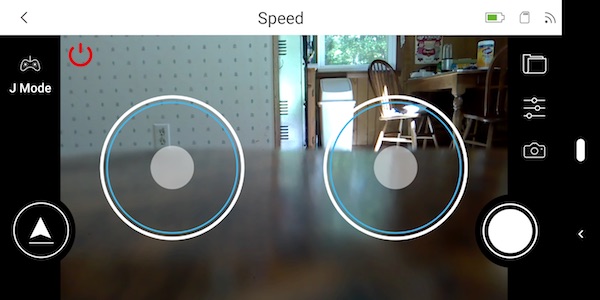
The other two control styles are two-handed joystick style touchscreen controls.
I tried all of the control styles but I kept going back to the easy (first style) because it’s easier. Go figure 
I thought the AirSelfie sample that was sent to me was defective because I couldn’t get the propellers to spin up when I would press the arrow button in the app. It took me a while to figure out that you need to press and hold that button for a few seconds to start the propellers. Then you have to place the drone on your flat palm with the camera facing you and toss it gently in the air. It might sound scary, but launching it is easy. Landing it is a bit harder. You’re supposed to bring your hand up under it and grab it. Most of the time when I did this, the propellers would spin fast like the AirSelfie was a captured bug trying to get away. I finally learned that you have to grab it and raise your hand to signal it to turn off.
Pics and video
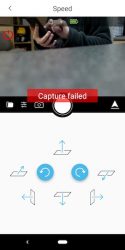
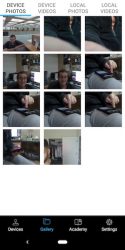
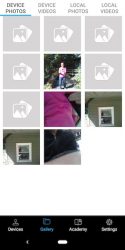

Since the AirSelfie2 is marketed as a flying camera, I had hopes that it would be a good flying camera and taking pictures and capturing video with the app was easy when it worked. But regularly, I’d see a capture failed message on the screen when I’d tap the shutter button. To fix this issue, I would have to restart the app and/or cycle power on the AirSelfie. I found this to be an annoying problem that seemed to happen right when I could have captured a decent selfie.


Most of the time my selfies were at weird angles or chopped off half of my body. Indoor selfies just look ok although I think they are a little dark and on the flip side, outdoor selfies can be completely blown out if it’s a sunny day. Click the images above to see the full-sized picture.
The AirSelfie2 can also capture video. Video without sound though… which is to be expected because the propeller noise would drown out any other noise. Check out the video below that shows how to fly it and video from the AirSelfie2 itself.
From the short video, you can tell that the AirSelfie2 is NOT a stealth drone. It makes quite a bit of noise and the video capture quality is about the same as the image capture quality – not stellar. It also drifts while hovering, so you end up cutting off half a person when you press the shutter button.
What I like
- Tiny pocket size
- Good build quality
What needs to be improved
- Image and video quality
- Drifts while hovering
- Short flight time (3-5mins)
- Would be nice to have a self-landing feature so you don’t have to grab it out of the air
Final thoughts
I tested the AirSelfie2 on multiple occasions and had the same results each time. The images that this little flying camera capture just arn’t that good for a $200 camera. Yes, the device is cool, but cool only goes so far. My advice is to save your money and buy a drone from a brand name that has 3 initials and a built-in gimbal
Price: $199.95
Where to buy: Amazon
Source: The sample for this review was provided by AirSelfie.
Filed in categories: Reviews
Tagged: Camera, Drone
AirSelfie2 flying camera review originally appeared on The Gadgeteer on September 14, 2018 at 9:00 am.
Note: If you are subscribed to this feed through FeedBurner, please switch to our native feed URL http://the-gadgeteer.com/feed/ in order to ensure continuous delivery.


 The only control on the front is a volume knob. It also doubles as a mute button.