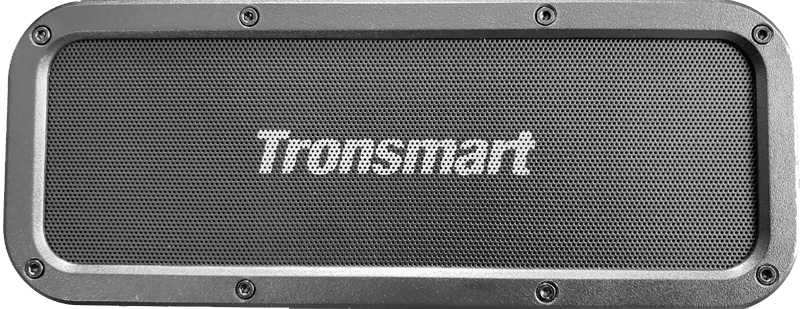
REVIEW – It seems that every few days, there’s an announcement about yet another new Bluetooth speaker. Today’s entry is the Tronsmart Element Force. Is it worthy of your consideration? Read on!
What is it?
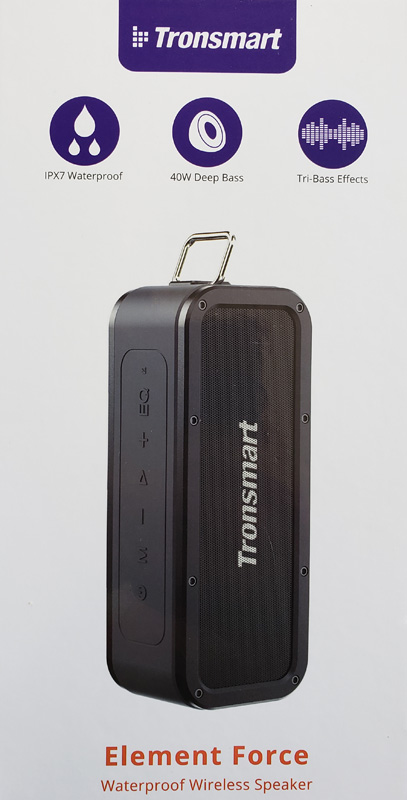
The Element Force is a Bluetooth 4.2 speaker with up to 15-hour battery life. It is relatively small and portable and is IPX7 water resistant (complete submersion up to one meter for up to 30 minutes). It also has a built-in microphone for hands-free calling.
What’s in the box?
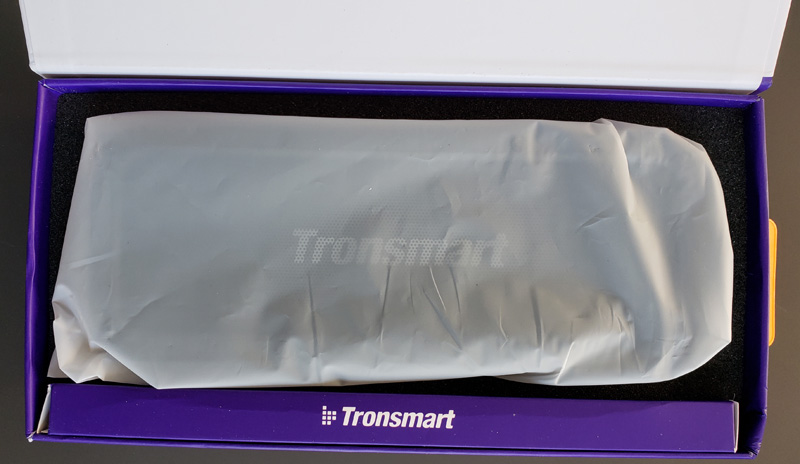
The speaker comes well packaged with a soft cover and foam all around for shipping protection.
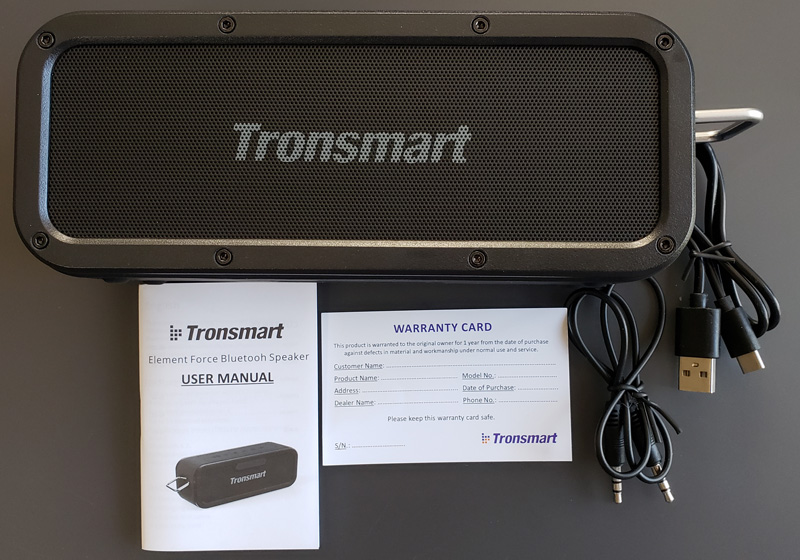
- Tronsmart Element Force speaker
- USB-A to USB-C charging cable
- 3.5mm AUX cable
- User manual (in six languages)
- Warranty card
Hardware specs
- Bluetooth version: 4.2 + EDR
- Bluetooth transmission distance: 20m/66ft (open area)
- Frequency: 80Hz-18KHz
- Water resistance: IPX7
- Power supply: DC 5V/3A (max) USB-C
- Battery capacity: 3300mAh x 2
- Charging time: about 3 hours
- Play time: up to 15 hours (medium volume)
- Charge time: 3 hours
- Output: 2 x 20W max
- Driver unit: 53mm
- Distortion: ≤1.0%
- Connectors: USB-C charging port, 3.5mm aux-in port, TF/Micro SD card slot with support for WAV, FLAC, APE, MP3 formats
- Dimensions: 204 x 64 x 80mm / 8.03 x 2.51 x 3.14in
- Net weight: 780±5g / 27.51±0.2 o
- Hanging loop on side
Design and features
Let’s get into how well the Element Force does its job.
Setup
The first thing I did was to charge the speaker.
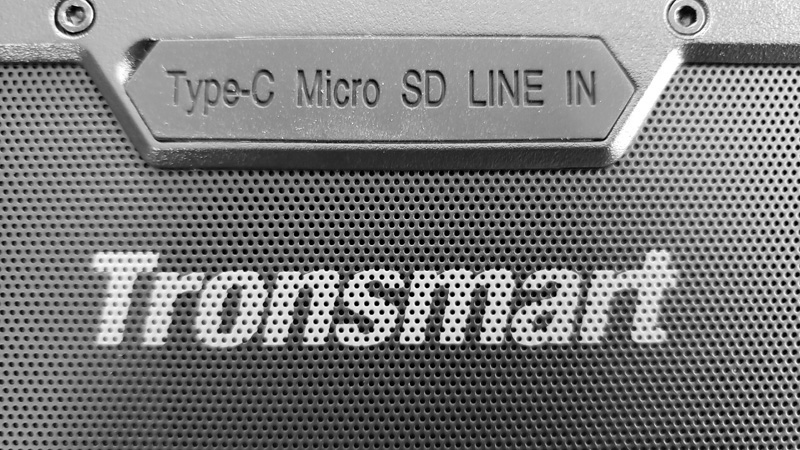
On the back of the speaker, we find a rubber cover embossed with labels for the connection ports underneath.
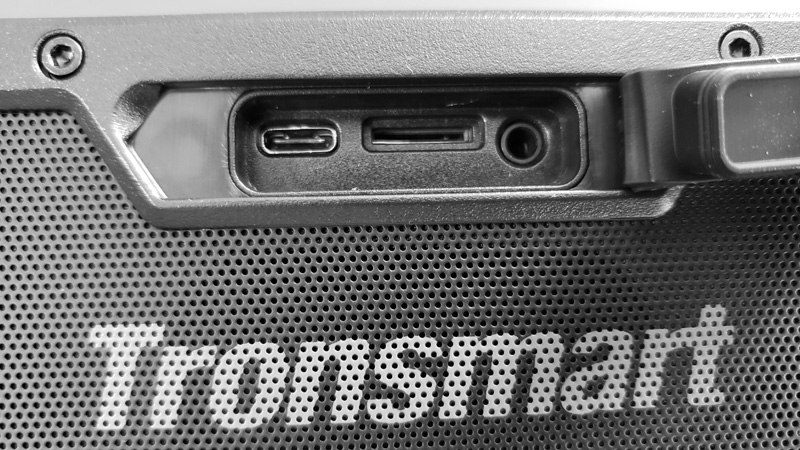
After plugging in the USB-C cord, the speaker started charging. There is a small red LED above the power button.
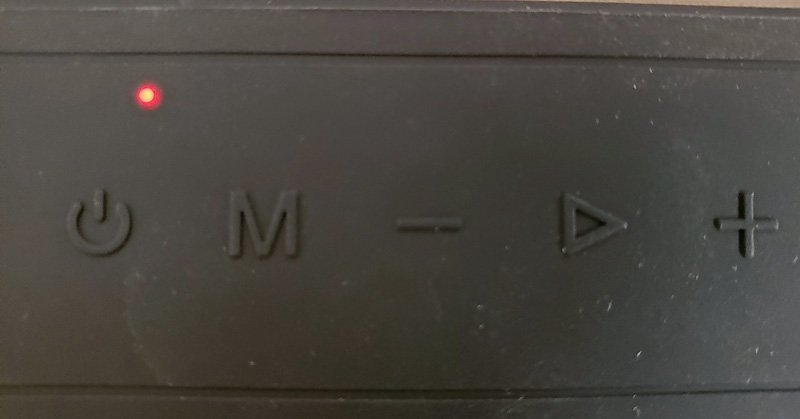
The LED goes out when charging is complete. This happened in just a few minutes, so the speaker shipped nearly fully charged – a nice touch. Expected time for a full charge is three hours. That same LED also lights blue and doubles as the Bluetooth pairing and paired indicator as well as the AUX-in indicator.
All the control buttons are located under a rubber layer with raised markers indicating button function.
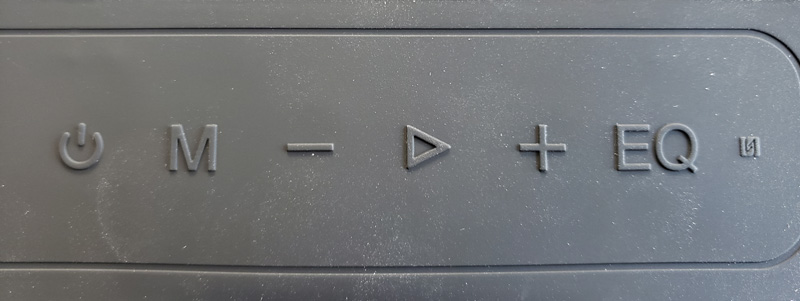
From left to right:
- Power – press on / press off
- M – mode – changes inputs from Bluetooth to SD card to AUX-in; also, hold for 6-8 seconds to factory reset and unpair all devices
- Minus – click lowers volume; long-press skips back one track
- Play/pause – clicking plays or pauses the music; answer/hangup for phone calls; 2-second press to reject a call; 6-8 second press to force a power down
- Plus – click raises volume; long-press skips forward one track
- EQ – change audio effects from extra bass, 3D sound, and standard
- NFC – the small symbol on the right is the NFC pad – more on that below
The rubber covering offers some impact resistance, and are nice to touch, but…any small dust or debris sticks to it like glue. If you take a look at any of the photos, you will see dust all over. If that stuff bothers you, you can clean it with a damp cloth – no cleaners or detergents – but, it will be dusty again almost immediately.
There are two methods to pairing the speaker to your device. For this review, I used my Samsung Galaxy S9+ as the sound source.
Bluetooth pairing
Make sure your device has Bluetooth on and turn on the speaker. The LED above the power button will flash blue. Go into your device’s Bluetooth pairing screen and look for the Tronsmart Element Force and click on it. The pairing worked perfectly and the LED indicator turned solid blue.
NFC pairing
I also tried NFC (near field communication) pairing. On your device, make sure that both Bluetooth and NFC are turned on. Then, hold the back of your device over the small NFC label on the right side of the speaker’s function buttons. Pairing was almost instant, and like the Bluetooth method, worked perfectly.
I don’t know that one method or the other is better or faster. They both worked well. Now that it is paired, how does it work and sound?
Performance
I fired up music on my phone and went to it. Immediately, I was impressed with the sound quality. Let’s get this out there right now, I am not an audiophile. I like music, and know what I think sounds good, but I can’t discern minute differences in frequency. Having said that, this isn’t a speaker that folks will use in an audiophile-type setting. It is a waterproof, portable speaker that should be where the party is, whether that’s on the beach, by the pool, or out on the hiking trail.
There are three audio modes: extra bass (default), 3D sound, and standard. To move between modes, press the EQ button. The LED above the EQ button will show the current mode:
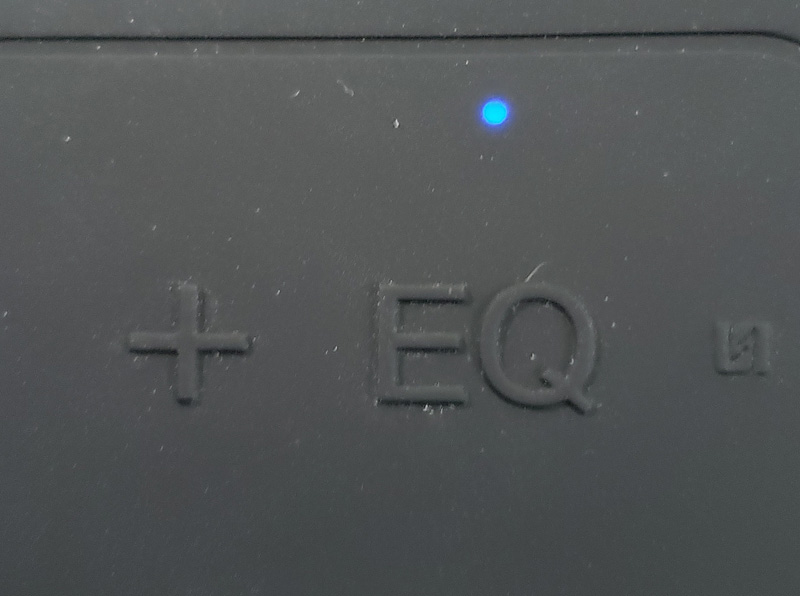
- Off: extra bass (default)
- Blue: 3D sound
- White: standard sound
The extra bass mode sounds pretty good. The standard mode sounded a little flat for my tastes. I preferred the 3D sound. It was a more full and rich sound and I felt it added some depth to the music. Given that I will use this as the primary sound source for my golf cart, having the 3D sound enabled adds a lot of presence to the music. That’s important as you’re zipping along at 20+ MPH with no side curtains.
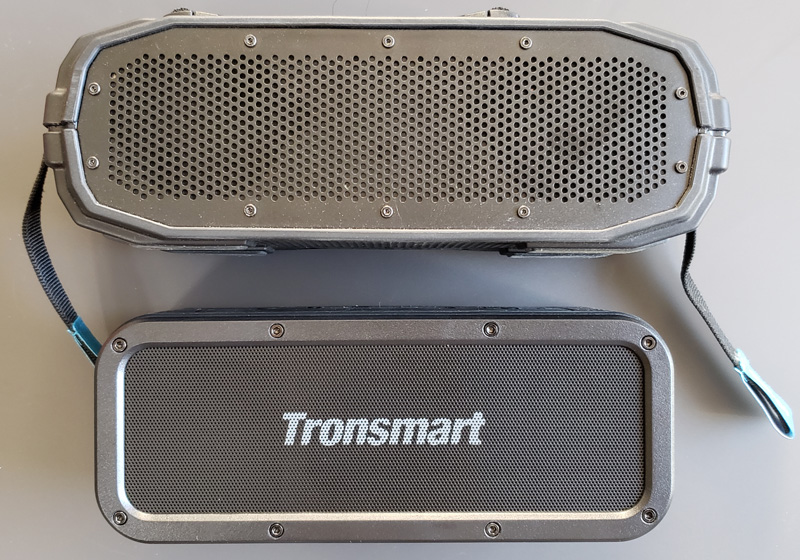
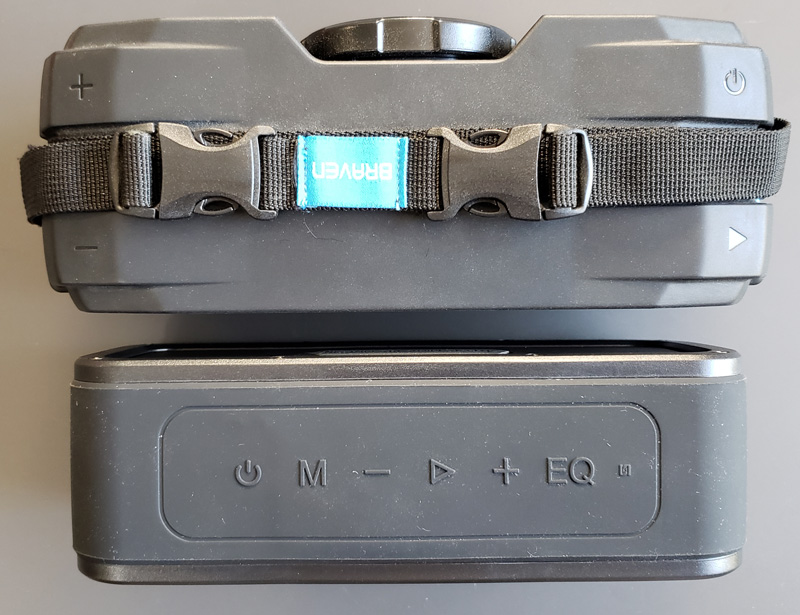
I like the size of this speaker. It has some heft and feels quite sturdy. It is sized perfectly to fit up in my rear overhead tray on the golf cart. That space was occupied by a Braven BRV-X speaker. It was always a little tight getting it in or out when I had to charge it. The Element Force slips right in there perfectly.
Here is a size comparison between the Braven (top) and Tronsmart (bottom).
Since I was already comparing the Tronsmart to the Braven, I figured I would continue. I connected to the Braven and cranked up the volume. It was loud and sounded good. Then I did the same with the Tronsmart. Wow. It was so much louder, I was amazed. And, to my less than perfect ears, it sounded pretty darn good. But, was I really hearing the volume difference correctly? Let’s get science to help!
I have a sound meter app on my phone. First, a disclaimer – this app has never been calibrated. This means that the specific decibel readings should be taken with some skepticism. Since I used the same app to measure the sound from both speakers, the relative difference still stands as accurate.
I fired up Fleetwood Mac’s Rhiannon on Amazon Music, turned up the volume as high as it would go and put the phone about 24 inches from the speaker.
The Braven is on the left, the Tronsmart Element Force on the right:
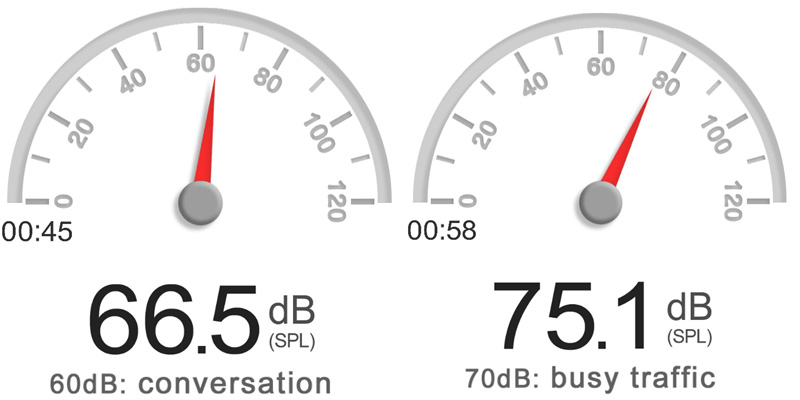
Without getting into the science of volume, sound pressure, and energy, which gets a little dry and science-y, the general consensus is a 6-10 dB increase results in a perceived doubling of the volume. I think it’s safe to say that the little Element Force is at least twice as loud as the Braven. For anyone planning to use this outdoors, in open spaces, that extra volume will be welcome.
Other niceties:
- 15-minute auto power off when not playing or connected
- TWS (true wireless sound) capable – you can pair two Element Force speakers as a stereo pair
I put a handful of MP3 files on an SD card and popped in in the back of the speaker. It was a little tricky getting the SD card in place as the slot is recessed in the back of the speaker. It clicked into place with a little wiggling. Getting it back out was another story and ultimately required tweezers to grab the SD card. The channel that contains all the ports is way too narrow for fingers to actually fit into. My wife tried and even with her smaller fingers, failed to retrieve the SD card. Tweezers prevailed.
The MP3s played as expected and sounded great. One complaint – they only play in order. For those of a certain age, like me, this harkens back to the days when we made our own mix tapes. Tapes only played in order, so you got super used to the order the songs played in. Then, once CDs arrived on the scene and Walkmans were everywhere, shuffle play was a revolution, making the next song a pleasant surprise, since you never knew what song was coming next. That trend continued with iPods and other MP3 players. For some reason, Tronsmart left a shuffle option off the Element Force, so using an SD card will be a lot like the old cassette tape days, in terms of song order.
Battery life is a claimed 15 hours on medium volume. I had the volume all over the place over several days. While I don’t have an exact runtime, since it was in bits and pieces at varying volumes, the 15-hour claim seems pretty plausible.
Finally, I tested the Bluetooth connection distance. Per the specs, it should be 20m or 66ft in open spaces. I put the speaker on the patio wall and walked out onto the golf course. I kept my phone between me and the speaker, so my unfortunately thick middle section wouldn’t affect signal transmission. At my roughly 3ft stride, I got 60 strides out before the speaker started breaking up consistently. That put the open space distance at somewhere around 180 feet. Of course, as soon as I got between the speaker and phone, the cut-outs increased, but still, I was impressed.
What I like
- Great size
- Solid build quality
- Terrific volume
- Good sound quality
- Good battery life
- Good Bluetooth distance
- Multiple input sources
- USB-C charging so it doesn’t need a special power adapter
What needs to be improved
- When playing from the SD card, songs play in order – it would be nice to have a shuffle option
- You can’t get the SD card easily out without tweezers or plyers
- If you watch your device when the Bluetooth connects, you get a pop-up with the remaining battery life as a percentage – a battery meter would be much easier
Final thoughts
The Tronsmart Element Force is a capable Bluetooth speaker. Its water resistance is a great plus for outdoor use. It is small enough to toss in a backpack and take with you. The fact that it also sounds great rounds this out as a great choice when shopping for your next Bluetooth speaker. If they added shuffle play, it would be almost perfect. This will be a permanent fixture for my golf cart.
Price: $59.99
Where to buy: Amazon
Source: The sample of this product was provided by Tronsmart.
Filed in categories: Reviews
Tagged: Bluetooth speaker
Tronsmart Element Force Bluetooth speaker review originally appeared on The Gadgeteer on April 13, 2019 at 9:00 am.
Note: If you are subscribed to this feed through FeedBurner, please switch to our native feed URL http://the-gadgeteer.com/feed/ in order to ensure continuous delivery.


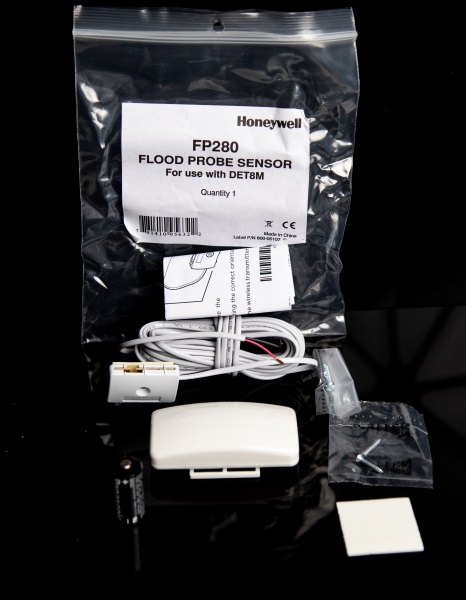
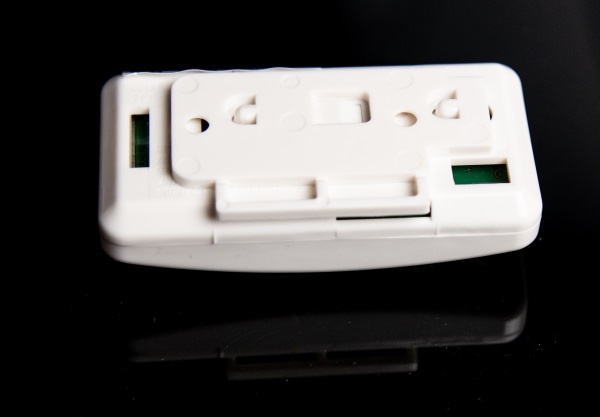
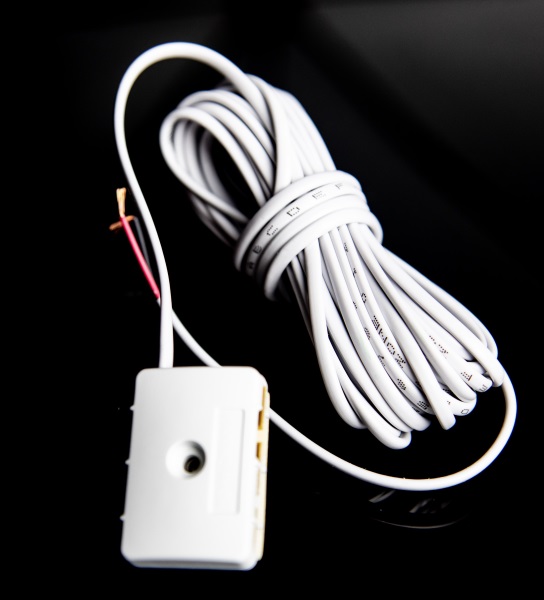
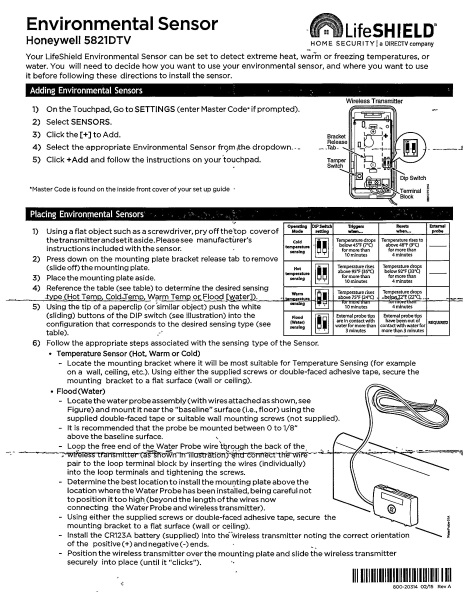
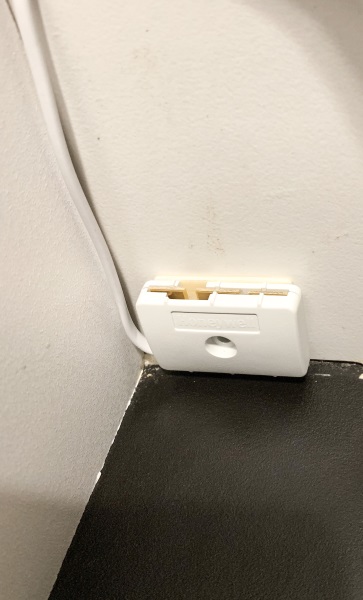
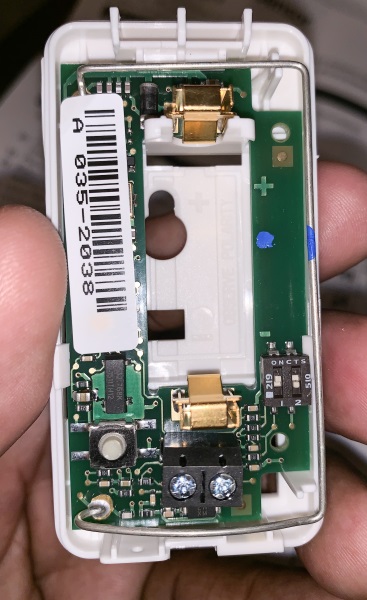 Using the provided double-sided, I attached the sensor on the side of the wall right above the floor and within the recommended height above floor level.