I recently returned from an epic vacation to California where Jeanne and I explored 3 different locations over the course of 7 days. As with most trips, I always struggle with the gear that I want to take with me. I am a minimalist at heart, so I like to pack the least amount of items while getting the greatest benefit from their usefulness. My biggest gear decisions for this trip were whether I wanted to take my 12-inch MacBook or my Samsung Galaxy Tab 3 Android tablet and if I wanted to splurge and buy a small camera just for the trip.
Time to pack the gadgets
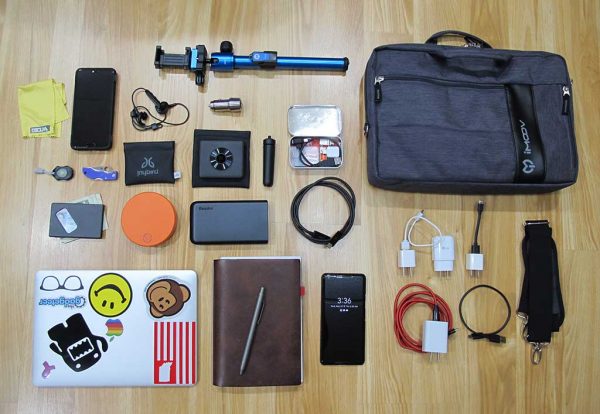
In the image above, you can see the tech that I took with me on this trip. Here is the list of items:
12-inch MacBook
Pixel 2 XL
Huawei P20 smartphone
Xaiomi Mi Sphere Camera
Skyroam SOLIS 4G LTE Global WiFi hotspot
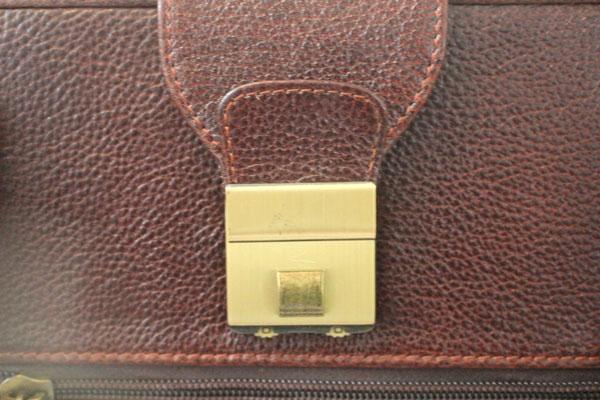
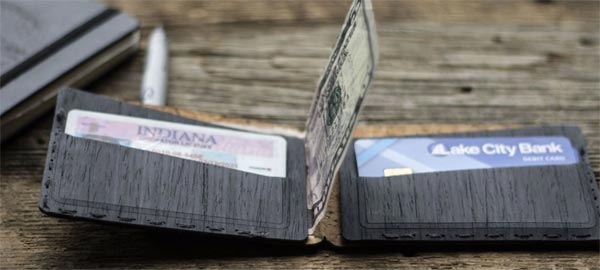
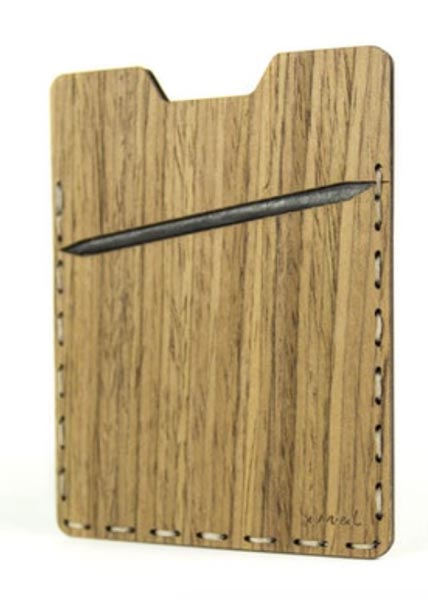
Identity wallet
Selfie stick portion of the MeFoto Backpacker Air tripod
Jaybird Freedom 2 Bluetooth earbuds
EasyAcc MegaCharge Doubin 16750mAh USB-C Power Bank
X47 journal
Big Idea Design Ti Click Classic pen
Altoids tin with small cables, adapters, and thingamabobs
Lens cleaning cloth
Photon X-Light Macro flashlight
Spyderco Ladybug pocket knife
ThanoTech stainless steel USB car charger
Various cables and AC chargers
Generic shoulder bag
Other items that I packed but weren’t included in the photo above include:
SCOTTeVEST Hoodie Cotton jacket
Showers Pass Trailhead Bamboo-Merino Wool hoodie
Duluth Trading Company firehose cargo pants
Every time I go on a vacation, I revisit the idea of only taking a tablet and then every year that I do that, I complain that the experience was painful because I wasn’t able to get work done on the tablet as easily as I can on the MacBook. I’m happy to report that I saved myself that headache this year and decided to take the MacBook. In the end, the 12-inch MacBook takes up less space than a 10-inch tablet, a Bluetooth keyboard, and a Bluetooth mouse. Also, I didn’t need to take the dedicated Apple power adapter because the MacBook uses USB-C, so I was able to use the same charger for it as I used for my phones.
I mentioned that I also toyed with the idea of purchasing a camera just for the trip because I knew we’d be having some excellent scenic photo opportunities. In the end, I decided NOT to buy a new camera because again I’m a minimalist… Also, I was packing the Huawei P20 smartphone that I was in the process of reviewing and the Xaiomi Mi Sphere 360-degree camera along with my Pixel 2 XL. So 3 cameras would be plenty right? Hmmmm, I think maybe my definition of minimalism is flawed 
California here we come!
The trip started with us flying from Indianapolis to Dallas and then from Dallas Texas to Fresno California. During that leg of the trip, I used my Pixel to surf, keep up with emails, read news feeds, and read a few pages here and there on the book I’m currently reading (Chaser by John W. Pilley). I also ended up using the EasyAcc power bank while waiting in the Dallas airport for our connecting flight because all the outlets and charging stations at our gate were already being used by other people. I think this might be the first time that I’ve actually used a power bank for real-world use instead of just testing it for a review. It worked out great and allowed me to easily top off my Pixel’s battery before and during a couple of our flights.

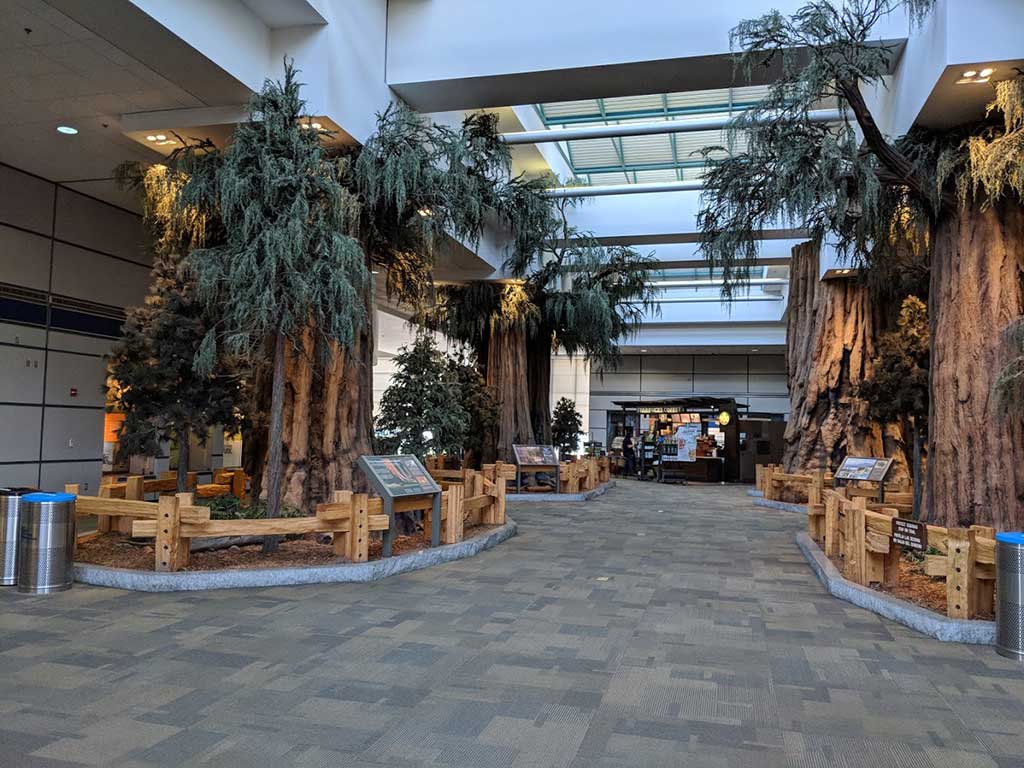
When we landed in Fresno, we were greeted by a display that reminded us why we were there in the first place. Giant Sequoia trees! So we grabbed our bags, got a rental car, plugged in the ThanoTech car charger and used my Pixel 2 XL to navigate us to King’s Canyon National Park and the John Muir Lodge where we would be staying.
Lesson 1 – Offline Google Maps are your friend
Make sure you download your Google Map trip navigation info on your phone before you get into the middle of the drive to your destination. I already knew that cell coverage was going to be pretty much non-existent inside the King’s Canyon National Park, but it was also spotty on the drive from Fresno to the King’s Canyon National Park. That’s why I was really glad that I had planned ahead and had set up Google Maps on my phone with an offline map/directions from the airport to the park and also from the park to our second destination.
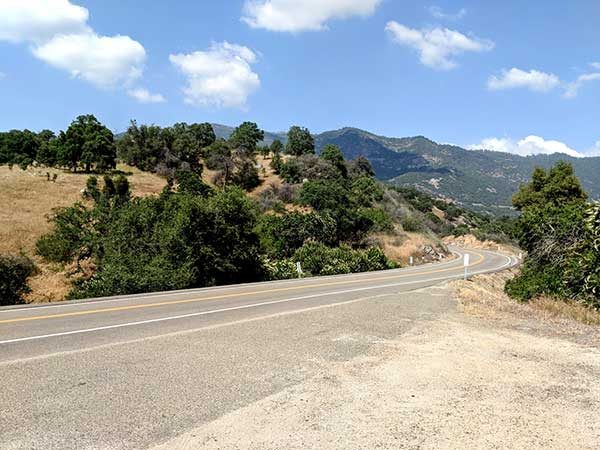
The drive from the Fresno airport to King’s Canyon National Park inside the Sequoia National Forest was our first taste of California and it didn’t disappoint.
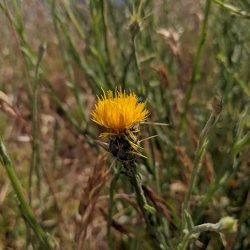
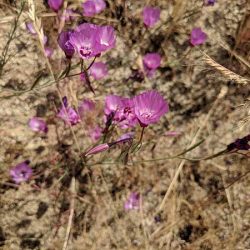

Jeanne who loves plants and flowers kept wanting to stop at every turnout (wide gravel berms on the side of the highway where you can pull over so faster drivers can go by) so she could see and photograph various wildflowers that we don’t see in Indiana.
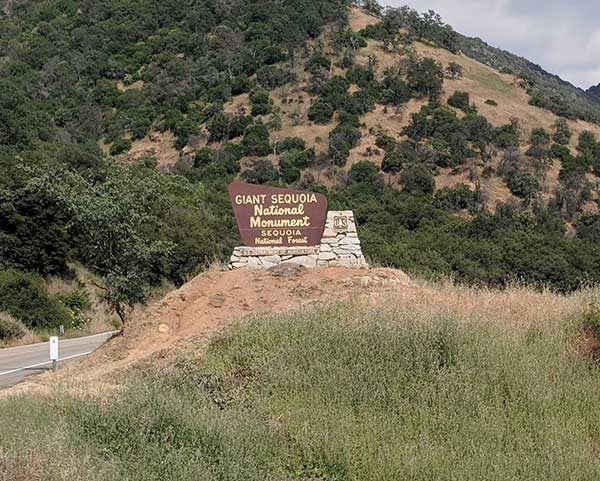
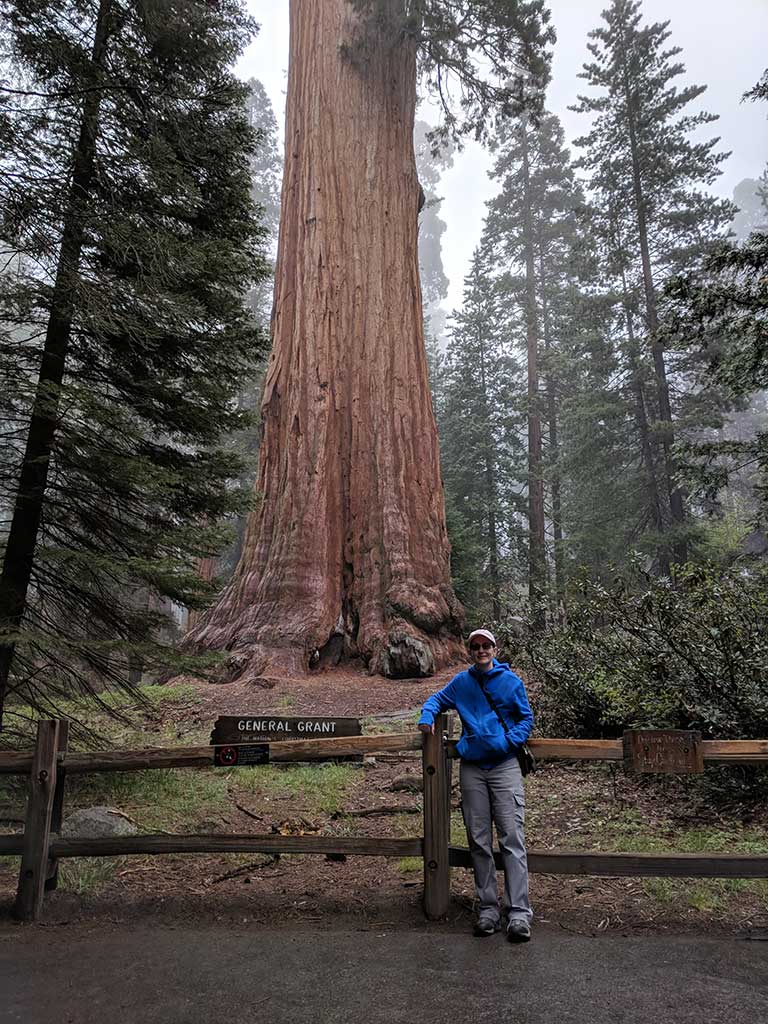
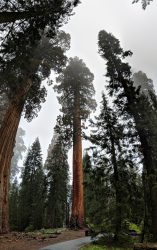
The scenery changed dramatically from what looked and felt like a desert landscape into a fairy tale world as soon as reached the Sequoia National Forest.
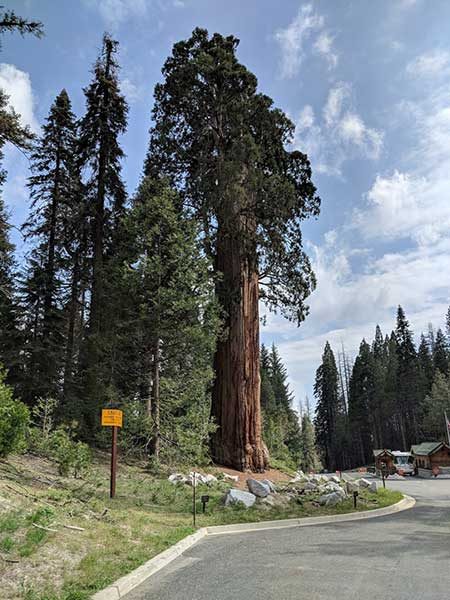
This was our first look at one of the giant sequoia trees as we drove into the King’s Canyon National Park which is inside Sequoia National Forest. We were impressed and had to get out and snap a few pictures. We would soon come to learn that this one was just a ‘baby’ compared to others we’d see the following day.
We checked into our room at the John Muir Lodge and then had a quick dinner at the lodge restaurant where they had free (although insanely slow) WiFi. Afterward, we went back to our room where I promptly crashed due to not sleeping at all the night before in the hotel where we had stayed near the Indianapolis airport so that we wouldn’t have to get up so early to drive from Columbus to Indy for our 8am flight to Fresno, CA. I ended up sleeping from 6pm to about 8am the next morning. I guess I was tired and the time difference from EST to PST caught me.
When we got up that next morning I checked again to see if I had any T-mobile coverage and nope, nothing. Then I checked to see if there was open WiFi in the room. Nope. Then just for kicks, I tried the Skyroam 4G WiFi hotspot. Again nothing. I wasn’t surprised though as I already knew I was going to be off the grid during the first part of our vacation. I’d already prepared to be incommunicado by scheduling Gadgeteer news and reviews posts for several days in advance and I surrendered to the fact that I would be able to catch up on emails once we made our way over to the coast to our final vacation destination in Carmel.
What I hadn’t completely prepared for was just how freaking cold it was in King’s Canyon National Park. We had checked the weather for King’s Canyon when we were packing before we left Indiana and thought the forecast was screwy because it had shown temps in the 30’s and 40’s. We figured it was showing the forecast for farther up in the mountains or something. But when I checked out on the porch outside our room at the lodge that morning, I was pretty surprised by how cold it was. But it wasn’t just cold, it was also foggy and drizzling. Luckily, we’d each brought sweatshirts, along with t-shirts and a jacket.
Lesson 2 – I still love my SCOTTeVEST Hoodie
When we were packing for the trip, I had originally decided to take the BauBax Women’s Sweatshirt jacket because I’d just posted my review but hadn’t actually put it through any real-world travel scenarios and wanted to do so for a later review update. But in the end, I changing my mind and packed the SCOTTeVEST Hoodie Cotton Jacket because I just like the SeV jacket better.

I’m glad I did make the swap because the SeV jacket is a heavier weight and kept me warmer than the BauBax would have been able to do. The SeV jacket also has a better layout of pockets that were perfect for 2 phones and the Xiaomi camera that I carried with me every day while on the trip.
That first day we walked around looking at some of the trees in King’s Canyon near the John Muir Lodge where we were staying. But the weather was so bad and it was so foggy that we packed it in earlier than anticipated and drove to our 2nd destination which was Three Rivers.
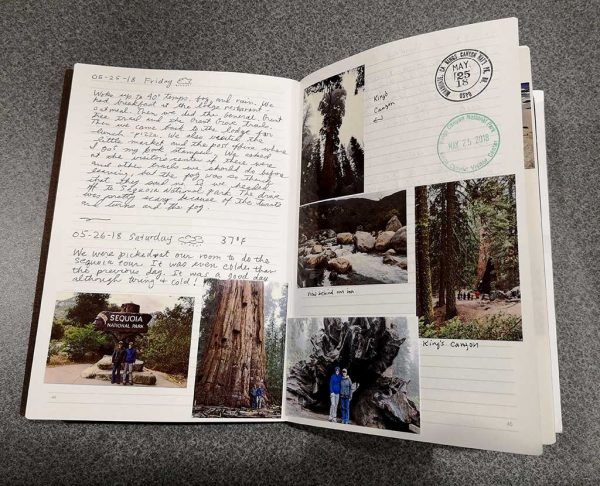
But before we left King’s Canyon National Park, I got my journal stamped. One stamp was a postmark from the tiny post office near the lodge and the other one was from the park visitor center. And that’s one reason why I still love my paper journals. I like collecting little mementos to tape, or glue in my journal so I can flip back and remember the fun we had and things we did and saw.
Lesson 3 – Don’t forget the panorama mode on your camera
The panorama mode on my smartphone’s camera isn’t normally something I think about using on a daily basis. But on this vacation, it was the perfect way to capture pictures of the giant sequoia trees and other landscape shots. Here are some examples which you can click if you want to see the full-sized image.
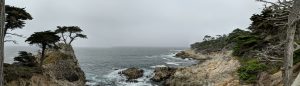
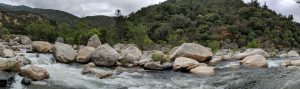
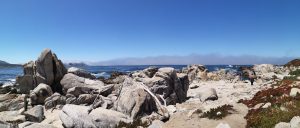

Panoramic images aren’t perfect. They often have a fisheye or warped appearance like the giant sequoia images above. But I still think they are cool because you can get all of your subject in one photo where it would otherwise only show a small portion of it.
It’s also amazing how many people don’t know about this feature. When we were on a tour of the Sequoia National Park, one of the other people with our group asked what I was doing when I was taking panos of the trees. When I showed her how to do it with her iPhone, she was overjoyed to learn that she could do that.
Lesson 4 – I didn’t have access to the internet for almost 3 full days and I survived!
When we were staying in Three Rivers, our room at the Gateway Inn had internet, so I was able to check my email and surf when we were there in the room – which was only in the morning and evening since the other part of the day we were in the park which has zero internet/cell coverage.
Before the trip, I was a little anxious about not being able to keep up on my email, news feeds, and Gadgeteer stuff. But once I gave in to the fact that I wouldn’t have control over that part of the trip, I stayed calm and carried on. It was actually pretty liberating. For someone who likes to stay connected and on top of things, this was a big accomplishment for me and I am glad that the trip worked out the way it did because now I know that taking a break from the digital world is not going to kill me. 
Lesson 5 – My 12-inch MacBook is a great travel computer but for my next trip I may go with a tablet or nothing at all
Shocking right? But seriously, now that I’ve survived without working for a week, I’m going to look forward to doing that more often. Of course, it did take some preparation beforehand. I had to schedule news and review posts to publish days in advance and I had Janet take over comment moderation and take the wheel while I was away.
I also used the Newton Mail client on my phone when I needed to file emails and the Gmail app with the canned reply feature for quick responses. These two tools helped me to keep my inbox clean, which is important to me so I don’t get that I’m never going to catch up feeling that can happen when there are dozens of messages awaiting a reply.
Our next vacation is this fall when we’ll go to Sanibel Island, Florida. I’m seriously considering just taking a tablet this time. No, I’m not going to try to make it bend to my will and become a laptop. I won’t even take a Bluetooth keyboard with me. I’d just use it for surfing and a few games when the mood strikes. With Newton Mail and Gmail, I can keep my inbox clean and as for working on Gadgeteer reviews and articles, I now know that I can relax and take a vacation.
The post Julie’s gadget diary – 5 lessons I learned from my last vacation appeared first on The Gadgeteer.
Filed in categories: Articles
Tagged: gadget diary, Travel Gear
Julie’s gadget diary – 5 lessons I learned from my last vacation originally appeared on The Gadgeteer on June 22, 2018 at 5:09 pm.
Note: If you are subscribed to this feed through FeedBurner, please switch to our native feed URL http://the-gadgeteer.com/feed/ in order to ensure continuous delivery.

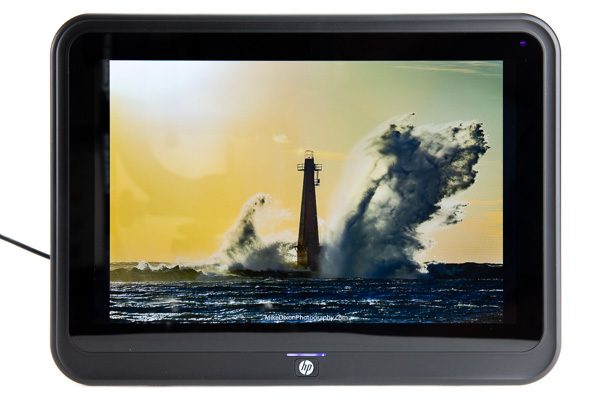

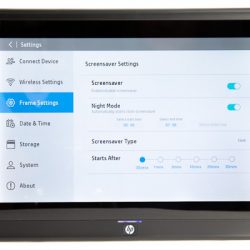
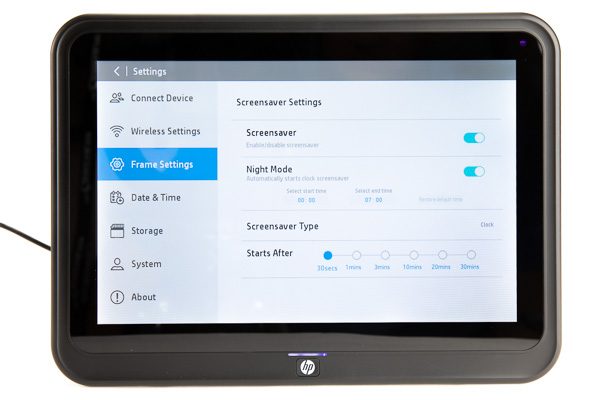
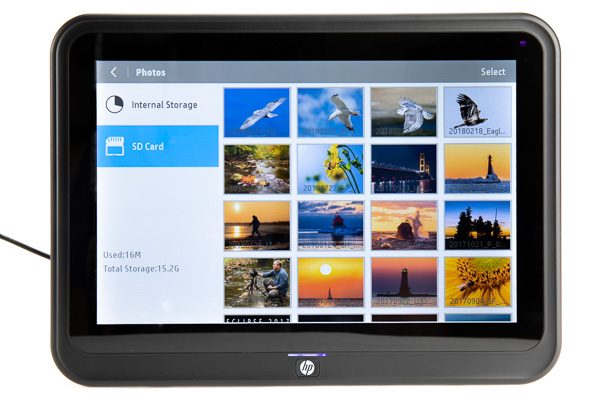 On the photo frame itself, there is an option for a screensaver, where you can set hours for it to display a clock at night for example. However, when the screensaver turns off at the end of the set period of time, there’s no way to make it automatically display the photos on an SD card, only the internal memory.