REVIEW – There is nothing like sipping on a well-crafted cocktail on a hot summer day. Many bartenders will tell you that there is an art to making a great tasting drink. I know this because I personally have failed a time or two trying to make them. Sure, anyone can mix a little rum and Coke, or splash some water in scotch, however making a mixed drink that requires several ingredients takes knowing what you are doing OR a machine that says it can do it all for you magically! That is what the Bibo Ultimate Cocktail Machine promises so let’s see if what it promises can really happen.
What is it?
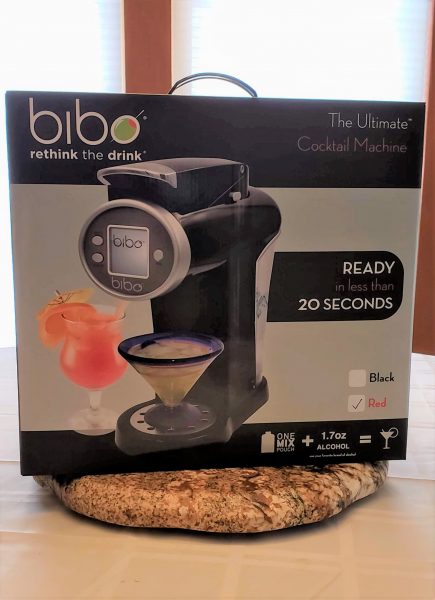
The Bibo Cocktail Machine is a machine that uses premixed pouches of non-alcoholic mixers in combination with the alcohol you add to give you the perfect mixed drink. It reads the bar-code on the pouch to know exactly how much water to add to the mix. It uses one pouch per drink so there are no more bottles hanging around with leftover margarita or rum punch mix. You simply fill the provided shaker with a few ice cubes, add the shot of alcohol, put in your mixing pouch into the machine, punch a button and the mixer is added to the shaker. Then you get to play bartender by shaking it up and pouring into the glass. The Bibo company provided me with a Red Bibo and
What’s in the box?
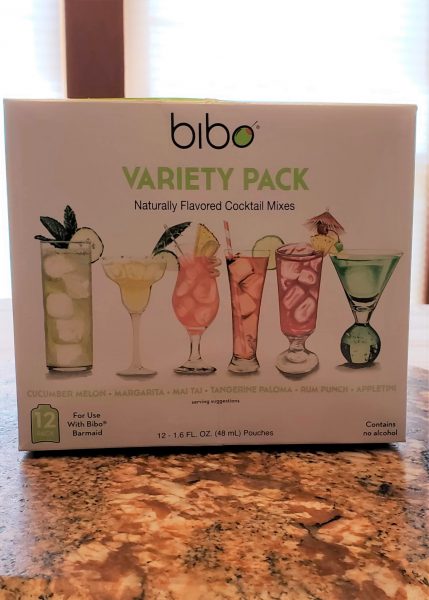
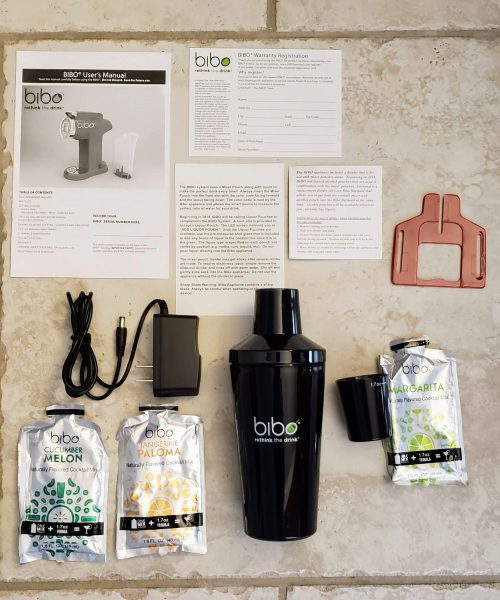
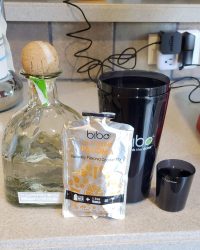
The Bibo company provided me with a red Bibo machine. They come in both black or red. The machine itself comes with 3 mixing pouches: Cucumber Melon, Paloma, and Margarita. The Bibo box also included a shaker, a 1.7 oz (yes that is a generous shot!) shot glass, power cord, instruction manual, registration card and two separate cards explaining the red divider thing you see on the right-hand side of the picture below. That red divider thing will be used later in 2018 when they start providing mixing pouches that include alcohol in them. Besides giving me the actual Bibo to review, they also included a separate box of mixing pouches. The box of mixing pouches they gave me was the variety pack that included two each of the flavors in the original box, plus rum punch, appletini and mai tai mixes.
Design and features
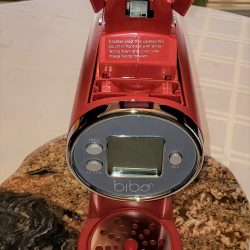
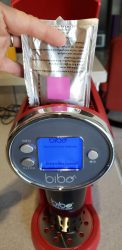
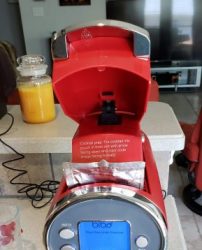
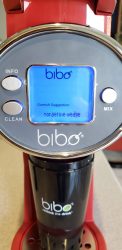
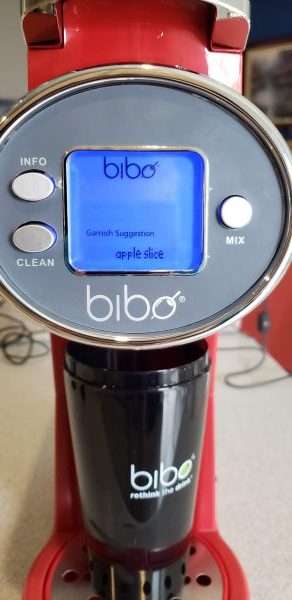
The next three pictures below show you the Bibo machine itself. The side view shows you the detachable water reservoir at the back of the unit. You can also see a silver button on the top part of the machine. There is an identical one on the other side. Both of those can be pushed in and the entire handle comes out of the top of the machine. This makes it really easy to clean it afterward. The middle picture shows the digital display that includes three buttons. One button is for Info, one for Clean and one for Mix. The third picture shows the handle at the top of the machine open. This is where the drink mix pouches will be inserted into the machine. They will go in that slot right behind the digital display. There are several cautionary notes in the manual that the pouch insertion area includes a sharp cutting blade inside. The act of closing the handle on the mixing pouch brings out the blade to slice open the pouch.
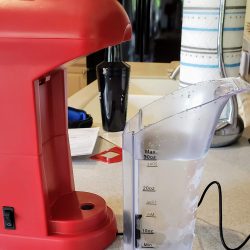
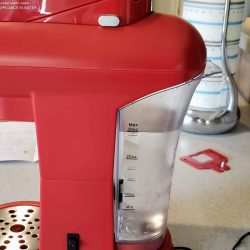
Bibo recommends that you use chilled filtered water if at all possible. Like anything in life, you get a better result if you start with the best ingredients available. The two pictures below show the water reservoir detached and filled with filtered water from my refrigerator. The second picture shows the reservoir mounted back into the machine. You do hear a distinct click when it is mounted correctly. The water is siphoned out of the bottom of the reservoir through that black hole at the bottom of the machine. There is a floating sensor in the reservoir that lets the machine know when it is running low on water. The other thing they suggest is that you put the drink mix pouches in the refrigerator so they are chilled. Do not put them in the freezer.
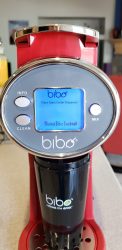
The first thing you need to do is clean the machine. You will do this step after every drink you make if you wish to switch out the type of drinks you are making. The cleaning function simply pulls water from the reservoir and runs it through the machine. You want to be sure there is no mixing pouch inserted in the machine. I found that after I made a drink I had to push the clean button an average of 3 times in order to clear out the previous drink’s mixing ingredients. The digital display will indicate when cleaning is complete as you see in the picture below.

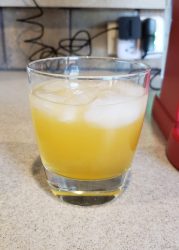
Now we are ready to make our first drink! In the pictures below, you can see the first drink I made was a tangerine Paloma. Following the rules of my earlier comment, I chose a really good tequila in which to make the drink. I put in about 6 ice cubes into the shaker and then according to the instructions on the back of the pouch I added 1.7 oz of tequila into the shot glass. The shot glass has a nice fill line indicating how much 1.7 oz is. I put that into the shaker and place the shaker under the Bibo machine. Next, I put the pouch into the machine. Note that in the middle picture I am showing the square bar-code facing the front of the machine. There is a reader inside of the handle that reads that bar-code and will instruct the machine on how much water to add to the mix. The last picture on the right shows the pouch fully inserted.
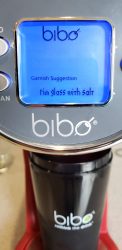
I then closed the handle on top of the pouch. Immediately I could hear the slicer cutting the pouch open. Now I sat there like a dummy for a bit and watched the mix slowly start to pour out into the shaker. I then realized I needed to push the mix button to get the water added. The first picture shows the display after I pushed the mix button. It displays ‘Mixing Bibo Cocktail’. The machine buzzed and I saw that a much larger stream of water and mix now flowed into the shaker. Since it is all going into the shaker it is not really that important that you push mix right away. It does need to be pushed though because if you do not, you will end up with a really strong drink because no additional water is added. When the machine was done adding water it displays a garnish suggesting. In this case, it suggested a tangerine wedge. I let the shaker sit a bit longer as the mix continued to drip a bit. I then did my best Tom Cruise imitation in the movie Cocktail and gave it a good shaking. Pouring the result into a glass resulted in the picture on the right.
Taste Test Time! First off let me state that I am not your standard barfly. My husband and I may go out to drink around a couple of times a month. I am a big time lightweight when it comes to consuming alcohol. So my first impression of this drink was WOW I can really taste the tequila in this drink. I then gave it to my husband to taste (he used to actually be a bartender in his younger days) and even he admitted to there being quite a bit of alcohol in the drink. When I told him I put in 1.7 oz of tequila his eyebrows raised. He stated that when he bartended the standard shot size they used was around 1.3 oz. I checked and a lot of websites even agree that 1 oz would be standard. So 1.7 oz seemed rather high for this particular size of the drink.
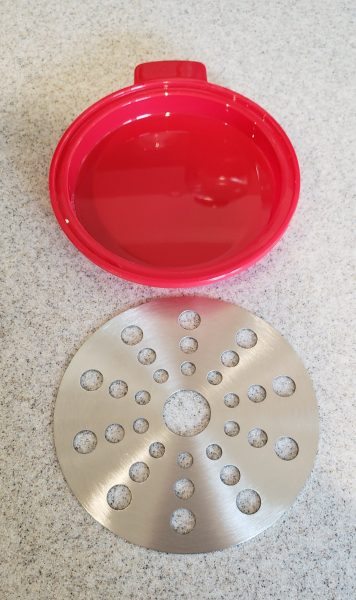
I included a picture below of the drip tray that sits below the shaker. Bibo designed this really well in that, yes, you will always get drips. The stainless steel cover comes right off and the bottom part of the drip tray easily comes out for dumping into the sink.
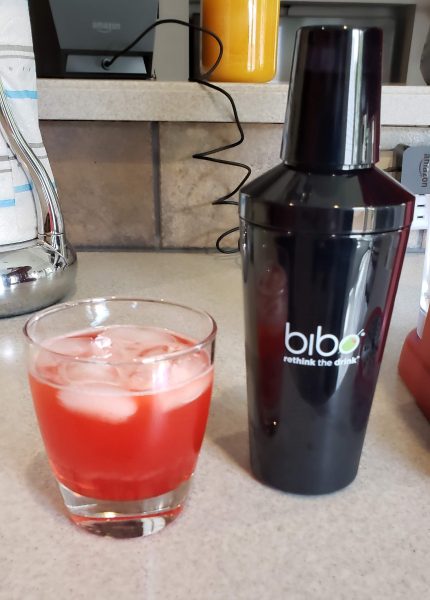
OK, so the first drink was a bit strong tasting. Maybe it was just the drink mix not being quite what I expected. So we decided to try a rum punch next. Once again I used a really good quality rum when mixing this drink. No house liquor in the Lopez household. When we do drink, we do it right!. The picture on the left shows the pouch and the picture on the right shows the resulting drink. Once again I found myself really tasting the alcohol in the drink. It was not quite as bad as the Paloma above, but it was certainly still a pretty strong drink. The spousal unit also gave the drink the same (too much alcohol) review.

Our third drink test I decided to go for the big guns. When I do decide to go drinking, living in Texas makes the margarita my drink of choice. There are a lot of versions of margaritas out there. I am under the belief that a good margarita is not frozen and is always served on the rocks with salt. Even the Bibo suggests rimming the glass with salt. I skipped the salt this time. I also reduced the amount of alcohol that I poured into the shot glass. I limited it to around 1.3 – 1.5 oz. The resulting drink on the right was pretty darn good. That drink was finished pretty quickly!

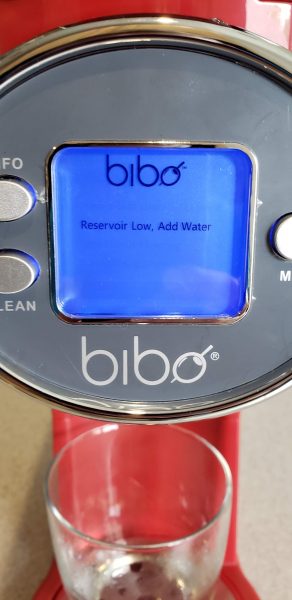
I had been pushing the clean button around 3 times in between making the drinks. I did this of course after removing the drink pouch from the top handle area. At this point I received a notice on the digital display that the reservoir was running low on water. I added more water and the message went away.
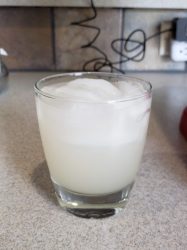
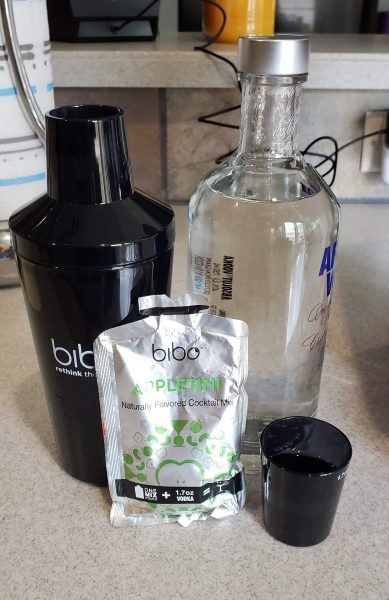
The final drink we made was the appletini. I normally am not a big vodka drinker, however, my husband loves a good dry martini so I relied on his review mainly for this one. Once again, I used a good vodka and made the drink. Bibo suggested garnishing with an apple slice. I also held back on the actual amount of alcohol to the 1.3 – 1.5 oz. The resulting drink was quite flavorful! My husband loved it and even I found the flavor quite tasty. He made short work of finishing off the drink so nothing was wasted!

What I like
I love the fact that I no longer need to have bottles of mix lying around for those rare times friends come over and we want to make a drink. I also love how easy the machine is to clean. You can make a new drink in under a minute once you get the hang of doing the clean and putting in a pouch. I find the appliance pretty compact and it will not take much room. It is much smaller width wise than our Keurig.
What needs to be improved
I know I stated that we are not heavy drinkers, but I really do think that asking for 1.7 oz of alcohol per drink is really high. I know, maybe after two or three you may not care anymore, but that initial taste of alcohol in the first couple of drinks was really strong. I also think that if there is any way to keep the mix from coming out until you press the actual mix button that would be awesome. One of the first drinks I made initially was the margarita. I did not post pictures of that one, because I was so wrapped up in putting the pouch correctly and closing the handle that I neglected to have a glass under the Bibo. As soon as that handle closed, mix started pouring out. I lost quite a bit to the drip tray before my brain kicked in and put a glass underneath. Finding the drink mixes you want can be a bit tough. I see the 12 pack variety around in several places, but if you just want rum punch it was sold out everywhere I looked. The 12 count variety pack costs $20 which turns out to be $1.66 per drink. I did find 18 packs of Mai Tai, Paloma, and margaritas at Bed Bath and Beyond for $30 each (if you use their 20% coupon you could get it for $24) and that runs only $1.66 a drink. I think if you find some you want, grab them.
Final thoughts
If you find yourself hosting parties a lot and have a crowd of folks who all desire different types of drinks, the Bibo may be just the gadget for you. I actually found it fun to use. The environmentalist in me did not like generating so much waste with the pouches. They were foil lined so they were not recyclable from what I could tell. It does provide a pretty nifty way of mixing an assortment of different drinks. I am curious to see what brands of alcohol they will be including in their future mixing pouches.
Price: $199 (get 20% off if you have a Bed Bath and Beyond coupon to make it $160)
Where to Buy: Bed Bath and Beyond (Amazon has it but only through third-party sellers at a much higher cost)
Source: The sample for this review was provided by Bibo. Please visit their site for more info.
The post Bibo – The Ultimate Cocktail Machine Review appeared first on The Gadgeteer.
Filed in categories: Reviews
Tagged: Beverage, Wine accessory
Bibo – The Ultimate Cocktail Machine Review originally appeared on The Gadgeteer on July 10, 2018 at 11:05 am.
Note: If you are subscribed to this feed through FeedBurner, please switch to our native feed URL http://the-gadgeteer.com/feed/ in order to ensure continuous delivery.


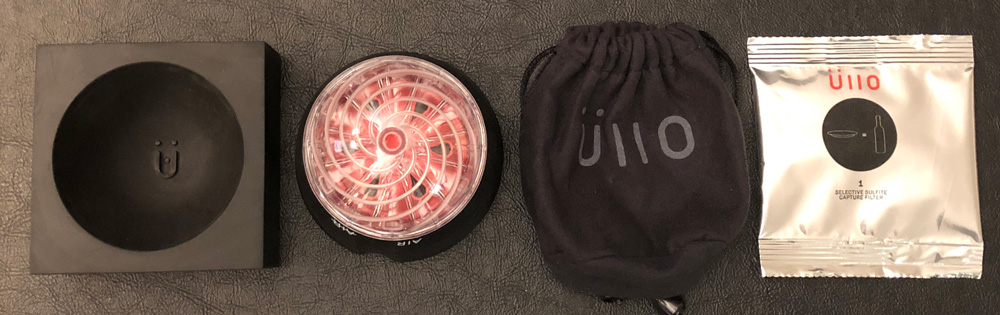
 technology and holds a doctorate in chemistry from Northwestern University. He founded Üllo in 2014 in Chicago as a Kickstarter effort that raised over $150k with thousands of backers.