We love to entertain, and with our recent house remodel we added an outdoor movie theater to enjoy those cool Seattle summer nights. With a small backyard it is hard to put the entertainment everywhere our guests are without an abundance of wires. The IOGEAR Wireless TV Connection Kit promises to solve that problem and do it in full HD. How does that claim stack up against reality? Read on to find out…
What is it?
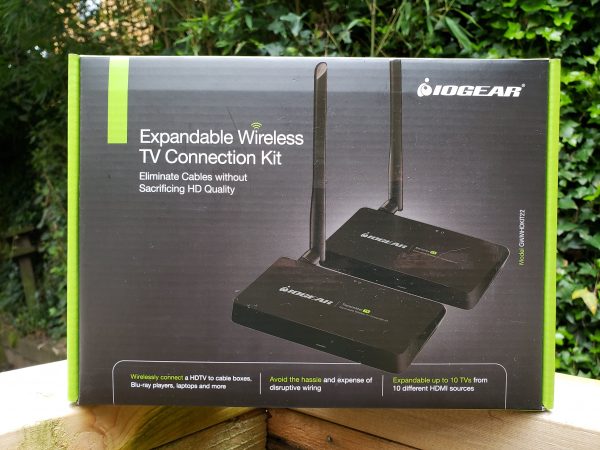
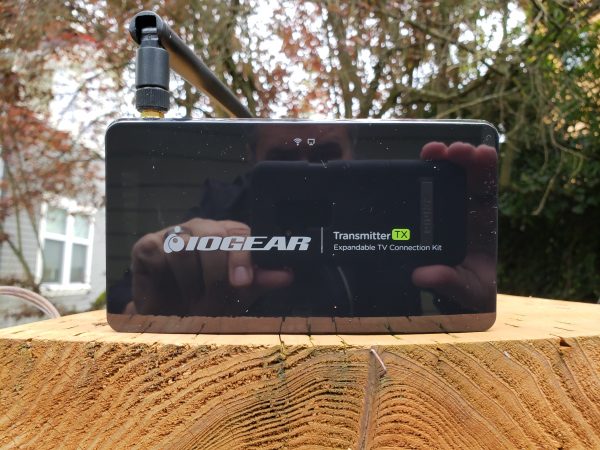
The IOGEAR Wireless TV Connection Kit is a transmitter and receiver combo which allows you to stream video via an HDMI connection from a source like your laptop or a cable/satellite receiver to a display device like a TV or projector. It does so without wires up to a claimed 150 feet, and at a full 1080p and 60 frames per second without sacrificing sound or picture quality. It uses the 5.8 GHz frequency so it should not interfere with any existing wireless networks, Bluetooth devices or home automation hubs.
What’s in the box?
The kit includes a clearly labeled transmitter and receiver plus associated antennas. You also get 2-3 foot HDMI cables (HDMI 1.3), 2 power supplies, and an IR Blaster (for the transmitter to control your device remotely) and an IR receiver (plugged into the receiver, it transmits commands from your remote back to the transmitter).
Design and Features
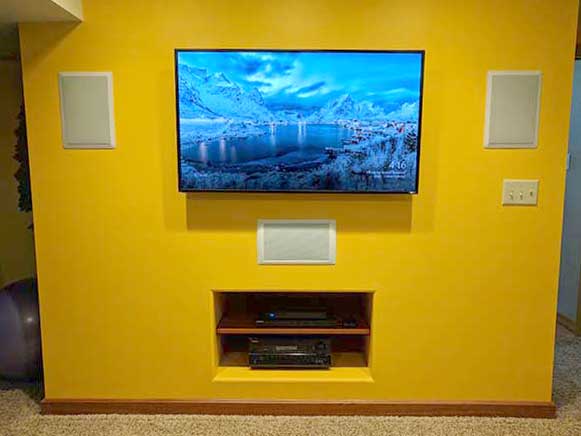
Our intended use is for our outdoor movie theater, and our projector is a full 1080p model. In order to support simulcasting on our living room TV, we need a transmitter that also supports this. Our original design included a 45 foot run of HDMI cable from a media connection box in the backyard, an HDMI splitter to handle one signal to two devices, and the ugly notion that we would end up cutting holes in the outside of the house, the open basement beams, and the living room floor to accommodate the cable run.
So, when IOGEAR offered this kit for review, I jumped at the opportunity to try it out. Did it solve my problem? In a word, yes. As with any solution, there are some gotchas waiting along the way. But nothing at all earth-shattering to overcome.
The kit comes with two boxes – one transmitter and one receiver. Because the kit was originally intended to connect a cable box or satellite dish receiver to a TV, the box also includes an IR blaster and extender to allow you to remote control your input. As my setup is driven by my laptop, these were not important – I tested them on my cable box and they work as well as any IR setup will. If you use a Roku or other streaming setup that uses a different connection technology, though, you will have to come up with an alternate solution to remote control. Thankfully there are apps to cover most of these scenarios, but your mileage may vary.
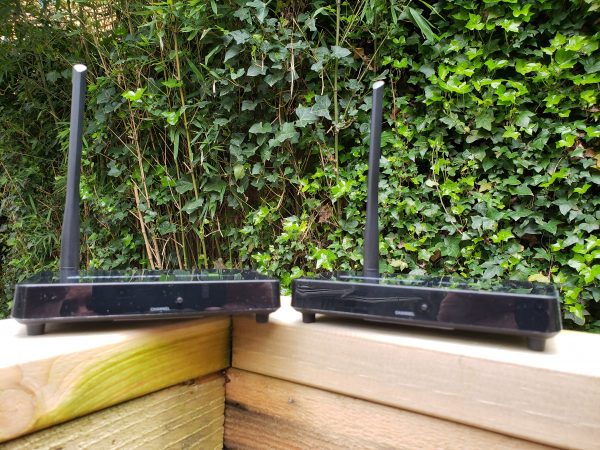
The antennas on each unit are omnidirectional, so you do not need to worry about orientation other than just being up. The back of each unit has the antenna barrel connector, power input, IR blaster receiver/transmitter input and an HDMI connection. Pretty simple. The front of the unit has a power indicator and a channel button. More on that in a moment. Unless you have been living in a Luddite bubble for the last dozen or so years, setting this up should be drop-dead simple. And the boxes tell you which is which, so again – easy to set up.
With the receiver connected to my TV, I plugged the transmitter into a USB-C cable with an HDMI plug running from my laptop. Windows 10 immediately recognized the transmitter as an HDMI-capable device operating at 1080p and mirrored my desktop to the transmitter. Here is where I ran into my first “issue” (and I put that in quotes because it is easily overcome, but may take a little sneaker-work if you are doing this alone). The transmitter and receiver have to operate on the same channel, and unfortunately, there is not a channel indicator on the device – nor is there a scan feature that I could find. This means you have to press the channel button on one unit and then see if the devices sync. Best to have someone help you if there is a gap between the transmitter and receiver that won’t allow you to see both at the same time.
Once synced, however, both devices displayed my desktop in great color. This being a still image, the real test is in handling video. So I fired up VLC and started playing Black Panther. And I have to say I am impressed – if you didn’t know otherwise, you would swear the connection was wired. No artifacts, no interference, no lag – just a clear, bright signal with perfectly synced sound.
My laptop was running in my backyard and the TV/receiver combo was in my living room. The signal had to go through my kitchen and a brick fireplace. Total distance was about 25 feet, so I figured I would see what a little distance and the walls of a 101 year old house would do to the performance. I took my laptop out the back fence and then set up a monitor just outside my front fence. In addition to the house, there were trees, dogs and all manner of other signal disruptors. The total distance between the transmitter and receiver was about 65 feet, with my wifi network, microwaves, smart home appliances, and Bluetooth devices in between.
The IOGEAR devices never skipped a beat. Clear, strong signal with no apparent lag or artifacting. The thing just worked.
What I Like
- Very easy to set up and use
- Even at 60+ feet through walls and foliage, the signal was strong, the audio clear and no static
- If I wanted to use this inside with a hidden cable or satellite receiver the IR Blaster would likely work
- It is a very cost-effective solution to a specific problem
What needs to be improved
- Channel selection and synchronization between the transmitter and receiver can be tricky – a display on the front of the transmitter and receiver would remedy this
Final thoughts
Some things to keep in mind: if you are using this with a computer of any sort you will want to mirror your desktop, not extend it – unless, of course, you are able to see the receiver. Without mirroring you will be unable to see where your cursor or windows are on the receiver.
Also, your receiver will only be as good as your transmission device – if the device hooked up to the transmitter does not run at a full 1080p or if the sound coming from the HDMI is not stereo, this device will do nothing to help you (to be fair, this is true of most devices in this class unless the transmitter specifically states that it will upscale the image).
And finally, if you use protected content (say a Blu-ray disc on your computer) you may have problems with security protocols built into those devices. This means that a computer will likely not transmit the signal from a Blu-ray disc playing on it like a standalone Blu-ray player will because of the High-bandwidth Digital Content Protection (or HDCP) built into devices.
At $170 this is a great solution to a specific problem. If you share my situation and are looking for a way to get a 1080p signal across a distance without a cable run, the IOGEAR connection kit could be your answer as well. I did have to contact technical support during the course of this review, and I found their team responsive and highly supportive, so you can be assured if you run into issues there is someone on the other side of the sale ready to help you.
Price: $169.95 as described
Where to buy: IOGEAR’s web site has additional information and you can buy there or at Amazon.
Source: The sample for this review was provided by IOGEAR.
The post IOGEAR Wireless TV Connection Kit review appeared first on The Gadgeteer.
Filed in categories: Reviews
Tagged: TV accessory
IOGEAR Wireless TV Connection Kit review originally appeared on The Gadgeteer on June 11, 2018 at 9:00 am.
Note: If you are subscribed to this feed through FeedBurner, please switch to our native feed URL http://the-gadgeteer.com/feed/ in order to ensure continuous delivery.

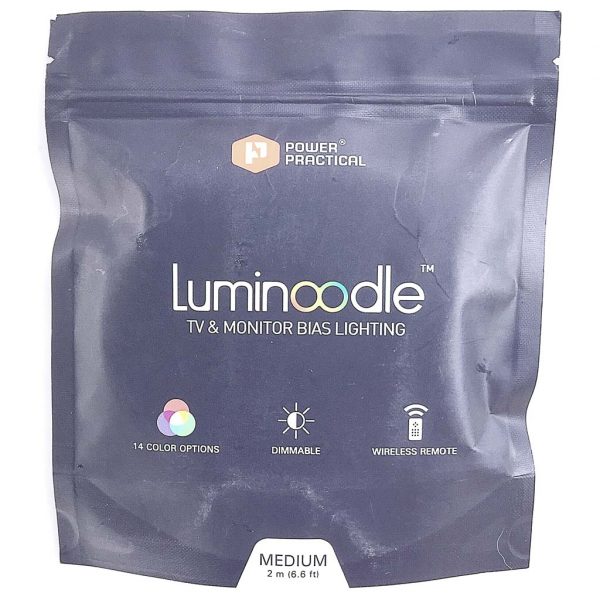 The Luminoodle arrived in a slim plastic zip-closure pouch with a tear-off opening.
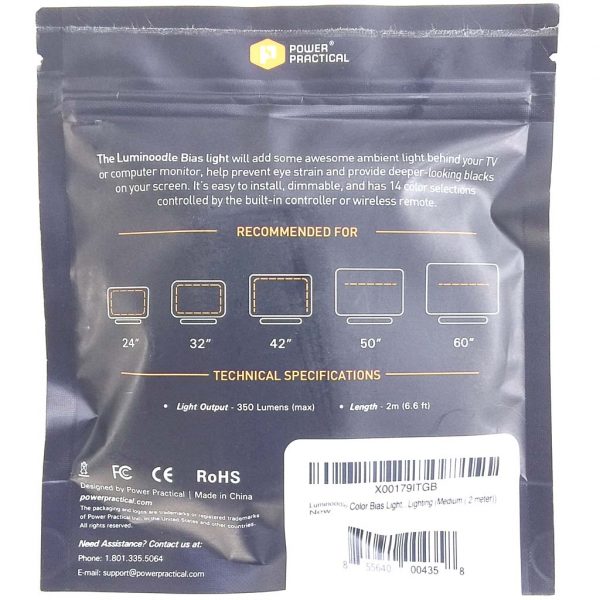 The back of the pouch depicted a brief explanation of installation configurations for the product inside.
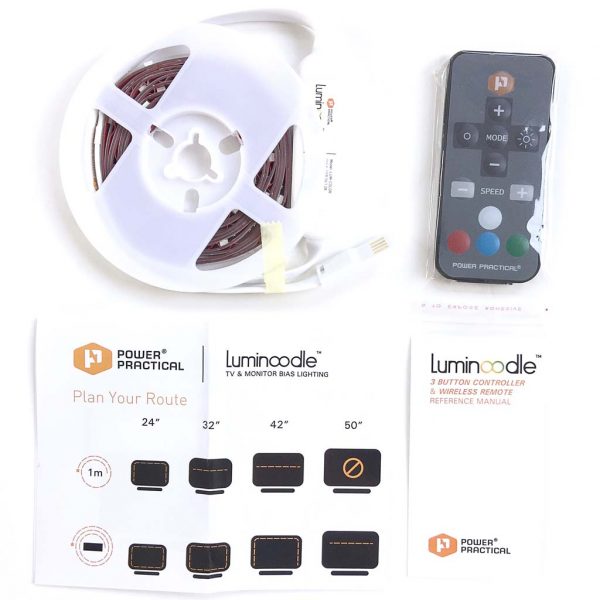
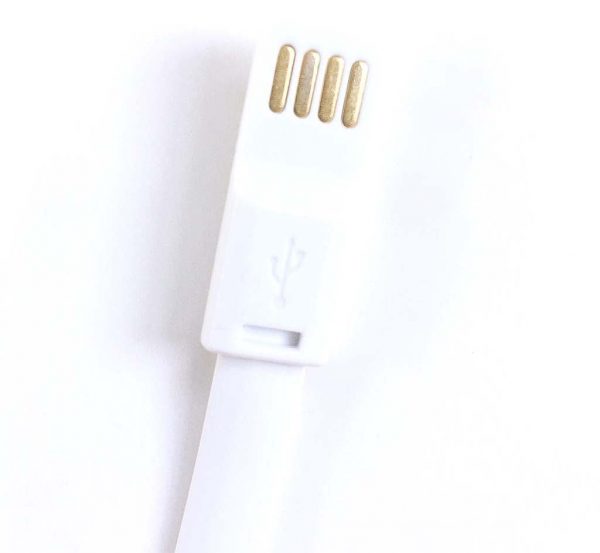 The Luminoodle is powered by plugging it into a standard USB port. Bonus: this is a reversible USB plug!
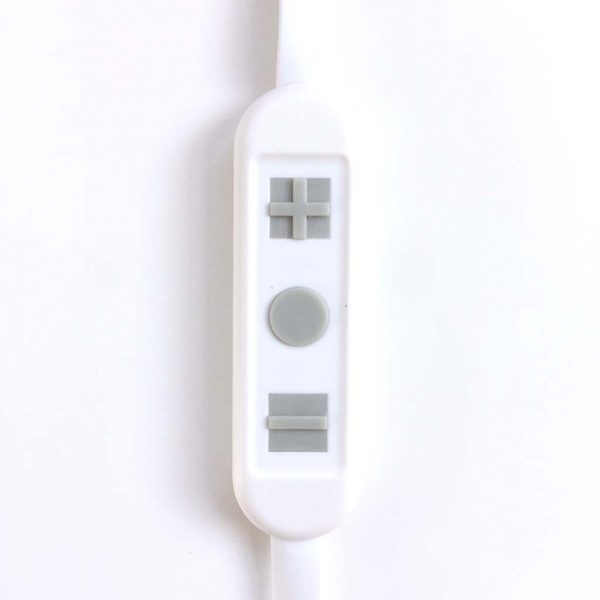 The Luminoodle can be controlled with a simple in-line remote that includes three buttons, as shown above.
 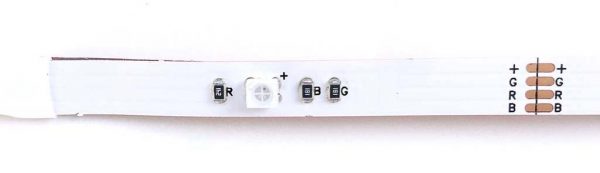 Above is a closeup of a segment of the Luminoodle’s ribbon cable. The Luminoodle’s color illumination is driven by sets of RGB (Red Green Blue) LEDs. NOTE: If for some reason you need to trim off the excess length of cable, the Luminoodle can be cut at any of the points where the “+GRB” copper connectors are located, as seen on the right side of the image above.
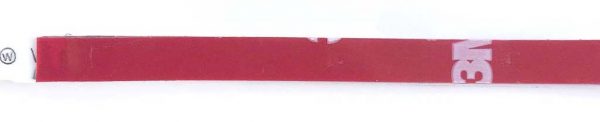 As shown above, the Luminoodle utilizes some high-strength 3D tape to attach to the back of a TV, computer monitor or any other surface.
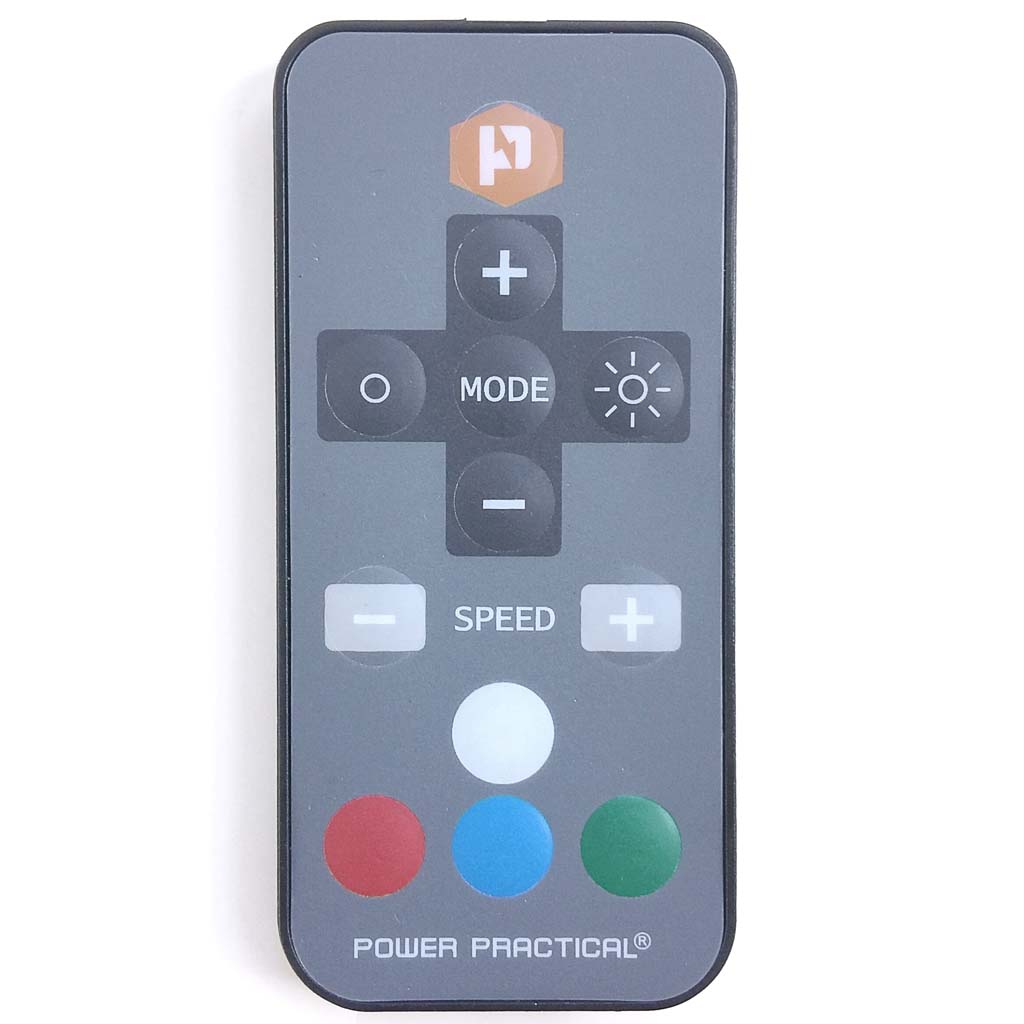
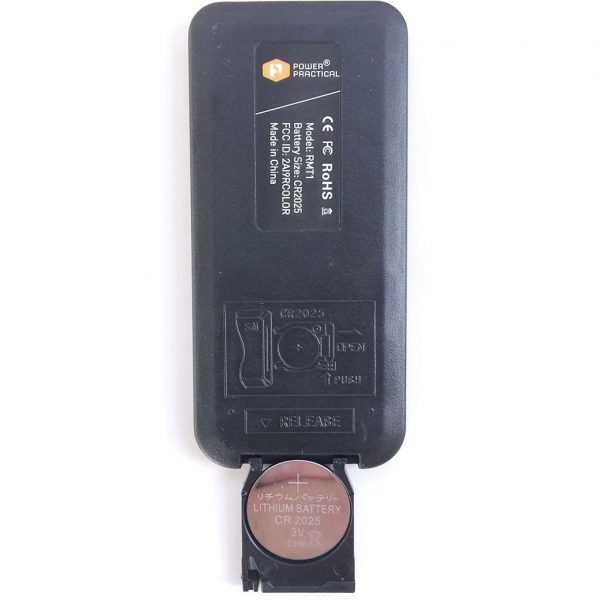 The wireless remote is powered by a single CR 2025 3V lithium battery. The battery is simple to change; it fits into a small tray that slides into the bottom of the remote.
 The wireless remote is quite small and thin and very lightweight.
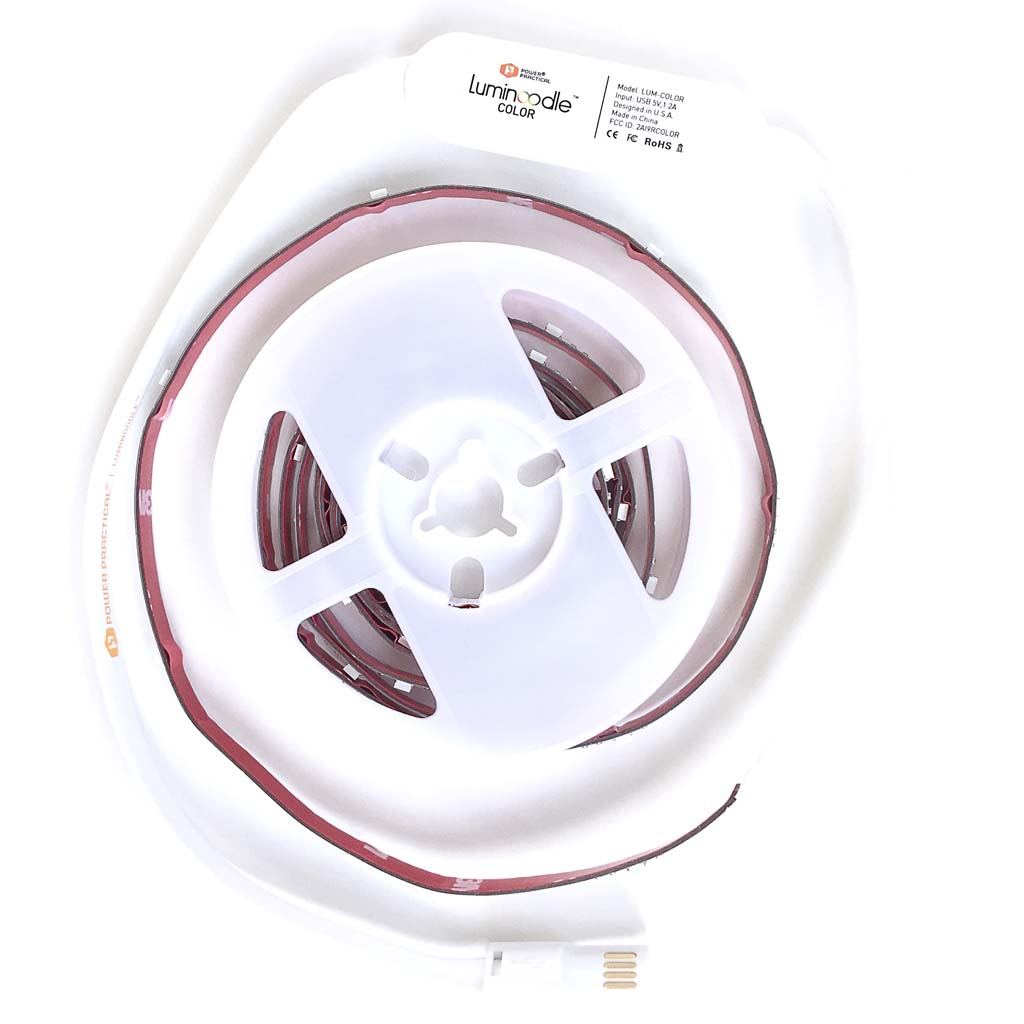
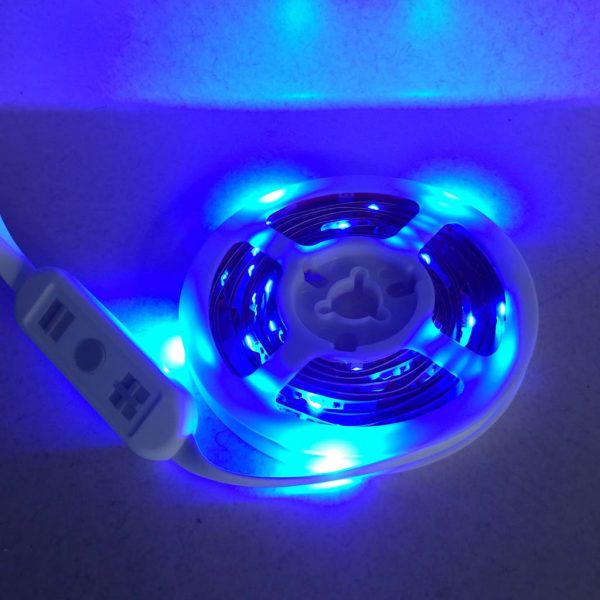
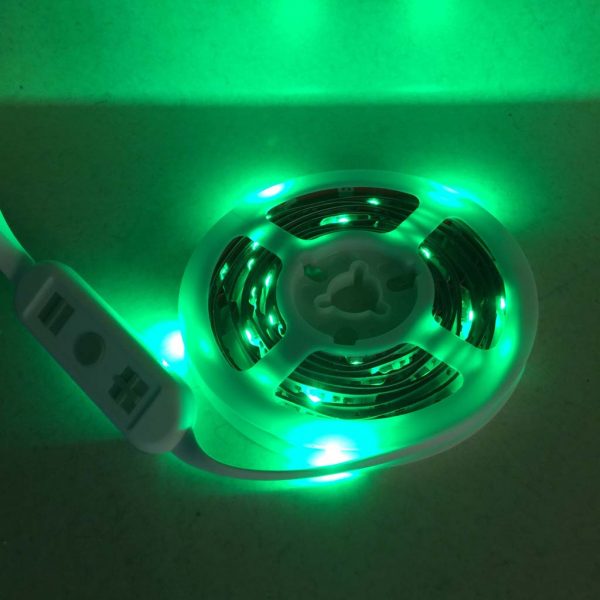
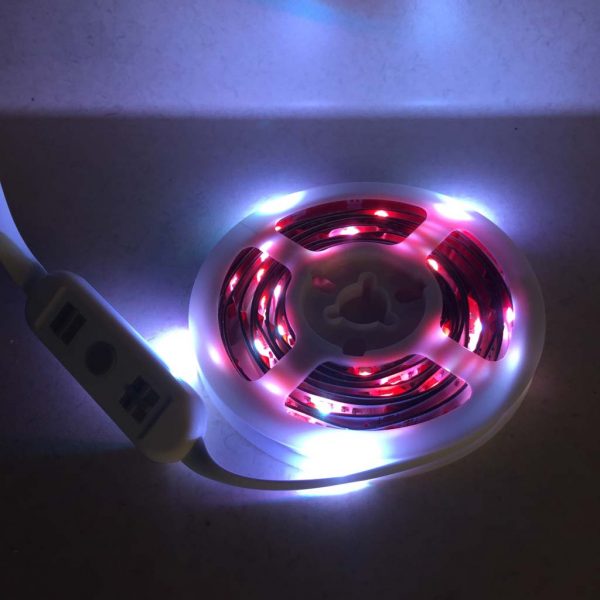 Almost immediately upon opening the pouch, I just had to power up the Luminoodle. Without even removing it from the spool, I plugged the Luminoodle into an iPad power adapter and cycled through its four primary colors: white (above) and red, blue and green (all below). I literally giggled to myself—it was already pretty fun, and I hadn’t even installed it yet.
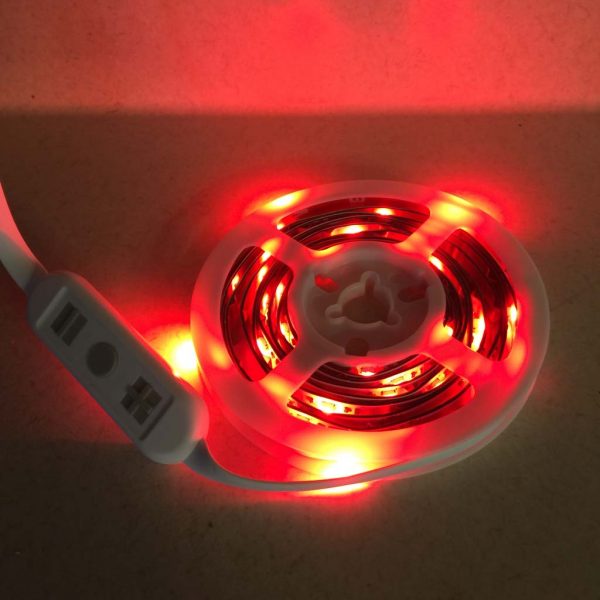
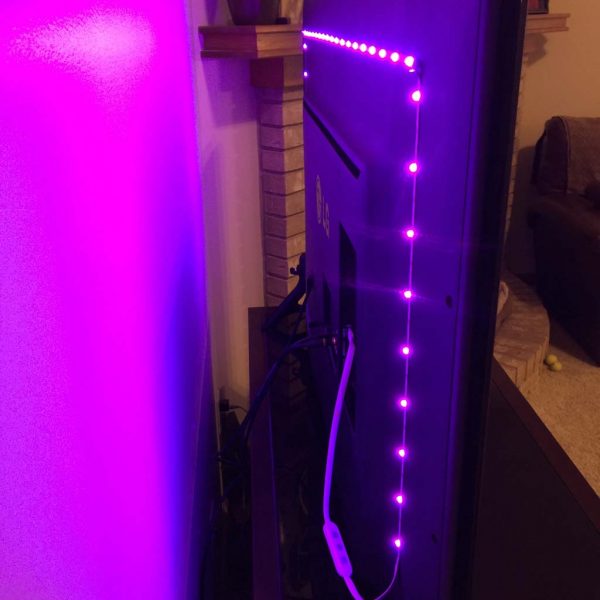
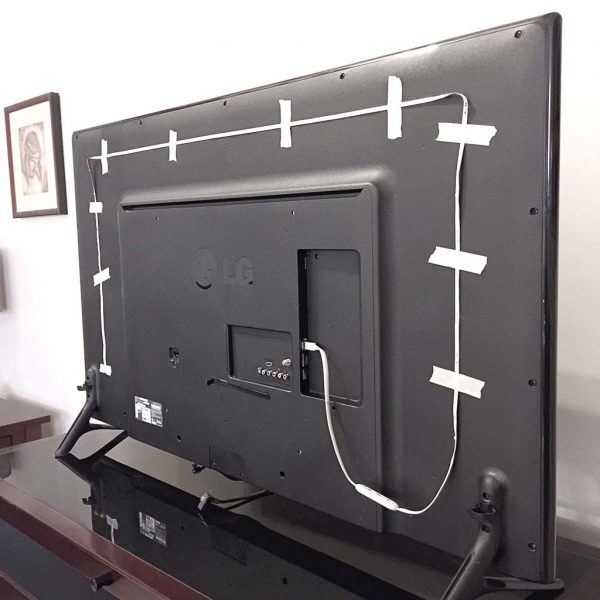 I began the installation process by turning my TV around so that I could access its rear. My TV measures 55 inches diagonally, and the Luminoodle I was sent was 2 meters in length, so I figured it would wrap around most of the back of my TV, but probably not in a full loop. Next, I carefully dusted the back of the TV to help the adhesive backing adhere better. Then I used some masking tape to mock up where I would ultimately place the Luminoodle (see above image). After a few adjustments to make it as symmetrical as I could, I was satisfied.
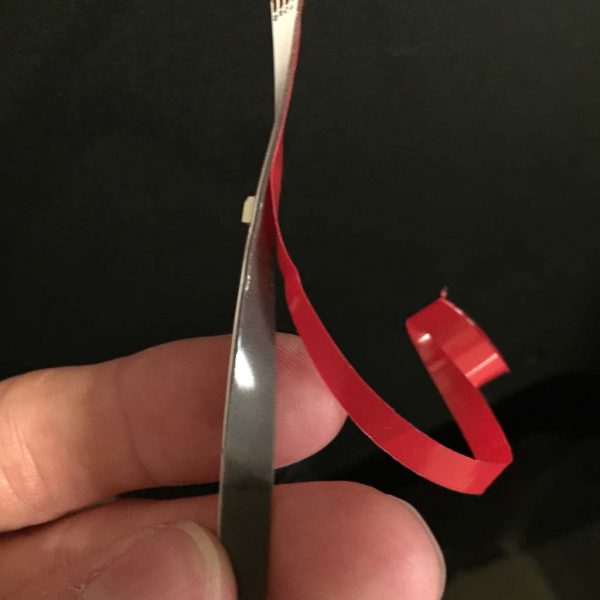 Once I was happy with the Luminoodle’s placement, I began peeling the red backing from the 3M tape, exposing its adhesive side, as shown above. I quickly realized that this particular tape was actually a double-stick type and very grippy, which I saw as a good thing—I wouldn’t have to worry about the Luminoodle spontaneously falling off of my TV. Also, it took me a few minutes to be able to peel the backing off without pulling the tape itself off of the ribbon cable, but once I got it started, it was fine.
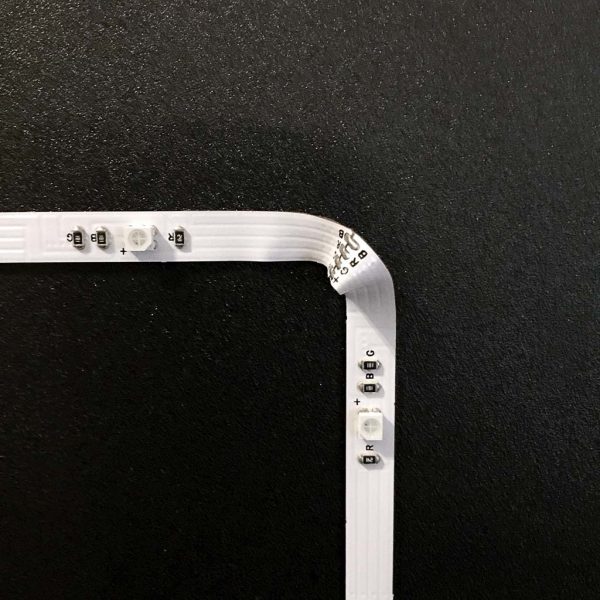 The only challenging part about attaching the Luminoodle was the corners. Because the Luminoodle is basically a flat ribbon cable, it was impossible to get it to form a curve shape. Therefore, I had to improvise by putting a small fold or crimp in each of the two corners, as seen in the images above and below. NOTE: In re-reviewing the instructions, maybe I didn’t do this correctly, but it seemed to work for me.
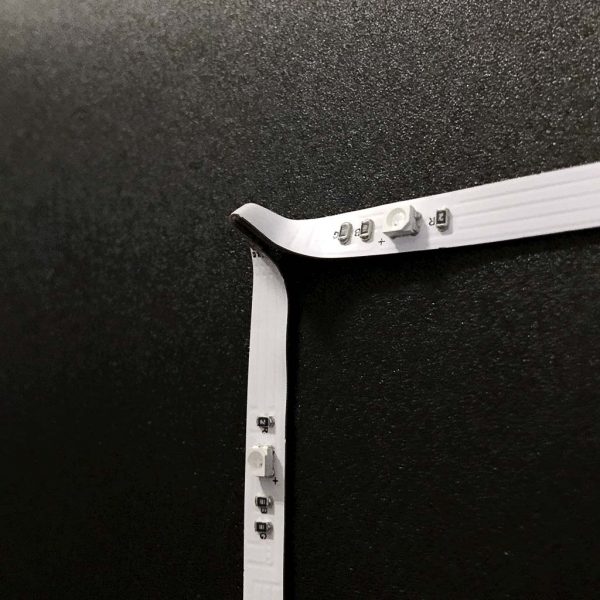 I am still a bit concerned that these corner crimps may result in a short-circuit over time, but considering that the Luminoodle on either side of the crimps is stationary and well-fixed as a result of the 3M adhesive tape, I don’t expect this to become an issue.
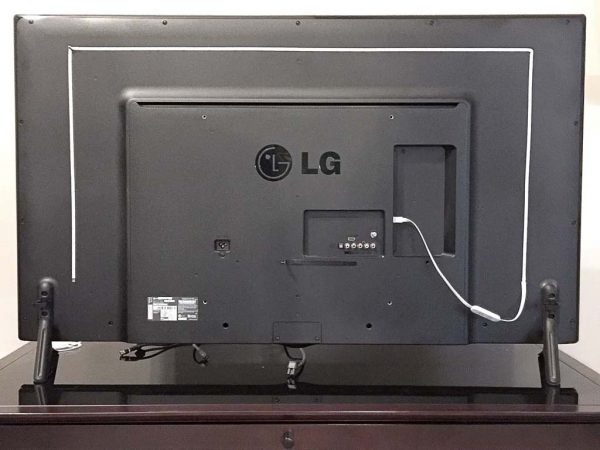 Above is a photo of the fully-installed Luminoodle. This 2-meter long Luminoodle model ended up covering around 2/3 of the perimeter of the rear of my 55-inch diagonal TV, which I was happy with. For TVs of different sizes, Luminoodle offers different lengths.
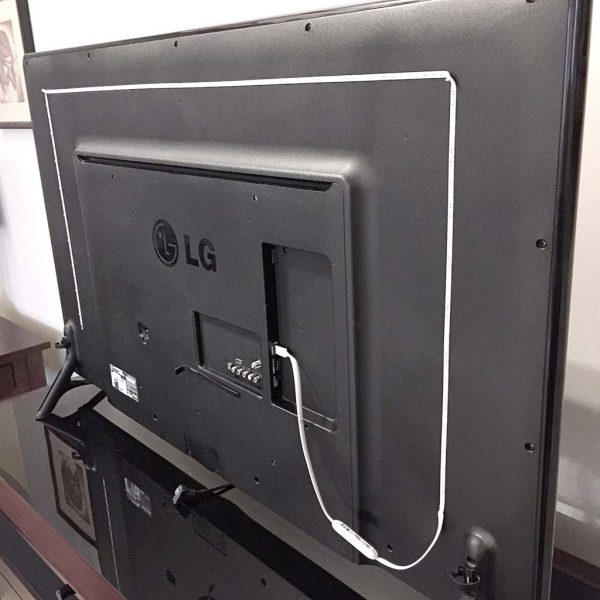 Above, another view of the installed Luminoodle. I should note that taking the time to mock up the location with the masking tape actually made the final installation go very quickly.
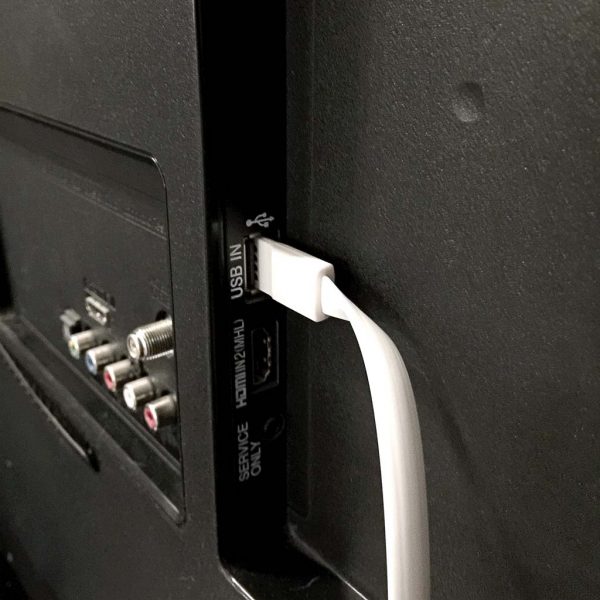 Above, a photo of the Luminoodle’s reversible USB power connector plugged into the USB port on the back of my TV. Because it is USB-powered, the Luminoodle can be plugged into not only a TV, as I’ve done here, but a USB port on a monitor, computer or even a wall USB adapter as I showed up above. However, plugging the Luminoodle into a TV, monitor or computer allows it to power on and off whenever you use these devices.
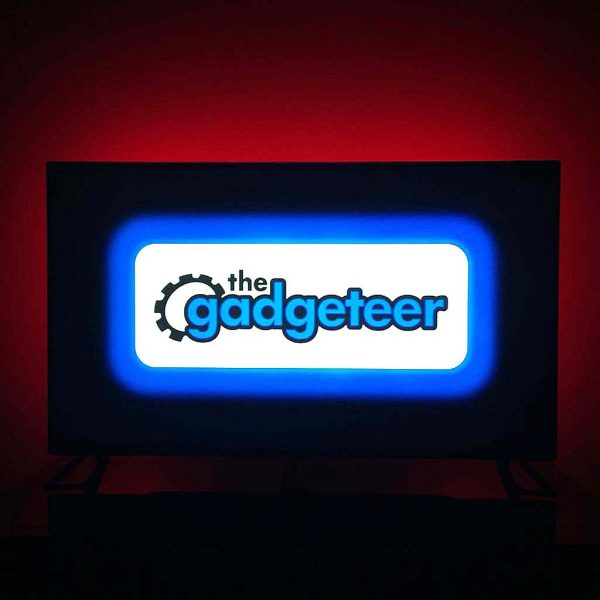
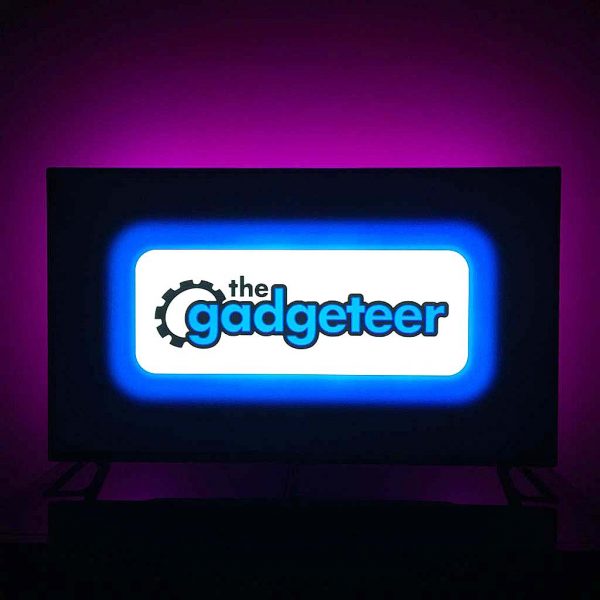
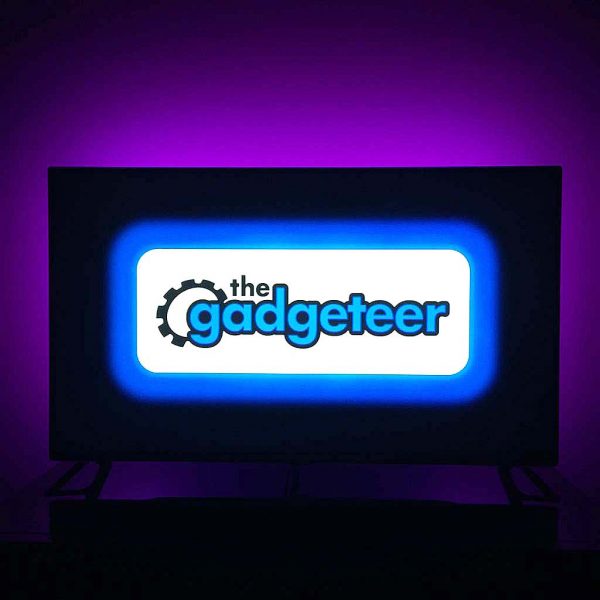
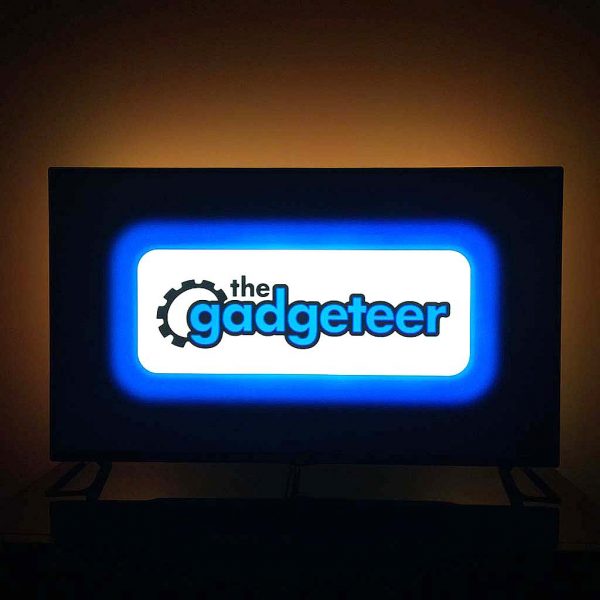
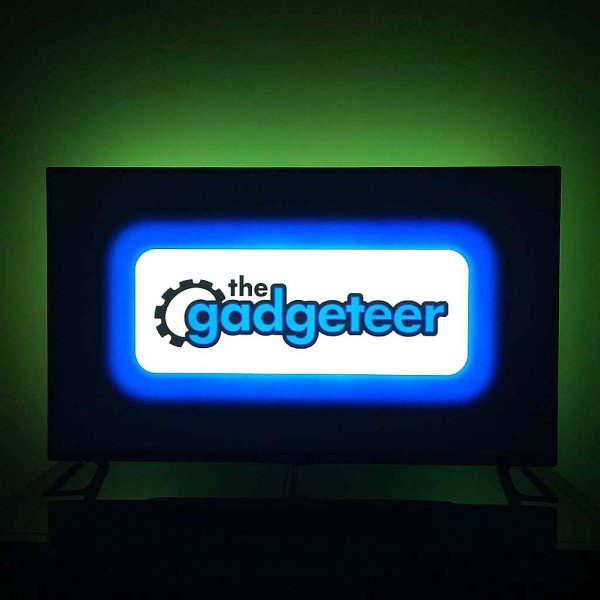
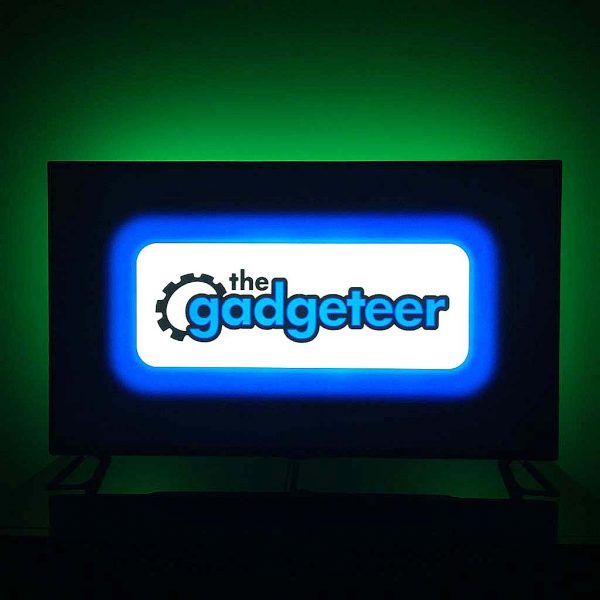
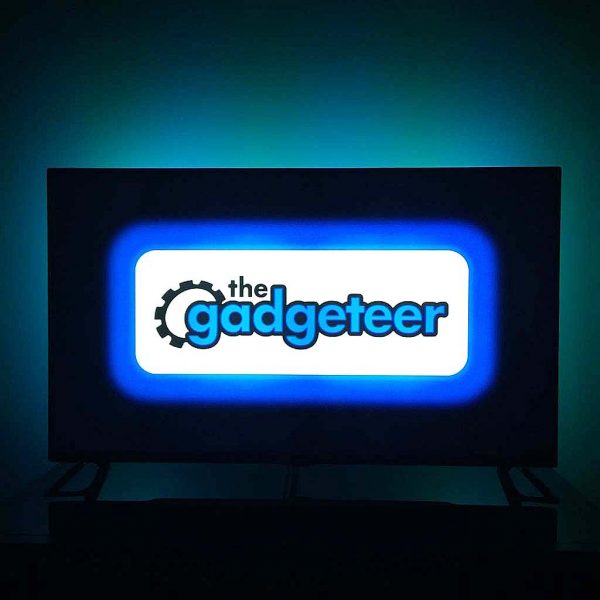
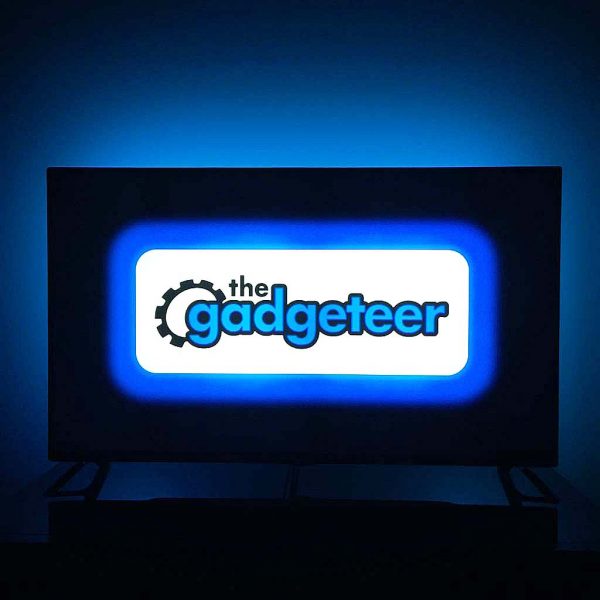
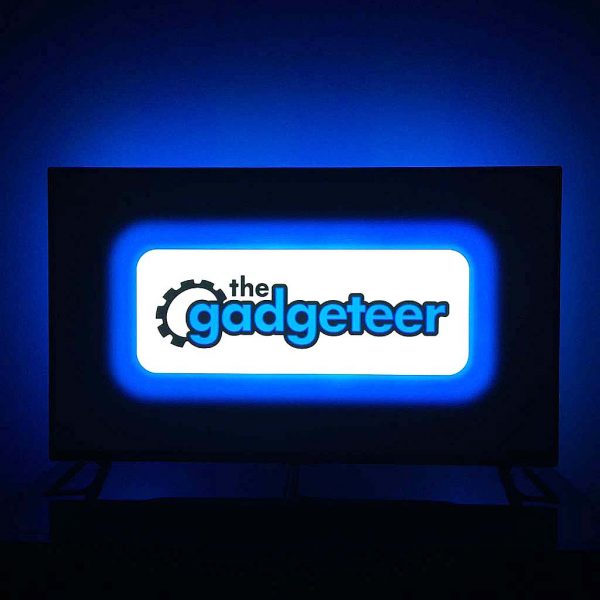
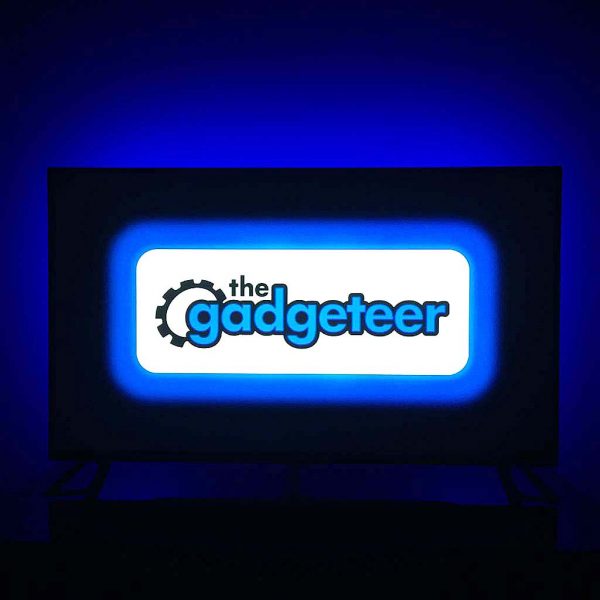
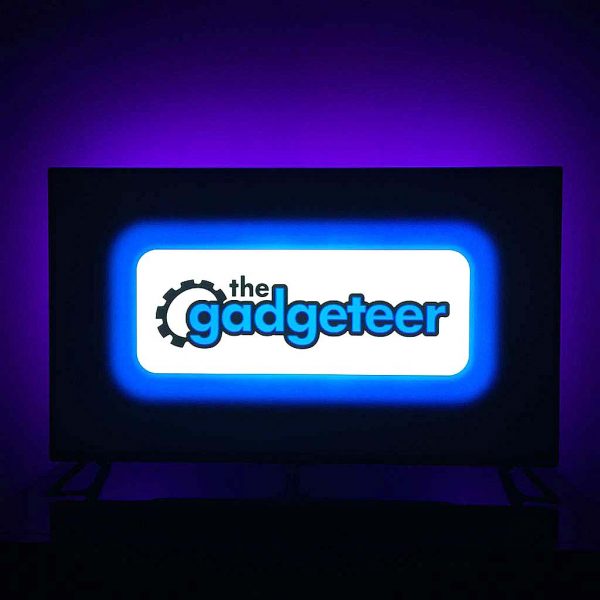
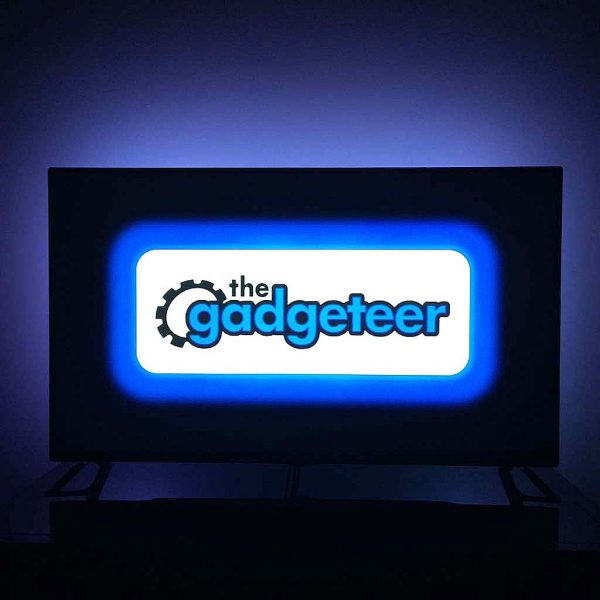
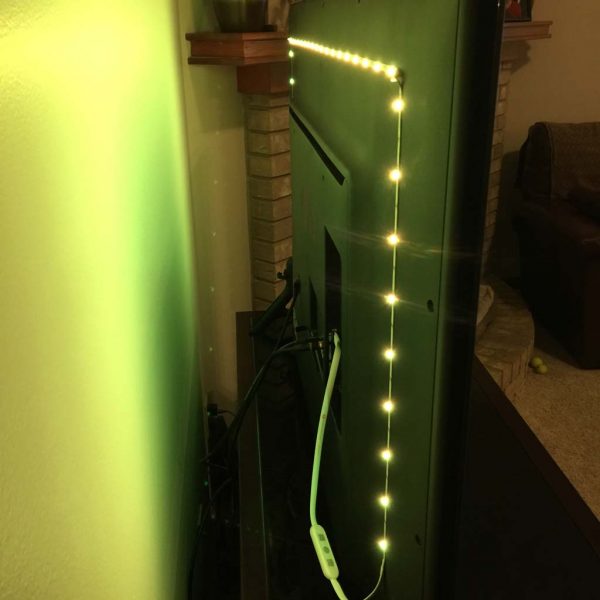 Above and in the next several pics are a teaser to give an idea of just how much illumination the Luminoodle can output.
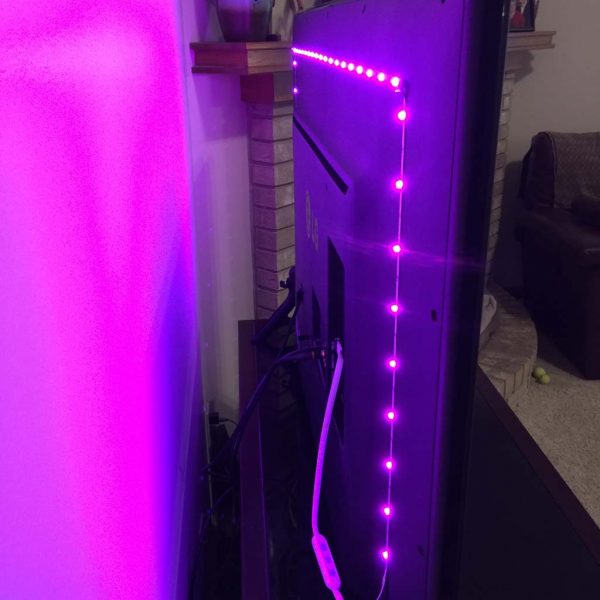
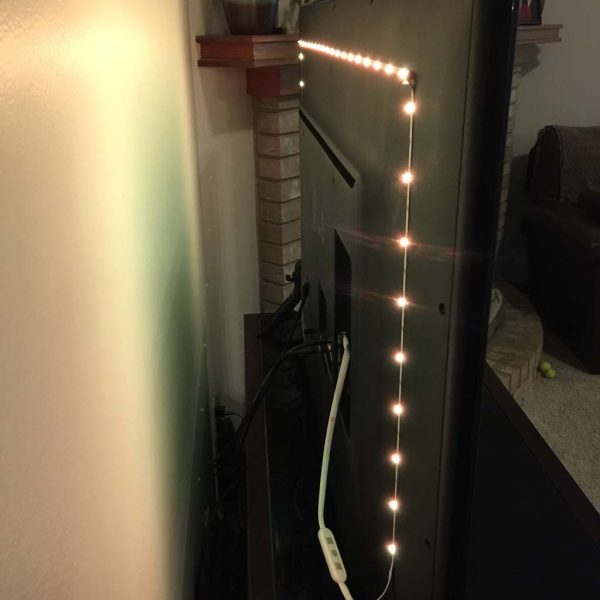
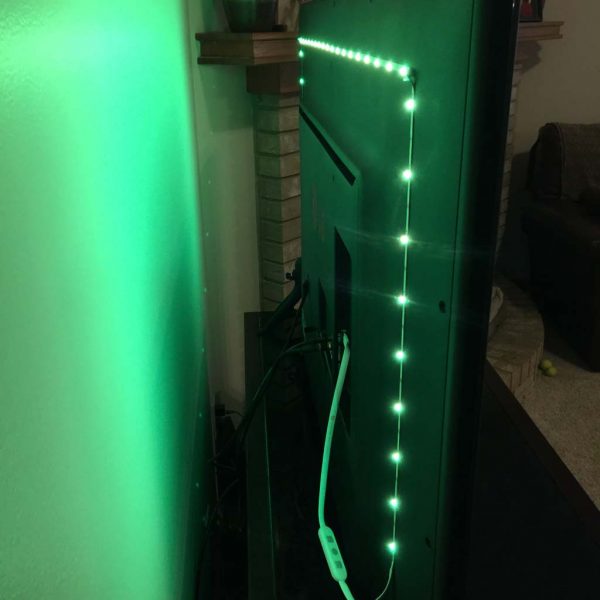
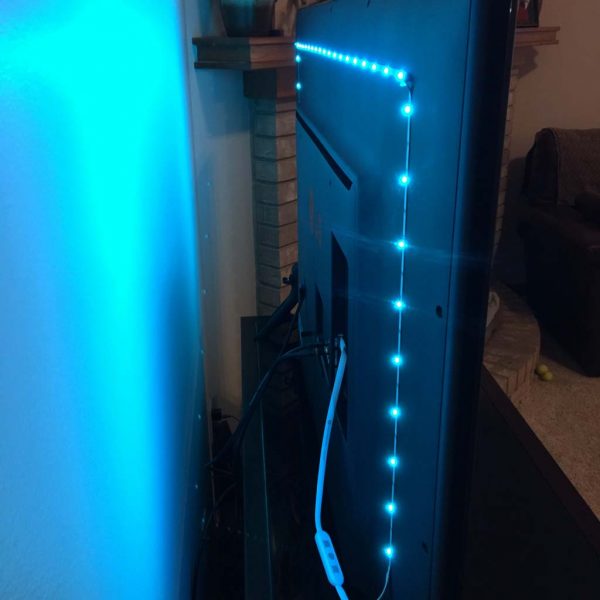
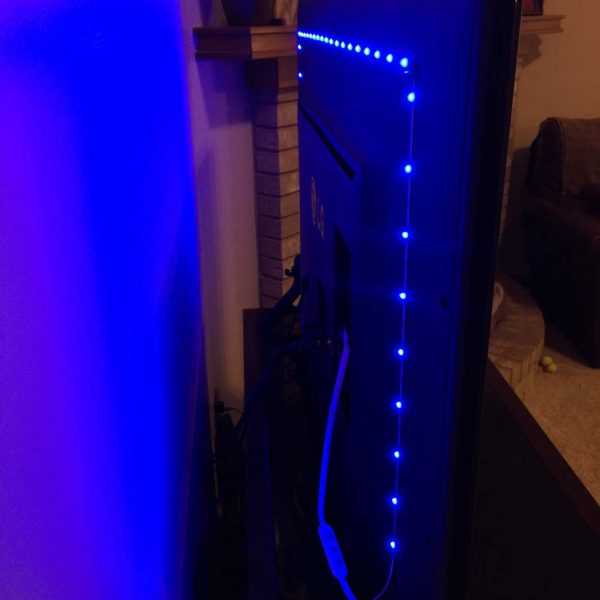

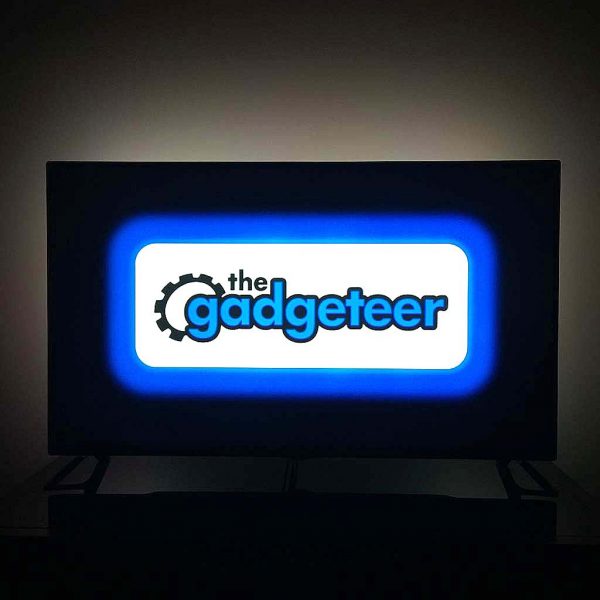 The Luminoodle has 14 different color modes plus white, warm white and cool white, and I’ve attempted to show a pic of each of them here (though I may have missed a few!). In addition to being able to change colors, Luminoodle also has 10 dimmer levels, and I’ve shown the brightest of them here because the lowest level didn’t come through well on photos. And finally, the Luminoodle also has 4 modes. You can manually switch from color to color, you can have Luminoodle slowly cycle from color to color (or “Crossfade,” the mode I like best while watching TV), or you can have Luminoodle pulsate rapidly from color to color like a strobe light (party mode!), either in a single or all colors, and you can even control the speed. The Power Practical folks tout Luminoodle’s ability to help reduce eye strain and dryness by providing a gentle ambient backlighting. To me, this is at least a plausible concept but I have to say that I wasn’t really able to prove it either way.