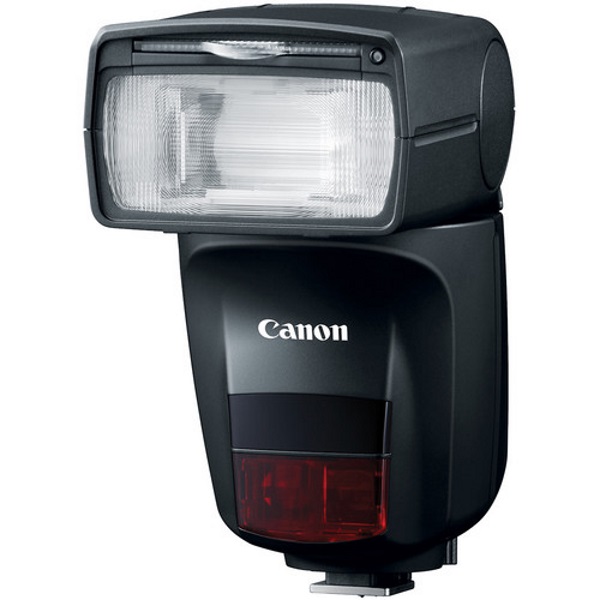
Canon’s new 470EX-AI flash may be just the right solution

I have been a photographer for many years, and like many photographers, on any given day I will grab my camera, my “go to” lens, a professional flash, and head to some place for the opportunity to get great shots. In many cases when I have to travel light and when the opportunity is an event that allows for pictures of people, one of the many challenges is being able to position the flash head to take one or two relatively quick vertical and horizontal shots, and being able to set the correct “bounce” angle to get that nearly perfect smooth, wide and filling light that is most flattering to the subject. Since pointing a flash directly at a subject usually results in harsh light with distracting shadows, the technique of “bouncing” light is used. It is done by estimating the distance between the camera lens and the subject, and the lens and the ceiling, and “bouncing” the light produced by the flash off the ceiling. In some cases, other surfaces in the room are used to have the light from the flash “bounce” off of, to provide the desired effect.

A few days ago, Canon announced the 470EX-AI flash that does the work for you. The “AI” stands for Artificial Intelligence and the flash has three modes: manual, semi-automatic and automatic.

In automatic mode, the flash automatically measures the room that you are working in, the distance between the subject and the lens and the ceiling and the lens, and automatically tilts and rotates the flash head to produce the best lighting ability. In semi-automatic mode, you can set the starting position of the flash head towards the surface that you want the light to “bounce” from and then once again, the flash remembers that position, measures the distance between the lens and the subject and rotates as necessary for that optimal shot.

The 470EX-AI also includes Canon’s E-TTL/E-TTL-II technology which when used with compatible Canon DSLR cameras, automatically calculates the light metering between the lens and the light it produces for each shot.

This AI flash is an amazing tool for both professional, beginner and enthusiast photographers, that will make their flash photography that much better and easier.
You can head over to B&H Photo Video and pre-order the 470EX-AI flash for $399. Its current release date is May 1st, 2018.

Photography: The old school way

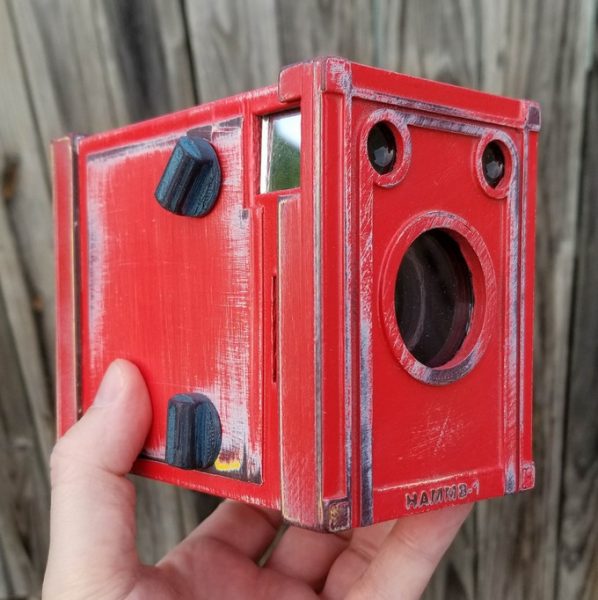
Sometimes I miss the good old days of film photography.  Knowing how to set the f-stop and shutter speed along with picking the right ISO for the film was an art and not something you just did by pointing your phone and clicking.  I ran across a great project on Kickstarter for a 3D printed Box camera that uses 120 film spools.  The basic black box version will run you $79, but if you want it in a weathered red, blue or yellow it will run you $119.  It comes with a 1/200 of a second shutter and apertures from f5.6 to f32 and a 95mm lens.  It comes with spools where you will manually wind the film and manually advance each picture.  They plan to offer additional lenses in the future to allow for standard, wide angle and telephoto pictures.  Unfortunately, this project is already closed, but you can still follow along and find out when you can get one of your own.  You can check it out on Kickstarter.

ScanMyPhotos photo scanning service review

When we wanted to save a moment in time before the days of smartphones, we captured a picture with an actual camera. Inside the camera was a roll of film which had to be dropped off at a drug store or camera store to be developed. A few days later you’d stop at the store and pick up the processed pictures. If you’re old enough, you probably have a few boxes of photos from days gone by collecting dust on a shelf. How can you “backup” those images or share them on social media without manually scanning each individual photo? ScanMyPhotos is a service that will take care of the work of scanning your photos. Let’s take a look.

What is it?

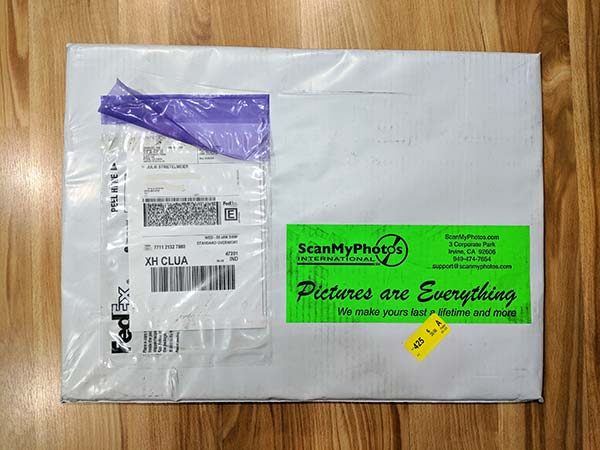
ScanMyPhotos is a service that will send you a postage paid box which you fill with your physical photos and send back to them. They will then scan and send them back to you along with a DVD of the scanned pictures.

What’s in the box?

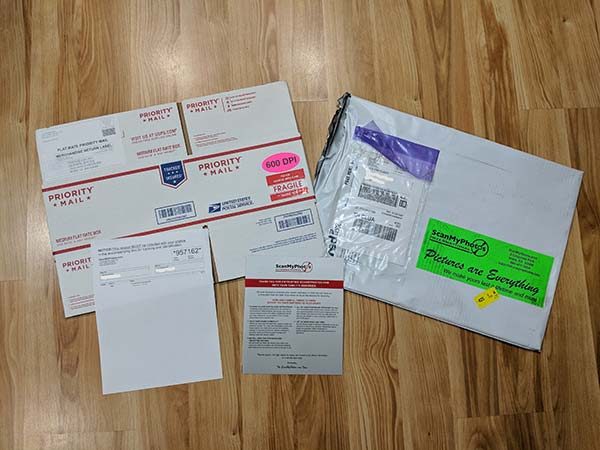
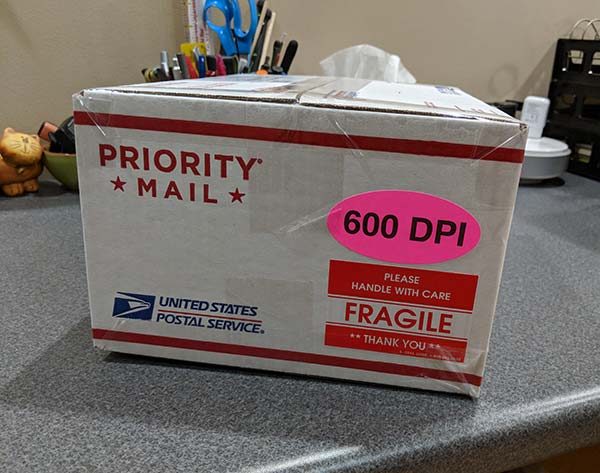
USPS Priority mail box with pre-paid label
Photo prep and packing instructions

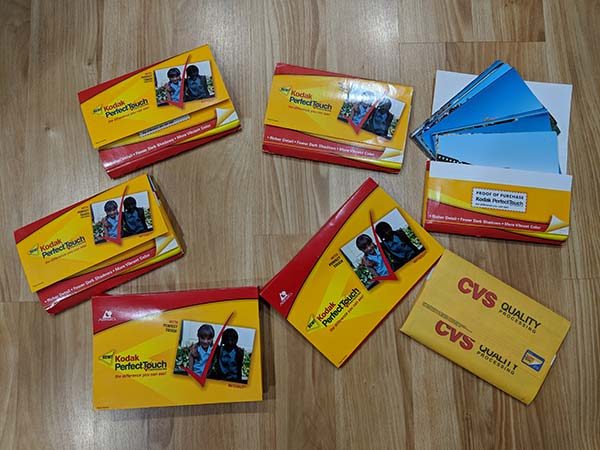
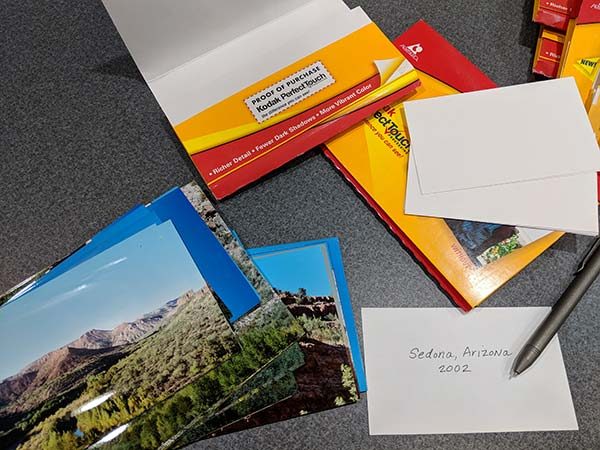
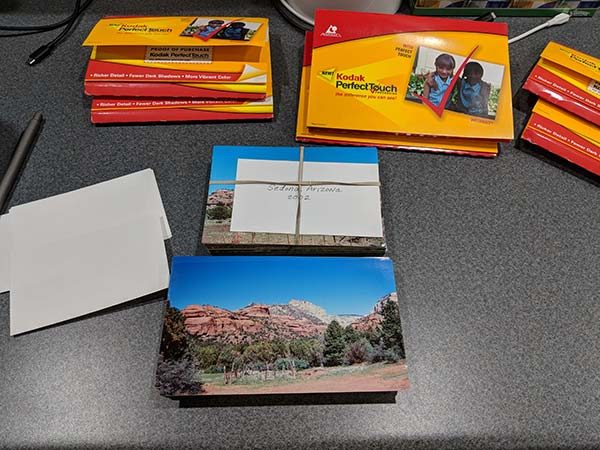
Getting your photos ready to ship

The way the ScanMyPhotos photo scanning service works is that you have 6 months to send them your photos.  When you’re ready, you can cram as many of your photos as possible in the box (around 1800 photos) and they will scan and save them .jpg format for one price. The price will depend on the DPI (150 – 600 DPI) you choose and if you want a USB flash drive, the ability to download the files, and other optional add-ons.

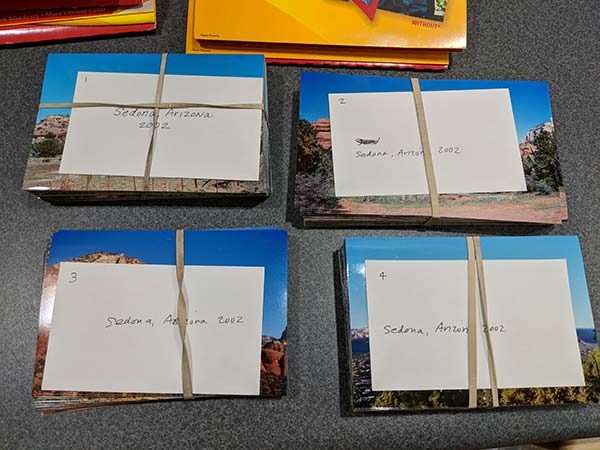
To prepare your photos for shipping and scanning, they should be removed from albums, sleeves, etc. If you want the photos arranged by year, event, trip, or whatever criteria you would like them to be grouped instead of in random order, you will have to pay extra for the scan in order add-on which is an extra $68 per box. You then write the group name on a piece of paper that is about the same size as the photos and rubber band the stacks.

Each bundle should have 100 – 150 pictures.

ScanMyPhotos will scan rectangular photos that are as small as 3 x 3 inches and as large as 8 x 10 inches. The photos can be no thicker than an old-style Polaroid pictures.

The bundles can also be numbered if you have several bundles of images for one event and would like to have them scanned in a specific order.

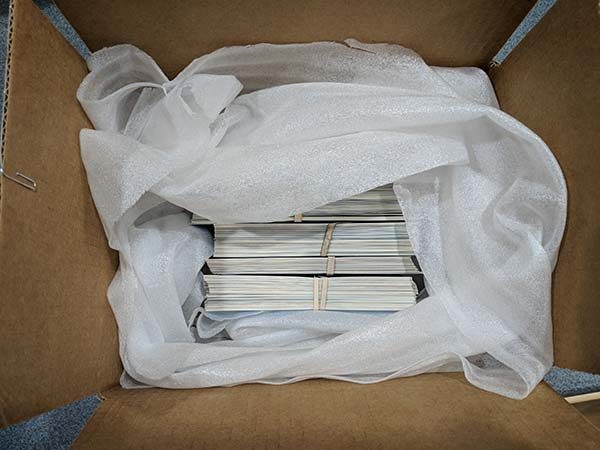
After you’ve grouped all your pictures into labeled bundles, you can put them in the included box with your own packing material around them for cushion.

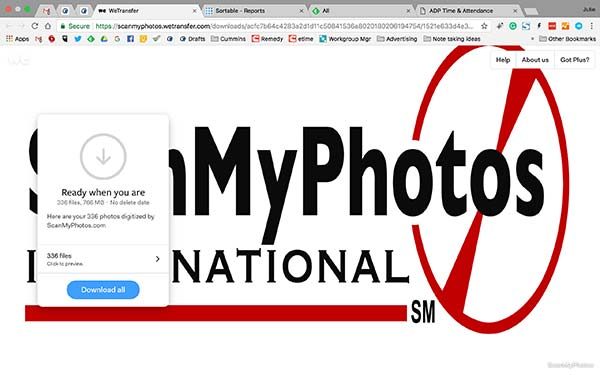
All that is left to do is to seal the box and take it to the post office. The box should arrive within 3 days and once it is received, ScanMyPhotos will send an email when the scanning process has started. I shipped my box on 1/31/18 and received a confirmation email that it was being scanned on 2/6/18 which was 6 days later (there was a weekend in there). The very next day on 2/7/18, I received a link to download the scanned photos on ScanMyPhotos download site and a tracking number for the return shipment of my original photos.

The results

I like the image download add-on feature because it’s convenient to be able to get access to your photos as soon as they’ve been scanned. That way you don’t have to wait for the DVD or USB flash drive to arrive in the mail.

Here are a few examples of the scanned images. Click to see the full size image.


The quality of the scanned photos will only be as good as the original photos. If the photos have are a little faded, so will the scanned images unless you want to pay extra ($84 per box) for the Photo Soap add-on option which will enhance the images to help restore color and contrast.

What I like

  • They send you everything you need including a postage paid box
  • Fast turn around time
  • Ability to download the images for fast access

What needs to be improved

  • Need to include tape to seal the box
  • You shouldn’t have to pay extra for some of the add-ons

Final thoughts

I’m kind of lazy, so I like the idea of shoving a bunch of my old pictures in a box and being rewarded a few days later with digital copies that I can share with friends, to social media, etc. I felt that the pricing was pretty high and asked a photography buddy of mine and he said that he didn’t think it was high as long as the scans were good ones. I’m not a digital scanning expert but from what I can tell, the scans look fine to me. But I do think it’s silly to charge the customer $20 for the ability to download the images when you know that they are already in their system. $68 to scan in order of the bundles with the title cards seems steep to me as well. But when it’s all said and done, if you have the cash and don’t want to spend the time scanning each photo yourself, you ScanMyPhotos is a fast and easy way to bring your physical photo collection into the digital world.

Price: Starts at $145 for 150DPI. As reviewed the price would be $299 for 600DPI + $68 for the scan in order add-on + $19.95 download add-on = $386.95.
Where to buy: ScanMyPhotos
Source: The sample for this review was provided by ScanMyPhotos.

Adobe Photoshop Elements 2018 review

I’m not entirely sure how it happened, but over the years I have become the curator of the family media archive.  I routinely receive old movie reels, slide and photos to digitize and archive.  Many of these items arrive in somewhat less than pristine shape, and it just doesn’t make sense to store damaged images.  This is the space where a tool like Adobe’s Photoshop Elements 2018 plays best.  The question is will this application make things easier for me and improve the quality of our digital memories, or will I spend a lot of time with little to show for it?  Read on to find out.

In order to decide whether Photoshop Elements would help or hinder, I wanted to take a real-life example.  When my father passed away I helped to clean out storage at the house I grew up in, and along the way, I found a treasure trove of old photos from when my Dad was far younger than I ever was.  Most were in pretty good shape, but some were scratched and dusty from years of storage.  The following photo is my Dad when he was 4 years old and growing up in New Jersey.

What you can see immediately are the scratches and discoloration that happens when a picture sits in a shoe box for 65+ years.

Photoshop Elements offers a “guided mode” which allows you to choose a path to enhancing your images.  After loading the photo in the application, I switched to the guided mode.  There are dozens of options, but since this is a black and white image, I limited the choices to that type of guide only.  From the 10 or so guides that came up, I selected the scratch and dust removal guide.

Once the path was chosen, a step-by-step guide came up on the right side of the screen.  I selected each step that seemed appropriate to the picture I was working on.  First I cropped the image to highlight my Dad and not necessarily the table.  Tools like spot healing to remove lines, blur to smooth out imperfections and dust removal to get rid of spots, each tool making the image just that much better than it was.  At the end, I removed the extraneous colors that scanning a less than perfect photo introduces, adjusted the brightness and contrast, and finally sharpened the image.

And here is the result.

Arguably better than the original in my opinion.  The whole process for this picture took me less than 5 minutes – I could have spent more time on this and improved it even more if I wanted.  And the original image is untouched as the guide allows you to either overwrite or save to a new image.  If this were something I had taken with my phone, I could also have used the guide to share the picture on Facebook or Instagram.

Not just for the record anymore!

So I know that Photoshop Elements can handle the hard work of preserving my family’s precious memories.  But how will it stack up against tasks like inserting myself into places I have never been?  You know, the important stuff.  I started this part of the journey with a picture of a close friend.

That, of course, is Groot from Marvel’s Guardians of the Galaxy.  If you haven’t seen the movie(s) go watch them now.  I’ll wait.

There.  Now you see why I love Groot.  Problem is, there is very little opportunity to spend time with him outside of those movies.  My head may be in space, but the rest of me is firmly rooted here.

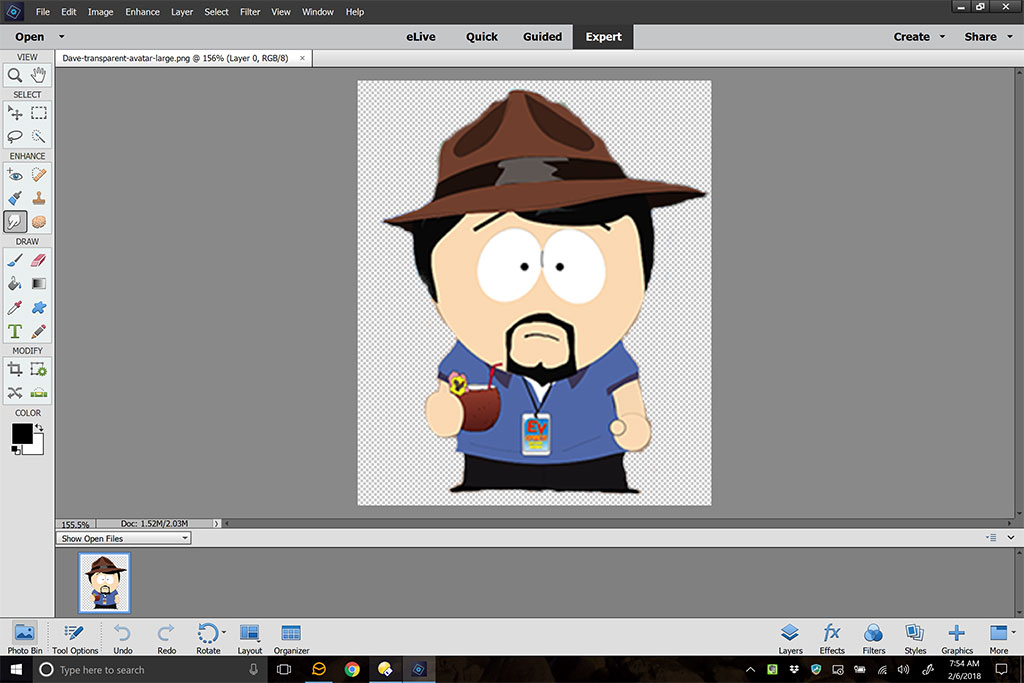
How can I get us together?  Photoshop Elements to the rescue!  Using Expert mode and a tutorial I found online (and there are a ton of these kinds of tutorials out there to help you with anything you want to do), I was able to get my favorite tree person to photobomb me.  Start to finish, even with my fumbling around and reading the tutorial over and over, the whole thing took less than 10 minutes.  Oh, and after the fact I learned there is a guide to do this as well, but…experience.  Here is the result.

Maybe not up to the standard of some Photoshop work, but more than enough to show my friends I know trees in high places.

What else do you get?

Photoshop Elements also provides an excellent way to organize your images through the Organizer tool.  The tool allows you to view, rename and manage your library.  In the 2018 edition, Adobe has added an AI tool called Auto Curate which will examine the images in your library to point out possible flaws like composition, exposure and focus problems.  It can also help identify faces plus tag images with any kind of data – including EXIF data coming from your camera, and all delivered via smart tools.

There is even a smart tool which will take a photo where the subject’s eyes are closed and will open them.  Here’s the before (from our wedding 8 years ago).

And after running the Open Closed Eyes tool.

So now that Auto Curate has pointed out some image flaws, do you have to edit each image individually to fix those problems?  Good question!  And the answer is “of course not” – Photoshop Elements also offers a batch processing mode that will allow you to select a group of photos, apply transformations (resizing, corrections and other adjustments) and output the results to another location to let you choose whether they keep the old or new.  It will even change image formats, like taking all of your PNG files and converting them to JPG.

Now that you have a nice, clean library of photos, the Slide Show tool will allow you to arrange the images into a presentation.  You can apply artistic effects like watercolor rendering, transition effects like dissolves, and add your own soundtrack to the results.  When you are done, you can share your creation in the usual places.

So what are the quirks?

As great as Photoshop Elements is, the application is not without any shortcomings.  First, there is a weird problem if you use multiple monitors.  Elements always opens on the primary monitor, but you can drag the window to your secondary monitor (or any other you might have connected).  What’s weird is that once the window is on the non-primary monitor, any attempt to resize the window causes the application to snap the window back to the primary monitor and the window is maximized.  This happens on both the Mac and Windows versions of the application.

And if you own an iPhone or iPad that you use to take pictures, you might not be able to edit the images in Elements on either platform.  iOS 11 introduced the HEIF format (High Efficiency Image Format), a container that gives greater compression to your images so you don’t run out of space on your device.  At the moment Elements does not support the HEIF format although a patch has been promised.  If you use an Apple device, you will have to go into Settings for the Camera app and choose Most Compatible rather than High Efficiency.

Final thoughts

If you take pictures, Adobe’s Photoshop Elements is one of the friendliest and least expensive way to manipulate, catalog and preserve your media.  When paired with the sister application (Adobe Premiere Elements 2018, review coming soon), these two applications will make your digital life the envy of your friends.  And at $99.99 list price (cheaper on sale at Amazon for digital downloads), the application won’t break the bank.

Available in versions for both macOS and Windows and a generous license which will allow you non-simultaneous use on 2 machines – and cross-platform licensing so you can use the application on either OS – makes this a must-have tool if you want to curate your digital life.

Price: $99.99 (bundled with Premiere Elements 2018 for $149 – but often on sale for much less)
Where to buy:  Amazon
Source: The sample for this review was provided by Adobe.
PhotoLemur v2.2 Spectre photo software review

Back in May, I reviewed the first version of PhotoLemur, a Mac app that lets you computationally enhance photos for better colors, light, skies, and faces.  Well, here in this holiday time of year, the elves have been busily applying their digital hammers and saws to the code and have offered a significant upgrade. I was given an opportunity to test the new program and want to share my findings with you. I started this review working with version 2, but it’s been recently upgraded to 2.2 Spectre, and it’s quite a bit improved!

Note: Photos may be tapped or clicked for a larger image. Images may take some time to load.

What is it?

The first version of PhotoLemur was a one-trick, one-shot, stand-alone deal: Here’s your photo, or here’s your photo with our program applied. Take it or leave it. In version 2.2, they have the same singleness of purpose and application (you can’t select a single area and change just it – it’s still all-or-nothing on the photo itself), but the level of change and enhancement can now be modulated. Also, in addition to stand-alone, there are plug-ins for the two largest photo-editing programs: Adobe LightRoom and Apple Photos.

Design and features

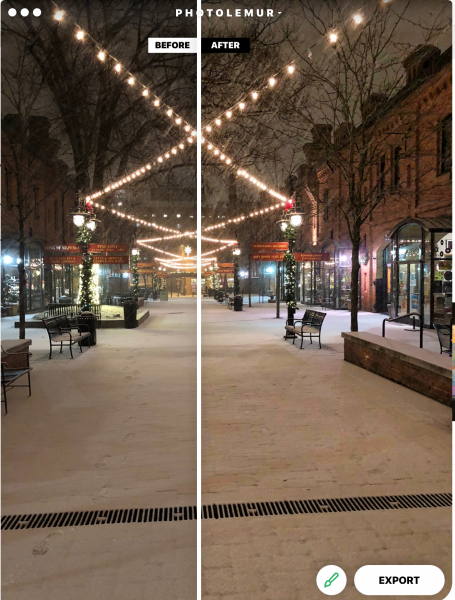
The interface is almost identical: open an image, and you’ll see a partition with your original photo on the left, and the enhanced version on the right. But in the right corner beside the “Export” button, there is a new button with a paintbrush. When you click on this, you are able to view the entire altered photo. There is a slider at the bottom where you can basically choose the amount of processing you want to use. Rather than the 100%, all the way to the right (which was the original version’s only setting), there is now an infinite slider where you can say “For this photo, I only need 40% Lemur, but for this other one, it needs maybe 70% Lemur.” (And, yes, I am officially verbifying a noun, and you can’t stop me! It’s the 21st century, and making up new words is a cottage industry these days.)

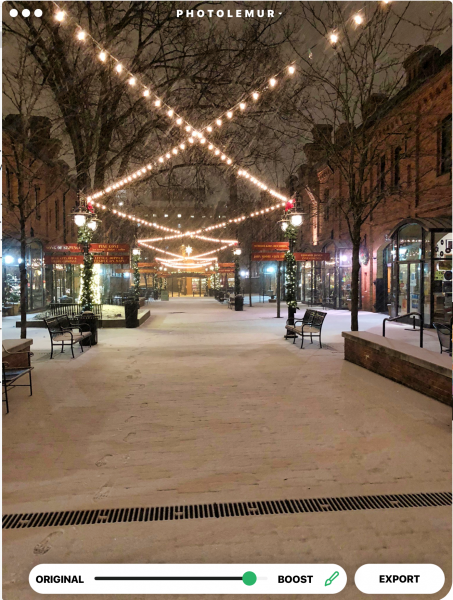
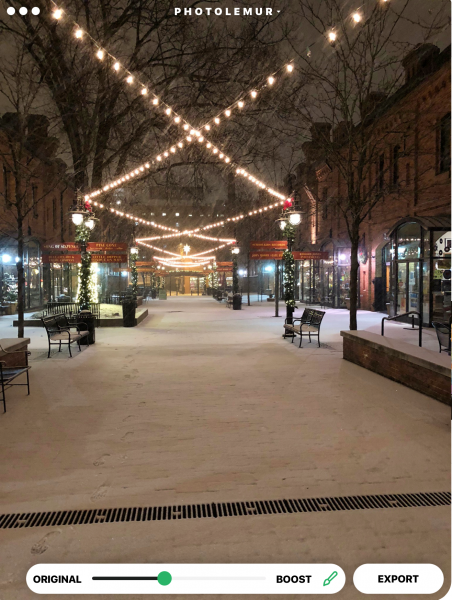
I ran a couple dozen photos through PhotoLemur during the first review, mainly from my back-catalog of early digital photos, and there were some really nice changes that were made to these images. For this next version, I decided to up the challenge. I have been using quite nice computational cameras for the last few years: an iPhone 6s Plus and recently an iPhone 8 Plus. In spite of this, there are some photos that need to be “fixed” – the sky is wrong, or the grass is wrong or the skin tones are wrong or whatever. No matter the finesse of the algorithm, the final judgment is always the viewer’s eyeballs. Here are a few representing varying levels of Lemur. Above, a night scene, just as it’s begun to snow. Note the details in the building to the right under the software’s effects, as well as the patterns in the sidewalk where the snow was drifting.

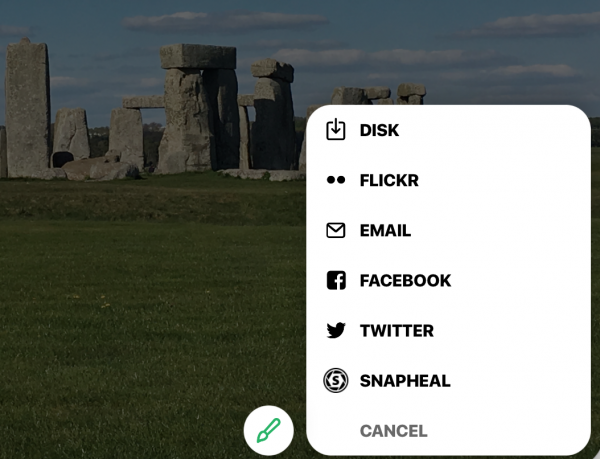
The finish of the process has changed as well. The initial version was pretty cut-and-dried – hit export, choose a filename and location, and your freshly Lemured photo is ready to go, and the program is ready to start on another. Now, there are sharing options for email, online storage, social media, other programs to move the photo to… It’s a whole new world!

If you’re in the plug-in version, it will save to your camera roll. In standalone, you can also add a group of photos and work through them, rather than having to hunt down each one individually.

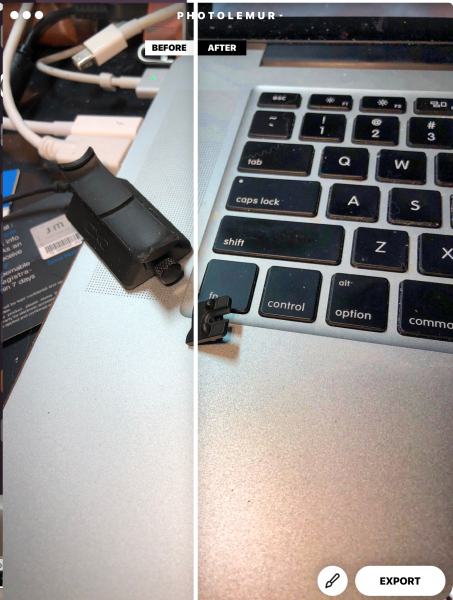
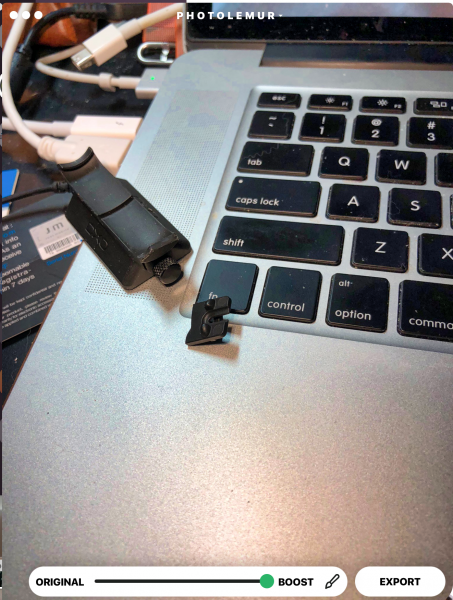
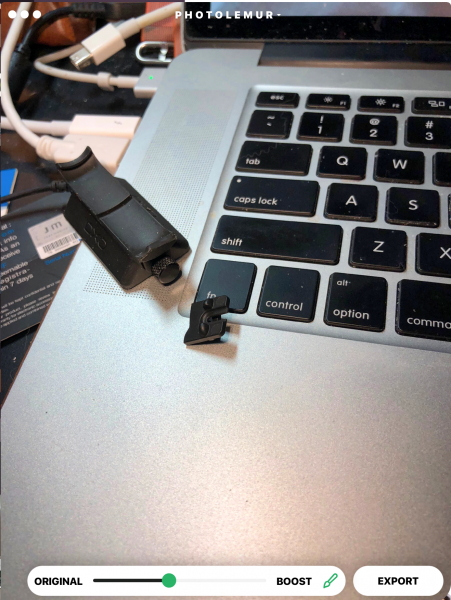
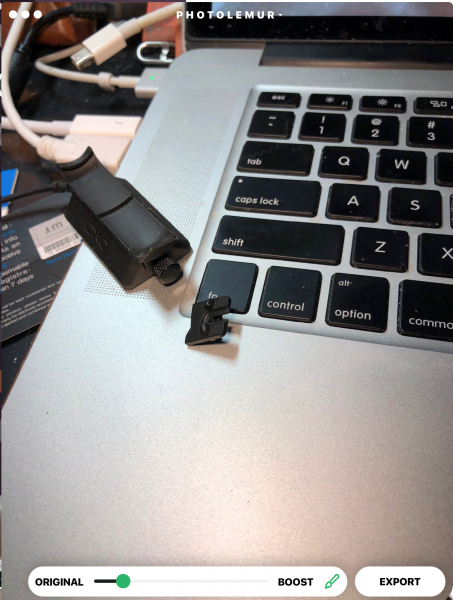
The second photo was taken with normal room lighting (all digital) of a broken part I had to return. Note the noise created by the bead-blasted finish on the MacBook Pro’s palm rest in the 100% correction.

 Tech Requirements

  • Windows

    • Intel® Core i3 or AMD Athlon® 64 processor; 2 GHz or faster processor
    • 4 GB of RAM (8 GB recommended)
    • 1024 x 768 display (1280×800 recommended)
    • 4 GB of available hard-disk space
    • DirectX 10-capable video adapter
    • Microsoft Windows 7, 8,10 (64-bit)
    • Internet connection and registration are necessary for required software activation, validation of subscriptions, and access to online services.
  • MacOS

    • Multicore Intel processor with 64-bit support*
    • 10.11 (El Capitan), 10.12 (Sierra)
    • 2 GB of RAM (8 GB recommended) 1024 x 768 display
    • 1 GB of Video RAM (VRAM).
    • 4 GB of available hard-disk space
    • Internet connection and registration are necessary for required software activation, validation of subscriptions, and access to online services.

Performance

The photos load fast, and once it is loaded, the changes are all updated instantly. You only have to swipe the dividing line to see before and after or the paintbrush to decide how much effect you’d like.

What I Like

  • Easy interface – two sliders
  • Solid upgrade with great user-oriented enhancements.
  • Much better pricing strategy
  • no confusing tools or masks
  • Integration into existing photo software is amazing!

What could be Improved

  • Limited – full frame editing only
  • No way to know what will be changed or enhanced – it’s a black box

Final thoughts

The bottom line is this: How much do you want to post-process your photos? When I first started in digital photography 20 years ago, I had to run every photo through some sort of software, originally because I knew little about the mechanics of how the process worked and was just shooting things and expecting that to fix my lack of knowledge and preparation, as well as the shortcomings of my beginner-level equipment. Over time, as I started to learn how to adjust settings to prevent some of the things I had to correct post-capture, I was able to edit less, but also to move into less intrusive tools.

Now, with hardware tools at a level where you really don’t have to worry about all those mechanics, the software options have come down to tiny tweaks that you may or may not care about. Many look at a photo and say to themselves, “Yeah, that’s how I remember it.” A few will want to change how those memories are stored. If you’re one that wants to fix certain things in photos “just so,” you may want to consider PhotoLemur. At $30, for me, I’d probably have bought it after trying the free version. Let me show you a photo that sold me, which I took just last spring. Just another day on the Salisbury Plains, right?

At 40% Lemur, the difference in the grass, the sky, the colors of the stones all were amazingly more real.

But at 100% Lemur, it pops your eyes out!

If you’re not one who wants to tweak, it may help with your back-catalog, but then, your current photo software may do more than you will ever use. Know it’s out here, and, if the need presents itself, grab it. You may find you are a tweaker more than you realized. You are, after all, reading a gadget website. ;-).

Price: $29 for one device/$49 for 5 devices
Where to buy: The software is available through the company website.
Source: The sample of this product was provided by PhotoLemur.

Other Gadgeteer posts that you might like…