Schlage Connect Touchscreen Deadbolt door lock review

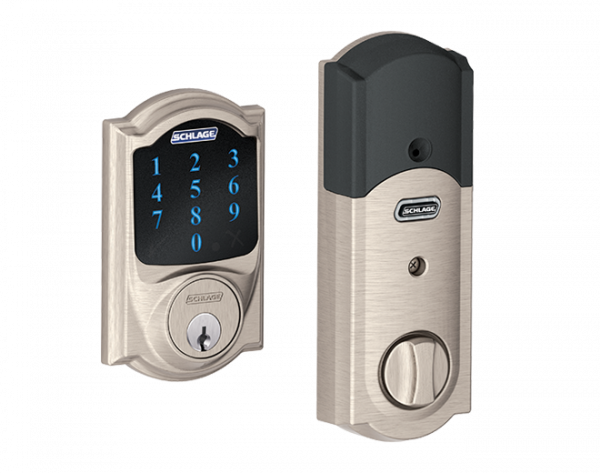
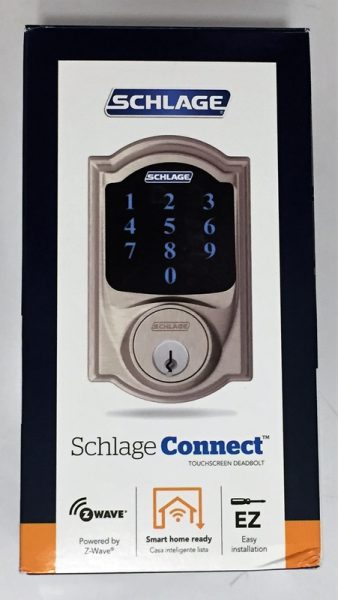
Keyless number pad door locks have been a familiar sight at airports and other commercial settings for years. These locks are especially useful for applications where multiple people must share access to a secure location, control of physical keys must be maintained, entry and security access must be logged, and tampering or unauthorized access must be alarmed. Historical installation cost of these commercial systems was a minimum of a few thousand dollars. Today, Schlage offers the Connect Touchscreen Deadbolt Door Lock. This lock is designed for residential use but is capable of providing all of the professional features listed above and is available for under $200 (not including the Z-wave hub). Read on to see what I think!

Installation

The Schlage connect comes with everything that you need to install the lock into a brand new door or to replace an existing lock. The lock does have some prerequisites:

  • the door should be able to be locked without pushing or pulling against the frame
  • the door must be easy to lock and unlock in the summer and winter.
  • the frame has at least 1″ for the bolt to extend into
  • the door is not more than 1 3/4″ thick (or Schlage will provide a thick door kit)
  • there is a minimum of 5″ between the doorknob latch and the bolt hole
  • a single cylinder installation is warranted (deadbolt operated by key from the outside and by the turn unit on the inside)

Since I meet all of the requirements I’m going to replace an existing deadbolt door lock.

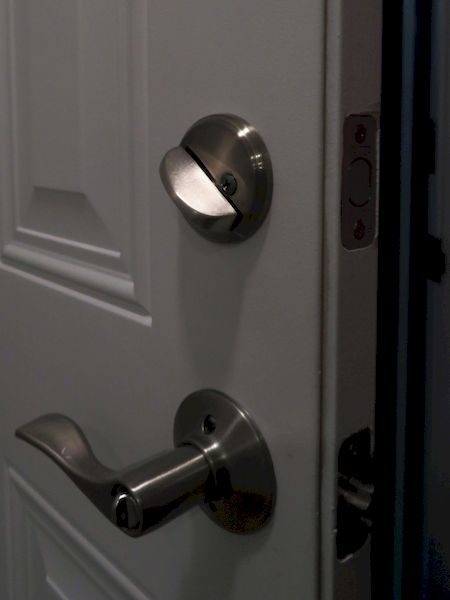
I installed this in a door that already had a Schlage deadbolt so I did not need to replace or alter the existing strike plate (the part that goes against the door frame).  The strike plate included with the package uses two reinforcing bolts that secure a steel reinforcing plate to the door frame with two 3″ long hardened steel wood screws. This plate is covered with a strike plate with smaller screws. This enhances the resilience of the lock to withstand being able to be struck up to 10 times with 150 ft-lbs.

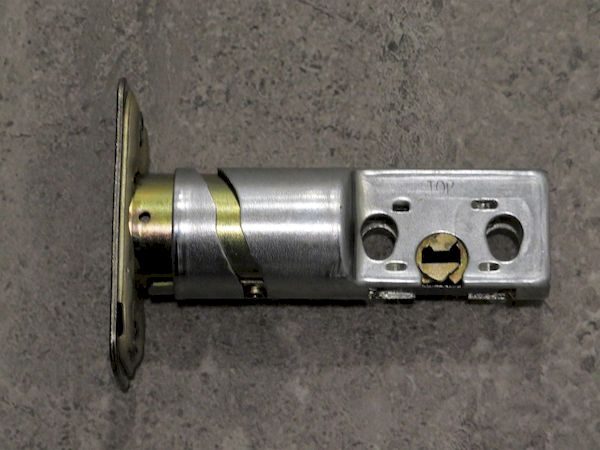
The bolt that comes with the lock is designed to be reconfigured depending whether the door has a mortise or not around the bolt hole, and also depending on the depth of the crossbore. Therefore the faceplate is either removed or replaced, and the faceplate is twisted, if necessary, to increase the length of the bolt. The latch bolt extends 1″ when engaged, but it is tapered somewhat towards the front, perhaps to aid in automated opening and closing. Therefore, even if you have a compatible bolt it is important to use the one that came with this system.  The tapered portion of the bolt is well behind the strike plate when engaged, so it shouldn’t impact the security performance. The robustness of the lock and mechanism has been rated Grade 1, the most secure, by BHMA and ANSI.

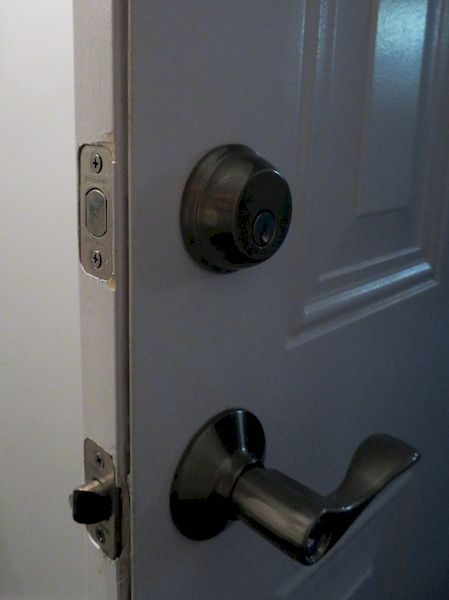
After installing the bolt and testing its operation, it is time to install the touchscreen. The tricky part of this is getting the keypad to mount vertically on the door and to ensure that the interface cable is fed correctly below the bolt through the crossbore. The lockset on the keypad is a standard Schlage assembly but with a custom stem (with tab) to mate with the actuator on the inside. I re-keyed the lock myself by carefully removing the weiser cap, exchanging the lock stem between this new lock and the lock I had at my house, and replacing the weiser cap.

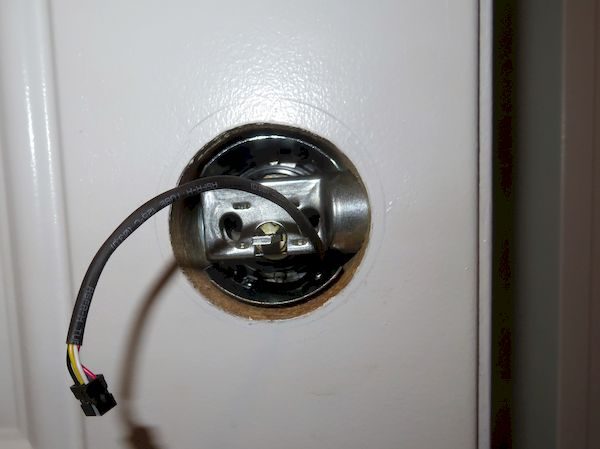
The keypad and cylinder are bolted to a steel plate with hardened machine screws. The steel plate, while not attractive or useful, functionally completes the lock. The lock can be opened and closed from the key on the outside or the stem on the inside. The remaining parts, the actuated turn unit, and the alarm are what make this lock stand out from the competition.

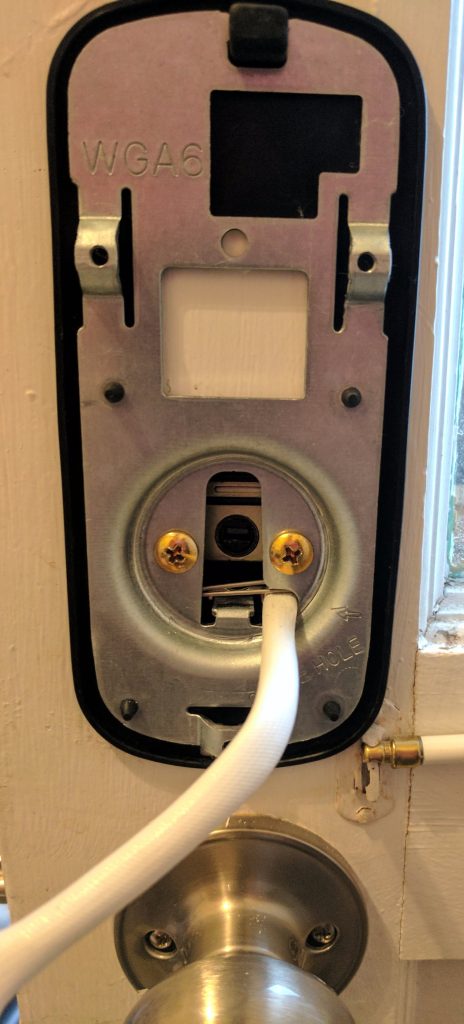
The picture below shows the interface cable connected and the actuator about to be installed. The pre-configured 4 digit key codes and 6 digit master code are printed on the label on the inside of the lock. Because this label is in an easy to access place by any unsupervised visitor to the house, it is recommended that the master and preset codes be changed or that the sticker be removed.

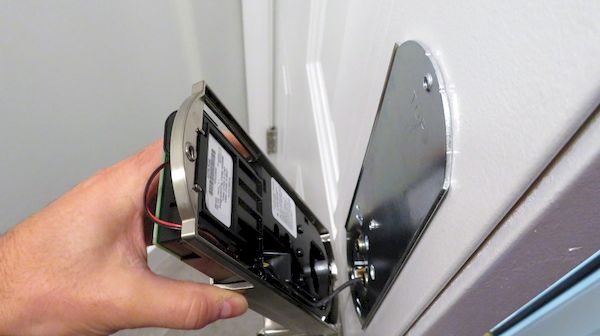
The screw which holds the top of the actuator and housing against the steel doorplate is tiny. Make sure you don’t lose it!

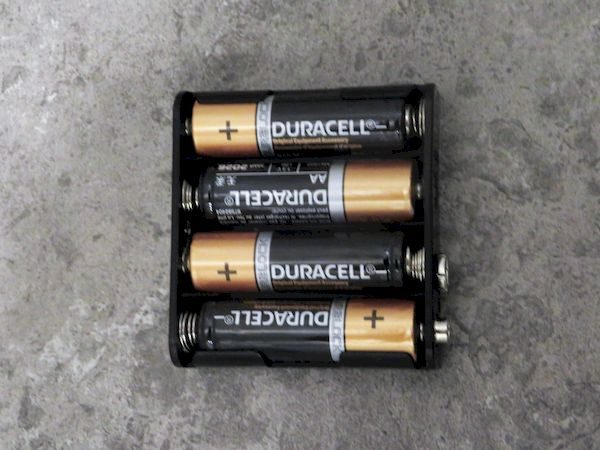
The kit comes with 4 Duracell AA batteries

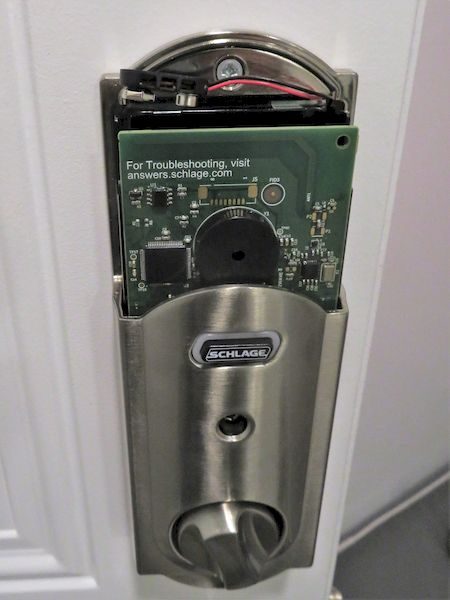
The battery compartment exposed. The battery cover slides on to the metal frame.

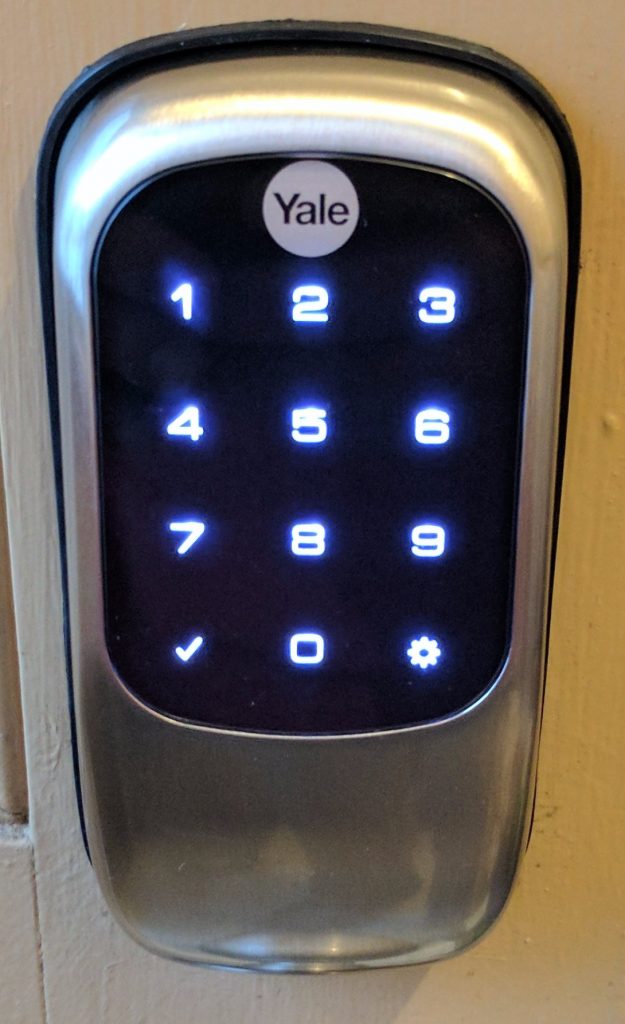
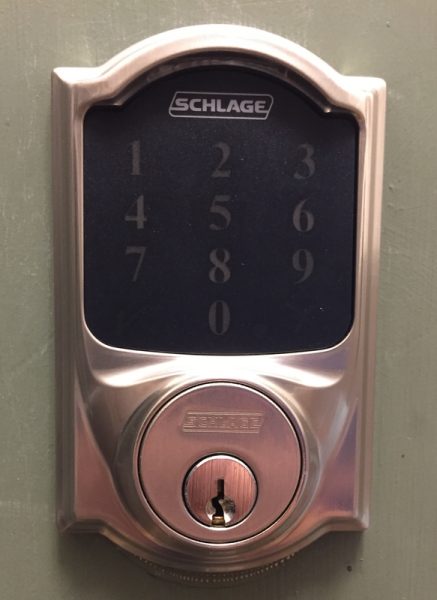
The installed keypad (on another doorframe)

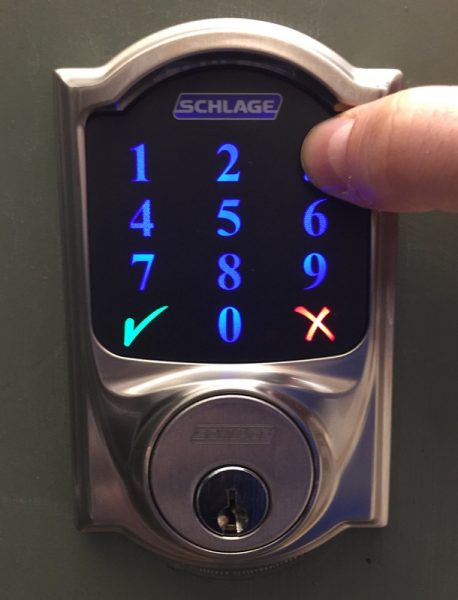
and with backlighting:

Local Operation

After installation is complete the lock performs a calibration to learn which side of the door the lock is installed on to. After calibration, the directions require that several exercises be conducted to ensure the door operates correctly.

If the door alignment is slightly off it may take more power than minimally required to open and close the door lock. The Schlage Connect has two power settings to conserve battery power. It will try to open the door with low power first and then use high power if necessary. If the door requires high power on three consecutive occasions it will use high power mode exclusively until the lock is reset.

The lock has the following features:

  • Storage of up to 30 individual user codes
  • A vacation mode that disables all user code access (entered by using the Programming code)
  • An option to turn on or off the beep to provide feedback of button presses
  • An option to be able to lock the door by pressing the Schlage logo on the keypad without entering a code
  • An auto lock feature to automatically re-lock the deadbolt 30 seconds after opening. This feature may be temporarily disabled

Programming is accomplished by opening the door and extending the deadbolt. The sequences are all initiated by pressing the Schlage button, entering a 6-digit programming code, and entering a function code (1 – 9).  It’s not the most user-friendly experience, but should not be done that frequently, and may optionally be completed by the Z-wave system if it is enabled and configured to access these setup codes.

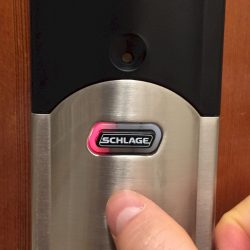
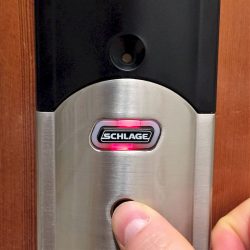
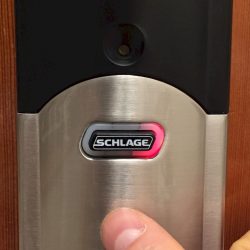
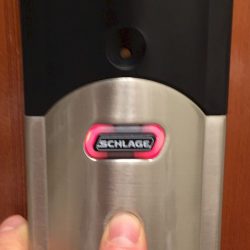
The alarm function is activated and configured using the inside Schlage button. The button is surrounded by three LED zones that are used to convey the alarm configuration. The alarm may be turned on or off, set to three different modes and may also be adjusted to 5 different sensitivity levels. These settings are all configured by pressing and holding the inside Schlage button for different amounts of time and releasing depending on LED flashes and beeps generated by the lock. Even with the manual in hand, it is a difficult process to go through.

The pictures below show the different LED patterns of the inside Schlage button.


The alarm is loud enough on the inside of the house that it should be heard on the other side of the door. However, I think the true benefit of this system is that you can be alerted when you are inside of your house and someone is trying to break into your front door. (Sorry for the chilling thoughts)

In addition to the tamper alarms that are generated by moving the door, the keypad enters a 30-second pause if 3 wrong entries are entered in a row. This is done to lower the chance of a successful brute force attack. For a 4 number code, this should only take about 8 hours, on average, assuming a 5 second entry time. However, adding a 30-second pause after 3 wrong attempts increases this to 18 hours. Clearly, there is a lot of benefit to having a longer code and I would recommend using the maximum 8 digit code for improved security and resistance to a brute force entry.

Remote Operation

The Schlage Connect lock is equipped with a Z-Wave radio. The radio is disabled as a default setting to conserve battery life but can be enabled to permit remote control of the lock. I integrated the lock with my SmartThings setup, but this can also be used with IRIS or Wink hubs

The stock SmartThings device handler shows the status (locked, locking, unlocked, unlocking, jammed), has soft buttons for lock, unlock, and reset, and a panel that shows the battery level. The SmartThings Community has a code available for enhancing this default handler.  Some code is free and others are for purchase. The type of additional features you might expect includes support for Schlage to enable/configure the Alarm modes as well as the sensitivity of the alarm; support for using the lock as a motion sensor device that generates a motion event when the alarm is set off so it can be used as a trigger;  support for enable/disabling the AutoLock features, enabling/disabling one-touch locking/lock and leave, enabling/disabling the Keypad (vacation mode) and enabling/disabling the audio alerts. Support may also include the ability to capture invalid user code attempts and lock tampering and being able to report if the door was locked/unlocked manually internally, externally, or remotely. Other functionality may include dynamically configuring the list of people that have access to open the lock.

Being able to configure the alarm state remotely also means that with a little programming the alarm could be set based on routines so that the alarm is set before bed but disabled in the morning.

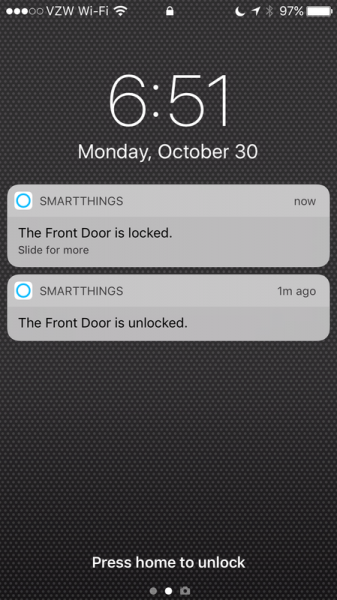
One of the best features is that the SmartThings app issues alerts about the door operation so that verifying the door is locked is easy to do with just a glance at a phone.

SmartThings plays well with Amazon Alexa so after a home automation query, the deadbolt, which I have named front door, shows up on Alexa’s home automation interface. Below is a movie which shows how the door can be activated with Alexa.

Performance

The lock has performed quite reliably for about two months now. I have not noticed that the door jams or that the lock fails to engage. The lock carries its own log of operations; from querying the correct parameter I can determine that the lock as operated with normal power 586 times, failed 27 times (I believe almost all of these are “test” runs), and operated with high-preload power 184 times.  The door is adjacent to my SmartThings hub so I’m not sure how much power the radio is consuming, but the Z-wave radio has been on the whole two months as well. With all of this activity, the battery is at 98%. Some people have reviewed this product and observed that the battery is quickly depleted but it does not seem to be the case with my experience.

The actuator is a bit loud but not unlike the other units that I have heard reviewed online. If I’m returning home late and I don’t want the lock to be loud, I use the key to open the door.

Having the door lock installed has allowed me to go for keyless jogs around the neighborhood. Also, I have provided our cleaning service with codes so that I can monitor the time that they are here and change the code if our cleaning service needs change.

Conclusion

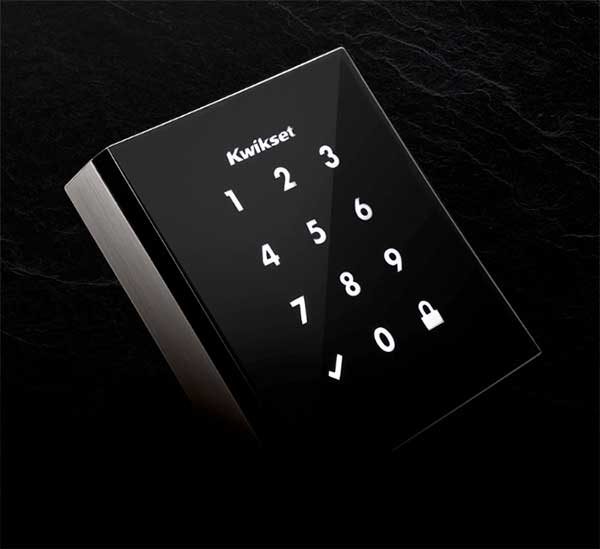
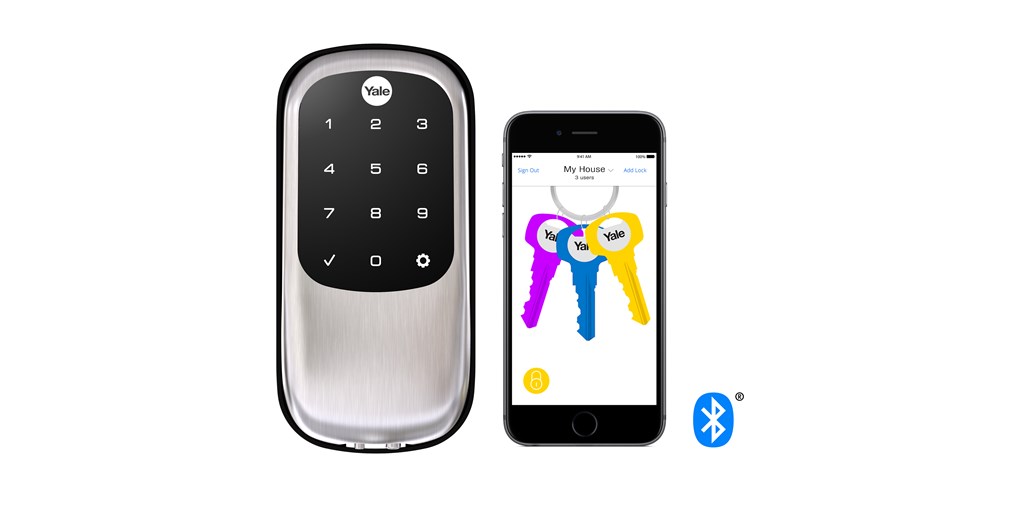
The Schlage Connect is a well designed, feature rich door lock that combines keyless entry with remote operation and monitoring. The Schlage model offers the ability to enable and disable the keypad and includes built-in alarms; features that competitive offerings from Yale and Kwikset don’t include. The cost of the Schlage Connect is currently about $180, which is in line with the competitive offerings from Yale and Kwikset, although about ten times the cost of an equivalent Schlage single cylinder deadbolt. If you have a need for monitoring and controlling access by multiple people or just an interest in home automation then the Schlage Connect is a solid performer.

Source: The sample for this review was provided by Schlage. Please visit their site for more info and you can order one from Amazon.


Product Information

Price: $179.17
Manufacturer: Schlage
Retailer: Amazon
Requirements:
  • the door should be able to be locked without pushing or pulling against the frame
  • the door must be easy to lock and unlock in the summer and winter.
  • the frame has at least 1" for the bolt to extend into
  • the door is not more than 1 3/4" thick (or Schlage will provide a thick door kit)
  • there is a minimum of 5" between the doorknob latch and the bolt hole
  • a single cylinder installation is warranted (deadbolt operated by key from the outside and by turn unit on the inside)
Pros:
  • Storage of up to 30 individual user codes
  • A vacation mode that disables all user code access (entered by using the Programming code)
  • An option to turn on or off the beep to provide feedback of button presses
  • An option to be able to lock the door by pressing the Schlage logo on the keypad without entering a code
  • An autolock feature to automatically re-lock the deadbolt 30 seconds after opening. This feature may be temporarily disabled
Cons:
  • Program master code and default user codes are in conspicuous location
  • actuator can be loud
  • Programming and alarm operation is difficult using keypad and alarm key

Filed in categories: Reviews

Tagged: ,

Schlage Connect Touchscreen Deadbolt door lock review originally appeared on The Gadgeteer on November 8, 2017 at 11:00 am.

Note: If you are subscribed to this feed through FeedBurner, please switch to our native feed URL http://the-gadgeteer.com/feed/ in order to ensure continuous delivery.

Ninjas love Kwikset’s latest electronic deadbolt lock

When it comes to style, Kwikset’s Obsidian touchscreen deadbolt door lock is a far cry from their Kevo lock that I reviewed last year. This new lock has a modern style that features a low profile white LED touchscreen keypad that will let you keep your physical house key in your pocket.

You do not need a mobile app to use this version of the Obsidian electronic deadbolt lock. It’s an analog lock where it’s up to you to create the security code. But, Kwikset plans to release Obsidian with Home Connect technology later this year.

Head over to kwikset.com for all the details. Obsidian is available for purchase now from Amazon for $179.

Filed in categories: News

Tagged: ,

Ninjas love Kwikset’s latest electronic deadbolt lock originally appeared on The Gadgeteer on October 10, 2017 at 4:33 pm.

Note: If you are subscribed to this feed through FeedBurner, please switch to our native feed URL http://the-gadgeteer.com/feed/ in order to ensure continuous delivery.

Learn how padlocks work with one that you can see thru


Have you ever wondered how a padlock’s locking mechanism works? Now you can find out with this clear see thru padlock from Mazu. Designed as a learning tool for locksmiths, this clear plastic lock is a fully functioning padlock.

It comes with 29 parts that allow you to learn the inner workings of a lock by assembling one yourself. Note that you don’t want to use this lock to secure anything of value since it is made of plastic.

The Mazu DIY Clear Demonstration & Practice Padlock is priced at less than $7 from Amazon, which has a large selection of similar clear lock sets. Some that even come with lockpicks if you want to learn that skill as well. Just make sure you use the skill for good and not evil.

Filed in categories: News

Tagged:

Learn how padlocks work with one that you can see thru originally appeared on on May 3, 2017 at 7:05 am.

Note: If you are subscribed to this feed through FeedBurner, please switch to our native feed URL http://the-gadgeteer.com/feed/ in order to ensure continuous delivery.

Yale Real Living Assure lock with Bluetooth review

I find myself at a point in life where my hands are always full. Whether carrying work equipment, groceries, or my children, I often find myself without a free hand to open the door to my house.

I was recently given the opportunity to review the Yale Real Living Assure lock. It’s a Bluetooth smart lock that can be opened with your phone or by the keypad. The Assure lock is also compatible with Z-Wave and ZigBee systems so it can be fully integrated into your smart home.

Hopefully, this is the hands-free device I’ve been looking for.

In the box

  • Exterior keypad
  • Interior locking mechanism
  • Latch
  • Strike plate
  • Battery cover
  • Batteries
  • Screws/Bolts
  • Instructions

Specifications

  • Fits on doors 1 3/8″ to 2 1/4″ thick
  • Backset 2 3/8″ or 2 3/4″
  • Face Bore Hole: 2 1/8″
  • Edge Bore Hole: 1″
  • Adjustable latch

Design

The Assure lock isn’t the first smart lock on the market, and it looks fairly similar to its predecessors; however, it does have a feature – or lack thereof – that I haven’t seen before.

The Assure lock doesn’t use a physical key; it can only be unlocked by keypad or by smartphone.

The black portion in the above picture is a keypad. The keypad lights up when the lock is in use but remains off otherwise.

The interior side of the lock looks the same as any other smart lock I’ve previously seen. The upper, black portion of the lock is where the batteries are stored. The black button to the right of the lock is a Privacy Mode button.


The “guts” of the lock also look like other smart locks I’ve seen in the past.

If for someone reason you forget to replace the batteries and find yourself staring at a “Dead” lock, you can use a 9-volt battery to temporarily power the lock.

You can see the 9-volt contacts on the bottom of the lock, in the picture on the right, above.

Installation

Although it probably goes without saying, the first step in using the lock is installing it.


For me, this met removing my old deadbolt from my door.


Next, you slide the latch into the door.


Now you install the keypad on the exterior side of the door. When doing this you have to be sure to run the attached cable under the latch.

Next, you install the mounting plate on the interior side of the door, making sure you run the cable through the proper channel.


You next insert the cable into the port identified by the yellow arrow in the left picture. Then you attach the lock to the interior side of the door.

Finally, you insert four “AA” batteries and attach the battery cover.

The Assure Lock installation was simple and easy; it shouldn’t take more than a few minutes to install.

Performance

For the most part, using the lock is simple.

The first step is “waking” the keypad.

This is done by placing your hand over the keypad.

After doing so, the keypad should light up like above.

When using the lock for the first time, you have to create a Master Pin code. This is done by pressing the gear button, selecting a four to eight digit code, then pressing the gear button again.

Once the Master Pin is set, you can do the following:

  • Create User Pin codes
  • Set Automatic Re-lock times
  • Activate Indicator Lights
  • Activate One Touch Locking
  • Activate Privacy Settings
  • Adjust Volume
  • Adjust Language
  • Activate Lockout Mode
  • Program ZigBee and Z-Wave (if equipped)
  • Program Bluetooth

After you’ve adjusted all the options, you’re ready to use the lock.

To unlock the door you have two options.

First, you can place your hand over the keypad to wake it, and enter the User Pin you created to unlock your door.

You can also unlock the door via Bluetooth with your smartphone, but I’ll get more into that later.

If you have One Touch Locking activated, you can lock the door by waking the keypad. If One Touch Locking isn’t activated, you lock the door by entering a User Pin.

If you’re inside the residence, you can lock the door by turning the knob.

If for some reason you didn’t want anyone entering your home, you can hold down the Privacy Mode button for four seconds. This disables all pin codes until Privacy Mode is turned off.

Before I move on, I should mention there is actually a third way to unlock the door. The Assure lock is Zigbee and Z-Wave compatible; unfortunately, you have to buy a separate module first. The module can be purchased from the Yale Accessories page for $75.

I wasn’t provided with the module so I can’t comment on how well it does or does not work.

Yale App

In order to take advantage of the Assure’s Bluetooth feature, you’ll first need to install the Yale app on your phone. The app is compatible with Android devices 4.3+ and iOS devices 9.0+.

After you install the app, the first thing you will need to do is add the lock to your account.

After the lock is added, you will be greeted by the above screen.

Clicking on the icon in the lower left corner brings up the above window. All the above options are self-explanatory and don’t require any further description.

Clicking on the key will bring up the options menu. From here you can adjust notifications, change the key image/color, rename the key, etc.

More importantly, this is where you can assign keys to friends or family.


First, you press invite user and enter a name, email, or phone number. If the person hasn’t registered with the app before, you will be asked to send them an invite.

Once they download the app and register, you can select them and send them an unassigned virtual key. Before finishing the process you will have to enter your password.

When assigning keys, you can choose to make the key permanent or temporary.


A temporary key can be for a specific date range or a weekly schedule; this is an exceptional feature if you have a weekly babysitter, cleaning service, or go on vacation and have a dog-sitter.

Once you have the app set up and keys assigned, using the Bluetooth function is easy; however, it took me forever to figure out.

This is how the instructions explain how to use the Bluetooth feature.

It seems easy enough, but I couldn’t get the Bluetooth feature to consistently unlock. It always took me three or four attempts to get the Assure to unlock. I took the exact same steps every time.

First, I’d twist my phone as described above. Then I’d wake the keypad by placing my hand over it. Finally, I’d press the check mark. Unfortunately, this never worked on the first try.

For the life of me, I couldn’t figure out what I was doing wrong. I tried finding better documentation online or through the Yale app but was unsuccessful.

Eventually, I did find the following video on the Yale website.

I must have watched the video half a dozen times before I realized the person in the video doesn’t wake the keypad before pressing the check mark.

I then tried to use the Bluetooth function without waking the keypad and… VIOLA!… the device unlocked.

Clearly, it’s my fault for not taking the instructions literally; nowhere in the instructions does it tell you to wake the lock. I just assumed the check mark would have to be lit to press it. That being said, I do think the instructions should indicate the keypad doesn’t need to be activated.

The nicest part about the Bluetooth feature is that is has a two-minute window. If you do have your hands full, you can twist your phone and you have two minutes to press the check mark.

My only complaint is that the two minutes may not always be enough time. If you’re bringing in a large amount of groceries or have to remove your kids from a child safety seat, you may run out of time. It would be nice if the two-minute window were adjustable.

Conclusion

The Yale Assure lock is an excellent smart lock. It’s easy to install and easy to use; although, the instructions could use clarification.

The fact that it requires an extra module for ZigBee or Z-Wave compatibility is disappointing, but in fairness, the Assure Lock is comparable in price to smart locks that only have either Bluetooth or Zigbee/Z-Wave.

I like the Assure so much I’m considering purchasing the module so it will work with my Samsung Smarthings system.

If you are in the market for a reliable smart lock, I would suggest investing in the Yale Assure lock. I assure you {rimshot}, you won’t be disappointed.

Source: The sample for this review was provided by Yale. Please visit their site for more information and Amazon to order.


Product Information

Price: $199.99
Manufacturer: Yale
Retailer: Amazon
Requirements:
  • For Bluetooth feature – Android devices running 4.3 or later, iOS devices running 9.0 or later and Samsung Gear smartwatches running 4.3 or later.
Pros:
  • Easy install
  • Easy to Use
  • Temporary Keys are an excellent feature
  • Ability to add ZigBee/Z-Wave
Cons:
  • Instructions could use clarification

Filed in categories: Home and Kitchen, Reviews

Tagged:

Yale Real Living Assure lock with Bluetooth review originally appeared on on March 5, 2017 at 8:00 am.

Note: If you are subscribed to this feed through FeedBurner, please switch to our native feed URL http://the-gadgeteer.com/feed/ in order to ensure continuous delivery.