Lightning port charge your iPhone (even in a case) easily with minimalist Hoverdock

Now that Qi charging is totally a thing in the Appleverse, is anyone still paying attention to Lightning docks? Heck, I am! Until my company springs for an upgrade (not holding my breath), I’m still rocking my iPhone 6 Plus—no Qi for me. But I’ll tell ya’, I love a good dock. One that allow me to dock and undock quickly and easily and with a case on my iPhone. That’s why the Just Mobile Hoverdock caught my eye. It appears to be very simple to set up and effectively allows one-hand docking and undocking, even with your iPhone encased in a case—just install the special little clip and you’re good to go. Hoverdock has a satin-finish aluminum body with grippy rubber feet, plus it allows you to coil up and hide your excess Lightning dock cable inside its body when you assemble it.  Hoverdock retails for $34.95. Visit JustMobile.com for more info or to order.

Bezalel Latitute case & Omnia wireless car charger review

I love my iPhone, but the one thing that it has been lacking in is wireless charging. You can get a case with a battery inside that will wirelessly charge, but it adds bulk, and I enjoy the small form factor of the iPhone. I noticed Bezalel had a case solely for wireless charging called the Latitude, so I had to try it out. They also included their Omnia wireless car charger so I could wirelessly charge in the car. Nifty!


The Latitude case comes with the case and instruction manual, while the Omnia car charger comes with the charging base, 12-24V USB car adapter, USB-C cord, and of course, an instruction manual.

The case itself is pretty basic with a cover/insert for the Lightning port that keeps dust from getting inside as well as attaching the case to the phone for charging. It can be easily removed to use a regular Lightning cable or headphones with. There is a nice soft layer inside to protect your phone from the plastic as well. It was very easy to slide the case on and remove it if necessary, but it was still plenty secure on the phone.

Now, I say the case is basic, but that’s not a bad thing. Sometimes simplicity is better. The case has a nice feel to it and felt nice in my hand, and the logo on the back gives just enough design to keep it from looking boring. The front has a lip to protect the screen… unless you drop it on a rock driveway. It did well at protecting my phone from every drop but that one, but that’s not the case’s fault. It did a good job protecting my phone.

There are no buttons on the case, but the cutouts for accessing them on the phone are cut well and provide good access. The bottom is cut out completely except for the Lightning port insert, and that was a little rough around the edges, but still worked out fine.

So that’s the case, now let’s talk about the Omnia wireless car charger. This is one solid but well made unit. The only part that was not well made was the USB car adapter. I ended up having to use another one because it would not stay in the socket. Hopefully, it was just bad luck.

The most difficult part was putting it on the vent. It is difficult to press the button down to open the ‘jaws’ that clamp onto the vent, but it needs to be due to the weight of the charger itself. I really liked how it allowed the phone to be viewed at different angles. I placed it on the vent towards the passenger side of the center console and angled it towards me. This allowed me full use of the touch screen display my car has.

The magnet used to attach the case to the Omnia is strong and it did not detach due to bumps and normal driving. It was very easy to attach and remove the phone from the charger and it took only a second or two for the phone to start charging. It was very easy to keep my phone charged while I drove, especially when I used the GPS.


Unfortunately, though, the Omnia is very heavy with the phone attached and after a few days would nearly be falling off of the vent itself, despite the firm grip it had. A couple of times each week I would need to remove it and adjust it again, which was annoying when I happened to be in a hurry that day! If they could lighten the charging base up a little bit, or find a way to keep it firmly in place, this would be an excellent product. As a reference, I have a magnetic base that I used before that stays in the same vent location with no problem at all.

I absolutely loved the idea of allowing wireless charging to come to the iPhone (and yes, I know the newest generation will have it built-in) and I think that Bezalel has done a good job with making a protective case that allows for wireless charging without the bulk. The Omnia car charger could stand to lose a little weight to keep it from falling out of thin vents, but it would be a solid product if it stays put in your car. There is a chance the iPhone 6/7 (non Plus) version of the case could work better with the Omnia, as that would be less weight overall.

Overall, if I looked seriously into wireless charging, I would be tempted with the Bezalel Latitude case. Would I buy the Omnia to go with it? Probably not, though only because it kept falling out of the vent, not because it didn’t charge the phone.

Source: The sample for this review was provided by Bezalel. Please visit their website for more information and Amazon to order.


Product Information

Price: Latitude (iPhone 7 Plus): $59.90 – Omnia $59.90
Manufacturer: Bezalel
Retailer: Amazon
Pros:
  • – Easy to charge your phone while driving
  • – Can have your phone in various viewing angles
Cons:
  • – Falls out of the vent due to weight

Filed in categories: Reviews

Tagged: , ,

Bezalel Latitute case & Omnia wireless car charger review originally appeared on The Gadgeteer on October 2, 2017 at 8:05 am.

Note: If you are subscribed to this feed through FeedBurner, please switch to our native feed URL http://the-gadgeteer.com/feed/ in order to ensure continuous delivery.

ThanoTech K11 iPhone Bumper review

When I recently switched to an iPhone 7 Plus, I felt the need to find a case to protect my investment without adding a lot of extra weight and bulk. When I stumbled upon the ThanoTech K11 Bumper while doing some online shopping, I knew I had to try it. Let’s check it out.

What is it?

The ThanoTech K11 is a bumper style case for the iPhone made of anodized aluminum and flexible TPU. It’s a way to protect the iPhone from up to a 16-foot drop without adding the bulk of a full coverage case.

The K11 is available in black, silver, gold, rose gold, and red. I was sent the silver version.

The K11 is a bumper style case that only covers the outside edges of the phone, which doesn’t sound like it would be very protective, but bumper features two layers of material. There’s an interior layer that’s made of TPU (thermoplastic polyurethane) and an exterior shell of 6063 T6 aircraft grade anodized aluminum. TPU is a hybrid material that’s a mixture of hard plastic and soft silicone. It helps absorb shock from drops and can protect the iPhone from up to a 16ft drop when it’s in this case.

The cool thing about the combination of TPU and aluminum is that the TPU makes the bumper flexible and that makes it much easier to insert and remove the phone.

Installation is simple. Just put the bottom corners in the bumper snap the top edges in place. It takes only a little effort, but you won’t feel like you’re going to snap the phone in half like I’ve felt with other iPhone cases and bumpers.

Once seated, you still have access to all the iPhone’s ports and buttons. The lightning port cutout on the bottom edge is large enough to fit most 3rd party cables. I’ve yet to find one that is too large.

On the left edge of the bumper, there is a cutout for the mute switch and individual buttons for volume. Unlike some cases, that have molded buttons, the K11 has individual metal buttons that provide excellent tactile feedback.

You’ll find the same type of button over the power button on the opposite side of the phone.

And on the back of the phone, you’ll see that the entire back of the iPhone is exposed. The front and back edges of the bumper are raised so that the front and back of the phone is slightly elevated when placed on a flat surface.

The area above the camera lens is raised evfurtherter to protect the camera lens.

If you’re worried about scratches, ThanoTech includes a protector that you can install on the back of the phone. Actually, they include two back protectors with the Kll Bumper

The K11 is pretty minimal as far as cases go, but it does add some width all the way around the phone. If you have small pants pockets, you might notice that you have less wiggle room when using your phone in this case and you try to put it in your pocket.

You might be wondering if the aluminum has a negative impact on your signal reception. The answer is no, it doesn’t due to the layer of TPU that’s between the phone and the aluminum. I’ve noticed no issues with signal strength degrading in the weeks that I’ve been using this bumper case on my iPhone 7 Plus.

Final thoughts

I had not heard of ThanoTech before reviewing their K11 Bumper. I’m impressed with how nice their products are. They look sharp and are really well made. They also sent me a charging adapter for the car which is made of stainless steel which is extra nice.

Bumper cases might not be right for everyone, but for people who want drop protection without completely covering every surface of their phone, the ThanoTech K11 Bumper is an option.

Source: The sample for this review was provided by ThanoTech. Please visit their site for more info and Amazon to order.


Product Information

Price: $34.95
Manufacturer: ThanoTech
Retailer: Amazon
Pros:
  • Easy to install
  • Easy to remove
  • Edges raised to keep screen, camera, and back from scratching
  • Less bulk than a full coverage case
Cons:
  • Does add some width to the phone

Filed in categories: Reviews

Tagged: , ,

ThanoTech K11 iPhone Bumper review originally appeared on The Gadgeteer on September 21, 2017 at 1:58 pm.

Note: If you are subscribed to this feed through FeedBurner, please switch to our native feed URL http://the-gadgeteer.com/feed/ in order to ensure continuous delivery.

DxO ONE camera attachment for iPhone and iPad review

I have been a digital photographer for over 15 years now. I started with the equivalent of an Instamatic, and moved up to a prosumer, then full DSLR cameras. I have bought and sold lenses, filters, and other equipment. While I don’t pretend to know how to adjust f-stops and ISO for challenging conditions, I have made some nice photos, been paid for some and awarded prizes for others. I’m rarely ashamed or embarrassed by my work. I’ve also bought into the iOS ecosystem hook, line, and sinker. So it was only a matter of time before I subsumed to the Siren call of the DxO ONE iOS camera. I pre-ordered this about three years ago, and my Lovely Bride kept asking “What is this charge on our credit card?” to which I would reply “It’s a new camera. It’ll be here any day now.” She’s sweet to believe in me. And she’s seen much more funneled into my photography habit. And it only took nine months to ship!

Note: Photos may be tapped or clicked for a larger image.

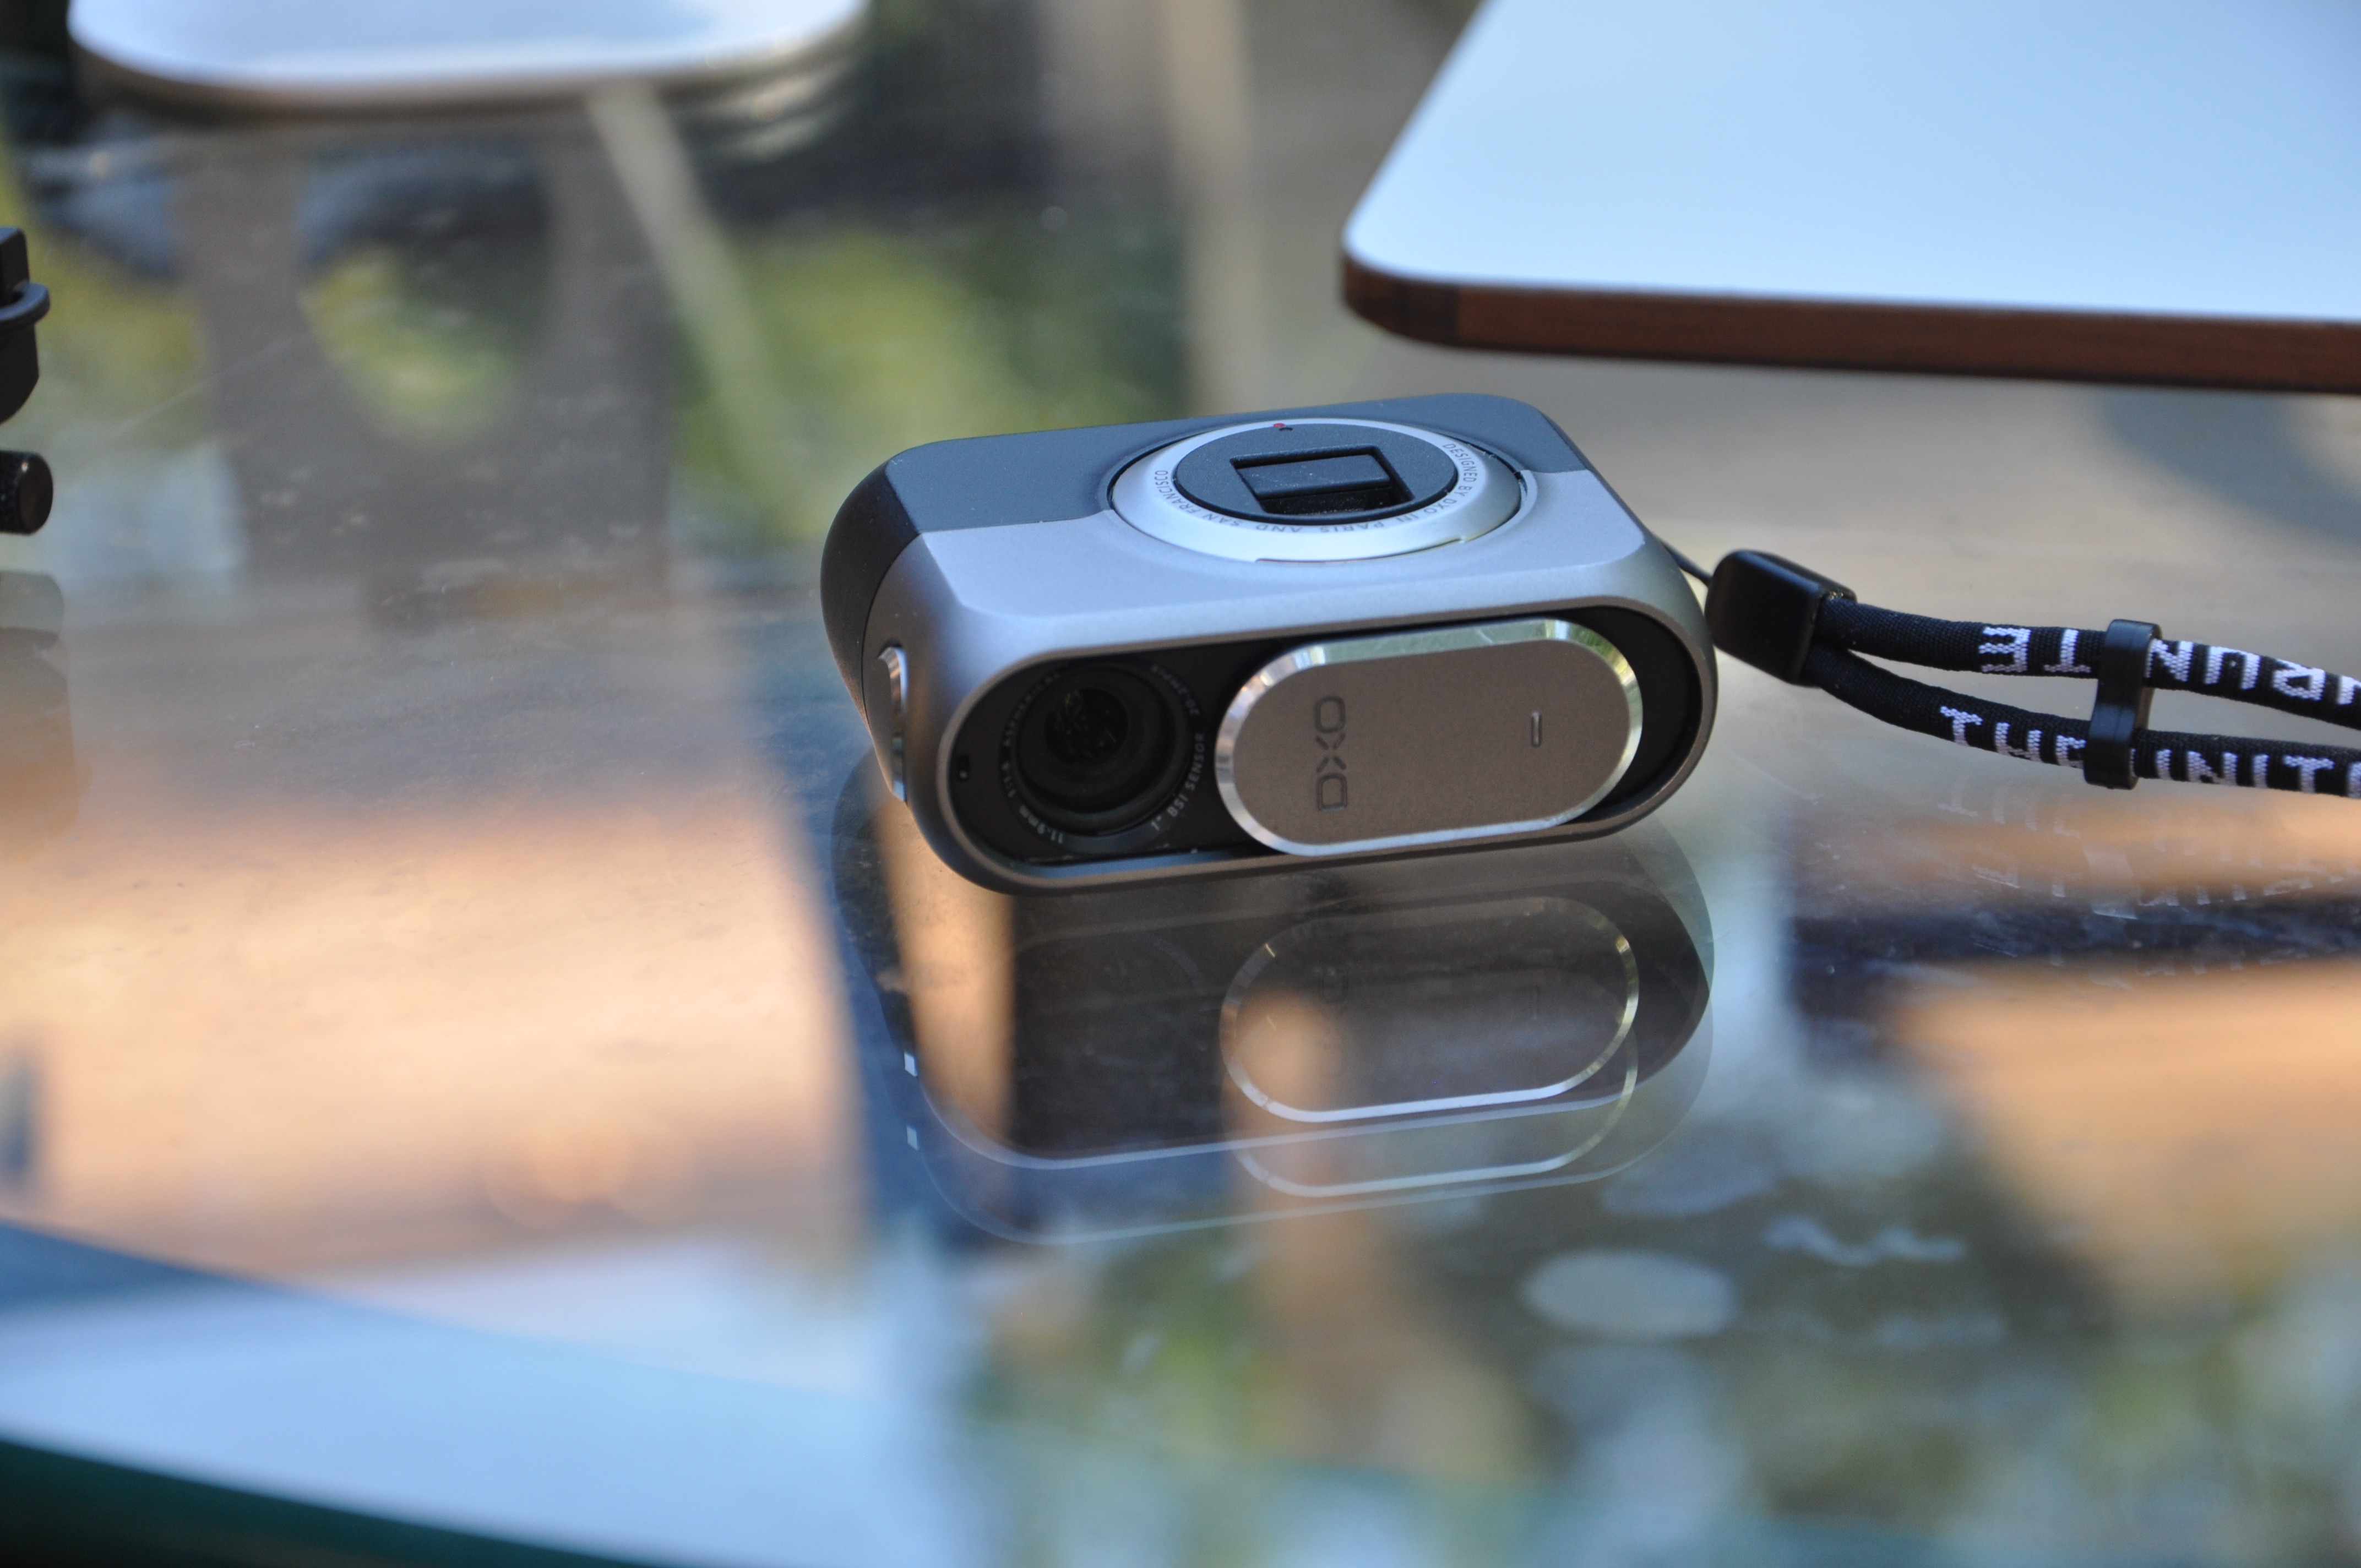
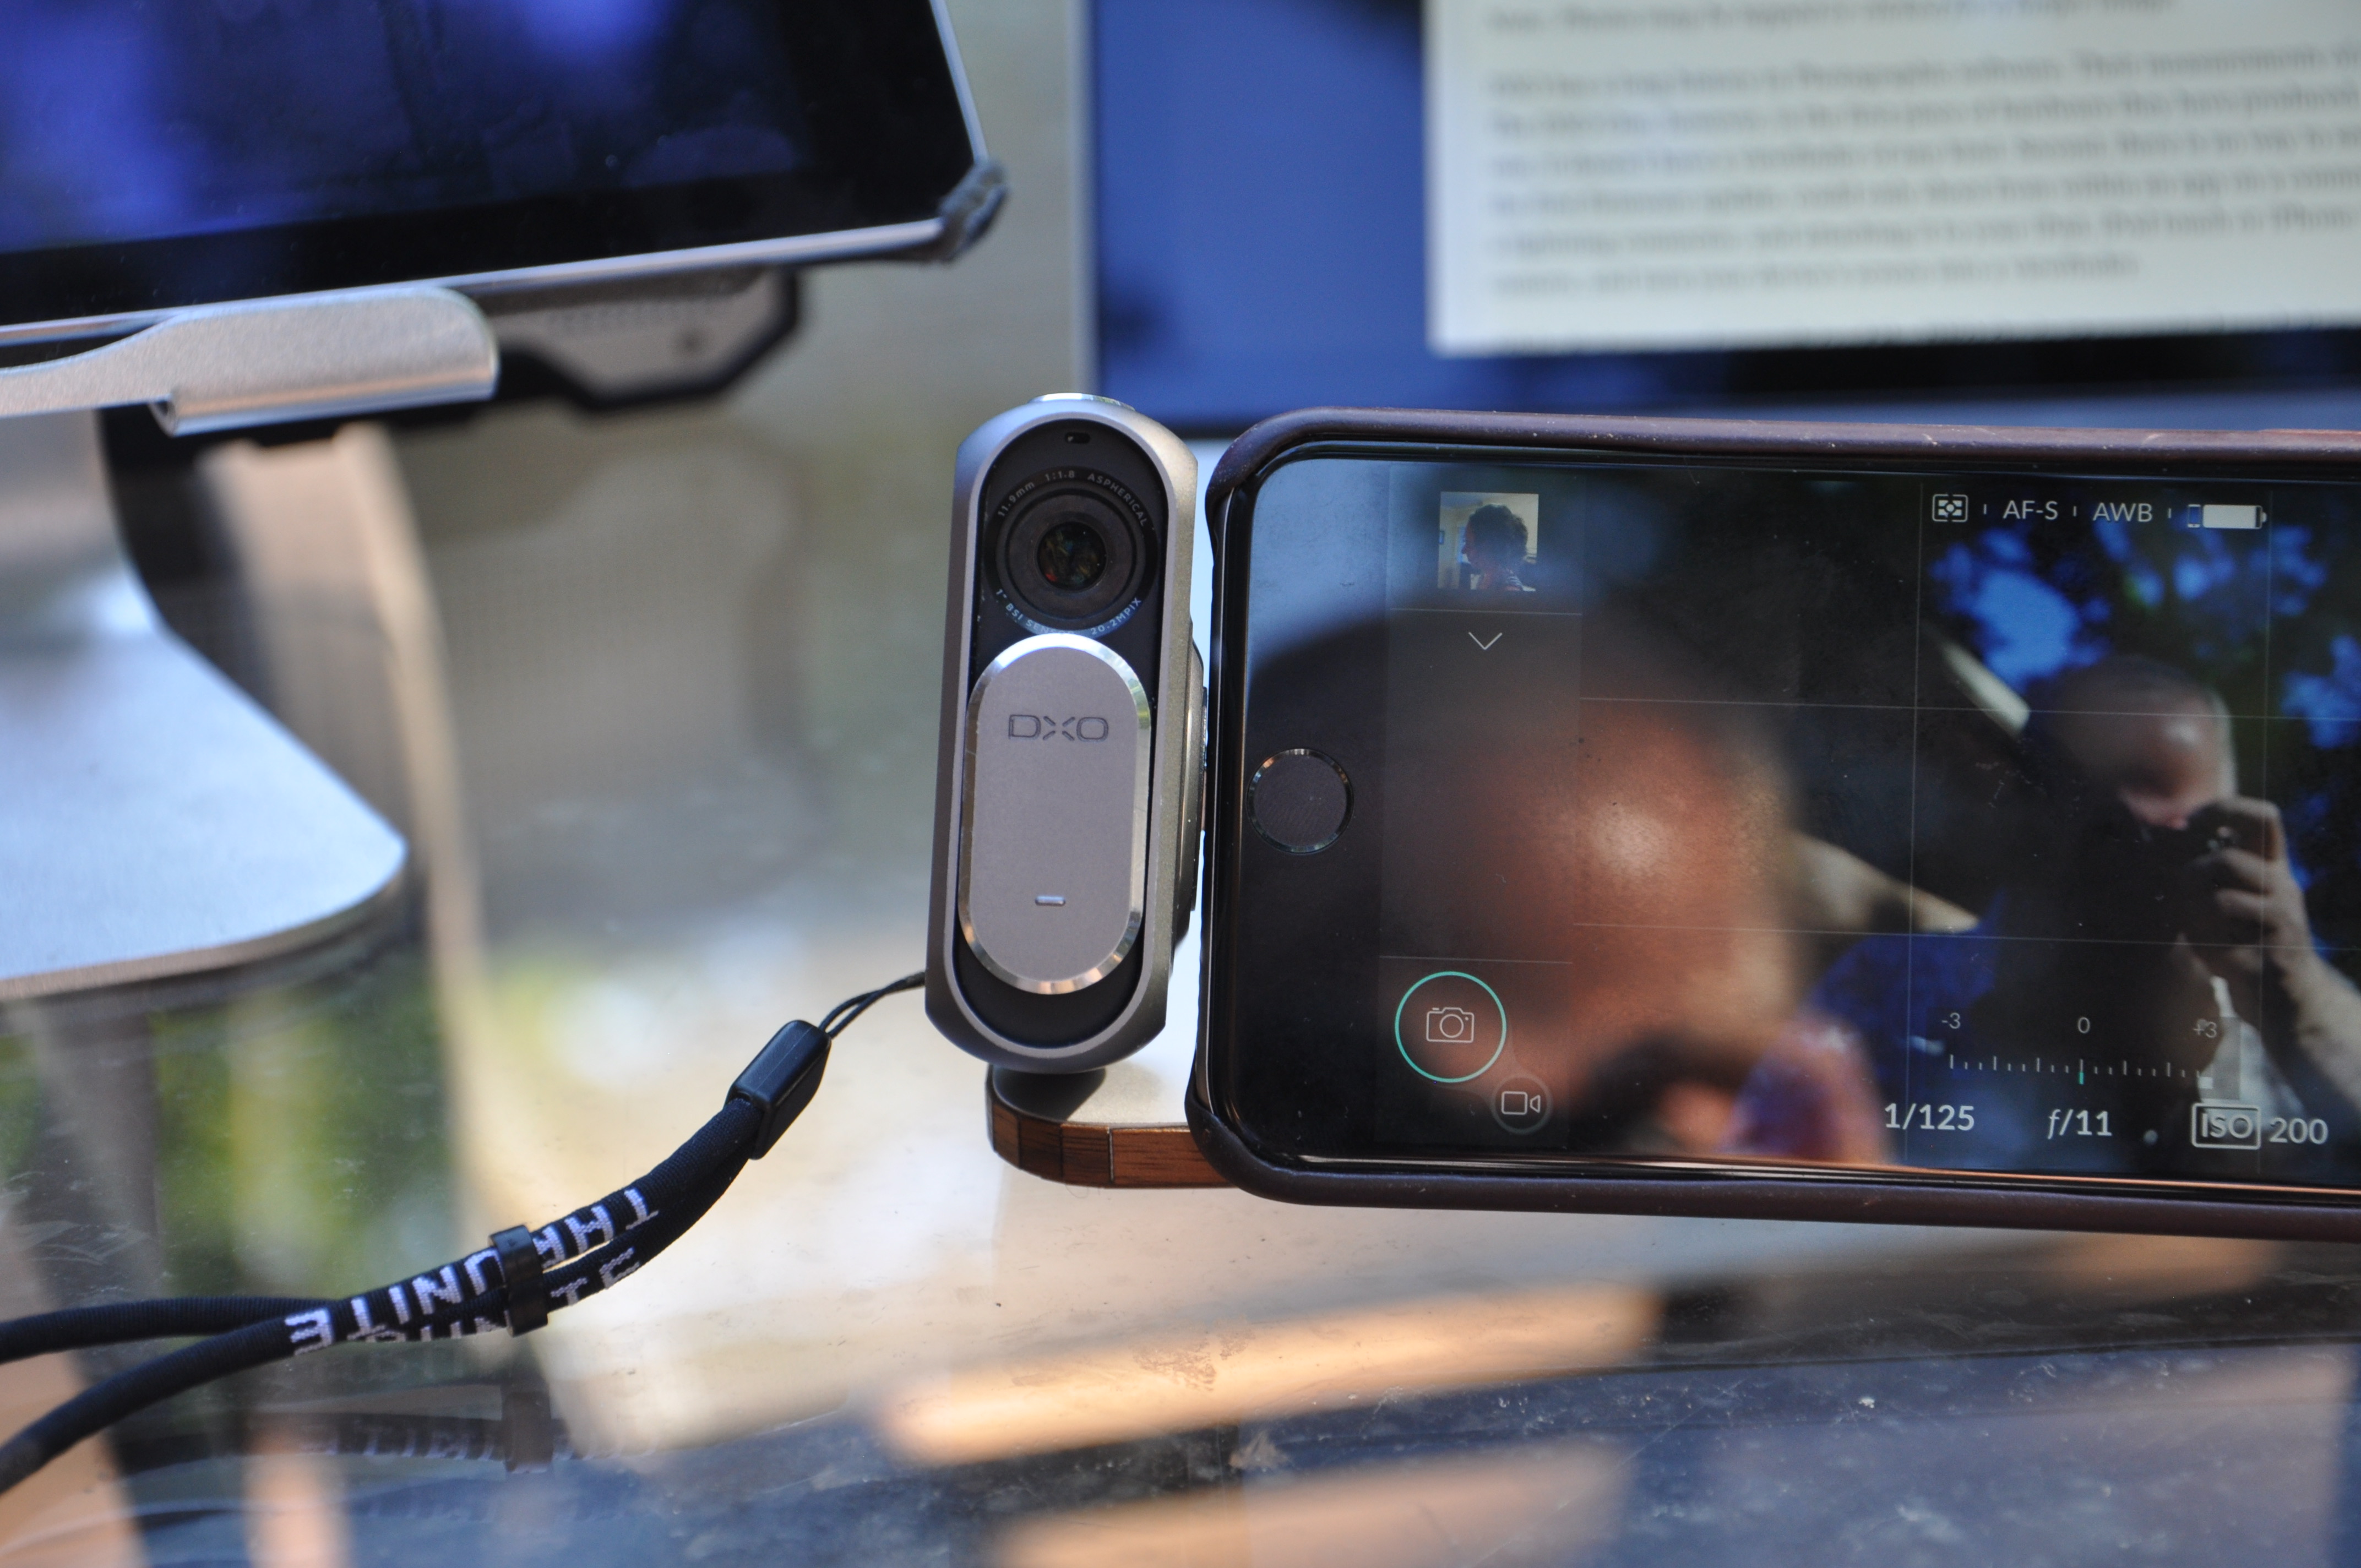
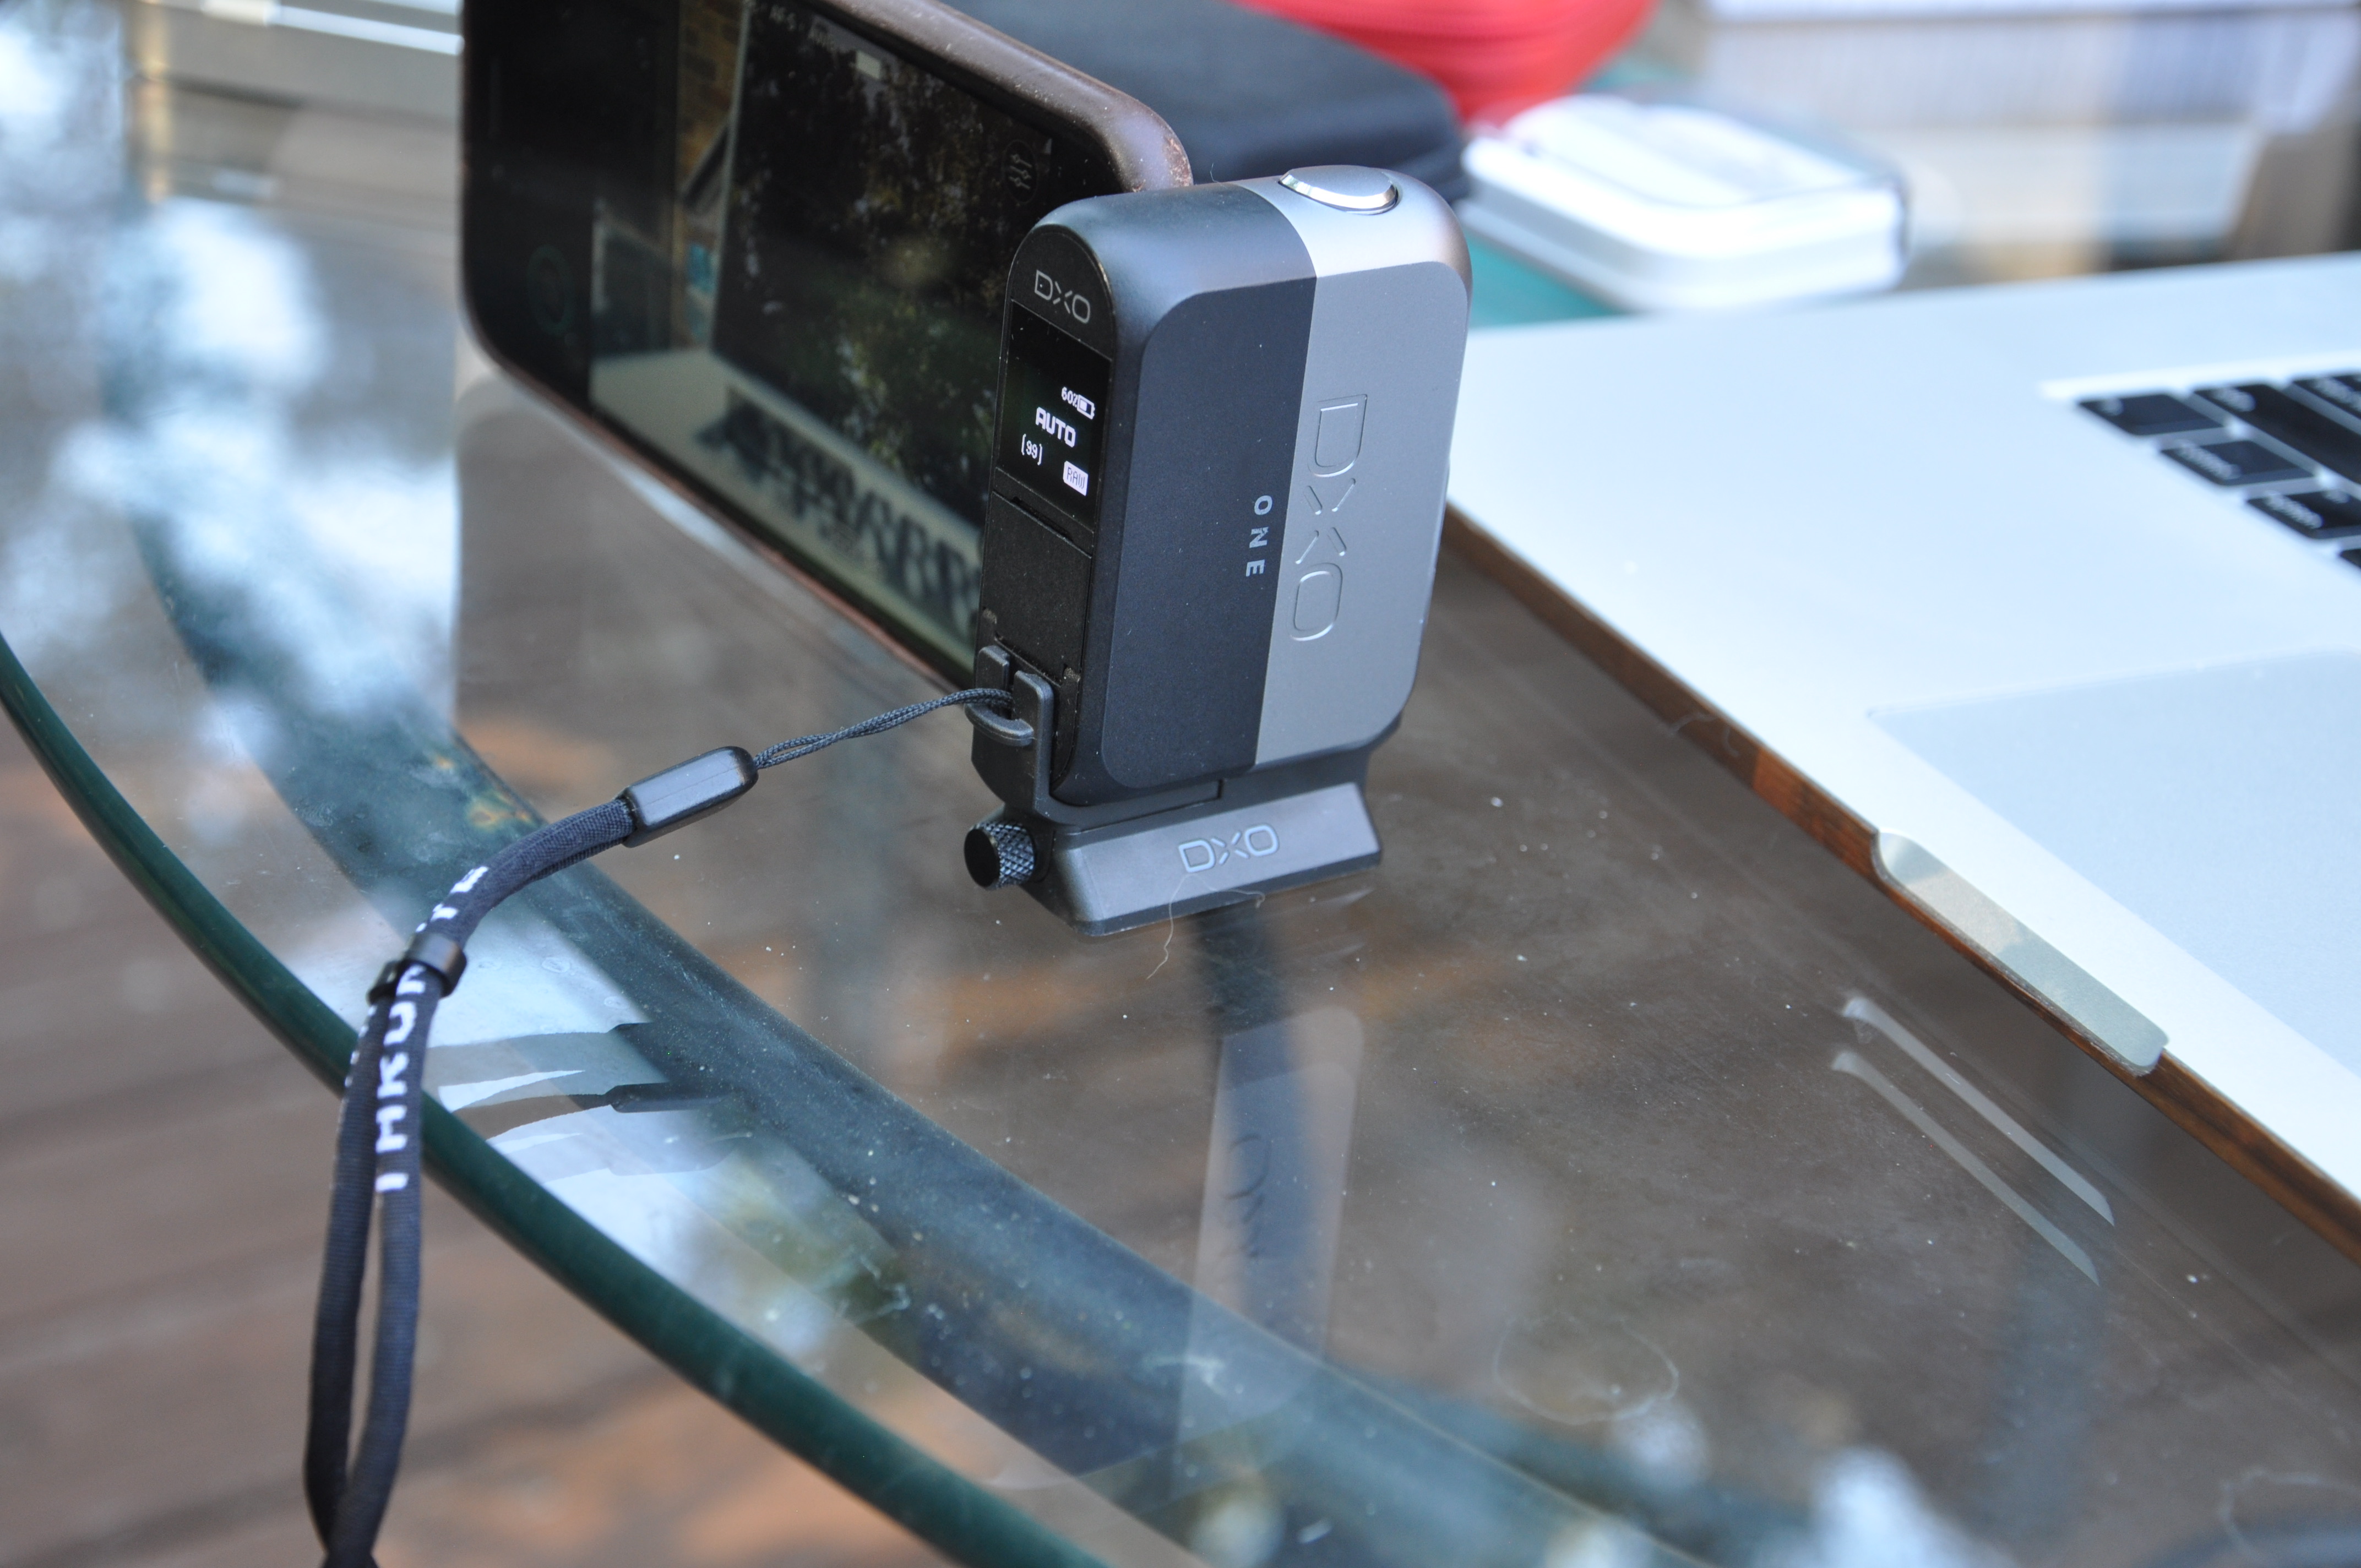
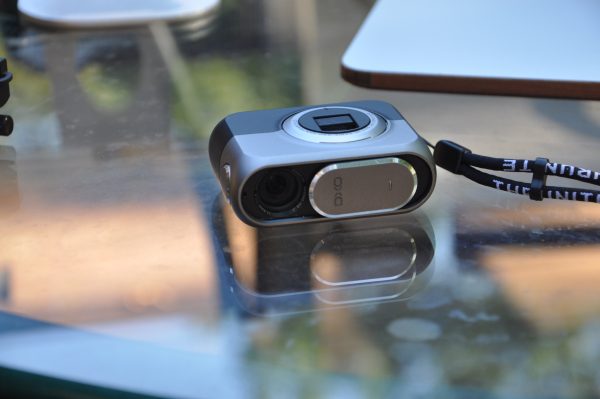
DxO has a long history in Photographic software. Their measurement software for photo accuracy is an industry standard for many. The DxO ONE, however, is the first piece of hardware they have produced. It doesn’t look much like a standard camera. For one, it doesn’t have a viewfinder of any kind. Second, there is no way to see what your settings are. The first version, before the first firmware update, could only shoot from within an app on a connected iOS device.

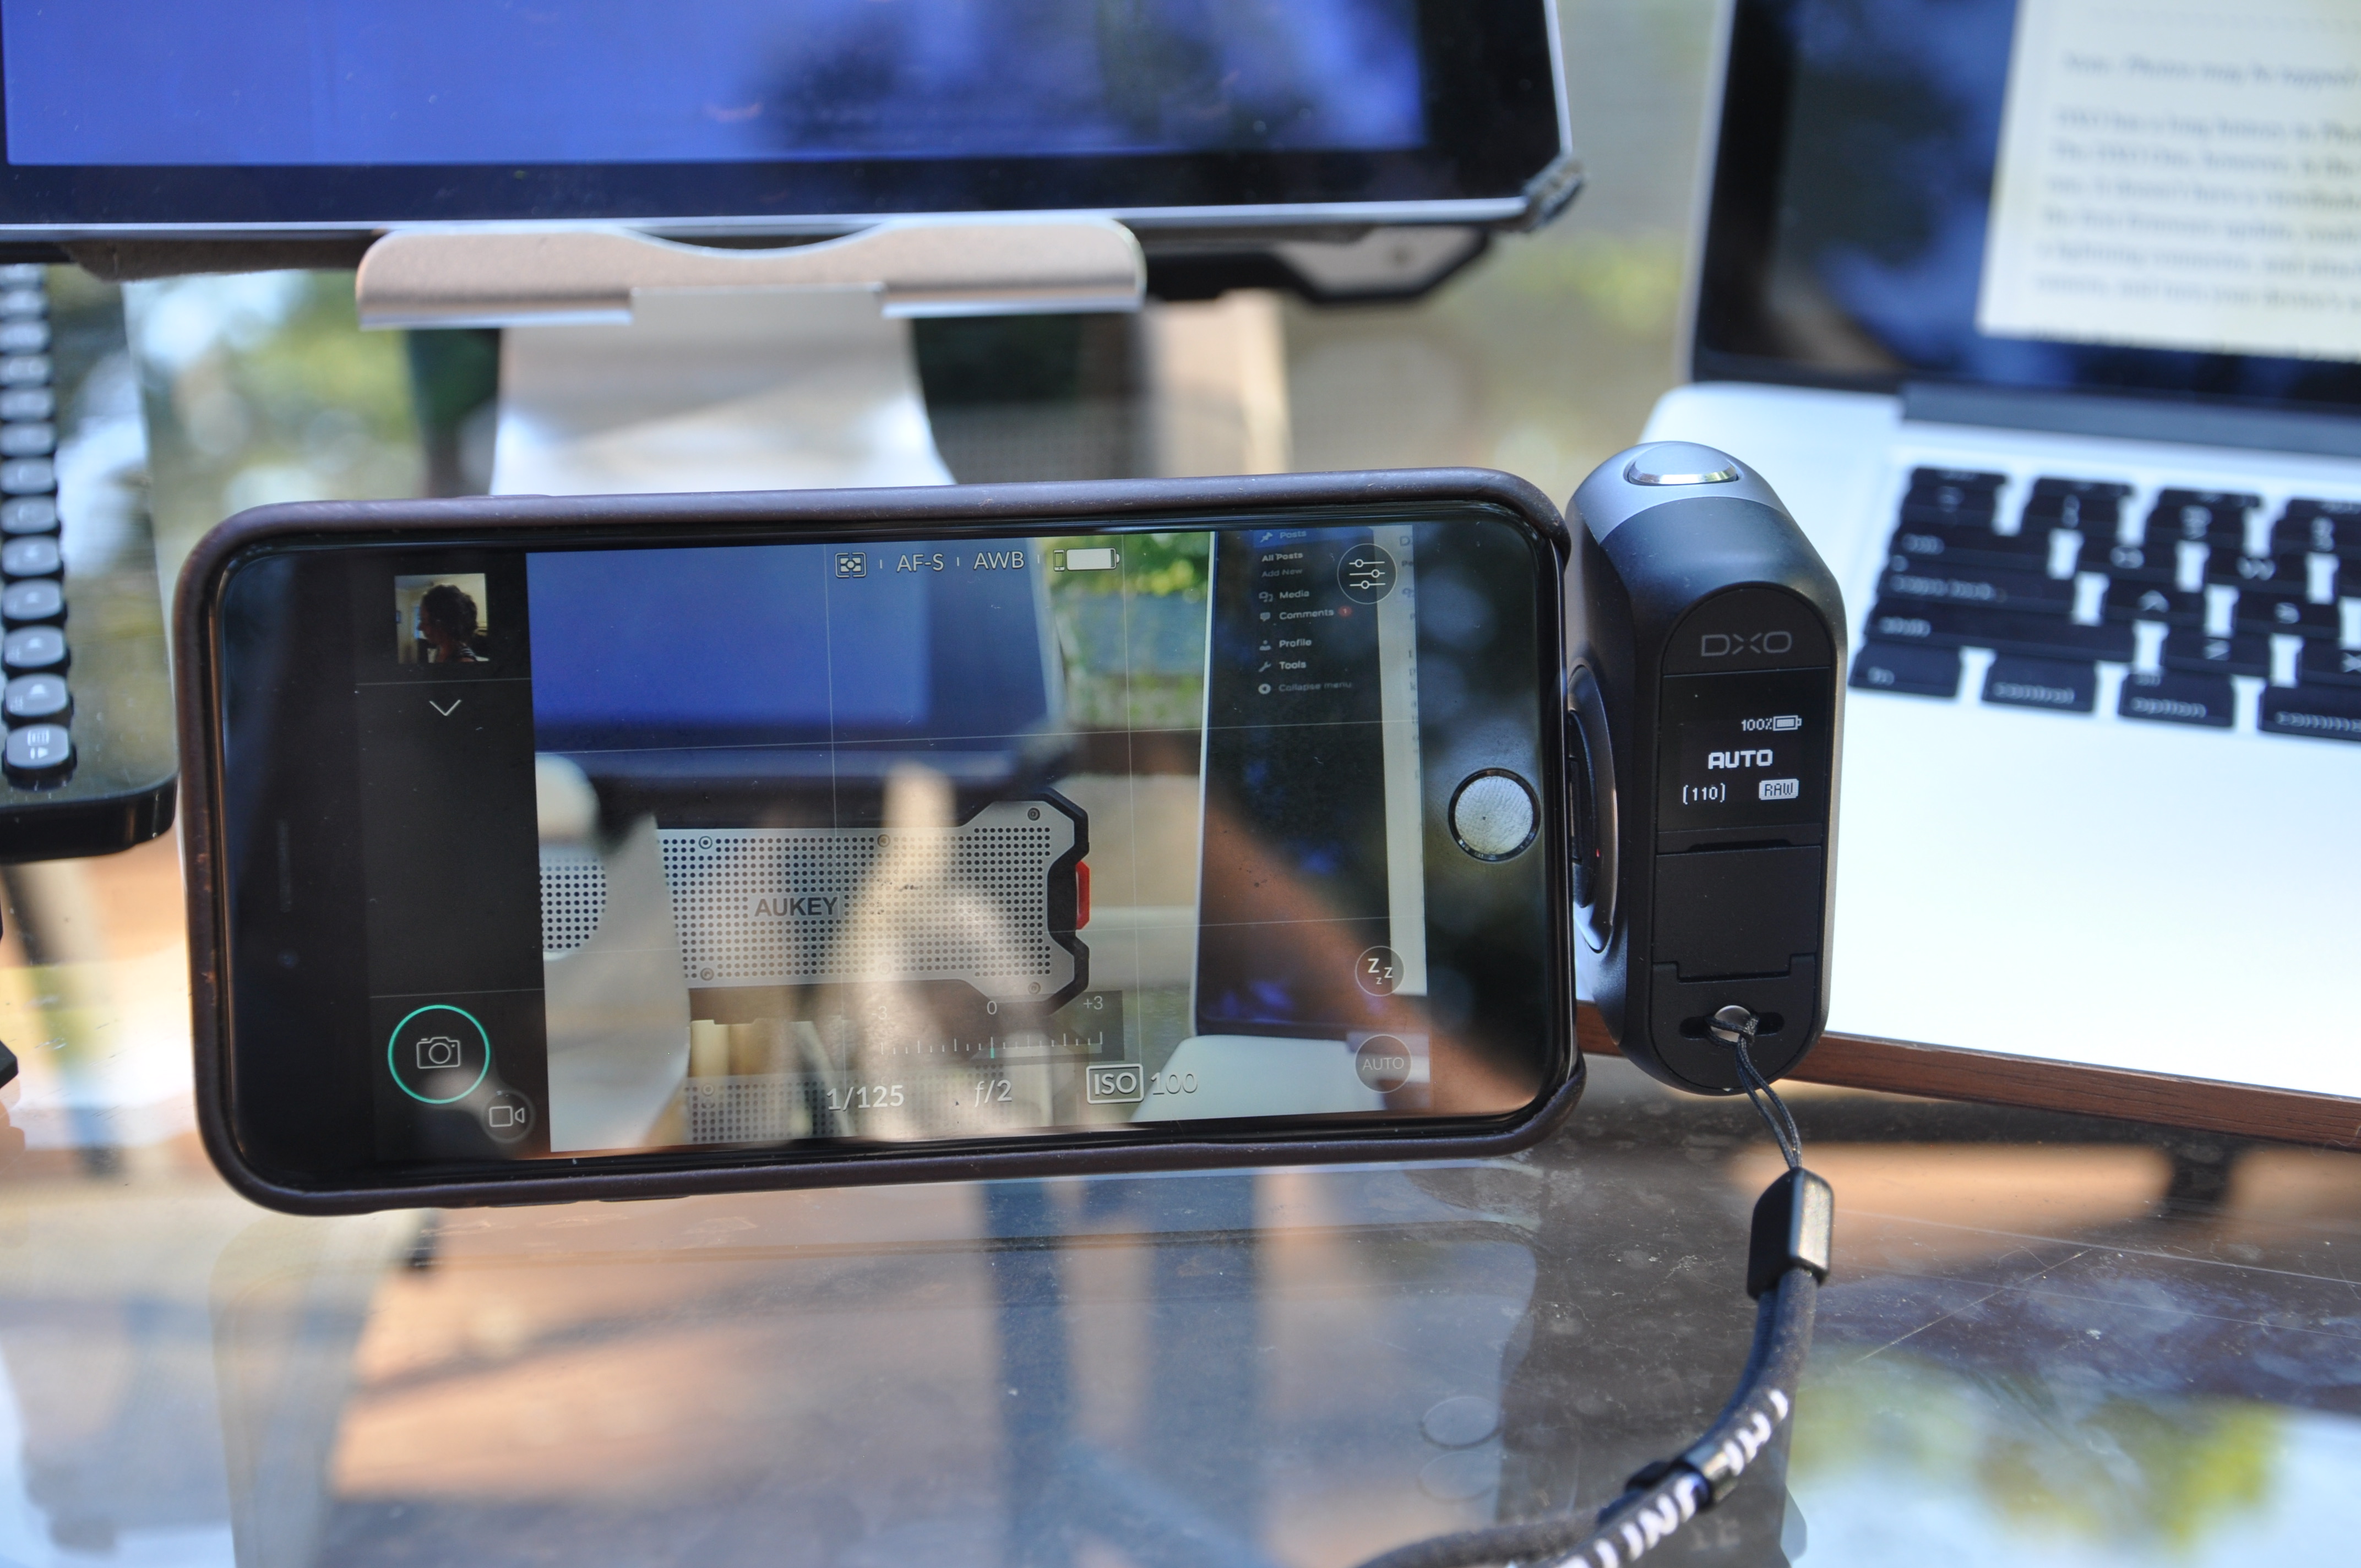
A physical release pops out a lightning connector, and attaching it to your iPad, iPod touch or iPhone launches the software that controls the camera and turns your device’s screen into a viewfinder.

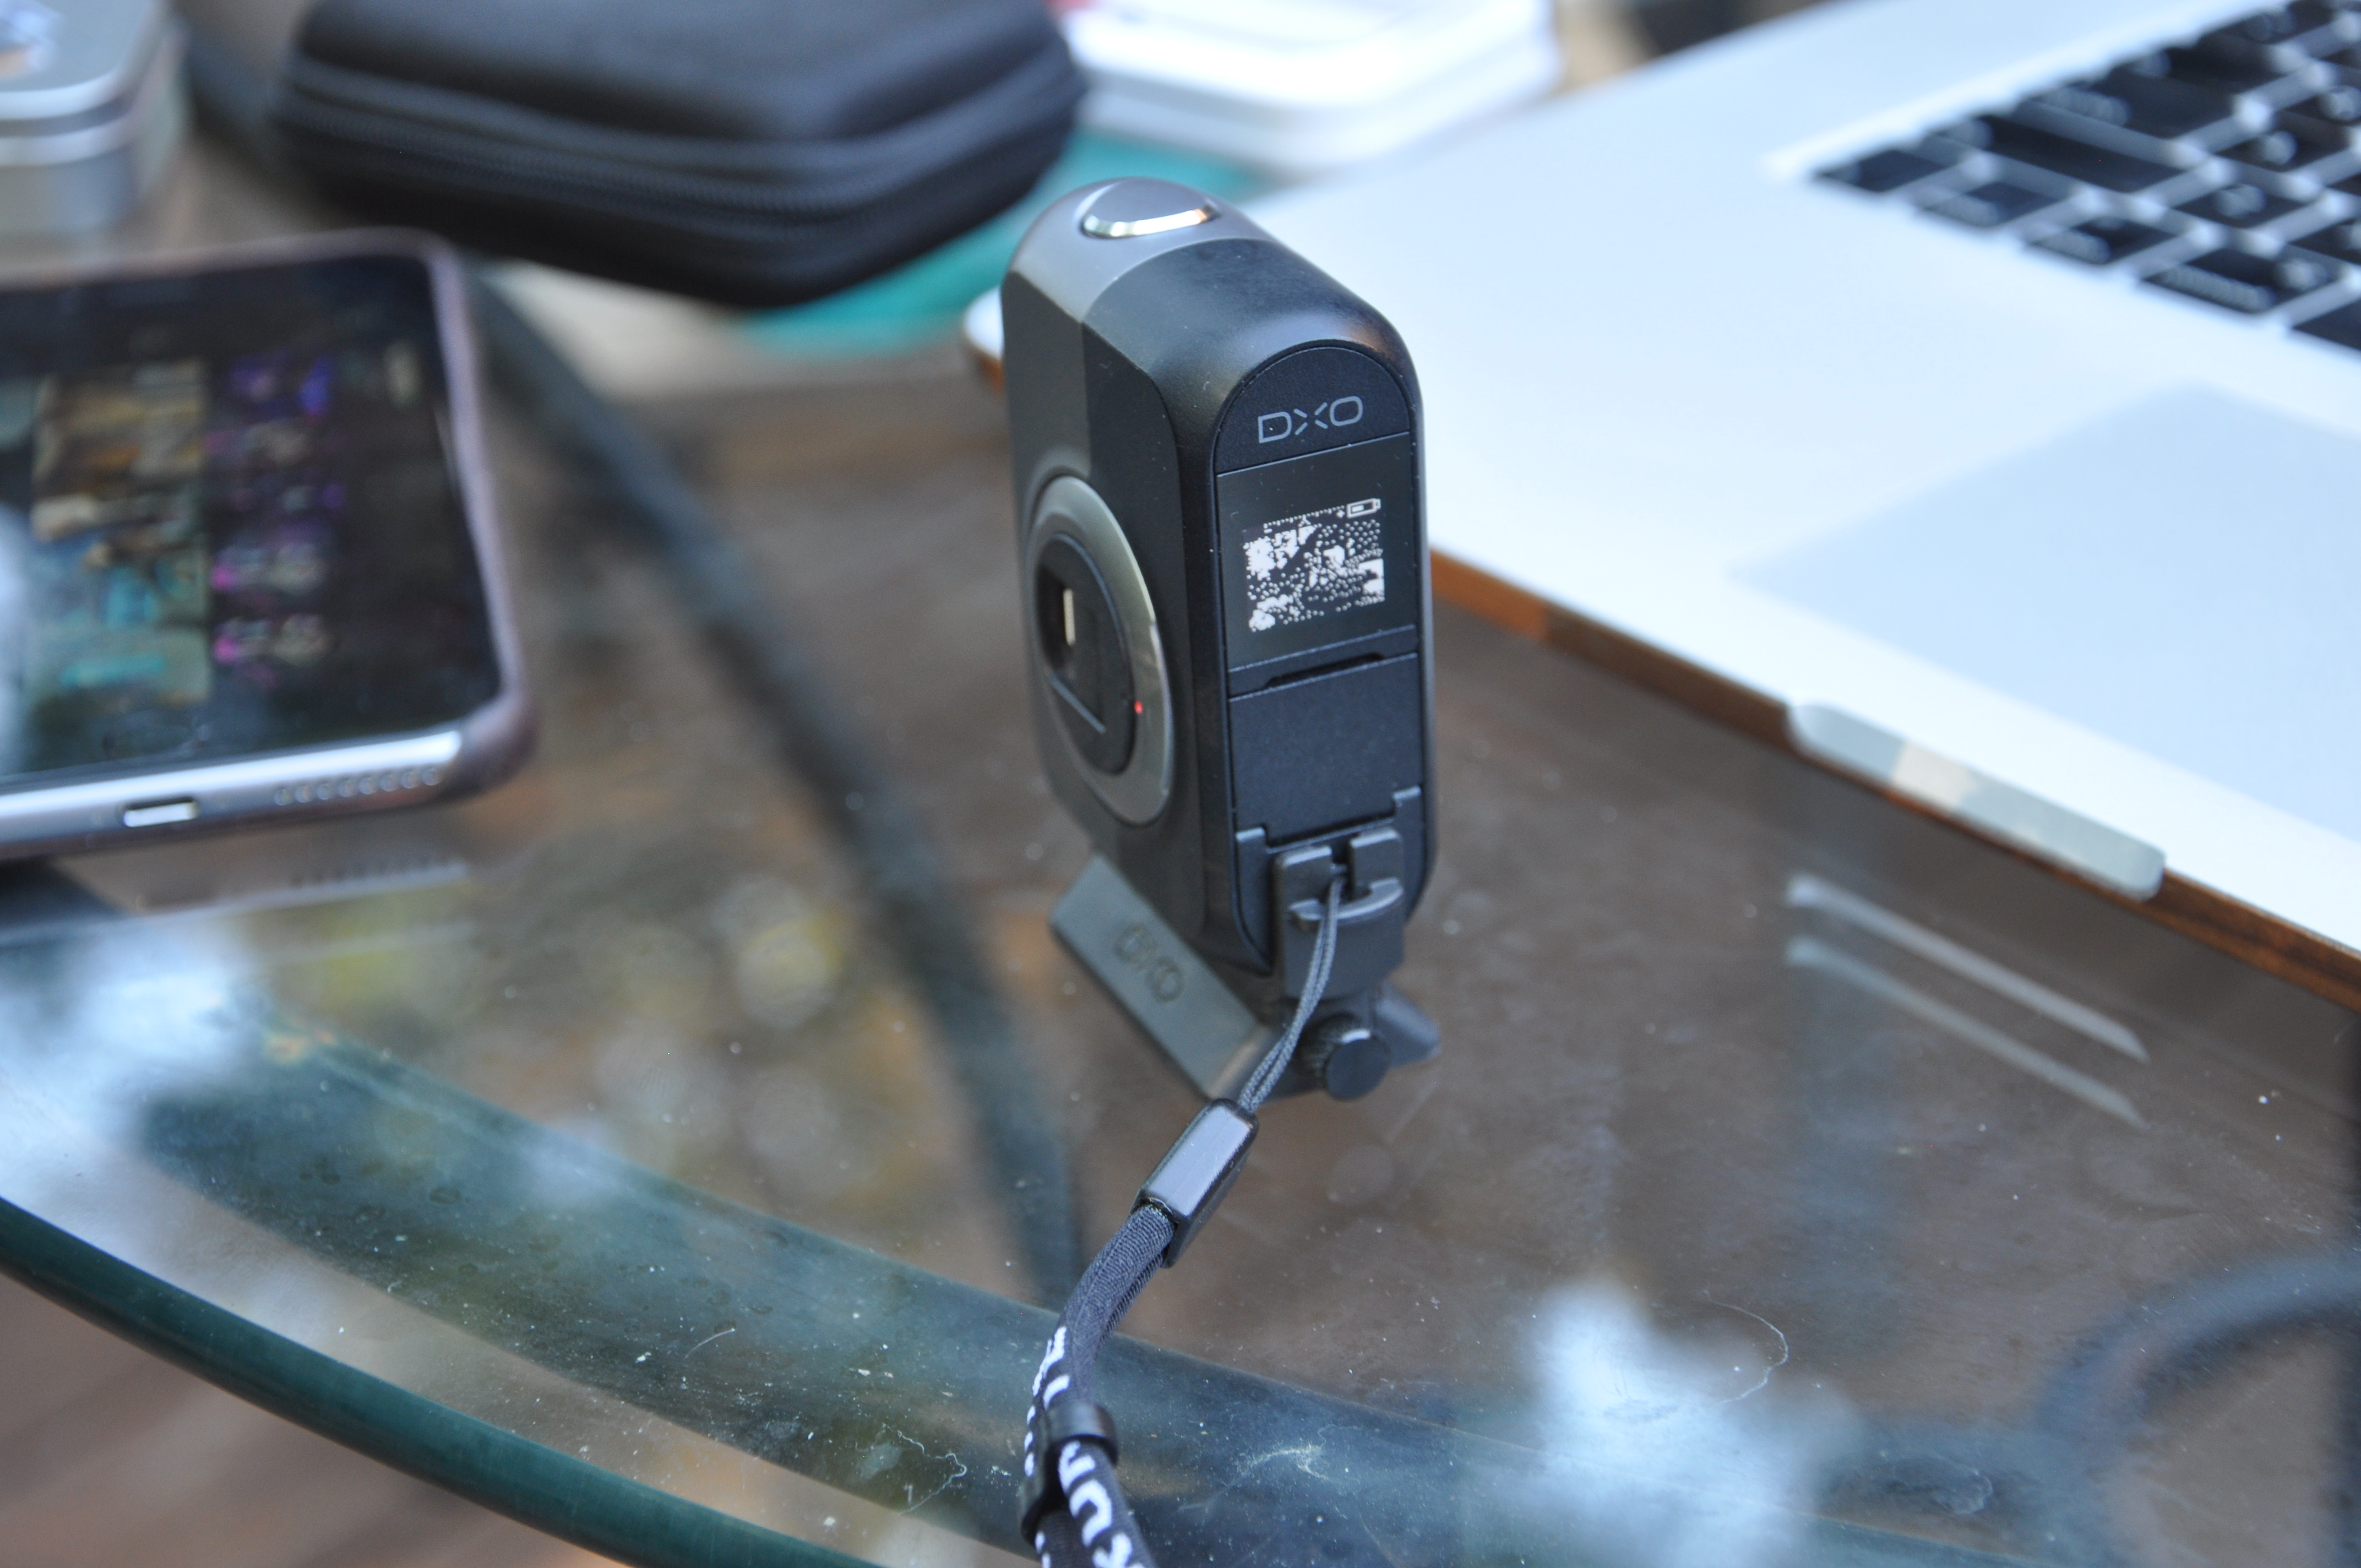
While that was cool enough (and the DxO ONE’s 25-megapixel sensor easily bested the resolution of the 8 megapixel iPhone 5s I was using at the time), the first firmware update added the ability of the unit to take pictures independently of the iPhone using the black-and-white screen as a rough viewfinder. (Yes, black-and-white. Zero shades of gray. Think original Macintosh. See picture below – loads of dithering. Those are the boards of my deck, through a glass table.)

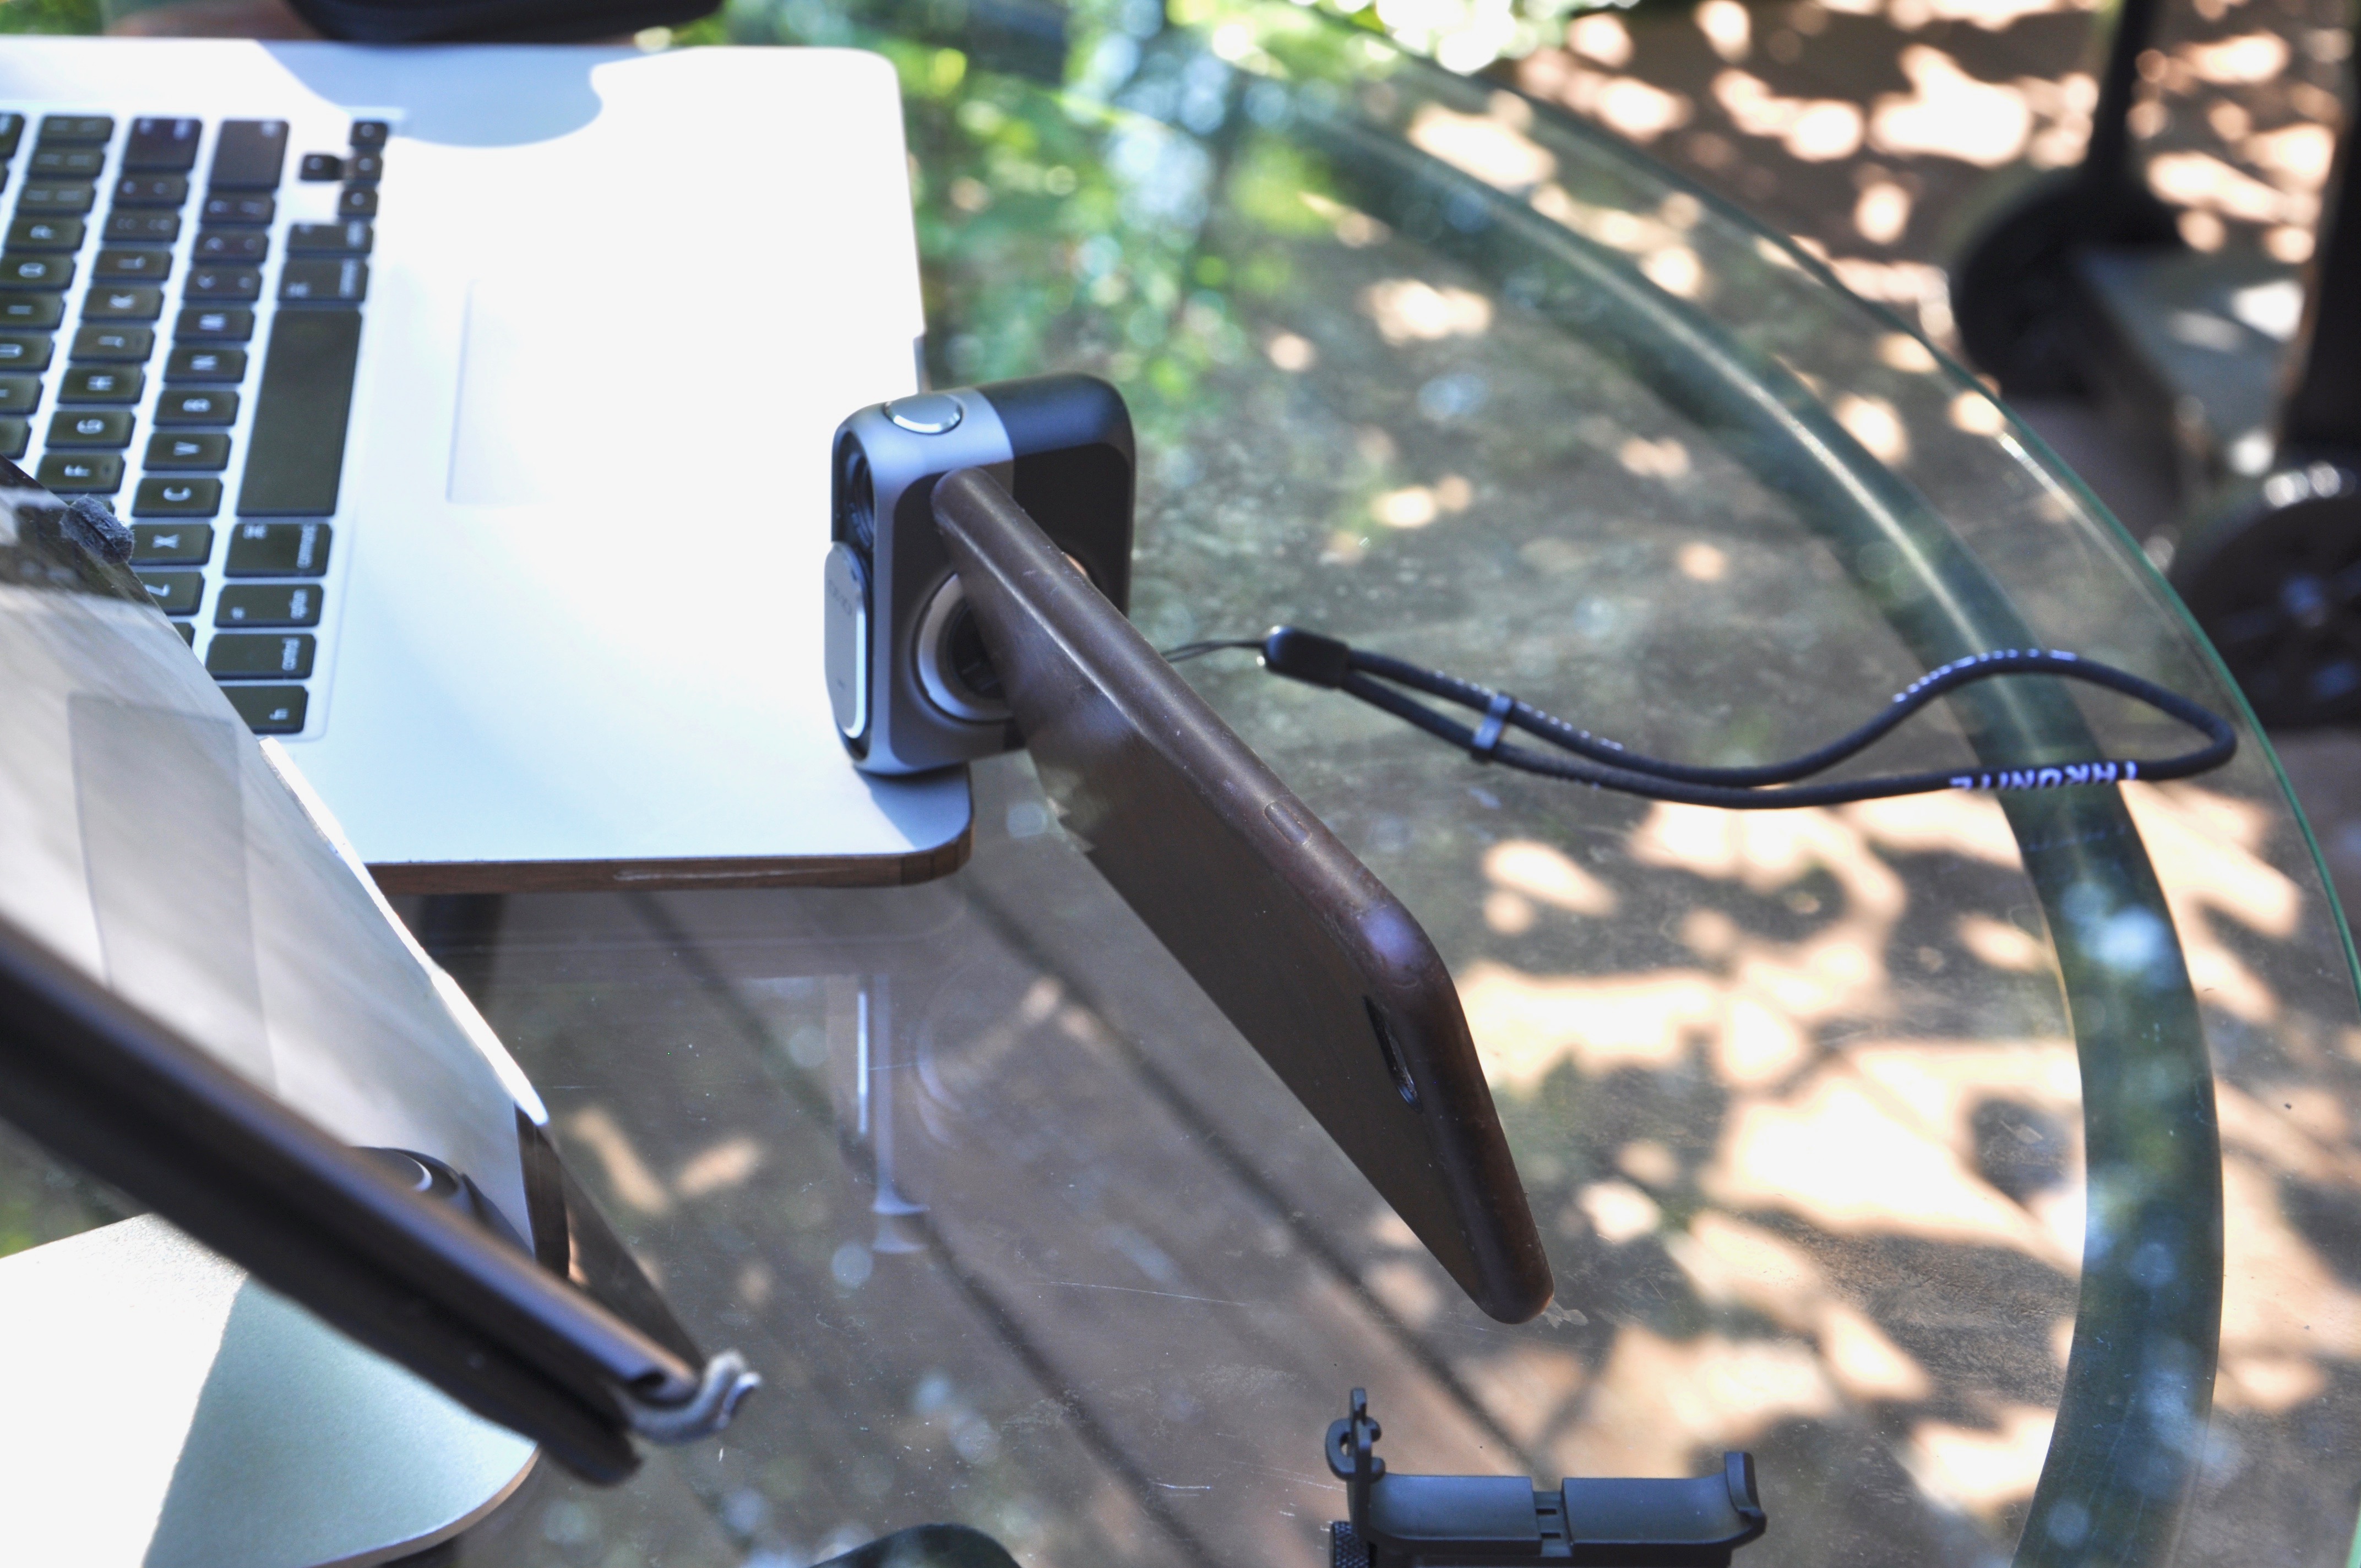
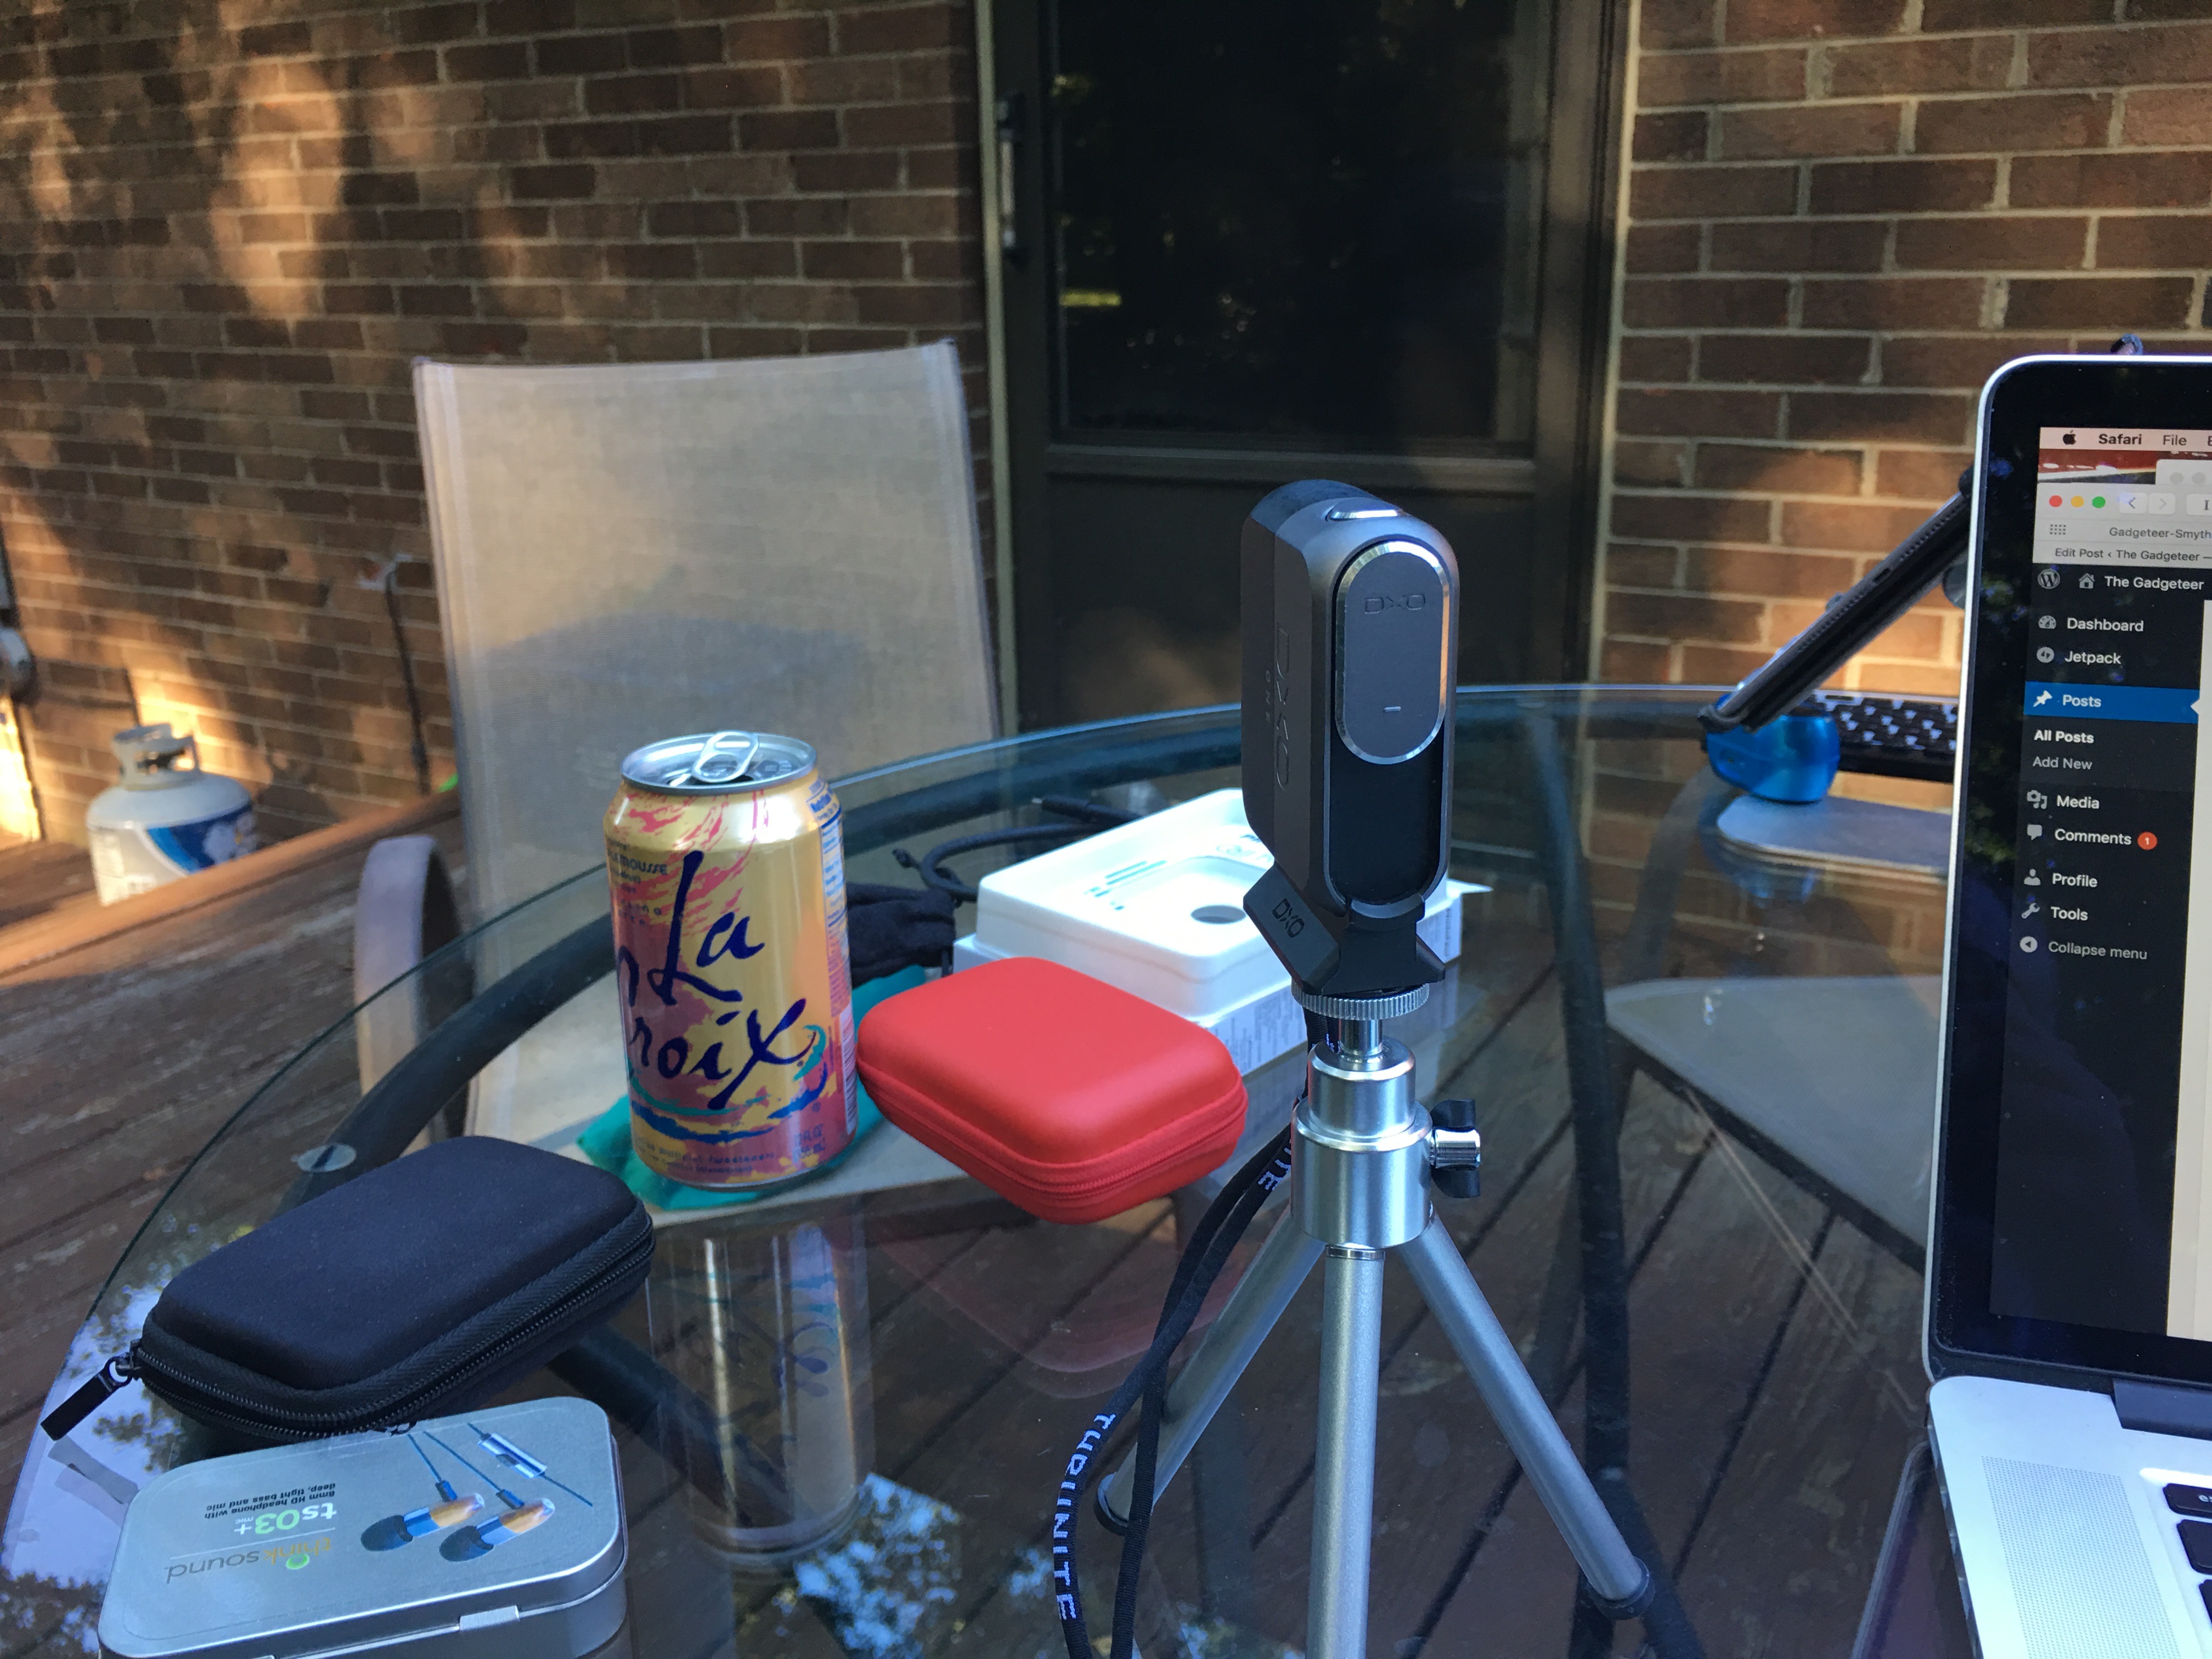
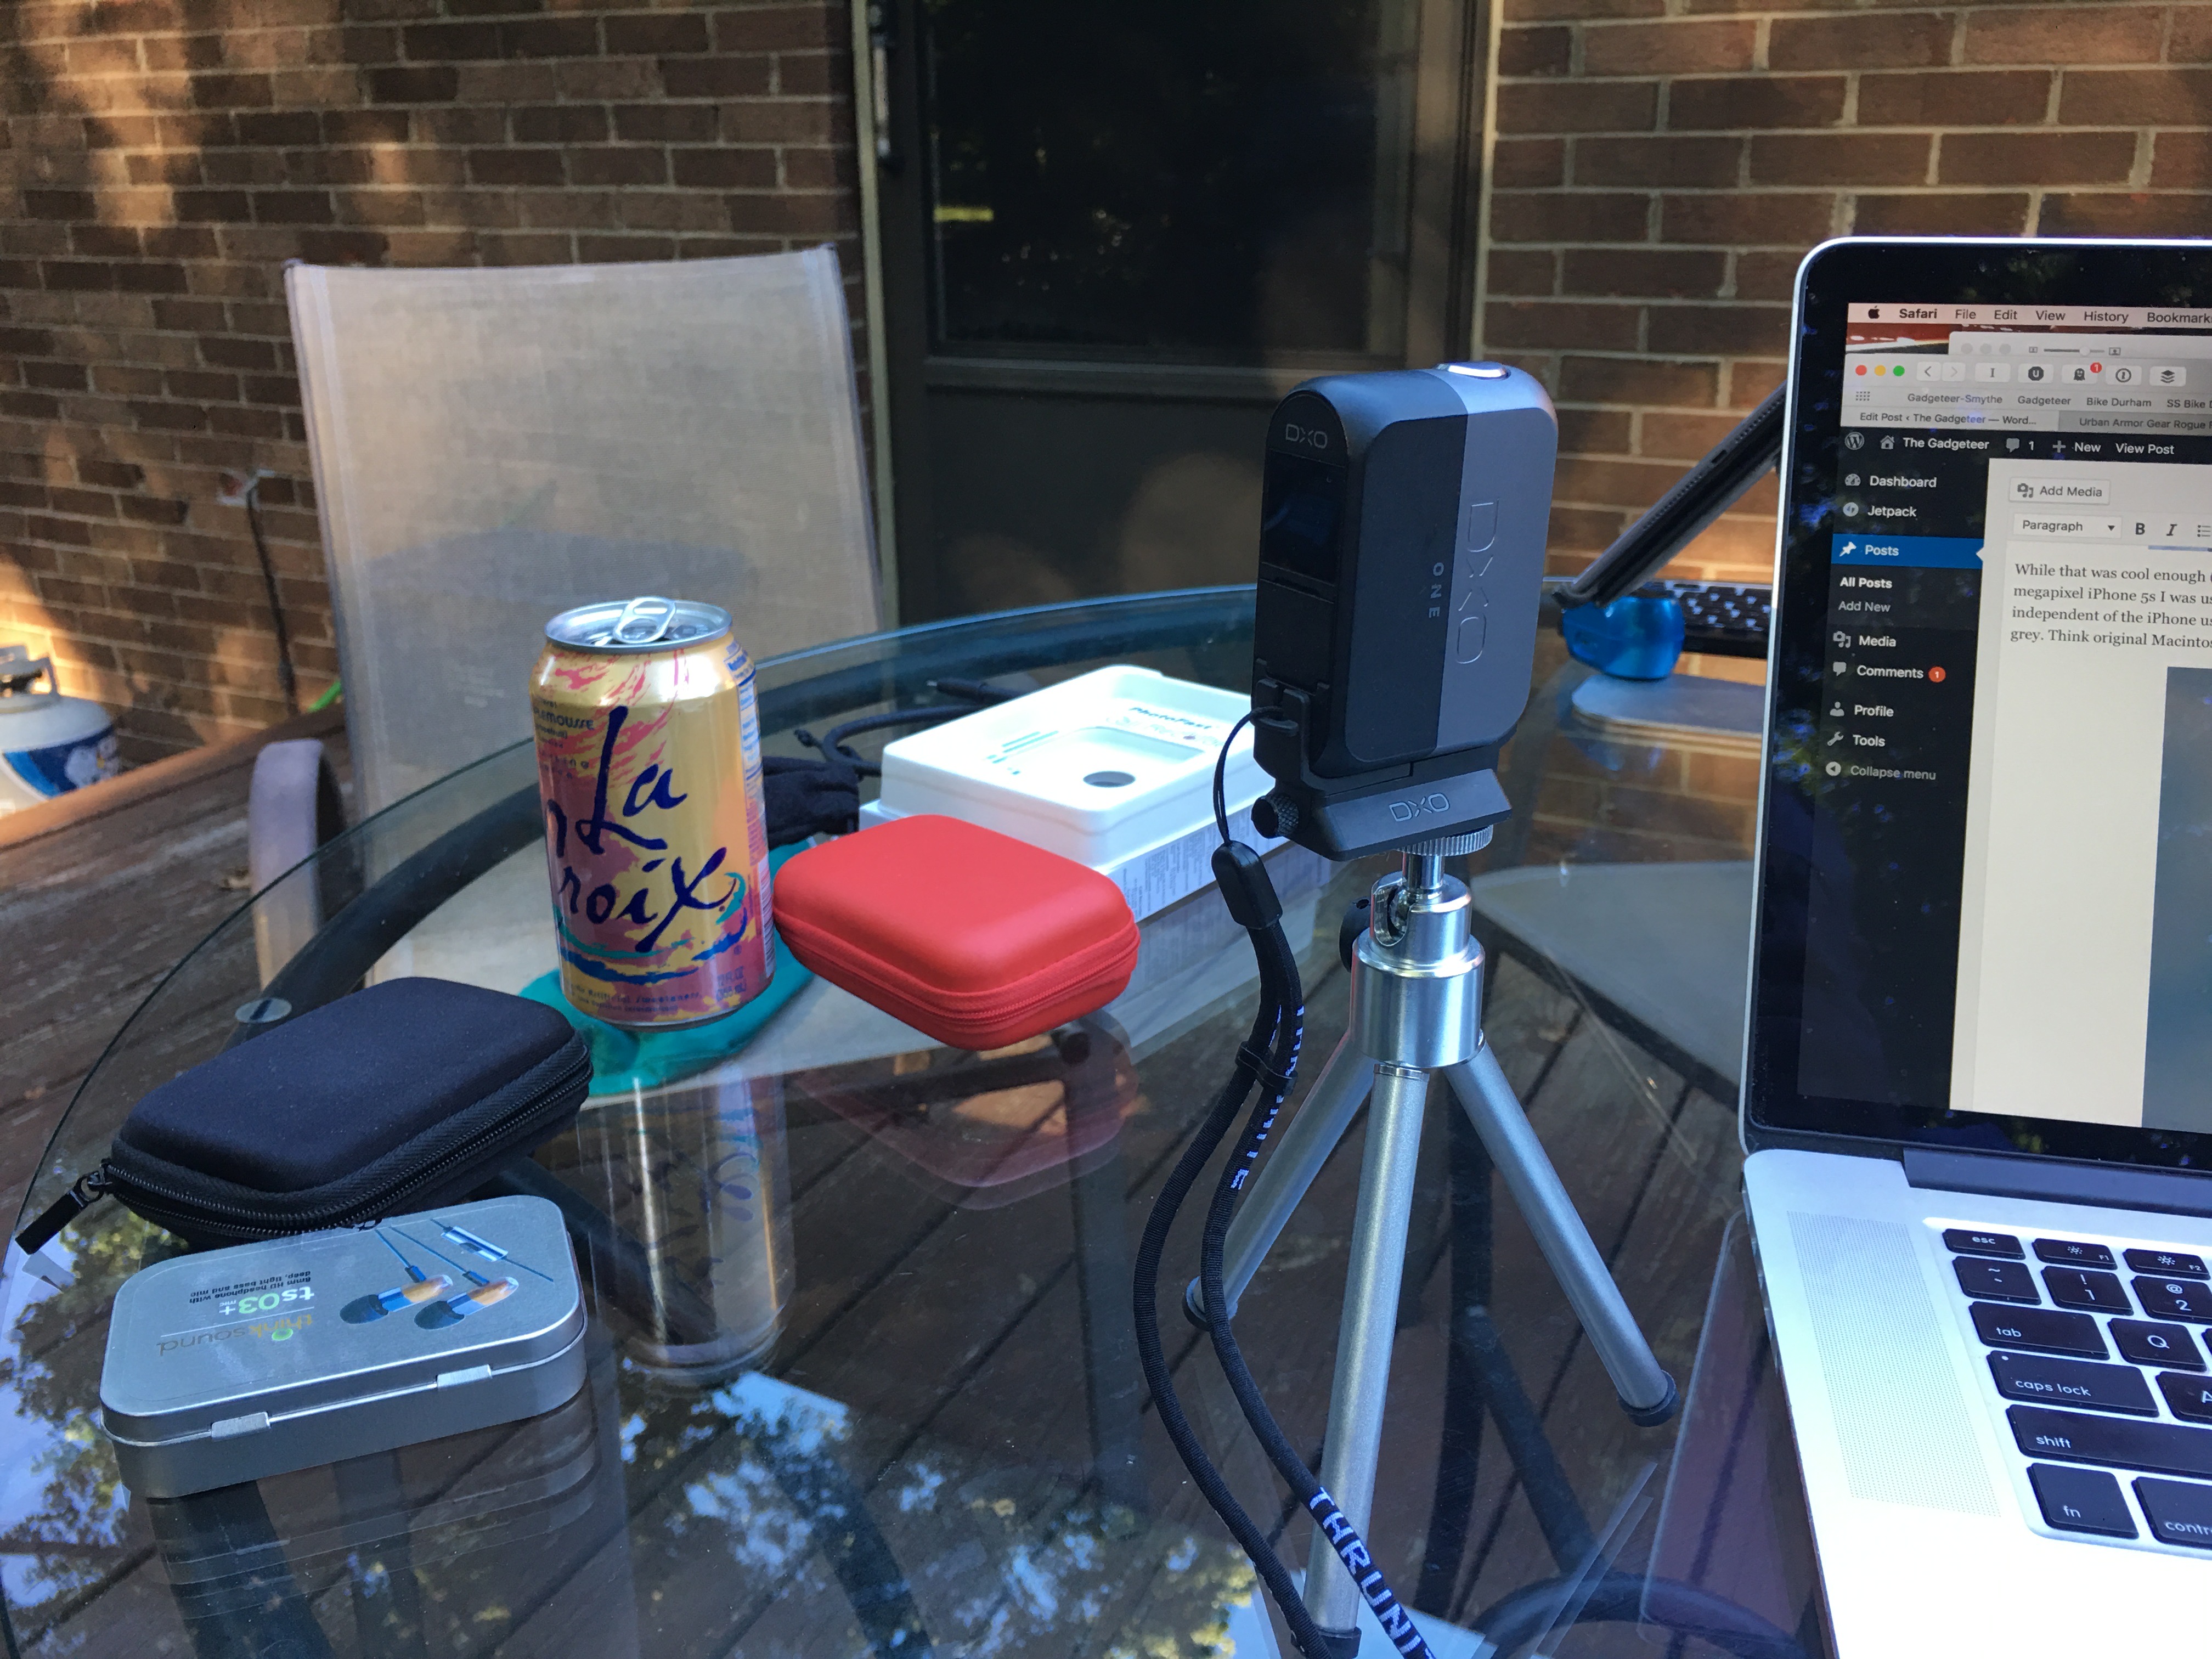
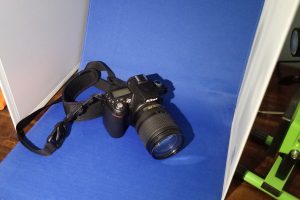
Crazy as it sounds, this is a James Bond/Man from U.N.C.L.E-type spy camera. I can pull something out of a cigarette pack that doesn’t look like a camera and grab a really, really good photo in dim light. In full color. My 10-year-old self would be screaming for joy about now. I regularly use it for concerts and candid shots, but just this weekend, I discovered what the newest firmware update added: remote control. As in, I can turn this camera on, set it up, and walk away, and snap photos from it at will from anywhere on the same wifi network. (Pictures below are of me snapping hummingbird photos. The first pic is focused on my phone, the second photo is focused on the DxO ONE on the tripod. Since the devices are both on wifi, I could have been anywhere on my network monitoring the camera.)

And the camera is so quiet and unassuming, it’s more stealthy than some nanny-cams. And, as I was researching further, I found it can also be controlled from an Apple Watch! Sure, you don’t get the nice preview with the watch like you do with the iPhone, but you can hit the shutter release without touching it, or looking at your camera screen.

Another advantage of using the Lightning Port is that you can easily pull the camera off and turn it 180° to make a selfie camera of amazing quality. (It doesn’t help the subject matter, sadly, but you get more details to edit out.)

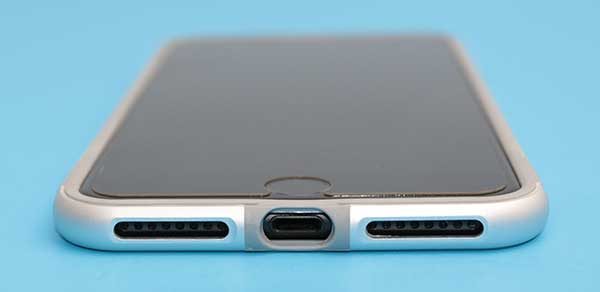
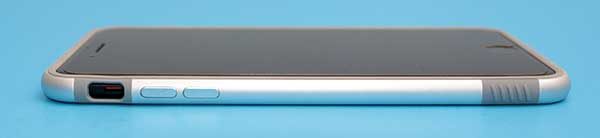
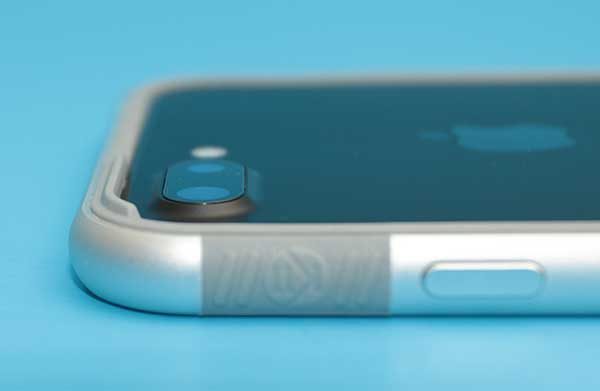
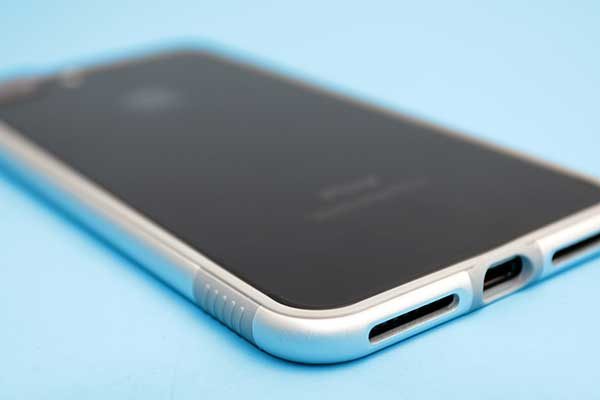
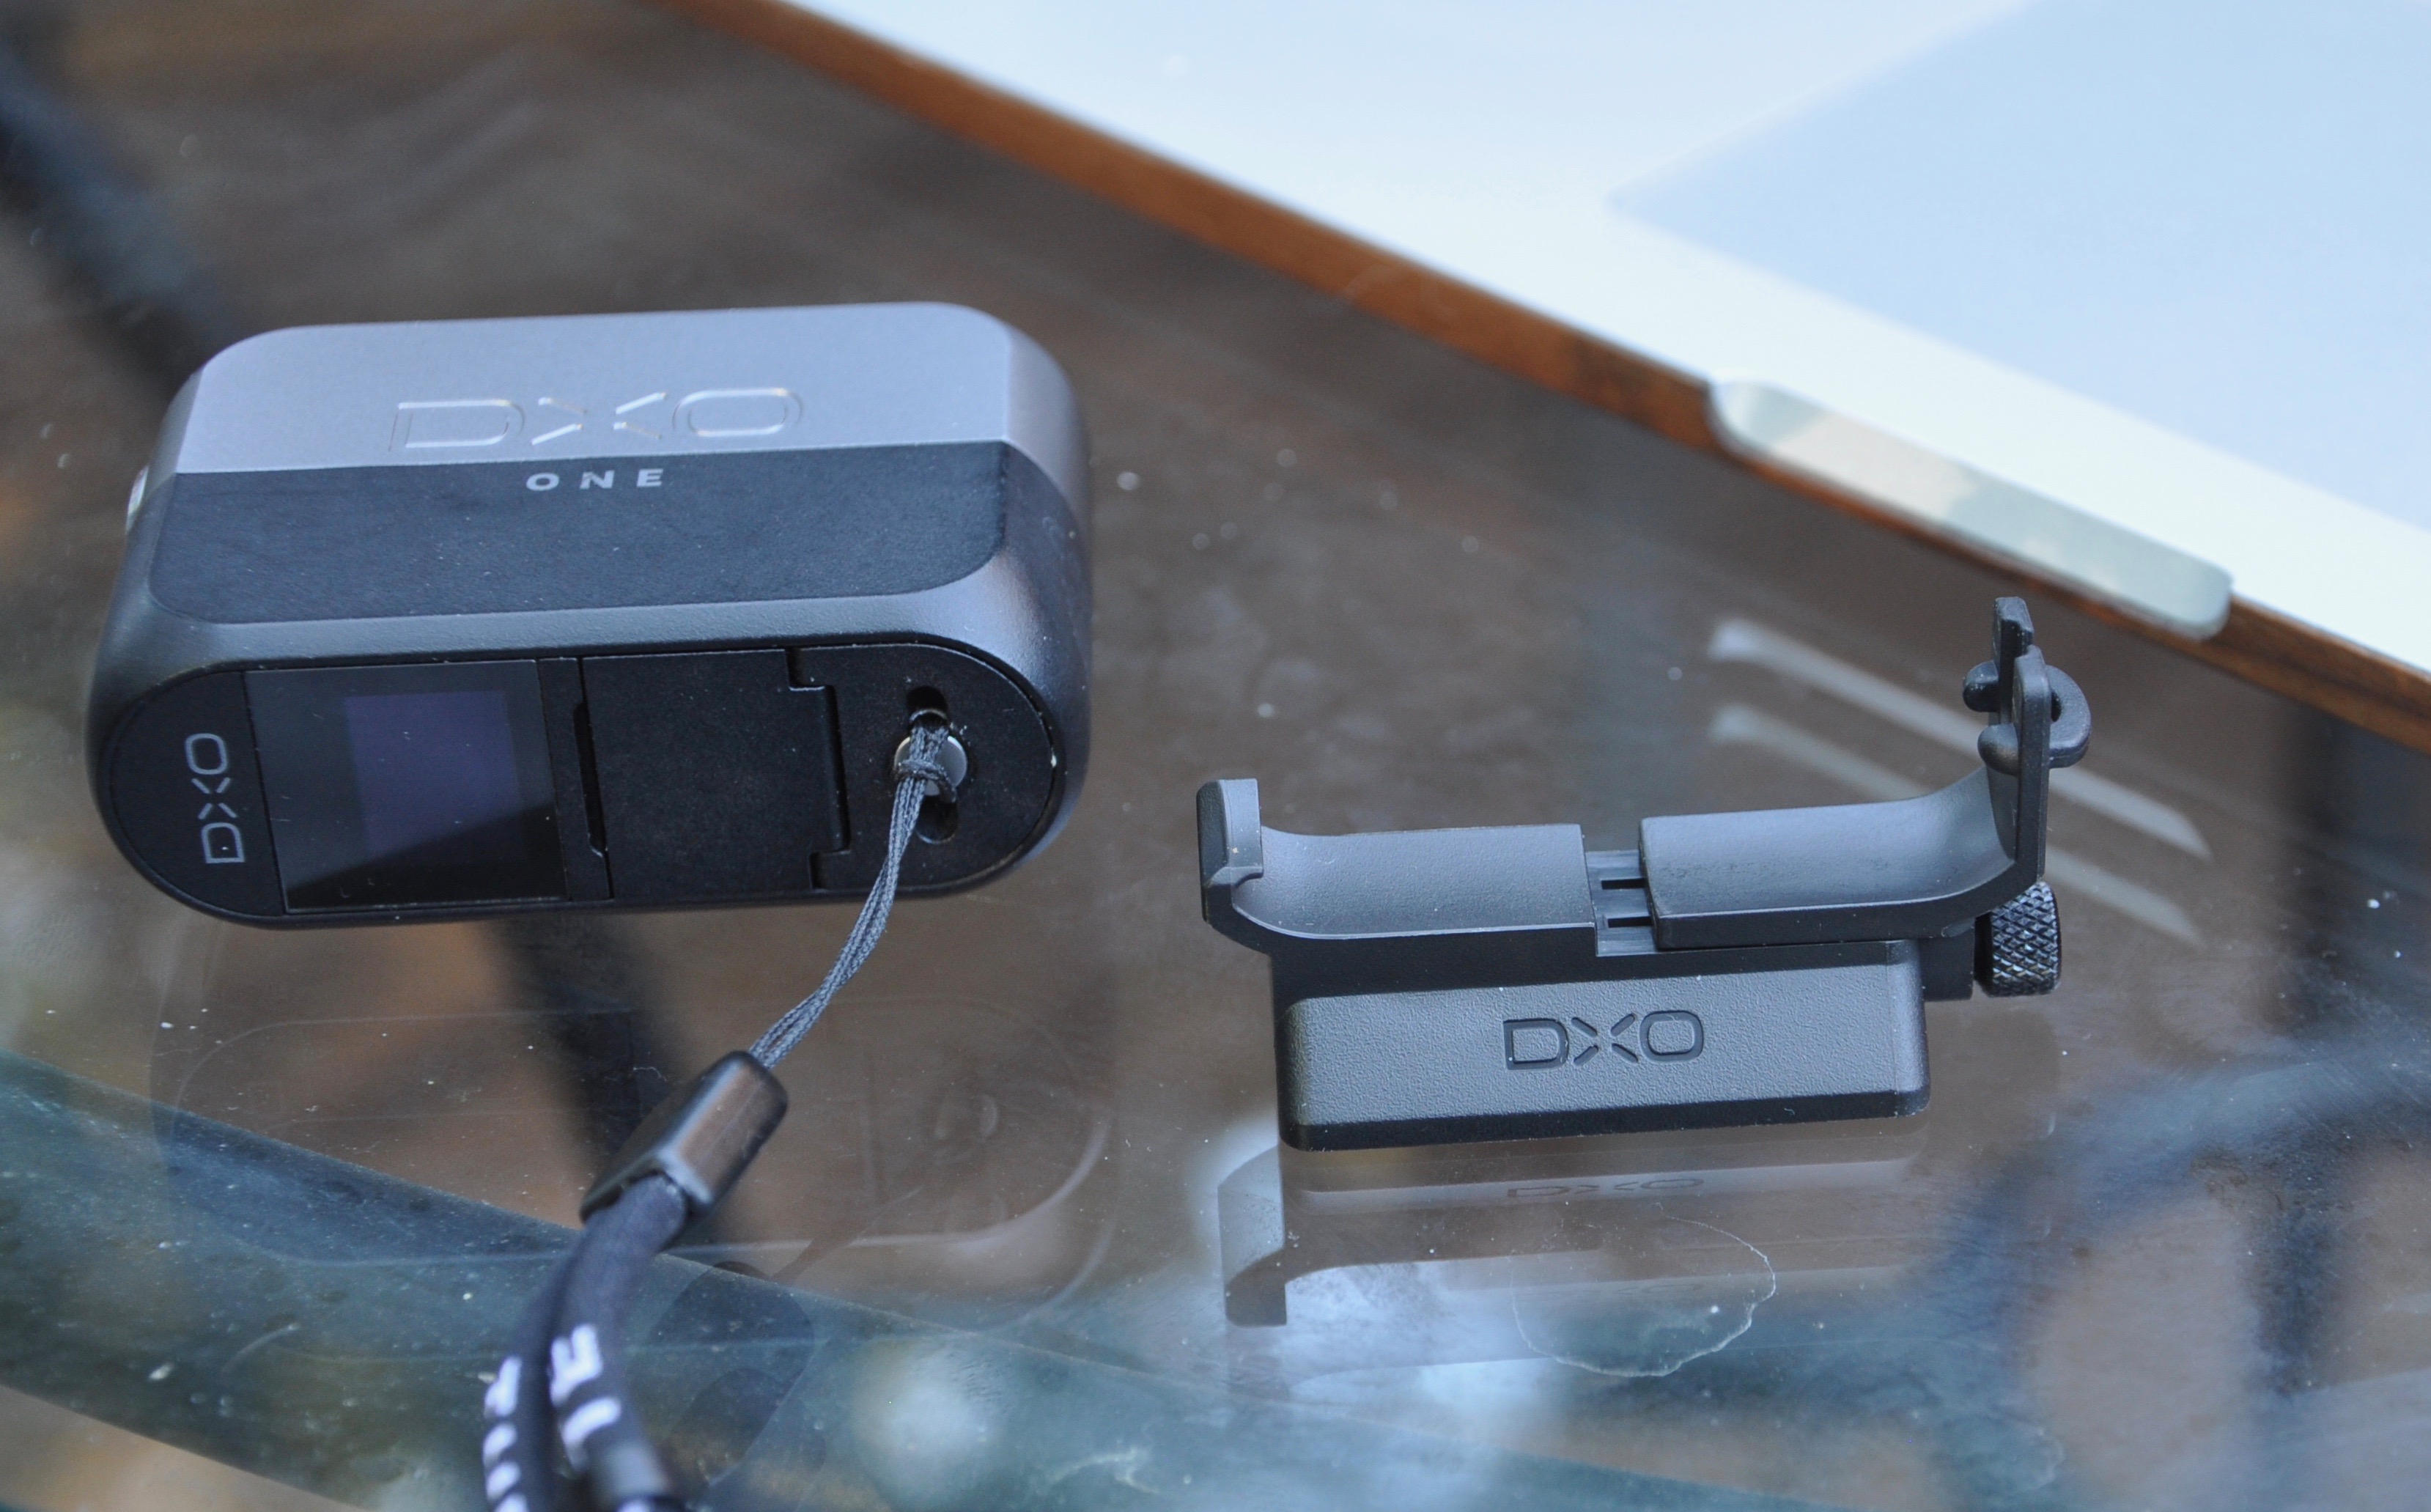
Sometimes, you find a case that doesn’t give good access to the flat area around your Lightning port, but there are many on the market that do. I recently spent some credit card points on a tripod mount and lens mounting adapters, in hopes of finding a decent telephoto lens to fit.

Since this is a camera review, I guess I should have some comparison shots from a known camera. I shot three scenes on full auto indoors with no flash, outdoors with full sun, and indoors in a dimly lit area with flash. The ones on the left were taken with the onboard iPhone 6s Plus camera. The ones on the right were taken with the DxO ONE attached to the same phone. (The DxO is attached to the lightning port, so it’s on the opposite end from the built-in phone. This is what accounts for the slight shift in point-of-view.) The only changes to the basic auto setting I made was to force flash to fire in the indoor flash shot. There are no lights turned on in the room, or in my mini-studio, only the camera flash. The images are full-frame with no cropping or enhancement added.


In the first shot, it’s easy to see the increase in light the ONE’s sensor makes. There is some fuzziness, but that’s to be expected with handheld shots. The shutter button on top of the ONE makes you have to pay much more attention to camera shake since it’s a physical button, rather than the virtual button on the iPhone app.

In the outdoor shot, things look equal in the well-lit areas, but the details under the shade, like the bark on the tree left of center, fall apart on the iPhone. If you’re wanting to get all CSI on the background, like my neighbor’s garage or porch area, the DxO has way more data to play with.

In the final flash set, the body of the camera is about the same, with a little fuzziness on both shots. The texture of the strap in the DxO shot is far more clear when you blow it up, however. Given the distance from the light source, the lighting is better, too.

So, is the difference worth the price? Hard to say. Three years ago and two generations of camera phones, it was to me. On our last vacation, most of my travel photos were taken with just the iPhone 6s Plus. While I always wish for more glass for zoomed shots, I was very happy with the outcome. Adding a clip-on polarizing filter (which is not easily doable with the DxO) made a lot of difference in sunny outside shots.

Computational photography is making the size of the sensor obsolete much faster than the “camera guys” are improving the optics of camera hardware. Given Cupertino’s income from sales, they have far more resources to spend in this area than companies like Canon and Nikon, let alone poor little DxO. But, still, it’s a neat gadget, and I don’t regret purchasing it. Meanwhile, the price is down $100 from what I paid, but with the software updates, I’m still up to date. I love living in the future.

Source: The item for this review was purchased with personal funds. Please visit DxO for more info and Amazon to order.


Product Information

Price: $469.99 (retail is $499)
Manufacturer: DxO, Inc.
Retailer: Amazon
Requirements:
  • iOS device
Pros:
  • Small and light.
  • Tight build quality.
  • Software under active development.
  • Easy to connect to iOS device.
Cons:
  • It's so small, attaching lenses is difficult, and finding quality lenses is difficult.
  • Some cases don't let it fit device fully.

Filed in categories: Reviews

Tagged: , ,

DxO ONE camera attachment for iPhone and iPad review originally appeared on The Gadgeteer on August 14, 2017 at 8:30 am.

Note: If you are subscribed to this feed through FeedBurner, please switch to our native feed URL http://the-gadgeteer.com/feed/ in order to ensure continuous delivery.