What is it?
The Quantum T3 is a desktop docking station for USB-C computers that adds additional ports and functionality all through a single USB-C connection.
Hardware specs
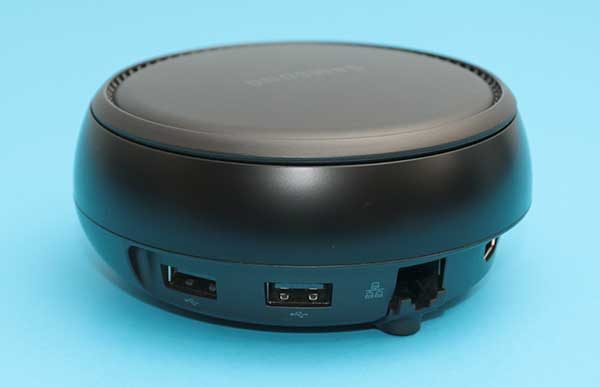
Front connections: 2 USB ports (USB-A 3.1 and USB-C)
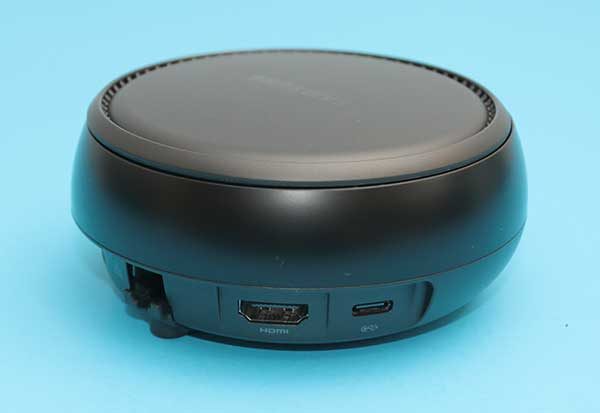
Back connections: Gigabit Ethernet, USB-A 3.1, 3.5mm Audio in, 3.5mm Audio out, 2 USB-C, Displayport and DC power
Dimensions: 22 x 8.1 x 2.5cm
Video capability: DisplayPort 1.2 (up to 4K@60Hz with single video stream), Thunderbolt 3 (USB-C port), up to 5K@60Hz on DP Alt mode with single stream or 4K@60Hz with dual streams
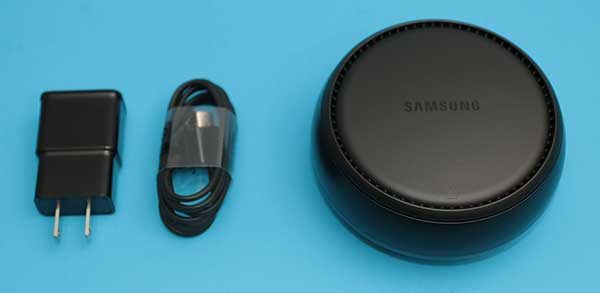
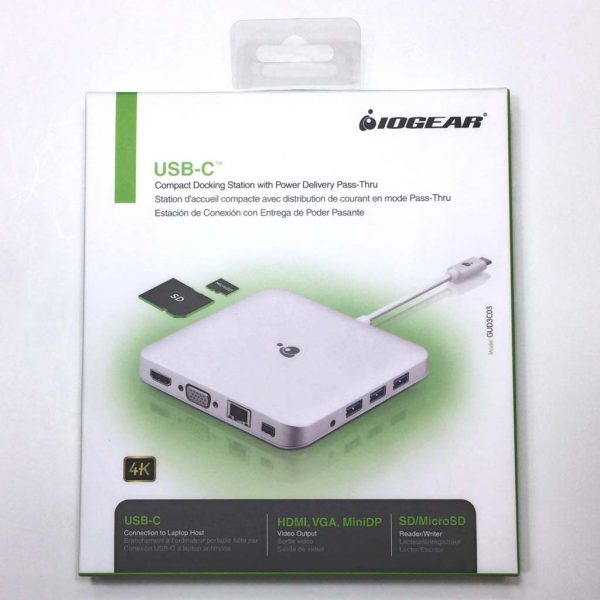
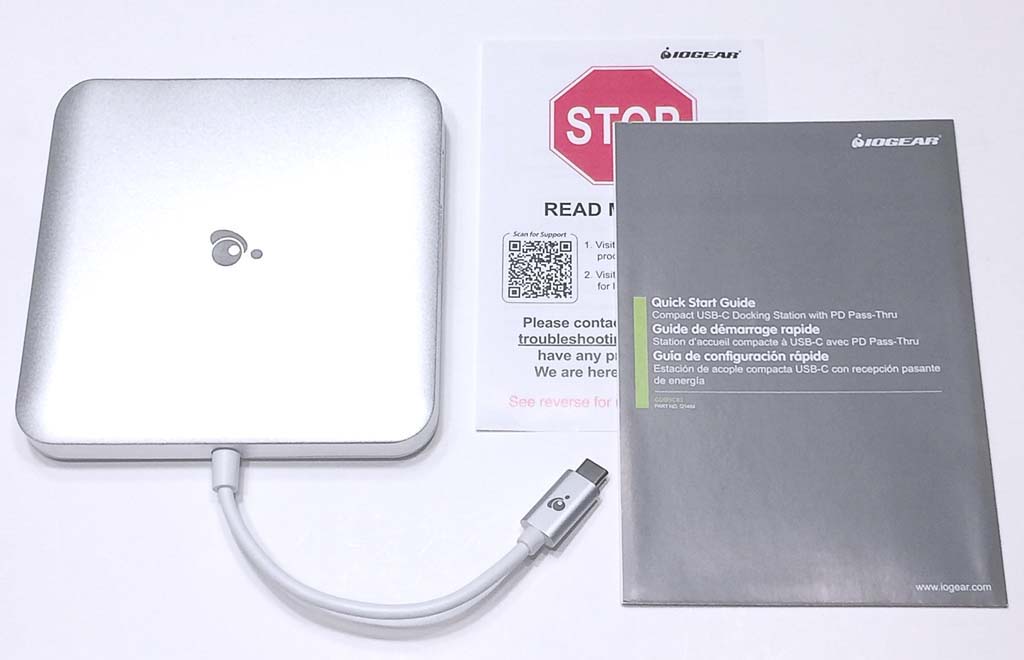
What’s in the box?
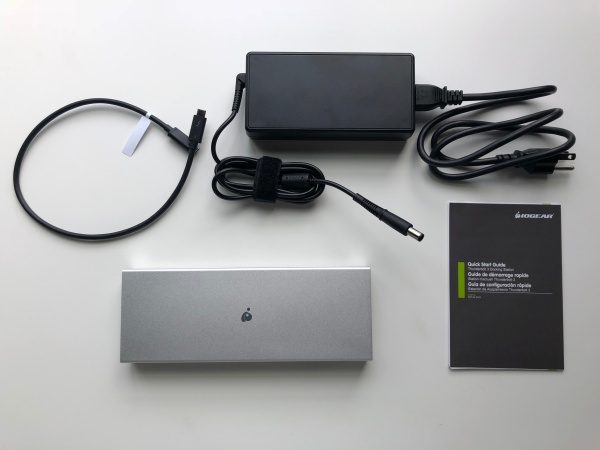
- Quantum Thunderbolt 3 Docking Station Pro 85
- Thunderbolt 3 cable
- AC power adapter
- Quickstart guide & warranty card
Design and features
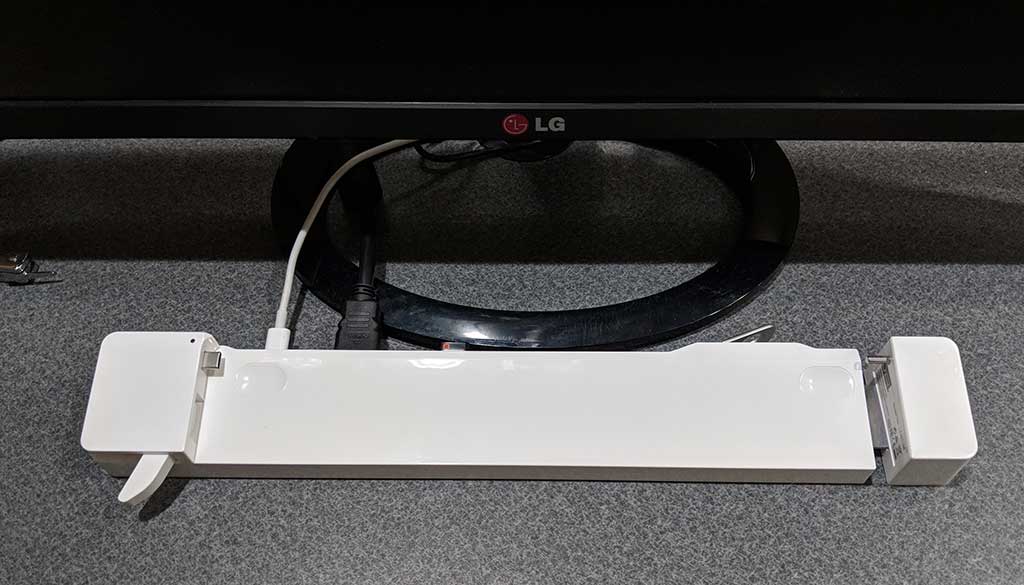
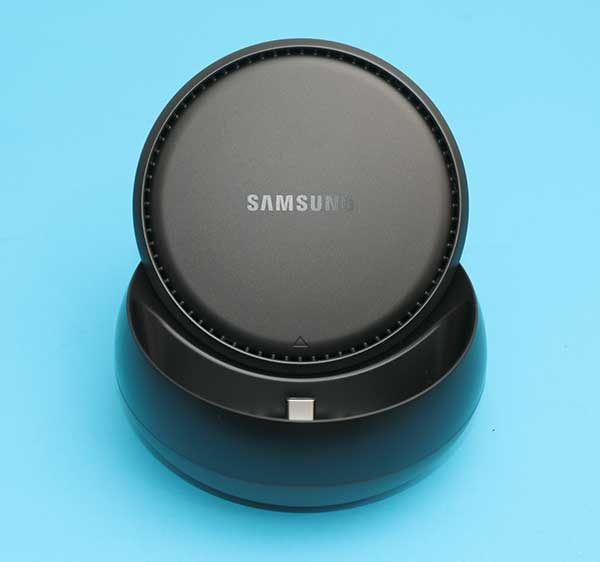
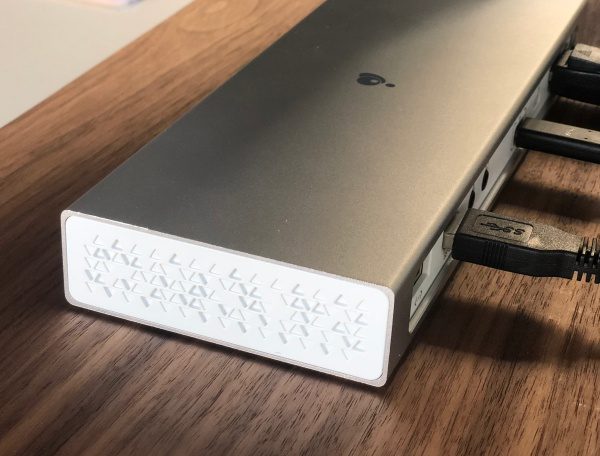
The Quantum 3 is a beautiful piece of equipment that looks at home with current computers of the aluminum variety and provides all kinds of connectivity to your USB-C computer at your workstation. The main body is aluminum with plastic used for the inset back connector panel and the end panels which sport a cool repeating triangular relief pattern.
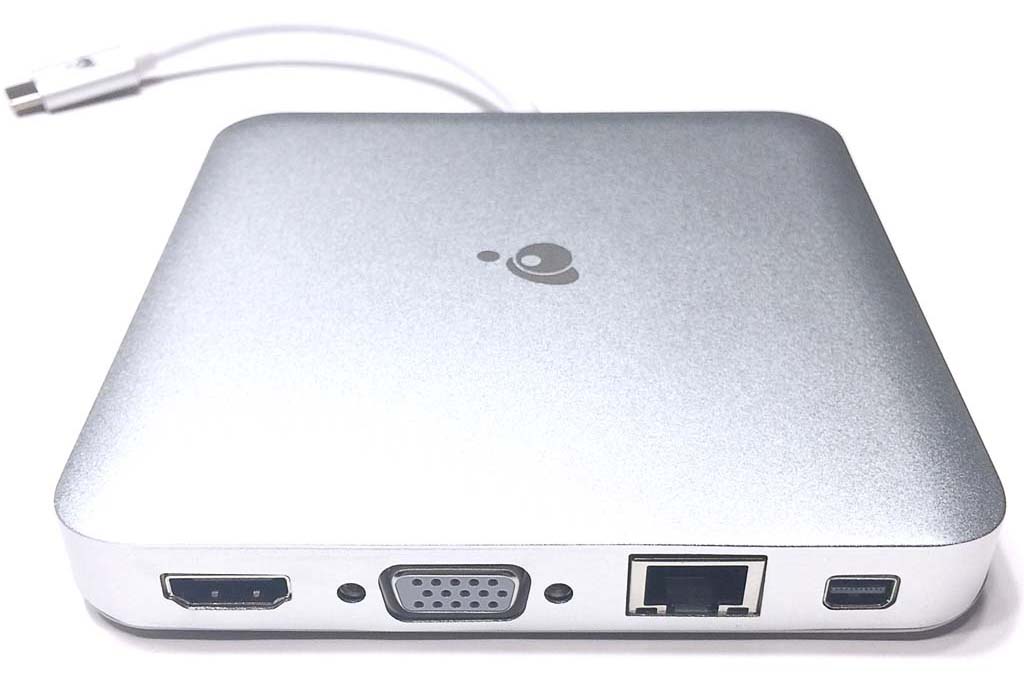
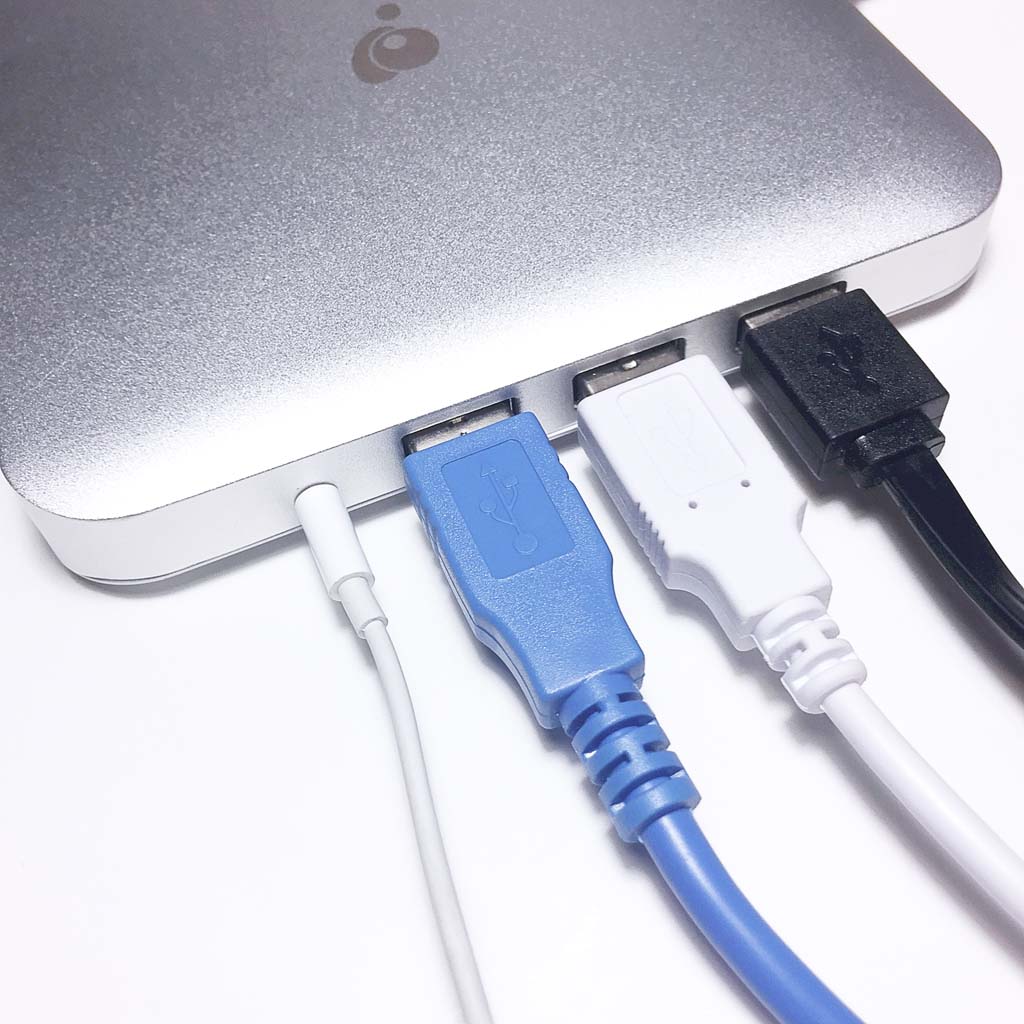
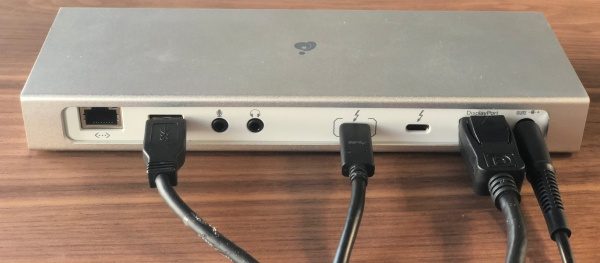
As you can see in the next photo, there are also connections for gigabit ethernet, USB 3.0, microphone, headphones, USB-C, displayport and power.
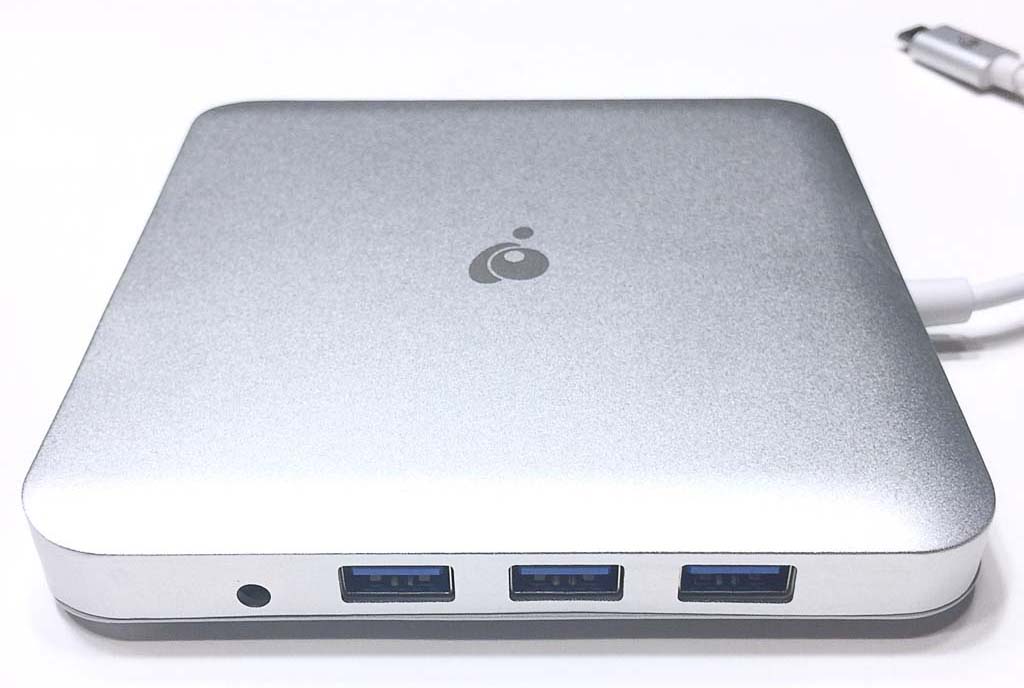
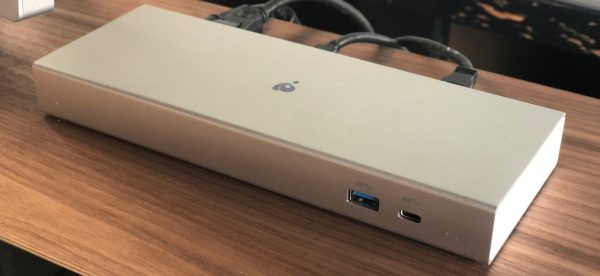
On the front of the unit there is a pair of connectors, one for USB-C and one for USB 3.0.
Setup
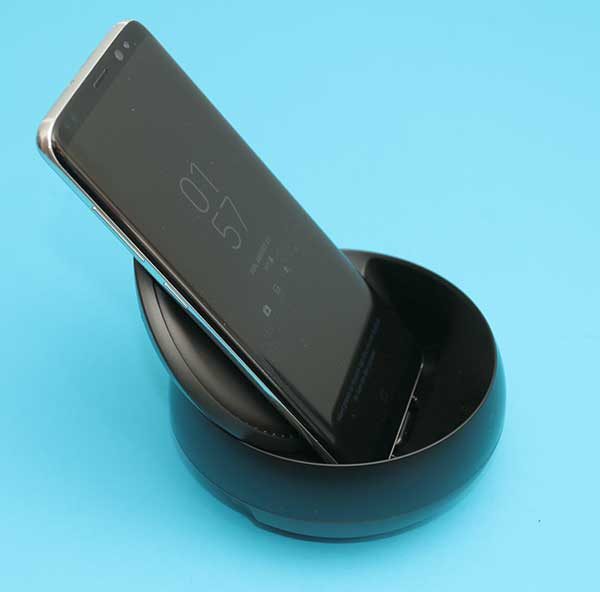
Connect to Quantum 3 to its power supply and then the included USB-C cable to your computer. It’s important to note that the first one with the [ ] around the port has a higher throughput and 85 power supply for connecting to your computer, supporting the other functions through the hub and keeping your computer charged without a separate power cable.
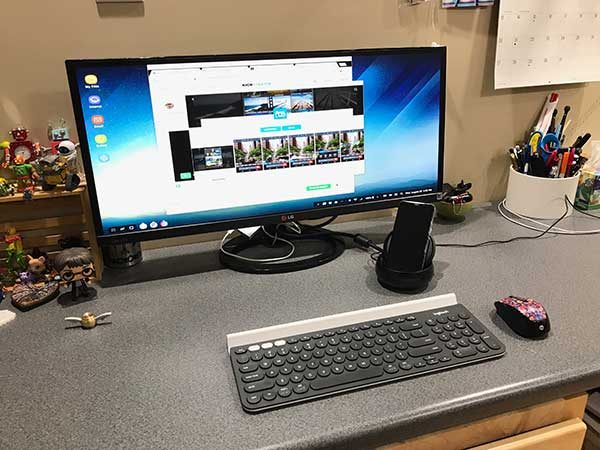
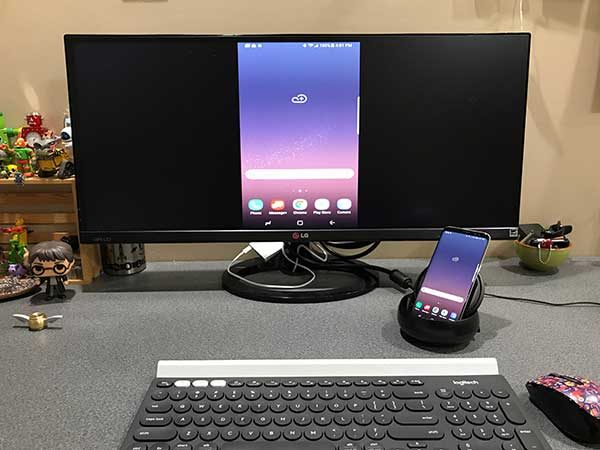
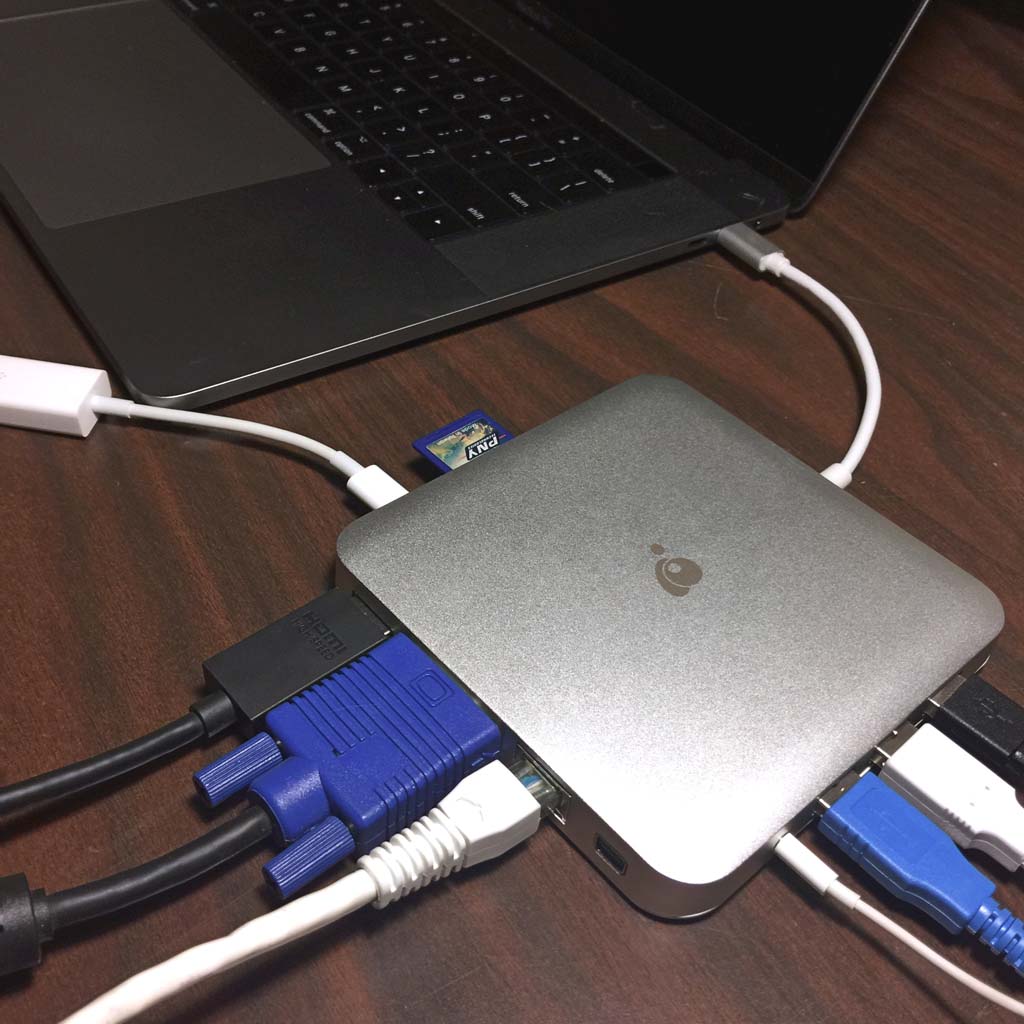
All that’s left is connecting everything else you plan to use. I have an HP Envy ultrawide monitor that I selected specifically because it had USB-C input. What I found in initial use is that some of the other connections through the monitor like standard USB 3.0 accessories, required me to add another cable to my mac which is what I was trying to avoid in the first place.
With the Quantum 3, I connected a DisplayPort cable to the monitor along with a USB 3.0 cable and that’s it. The office I work in is all wifi, so I haven’t had to try the gigabit ethernet yet. Maybe in the new office starting next week.
Performance
It’s really quite amazing how seamless a product can be when it does exactly what it’s supposed to. It’s not like I forget that it’s there, but at the same time, I don’t have to monkey with it. With the connections described above, I’m able to set my Mac down, connect a single USB-C cable and everything just works and my Mac is charging. The headphone amp that’s connected to the monitor with USB works perfectly. The monitor’s built-in pop-up camera works perfectly (previously required an extra cable to the mac). I can go on, but you get the picture.
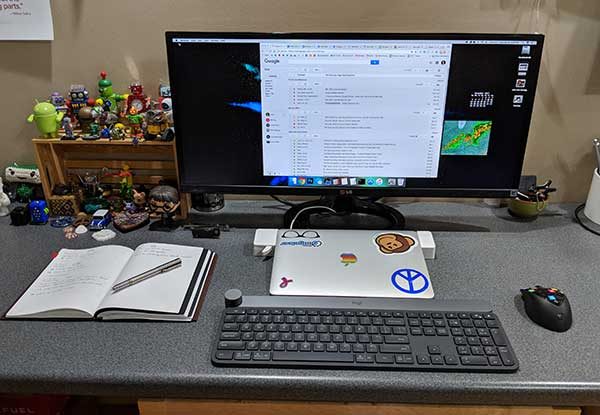
I’ve got the Quantum 3 tucked into a pocket of my desk riser where I have access to the front two ports should I need them and everything else is out of the way.

What I like
- Simple set-up
- It just works
- Single connection to the computer (including charging!)
What needs to be improved
- The cost is pretty steep (but less so when you factor in the cost of buying a second Mac power adapter)
Final thoughts
The Quantum 3 is a docking station that does exactly what it’s intended to do. It’s not inexpensive but is incredibly well made and will likely outlast a couple of laptops. If the idea of a single connection to your computer gets you excited, this is a great solution. I’m at my desk a lot during the day, but it is generally in fits and starts and that means a lot of plugging and unplugging. The Quantum 3 solved that with style and now the power adapter that came with my Mac can stay in my backpack.
Price: $299.95
Where to buy: Amazon
Source: The sample of this product was provided by IOGear.
The post IOGear Quantum Thunderbolt 3 Docking Station Pro 85 review appeared first on The Gadgeteer.
Filed in categories: Reviews
Tagged: docking station
IOGear Quantum Thunderbolt 3 Docking Station Pro 85 review originally appeared on The Gadgeteer on July 3, 2018 at 11:00 am.
Note: If you are subscribed to this feed through FeedBurner, please switch to our native feed URL http://the-gadgeteer.com/feed/ in order to ensure continuous delivery.


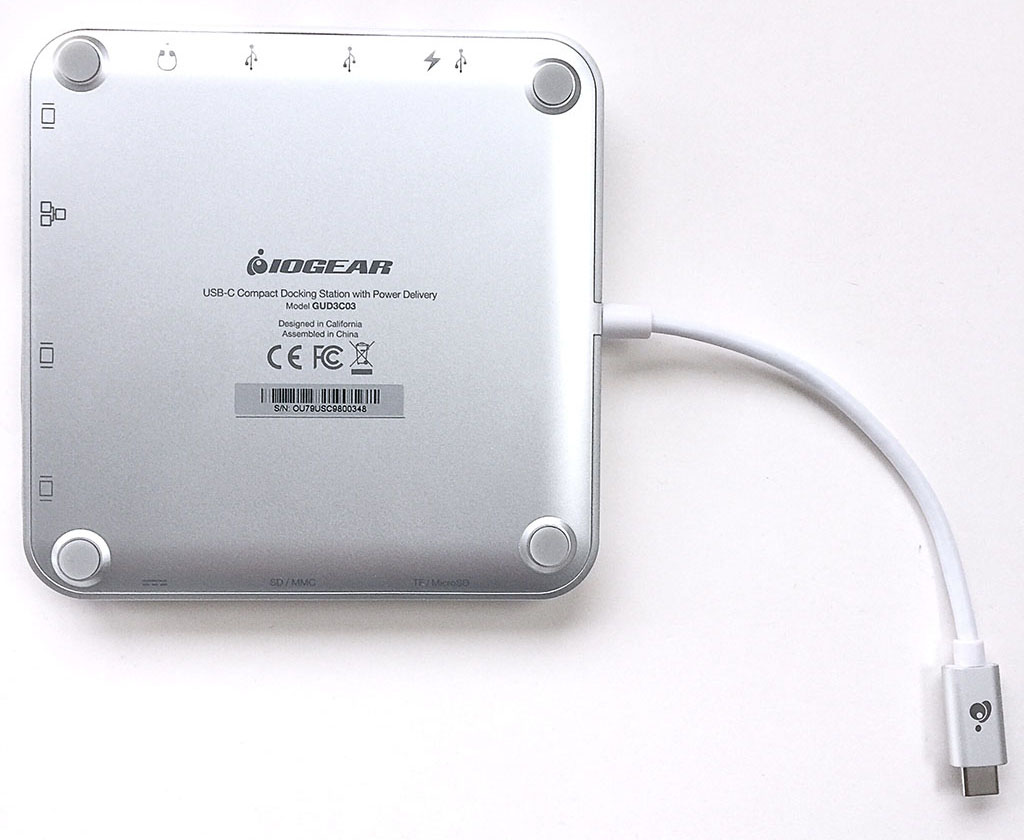

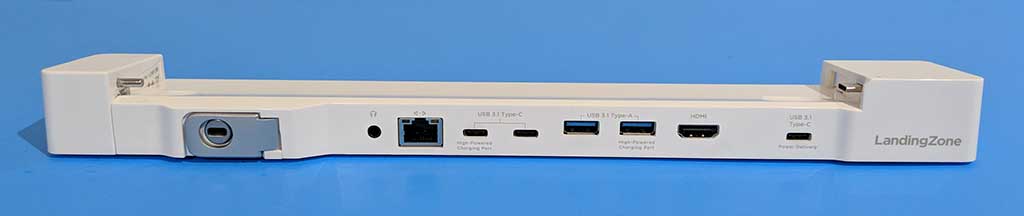
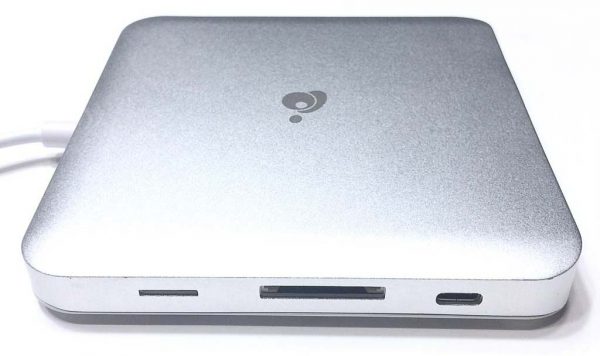 The Dock has ports on three sides (the USB-C docking interface cable that plugs into the laptop protrudes from the fourth side). The side depicted above has, from left to right, MicroSD card slot, standard SD card slot, and USB-C port. This single USB-C port is intended to plug your laptop’s power supply into, to enable Power Delivery Charging (PD Pass-Thru) while the Dock is connected to your laptop and in use, with up to 60W of charging power. Also, when you are away from home, the bus-powered Dock does not need a power supply to connect your devices.