ddpai X2 Pro dual channel dashcam review

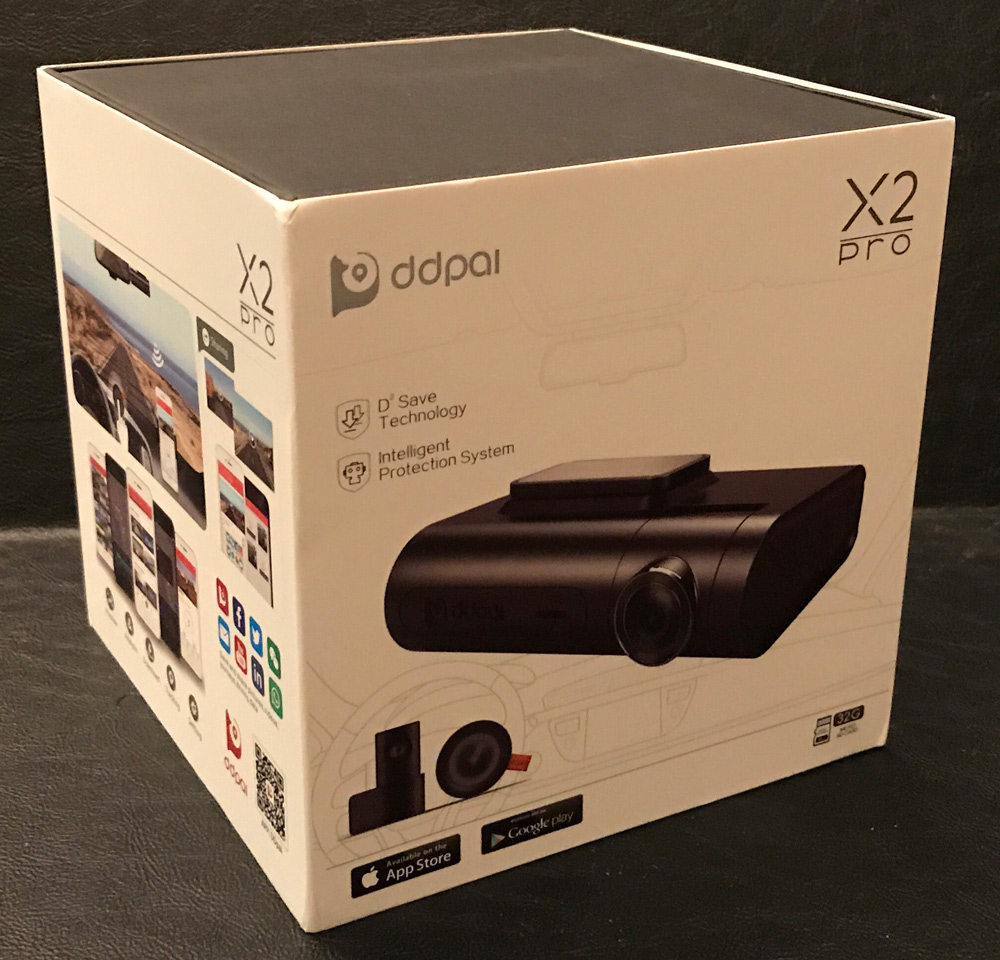
Is it wrong every time I receive a new dashcam to review I hope and pray for something crazy/insane to happen in front of me while driving? I firmly believe in the benefits of dashcams and recording the world zipping by while motoring down the road. You never know when something bad is going to happen; when it is your word vs the person who hit you and a picture or in this case video proof could be priceless. For this review I’ll be looking at the X2 Pro, ddpai’s latest and most ambiguous dashcam to date, packed full of high-tech features and is the first duel channel dashcam I have ever tried.

The ddpai X2 Pro features dual cameras/channels enabling one camera facing forward through the front windscreen and one pointed behind. In addition to featuring dual cameras, the X2 Pro is a high resolution, GPS/WiFi enabled, social media capable dashcam. I really like the X2 Pro’s form factor…preferring screen-less dashcams, finding them less distracting or intrusive.
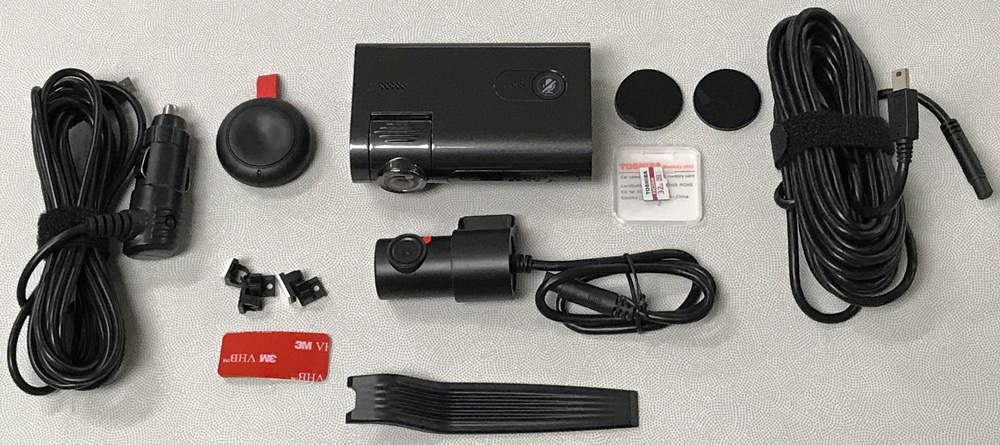
Package Contents:

  • ddpai X2 Pro dashcam
  • xX2 Pro rear dashcam
  • Connection/extension wire for rear dashcam
  • microUSB 12v power cord
  • Remote Snapshot button
  • 32gb microSD card
  • Spare 3M adhesive pads and wire stays
  • Wire shim tool

Specifications:

  • HUAWEI HiSilicon processor; Format H.264 HD video coding
  • OmniVision Image Sensor
  • 6-class glass lens and 1 infrared filter with zero distortion; Front cam – 140°wide angel & F1.8 aperture; Rear cam – 120°wide angel & F2.2 aperture
  • Front cam – 2592×1520P image; Rear cam – 1440×896P image;
  • Digital image stabilization
  • New generation GPS system; High speed positioning
  • 3 axis acceleration sensor
  • High sensitivity microphone; high power loudspeaker (1w)
  • Front cam – 12V@1A~2.1A; Rear cam – 5V@1A~2.1A
  • Built-in super capacitor allows video shooting when electricity is turn off

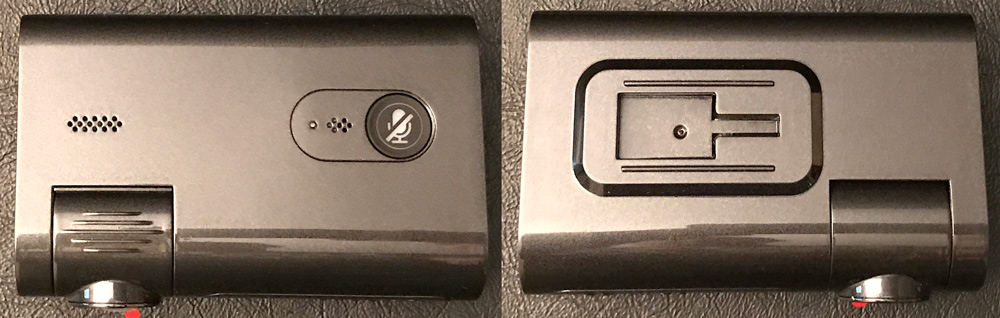
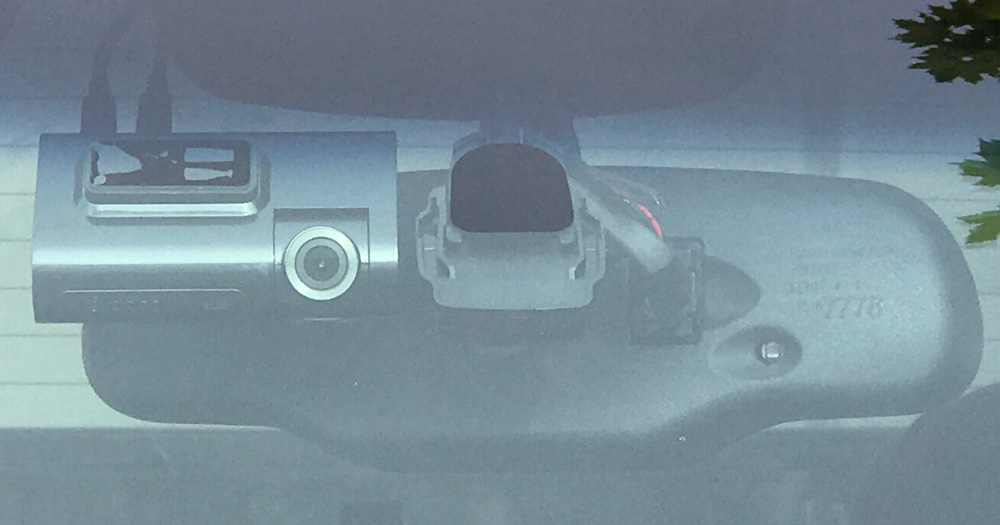
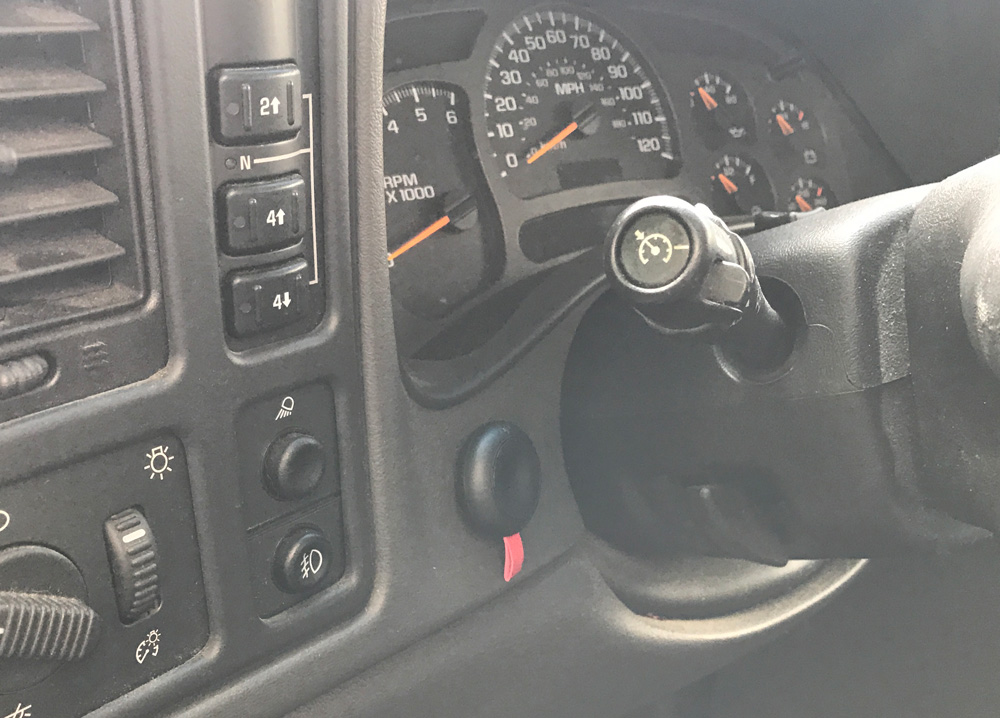
The top of the X2 Pro dashcam has its mounting hard point which allows for easy installation and removal of the device. The bottom of the X2 has a speaker, microphone, and convenient LED-lit mute button. Even though I installed the X2 Pro in my truck, I find being able to quickly unplug and remove any device a convenient/important security feature so I can lock it in my glovebox vs closing the top of my convertible or if I’m in the wrong part of town.

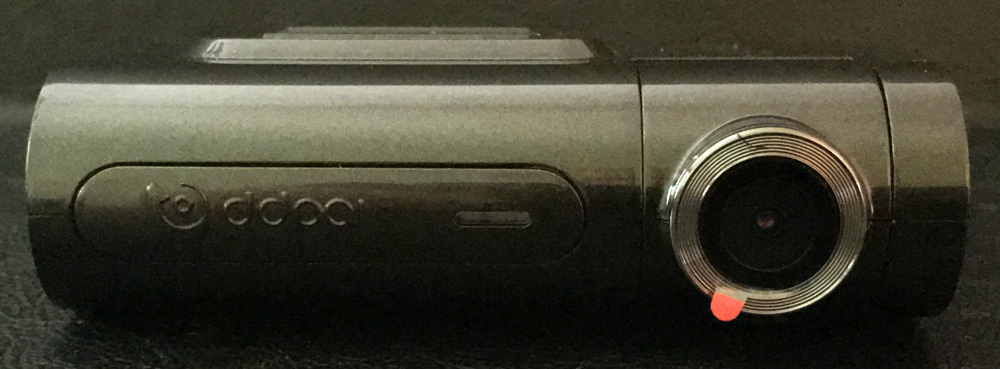
The front facing camera takes a very respectable 2592 x 1520 resolution for still images and 2560 x 1440 for videos. The front camera has a 6-class glass lens with a 140° wide viewing angle & F1.8 aperture.  The X2 uses an OmniVision Image Sensor that provides “excellent video monitoring performance under low light & WDR”. The front camera is able to be rotated for best line of sight based on the angle of your car’s windshield.

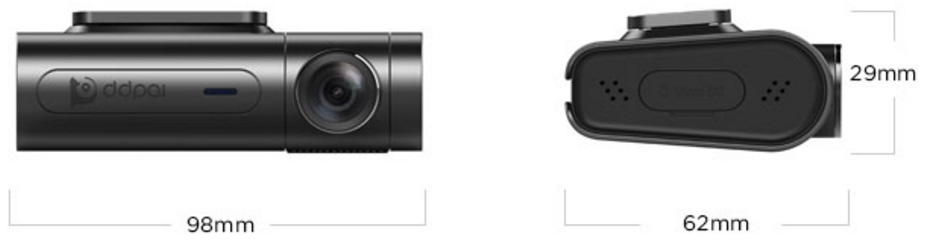
The smaller rear camera’s resolution is 1280 x 720 for both still images and video. Like the front camera, the rear also has a 6-class glass lens but a more narrow 120° wide viewing angle & F2.2 aperture. It can rotate in its mount as well.

The back of the X2 Pro has one microUSB port for power and a port for connecting the rear camera. There is also an indicator LED on the far side. I did find it interesting the camera would not work with my Macgyver’d USB power outlet I mounted behind my rearview mirror or any other microUSB cable I tried. My best guess why neither worked is that the X2 Pro is more power hungry due to the built-in GPS, capacitor, rear camera, etc.

The right side of the dashcam has the microSD card slot. The X2 Pro is compatible with up to 128gb class 10 microSD cards. The left side has a speaker that is loud enough to hear 99% of the time. The X2 Pro has built-in NAND flash memory (D2 Save technology), that acts as a backup should your microSD card fail.

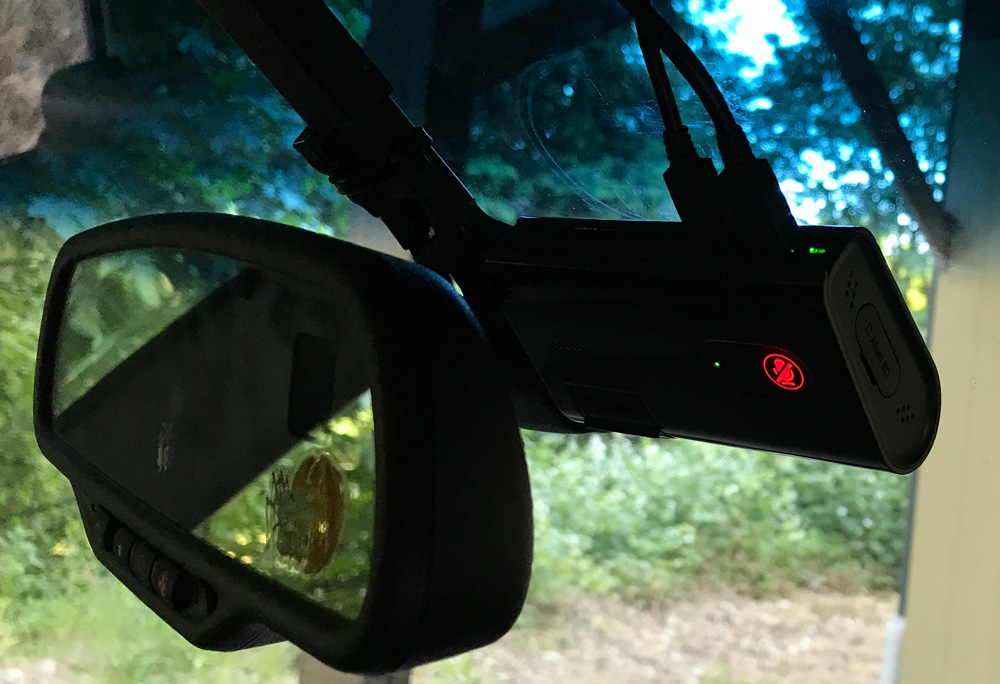
The windshield mount installed as you would expect, quick and easy. ddpai includes an adhesive mount but no suction cup option. There is little to no movement or shaking/vibration in the video when driving on a smooth roadway. Though the X2 Pro has digital image stabilization for bumpy roads.

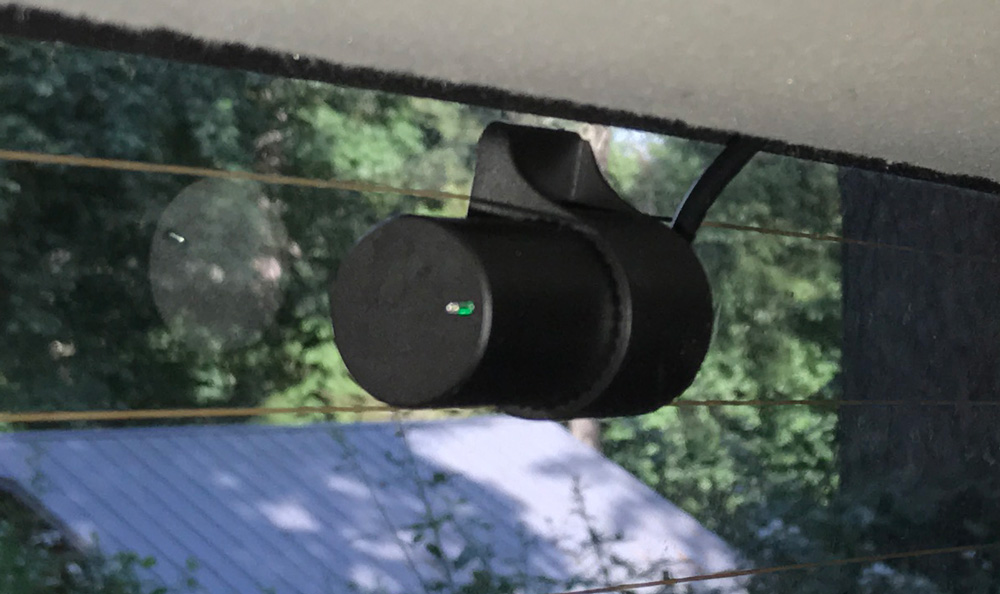
The rear camera is small and does not interfere with your view. Running the wires to the back of your vehicle may take a bit of trial and error but overall it is a simple enough project depending on the interior of your car. I’m pretty AR and I was relatively pleased with my efforts. Total setup time was less than an hour.

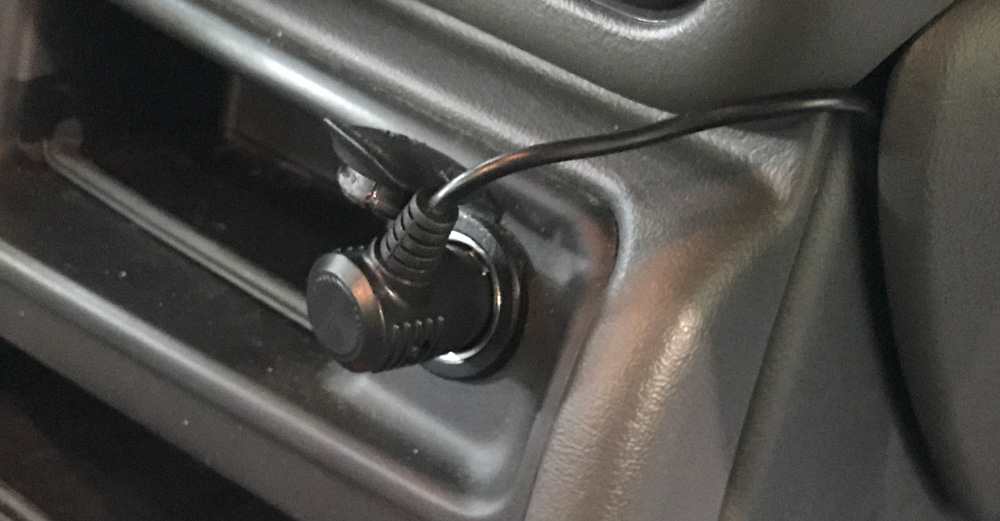
As I mentioned above, the X2 Pro needs the dual USB charger (Front cam 12V@1A / 12V@2.1A; Rear cam5V@1A / 5V@2.1A) ddpai includes in the package. The X2 has IPS (Intelligent Protection System) technology that protects vehicles against extremely low voltage and intense heat by cutting off the power to the dashcam automatically. The X2 Pro has a built-in “super capacitor” that holds a charge and enables it to function in Parking Mode video capture that records even when electricity is turned off.

ddpai also includes a wireless, one-click physical button that when pushed captures a still image and automatically downloads it to your smartphone. It attaches nearly anywhere in your vehicle with a double sided sticky pad. The button is a surprisingly convenient and useful.

The internal GPS acquires the satellites fast enough. It’s not the quickest dashcam in this respect but not the slowest either. The GPS tracks not only location but calculates speed as well. The X2 Pro also has a built-in G-sensor to monitor your acceleration in three-dimensional space and collisions, that will lockdown that video/moment for future review.

Since the X2 Pro does not have a screen, setting up the camera, viewing live video & driving telemetry, watching past recordings, and downloading pictures and video is all done via your smartphone. The X2 Pro is the most complex and capable dashcam I have ever used. It is definitely not a plug & play, beginners dashcam setup by any stretch of the imagination. It’s smartphone control and management app is complicated and does take a bit of time to get used to. It also takes time to understand all the features of the X2 that you can tweak and/or manage via app as well.

The ddpai X2 Pro supports photos, videos, and driving stories sharing via the app linked to multiple social networks (Facebook, Twitter, Instagram, Youtube and etc.).

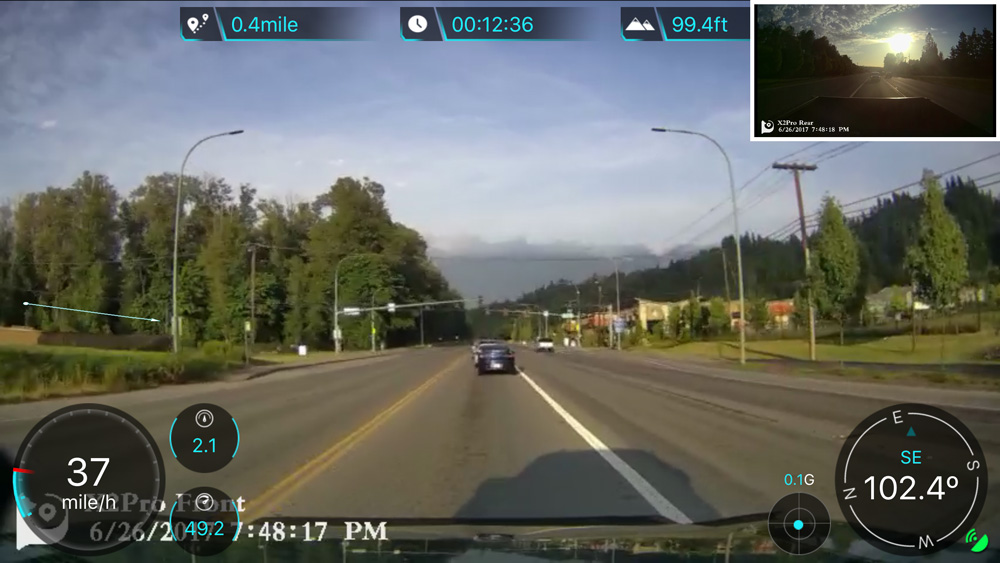
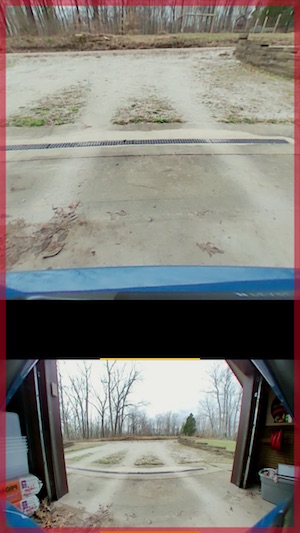
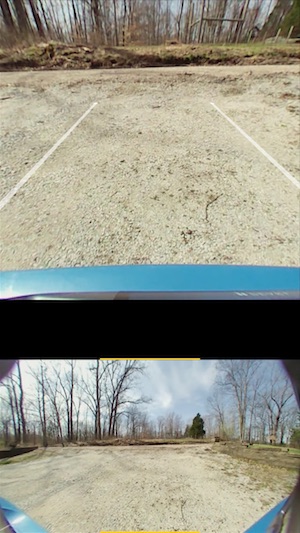
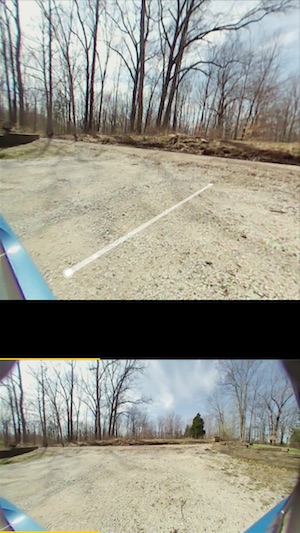
The I mentioned above, your connection to the X2 Pro is 100% via your smart device. The interface is well designed and thought out. It provides you not only 2k front facing video but a PIP with the rear view/video plus: date, time, speed, temp, power (I believe), G-forces, compass direction, GPS connection, elevation, time and distance traveled. The vertical orientation of the app also adds a map with your location superimposed on it. Though you have to toggle between two screens to get all the telemetry.

It is a shame you do not get all of this data and rear view PIP captured in the video you download from the dashcam. Worse yet, ddpai has not created any desktop software to view all of your driving perimeters holistically from the microSD card.

The X2 Pro records video in H.264 / .mp4 format in 5-minute segments. When the microSD card is full, the dashcam continuously overwrites the oldest video with new. You can tweak the video resolution, various video, and card management settings via the ddpai smartphone app.

Daytime Video:

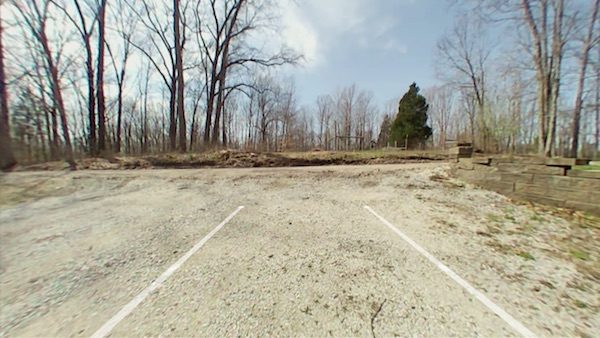
The 2K video is very clear with more detail than the standard 1080p resolution that a majority of dashcams record at. The 140-degree viewing angle has nearly no fish-eye effect towards the edges. The camera does a great job blocking out glare.

Skipping Video:

Occasionally the video would record with hiccups/skips happening every few seconds for no apparent reason.

In addition to skipping, I did have my fair share of other issues with the X2 Pro as well.

These included:

  • The dashcam occasionally failed to begin recording when I started my vehicle, often never turning on until I unplugged it for a few seconds then reinserting the power plug.
  • When in parking surveillance mode, it occasionally didn’t record or did but in normal time for the whole duration (aka hours). It does have a smart shutdown mode when power is low, but this happened right after driving long distances.
  • Occasionally after sitting in a cool garage all night, it immediately shuts down due to overheating and doesn’t start back up again until I reset the power. Sometimes continuing to shut down over and over again.
  • The rear facing camera does not work every now and then. Turning the X2 Pro on & off occasionally fixes the connections other times not.

I worked with ddpai and some of the issues were fixed with a firmware update. Though I am still working thru many lingering sporadic glitches.

I really wanted to like the ddpai X2 Pro, its screen-less form factor and a long list of high-end features definitely appeal to me. But its poor performance and sporadic reliability are more frustrating than anything…never knowing when it will operate as advertised. Sadly the X2 feels like a beta product still in development. Bottom line — I plan on uninstalling it ASAP and replace it with a more dependable dashcam.

Source:  The sample for this review was provided by ddpai. Please visit their site for more information and Amazon to order.


Product Information

Price: $299.00
Manufacturer: ddpai
Retailer: Amazon
Pros:
  • Great form factor
  • Built-in GPS and G-sensor
  • Front and rear cameras
  • 2k video capture
  • Zero fisheye effect
  • Well designed smartdevice app
  • Social media connectivity
Cons:
  • Sporadic/glitchy performance
  • Poor reliability
  • Fails to turn on after vehicle start
  • Shutdown for no reason

Filed in categories: Reviews

Tagged: ,

ddpai X2 Pro dual channel dashcam review originally appeared on on July 11, 2017 at 9:00 am.

Note: If you are subscribed to this feed through FeedBurner, please switch to our native feed URL http://the-gadgeteer.com/feed/ in order to ensure continuous delivery.

The Waylens Secure360 is the next evolution of dash cams

Do you have a dash cam in your vehicle? A dash cam is the type of gadget that once you install it, you rarely need to use it and that’s not a bad thing because the main reason you might need to use a dash cam is in the event of an accident. Until now, 99.9% of dash cams are designed to point out the windshield and automatically record footage as you drive. The Waylens Secure360 camera is a dash cam on steroids.

Our own Andy Chen reviewed the Waylens Horizon dash cam back in December, but this new camera looks like a huge leap forward in this category of gadgets and I can’t wait to try one.

Waylens, Inc. announced today its Secure360 Automotive Security Cameras that give drivers a truly seamless 360-degree view both in and around the vehicle, automatically uploading video to the cloud for on-demand access. Available with powerful 4G connection to the Waylens Secure app with live alerts and live monitoring, the Waylens Secure360 puts in the palms of drivers’ hands the power to know, show and protect what’s important.

The Waylens Secure360 is the first camera designed for consumer vehicles that uses 360-degree imaging technology that captures everything that’s going on in and around your car. There will be a WiFi and a 4G version of the camera. The WiFi version of the Secure360 will be available in November 2017 for $249.95. The Waylens Secure360 4G with live alerts and live-streaming begins shipping during the first quarter 2018 for $349.95. Preordering for both models begins later this summer.

Visit https://360.waylens.com/ for more info.

Filed in categories: News

Tagged: ,

The Waylens Secure360 is the next evolution of dash cams originally appeared on on July 8, 2017 at 9:36 am.

Note: If you are subscribed to this feed through FeedBurner, please switch to our native feed URL http://the-gadgeteer.com/feed/ in order to ensure continuous delivery.

Pearl RearVision wireless rearview camera review


We have reviewed numerous dash cams over the years, but I believe that this is the first backup cam that we’ve reviewed. If I’m wrong about that, then the Pearl RearVision rearview car camera is definitely the first wireless backup cam that we’ve ever reviewed on The Gadgeteer. Let’s put the car in reverse and check it out.

What is it?

The Pearl RearVision is a backup camera for your vehicle that doesn’t require you to route wires for power or to a display. It uses a solar charger to keep its battery charged and it uses WiFi and Bluetooth to transmit images to a smartphone.

What’s in the box?

Pearl RearVision license plate frame camera
License plate frame adapter
OBD adapter
Smartphone car mount
Installation tool

Design and features

The Pearl RearVision looks like a license plate frame, but the frame has two cameras along the top edge. The cameras have up to 180° field of view and a special coating that repels water. One of the cameras has infrared for night vision, and the other one is optimized for daytime.

The frame also has a built-in solar panel that charges the internal battery on bright sunny days, as well as cloudy days.

The frame is composed of two pieces that include the black metal frame that installs on the rear of your vehicle.


A special tool is included with the RearVision. This tool is used to detach the RearVision from the metal frame so that it can be installed on the vehicle.

Although the Pearl RearVision does not require any wiring to a power port inside your car since it can use solar power to charge its internal battery, you can also charge it with the built-in USB cable.


The USB cable is integrated into the frame with a rubber cover that protects the connector from moisture and weather.

Installation of the Pearl RearVision rearview camera

Although not required, the first thing I did before installing the Pearl RearVision was to charge it using the built-in USB cable.

I then took the RearVision, the special tool install tool, the included OBD adapter, and my Nexus 6P Android smartphone out to the garage.

First I removed my existing license plate which was attached to the back of my 2013 MINI Cooper with 4 Phillips screws. Note that the Pearl RearVision is compatible with cars 1996 and newer.

I then attached the RearVision frame to my license plate using the provided screws and then attached the frame and plate to my MINI using 2 of the original screws that were holding the license plate in place.

The RearVision hooks to the bottom of the frame and then snaps in place. The special install tool is used to tighten the theft-resistant set screw which holds the camera securely to the frame.

Looks great, although I was a little concerned that the frame covers and partially obscures some of the info on my license plate including the state and expiration info. I haven’t been pulled over by a cop yet, so I guess it’s not a problem.

The next step of the installation is to plug the OBD adapter into the OBD port in the MINI. This adapter communicates to your phone and the RearVision frame using Bluetooth and WiFi and has a built-in speaker for audio alerts.

The OBD port in my MINI is located under the dash on the driver’s side. The location of this port varies per car make and model.

Installing the adapter is easy but awkward because I had to do it mostly by feel.

I thought I was all set until I needed to get into my trunk and discovered that the top edge of the RearVision camera blocked access to the trunk latch. Whoops… Lucky for me, the folks at Pearl had included an adapter plate which I didn’t think I needed to use. Wrong!

I removed the RearVision, installed the adapter plate which lowers the frame to allow access to the trunk latch. The extra step was easy, but I felt foolish for not noticing the problem the first time around.

Ahhh, that’s much better.

Note that the frame adapter is not included with the RearVision. But if you find that you need it, they will send you one for free according to their installation troubleshooting page.

You can use the included magnetic car mount to locate your smartphone inside your vehicle for optimal viewing. I skipped this step because I already use the iOmount iOauto Pro mount in my MINI.

After the RearVision is installed on the outside of the car and the OBD adapter is installed inside the car, the last step is to install the mobile app which detects the OBD adapter and RearVision camera to complete the setup.


There is a setting in the Pearl app to automatically launch the app when you put the phone on the included magnetic mount, so the mount must have an NFC chip in it (I am just guessing and haven’t proven this theory). I have noticed that my Nexus 6P will sometimes (not always) automatically launch the app when I get in the car and turn on the screen even if the Pearl app wasn’t the last app that I had been using. This doesn’t happen every time though.

The app shows a live view with white guidelines to help you avoid obstacles. These guidelines can be calibrated through the app’s settings by doing a few easy measurements.

The image will show ripples, a red border will show along the edges of the screen and the OBD adapter will sound an audible alert if there’s an obstacle in the path of the car. I tested this by walking behind the car. The RearVision also picked up my cat Max as he walked behind the car.

The RearVision live view disappears after a minute and then shows the app launcher screen that you see above. You can modify the delay from 10 seconds to 2 minutes before the launcher appears.

The launcher can be customized to add apps from a list of music, navigation, and utilities. Unfortunately, you can’t add your own apps to the list.

You can change the view from landscape to portrait mode.


In portrait view, the backup camera shows a split screen that has a wide angle and zoomed views. You can swipe the top to zoom the edges.

I have been testing the Pearl RearVision rearview camera for several weeks. It works well 90% of the time and provides a clear view of what is behind my vehicle.


The view from the RearVision cameras works equally well in daylight and night.

If you try to access the cameras while you’re driving, you’ll see this message.

I’ve seen the message above on more than one occasion. I’ll usually have to close the app, toggle Bluetooth off and on, and relaunch the app to fix the issue. After a recent update to the system, I don’t believe I’ve seen the message, so it could have been a bug that has been fixed.

See it in action

I’ve been using the RearVision for several weeks now and it works well although it hasn’t alerted me of obstacles (yet).

Sorry for the jerky video. I was holding a phone in one hand to capture the video and trying to drive backwards with the other hand while just looking the display.

It has been tough making myself look at the screen since my brain is programmed to only use my rear view and side mirrors when I’m backing up. When you’ve been driving for 30+ years like I have, it’s hard to teach an old dog new tricks 🙂

Something to consider before buying the Pearl RearVision

It’s important to realize that to use the Pearl RearVision camera, you have to have your phone with you. Without it, you will not be alerted of obstacles in your path. If someone borrows your car and doesn’t have the paired phone, it will not work.

Final thoughts

I like the Pearl RearVision rearview camera because it doesn’t require a complicated/expensive install or modification of your vehicle. The all wireless design including the solar charging frame makes this rearview camera system attractive to people who want a quick and easy setup. However, the price of this system is considerably higher than other DIY backup cameras systems with dedicated displays. Pair that with the fact that you MUST use your phone with it are issues to keep in mind before considering a purchase.

Source: The sample for this review was provided by Pearl. Please visit their site for more info and Amazon to order.


Product Information

Price: $499.99
Manufacturer: Pearl Auto
Retailer: Amazon
Requirements:
  • 1996 or newer vehicle
  • iOS or Android device
Pros:
  • Easy to install
  • Solar powered and wireless
  • Simple app
Cons:
  • Expensive
  • May need a frame adapter which is not included in the package
  • Only works if paired with an iOS or Android device
  • Can't record video or take snapshots

Filed in categories: Car Gear, Reviews

Tagged: ,

Pearl RearVision wireless rearview camera review originally appeared on on April 20, 2017 at 8:08 am.

Note: If you are subscribed to this feed through FeedBurner, please switch to our native feed URL http://the-gadgeteer.com/feed/ in order to ensure continuous delivery.