Aukey DR02 Dual dash cam review

I drive one of the smallest cars on the road, so I leaped at the chance to review the Aukey Dual camera dash camera.  I drive a Smart. It’s 8’3”, but being so small comes with a price – bullies!  I’m a very conservative driver (I’m old) and each week, I get tailgated, cut off, and even flipped off, FAR more frequently in my tiny Smart Car than in a year of driving my gigantic Nissan Armada. I’m not doing anything wrong, but my car seems to bring out the worst in some. Aukey’s DR02 dual camera system is just what the doctor ordered to bring peace of mind to happy motoring.

What is it?

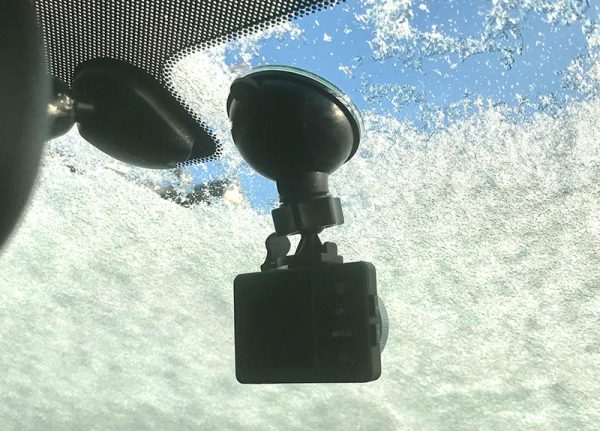
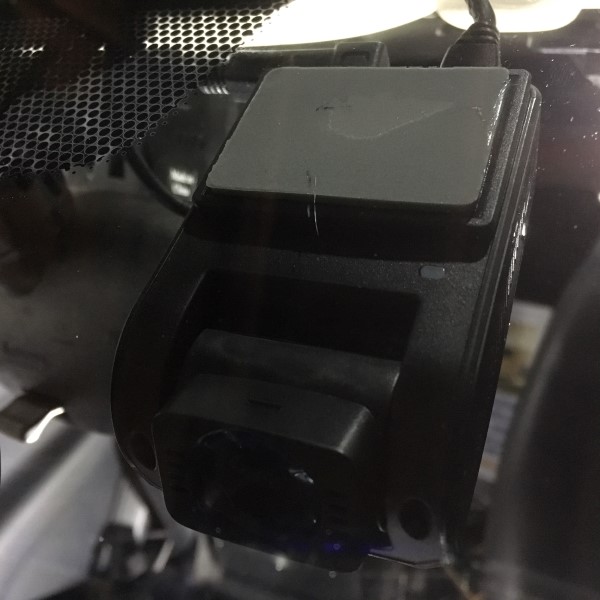
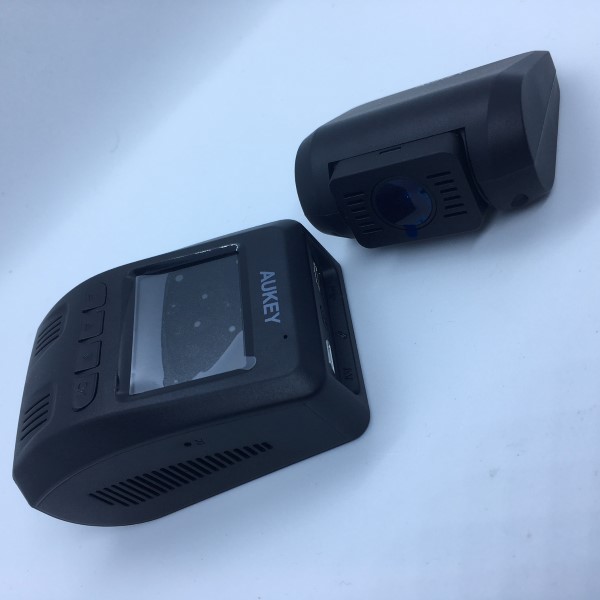
The Aukey DR02 is a dual-camera dash cam featuring a primary main unit for front recording, and a secondary camera for rear-view recording. It captures video simultaneously from both cameras in 1080P and has a set of features.

Hardware Specs

Sony Exmor Sensors in both cameras capture super-sharp 1080p video (accompanied by optional in-car audio) and perform well for nighttime driving

Full Six-Lane View: The wide-angle  170° front and 152° rear fields of view monitor vehicle movements and other activity in front, behind, and even towards the sides

Emergency Recording & Loop Recording: Emergency Recording automatically captures unexpected driving incidents and protects the recordings. Loop Recording allows continuous use by writing over old, unneeded footage. Connect to the AUKEY GM-32 GPS Antenna (sold separately) to embed location & speed data for trip tracking and greater protection.

What’s in the box?

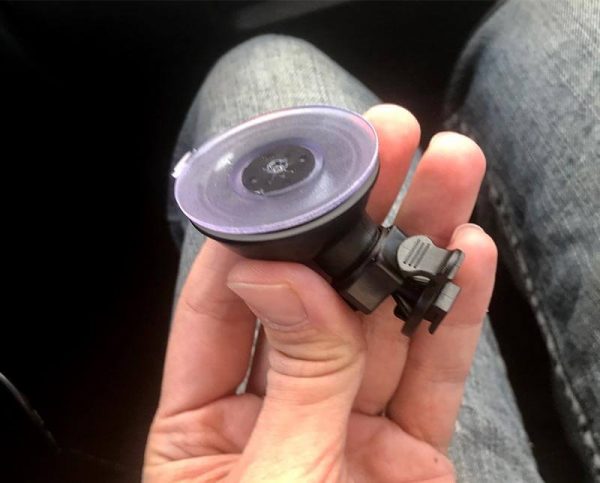
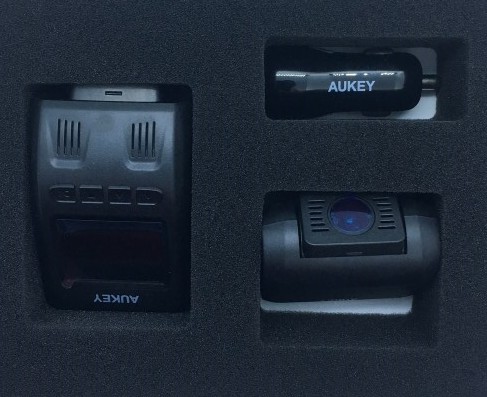
Dual Dash Cameras (front and rear camera), Dual-Port USB Car Charger, 4m / 13ft USB Mini-B Cable, 6m / 20ft USB Mini-B Cable, Two Sticker Mounts, Six 3M Stickers, Six Cable Clips, User Manual, 45-Day Money Back Guarantee and 24-Month Product Replacement Warranty Card

Design and Features
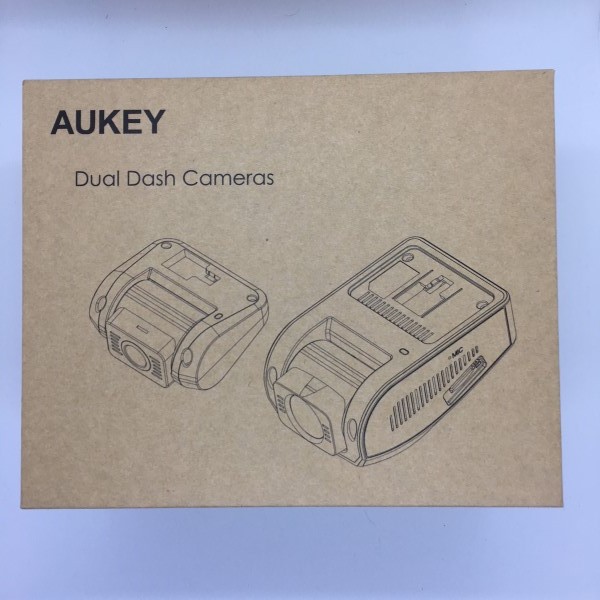
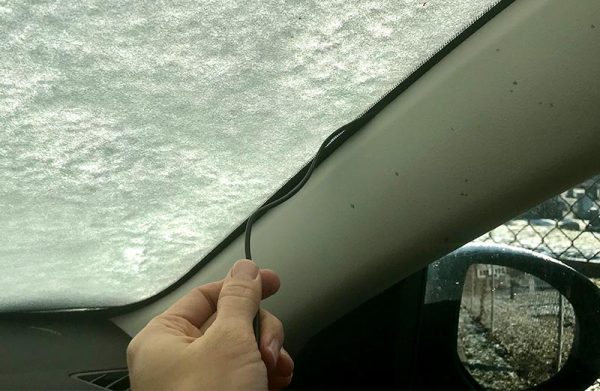
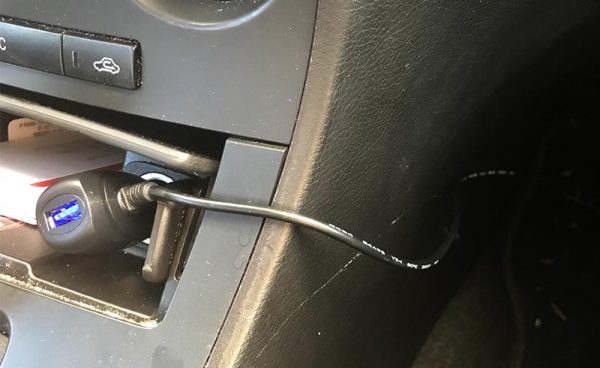
The cameras arrived in a well-padded box with USB plug adapter, power and video cables, instructions, mounting plates for front and rear, and cable clips. I carefully read all of the instructions and jumped into the installation process.  Because I planned on making this a permanent fixture in my Smart Car, I went a few steps further, removing all of the internal body trim panels to hide the wires and make the installation as professional looking as possible.
I even cut a small notch into one of the trim panels to hide the somewhat bulky cable connector for the rear-facing camera. The system can be powered up by the car’s ignition but has the option of wiring it always on, triggering by motion detection. I chose the former.
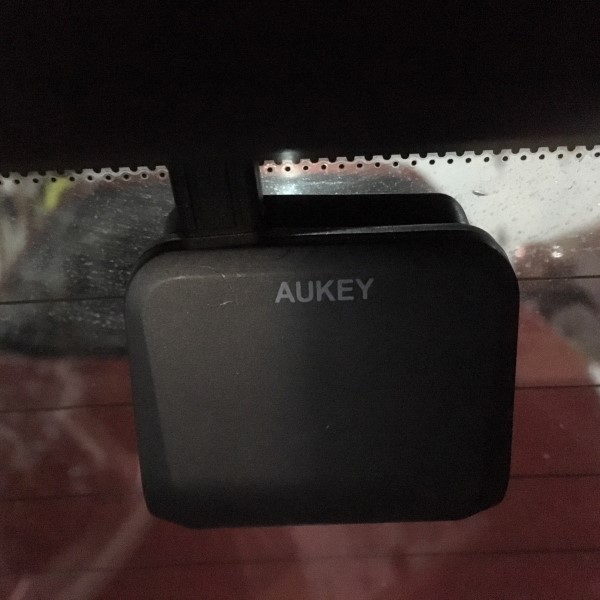
After running the power and video cable to the rear camera and plugging in a 128GB SD card, I powered up the system for the first time and an image appeared on the front camera, but I was unable to access any camera functions. I found the main camera would function unless the rear camera was connected. As soon as I plugged in the rear camera, all of the lights would come on indicating everything was correctly powered, but the image and all of the functions on the main camera would lock up. After many hours of troubleshooting, Aukey graciously sent me a replacement.
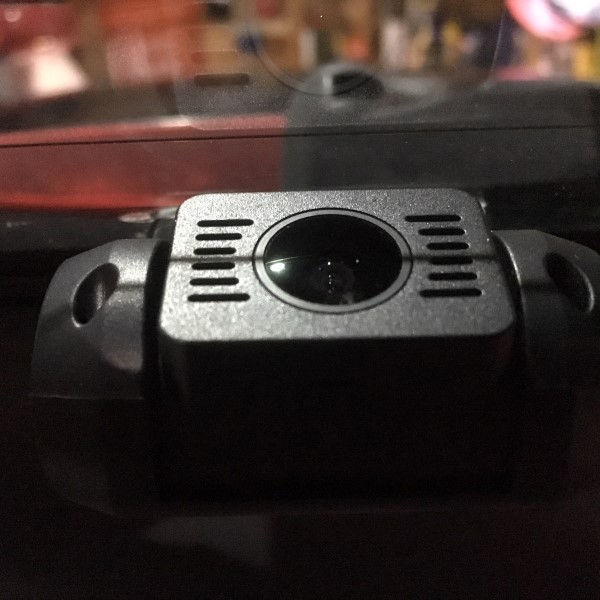
I had a few issues running the cables – the cable is a 10 conductor Mini-USB male. You read that correctly, a 10-conductor oddball, not the run-of-the-mill 5-conductor connectors that were used everywhere as a precursor to the Micro-USB. It would have been ideal to purchase another cable and move the cameras from one vehicle to another, but this isn’t an option. I contacted Aukey’s customer support to inquire if spare cables and mounting plates could be purchased, but they are unavailable apart from the kit. Bummer.
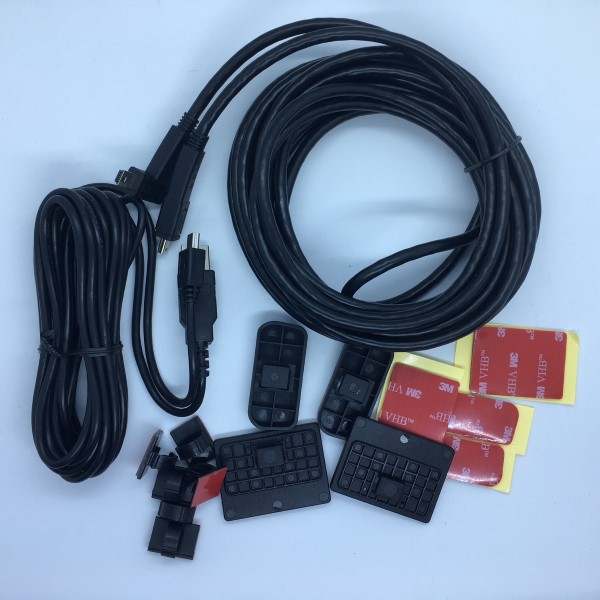
Next, the connectors, particularly on the rear-facing camera have bulky, inflexible strain reliefs with very a wide bend radius, so I found routing them through existing cable paths was VERY challenging. Admittedly though, if I had just used the included cable clamps and double-sided tape, this wouldn’t have been an issue.

Because of the density of the rear-facing camera cable and the rigidity of the connectors, coupled with my Electrical Engineering background, I have some concerns that any lateral forces applied to the cable when being plugged into the cameras could result in broken connectors on the cameras, so care should be taken not to apply any stress. Been there, done that. It’s no fun.
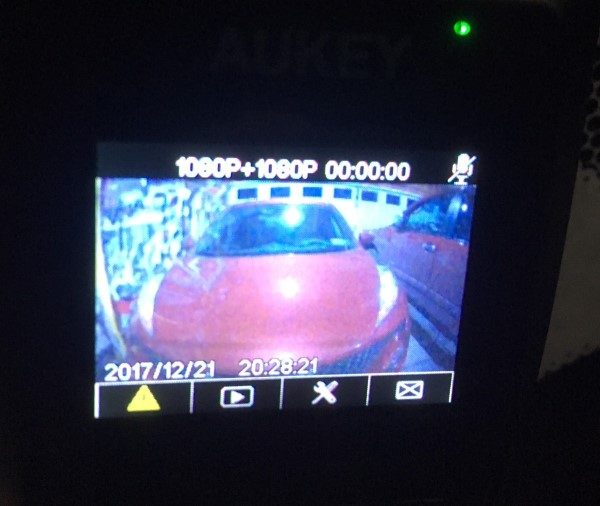
Since everything was wired and ready when the replacement arrived, installation of the front and rear cameras only took a few minutes. I reformatted the card, chose 10-minute loop recording, no audio, and the rear camera as the display, and went for a drive. The system records 1080P from both cameras simultaneously which could prove invaluable in a fender-bender. It’s also fun just to review the recordings just to see things you missed while paying attention to the road like a well-behaved motorist should.


For the most part, the videos were crisp and clear, but on occasion, the screen would lock up, display a corrupted or pixelated image. I found with one of my SD cards, I would get frequent “Memory Error” errors and the corresponding files could not be viewed. This was particularly disappointing as I had an incident where I was tailgated and passed by a truck, on the right, that ran a red light in front of several other drivers, putting several lives in jeopardy. It really should have been reported to the police, but without the video evidence, there’s not much point.
Final Thoughts

I really liked the features, video quality, compact size and dual-cameras in this system and will definitely keep it running at all times while I’m in the most bullied vehicle on the American roads. Having a record of my surroundings will be used with the inevitable interactions I will have with my insurance company.  As an entertaining bonus, I can keep an eye on the driving habits of my 16-year-old daughter and I’m looking forward to preserving picturesque drives through the mountains of Vermont.

Positives

  • Small size
  • Good video quality
  • Lots of features

Negatives

  • Bulky cables
  • Expensive
  • Sometimes glitchy recording
  • Has some trouble starting when the weather is extremely cold

Price: $129.99
Where to Buy: Amazon
Source: The sample for this review was provided by Aukey. Please visit their site for more info.

FIXD car health sensor review

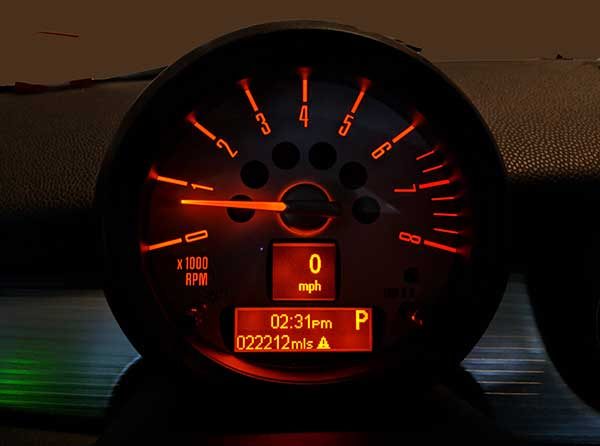
Have you ever had the check engine light on your car’s dash light up and wondered what it meant but didn’t know if you should call a mechanic right away? I’ve been having that same question lately with my MINI Cooper. Sometimes when I start the engine, I’ll see an icon of a car on a lift show up on my dashboard. The info in my manual about that light isn’t very detailed and my dealer is over 70 miles away, so I’ve been ignoring the light because it will sometimes go away for days at a time before lighting up again.

When I was asked If I would be interested in reviewing the FIXR OBD car sensor, I was happy to check it out with hopes that it would solve my dash light concerns. Let’s see if it has.

What is it?

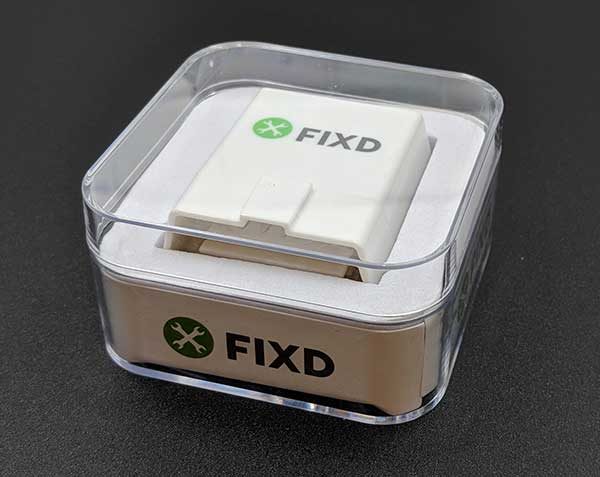
FIXD is a small sensor that plugs into your vehicle’s OBD sensor and then pairs with your smartphone and an app to display information about check engine lights, maintenance requirements, and more.

Design and features

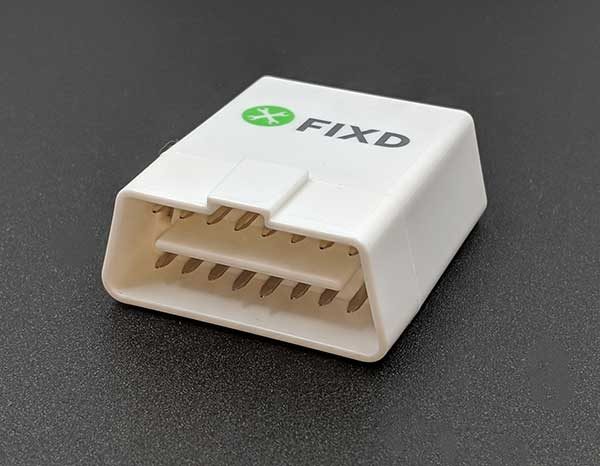
The FIXD is a small white plastic sensor with two rows of pins. This adapter plugs into the OBD-II port on your car which is usually located under the dash. The FIXD sensor is compatible with gas-powered cars that were manufactured after 1996. This adapter will not work with all-electric or diesel vehicles.

Installation and usage


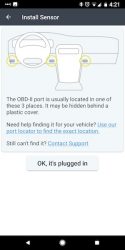
To install and use FIXD, you have to download the iOS or Android app on your mobile device and then follow the prompts in the app that tell you to register and then plug in and connect to the sensor with your phone. FYI: the app requires that you create an account to use it which is kind of annoying considering every gadget we buy these days requires an account and password to be created just to use it.

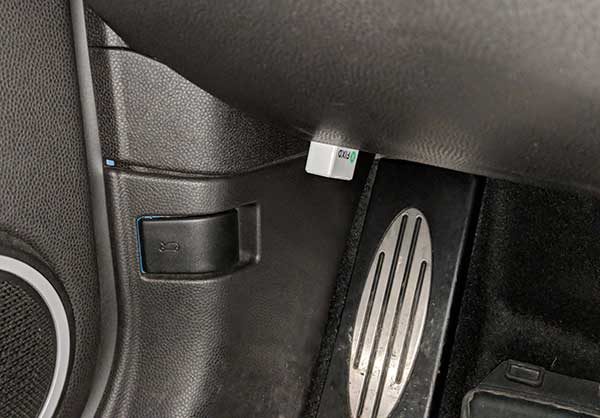
When prompted, you plug the FIXD sensor into the OBD-II port on your car. On my MINI Cooper, the port is under the dash near the driver’s side door.


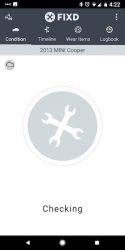
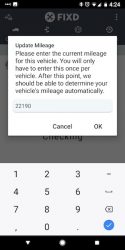
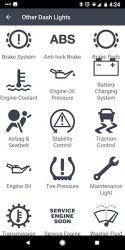
Once plugged in, the app will search for the FIXD sensor and connect to it. This can take around 30 seconds and happens every time you launch the app. The first time you run the app, you are prompted to enter the mileage and then the app will report if there’s a check engine light on and is supposed to tell you what that light means. That’s actually the only light this product can help with. It can’t help you with other dash lights like TPMS, ABS, Airbag, Maintenance lights, Stability Control, etc which are only accessible through manufacturer-specific information. But there’s a screen in the app that shows other lights and what they might mean. That screen didn’t include the dash light that I have been seeing on my car.

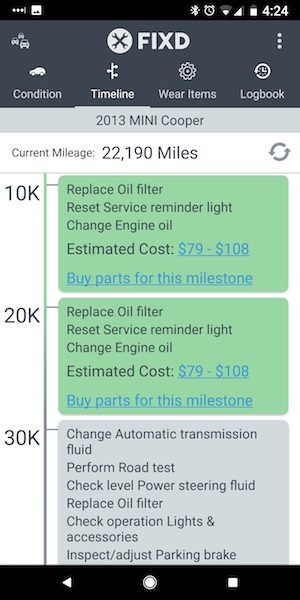
The FIXD app is also supposed to alert you when it’s time for an oil change and other regular maintenance tasks.


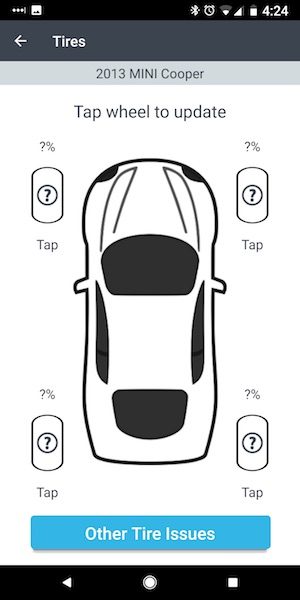
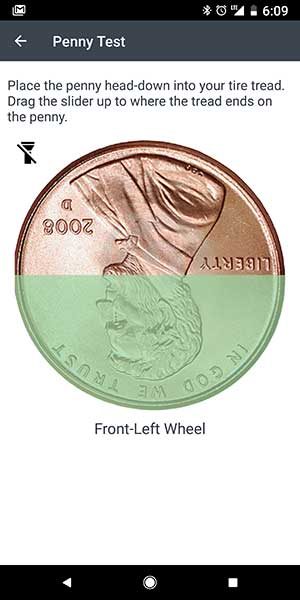
The app has a screen where it looks like it will let you see the tire pressure in each tire. My MINI Cooper has built-in warnings when it detects if the pressure is low, but the FIXD app didn’t show any pressure info when I tapped the tires. It just prompted me to do the penny in the tire tread test so it could compute when I might need new tires. Disappointment #1.

I wasn’t interested in being reminded when to change my oil or when to get new tires. I already have reminders to schedule an oil change built into my car. I was only interested in figuring out what the light on my dash meant. Unfortunately, the light on my dash was NOT a check engine light, so the FIXD adapter was not able to help me. Bummer. Disappointment #2.

After some digging, I think I figured out that my problem may be due to my MINI’s battery which is the original battery that was installed in the 2013 model when I bought it.

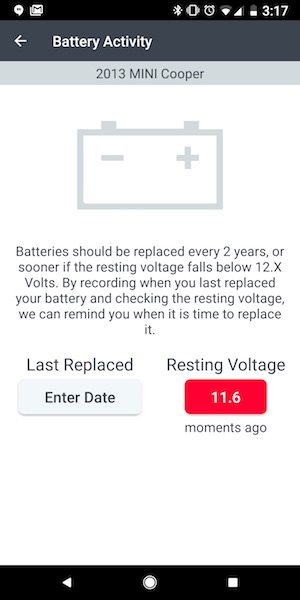
I used the FIXD app to check the resting voltage of the battery and it showed 11.6 V which I learned is low considering I’d just driven for about 20 minutes before checking it. Funny thing is that the app didn’t warn me that my battery might be bad with that reading. Disappointment #3.

What I like

  • Easy to install
  • Maintenance reminders (if you need them)
  • Displays resting battery voltage test
  • Supposed to tell you what the check engine light means

What needs to be improved

  • Slow to connect to the sensor
  • Didn’t warn me when my battery’s resting voltage was low
  • Only reports check engine light issues and not other dash lights
  • Have to create an account to use it

Final thoughts

The FIXD sensor seems like it would be a cool car gadget, but it doesn’t do much that’s useful until you actually have a check engine light come on. I’ve been using this sensor in my car for weeks and haven’t had a check engine light and the FIXD sensor can’t tell me what the other light on my dash means. That and the fact that the sensor can’t tell me my tire pressures or warn me that my battery is low doesn’t really inspire confidence that it will even be able to help me in the event that the check engine light on my dash actually does come on.

I can’t say that the FIXD sensor is a complete waste of money because I am unable to test that its main feature even works. But from what I was able to test, I’m not impressed and can’t recommend buying one.

Price: $59.99
Where to buy: Amazon
Source: The sample for this review was provided by FIXD.

Add power to the front AND back seat of your car with one car charger

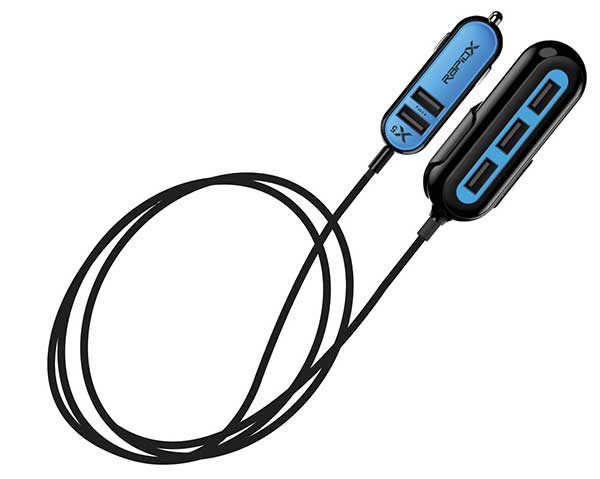
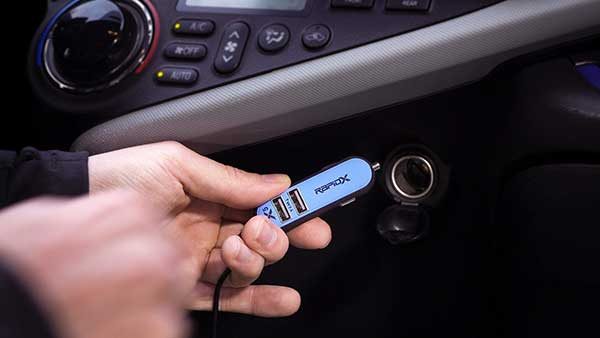
The X5 car charger from RapidX is a charging adapter for your car that plugs into 12V-24V vehicle outlets and cigarette lighters. We’ve all seen USB car chargers before, so don’t click the back button on your browser just yet. What sets the RapidX X5 charger apart from many others on the market is that this one adapter gives you 5 USB ports. They are fast charging ports too.
The end that plugs into the 12V-24V outlet in your car has 2 USB ports and at the other end of the 5-foot cable is a small hub with 3 more USB ports and a removable clip that you can use to clip the adapter to the backseat pocket.
The X5 offers 2.4A of power per port or a total of 10.8A overall. Keep everyone in the car happy and use it to charge your phones, tablets and more.

You can find out more about the X5 car charger at RapidX.io and you can buy one in your favorite color for only $24.99 from Amazon.

Conbrov T17 Car Dash Cam review

While cars have gotten much safer over the years in terms of protection, there is still little to protect you from other drivers. In the event of an accident, even a little fender bender, it’s easy to miss important details that could prove vital in an insurance claim. We could all use a little more peace of mind in that regard, and that’s exactly what Conbrov hopes to bring you with their T17 Car Dash Cam.

What is it?

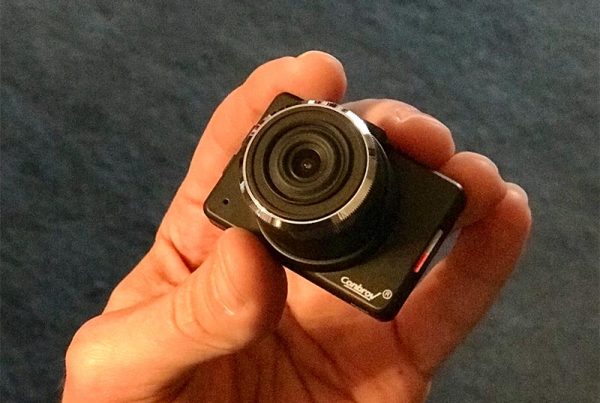
The Conbrov Car Dash Cam is a tiny HD video recorder that can be easily secured to the windshield of your car for recording events and details while driving. It automatically records while your car is running and could provide vital proof in the event of an insurance claim or if you like to record yourself on off-road adventures.

It’s like a little spy camera.

Hardware specs

  • Camera size is 2” x 1.4” x 0.3”
  • Captures 1080P HD resolution footage
  • Loop Recording
  • Night vision mode
  • “World’s Smallest Dash Cam”
  • 1.5” LCD screen
  • Auto accident detection feature triggered by G-sensor automatically locks videos in event of an accident
  • Supports up to 32GB microSD cards (not included)
  • 12-month warranty
Everything you need … except an SD card!

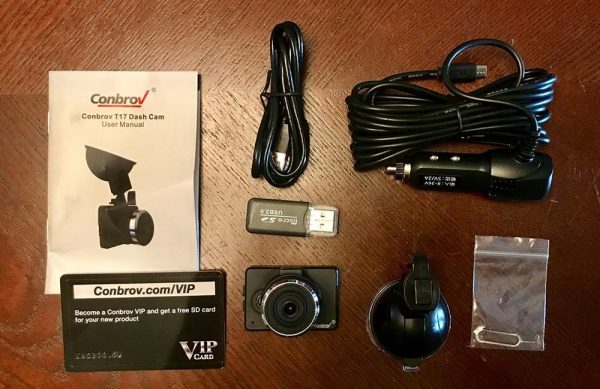
What’s in the box?

  • T17 Car Dash Cam
  • Car charger
  • USB cable
  • Car bracket with suction cup
  • Card reader
  • Pin for reset button
  • User-manual
  • VIP registration card

Design and Features

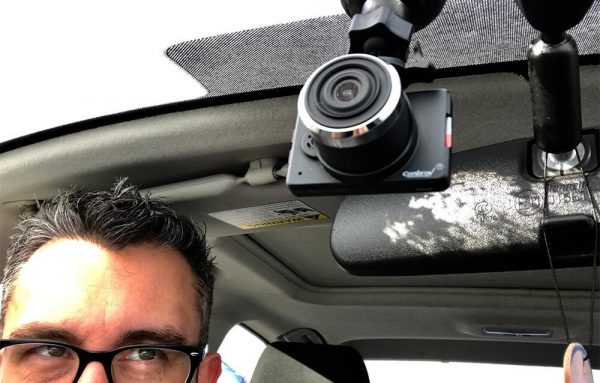
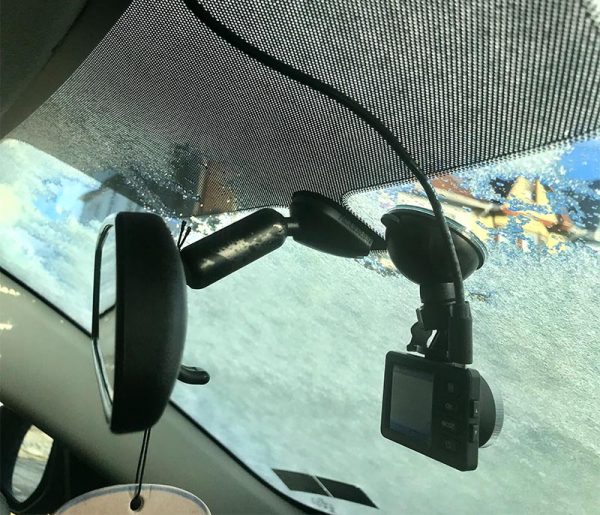
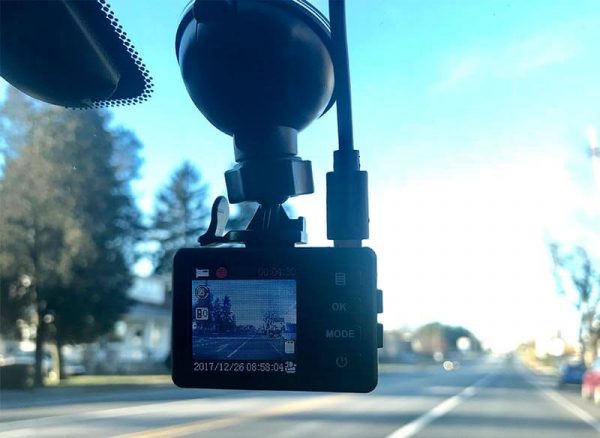
Let me start by saying this camera is tiny. Conbrov claims it’s the smallest dash cam in the world, which always seems to be a haughty claim, but they might be right in this instance. This allows the camera to be positioned in an area that’s out of direct sight from the driver, namely obscured by the rear view mirror, and that’s great for reducing distractions from a tiny, floating rectangle while driving at night.

Installation and usage are straightforward, as seen below.

Setup

The Conbrov Dash Cam was very simple to set up.

Handy little suction cup stayed on tight.

Once I found a spot on my windshield that was just out of my field of vision (I placed it so that it was mostly obscured by my rear view mirror).

Hang in there, baby.

I secured the suction cup bracket, attached the camera, plugged in the charger and ran the lengthy cable from the passenger side floor, up the side of the door, and around the edge of the windshield to obscure it from sight.

The wire wedged nicely into the plastic around the windshield, but your milage may vary.

Once the cable was plugged in, I turned on the car and the camera turned on as well and instantly started recording.

The supplied adapter includes a nice USB throughput so you can continue to use it with other devices.

Usage

The thing about a dash cam is that, like most safety features on your car, you don’t really actively use it unless you have to, and you hope that you never have to. Once I had the camera in place, I didn’t touch it, save for checking out the footage that I had recorded. It was easy enough to forget about completely while in use.

Set it and forget it.

More on that point, it’s entirely hands-off. Once you start your car, the camera recognizes the power source and begins to record immediately. When you turn your car off, the camera continues to record for a set time (1 minute default, adjustable in the settings) and turns off.

While it does have a still camera setting, and you could use it like a pocket-sized video camera, the size and interface aren’t very practical for that purpose. It’s perfect for what it was meant for, a constant recording device that sees what you’re seeing behind the wheel, providing proof in the event of something eventful.

It never takes its eye off the road.

The camera features an adjustable loop recording feature. You can select the length of the recordings in the settings, in 1, 2, 5 and 10-minute increments. The loop recording basically means that it creates video files until the SD card is filled and then starts overwriting the oldest file. The size of the SD card determines how long the videos are archived.

For instance, the video files at full resolution took up about 800MB on average for a 5-minute clip. Given that, the oldest record on my 16GB SD card was about an hour and a half of drive time.

Fortunately, the camera features a G-lock setting which detects sudden stops, such as in an accident, and automatically “locks” the currently recording video. This prevents accidental deletion or overwriting of that important video file. One note: I found that a lot of the videos were locking themselves, which means the were not being overwritten and my card was filling up. I can’t figure out if it was because of the G-lock system being a little too finicky, so I ended up turning that setting off.

Video quality

Below are two examples of day and night recordings. The camera was set to 1080p resolution and highest quality.

Daytime

Nighttime

While reviewing the videos, I found the quality slightly lacking. It’ll do just fine for recording the cause of an accident in front of the car, but if you’re looking to capture something like the license plate of a hit-and-run vehicle, or any car that’s further than 20 feet away, that might prove difficult. Overall, it gets the job done. The night mode was pretty decent.

Positives

  • Very small and visually unobtrusive
  • Auto-start and stop
  • Relatively inexpensive

Negatives

  • Doesn’t come with a required SD card (which is common among dash cams I’ve found)
  • Power cable could be visible on dash
  • Mediocre video quality
  • Smaller SD cards fill up really quickly

Final thoughts

I was impressed with the Conbrov Dash Cam’s simple set-and-forget functionality. Thought it might not be the sharpest camera, its size and cost are very well suited for those looking for a little extra protection on the road.

Price: $42.99
Where to buy: Amazon
Source: The sample of this product was provided by Conbrov.

iOttie Easy One Touch 4 Phone car mount review

As long as there have been mobile phones, I’ve struggled with figuring out a place to mount them in a car. I’ve had iOttie car holders before, but I had a chance to try out some of the newest in the Easy One Touch lineup.

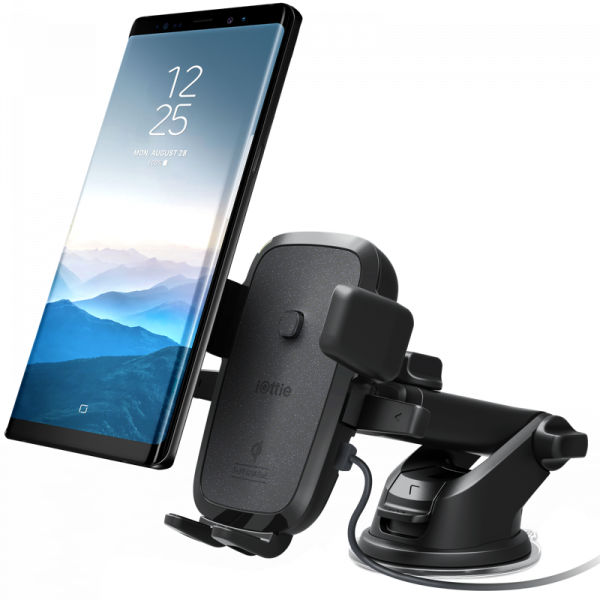
I recently purchased the Apple iPhone X, which finally features wireless Qi charging. Now I have a chance to try out the iOttie Easy One Touch Wireless Fast Charging Dash & Windshield mount.

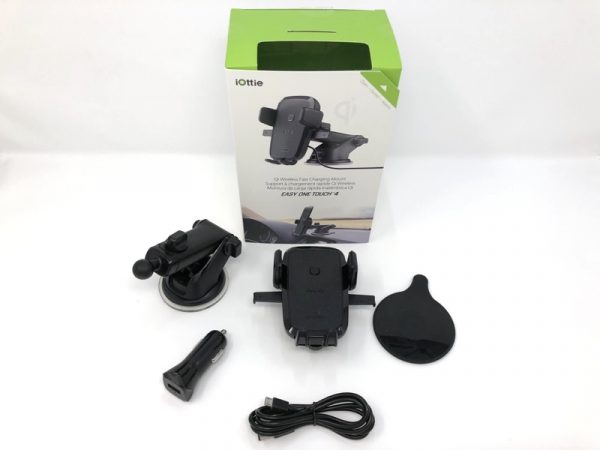
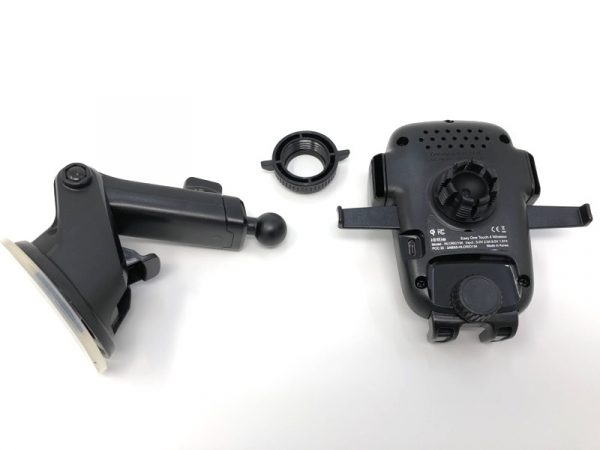
In the box, you get the cradle assembly and a USB adapter with plug (micro USB).

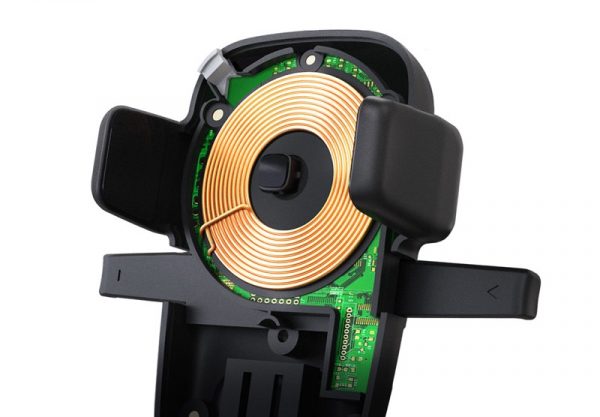
Somehow, iOttie managed to cram in a Qi charging coil around the holder trigger button.

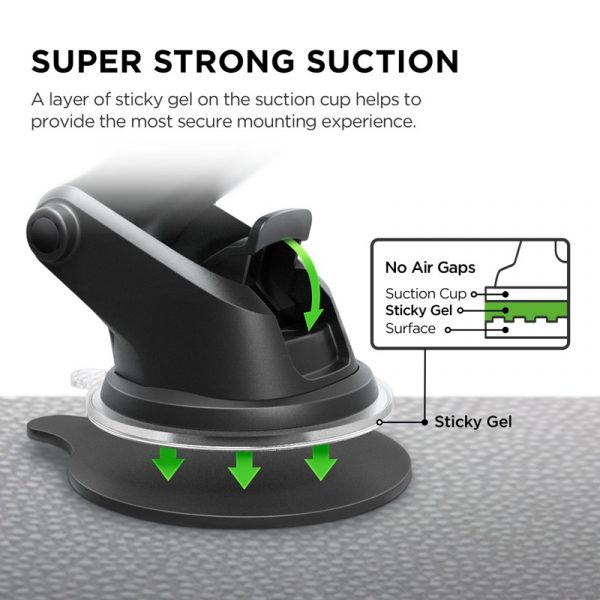
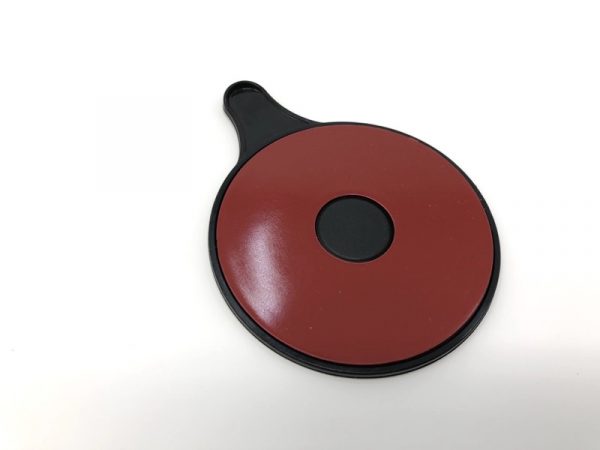
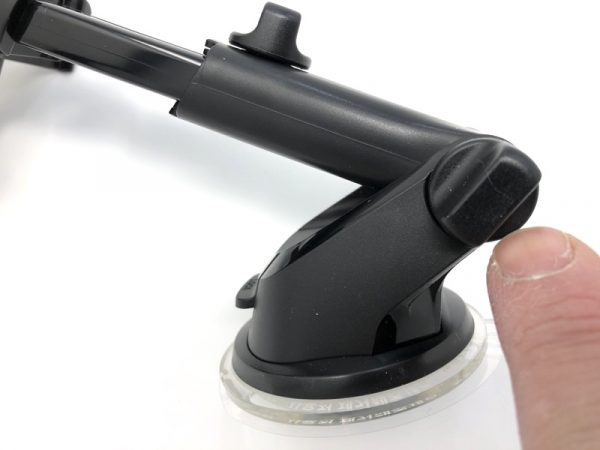
iOttie uses this sticky, gummy suction cup that’ll attach to darn near anything. If you have a curved or uneven surface, they’ve included an adhesive disk to help with adhesion.  The dark red circle is a peel-off backing.

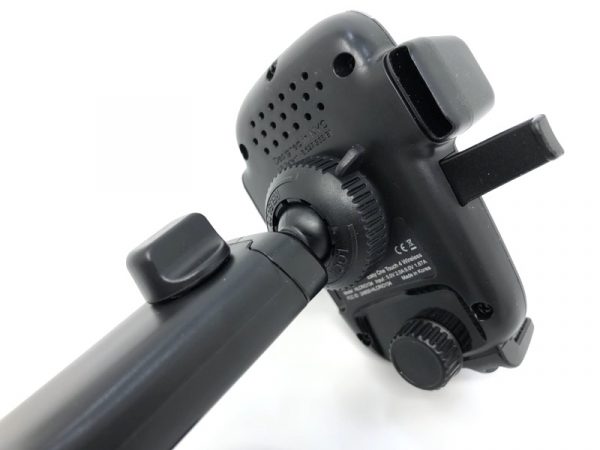
The back of the holder is a ball and socket joint.  A wingnut-style ring adds tension, keeping things in place. Note the ventilation holes on the back of the cradle for the charging electronics.

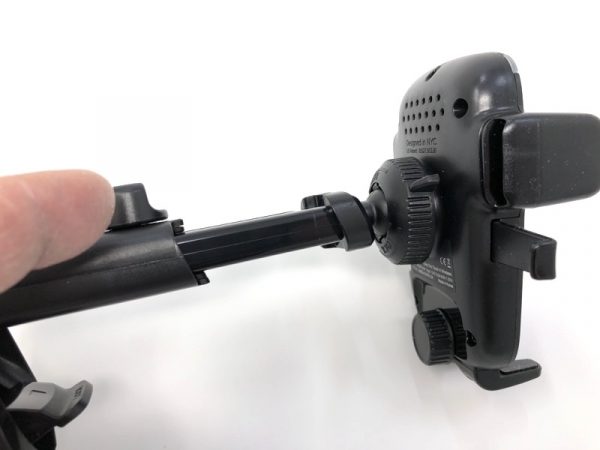
There are so many adjustments on the iOttie wireless fast charging cradle.  You can extend the holder…

…or adjust the angle…

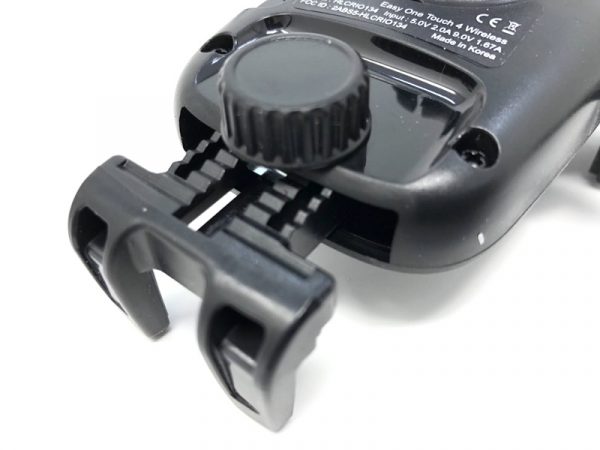
…and even change the resting height of the phone itself.  I found that with the iPhone X, this bottom “claw” could remain at the smallest position.

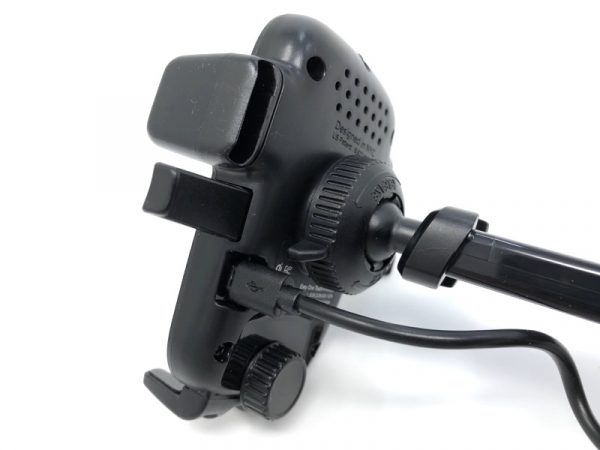
The included micro USB plug goes in the back of the cradle as shown.

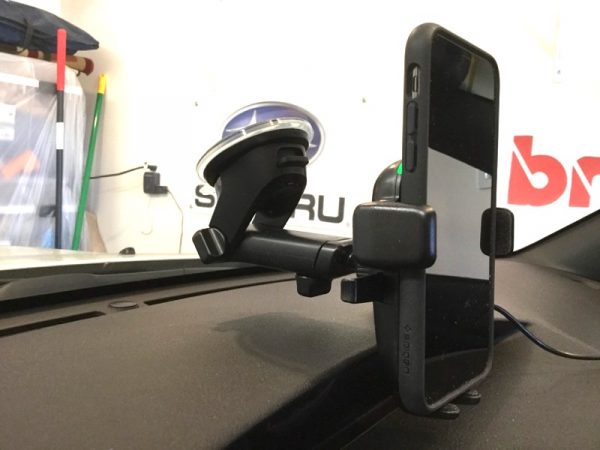
In this mounting example, I have the mount attached to the center of my windshield.  Always obey local laws when mounting your iOttie cradle. You can see the green charging LED in the upper-left corner of the cradle holder, next to the volume down button on the phone.

It’s a little hard to describe how the holder works, so take a look at the video.

When the “arms” are open, simply drop your phone in and the button/trigger on the backplate activates the spring-loaded grip. If your phone is Qi-compatible, charging begins. To release, simply squeeze the two release tabs.

I found the iOttie Easy One Touch Wireless Fast Charging Dash & Windshield Mount to be sturdy, adjustable, and incredibly handy if you want to charge your Qi-compatible phone without the hassle of plugs.

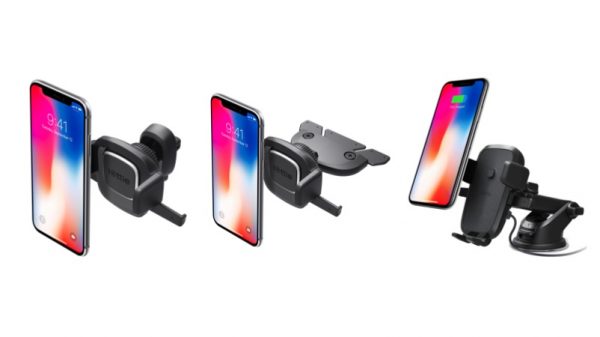
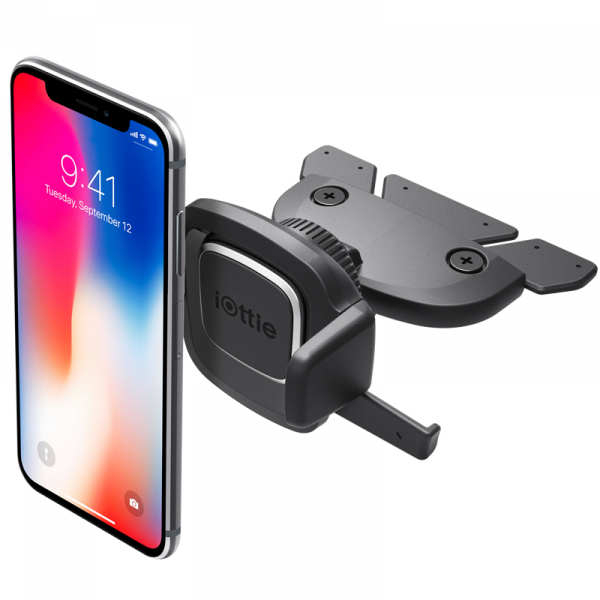
The folks at iOttie also sent me two other phone holders.  One was the Easy One Touch 4 CD Slot Mount.

This is another style of phone mount that uses the CD slot in your car audio system. I haven’t used a CD in a very long time, so it made sense to use a part of the car that was not being used.

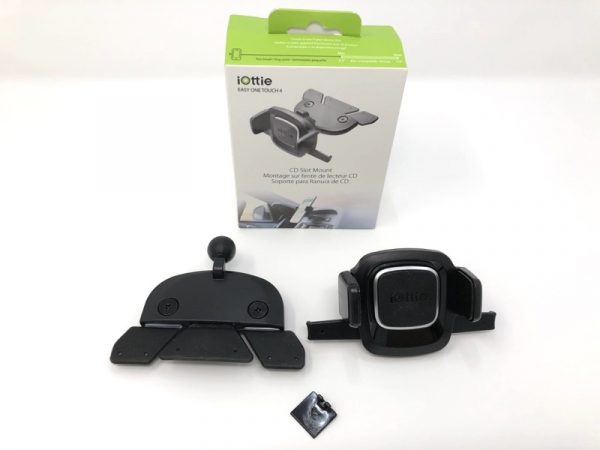
There’s not a whole lot to the package. There was a tiny black spacer which I didn’t use.

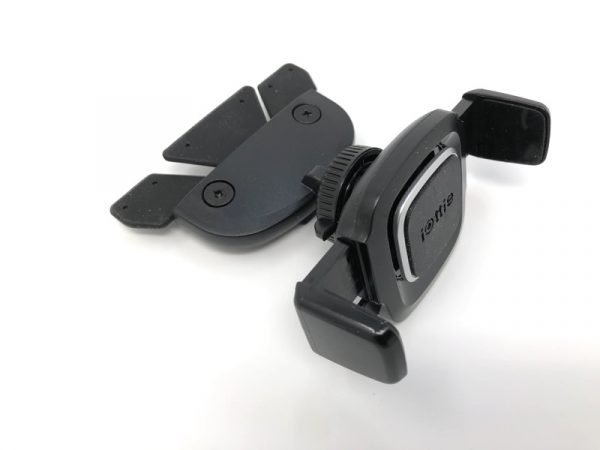
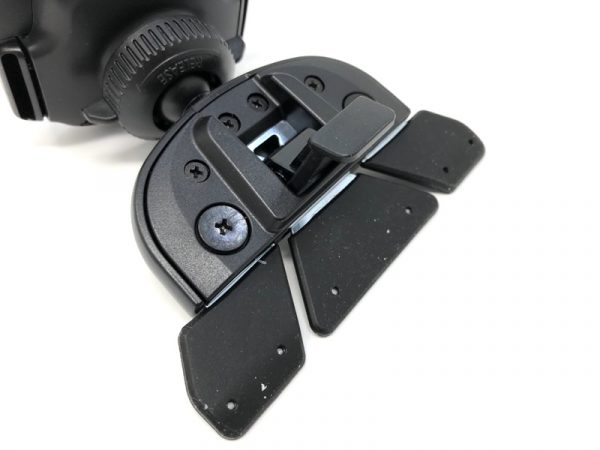
Like most of iOttie’s phone holders, the CD Slot Mount also uses a ball and socket mount, but a very peculiar “paddle” that goes into your CD slot.

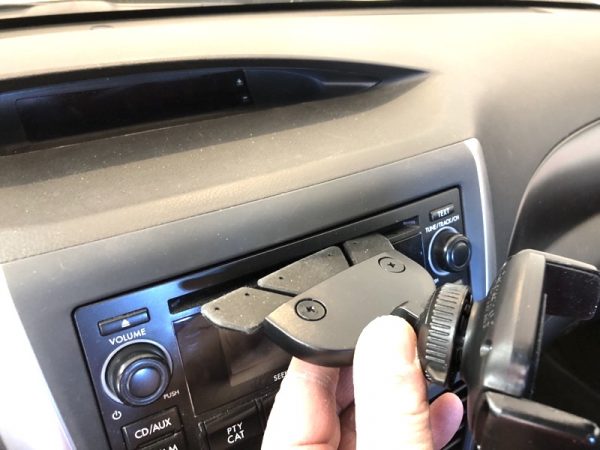
Here, I’m inserting the “paddle” into my unused CD slot.

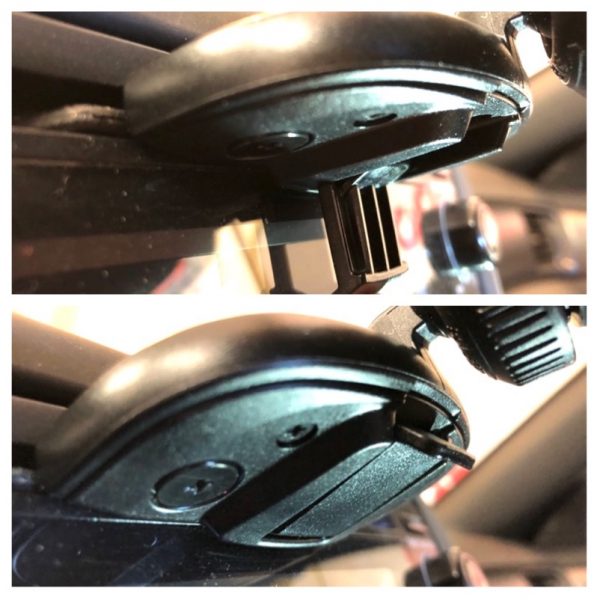
Once in place, you flip the locking tab in the up position.  This spreads the “paddle” inside the CD slot, giving the whole thing grip.

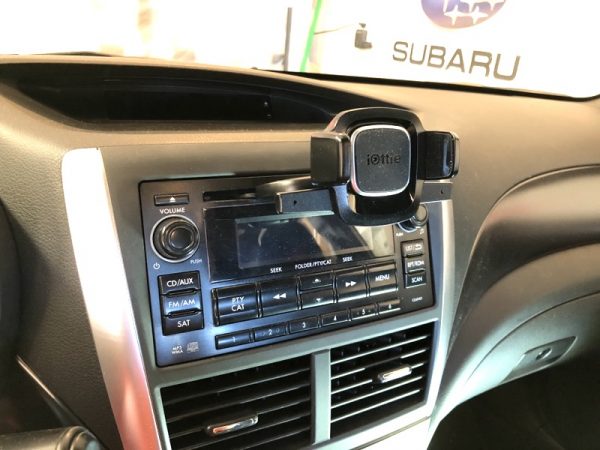
Here’s the holder in place…

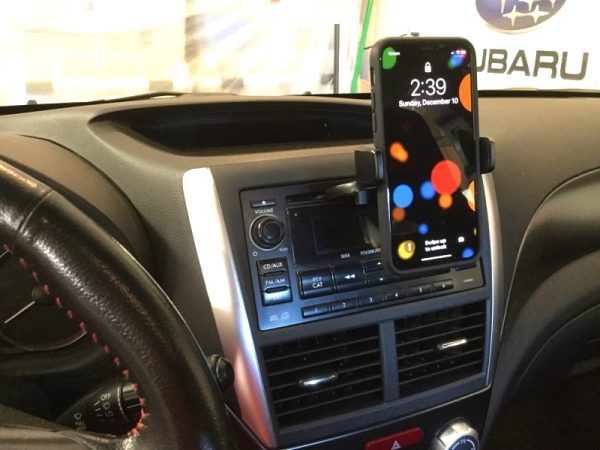
..And the holder plus iPhone X.  I thought the iOttie Easy One Touch 4 CD Slot Mount was a pretty clever system, but it obstructed the view of my radio display. Of course, your results may vary, but this wasn’t quite for me.

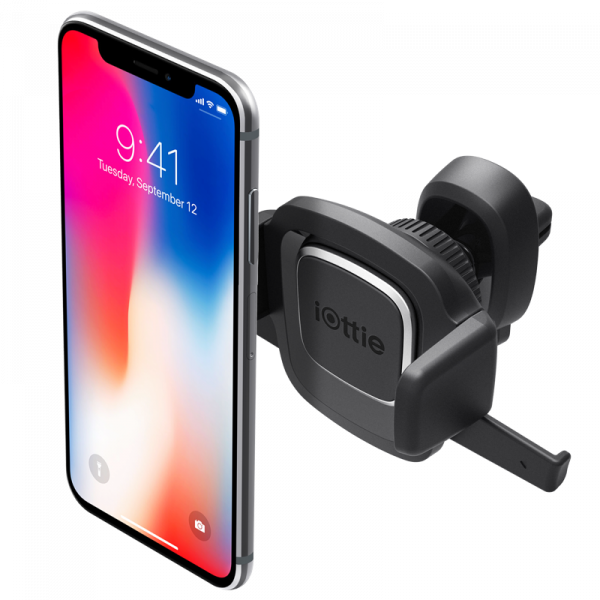
Finally, I tried out the iOttie Easy Touch 4 Air Vent Mount.

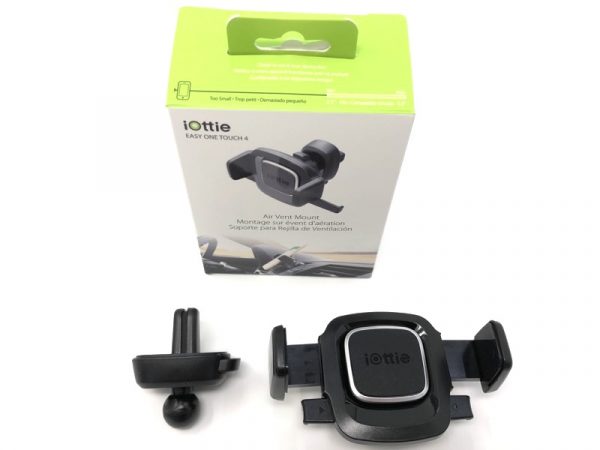
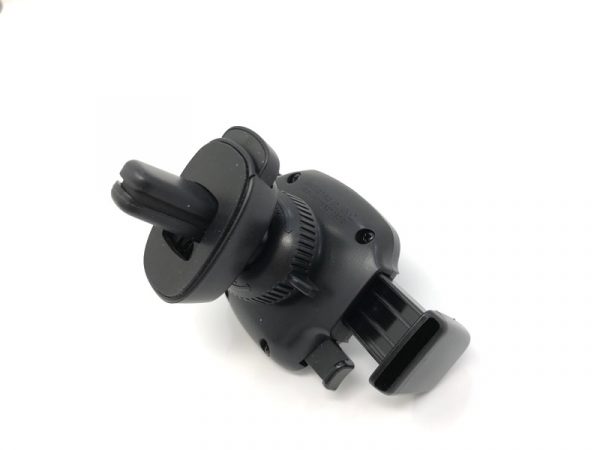
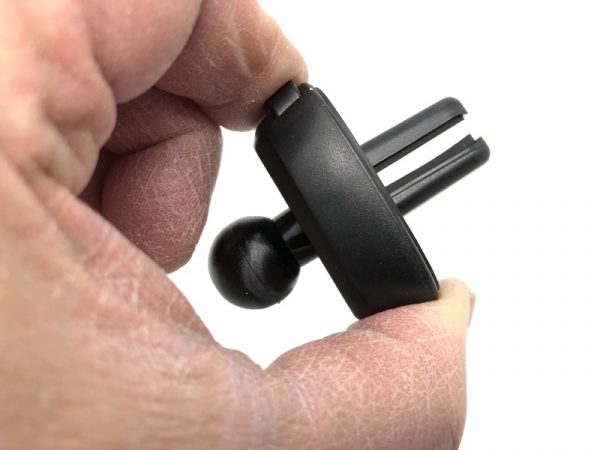
This mount is even more straightforward: It consists of just the spring-loaded mount and a duckbill-shaped vent grip on a ball mount.

The “duckbill” opens up just a little with a firm squeeze of the button. It’s pretty tight.

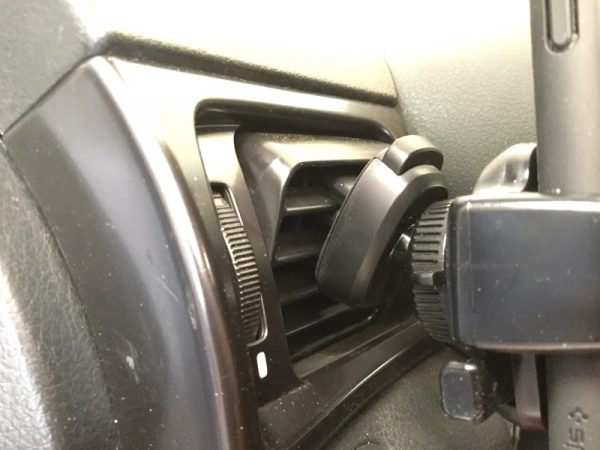
In my car, I found out that the mount causes my vents to sag down a bit. I had to play around with slot selection to get something that worked.

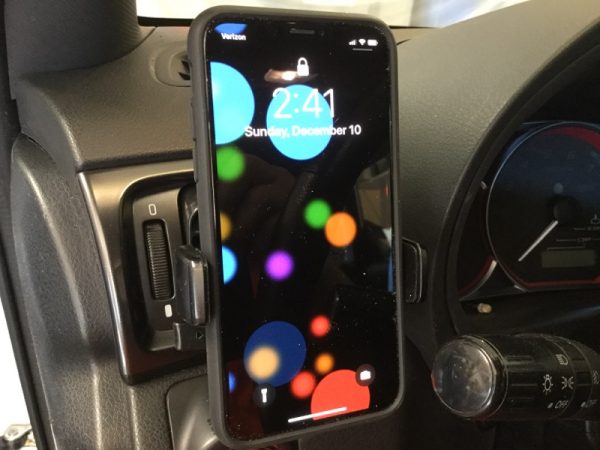
The results look great, however.  In my car, this position doesn’t block my view of the road or my car stereo display. The iOttie Easy One Touch 4 Air Vent Mount is a little more dependent on how sturdy your air vents are. In my car, they’re pretty wobbly.

Positives

  • The One Touch mechanism really works
  • Suction cup, CD slot, air vent… there’s probably a mounting solution that works for you
  • Qi charger lines up every time (Wireless Fast Charging model only)

Negatives

  • CD slot model may block displays or controls on your dash (CD Slot Model)
  • If your air vents are loose, you may get a wobbly fit (Air Vent Model)

Final thoughts

Not all of the iOttie car mounts worked perfectly, but I’d say the Easy One Touch Wireless Fast Charging Dash & Windshield Mount is my runaway favorite, but only because my CD slot location isn’t optimal, and my vents are a bit on the wobbly end.

Price: $54.95 (Easy one Touch Wireless Fast Charging Dash & Windshield Mount), $24.95 (Easy One Touch 4 CD Slot Mount or Easy One Touch 4 Air Vent Mount)
Where to buy: www.iottie.com and Amazon
Source: The sample of this product was provided by www.iottie.com.