
REVIEW – The keto diet – everyone is on it. Thanks to my loving wife, and my extended middle, as of May 1, I am as well. I wanted to be able to tell if I am successfully into ketosis, so when the opportunity to test the KetoCoach blood ketone meter came up, I jumped at it.
What is it?
KetoCoach is an FDA-approved blood ketone meter. A blood ketone meter analyzes a small amount of capillary blood looking for ketones. What are ketones, you say? Ketones are produced when the body burns fat for energy or fuel. They are also produced when you lose weight or if there is not enough insulin to help your body use sugar for energy. Without enough insulin, glucose builds up in the blood. When this occurs, ketones form in the blood and spill into the urine.

Testing for ketones is a primary test for keto dieters and for folks with diabetes. This meter specifically measures beta-hydroxybutyrate (BHB), the most common ketone the body produces. Since the blood cannot get altered as much as urine can, blood is considered a more accurate, and more consistent measurement of ketosis.
What’s in the box?
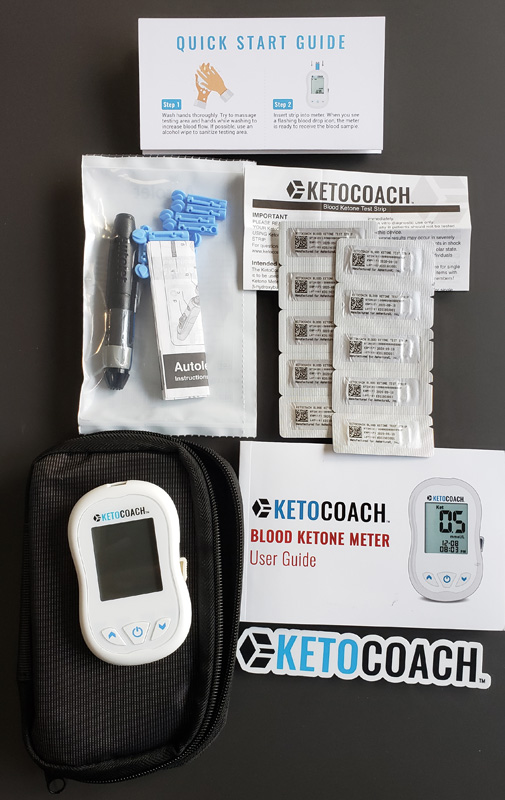
- KetoCoach unit
- Carry case
- User guide
- Quick start guide
- 10 lancets
- Lancing device
- Lancet instructions
- 10 test strips
- Test strip instructions
- KetoCoach decal
Hardware specs
- Test range: 0.1 – 8.0 mmol/L
- Blood sample size: >= 0.8 microlitres
- Hematocrit range: 20 – 60%
- Display: Backlit LCD
- Memory: 500 tests with date and time
- Dimensions: 99L x 58w x 16H mm
- Weight: 49g without batteries
- Batteries: 2 x CR2032 3v lithium coin cell
- Battery life: 1000 tests in continuous use or one year
- Auto power-off: 1.5 minutes of inactivity
Design and features
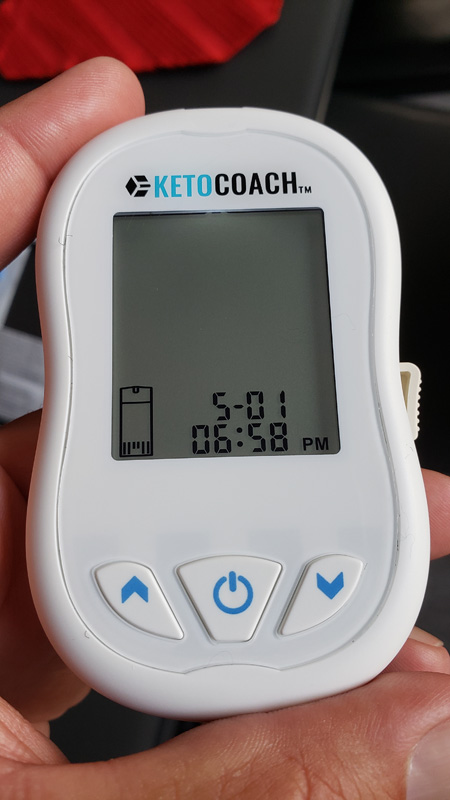
The unit fits easily in the hand and has a large, easy-to-read display with a backlight for dim conditions. The test strip eject lever is on the right side of the meter. The test strip slot is on top of the meter. Beside the power button are up/down buttons used to cycle through historical tests and also for setting the date and time. Speaking of setup…
Setup
To power up/down the unit, you hold down the power button for three seconds. When you power up the unit for the first time, it steps you through setting the date and time. Once set, the unit is ready for a test strip.
Performance
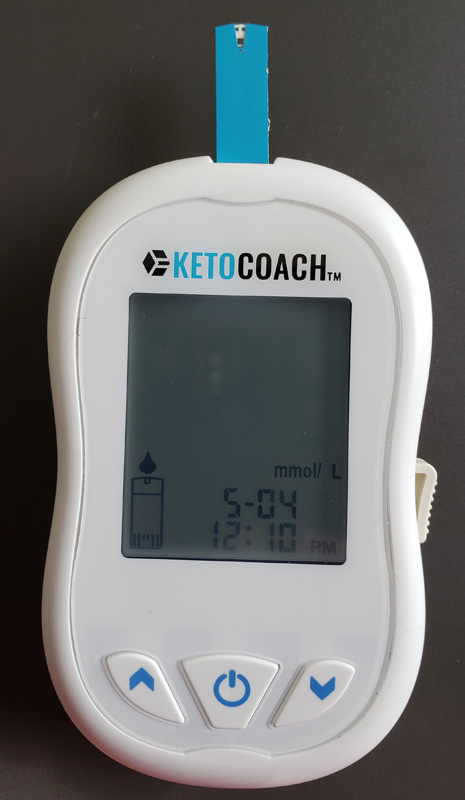
To get ready to test, I washed my hands, removed one test strip from its protective foil packet and inserted it into the meter. The meter powered up and the blood drop icon started flashing above the test strip icon, indicating that the meter is ready for a blood sample.
I popped the top off the supplied lancing tool. Note that I have the depth set to “1”, the minimum lancing depth. You can vary to a deeper depth, up to “9”, if “1” doesn’t get to your capillaries. For me, “1” was perfect.
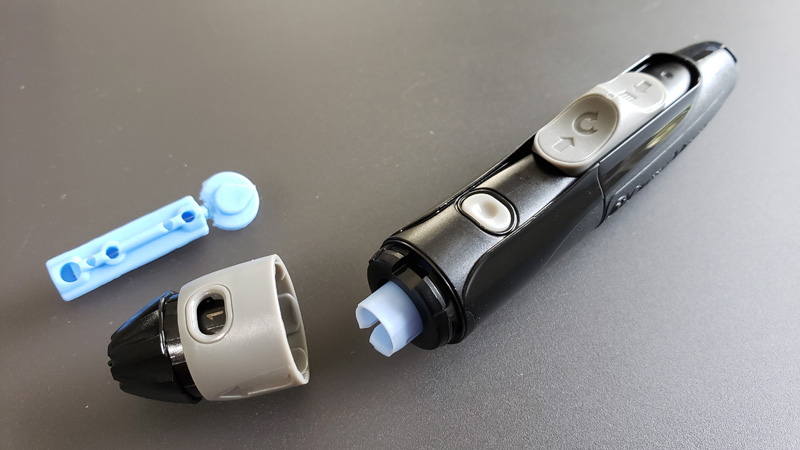
I inserted a lancet into the tool. Pushing it in automatically cocks the device, getting it ready to stab you. If it doesn’t cock completely, you can slide the large switch to complete the lancet cocking. That switch also doubles as the lancet ejection switch.
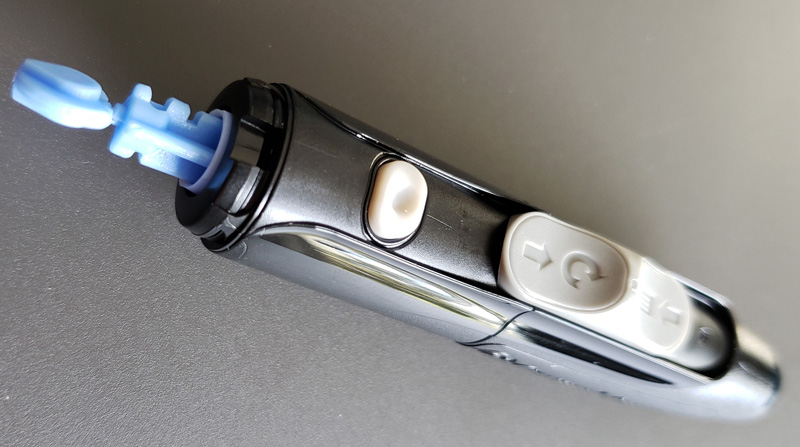
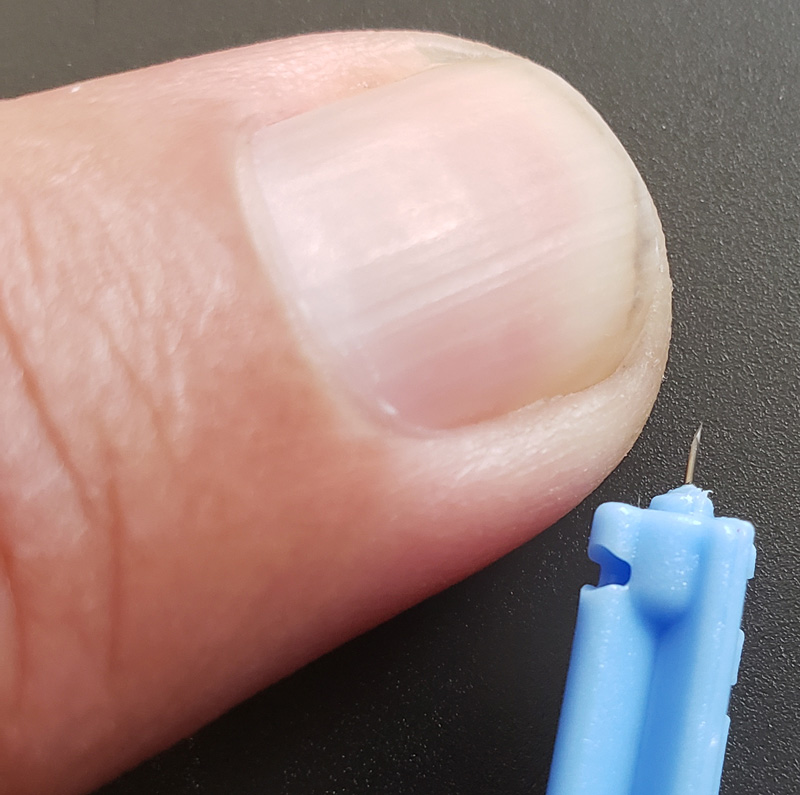
After twisting the protective cover off the lancet and replacing the tool cover, I was ready to pierce my finger. The actual needle is quite thin.
They recommend pushing the tool into the side of your finger to minimize pain. When you’re ready to go, you push the small gray button on the tool. The lance comes out very quickly and then immediately retracts.
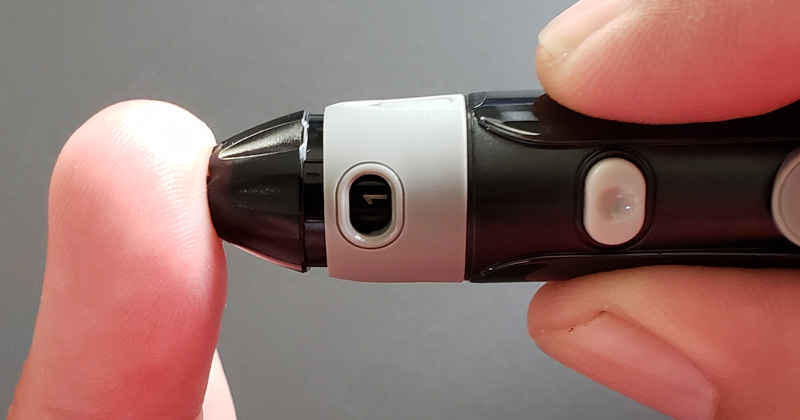
With the thin lances supplied and shallow piercing depth, I didn’t feel anything. When I pulled it away, I could clearly see the indentations of the desensitizing knobs on the tip of the tool. It is designed to stimulate those nerve endings, minimizing the impact on the nerve endings when the lancet pierces your skin. It works as I didn’t feel it at all and a small droplet came out.
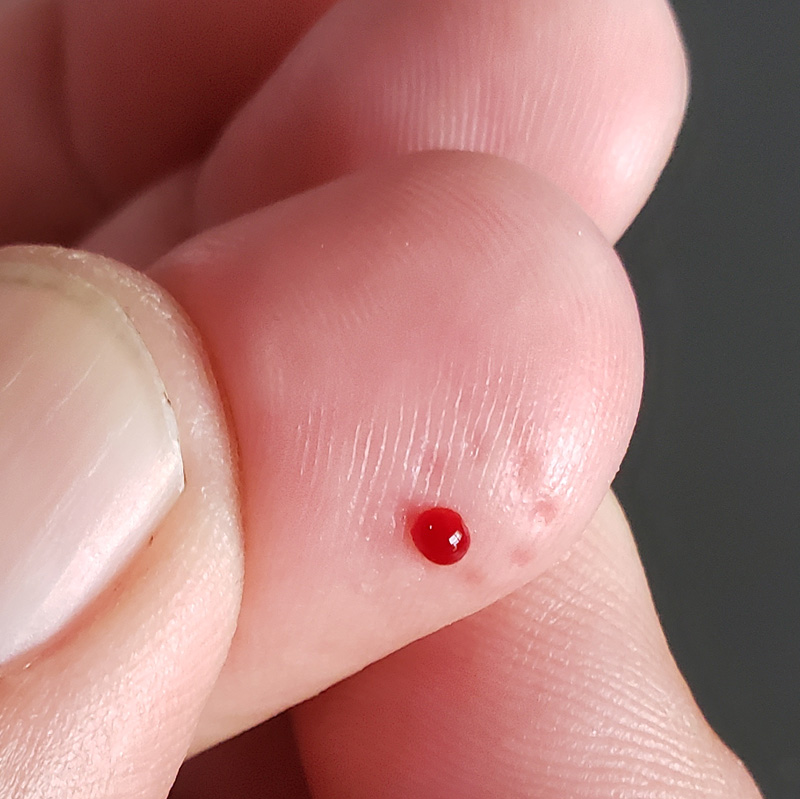
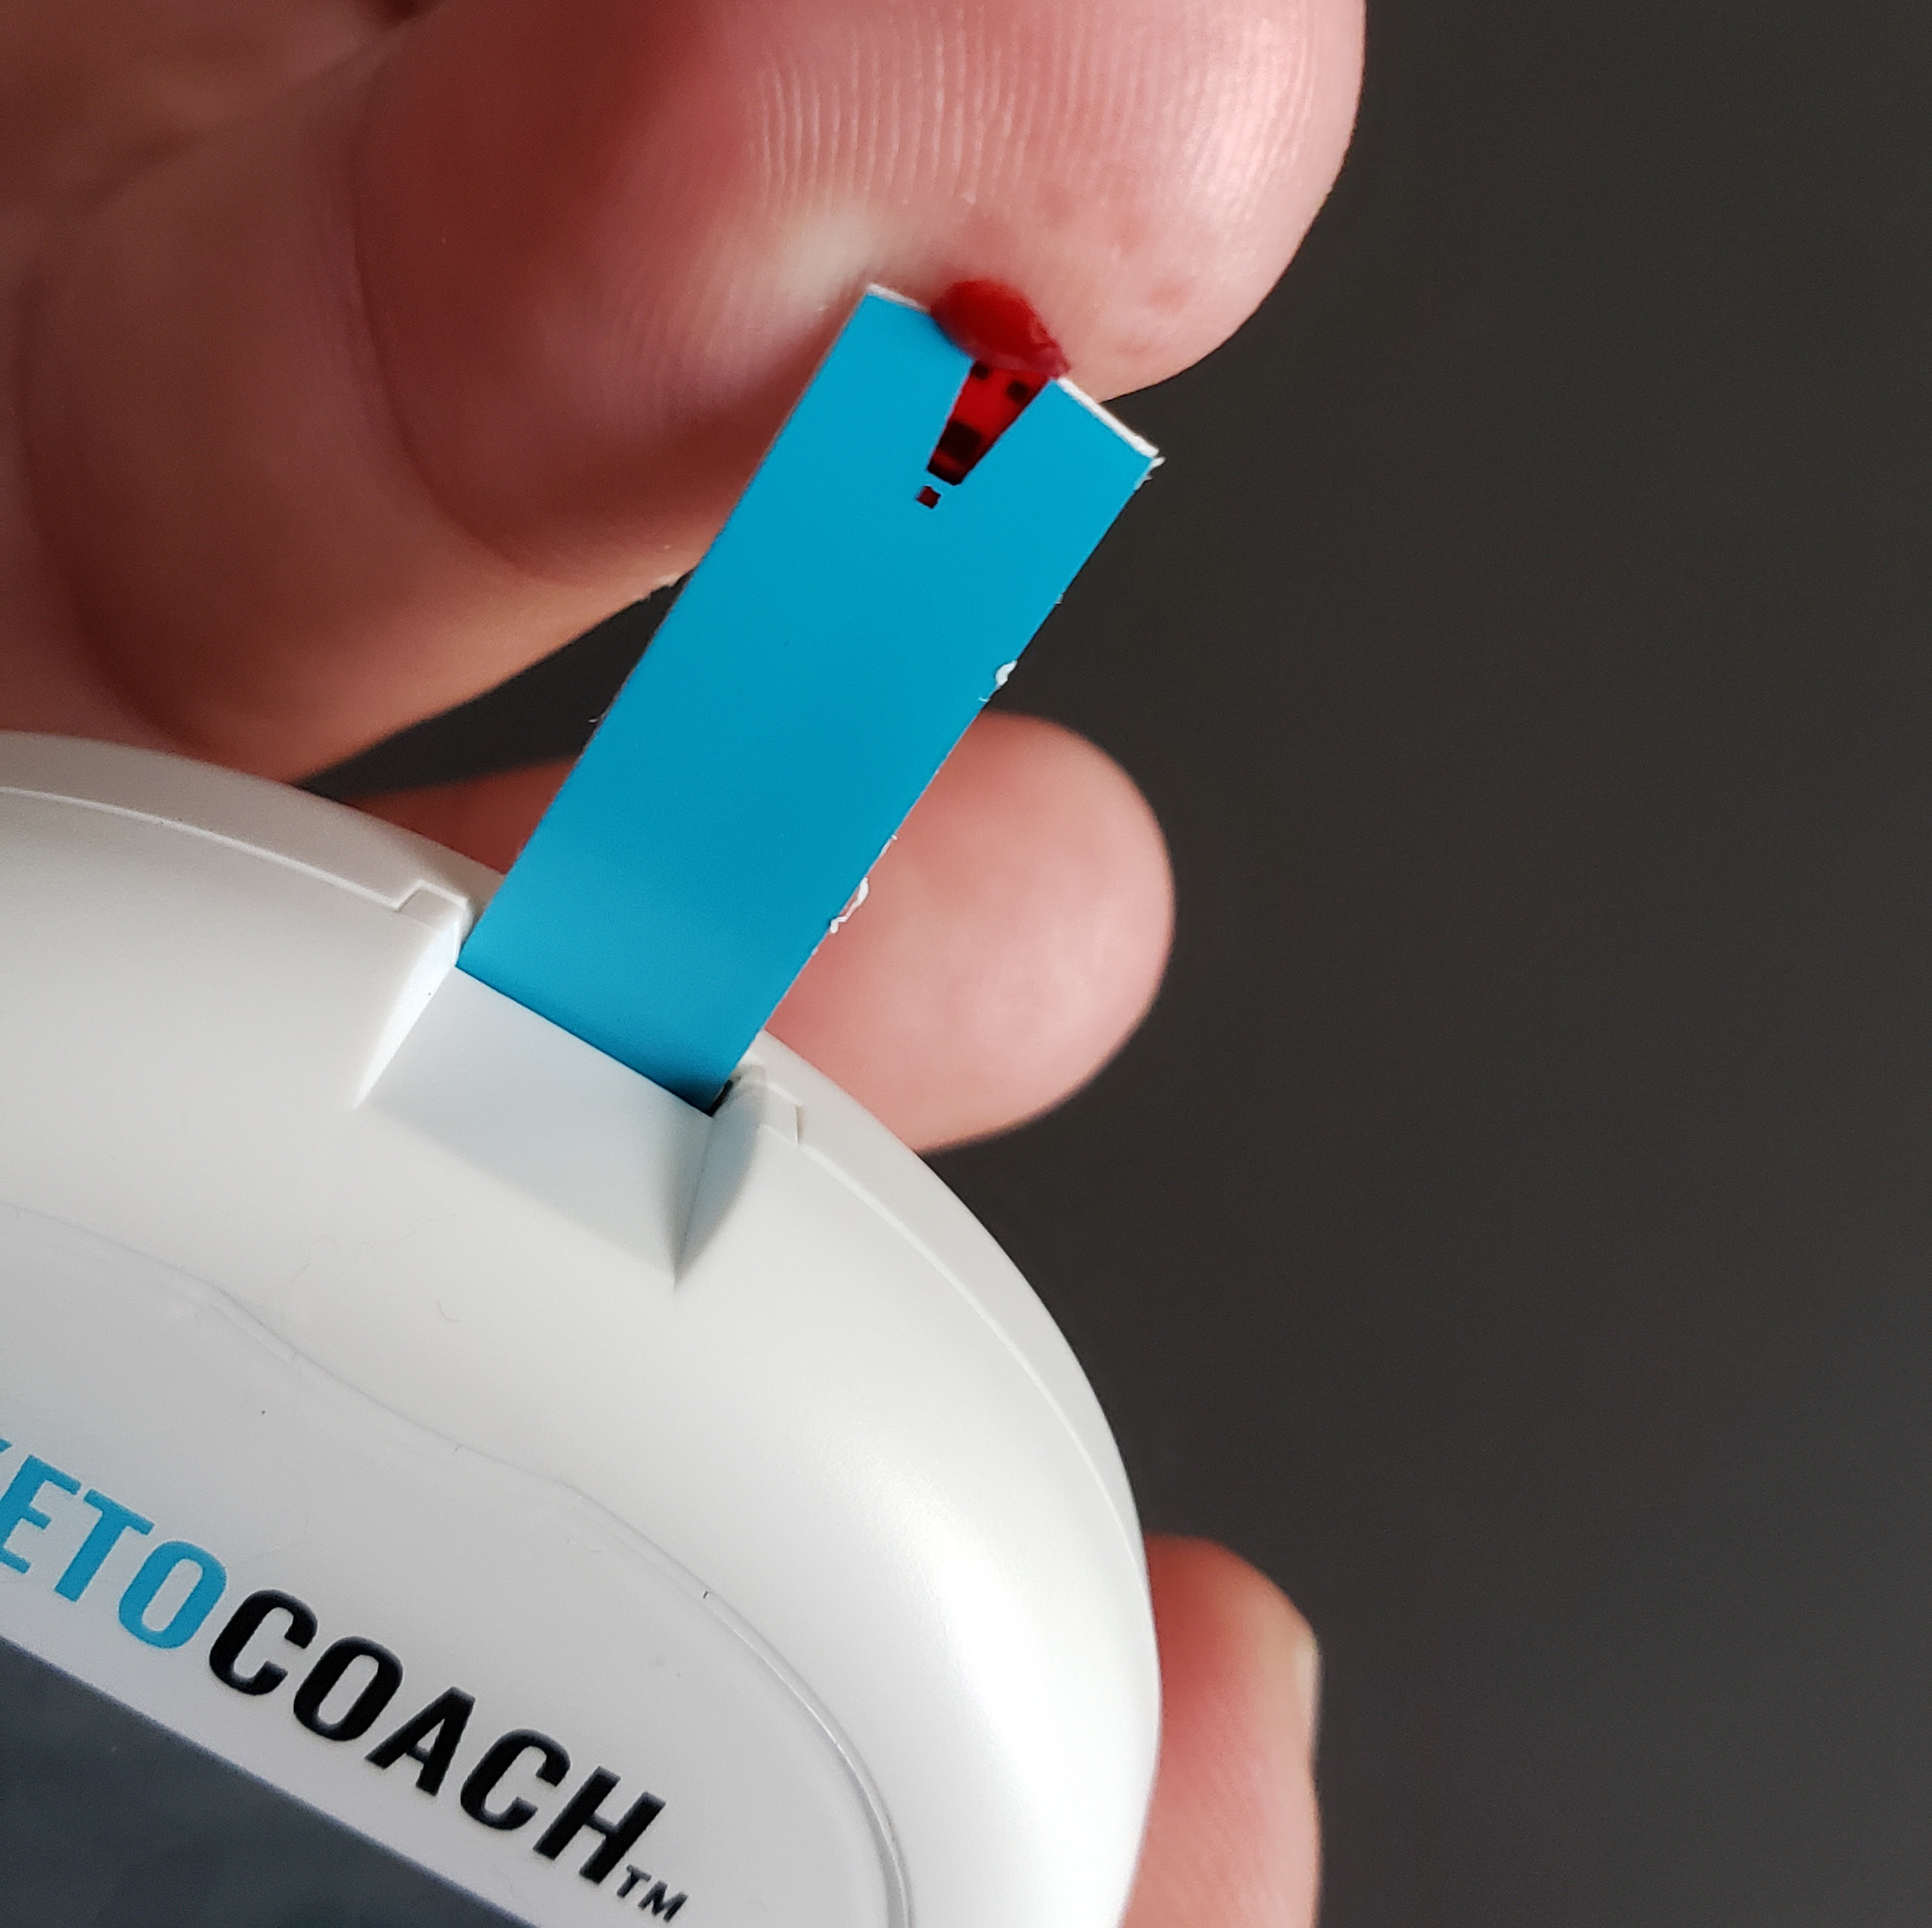
I touched the droplet to the top of the test strip. The strip is designed to pull the blood in. As soon as it did, the meter started a countdown of about five seconds.
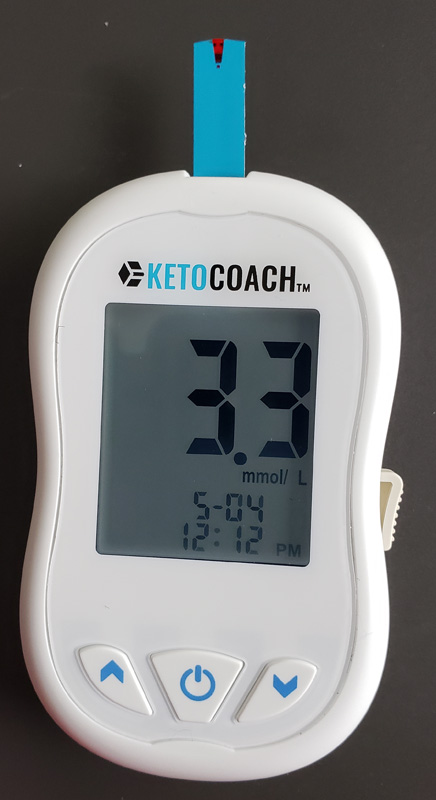
After the countdown, the meter displays the ketone level in your blood. I was at 3.3 mmol/L – actually a tad on the high side for ketosis. This is most likely due to the fact that I was severely limiting my carb intake over the past four days to get into ketosis. This test indicates that I need to up my carb intake a bit
Just prior to doing this test, I also used a urine ketone test strip. That test indicated I was really deeply into ketosis. The blood test backed that up.
About the test strips…in my opinion, they’re costly, but that’s relative. You have to use the specific one designed for, and available exclusively through KetoCoach. Per the KetoCoach documentation, others will not work with KetoCoach. They run $34.95 for 50 strips or $0.70 per test. In addition, you need lancets. Those cost $9.95 for 100, or $0.10 per test, also from KetoCoach. That adds up to $0.80 per test. If you regularly test your ketones, that can add up quickly. You can buy generic lancets from your favorite pharmacy or online for as low as $0.04 each, bringing the total cost per test down to $0.74. This price compares favorably with other ketone blood test strips I found on Amazon. Most run between $0.87 and $1.00 per test, plus the cost of lancets.
Alternatively, you can buy urine-based test strips as low as $0.04 each online from Amazon. Of course, you have the tradeoff of cost versus accuracy, and there’s no argument that blood ketone testing is more accurate than urine ketone testing. Urine ketone testing is much less invasive. While not as accurate as blood ketone testing, it may be accurate enough.
What I like
- Easy to use (but not as easy as urine test strips)
- Accurate
- Nice carry kit allows you to easily take it with you
- Low start-up cost
What needs to be improved
- Cost of test strips is a bit high but is lower than competing brands
Final thoughts
I am pretty impressed with the KetoCoach. As home-based medical devices go, it is easy to use, and the supplied lancing tool does a good job minimizing the pain usually associated with finger-prick testing. They kept the cost of the required supplies reasonable when compared to competing brands. When compared to urine-based ketone testing, however, the cost is significantly higher.
So, is it worth it? That’s up to you. The initial cost at just under $50 is pretty reasonable. If the ongoing costs work for you, then getting the accuracy of a blood ketone test at a relatively low cost is a pretty good deal. Combine that with a good design and easy interface and KetoCoach may be for you.
Price: $49.95
Where to buy: Direct from KetoCoachx.com
Source: The sample of this product was provided by KetoCoach.
Filed in categories: Reviews
Tagged: Health and fitness
KetoCoach blood ketone meter review originally appeared on The Gadgeteer on May 12, 2019 at 11:00 am.
Note: If you are subscribed to this feed through FeedBurner, please switch to our native feed URL http://the-gadgeteer.com/feed/ in order to ensure continuous delivery.
