On a recent vacation, we were not able to get the usual tiny car we like to rent, and instead were “upgraded” to a crossover SUV. While initially irritated, the Gadgeteer side of my nature soon kicked in and I started enjoying the bits of tech that our cars don’t have. A backup camera was possibly the nicest of the lot, so when the offer for the ZUS Wireless Smart backup camera from NoNDA came to the team, I scrambled to volunteer. I’ve had it for a few weeks now, so it’s time to report.
Note: Photos may be tapped or clicked for a larger image.
What is it?
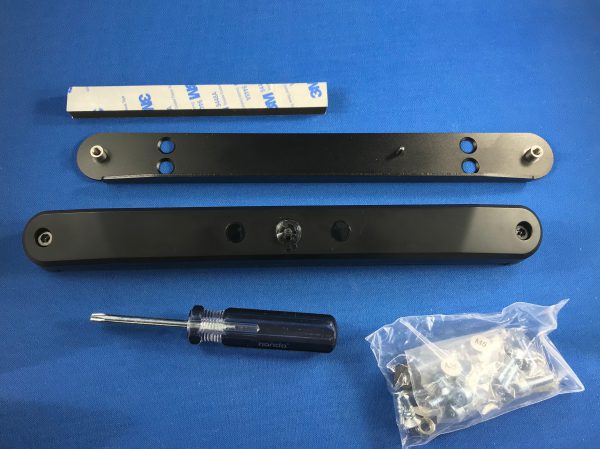
The ZUS wireless camera is built to be installed into the license plate holder that all cars in the US have as a standard feature. There are two pieces: one that mounts onto the car and holds the plate in place, and a second that has the camera, sensors, and battery. This allows the user to remove the camera module and take it somewhere to charge, even if that’s only in the trunk with a powerbank. Installation is simple, according to the package.
Hardware specs
- Size: 1.29 x 10.74 x 1.14 in / 33 x 273 x 29 mm
- Batteries: 2×18650(Total 5200mAh)
- Weight: 8.48oz / 240.4g
- Camera: Panasonic 34210
- Size: 1.44 x 0.68 x 3.33 in / 36.05 x 17.36 x 84.64 mm
- Storage Temperature: -40°F ~ 176°F / -40°C ~ 80°C
- Operating Temperature: -4°F ~ 122°F / -20°C ~ 50°C
- Lens: 170 HD Wide-angle Lens
- Wireless Connection: Bluetooth4.0 2.4Ghz
What’s in the box?
- Outer piece with the camera, battery, and weather-resistant charging port
- Mounting plate
- Mounting kit with 8 pairs of nuts and bolts in various sizes
- USB charging cable
- Foam mounting tape
- Hex wrench
- Star safety bolt screwdriver
Design and features
The kit itself is packaged securely but ecologically in a cardboard box with minimal anti-scratch film. The camera bar is in the center, with a long cardboard box holding all the mounting hardware bits and bobs, and a matching one with the mounting plate that holds your license plate to your car and has threaded screws for the camera unit. The mounting plate is a heavy gauge steel angle with a shelf on one side. (This thing is a much heavier gauge than any license plate frame I have ever seen anywhere!)
There are two sets of counter-sunk mounting holes on either side to align with your car and license plate. There are also two outer threaded tubes that will accept the captive safety screws from the camera unit. There is also a mounting pin that helps to prevent the camera from being inserted upside down. There is a hole in the rear of the camera unit that accepts the pin.
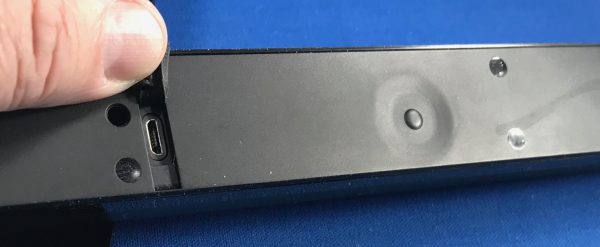
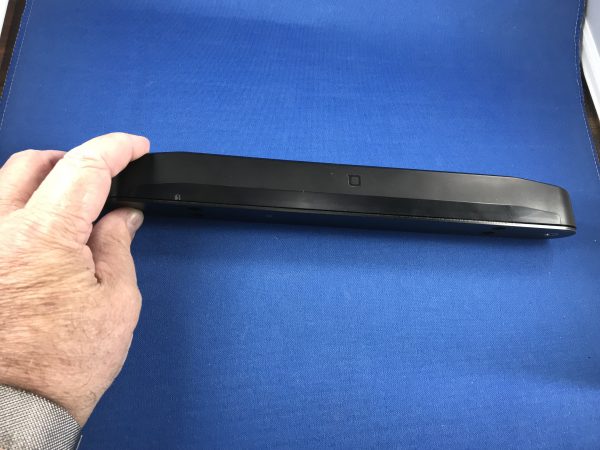
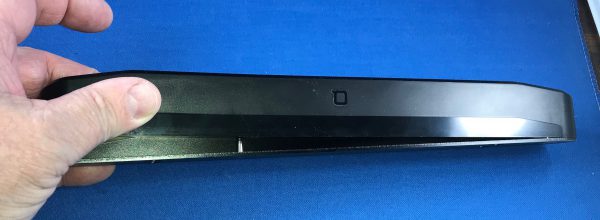
The camera unit has, obviously, a camera mounted in the center, with a pair of sensors to either side, about an inch away. On the far ends are the captive star screws for attaching to the mounting plate. The security star head, while not common, is used in many places where you don’t want folks to remove screws. It won’t stop a determined thief, but it’s going to stymie kids out being kids who say, “Look! There’s a camera on that car’s license plate holder! Let’s grab it!”
Setup
Despite the clear 4-step “Install and Use” diagram on the back of the box, the setup is fraught with issues. First of all, the instructions list installing on the car in steps 1 and 2 and pairing with your phone in step 4. In order to initiate pairing, you have to access the rear of the camera module where the reset button is. You’ll also have to have it fully charged as well, and the charging port is also sealed off when it’s fully installed.
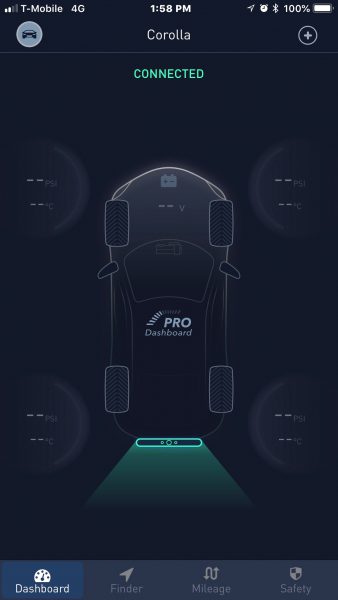
The app goes through a much better and clearer process after you’ve downloaded it and created your account. To pair, you have to press the reset button and wait for three flashes of the light from the LED under the camera. The reset button is not a nice little pinhole, but a membrane button with a hard nub that you have to press. It takes quite a bit of pressure to make it engage at all, so holding it through three flashes to get pairing mode took quite a toll on my finger.
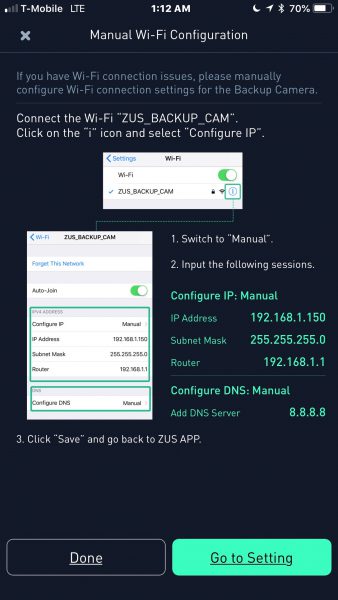
The app then states you need to connect to the wifi network of the camera. In order to do this, you have to totally remove any other saved networks from your device, because the wifi radio of the camera is a bit spotty, and takes a bit of work to join. (I found this out after my first contact with Tech Support.) I performed this step sitting in my office with the unit on my desk. Once I finally removed my home wifi settings from my phone, I was able to connect, and the camera went into an actual “Connecting” phase for several minutes. I checked with support, and they said I should move closer to the camera. I guess four inches is too far.
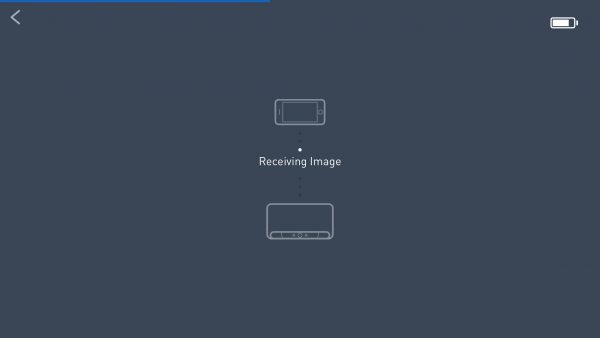
I finally did get to the “downloading image” screen but was never able to get an actual image, let alone a live video feed from the backup camera. I went through several rounds with support, and they finally said there are engineering issues they have been seeing with “certain mobile providers”.
Performance
Since I never got it to actually connect, I’d say performance is not acceptable.
What I Like
- Kit contains all hardware and tools needed to install and use
- Support is very helpful, if not successful.
What needs to be improved
- Requires removal of all saved access points at any place you intend to use the backup camera.
- Will only work with some cellular networks.
- Requires launching app, waiting for a connection, and then viewing display anytime you back up.
Final thoughts
I really want a backup camera for my car that I don’t have to drill and thread wires for. This unit promised that, but never even got close. I’m sure it can be done, so the search is on. If you’re not on T-mobile, maybe this unit will work for you, but make sure the vendor has a good return policy.
Price: $96.00
Where to buy: Amazon
Source: The sample of this product was provided by Nonda.
Filed in categories: Reviews
Tagged: Car Gear
Nonda ZUS Wireless Smart backup camera review originally appeared on The Gadgeteer on November 10, 2018 at 2:34 pm.
Note: If you are subscribed to this feed through FeedBurner, please switch to our native feed URL http://the-gadgeteer.com/feed/ in order to ensure continuous delivery.

