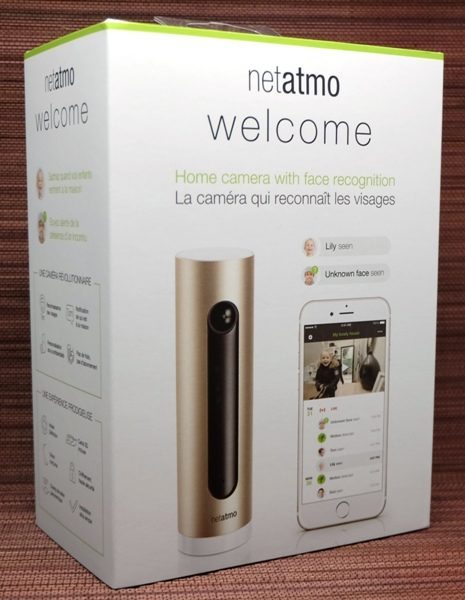
I reviewed the Netatmo Presence Outdoor Security camera a few months ago and really, REALLY enjoy using it because it uses deep learning to tell the differences between people, animals, cars, and other motions thus virtually eliminating unnecessary motion detection alerts. In addition, there are no subscription fees because all the video is stored locally and copied to Dropbox or your personal FTP server (if you set these up). Now I have the opportunity to review the Netatmo Welcome Indoor Security camera which has the ability to tell the difference between individual people with facial recognition. After having used it for a few weeks, I find that I like this camera too. It is able to tell the difference between individuals in our household and will alert you to an unfamiliar face or tell you that motion was detected if it can’t see the face of the individual. Like the Presence, the Welcome camera also records videos locally and will save them in your Dropbox account or personal FTP server thus eliminating subscription fees.
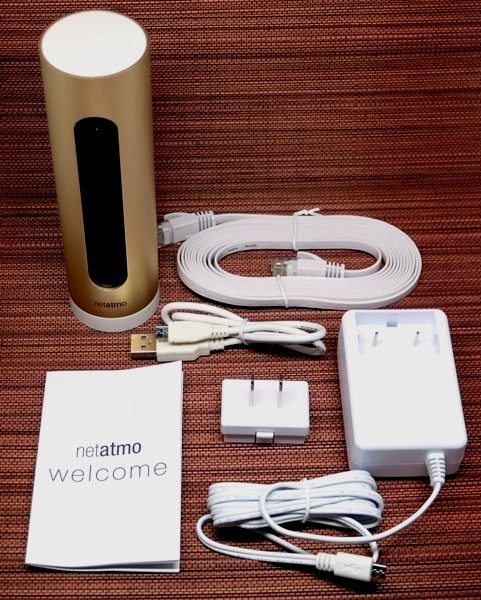
Package Contents
- Netatmo Welcome Indoor Security camera with 8 GB micro-SD card
- Ethernet cable
- Micro-USB cable
- AC power adapter
- Welcome guide
Technical Specifications
- SIZE: 45 x 45 x 155 mm / 1.8 x 1.8 x 6 inches
- MECHANICS & DESIGN: Single piece durable anodized aluminum shell
- CAMERA:
- Video sensor: 4MP
- Resolution: Up to 1920×1080
- 130° field of view
- CONNECTIVITY SPECIFICATIONS:
- Ethernet RJ-45 port: 10/100 Mbits
- Wireless: Wi-Fi 802.11 b/g/n (2.4G)
- DATA STORAGE: MicroSD card up to 32GB (8GB class 10 MicroSD card included)
- IPHONE AND IPAD COMPATIBILITY: iOS 9 minimum required
- ANDROID COMPATIBILITY: Android 4.3 minimum required
- BROWSER SUPPORT: Webapp available for the two latest versions of Chrome, Safari, Firefox, Internet Explorer
- No subscription fees
Design & Build Quality
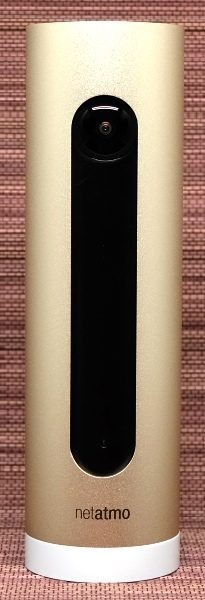
The Netatmo Welcome camera is actually a small camera measuring 6″ tall (15.3 cm) and 1.75″ in diameter (4.5 cm). It is encased in a very nice gold-colored aluminum cylinder housing and the camera, nighttime infrared LED, and motion sensor are contained behind black plastic. The back of the camera contains a micro-SD card slot (the camera comes with an 8 GB card), a micro-USB port, and an Ethernet port.
Setup
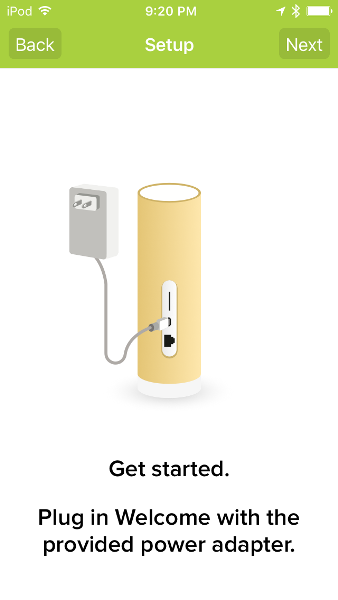
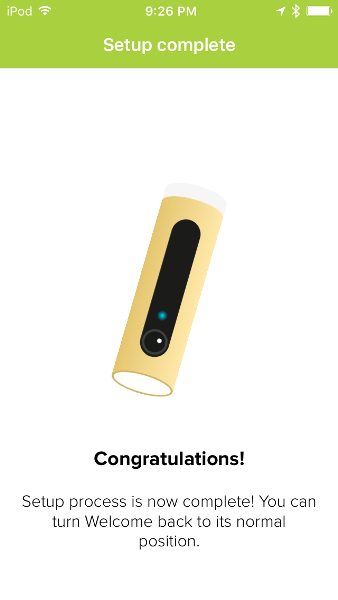
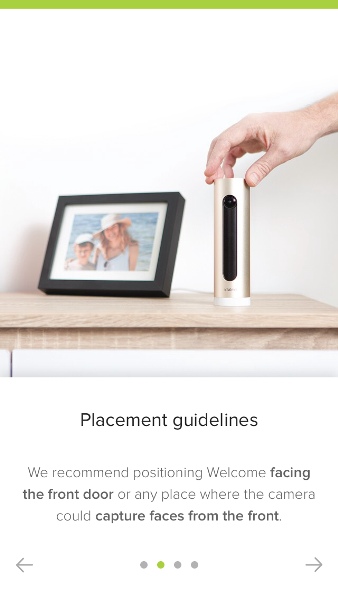
When setting up the Welcome camera, I decided to connect it to my network via WiFi rather than Ethernet cable, thus I only needed to plug the camera into an outlet for power. I placed the camera on a table facing the front door.
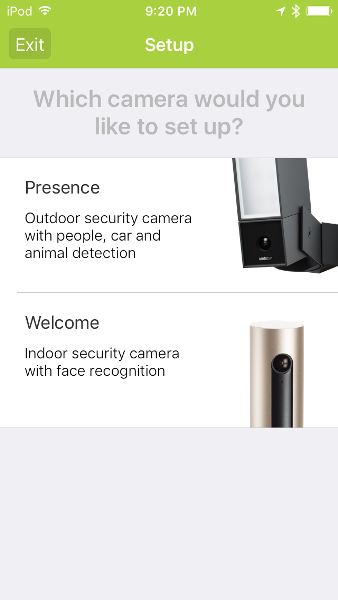
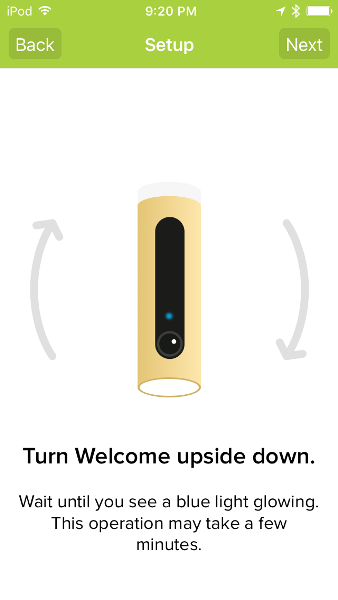
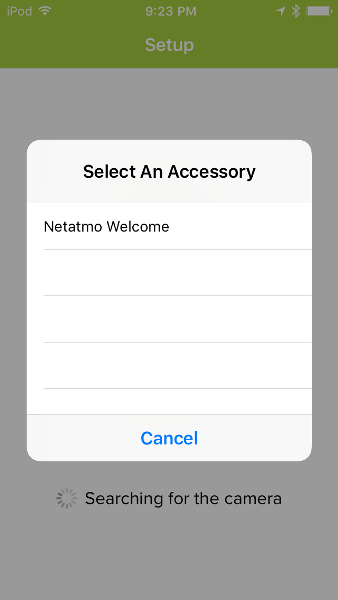
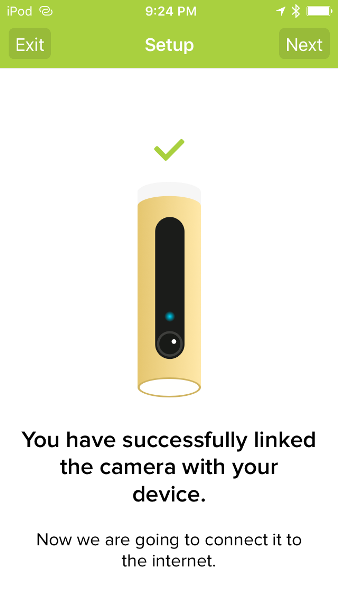
My camera did not come with a user guide, but the Netatmo Security app instructs you how to setup your camera. The above screenshots are taken from my iPod Touch 6G. If you do not have the Security app, you’d have to download it and create an account. Since I already use the app on my iPod and my Nexus 6 phone with the Netatmo Presence Outdoor Security camera, I needed to tap on the Menu icon located in the upper left of the Security app home screen, select “Setup a new camera”, then tap on the image of the Welcome camera in the app settings. I plugged the camera in, then turned it upside down. I needed to keep the camera oriented upside down during the setup process (I made the mistake the first couple of times of not keeping it that way and thus the app had trouble detecting the camera).
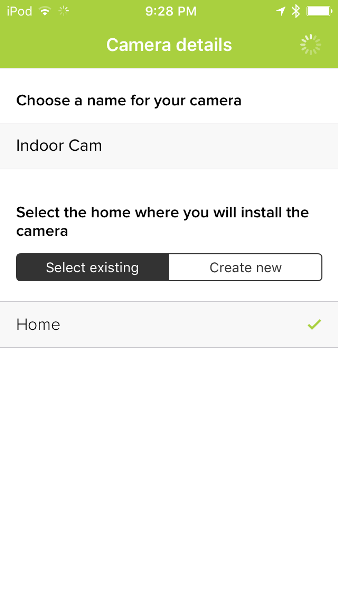
Once the app detected the camera, I selected it from a list (first screenshot) and was then connected. After that, I needed to name the camera (I named my Welcome camera “Indoor Cam” as shown in the last screenshot) and select the geographic location where the camera was installed (e.g. home, vacation home, business, etc.) – in my case, I selected my home (aptly named “Home”) which is the same place my outdoor security camera is installed.
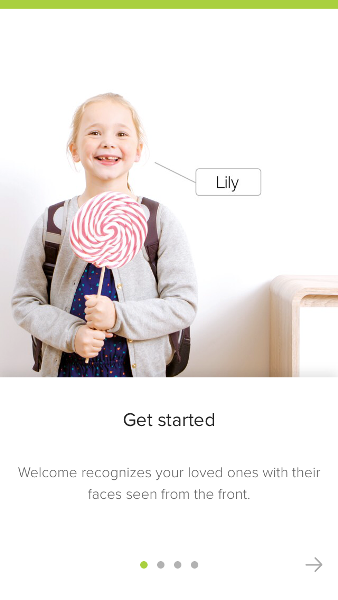
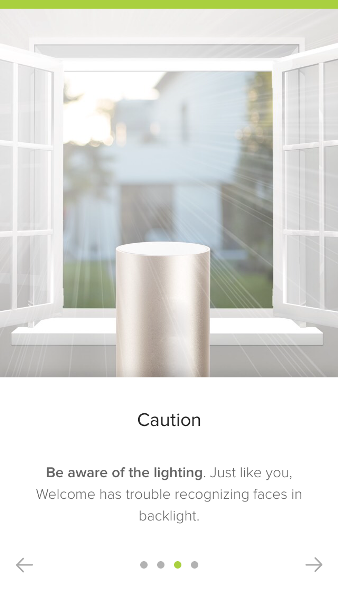
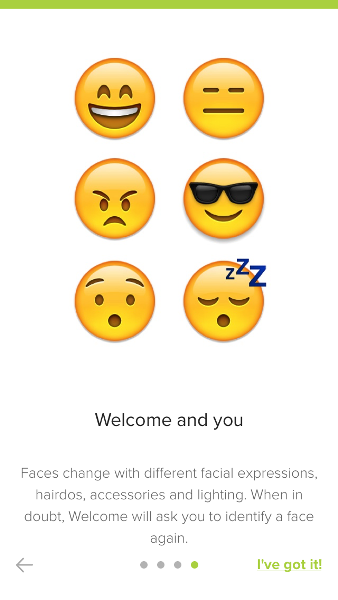
At this point, the app informs you that the Welcome camera can recognize your loved ones from each other and from strangers after training the camera to recognize all the different faces captured of each of the residents. The app also suggests where to place the camera while warning you to be aware of backlighting.
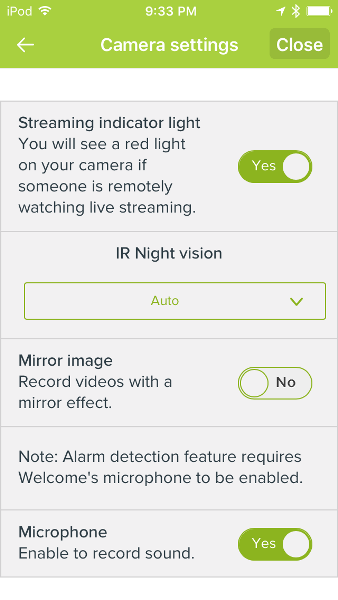
You can adjust the camera settings by tapping on the ellipsis (three dots in the upper right of the Security app home screen) then tapping on the gear icon located under the name of your Welcome camera (“Indoor Cam”).
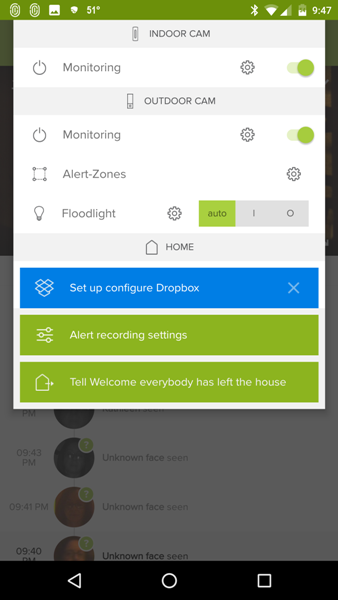
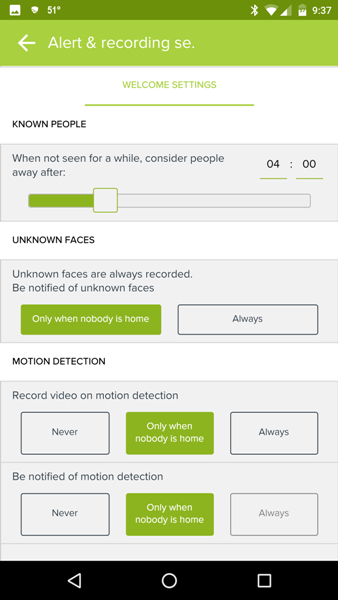
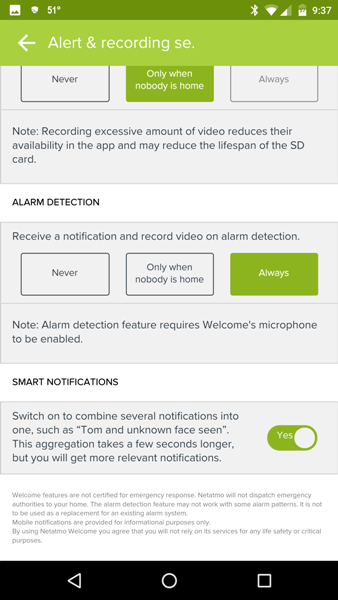
Welcome Camera Settings: The above screenshots were taken from my Nexus 6 phone. By tapping on the vertical ellipsis, you can also access the Alert Recording Settings on the Welcome camera or you can tap on “Tell Welcome everybody has left the house” (left screenshot). In the middle screenshot, there is a setting that allows you to set a time that if the identified individuals are not detected for that amount of time, they will be considered “Away” instead of at “Home”. The middle screenshot also shows how you may also set up whether or not the camera should record video and send a notification when it detects motion (“Never”, “Only when nobody is home”, or “Always”). The last screenshot shows additional camera settings.
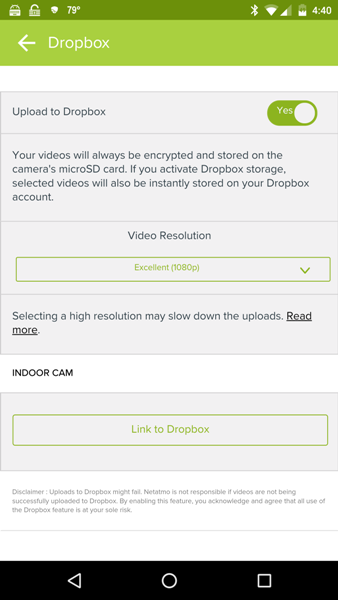
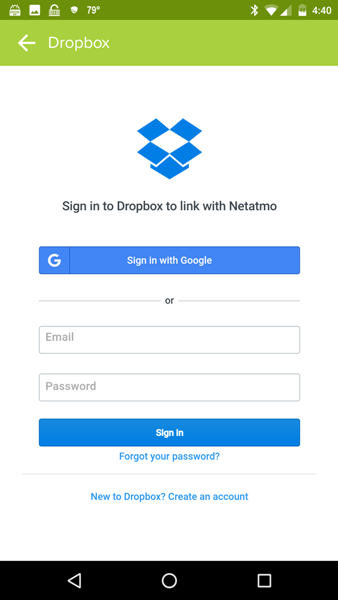
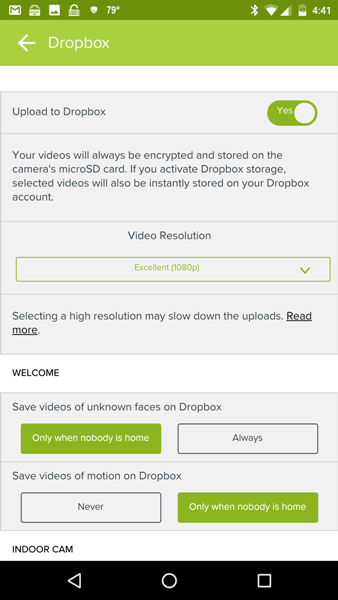
Linking Dropbox to the Welcome Camera: The Welcome camera records all videos locally on a micro-SD card (the camera comes with an 8 GB card) and does not require any ongoing subscription fees like other security cameras. You can also set up your Welcome camera to upload a video of the events it detects to your Dropbox account or your personal FTP server. I chose to link the Welcome camera to my Dropbox account. After doing so, I was able to select things like whether or not to “Save videos of unknown faces on Dropbox” or “Save videos of motion on Dropbox”. I personally really like the fact that there are no subscription fees.
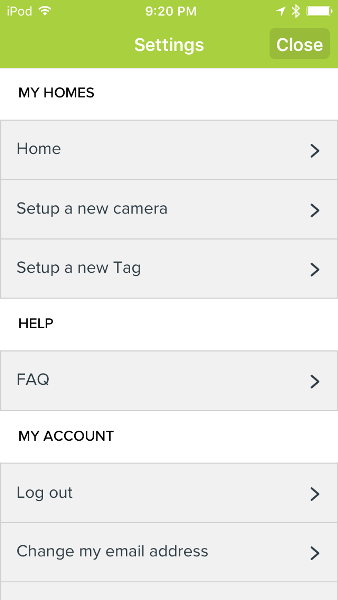
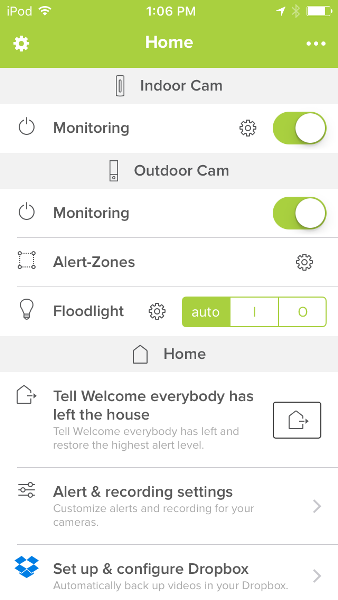
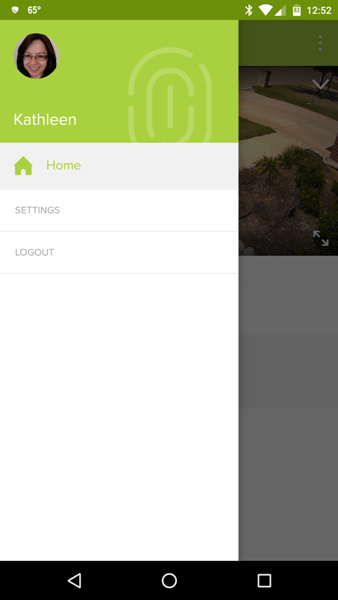
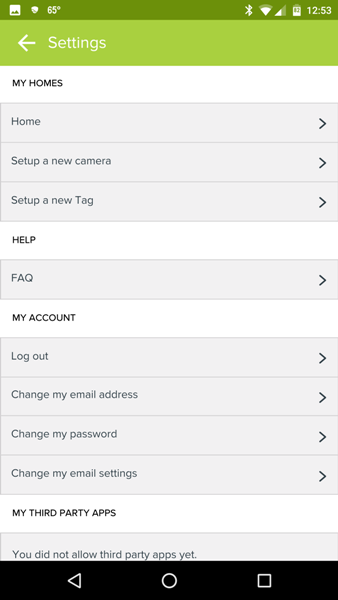
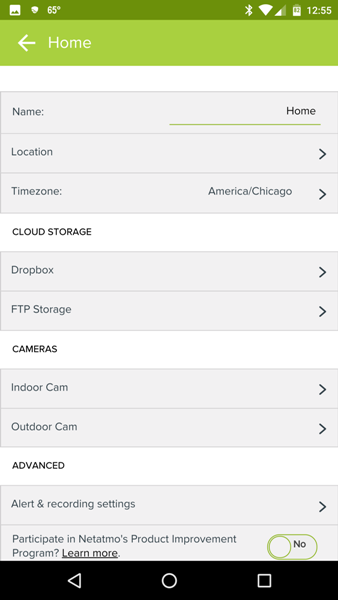
Security App Settings: By tapping on the Menu icon located in the upper left corner of the home screen, you can access other settings. From here you can add a new camera, change your email address or password, or tap on Home (or Vacation Home, Business, etc. – wherever you installed your camera) to view all of your connected cameras. After tapping on Home, you will be able to set up your camera(s) to upload to Dropbox or your private FTP server (middle screenshot). When you tap on each of your connected cameras (last screenshot), the app will show you the strength of the WiFi signal, it’s MAC address and the current firmware being used.
Use
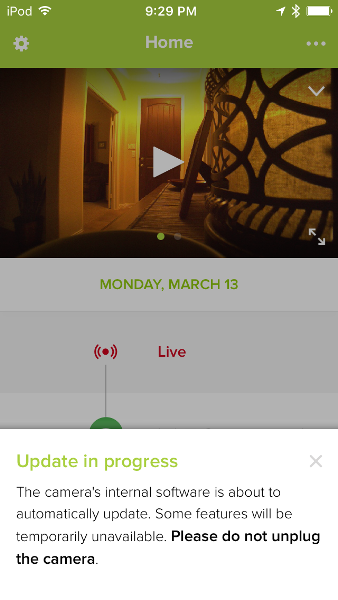
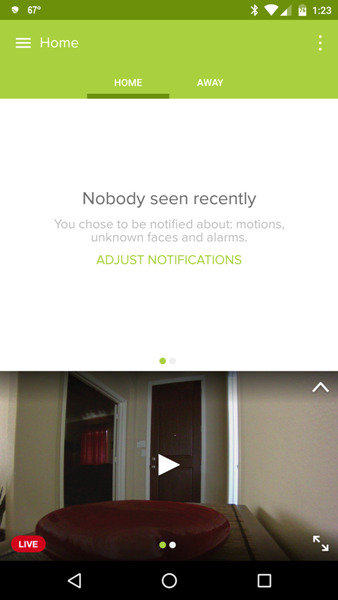
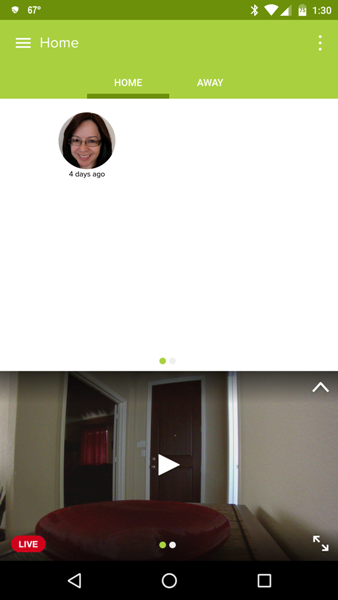
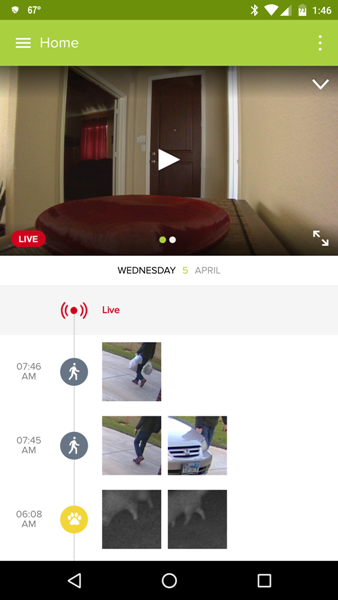
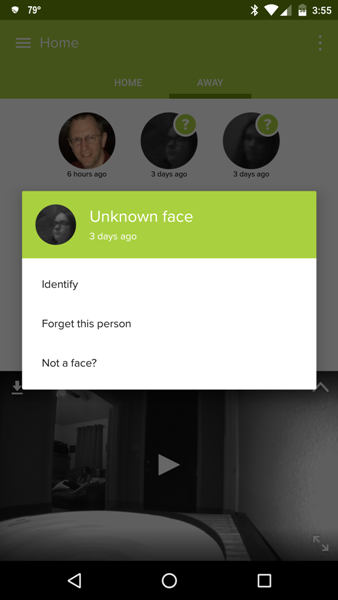
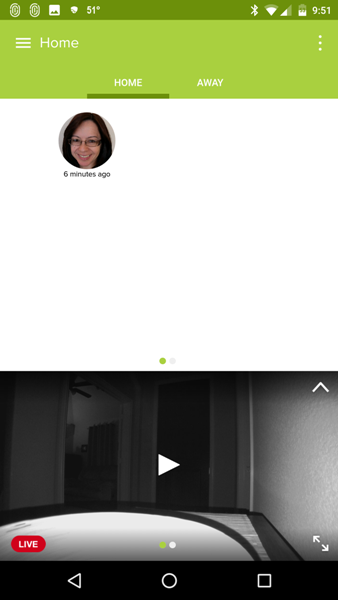
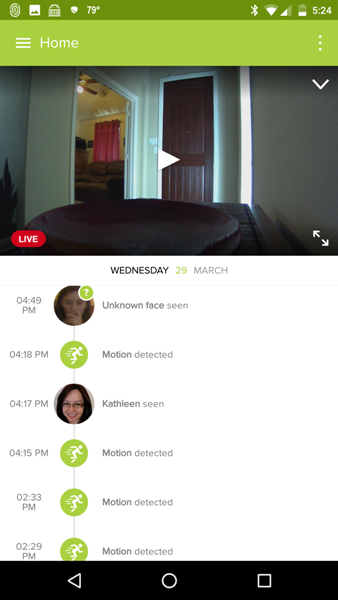
Security App Home Screen: When you launch the Security app, the home screen will display whether or not any faces have been detected by the Welcome camera. Once the camera has been trained to recognize each of the residents of your home, it will show you if it has detected them. If it has not detected anyone in a certain amount of time, it will flag them as being “Away” from home. Swiping up (or tapping on the “Up” arrow located in the upper right of the video display) will hide the “faces detected” screen.
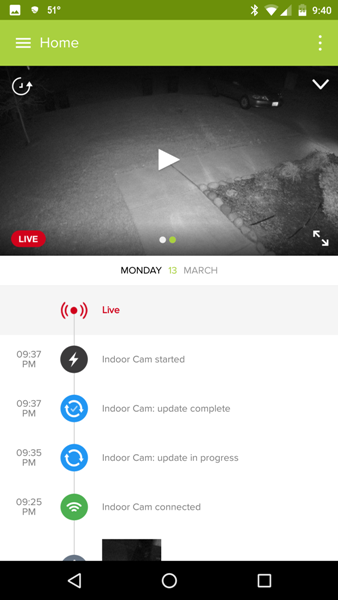
Viewing Live Video: By tapping on the Live icon just below the video, you can swipe left or right on the video display to view the view from your different cameras. The third screenshot shows the view from the indoor Welcome camera and the last screenshot shows the view from our outdoor Presence camera. To view the live video streaming of the indoor camera, you must tap on the Play button in the middle of the video display.
When viewing any live activity going on in front of the camera, there is a few second delay in the live feed and also when a motion is detected. This happens with the Netatmo Presence Outdoor Security Camera as well which according to the Netatmo website, “Presence uses http Live Streaming protocol. Experiencing a slight lag time of a few seconds is normal, as live stream is sent through an encrypted connection from Presence to your device.” This may also be the case with the Welcome camera.
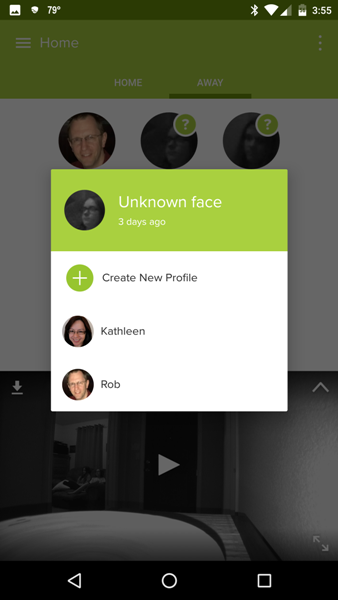
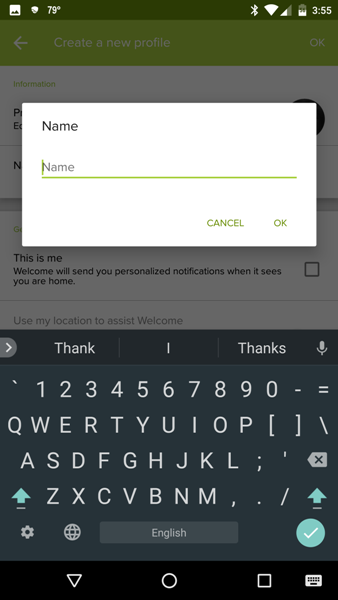
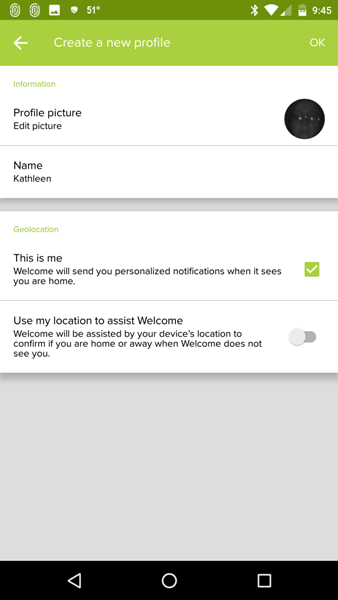
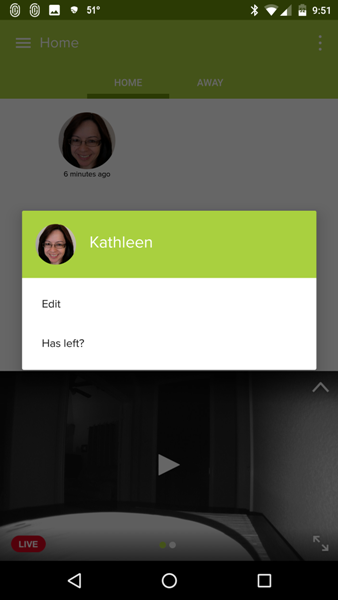
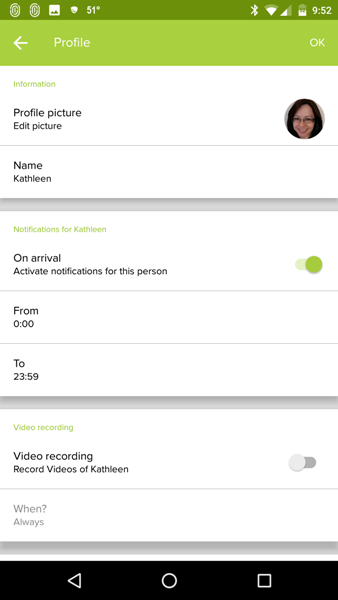
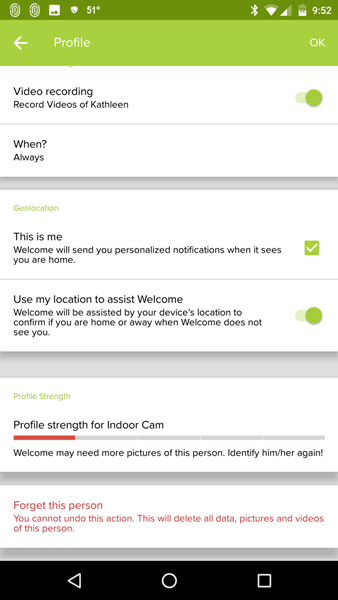
Setting Up Facial Recognition Profiles: When the Welcome camera captures the face of someone it doesn’t recognize, it will display that face on the home screen of the app above the video display. Long pressing on the image in this “faces detected” screen will allow you to identify the person, forget the person, or tell the app that the image is not a face. When you are identifying the person for the first time, you will set up a profile for that person by giving them a name, uploading a profile picture if desired, and flagging the image as yourself or someone else and using your phone’s location to assist Welcome in determining whether or not you are home.
When the Welcome camera detects my face, it identifies that I am at “Home” versus “Away”. Long pressing on my image in the “faces detected” area, allows me access to my profile to change the settings. I can tell the camera to record videos of myself or not during the time that I designate.
I would have preferred to see the setting that allows me to set a time interval to tell the Welcome camera whether I am “Away” or at “Home” here in the Profile settings right under the “Use my location to assist Welcome”. As it is, that setting is located under the “Alert recording settings” for the Welcome camera.
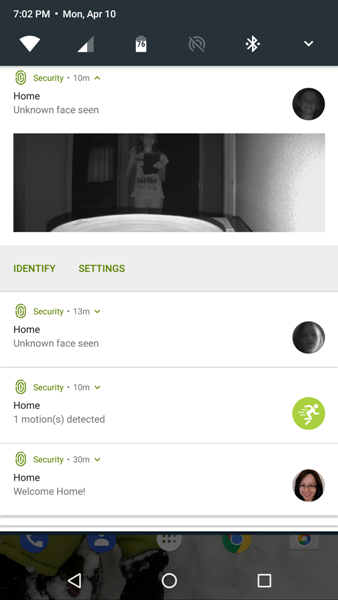
If the Welcome camera can see your face, it will flag it as an identified person or unidentified person. If it cannot see your face, it will notify you that a motion has been detected.
Alarm Detection: If the camera detects an alarm of any kind (smoke alarm, CO alarm, etc.) it will also notify you of this alarm if you set the camera up to do so in the “Alert recording settings”. The Welcome camera did give me a couple of alarm notifications but none of our alarms went off (I was home at the time and did not hear anything). Curious.
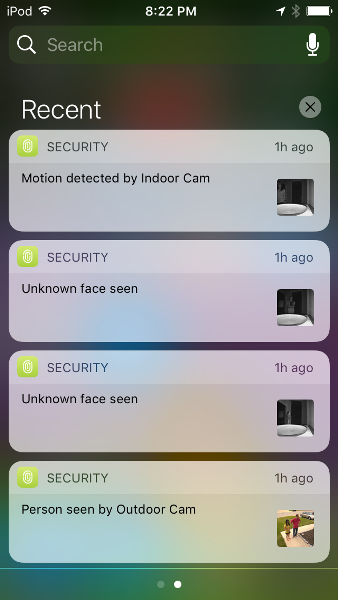
Notifications: Whenever you receive a notification about a motion, if a face is detected, it will identify the person as a known or unknown individual, otherwise it will identify it as a motion. The screenshot on the above left illustrates the iOS notifications and the right screenshot is that from my Android device (Nexus 6 phone).
Facial Recognition Accuracy and Sensitivity: I found that Welcome camera detected almost all motions or faces that passed by the camera. It was fairly accurate in discerning the faces of the individuals in our house. However, it did not always send a notification that one of us had passed in front of the camera even though I set up the camera to always send notifications when motion is detected.
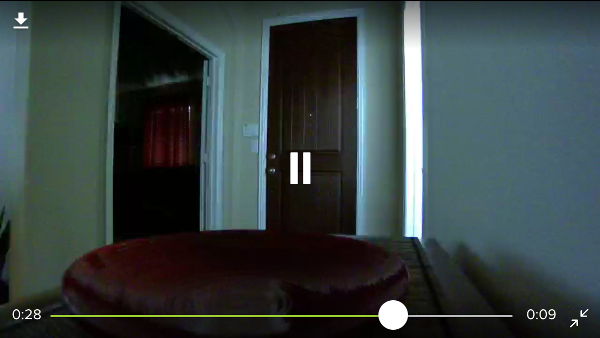
Resolution: The clarity of the videos was a high-quality 1080p resolution with clear sound (when sound was detected). However, in a few instances when viewing the videos, the resolution was lower. I think this is a function of the strength and quality of my WiFi. Here is a video captured of motion that was detected by the camera during the day.
One-Way Audio: The camera also picks up sound very well but it is only one-way audio. It is not possible to speak to your invited and uninvited guests when they approach the camera.
Here is another video of motion that was detected at night. I was pleased with the quality.
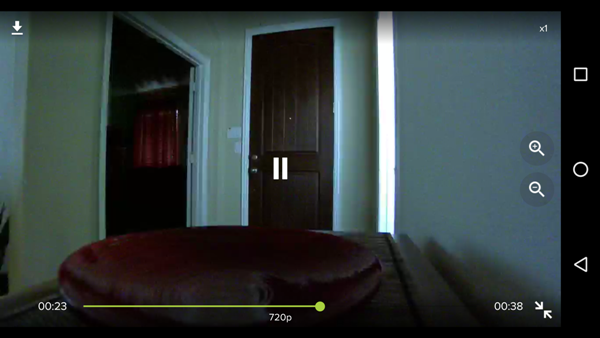
Android vs. iOS App (Zoom features): Just like the Presence Outdoor Security camera allows you to zoom in and out of live or recorded video (when playing them), you can do the same for the Welcome Indoor Security camera videos. There were only a couple of differences between the Android app and the iOS app that I have noticed. The iOS app (top screenshot) allows you to zoom into a specific area of the video using the pinching gesture, while the Android app (bottom screenshot) requires you to tap on the magnifying glass zoom icons located along the right side of the video screen. I found that after tapping on the zoom icons, I then needed to reposition the video thus I really appreciate the “pinch” zoom feature of the iOS app – with it, I could zoom in on the specific area that I was curious about quickly and efficiently.
Resolution Information: I also noticed that when you tap on any area of the live video feed within the Android app, the information displayed included the resolution of the video which isn’t included in the iOS app.
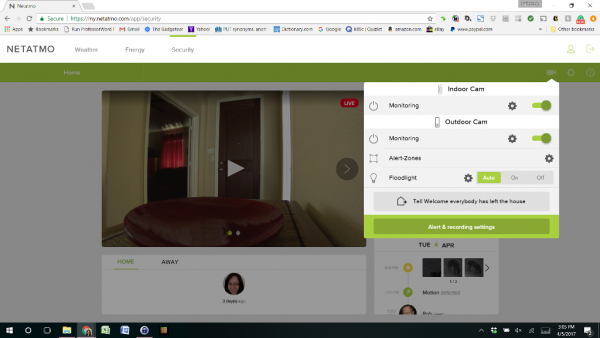
Web Access: Netatmo also allows you web access to your Netatmo energy, weather, or security products. I have both the Welcome Indoor Security camera and the Presence Outdoor Security camera. The web interface does not appear to provide any additional features than that provided by the iOS or Android apps, which I appreciate because then I can see and alter any settings that I want to from any device, not just my computer.
Final Thoughts
I liked using the Netatmo Welcome Indoor Security camera. Setup was straightforward, it recorded identified faces, unidentified faces, and motion in 1080p (most of the time) whether it was daytime or nighttime. It has a 130° viewing angle and it records videos locally and to your Dropbox account or personal FTP server thus avoiding subscription fees. It is important to consider backlighting issues when placing your camera in a spot in the house. Just the fact that it can tell the differences between the inhabitants of the house and unidentified faces is a wonderful feature, thus allowing us to ignore those individuals that are known and to tell us when someone else is in the house.
There are a couple of things to consider before you purchase. The camera did miss us a few times when we passed in front of it (perhaps because we had passed in front of it a little earlier?), I received a couple of alarm notifications when no alarms had gone off (smoke alarms, security system alarms, etc.), and the camera has only one-way audio. However, for the most part, the camera worked well for me.
Source: The sample used in this review was provided by Netatmo. Please visit their website for more information or visit Amazon to purchase.
Product Information
| Price: | $159.90 |
| Manufacturer: | Netatmo |
| Retailer: | Amazon |
| Requirements: |
|
| Pros: |
|
| Cons: |
|
Filed in categories: Home and Kitchen, Reviews
Tagged: Home Security
Netatmo Welcome Indoor Security Camera review originally appeared on on April 12, 2017 at 7:38 am.
Note: If you are subscribed to this feed through FeedBurner, please switch to our native feed URL http://the-gadgeteer.com/feed/ in order to ensure continuous delivery.

