REVIEW – Is anything better than a perfectly cooked meal? The main course, done exactly to your liking, makes for the perfect dining experience. But, how do you know when your main course is done? And, what if folks like things done to different levels? CookPerfect can help with its dual-probe wireless meat thermometer.
What is it?
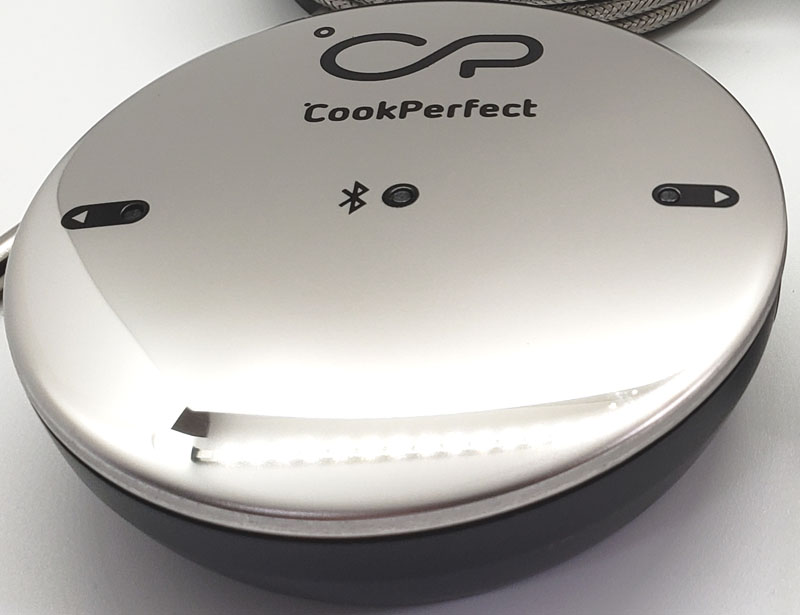
The CookPerfect is a wireless meat thermometer that supports two independent temperature probes. It connects to their app on your Android or IOS device via Bluetooth to provide cooking progress and tells you when the meat is done.
What’s in the box?
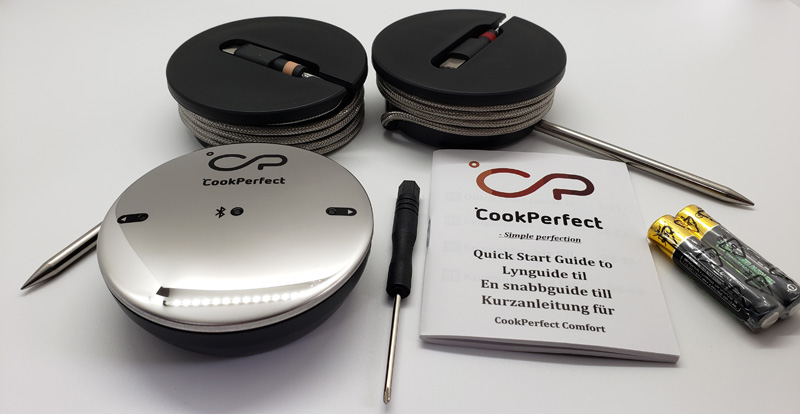
- CookPerfect main unit
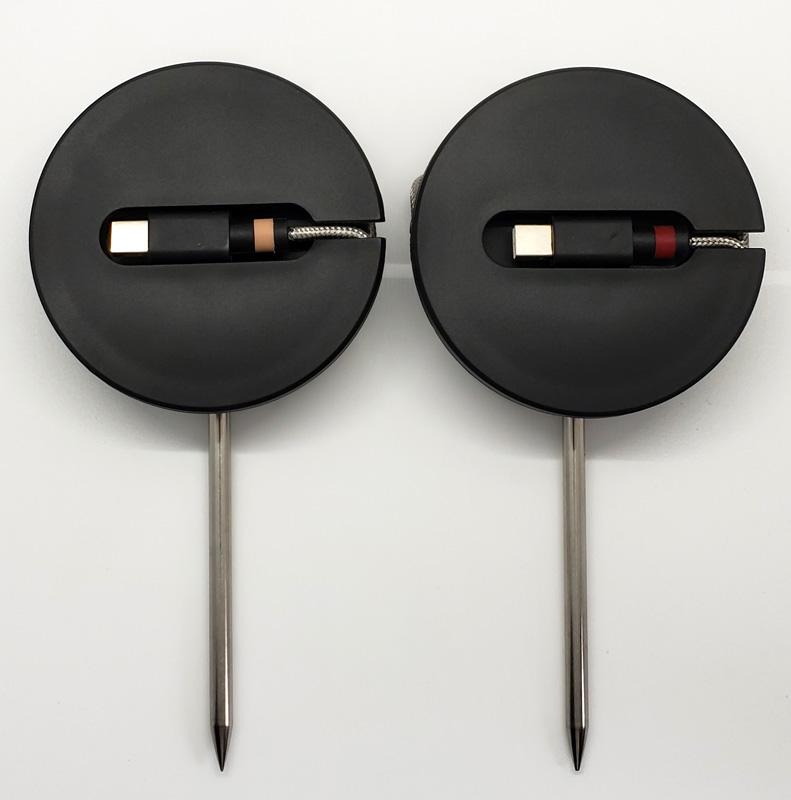
- Temperature probe with storage spool (a second probe/spool was also included for this trial)
- Screwdriver
- AAA batteries (2)
- Quick start guide
Hardware specs
- Width: 76mm
- Height: 25mm
- Probe length: 100mm (134mm overall)
- Probe cable length: 1m
- Bluetooth range: 100m
- Battery life: 150 hours
- Temperature range: -40C – +300C
- Water resistance: IP45 (Protected from tools and small wires greater than 1 millimeter. Protected from low-pressure water jets from any direction)
Design and features
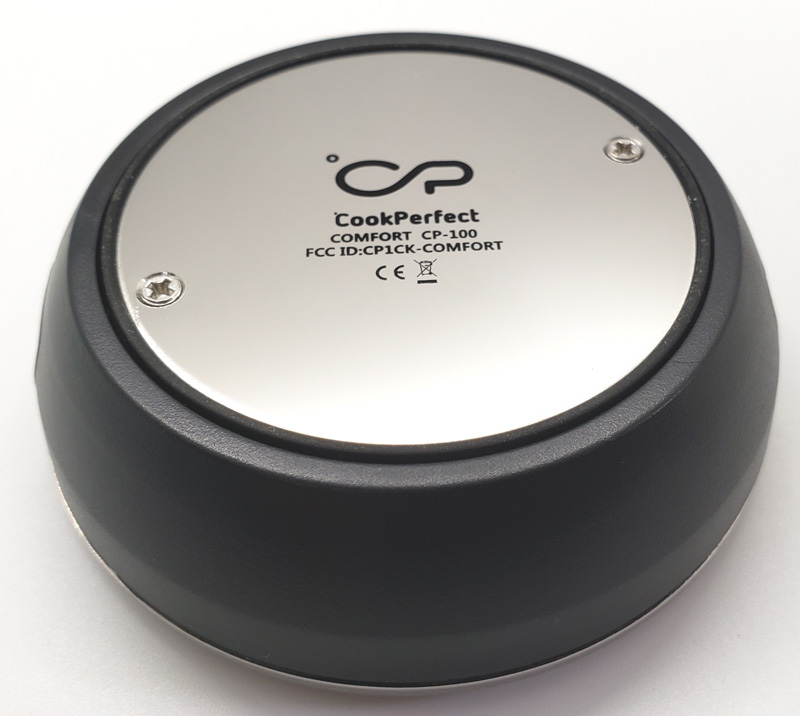
The top and bottom of the main unit are covered in shiny stainless steel. It’s pretty but prone to fingerprinting and spotting. The bottom has a magnet in the base so you can stick it on ferromagnetic surfaces (think: steel).
The round main unit has two probe connectors on opposite sides of the unit.
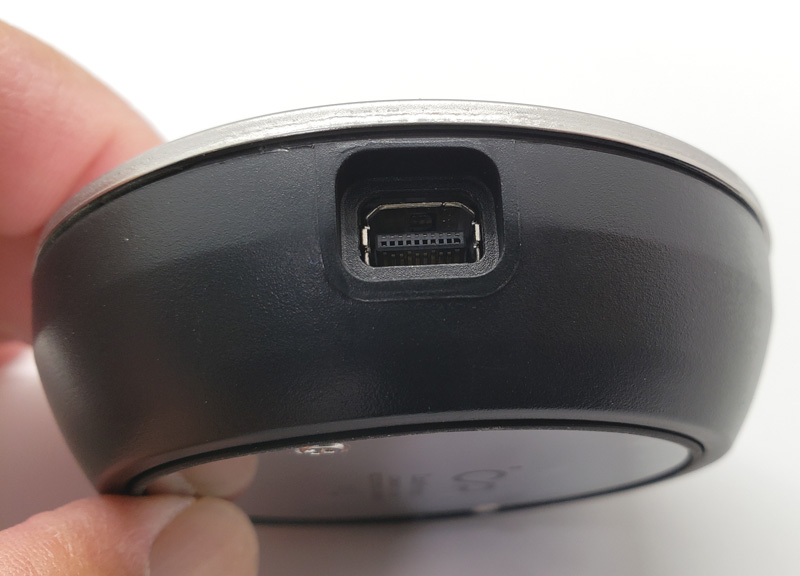
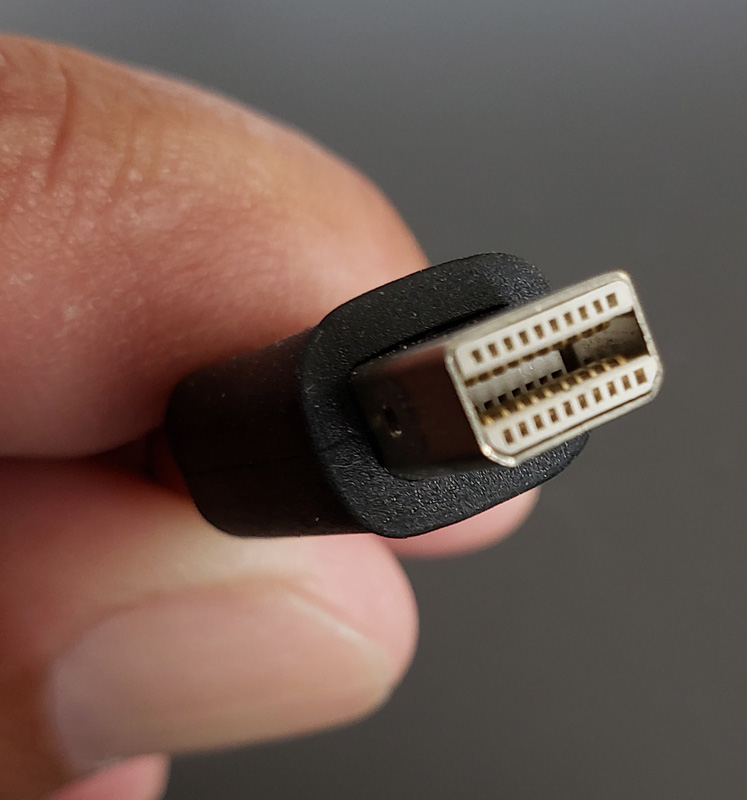
While they resemble USB ports, the probe connector is a proprietary design.
Setup
Setup involves two steps:
- Install the batteries by removing the back of the unit with the included screwdriver, installing the batteries, and reinstalling the back
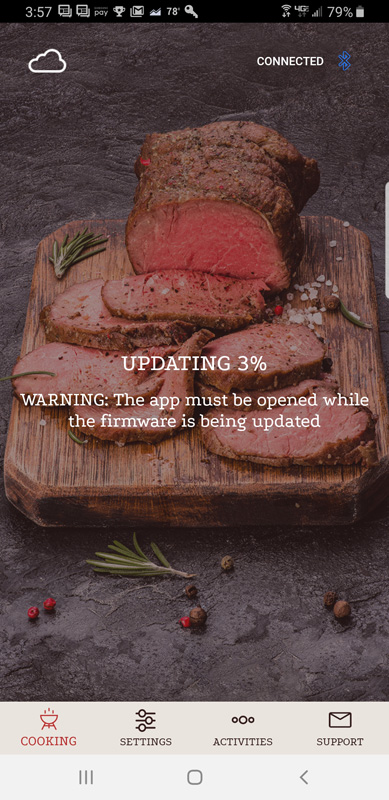
- Download the CookPerfect app to your Android or IOS device (and let it update the firmware…)
Performance
To begin cooking, attach one, or both probes to the main unit. Connecting a probe powers-up the unit. The center blue light flashes until it makes a Bluetooth connection to your device, at which point, it turns solid blue. Each probe has its own status light. Flashing means it is connected. Fast flashing means the internal temperature is within five degrees of the target. Solid green means cooking is done.
Once the app is open and a probe is connected, insert the probe into the meat to the scribe mark on the probe. The probes have multiple sensors along its length allowing for a more accurate core temperature reading. The exposed end of the probe has an ambient temperature sensor so the app can tell what the temperature is in the grill or oven.
Each probe can be programmed for a different cook level or even different type of meat. To start, after selecting the probe to set up, you get a meat selection grid:
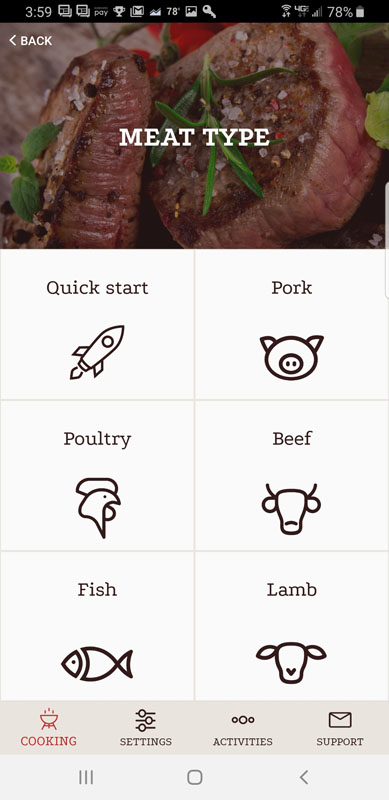
You choose the meat you are cooking, or, just pick quick start and select a target temperature.
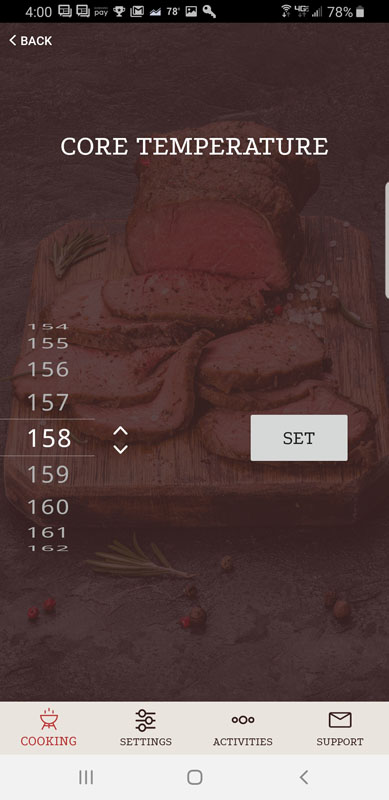
If you go the meat choice route, you are presented with three options:
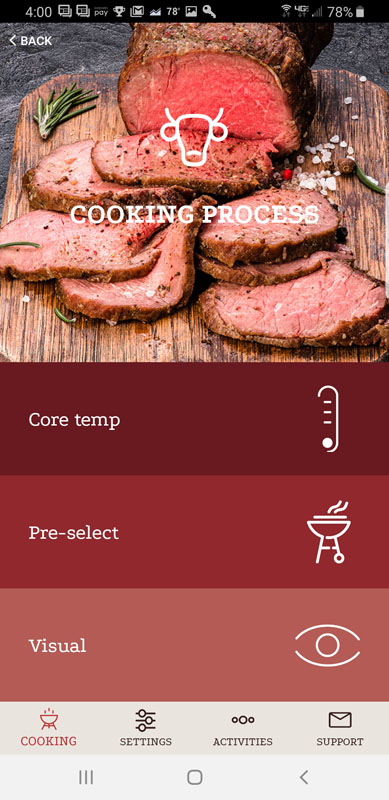
You can just choose the target temperature (same screen shown above), choose target doneness level or pick your doneness level by photo.
Here is the doneness selection screen:
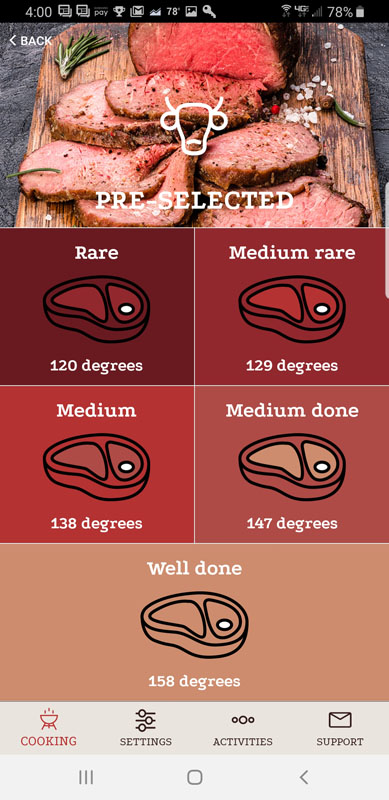
And if you don’t know what those terms mean, you can use the visual doneness selection menu:
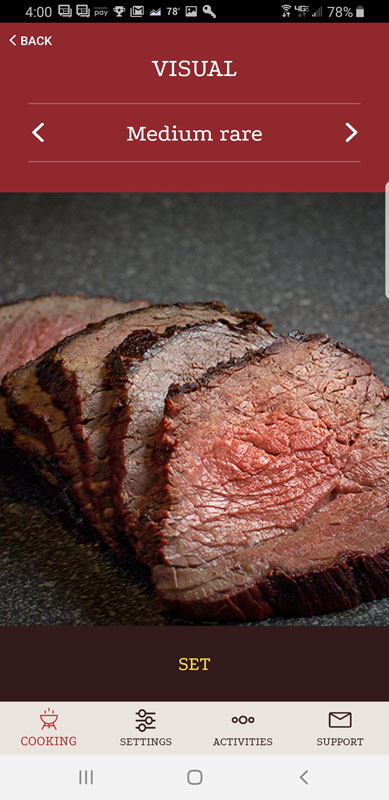
To me, the visual guide seems kind of silly, but I guess they are designing for newbie cooks who might know well done from medium-rare.
Once you get the probe in and the meat on the grill or in the oven, clicking Start Cooking brings up the status screen.
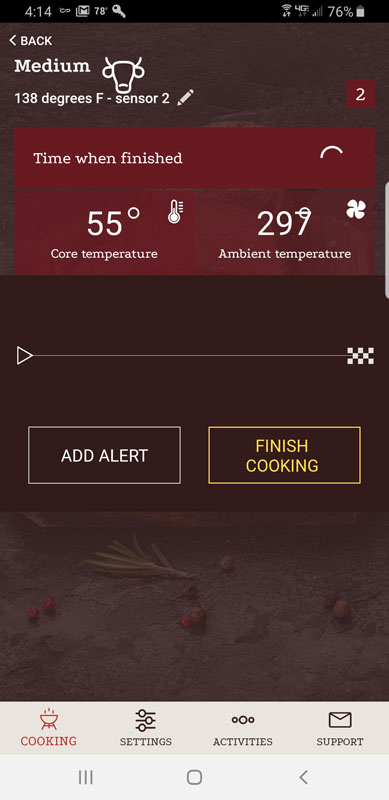
Note that the design of the screen needs work. As long as temperatures are two digits or less, it looks good, but if the temp hits three digits, the degree symbol gets stuck behind the last digit. Not a big deal, but lack of attention to this makes one wonder what else got missed in the app.
The Time when finished indicator remains a spinning circle for the first five minutes of cooking until the app calculates the remaining time based on internal temperature changes and ambient temperature in the grill or oven. Then it is replaced by an end time estimate in military time. There is no option for a twelve-hour display.
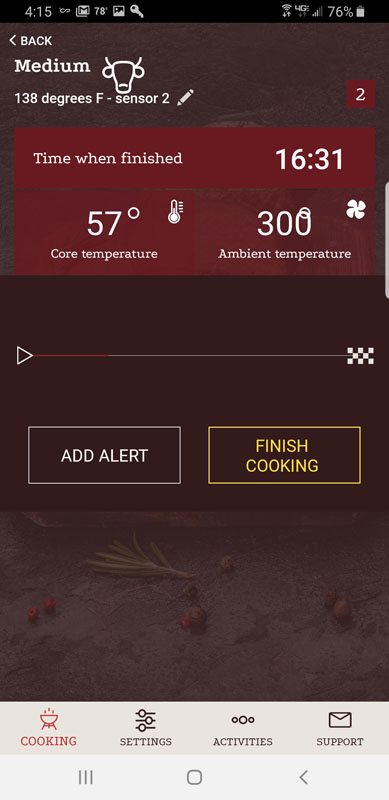
Note that this screen doesn’t show Bluetooth status. To make sure that the app is still connected to the CookPerfect, you need to go back a screen to the probe screen.
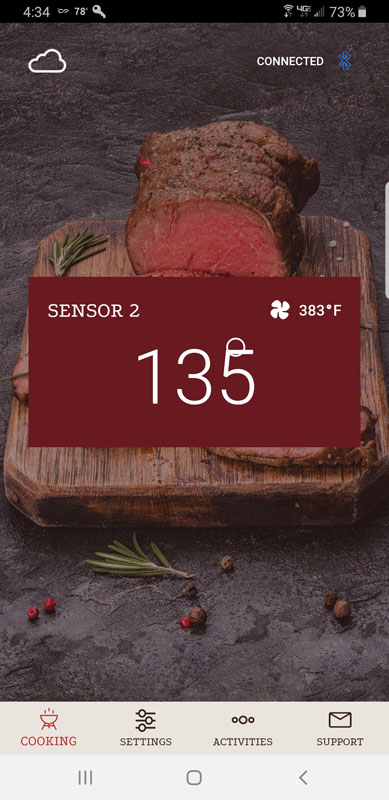
This screen has the same issue with the degree symbol. It shows both the core temperature and ambient temperature along with the Bluetooth connection status but doesn’t show the estimated completion time. It sure would be nice to see everything on one screen.
Once cooking the target temperature is reached, the app sounds an alarm, letting you know it’s time to get the meat out of the grill or oven.
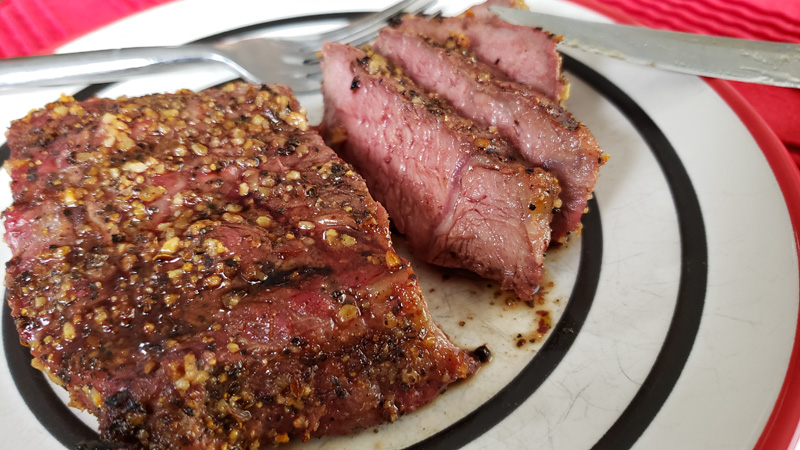
All this is fine and good, but it is only of value if the results are perfect. I targeted medium steaks and the app used an internal temperature of 138 degrees Fahrenheit as the target temperature. The steaks were perfectly cooked, just as we wanted.
Other niceties in the app include the ability to set multiple alarms based on cook time. For example, you can set an alarm to let you know when there are 15 minutes remaining in the cooking time, perhaps so you can pop the dinner rolls in the oven or prepare the salad. You can choose between Celcius or Fahrenheit displays, but as I mentioned above target completion time is only in 24-hour format.
The biggest problem I have with the CookPerfect is that the Bluetooth range is nowhere near the 100-meter advertised range. Granted, my situation isn’t ideal. My house is built with metal studs, and that certainly negatively affects Bluetooth range. Even so, if the CookPerfect is supposed to have a 100-meter range, you’d think it would work from about 10-meters, even through the two walls between my living room and my grill. But it doesn’t. The Bluetooth disconnected constantly, forcing me to move more in a line-of-sight to my grill. I have another Bluetooth meat thermometer that has the same problem, so this isn’t unique to CookPerfect. Its promised range is way more than my other thermometer so I was hopeful, but alas, I am disappointed.
What I like
- Simple setup
- Temperature sensors seem pretty accurate based on the cooking results
- The probe cable is sufficiently long to allow easy placement in the grill or oven
- You can create alarms based on remaining cooking time to help with meal prep
What I’d change
- Improve Bluetooth range
- Fix user interface display issues
- Show time in 12-hour format as an option
- Have a single screen that shows both cook progress and Bluetooth connection status
- The app is pretty basic and doesn’t provide resting time after the cook
- Change the battery compartment to not need a screwdriver to open
Final thoughts
Overall, the CookPerfect is a capable wireless meat thermometer. It produces great results and is pretty easy to use. Its app is far less sophisticated than others I have used and there are some nagging display issues that I hope can be fixed with a software update. If your needs are basic and the range isn’t an issue, the CookPerfect will most certainly improve your meat cooking results.
Price: $99.99
Where to buy: Amazon
Source: The sample of this product was provided by CookPerfect.
Filed in categories: Reviews
Tagged: Cooking, Home and Kitchen
CookPerfect wireless meat thermometer review originally appeared on The Gadgeteer on August 12, 2019 at 8:00 am.
Note: If you are subscribed to this feed through FeedBurner, please switch to our native feed URL http://the-gadgeteer.com/feed/ in order to ensure continuous delivery.


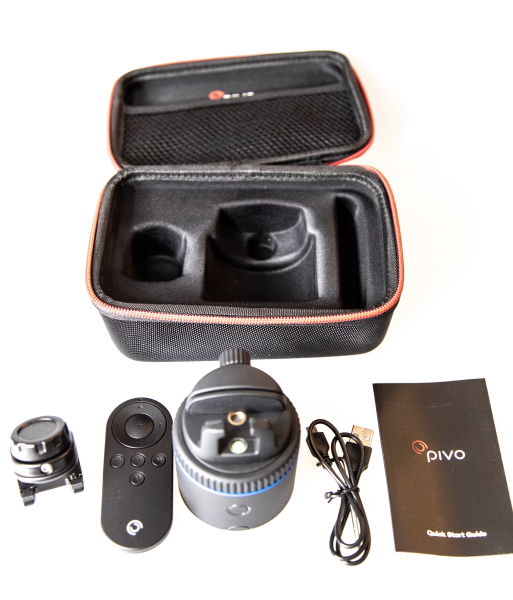
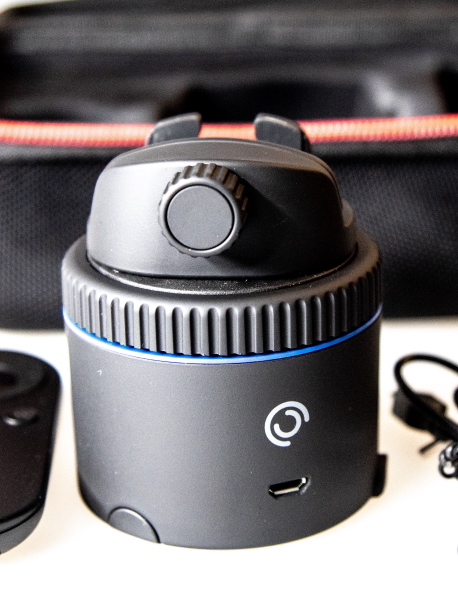
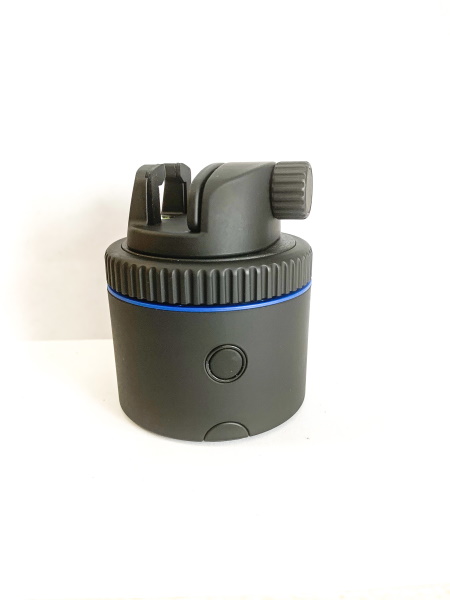
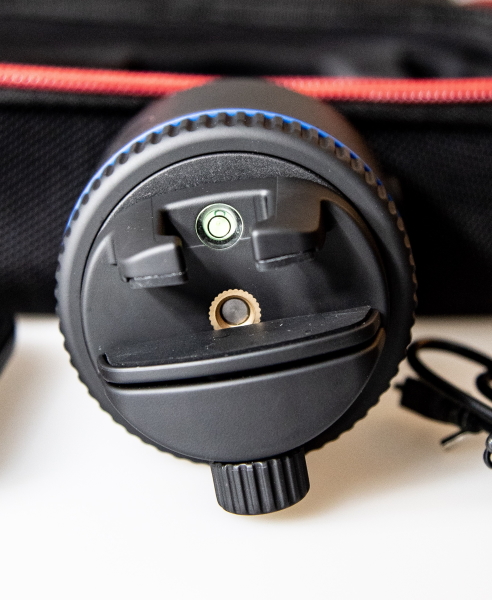
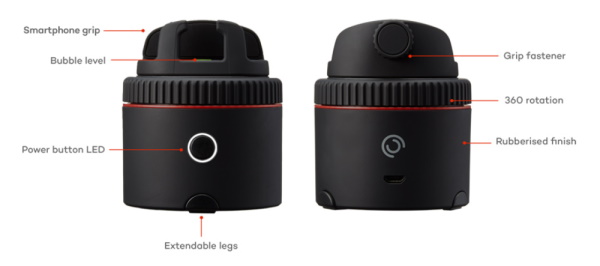
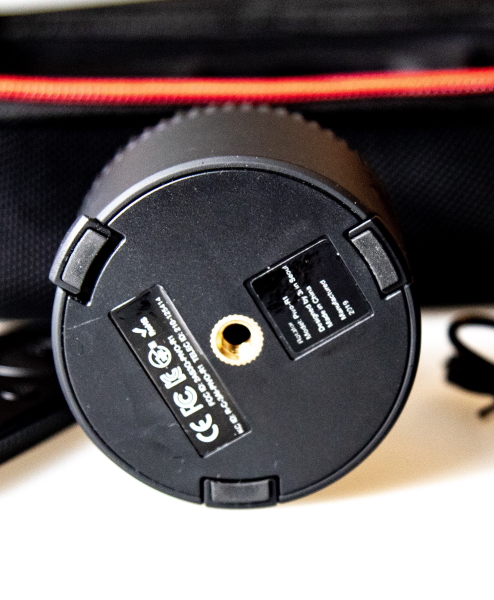
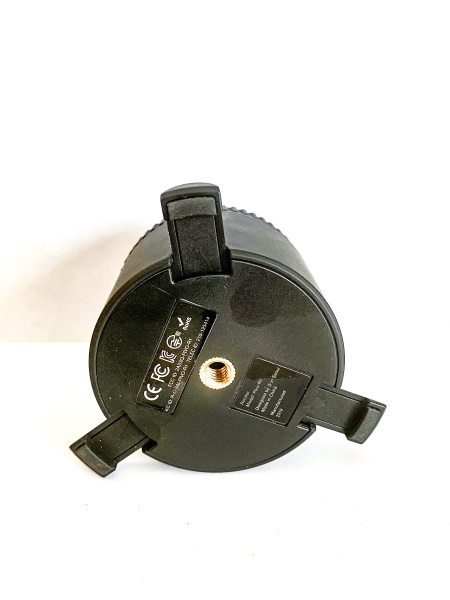
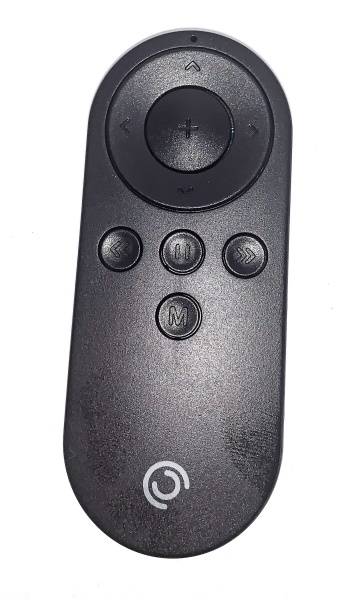
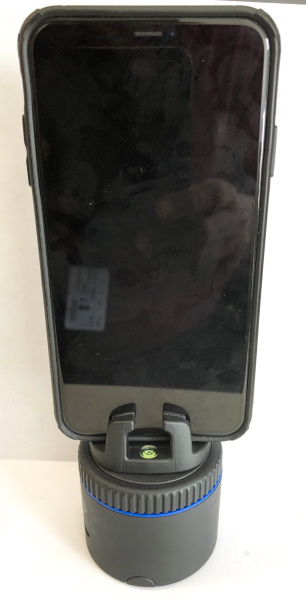
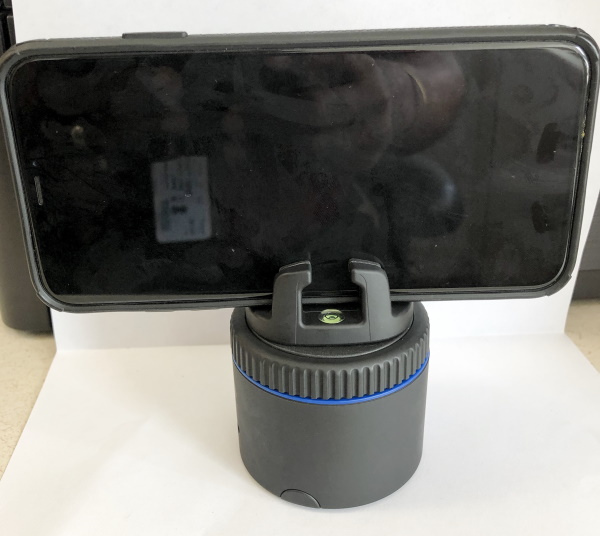
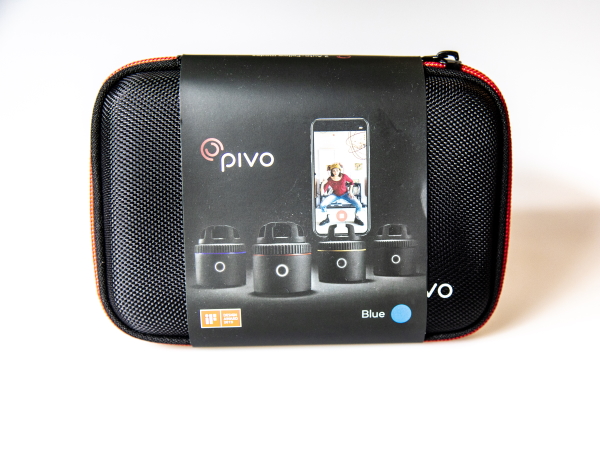 REVIEW – I am usually interested in almost every type of gadget that is designed for videography and/or photography. These days, almost everyone has a smartphone and many people use the built-in features to shoot either videos or to take pictures or both. In response to this popularity, many companies have manufactured various kinds of gadgets to help phone users to get more enjoyment and versatility when shooting. The Pivo Tiny Pod is just that type of gadget.