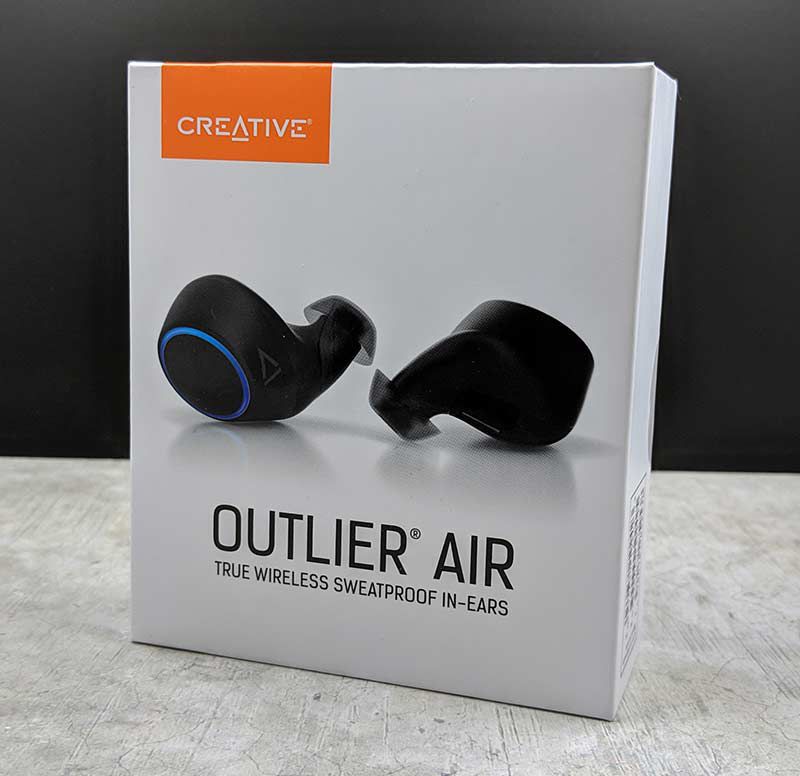
REVIEW – When you think of Creative, you think of quality speakers at an affordable price or if you’ve been around for a while, you might think of Sound Blaster audio cards for PCs. But what about earbuds? It might just be me, but I haven’t associated the Creative brand with earbuds. But that’s about all to change. Let’s check out the new Creative Outlier Air TWS earbuds.
What is it?
The Outlier Air earbuds are truly wireless stereo (TWS) earbuds from Creative.
Hardware specs
5.6mm graphene driver diaphragm
Bluetooth 5.0 with aptX and AAC audio
IPX5 sweatproof
Playtime of up to 10hrs per charge and up to 30 hours total with charging case
What’s in the box?
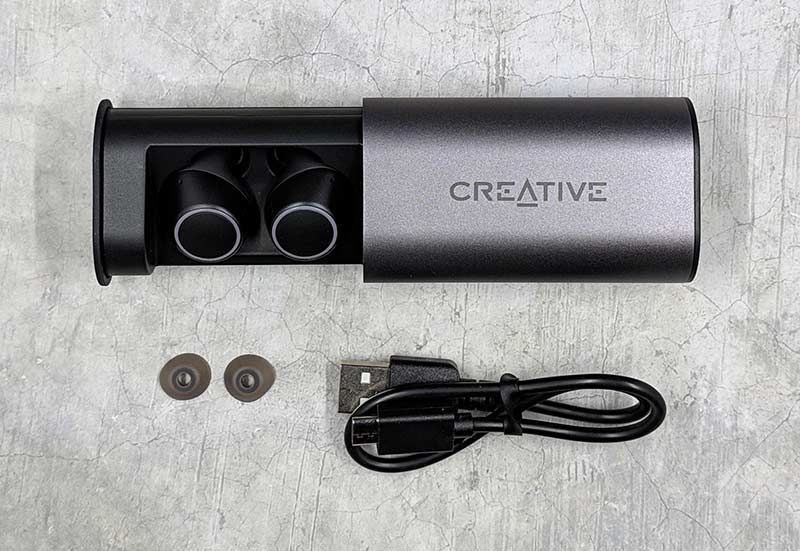
- Creative Outlier Air TWS earbuds
- Charging / storage case
- USB-C charging cable
- 1 extra set of ear tips
- Instructions
Design and features
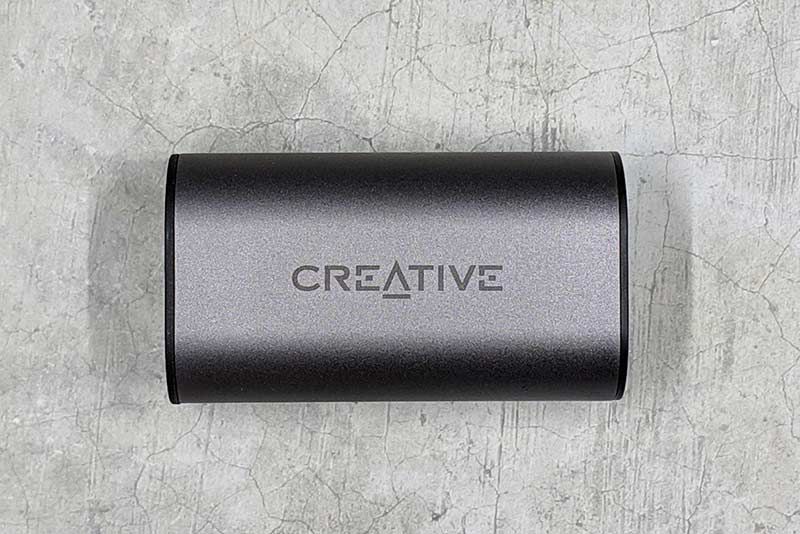
The Creative Outlier Air earbuds store inside a small aluminum shelled storage case that doubles as a charger.
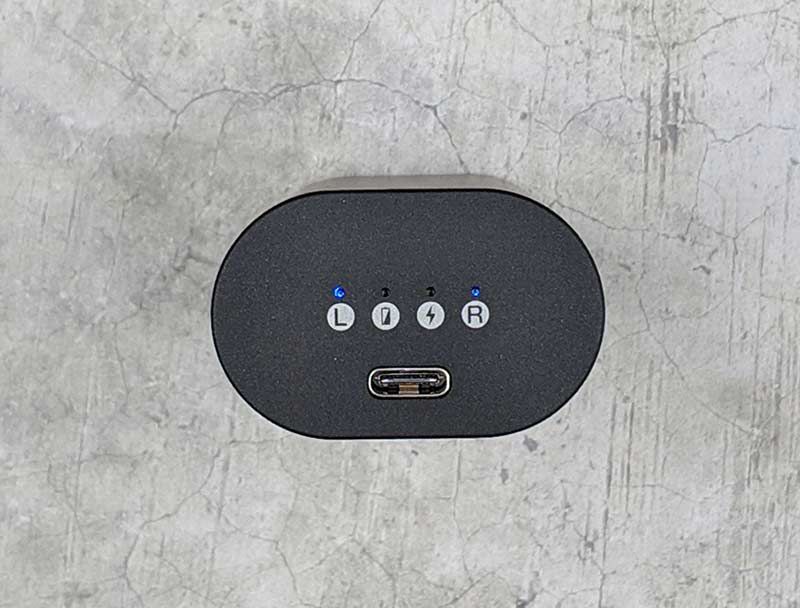
The charging case charges via USB-C (yay!) and has 4 LEDs on one end of the case that provide a quick way to check the battery charging status of the earbuds.
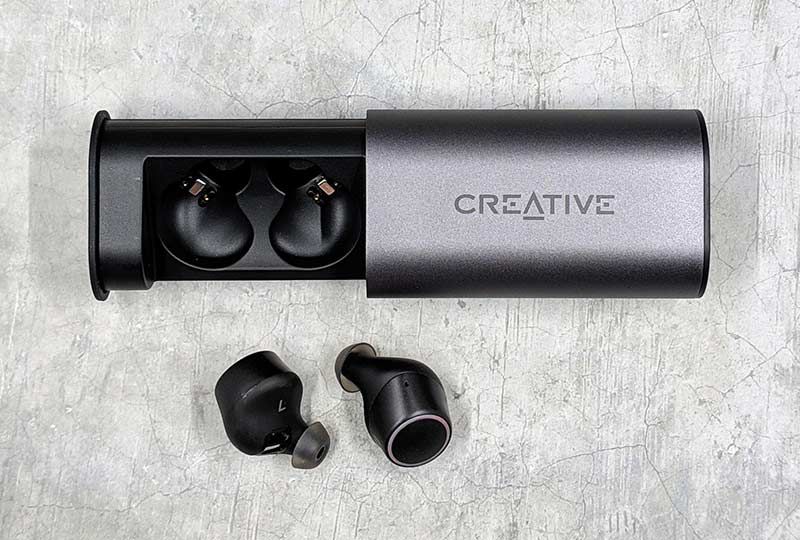
The case slides open to reveal a drawer that holds each earbud in its own charging slot.
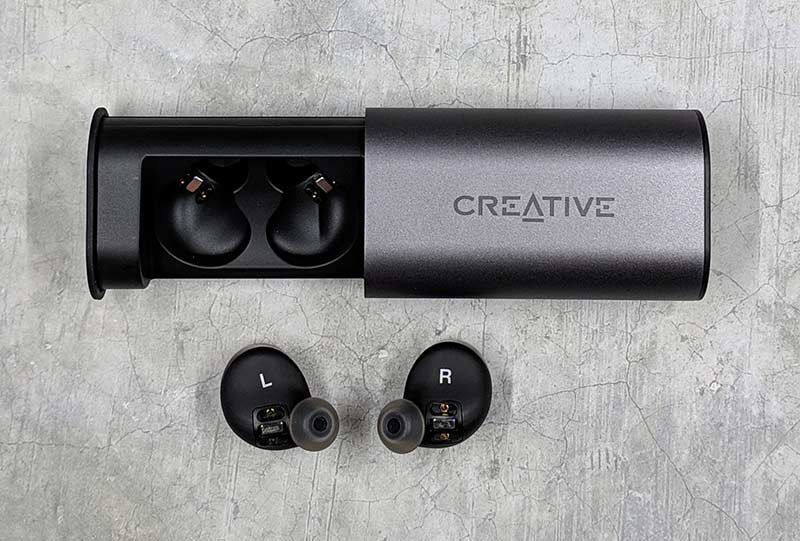
The inside surface of each earbud has electrical contacts that match up with contacts in the case. Just make sure they are seated correctly before closing the “drawer” so that they will make contact to charge.
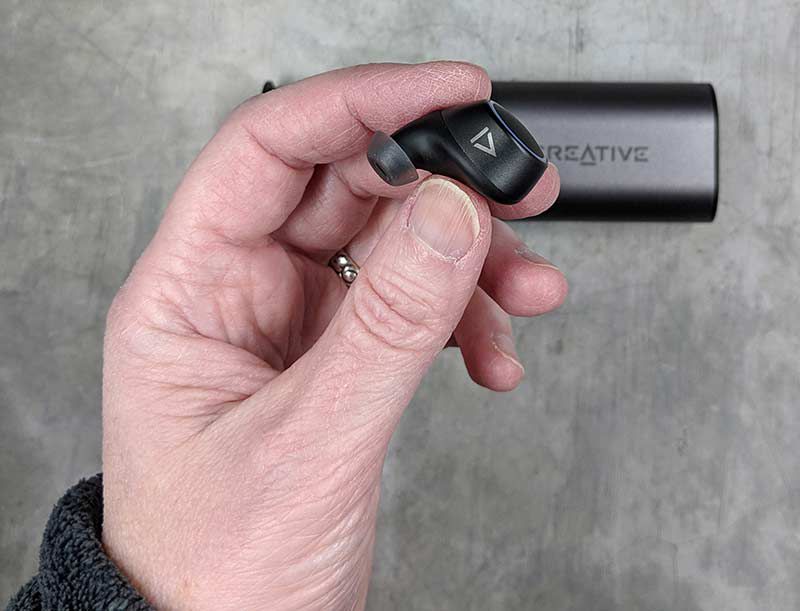
The earbuds themselves have a matte black plastic shell with the Creative logo on one side and a large printed L or R on the inside surface of each bud so that you’ll know which ear they are supposed to fit in.
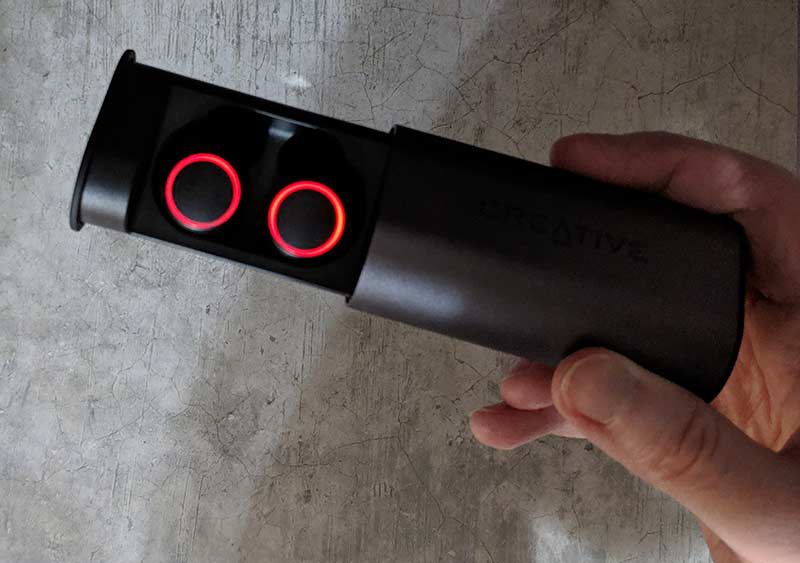
The outside surface of each earbud is a multi-function button that has an LED “halo” around it that glows red or blue depending on the status. The LED will throb red while charging and will throb blue while they are paired and sometimes while they are in use.
Fit and comfort
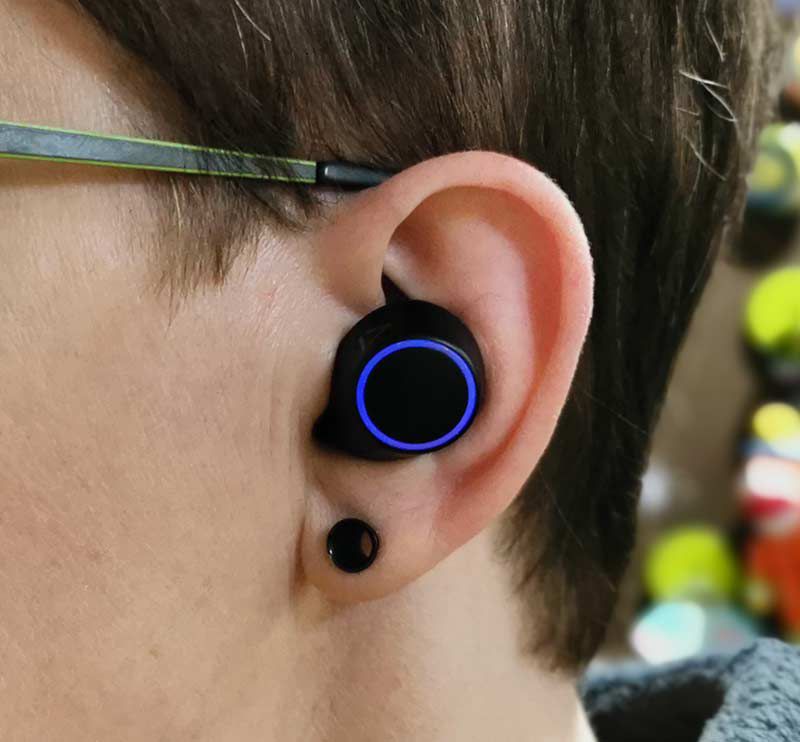
Unlike many earbuds that I’ve reviewed in the past, the Creative Outlier Air earbuds only come with one extra set of ear tips and for some really strange reason, the ear tips are all the same size. This can be a problem for people that have problems getting earbuds to fit in their ears as there aren’t different sizes of ear tips included to customize the fit.
The Outlier Airs fit my ears pretty well… at least for my left ear. My right ear canal is shaped slightly different, so more often than not, I have trouble with the fit for that ear. For that reason, I wasn’t surprised when I had trouble with the right Outlier Air earbud falling out of my ear if I was moving around a lot, like while working out. Sometimes it would dislodge from my ear causing the sound quality to diminish and sometimes the earbud would completely fall out of my ear.
Even though I have problems with the right earbud falling out occasionally, the fit is comfortable and I am able to wear them for extended (an hour or so) periods of time with little discomfort.
Note that my experience with the fit of these earbuds might not match yours as everyone has differently shaped ears.
Pairing and functionality
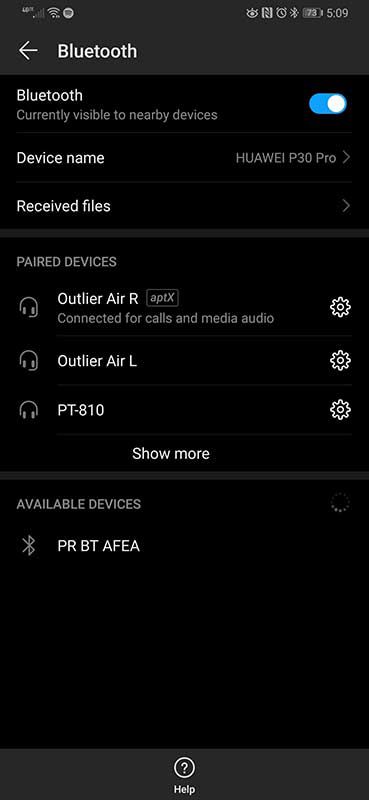
Pairing the Creative Outlier Air earbuds with my Huawei P30 Pro was a simple task. When I opened the charging case drawer, one of the buds started flashing alternating red and blue to let me know that they were in pairing mode. From there you just choose the earbud with the red/blue flashing LED in the Bluetooth devices list and pair it. You do not have to pair BOTH earbuds individually. Just one.
The only trick is that you have to decide which bud to make the primary earbud. The primary earbud is the one that you remove from the case first. Why does it matter? It matters because you can put the secondary earbud back in the case and still continue to use the primary earbud in your ear. It’s a great little way to get double the playback time out of the earbuds if you like to leave one ear open to hear what’s going on around you while still enjoying music.
To control the earbuds as far as answering calls, ending calls, play/pause, skipping tracks, adjusting volume, and using a voice assistant, you have to use the buttons on the earbuds. Let me just say that I hate using buttons on the outside of earbuds. Having to press a physical button means you have to push the earbud farther in your ear to activate that button. The buttons on the Outlier Air earbuds are pretty stuff, so pressing them is not comfortable at all.
Just like I want all new earbuds to start using USB-C for charging, I want all new earbuds to start featuring touch controls instead of physical buttons. Yes, the buttons work fine as long as you remember which one does what function and what you need to do to get that function, like single press, double press, hold, etc. But yeah, not a fan of physical buttons. Nuff said on that topic.
Sound quality for music, video, and calls
When it comes to sound quality, I was quite surprised by how much I enjoyed listening to music with the Creative Outlier Air earbuds. I paired them with my Huawei P30 Pro which has Dolby Atmos and they sounded great listening to my favorite tunes using Spotify and other streaming apps.
There was a good amount of bass (sometimes a little too much), warmth, and clarity. Compared to other earbuds I’ve reviewed recently, I would say that the Outlier Airs are in the lead for the best sounding buds for music.
As for watching video while using the Outlier earbuds, I’m happy to report that there are no video syncing issues when using the with YouTube and Netflix. What you see and what you hear is synced perfectly in the video.
Both earbuds have a built-in microphone for calls and smart assistant functions. You can also hear audio out of both earbuds while on a call.
People on the other end of the conversation said that I sounded fine and I heard no comments asking if I was talking to them from down in a well. On my side of the call, I was glad to have audio from both ears but I still had that in my head type of experience while talking. I also noticed that while people on the other end talked, there was a weird scratchy/static noise in the background. It’s not a deal breaker, but it is worth mentioning.
I’m also happy to report that I didn’t notice any problems with either earbud cutting out or losing connection with the other bud. Everything about the Outlier Air earbuds is rock solid.
What I like
- Great audio quality for music and good for calls
- No video syncing issues
- Long battery life
- USB-C charging
What needs to be improved
- Add touch controls instead of a physical button
Final thoughts
I thought I’d ended my quest for the perfect pair of wireless earbuds when I reviewed the TicPods Free earbuds. I loved the fit and comfort and especially the touch controls of those earbuds, but the video sync delay issues eventually dethroned them as my favorites after I reviewed the Mavin Air-X earbuds. And now the Creative Outlier Air TWS earbuds have dethroned the Mavin Air-X earbuds to become my favorite TWS earbuds.
The Creative Outlier Air earbuds have better battery life, better sound, and you can’t beat the price at around $80. If you’re looking for your next favorite pair of TWS earbuds, you must check out the Outlier Airs.
Price: $79.99
Where to buy: Creative
Source: The sample for this review was provided by Creative.
Filed in categories: Reviews
Tagged: Bluetooth earbuds
Creative Outlier Air True Wireless sweatproof earbuds review originally appeared on The Gadgeteer on May 2, 2019 at 10:00 am.
Note: If you are subscribed to this feed through FeedBurner, please switch to our native feed URL http://the-gadgeteer.com/feed/ in order to ensure continuous delivery.

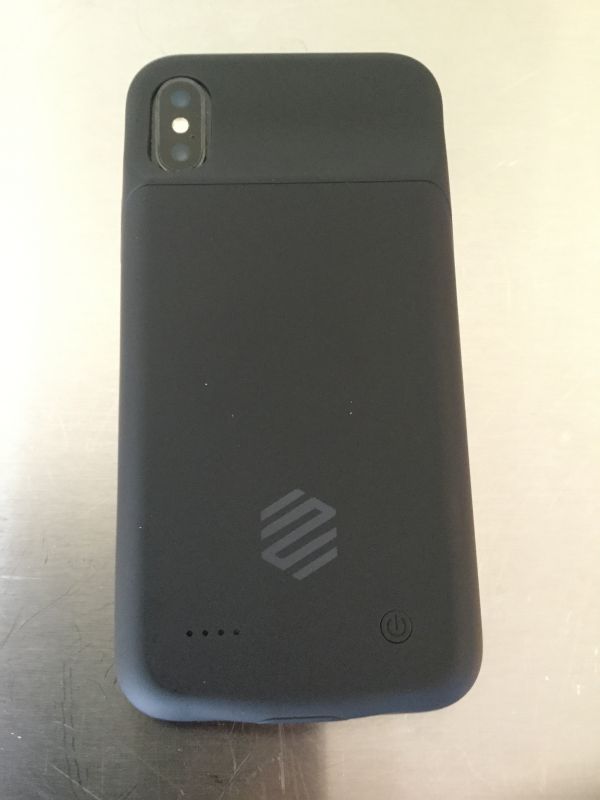
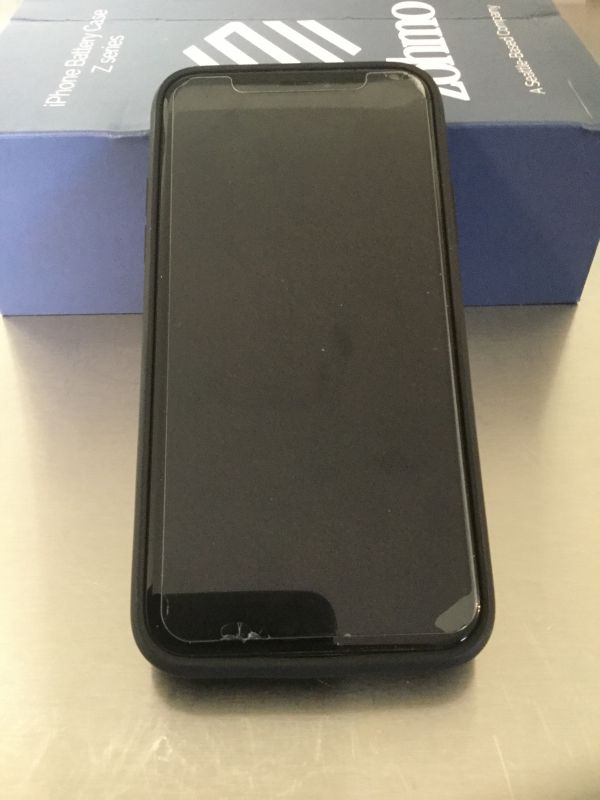 Excuse the cracks from my screen protector but you can see that the case doesn’t change the profile of the phone any more (and maybe less) than most cases. This is great since the iPhone X screen does stretch so close to the edges of the screen.
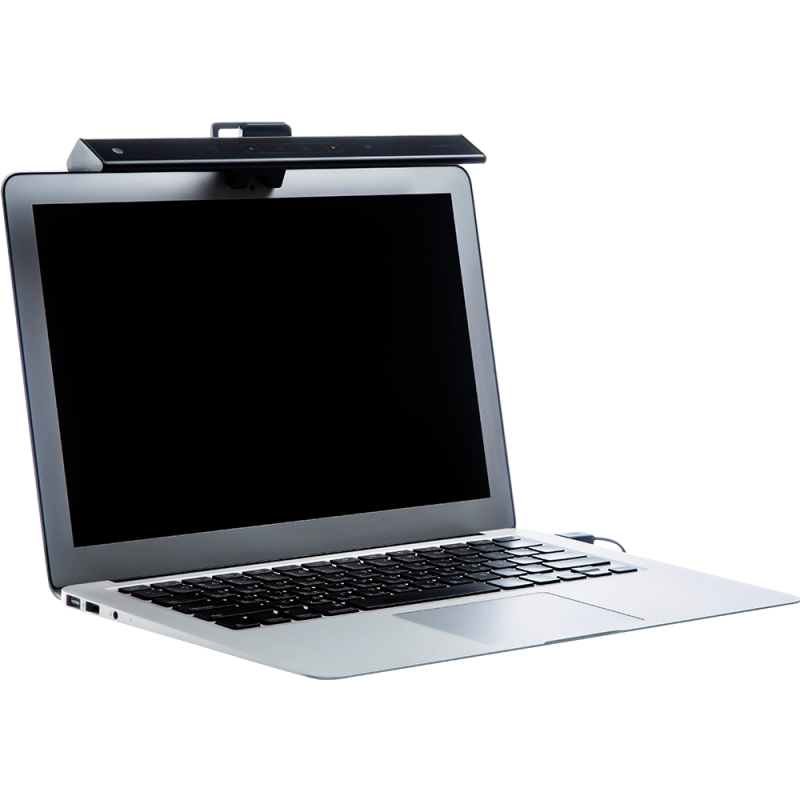
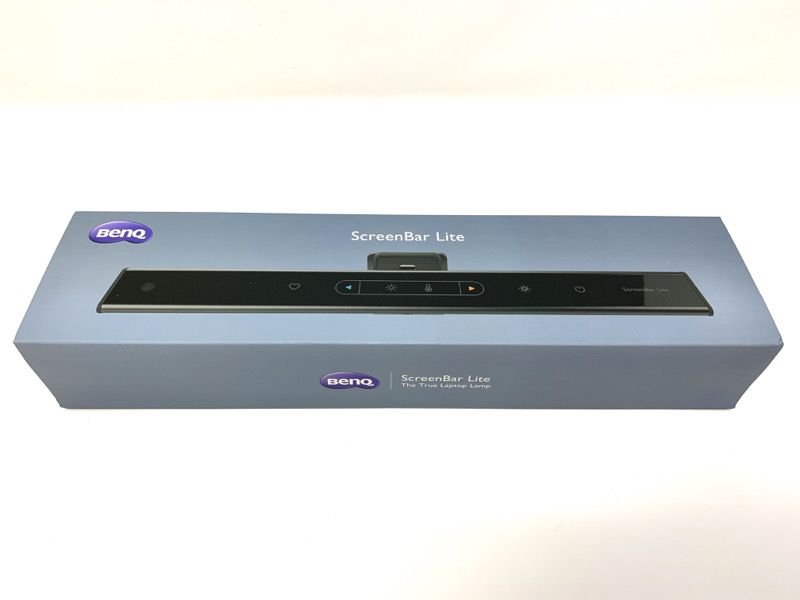
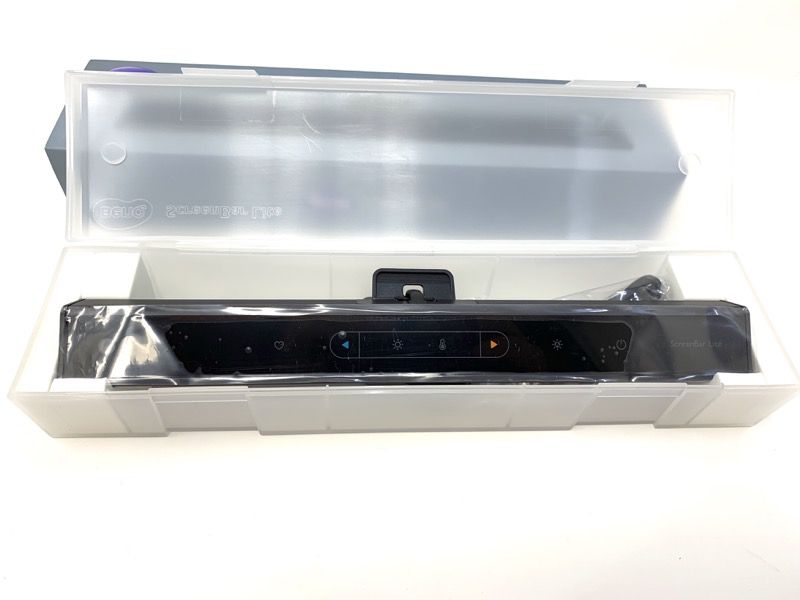
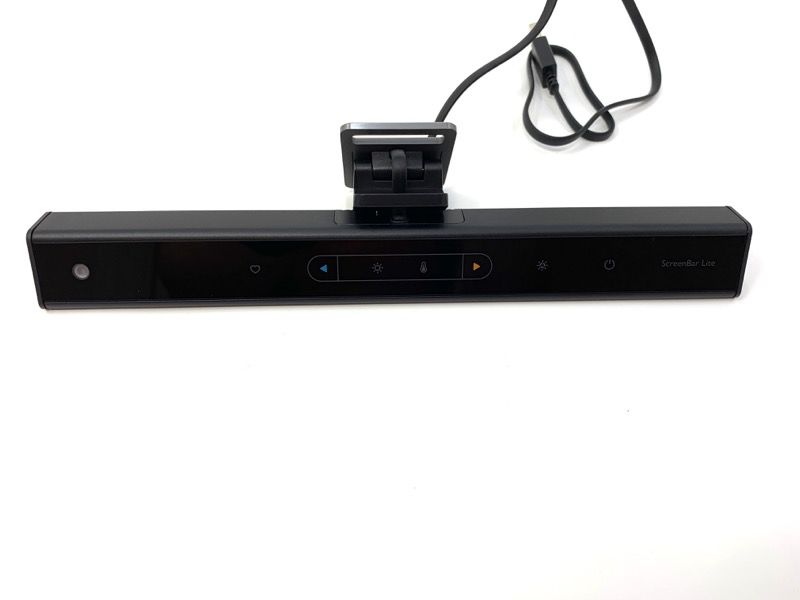
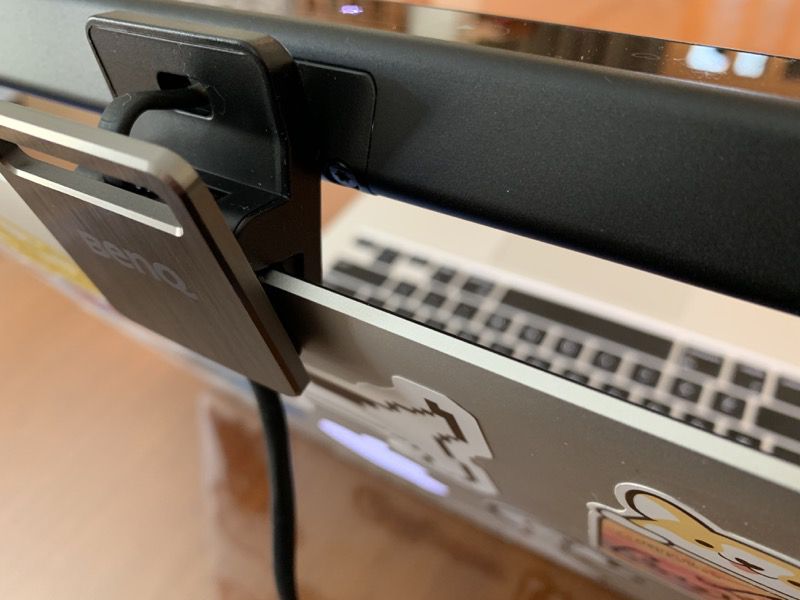
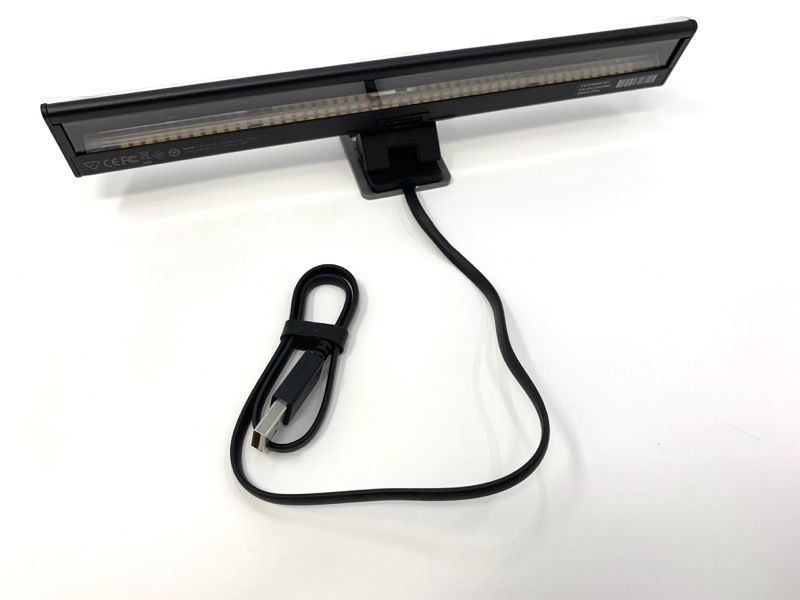 The clip is nicely padded so it doesn’t scratch the edge of your laptop.
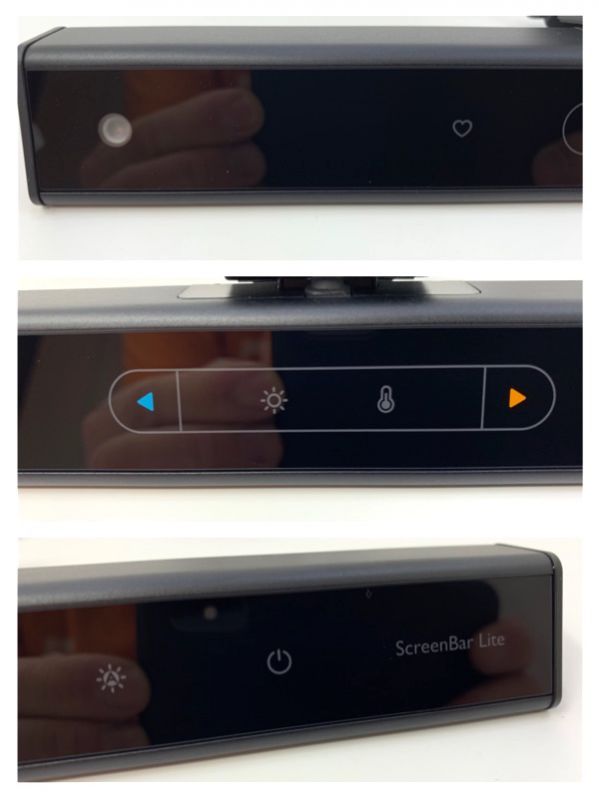
 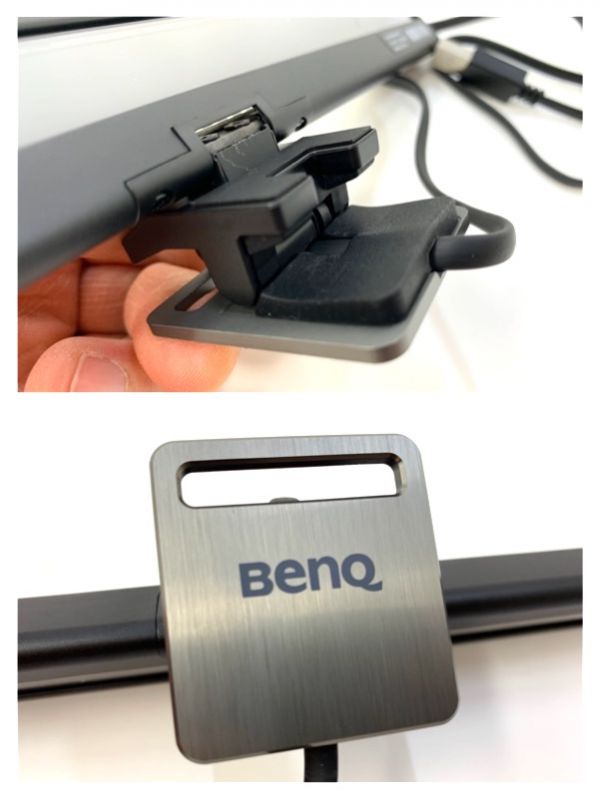 The light sensor is on the left side of the bar. To the right is a heart-shaped icon to set and recall a light level preset. In the center you’ll find brightness and color temperature controls. The “sun” with the letter A icon is a one-touch auto-adjust button that sets the light to match surroundings, and finally the power button.
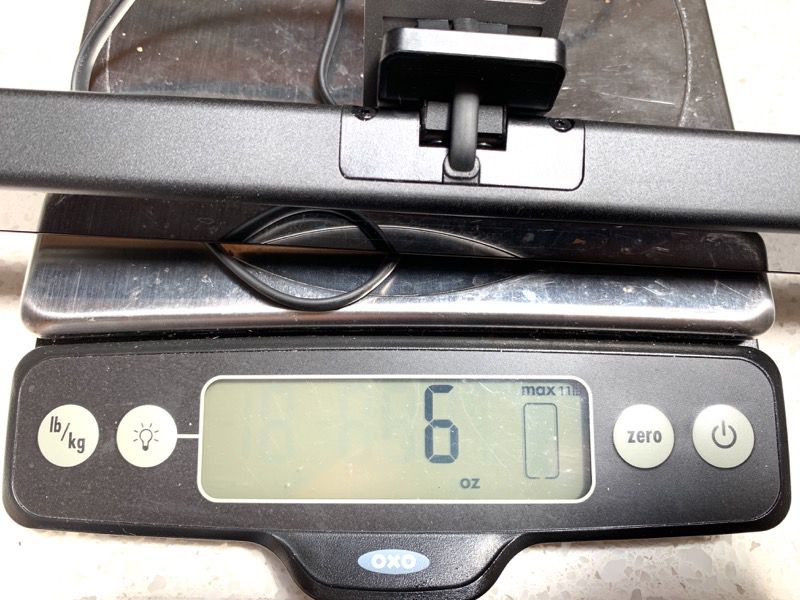
  On the scale, the light weighs in at 6 ounces.

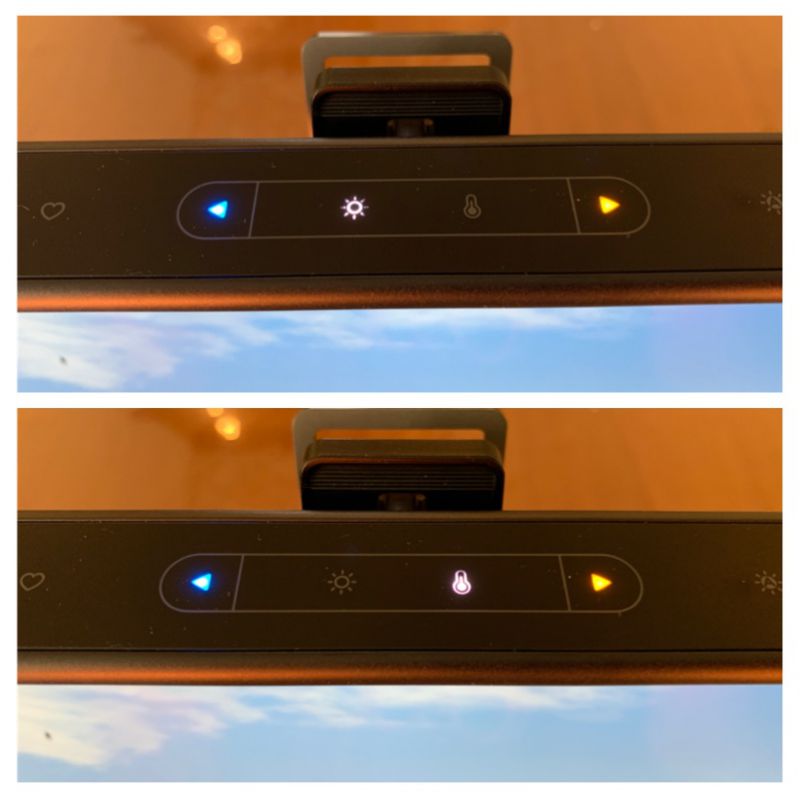 To show the difference in color temperature, the shot on the top was taken with the cool setting, at full brightness. The bottom was taken on the warm setting. Notice the lack of glare on the screen itself.