REVIEW – Bluetooth – it seems like it’s everywhere now. How does the SecureDrive BT hardware encrypted external portable hard drive utilize Bluetooth and your mobile device for drive security? Let’s find out!
What is it?
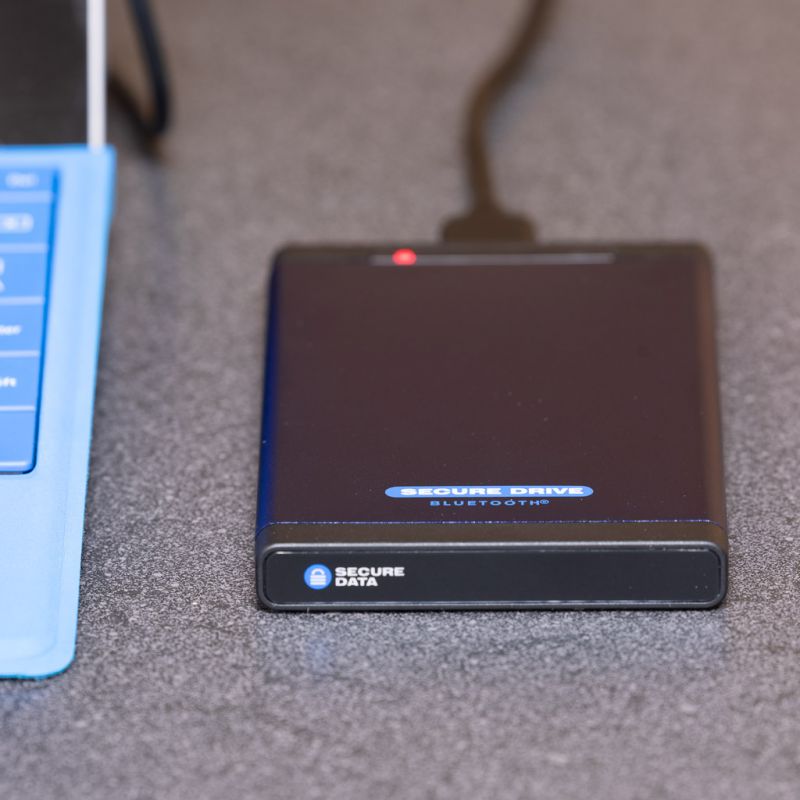
The SecureDrive BT hardware encrypted external portable hard drive is a USB hard drive that uses your mobile device and Bluetooth to unlock the device.
What’s in the box?
List contents – you can remove this heading and section if it doesn’t apply to your review.
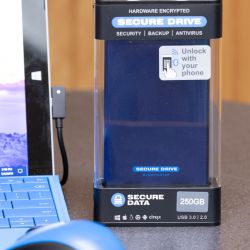
- SecureDrive BT (250GB SSD as tested)
- Quick Start guide
- 16″ USB cable
- Export Notice information sheet
Hardware specs
| Capacity: | 1TB, 2TB, 5TB, 250GB SSD, 500GB SSD, 1TB SSD, 2TB SSD, 4TB SSD, 8TB SSD |
| Cryptographic Processes: | AES-XTS 256 Bit Hardware Encryption (OS independent) |
| Dimensions (L x W x D): | 127mm x 77mm x 12.5mm (1&2TB) – x 20.5mm (5TB) |
| Weight: | Approx. 9 oz. (1TB & 2 TB) Approx. 12 oz. (5TB) |
| Interface/Power Supply: | USB 3.0 (2.0 compatible) / BUS powered |
| Certifications: | RoHs, FCC, CE, USB, FIPS 140-2 Level 3 |
| Assembled: | U.S.A |
| Languages: | English |
| Warranty: | 2 years (limited warranty) |
| Password Policy: | Strong password (7-15 chars) Alpha Numeric |
| System Compatibility: | Microsoft, iOS, Android, Linux, Chrome, Thin Clients, Embedded Systems (No software or drivers needed) |
Design and features
I recently reviewed the SecureDrive KP drive (KP is for Keypad unlock) and found it to be a fabulous device. SecureDrive was nice enough to also send me the SecureDrive BT drive (Bluetooth unlock) for review.
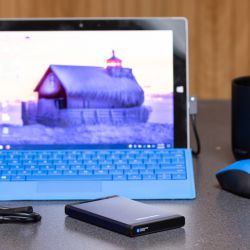
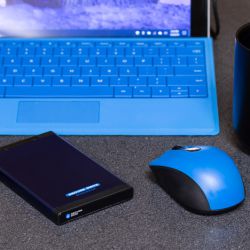
Measuring in at just 3″x5″x0.5″, the SecureDrive BT is just about as small as external SSD and 2.5″ HDD drive enclosures come. It requires no external power supply, and simply operates off the USB cable connection with any host operating system (Microsoft Windows, MacOS, iOS, Linux, Chrome, Thin Clients, Zero Clients, Android & Embedded Systems).
Unlike the SecureDrive KP which features a keypad for unlocking the device, the SecureDrive BT uses an app on your mobile device (iOS and Android) and its Bluetooth connection to unlock and manage the device. Once unlocked, the drive performs as a standard external hard drive.
One of the key ways the SecureDrive keeps your data safe is that there is absolutely no communication between the host Operating System (Windows, Linux, MacOS or similar) and the drive until the User enters the correct PIN via the mobile app. This prevents computer/software brute force attacks and/or hacking of the system. Once the correct pin is entered the drives USB controller is unlocked to initiate communication between the drive and host OS. This also prevents any malicious firmware modifications/updates that might be intended to breach the security of the drive.
The SecureDrive BT uses Military Grade AES256 bit encryption at the hardware level, the complete OS and software free design allows for extremely secure encryption without any OS overhead and speed penalties that software encryption has, which can slow performance by 30% or more.
The 16″ cable and USB 3.0 super speed interface provides for a transfer rate of 5.0 Gbit/s while being backward compatible with USB 2.0 for older hardware.
A secure drive would not be completely secure if it allowed access to the electronics that control the drive. The SecureDrive is certified FIPS level 3 (U.S. government computer security standard) and every vital piece of electronics is covered with a tough epoxy coating cementing the critical components in an indistinguishable solid capsule. There are no externally visible means to open the drive enclosure.
The drive has a brute force anti-hacking self destruct feature that is triggered after entering an incorrect password ten consecutive times. When triggered it will crypto-erase the passwords, all User data and drive formatting. Basically, it will wipe the drive and it will reset the password to the factory password. The drive is still useable, just empty. I tested this feature and it indeed worked perfectly. This is probably a good point to mention that there are no techniques to retrieve the pin. There are absolutely no back-doors and all data will be erased permanently.
The SecureDrive BT has several advantages and disadvantages as compared to the keypad model.
Disadvantages:
- Requires a mobile device to unlock the drive
- Admin mode is only available with SecureDrive’s Remote Management Web Console
Advantages:
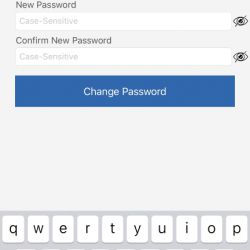
- Easier to enter/change the device password
- Can use TouchID/FaceID on iOS (fingerprint unlocking)
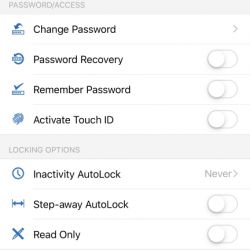
- Easier to make option changes such as Inactivity AutoLock, read-only (optional)
- Step-away AutoLock and vicinity unlock
- Works with Apple Watch (digital pin)
- Password recovery via text message (optional)
- Compatible with SecureDrive’s Remote Management Web Console
The TouchID on iOS is very nice. You simply tap the drive you wish to unlock and you’ll be prompted to touch the devices fingerprint reader, and the drive unlocks.
Even better for some users may be the AutoLock/Unlock feature that is possible with Bluetooth. When enabled the device will automatically lock when you step about 3m away from the device for longer than 5 seconds. When the remember password option is on, it will also automatically unlock the device when you get in the vicinity of the device.
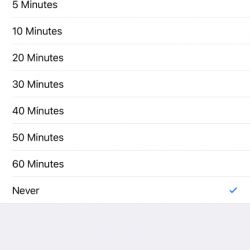
There is also an Inactivity Lock feature, which is off by default. When enabled the device will automatically lock after a pre-set amount of time of inactivity. The options on this feature are 1, 5, 10, 20, 30, 40, 50, and 60 minutes.
These features for unlocking and locking make it very configurable depending on your requirements and environment.
The SecureDrive BT is also compatible with SecureDrive’s Remote Management Web Console (available as a separate service) which allows the admin to take full control of where/when the drive can be unlocked as well as remotely wiping the data and disabling access even if the user has a drive pin.
Setup
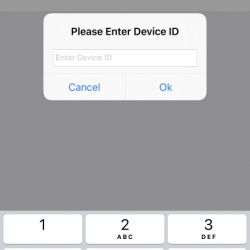
Setting up the SecureDrive BT is as simple as installing the DataLock app and entering the eight-digit device ID number that is located on the back of the device near the connector plug. Once you enter the default password you can then setup the device with the various options and change the password.
Performance
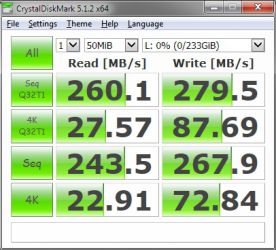
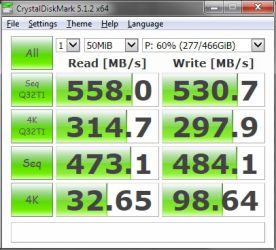
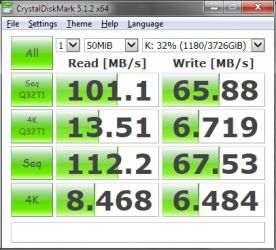
For the technical minded, here are some CrystalDiskMark tests from my setup:
What I like
- Mobile device unlocking and configuration of options
- Auto lock and unlock are awesome
- Compact design
What needs to be improved
- Did not have a full printed manual with it, but PDF’s are on the drive and a printed quick start instruction sheet was provided.
Final thoughts
I’m really impressed with the SecureDrive BT, and with all of the SecureDrive products. They really have a great variety of devices that seem to fit just about every user’s unique need. The SecureDrive BT provides an easy and portable way to secure data and is available in the following capacities: 1TB, 2TB, 5TB, 250GB SSD, 500GB SSD, 1TB SSD, 2TB SSD, 4TB SSD, 8TB SSD.
Price: $289 250GB SSD as tested, many other models available
Where to buy: SecureDrive
Source: The sample of this product was provided by SecureDrive.
Filed in categories: Reviews
Tagged: External hard drive
SecureDrive BT hardware encrypted external portable hard drive review originally appeared on The Gadgeteer on March 28, 2019 at 9:00 am.
Note: If you are subscribed to this feed through FeedBurner, please switch to our native feed URL http://the-gadgeteer.com/feed/ in order to ensure continuous delivery.

