REVIEW – Carrying around your info in your various devices is great, but sometimes, you need to share information with a group. Sometimes it’s a large group, and sometimes it’s just a small team that grabs an impromptu room to meet together. There are several ways to do this, but the issue usually comes down to power, a dongle and your large screen. (Just like the rest of your Gadgeteer existence, Amiright?) Airtame came out with an easy way to connect your devices to the large, flat screens that have joined whiteboards all across the world’s conference rooms and classrooms. With the Airtame 2, they have upped the ante, by not only giving you more power and RAM, but with digital signage, an online sharing space, and better performance.
What is it?
A black box that feeds video from screens over your local network to HDMI screens.
What’s in the box?
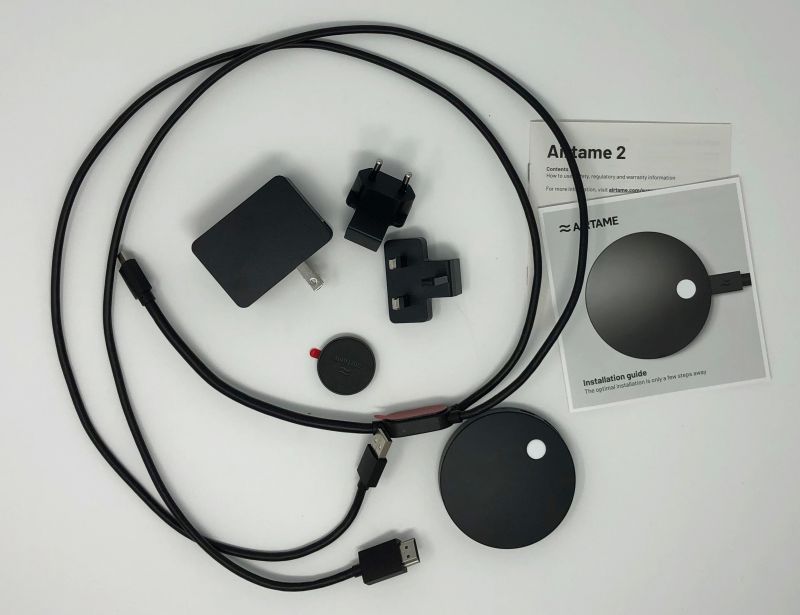
- The Airtame itself
- USB-A charger with international plugs
- The Aircord – a proprietary power/network/video hook-up cable
- Magnetic puck for mounting
- User guide and other paperwork
Design and features
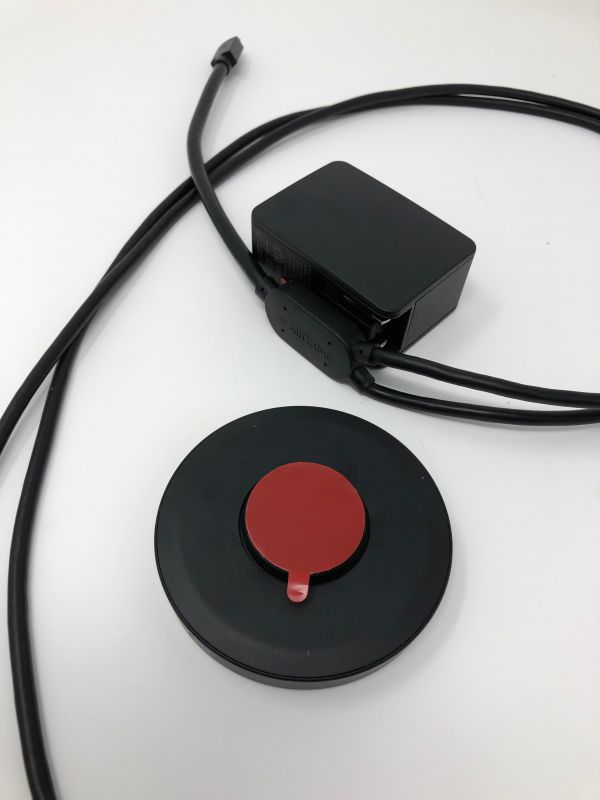
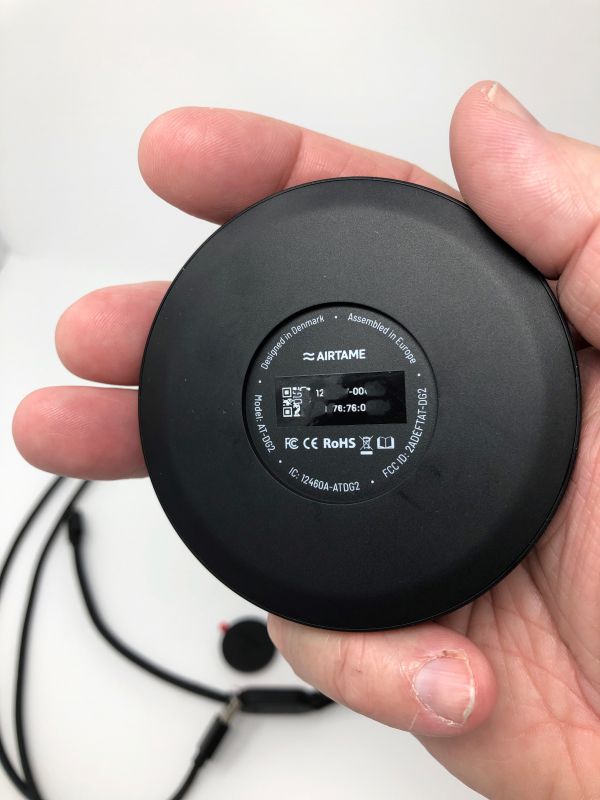
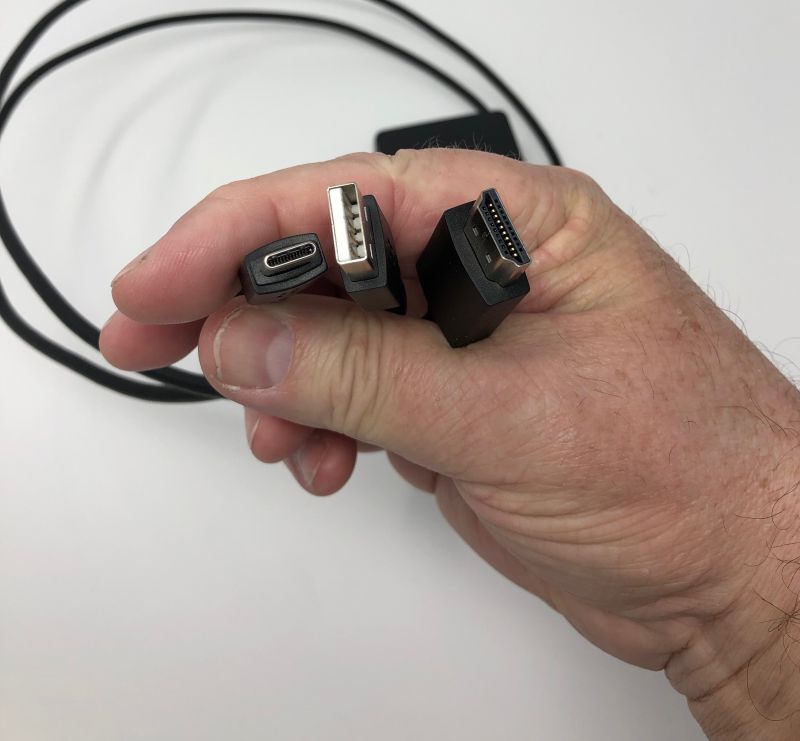
A proprietary cable, a power brick, and a disc the size of a pre-cooked hamburger. The Airtame 2 comes with a well-made USB-A charging block that, with the adapters included, will work with any power outlet in the major countries of the world. This powers a black disc about 3″ in diameter by 0.5″ thick. There are three ports on the edge of the disc – USB-C, microUSB, and a standard Kensington security lock port. The cable that comes in the box connects to your monitor’s HDMI port, the USB charger, and the USB-C port of the disc. (The microUSB is for the optional $20 ethernet adapter you can add on. Both networks can be active at once.)

Once these are all plugged in, the screen lights up, and displays the Airtame information for pairing. The display gives the IP address and the network name of the disc. This can be configured from a completely re-designed control application that is free to use, as well as placed into a SaaS application that will share your Airtame resources across all of your network. You can gather your Airtames into groups, name them, have them display various dashboards and data, play slideshows, or cycle through various pictures and charts. This is a tool for making every display on your campus a full-featured information portal, as well as an ad hoc or scheduled meeting screen. In the picture below, the management screen is on the left monitor, while the Airtame default screen is on the righthand one. (The background picture is a custom one from a local park.)
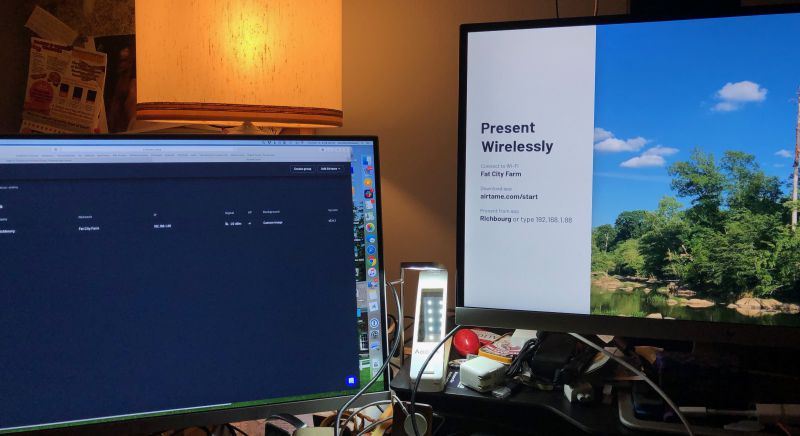
The Airtame 2 is a redesign and, for the backend support, a rethinking of the Airtame I reviewed last summer. The new model, rather than having an HDMI plug built in, has ports on the main body. This removes the need to plug the dongle itself into the display. You can actually carry one around with you and plug it into a display for remote presentation, if you have WiFi access. But if you have that, an HDMI adapter for your device is just as easy, unless you just like walking around while presenting.
Setup
This is possibly the hardest part of using Airtame, which is telling, because it’s really easy. It’s a nice size, and the cables have enough run-space to reach most displays (provided there’s power close by). The Aircord has an adhesive mounting pad on the junction where the power and HDMI and network meet, and there’s a similar pad on the back of the magnetic disc that holds the round main unit. If your monitors are on metal stands, it’s just a matter of finding the flattest place on the stand. If you’re needing to mount it on a wall, the sticky pad should be enough.
I was not sent the Ethernet adapter to test on the wired segment of my network, but it’s available for around $20. If you’re outfitting an entire campus, keep that in mind.
Performance
The Airtame performed well in my home WiFi environment. It displayed video from my iOS devices easily, and I could “send” the video to any display I hooked it up to. While it’s easy to hook up to a TV, it’s a bit fiddly (which is a British-ism for “complicated or detailed and awkward to use”), since you have to use the remote to go to the proper input, but any HDMI input works fine. Remotely displaying my Mac mini on the TV in the den was easy. If you’re worried about security or spoofing, you can have the screen show a 4-digit code to log into it.
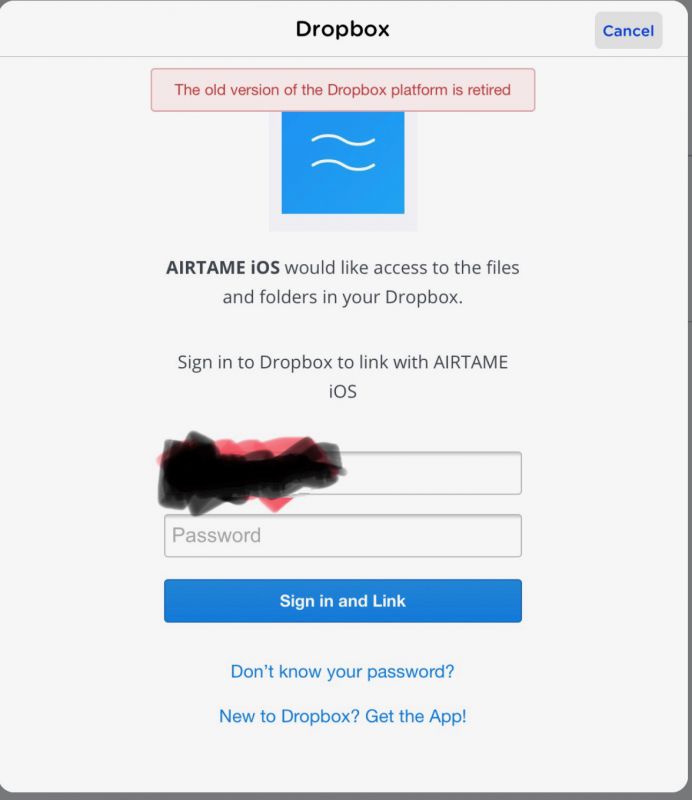
They have still not fixed the issues with accessing your DropBox account from iOS. They are trying to use an old API, according to the error (above) I get when trying to connect my account. There is also still no screen mirroring for iOS. If you’re wanting to use this for user training, say, on a new custom app for iPads, you’ll need a different solution, or reduce your actual demo to screenshots. The unit still really runs hot. If these are expected to stay on 24/7 like most display signage does, they’re going to need to address this.
What I like
- Easy to Use
- All major platforms supported
- Clean, modern design and performance
- Support seems to be very on-the-ball
What needs to be improved
- DropBox iOS connector needs to be updated
- iOS needs mirroring
- Unit gets quite warm
Final thoughts
I like these devices. If I were going from place to place presenting, I would take one with me to attach to the HDMI port invariably offered to presenters nowadays. I could then walk around with my iPad and change slides or pull up documents from anywhere in the room. It will be better when it’s more like an AppleTV, and, looking at a new purchase, that may be a better buy for a single user.
I love the new management features. I was able to change the background screen, display style, and location names on my device easily from any web browser. From the IT side, being able to update and monitor screens from a central location is fantastic. Someone from sales wants the SalesForce page for the department metrics displayed? Boom, done, in just the time it takes to call it up on one machine.
Price: $399
Where to buy: Airtame.com
Source: The sample of this product was provided by Airtame.
Filed in categories: Reviews
Tagged:
Airtame 2 screen sharing system review originally appeared on The Gadgeteer on March 23, 2019 at 10:00 am.
Note: If you are subscribed to this feed through FeedBurner, please switch to our native feed URL http://the-gadgeteer.com/feed/ in order to ensure continuous delivery.

