KIZIK handsfree shoes, Doorbird doorbell, Denon Heos speaker, and lots more – Review updates

REVIEW – You’re going to be here a while because we have 20 review updates for you today of reviews from as far back as 2014 and as recent as just this past summer. Check out the list of updated reviews below and you can find the actual updates at the bottom of each review.

Click & Grow Smart Garden 9 review by Julie Strietelmeier

SHOTBOX portable photography light box review by Julie Strietelmeier

Logitech Craft keyboard review by Julie Strietelmeier

Kizik Handsfree New York Shoe review by Howard Sneider

Pluto Pillow Review by Andy Chen

Master & Dynamic MW60 wireless and MW50 wireless headphones review By Bill Henderson

TaoTronics Elune Dimmable LED Desk Lamp review by Kathleen Chapman

Denon Heos 3 wireless speaker review by Kathleen Chapman

OxyLED T120 Dimmable Eye-care LED desk lamp review by Kathleen Chapman

Thermacell Mosquito Repellent review by Kathleen Chapman

DoorBird Video Doorbell review by Kathleen Chapman

MPOW Swift Bluetooth 4.0 Headphones review by Kathleen Chapman

Runtastic Libra Bluetooth Smart Scale and Body Analyzer review by Kathleen Chapman

Scosche EZTIP FlatOut LED Micro-USB Charge & Sync Cable review by Kathleen Chapman

Foobot air quality monitor review by Kathleen Chapman

Garzini Essenziale and Essenziale Finestra wallets review by Kathleen Chapman

WatchAir Smart (WiFi) Antenna review by Kathleen Chapman

Netatmo Presence Outdoor Security Camera review by Kathleen Chapman

Epson WorkForce ET-16500 Wide-format EcoTank all-in-one printer review by Kathleen Chapman

Jaybird X3 Wireless Bluetooth Headphones review by Kathleen Chapman

Filed in categories: Reviews

Tagged:

KIZIK handsfree shoes, Doorbird doorbell, Denon Heos speaker, and lots more – Review updates originally appeared on The Gadgeteer on October 17, 2018 at 11:00 am.

Note: If you are subscribed to this feed through FeedBurner, please switch to our native feed URL http://the-gadgeteer.com/feed/ in order to ensure continuous delivery.

Give your cat a climbing structure even if you don’t have a lot of free floor space

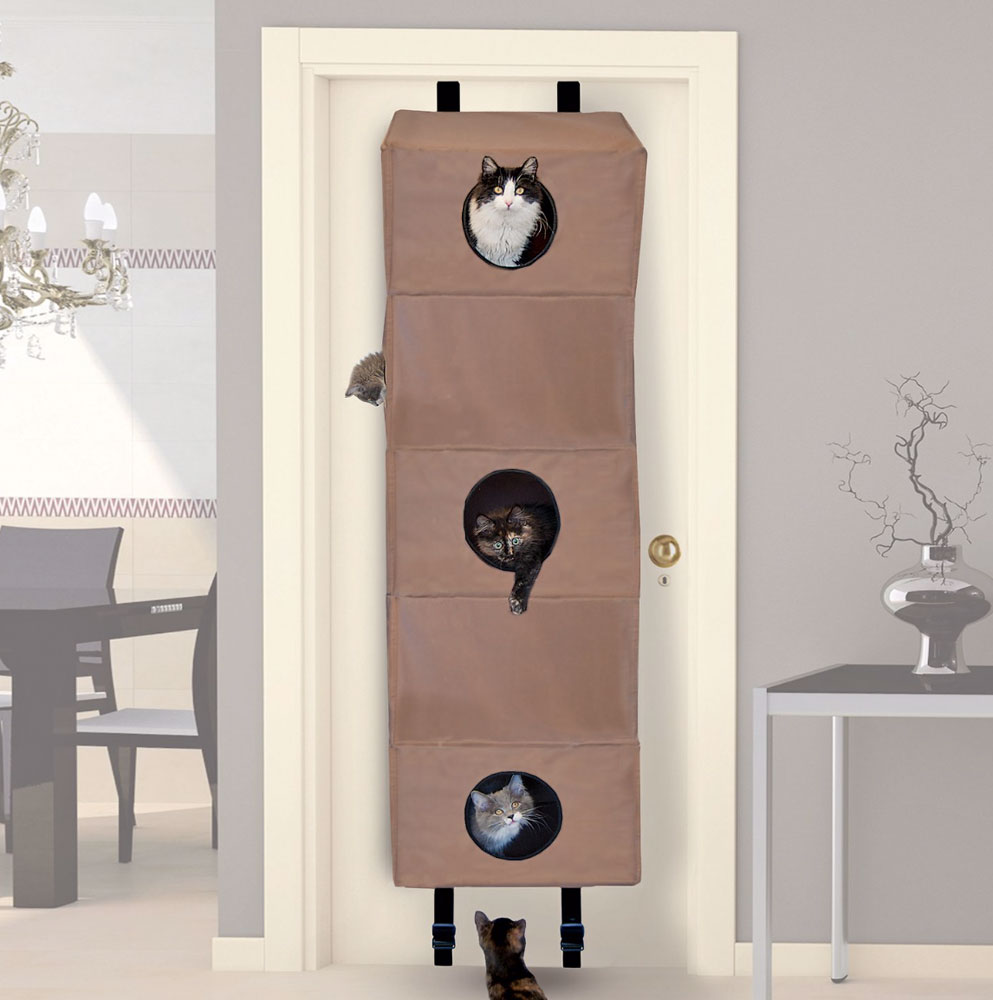
NEWS – Cats like to climb, and if you don’t give them something to climb on, they’re likely to climb your curtains.  If you don’t have enough floor space to dedicate a chunk of it to one of those big climbing trees, you may think you have no other options, but that’s not true.  The K&H Hangin’ Cat Condo hangs over the back of a door, leaving your floors free for furniture and walking paths.

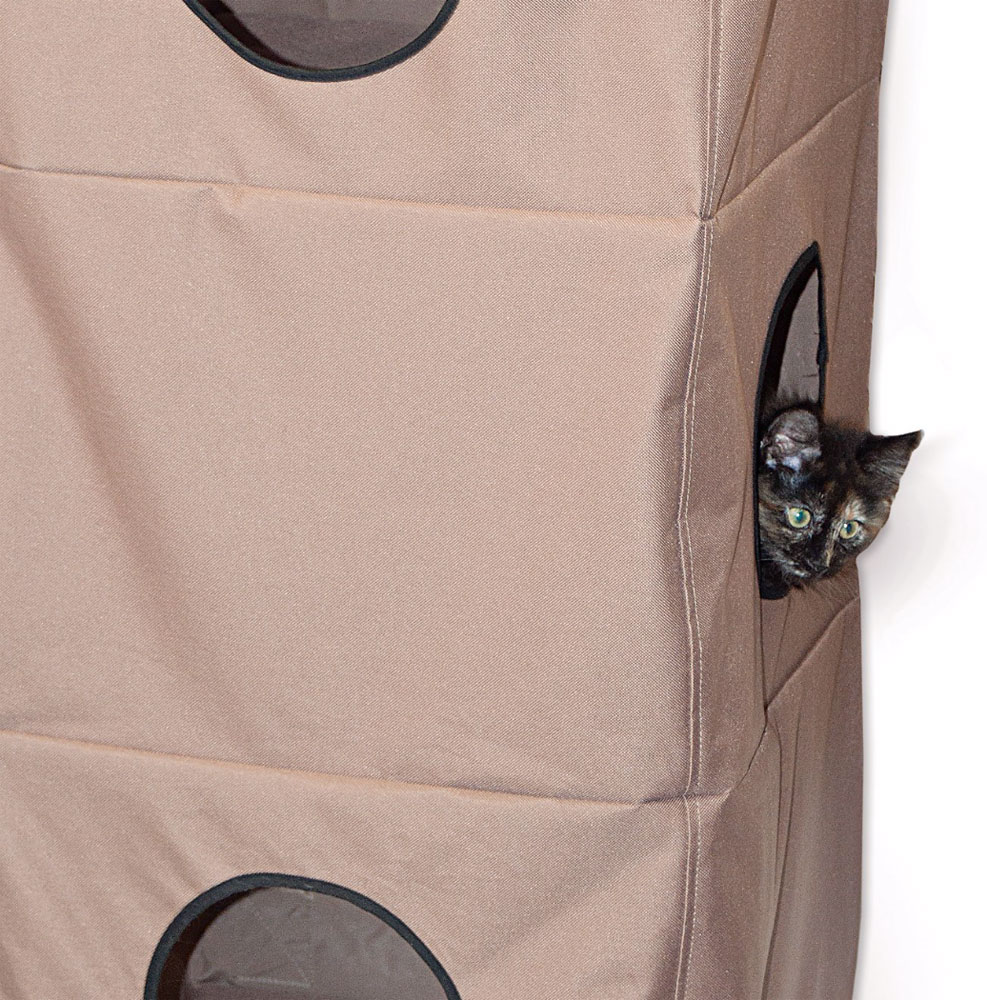
The condo is made of waterproof, 600-denier nylon fabric that can be washed.  The compartments have a stiffening board in the bottom for support, and there are five levels with a total of seven exterior holes for your cat to climb in and out of.  There are also connecting holes inside so the cat can climb between levels.  It mounts to most any door with four brackets, two on the top and two on the bottom of the door.

The structure is 65″ tall and 16″ deep.  It’s available in your choice of 16″ (small) or 23″ (large) widths.  The small climbing condo is $64.20; the large is $85.63.  The K&H Hangin’ Cat Condo is available at the Chewy website.

Filed in categories: News

Tagged:

Give your cat a climbing structure even if you don’t have a lot of free floor space originally appeared on The Gadgeteer on October 17, 2018 at 10:00 am.

Note: If you are subscribed to this feed through FeedBurner, please switch to our native feed URL http://the-gadgeteer.com/feed/ in order to ensure continuous delivery.

LifeShield DIY Home Security System review


REVIEW – For many years, I have been a firm believer in having a home security system not only for protection from theft but also from fires and other important events that can occur without warning. The LifeShield Security System seems to be feature packed and seems to have the potential to be the security system of choice for my home.

What is it?

The LifeShield DIY Home Security System is an all-in-one Do It Yourself security system that offers entry/exit protection, protection from fires and carbon monoxide (not offered as a device), video recording and image snapshots, as well as live monitoring.

What’s in the box

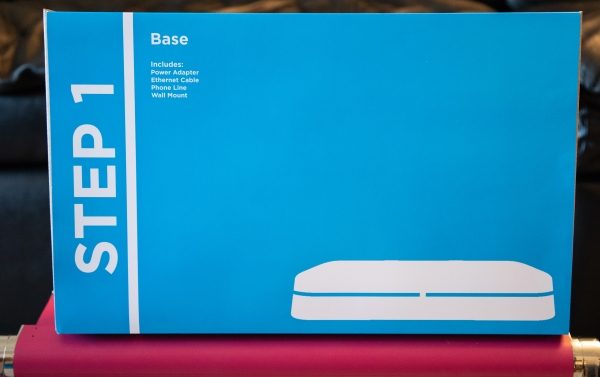
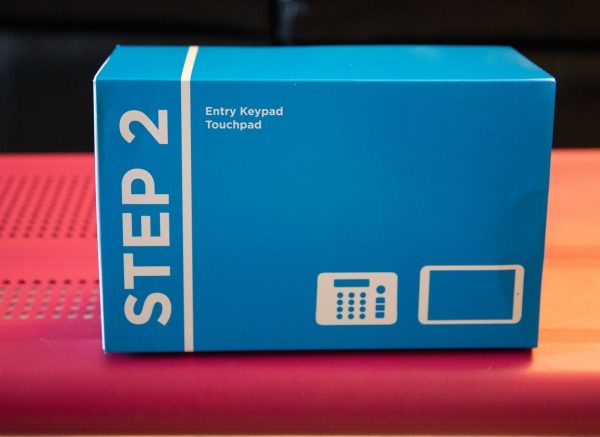
Depending on the package you order, the system comes in a large box that contains designated smaller boxes based on function. For this review, there are 4 boxes within the main box.


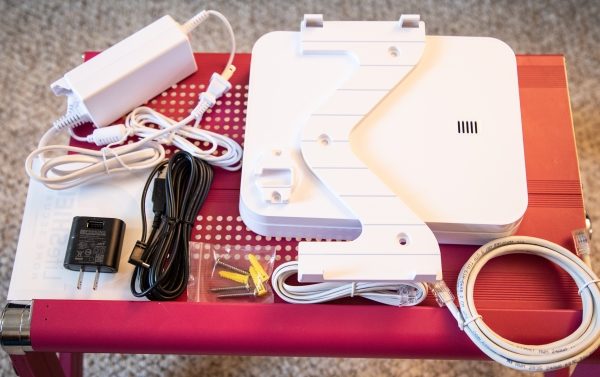
1 x Base Unit
1 x AC Power Supply Adapter
1 x Ethernet Cable
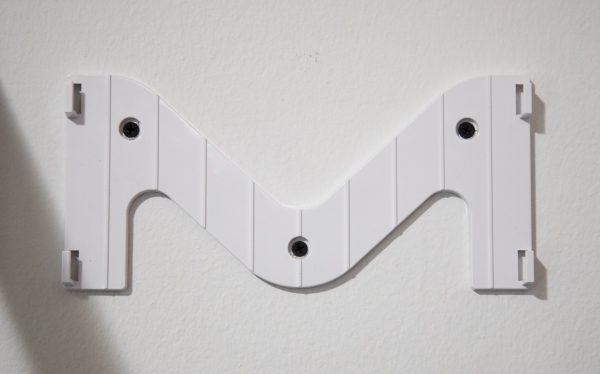
1 x Wall Mounting Bracket
1 x Phone Cable
1 x Wall Mounting Bracket
1 x Packet Wall Anchors and Screws
1 x Power cable and Wall Wart (Actually belongs to a component in Box 2 but came ion Box 1)
1 x Instruction Booklet


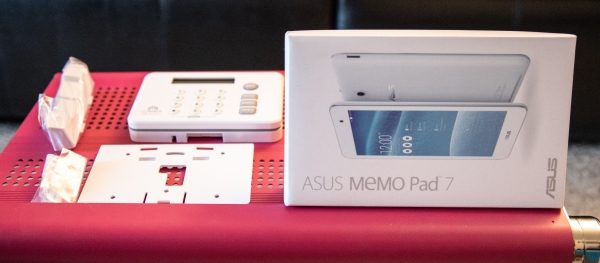
1 x Entry Keypad
1 x Stand
1 x Wall Mount
1 x Asus Tablet (Touch Control Panel)


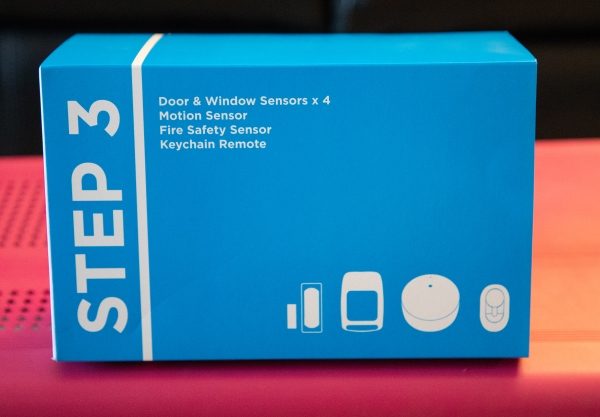
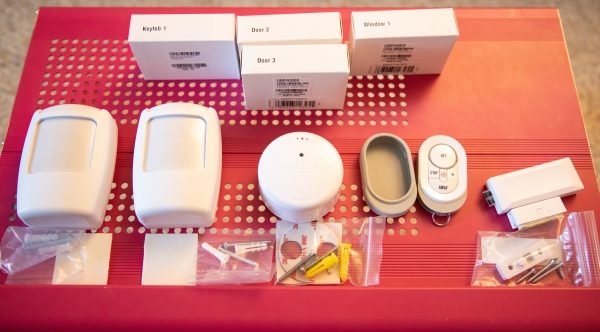
2 x Motion Sensors
3 x Entry/Exit Sensors
1 x Keyfob Alarm Control
1 x Keyfob Case
1 x Fire Safety Sensor
Wall Anchors and Adhesive Mounting Strips


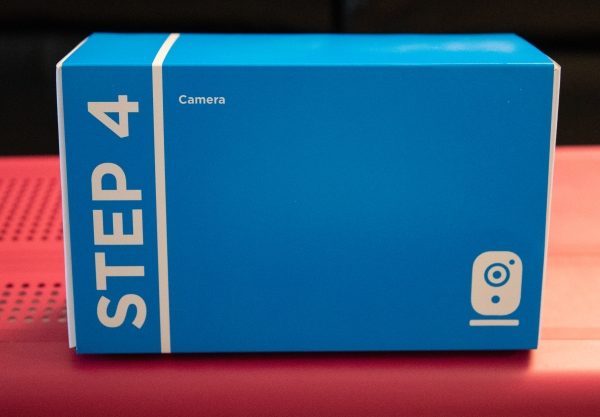
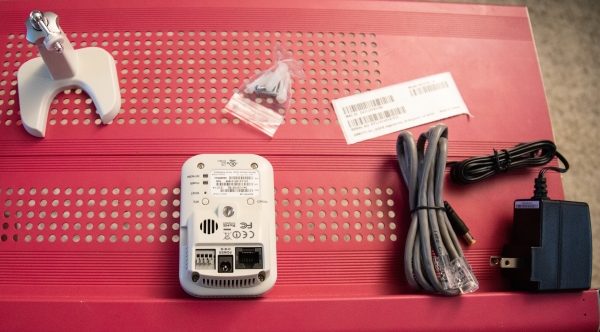
1 x Indoor Security Camera
1 x Camera Mount
1 x AC Adapter
1 x Ethernet Cable
1 x Wall Anchors and Screws

Design and features

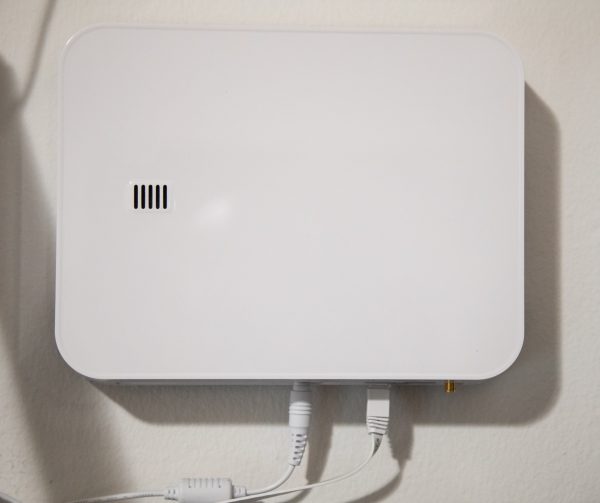
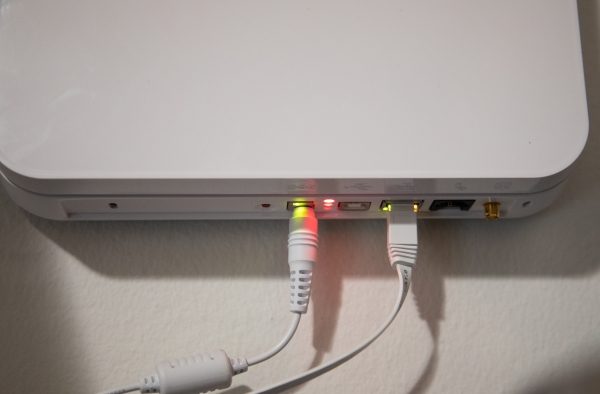
Starting with the base unit, there is a mounting bracket that you attach to the wall and the base unit attaches to the bracket. You can also place the unit on a horizontal flat surface if you prefer not to mount it. At the bottom of the base unit, there is the AC power port, the Ethernet port, a telephone port, and an antenna jack. Neither the telephone port nor the antenna jack was used for this test and review.


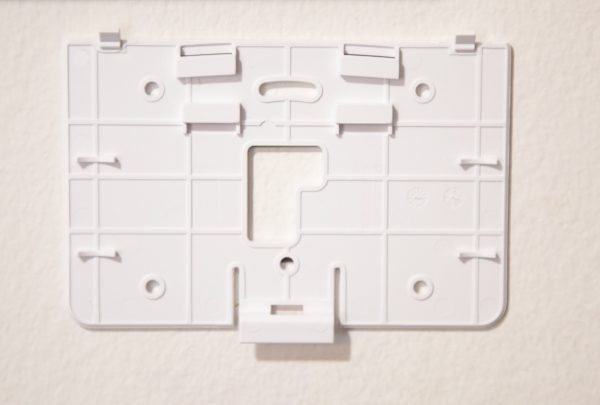
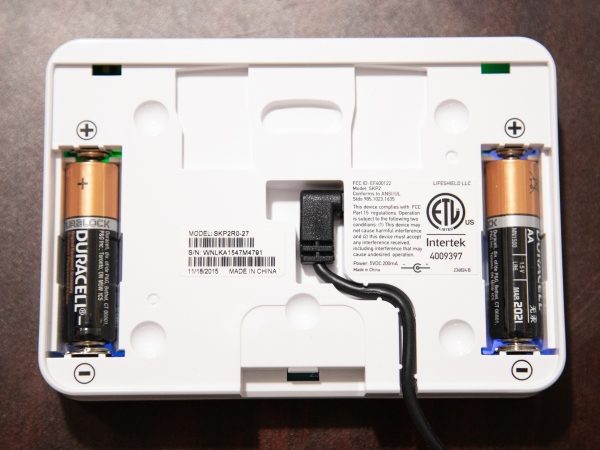
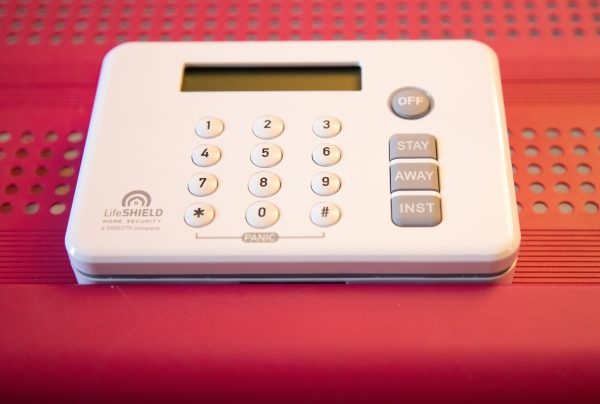
The security pad also comes with a wall mount bracket that I decided to mount as well. I chose an appropriate area near my front door. At the back of the security pad, there are two back up AAA batteries and the AC adapter power jack. Conduits are built into the back of the unit to route the AC wire. On the front of the security pad, there is a numeric pad, one-touch function buttons, and the LCD status display screen.


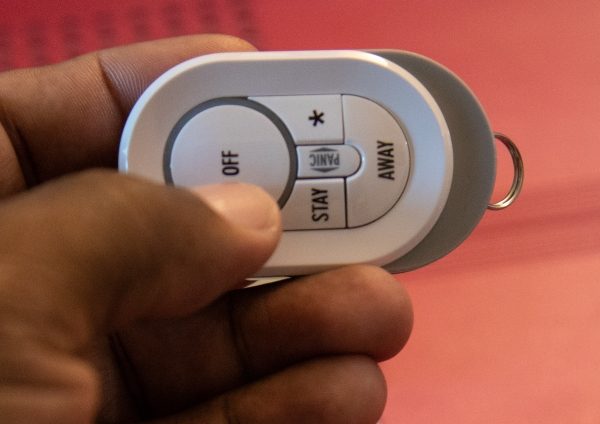
A Keyfob remote control is also included. It allows you to arm and disarm the system, and to trigger the panic mode if necessary.


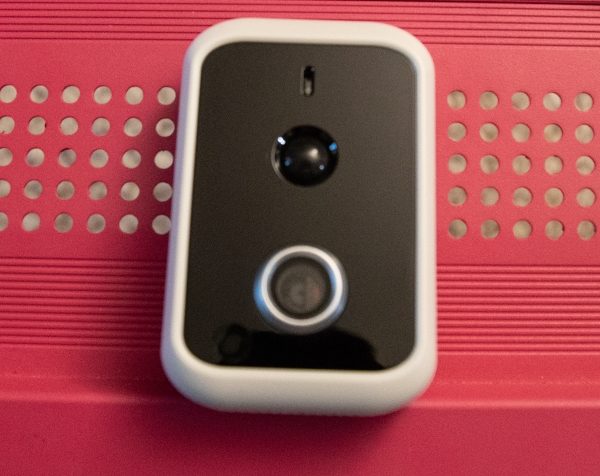
On the front of the included camera are the microphone, the lens, and the infrared sensor. This camera produces clear HD images that can be viewed as a single image or as a video via the app.


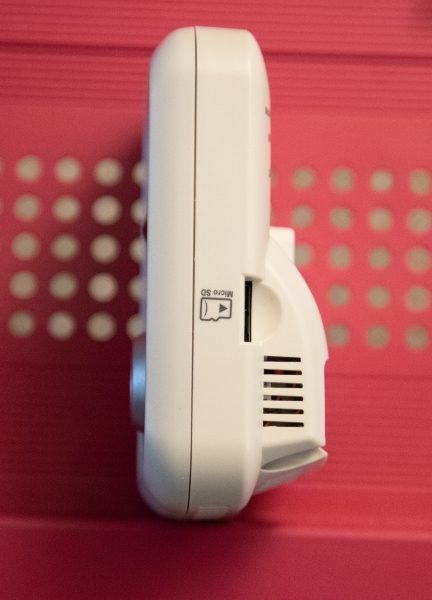
On the right side, there is a micro SD card slot for onboard recording. Much like cloud recording, the onboard SD card records based on your custom setup which can be set to record at specific dates and times or when a sensor is triggered.


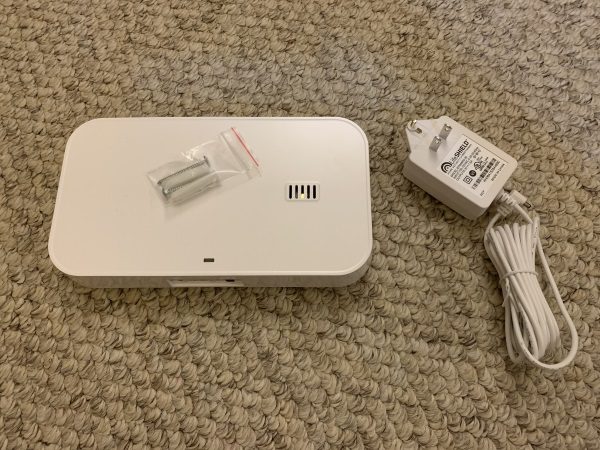
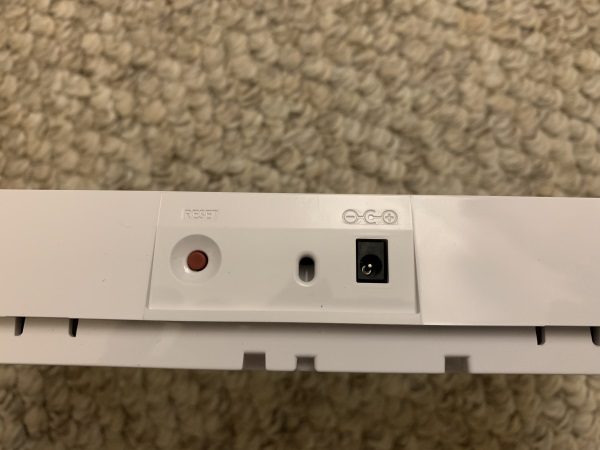
LifeShield also sent a repeater with a built-in sounder to ensure that there is a strong signal from the base unit to all of the sensors and that the alarm is loud enough to attract the desired attention. On the surface of the repeater, there is a status LED and a sound vent. On one side, there is a reset button and the AC jack.


Performance

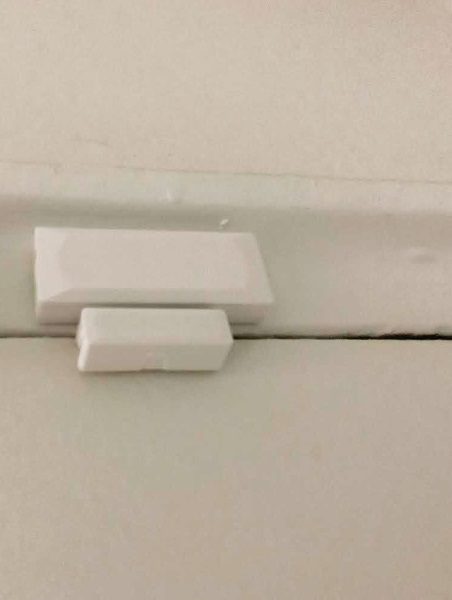
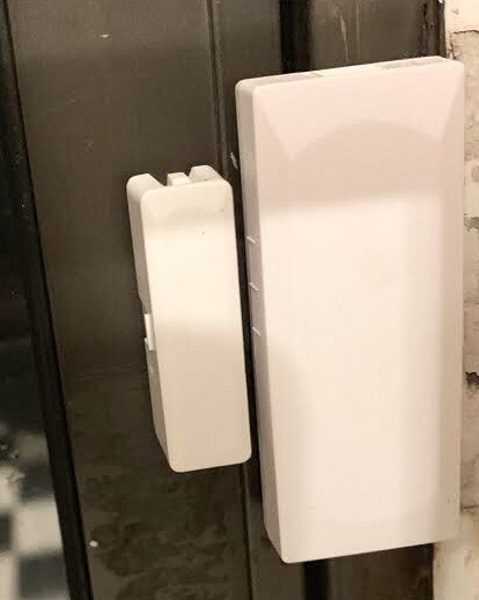
The alarm system arrived with all of the included sensors already paired to the base unit. The instructions are clear which makes the DIY process simple enough for anyone to accomplish the installation. The hardest part is figuring out the best location in your home for mounting the camera and the motion sensors. The entry/exit sensors go in the obvious places that would protect the exterior access to your premise. Three entry/exit sensors were included. In my case, I installed one on my front door, and one on my fire escape window. Since I live five floors up, the other windows are inherently safe. I decided to use another sensor on the door to my equipment safe. I have a few safes, and I am still contemplating the placement of the third sensor.


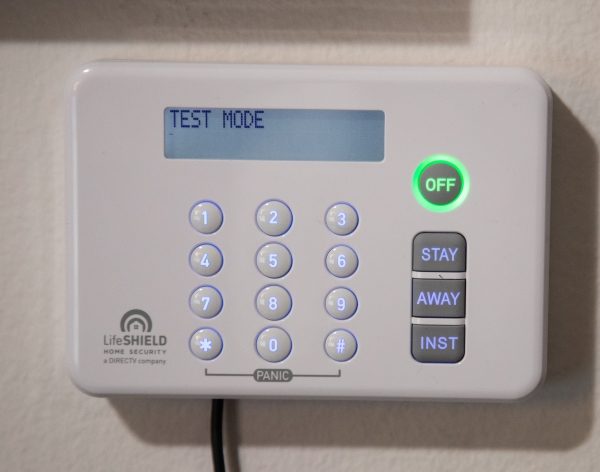
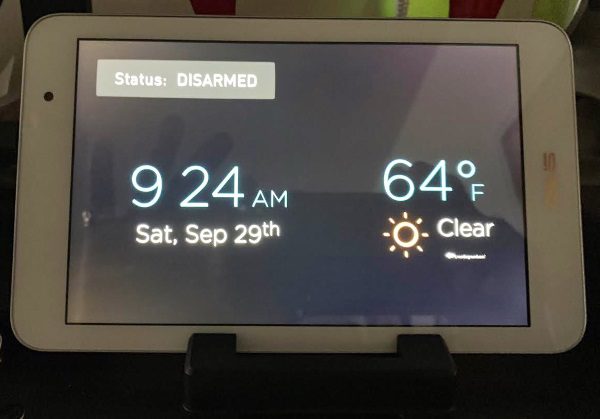
I installed the base unit first, and then in order, followed the instructions to set up the included tablet touchpad. There are packages that come without the Touchpad, so I would assume that if yours does not have the touchpad, you would move right on to the security pad. As you can see in the picture below, when you first install the system is in test mode. It remains this way for the first 7 days while you learn to use the system and become familiar with it. The security pad has the keypad to enter your security code, and buttons to are the systems in the available modes and also to disarm it. As a side note, you are also required to set up an account online via the following link: https://login.lifeshield.com/#/login


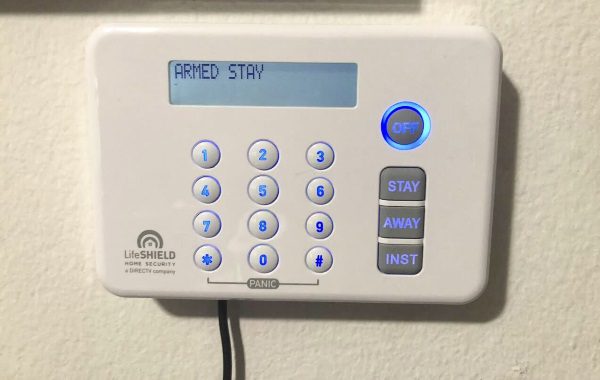
When the system is active, the LED around the “off” button turns blue.


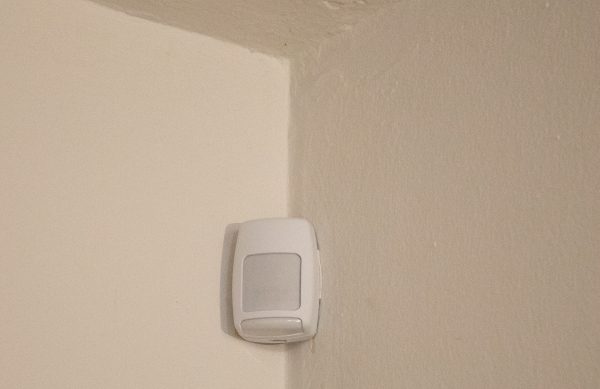
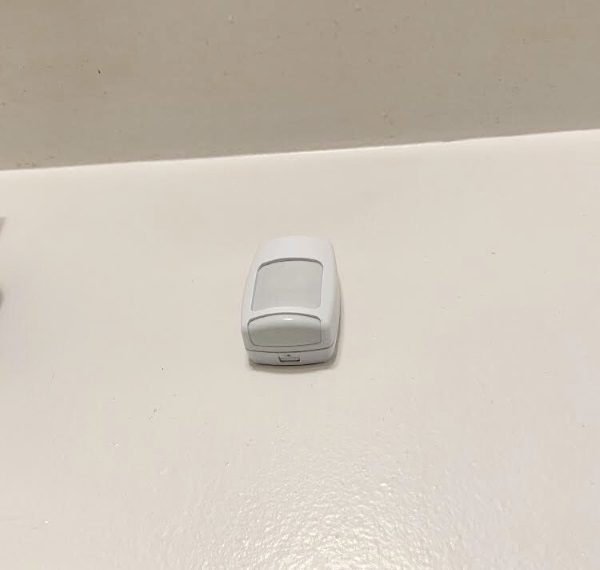
I mounted one motion sensor on a corner wall of my living room and the other in the kitchen.


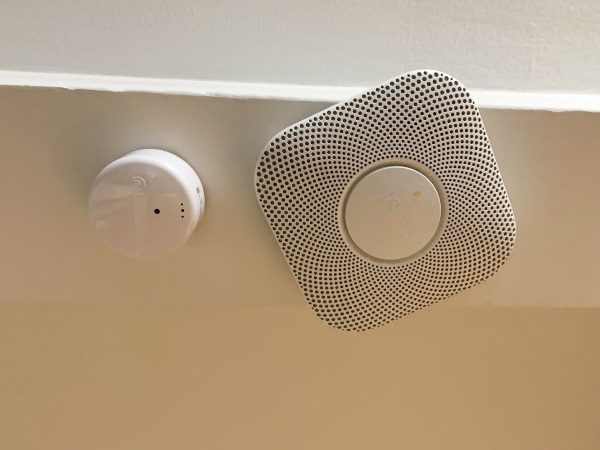
The Fire Saftey Sensor recognizes the alarm sound from your existing fire/Carbon Monoxide Sensor to trigger the Lifeshield alarm and to alert the live monitoring station. I use a Nest system, and I mounted the Fire Safety Sensor next to one of the units. The manufacturer suggests a distance of approximately 3 inches between the sensor and your smoke alarm unit.


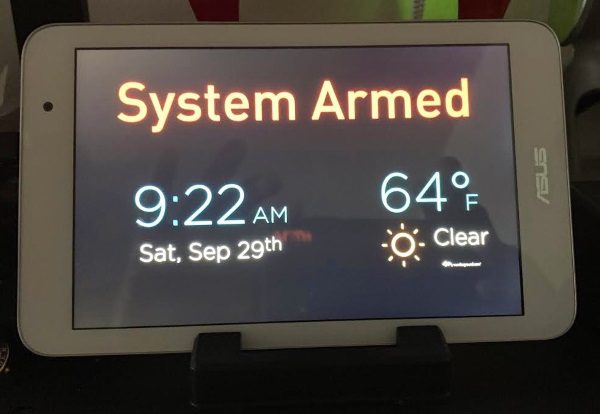
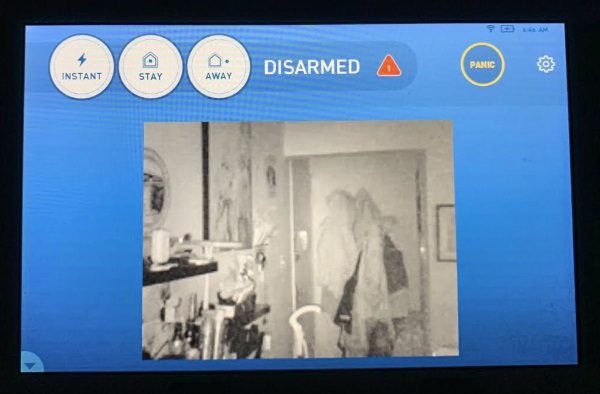
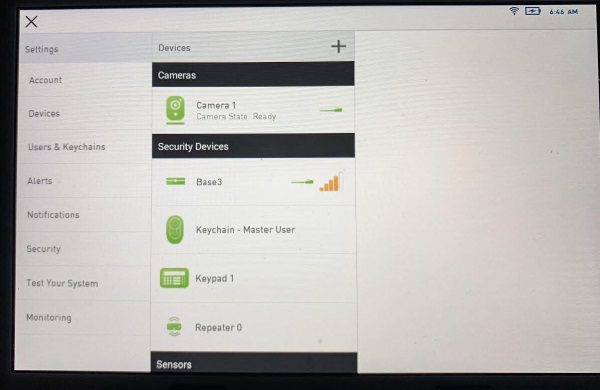
Below are pictures of the touchpad that once setup allows you to control all of the functions and settings of the system.


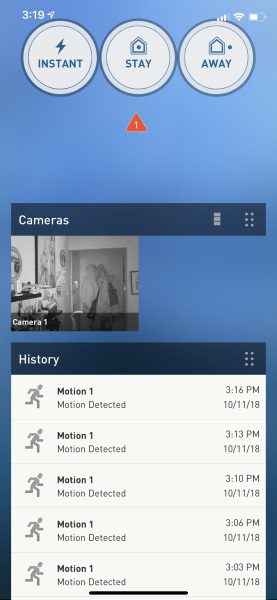
App Screenshots


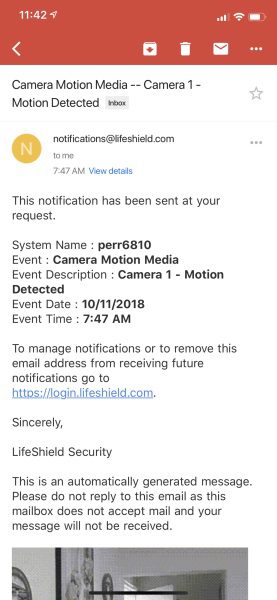
Notification Screenshots

What I like

  • The build quality of all of the components
  • The capabilities and flexibility of the system
  • The professional and prompt customer service
  • The types of integrated components that are available, like the Touchpad
  • The expansion capabilities

What can be improved

  • The package should include an integrated fire/carbon monoxide sensor unit
  • Possibly a slightly lower monthly live monitoring cost

Final thoughts

LifeShield DIY Home Security System is really a very easy system to set up and includes all of the necessary functionality to manage the system both locally and remotely via the app. There were a few times when I had to reach out to their customer service, and they were extremely responsive. The system is very responsive and while I did not trigger a real emergency response for obvious reasons, I did test the sensors in Test Mode. I do believe that the live monitoring would work well. This is a very good security system, and the quality of the included components is great. Overall, it gets two thumbs up!!

Price: 24/7 Professional Monitoring at $39.99 per month for 36 months. (Equipment included for free)
Where to buy: Lifeshield Website
Source: The sample for this review was provided by LifeShield.

Filed in categories: Reviews

Tagged:

LifeShield DIY Home Security System review originally appeared on The Gadgeteer on October 17, 2018 at 9:00 am.

Note: If you are subscribed to this feed through FeedBurner, please switch to our native feed URL http://the-gadgeteer.com/feed/ in order to ensure continuous delivery.

The new JLab Flex Sport just might be the ultimate on-ear fitness headphones

NEWS – I love working out, and an essential part of my workouts includes listening to music, so a good pair of headphones is a must. Over the ear, Bluetooth sports headphones are nothing new, but the Flex Sport Wireless Bluetooth Headphones from JLAB Audio may be the perfect workout headphones.

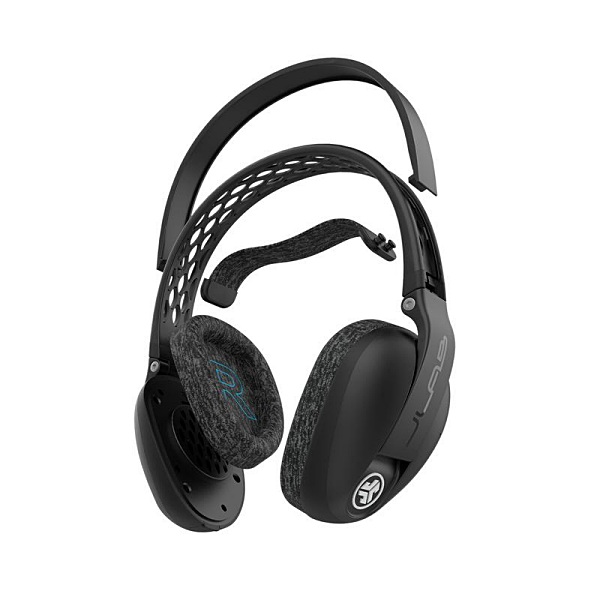
The Flex Sport Wireless Headphones offer 20 hours of listening time and a custom fit adjustable tension headband. Two removable Tension Bands allow for three different fitting preferences. Loose, normal or tight.

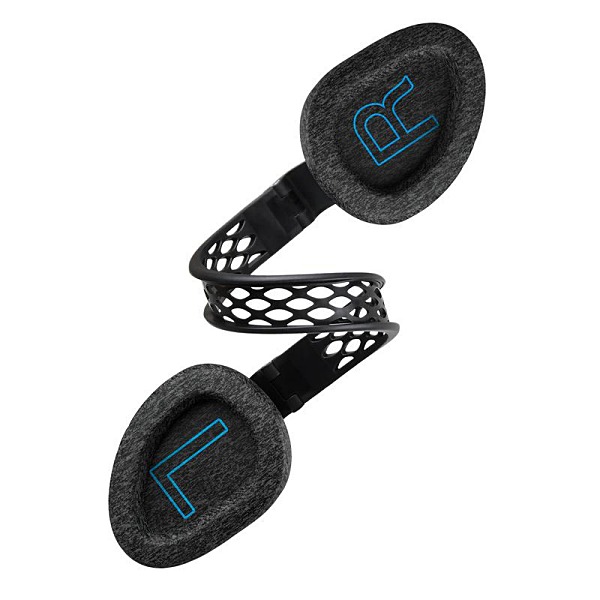
And the headband is capable of being twisted 180 degrees without breaking. 

The headphone’s ear pads are sweat resistant and moisture wicking. They can also be removed for quick, easy hand or light machine washing.

As far as audio is concerned there are 3 different equalizer settings, Signature, Balanced, and Bass Boost modes, all without having to download a separate app.

JLab also uses something they call Be Aware Audio which allows you to hear your music and natural ambient noise at the same time. So you can hear things around you like car horns or your workout partner. This feature can also be turned off for those times when you really want to get into the zone.

Other features include universal controls for volume and music track control, Bluetooth 4.2, 40mm drivers along with a built-in microphone for taking calls. The microphone can even be used to activate Siri and Google Assistant.

The JLAB Audio Flex Sport Wireless Bluetooth Headphones sell for $99.99 and are available from the JLab website or Best Buy.

Filed in categories: News

Tagged: ,

The new JLab Flex Sport just might be the ultimate on-ear fitness headphones originally appeared on The Gadgeteer on October 17, 2018 at 8:00 am.

Note: If you are subscribed to this feed through FeedBurner, please switch to our native feed URL http://the-gadgeteer.com/feed/ in order to ensure continuous delivery.

Kobo Clara HD eBook reader review

REVIEW – Carrying a whole library of your favorite books in the palm of your hand is a glorious luxury and a lot of us do just that on our smartphones or tablets. But there is an alternative to reading on your iPhone or Android device; a dedicated eBook reader like the Kobo Clara HD. Why would you want a separate device? Keep reading to find out.

What is it?

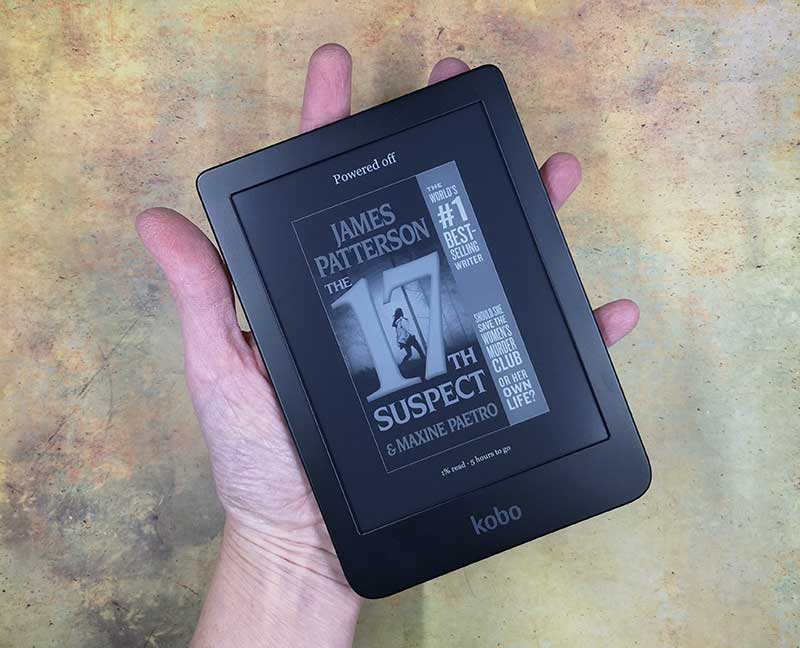
The Kobo Clara HD is a small handheld eInk eBook reader.

What’s in the box?
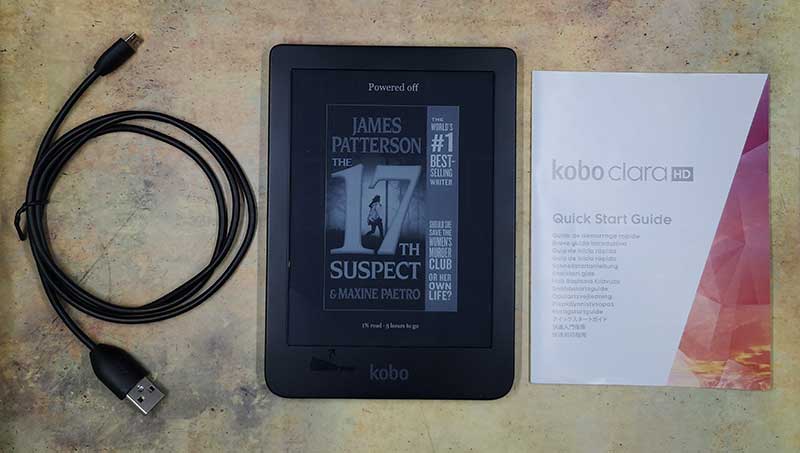
Kobo Clara HD eReader
micro USB charging cable
Quick start guide

Hardware specs

Screen: 6” Carta E-Ink touchscreen, 300 ppi, print quality
Storage: 8 GB of on-board memory, holds up to 6,000 eBooks
Front-light: ComfortLight PRO – Reduces blue-light exposure for more comfortable nighttime reading
Customizability: TypeGenius: 11 different fonts and over 40 font styles
Supported formats: 14 file formats supported natively (EPUB, EPUB3, PDF, MOBI, JPEG, GIF, PNG, BMP, TIFF, TXT, HTML, RTF, CBZ, CBR)
Read eBooks borrowed from Public Library
Connectivity: WiFi 802.11 b/g/n, Micro USB
Battery Life: Up to weeks of battery life depending on usage
Languages: English, French, German, Spanish, Dutch, Italian, Brazilian, Portuguese, Japanese, Turkish
Weight: 166 g
Size: 159.6 x 110 x 8.35 mm

Design and features
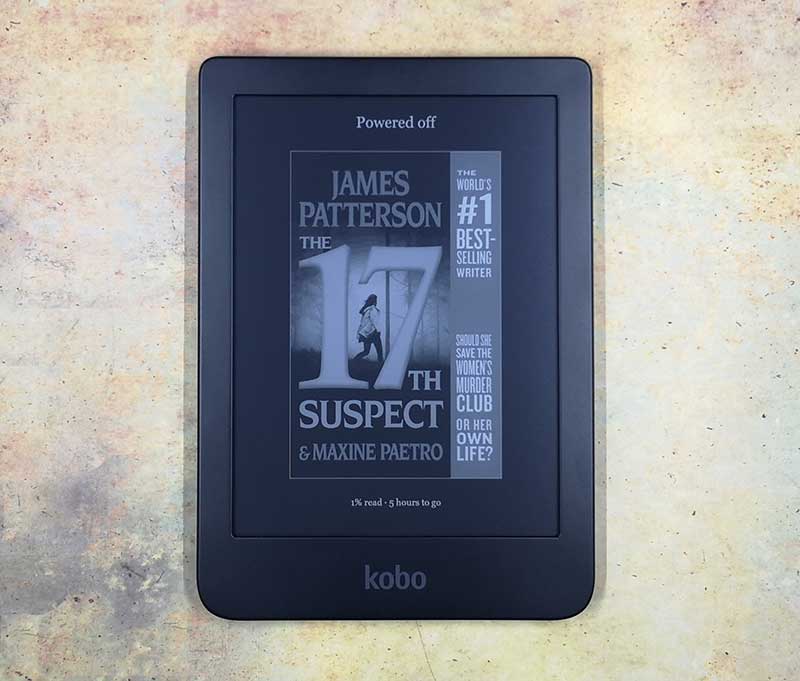
The Kobo Clara HD eBook reader is almost pocket sized. It actually does fit in a cargo pocket in a pair of my pants. It’s almost exactly the same height as my Pixel 2 XL, but its black plastic case is half again as wide as the Pixel. Front and center below the 6-inch display is the Kobo logo, but otherwise, this device is low key when it comes to style, which isn’t a bad thing.
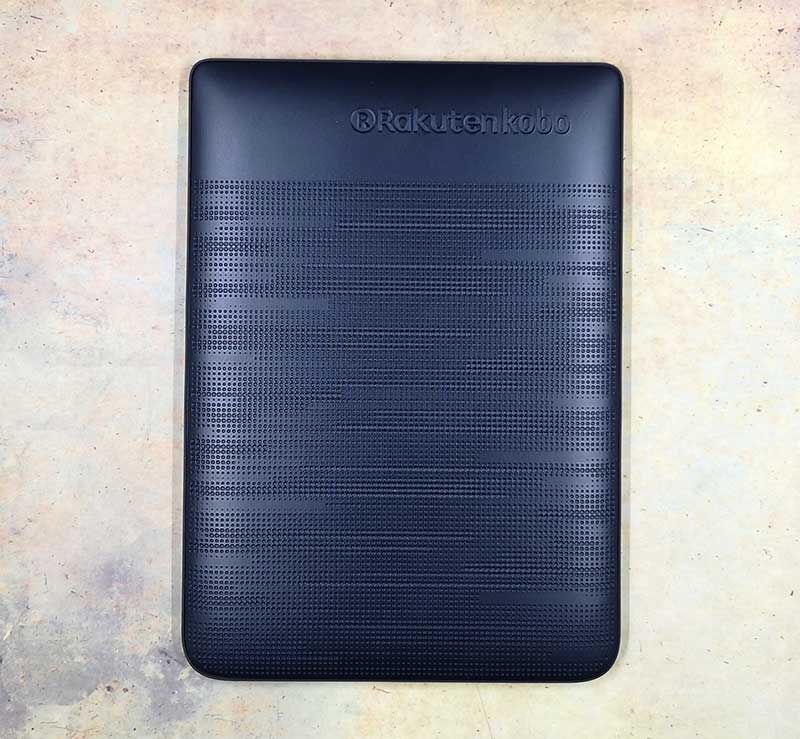
The back of the eReader has an interesting pattern etched in the rounded back case that adds a minimum amount of grip to this small device.
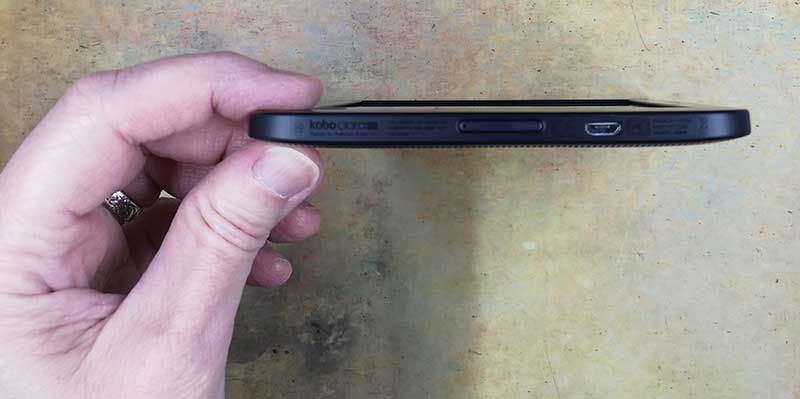
Along the bottom edge of the Clara HD is a small power button with a micro USB port next to it that is used to both charge and transfer files to the device with the aid of a computer.

The e-Ink touchscreen display is easy on the eyes with or without the automatic backlight on. Text is perfectly crisp and clear just like printed text on paper.
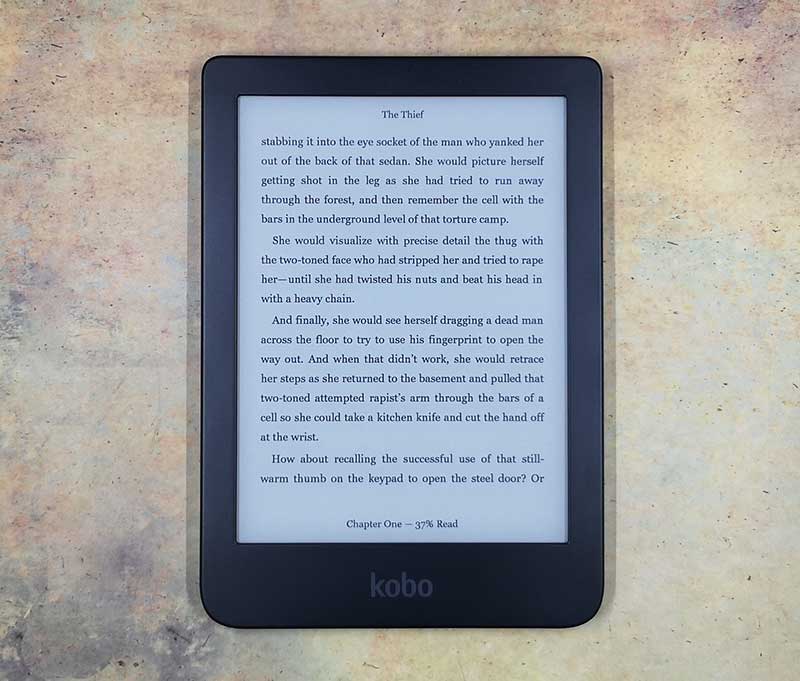
This type of display has a much lower power consumption than the displays that we have in our phones and tablets. This little eReader can be used for a couple of weeks with one charge instead of a few hours with a phone. It’s also perfectly readable in the full sunlight which one of the main reasons that I still find dedicated eReaders compelling. If you’ve ever tried to read a book outside on a smartphone on a sunny day, you know that the results aren’t great.

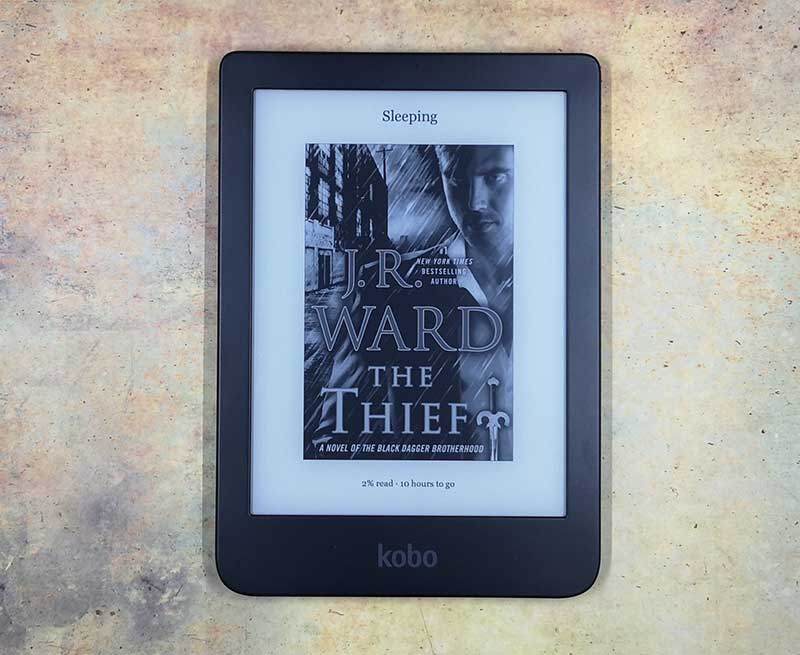
The Kobo’s interface is meant to be simple so that it doesn’t get in the way of the job of this device, which is to let you read a book with zero distractions. It displays the page in the book with your choice of reading status lines at the bottom of the page like the percentage read.
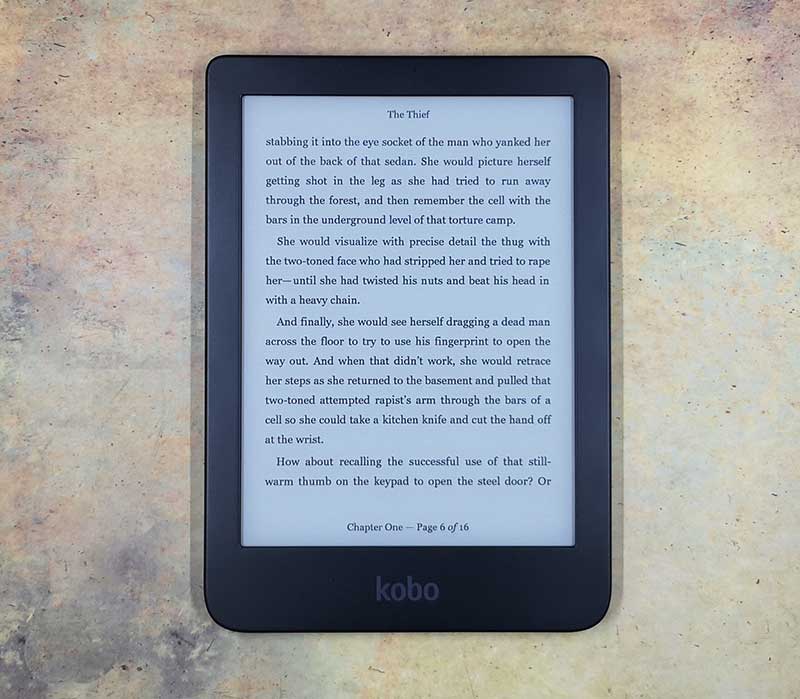
Another option is to show the current page number and total pages.
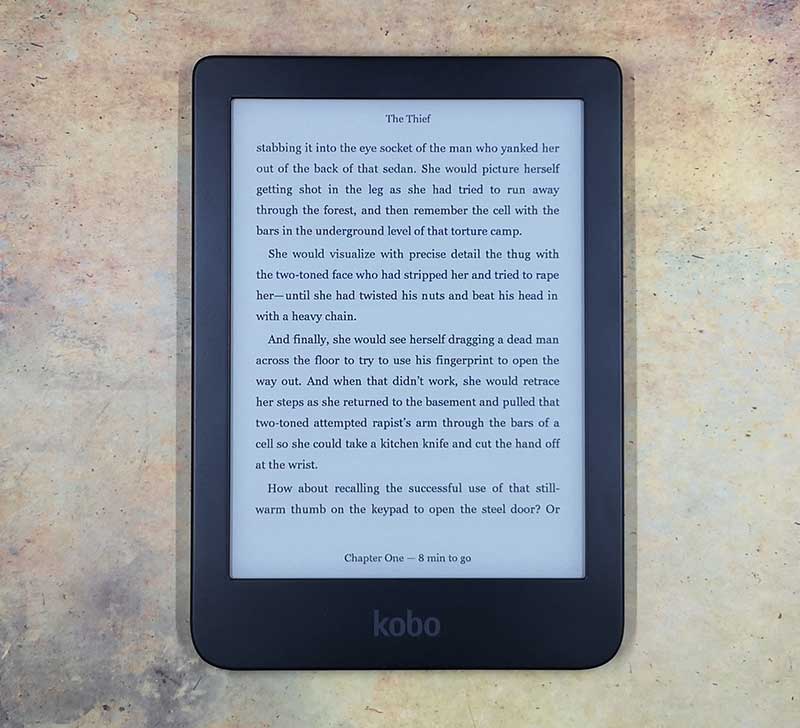
Or even how many minutes or hours it will take to finish reading the current chapter or the entire book.
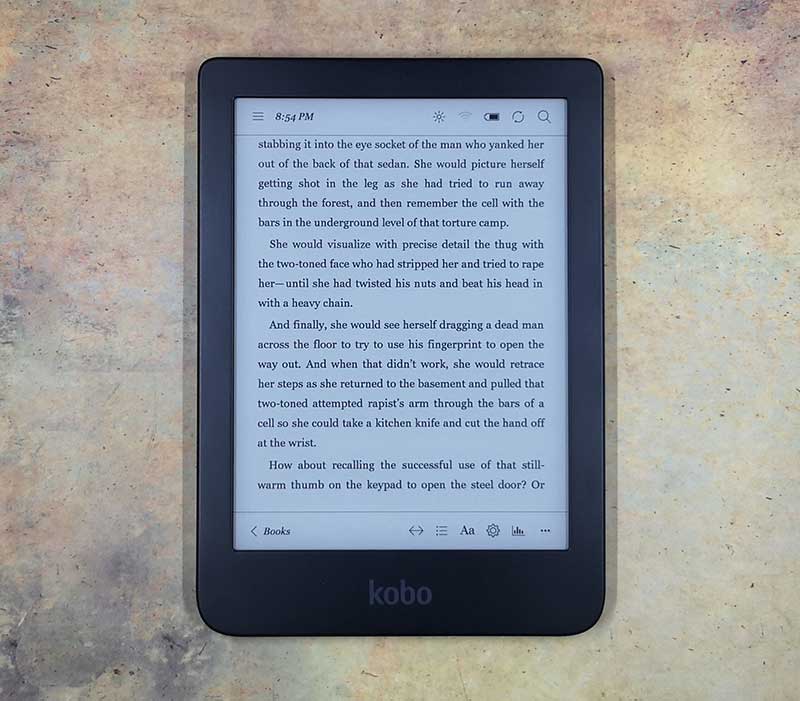
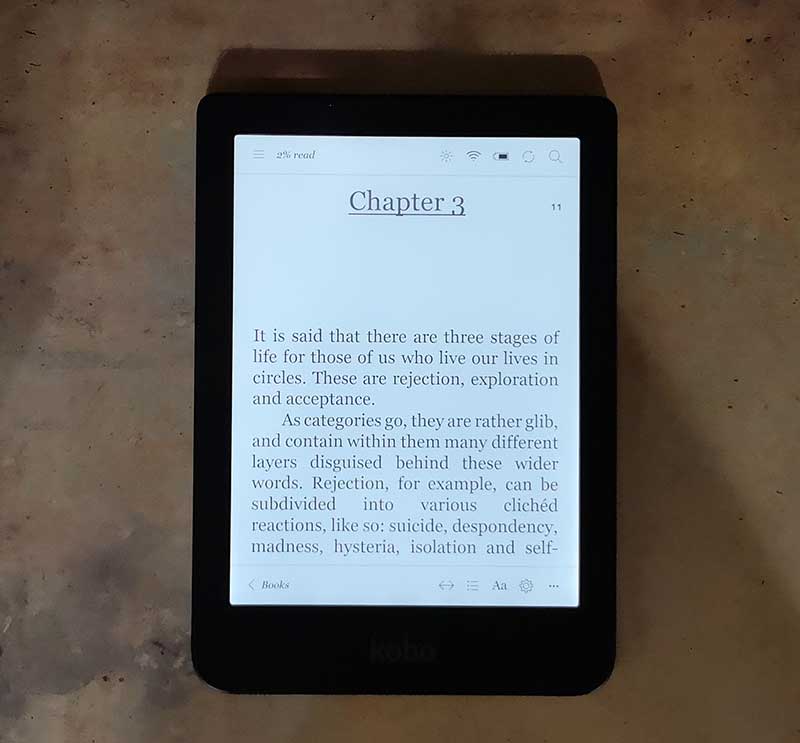
Tapping the screen will bring up a status bar at the top and bottom from which you can access the main menu and various customization menus.
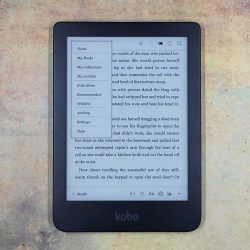
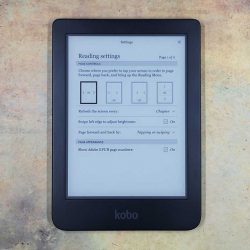
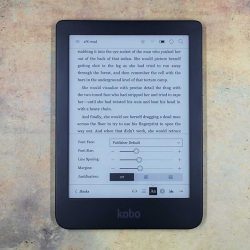
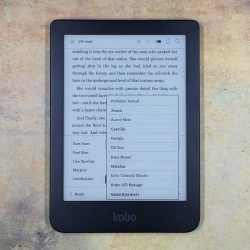
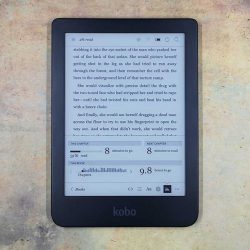
You can customize the line spacing, where to tap to advance to the next page, brightness levels, fonts and more. As far as fonts, Kobo’s TypeGenius offers customizable font options, which include exclusive weight and sharpness settings, with the choice of 11 font types and more than 40 font sizes.
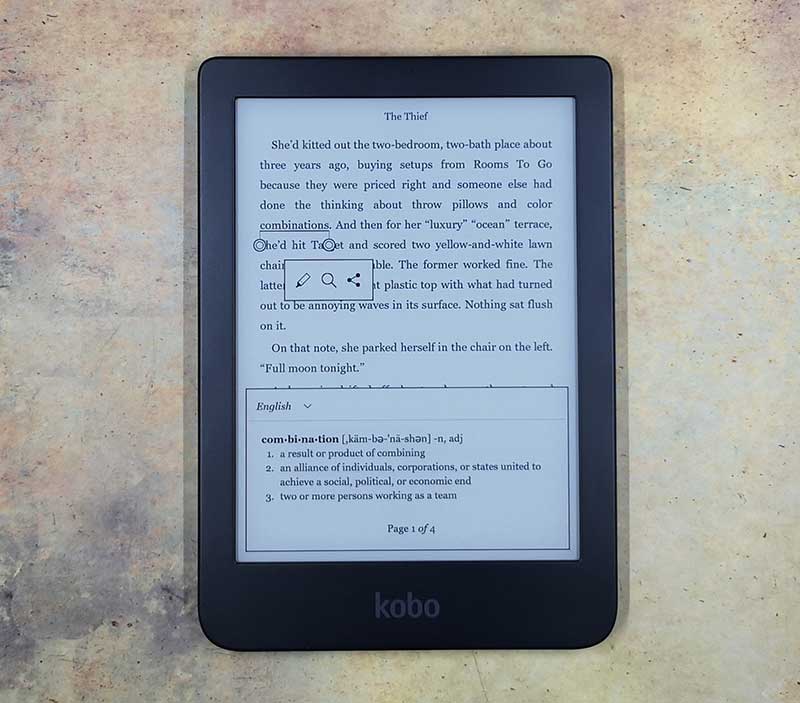
In addition to choosing a font, you can also adjust margins, highlight passages, write notes, and look up words with the built-in dictionary.
The Clara HD eReader also features a ComfortLight PRO backlight that automatically softens the brightness and blue-light exposure as the day progresses into the night so using this device will not affect your sleep.
Adding books to the Clara HD eBook reader
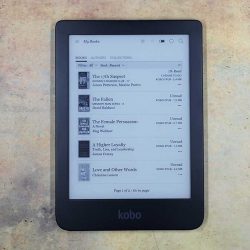
You can buy new books directly from the reader itself when you connect to WiFi and browse the built-in storefront. Other ways to add books is to connect the reader to your PC or Mac with the included USB cable. From there you can drag and drop EPUB, EPUB3, PDF, MOBI, TXT, HTML, RTF, and other formats. For DRM books that you own, you will need to install the Adobe Digital Editions application on your PC or Mac and use that to transfer books to the Clara HD. Another way to add books to this reader is with Overdrive which is an account that uses your local library to borrow books.

Another cool feature is that you can install the Kobo app on your smartphone, tablet, PC, or Mac which lets you start reading with Kobo Clara HD and pick up on your smartphone or tablet or vice versa as your place in the book syncs across devices.

What I like

  • Small size
  • Long battery life
  • Clear crisp text

What needs to be improved

  • eBook prices are too expensive but this isn’t limited to Kobo

Final thoughts

Dedicated eBook readers are not extinct yet. There is still a place for them on the market. Especially for people who want a distraction-free method of reading on an eye-friendly display. When you read on your phone or tablet, you can get distracted by notifications, text messages, and other apps, but on a device like the Kobo Clara HD, you won’t be bothered with a notification that it’s your turn to play Words with Friends or that your frenemy just tweeted something annoying on Twitter. Nope, you’ll be happily engrossed in your favorite book that you can continue reading it outside on a bright sunny day without having to worry about finding an outlet to charge it in a couple hours.
Price: $129.99
Where to buy: Rakuten Kobo
Source: The sample for this review was provided by Rakuten Kobo.

Filed in categories: Reviews

Tagged:

Kobo Clara HD eBook reader review originally appeared on The Gadgeteer on October 16, 2018 at 12:00 pm.

Note: If you are subscribed to this feed through FeedBurner, please switch to our native feed URL http://the-gadgeteer.com/feed/ in order to ensure continuous delivery.