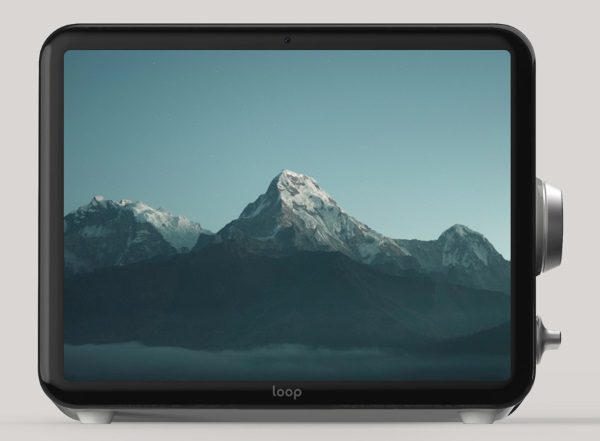
REVIEW – For a long time, I have been into digital picture frames, and other devices that can play/show high definition video and photos independently. While all of these functions can be easily handled by a tablet, I like affordable devices that I can leave on shelves around my studio or at the corner of my desk and have them showcase some of my work. I already have the large screen monitor on my wall, but a smaller device for my desk would be nice. The Loop seems to offer something interesting that might fit my needs, so let’s see.
What is it?
The Loop is a communication display device that allows you to view and share video, photos, and video chat with anyone with another Loop, anywhere in the world.
What’s in the box
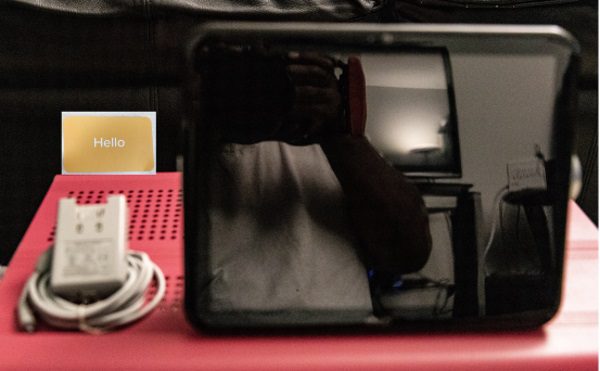
1 x Loop
1 x AC Adapter
1 x Quick Start Guide
Design and features
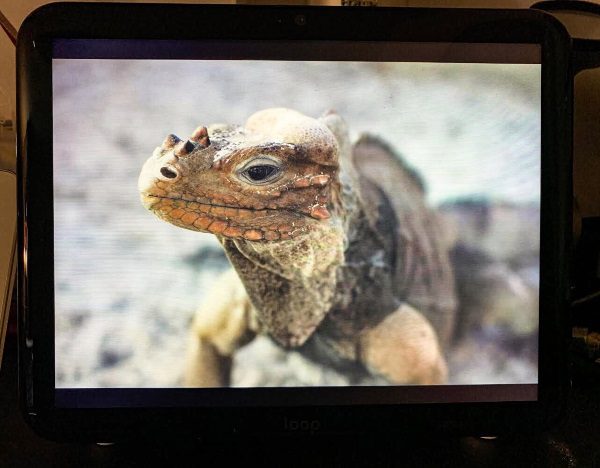
On the front of the Loop, there is the display screen with a bezel around it that is approximately .5″. The Touch top that is on the top side of the device does not have any visible marks or indication. There is a camera in the center of the bezel at the top of the screen.
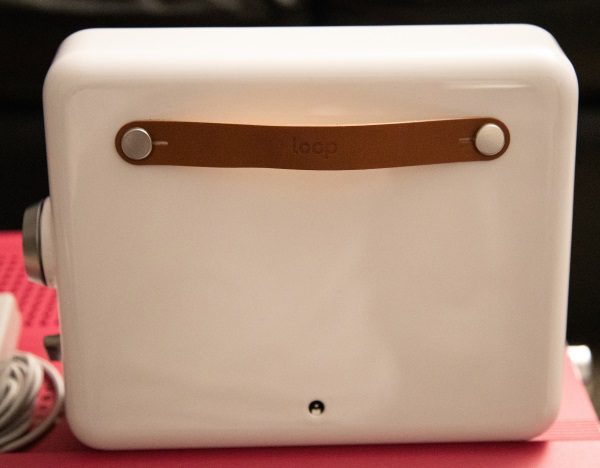
At the back of the Loop, there is a carrying handle and the AC jack.
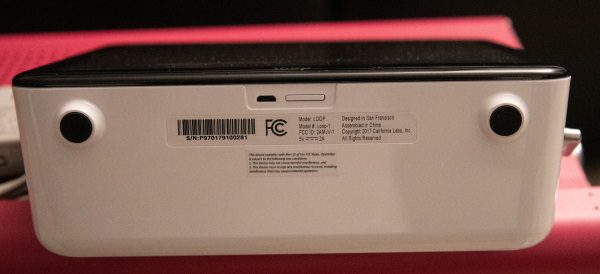
At the bottom of the Loop is the sleep/power button. The micro USB port beside it is not currently used.
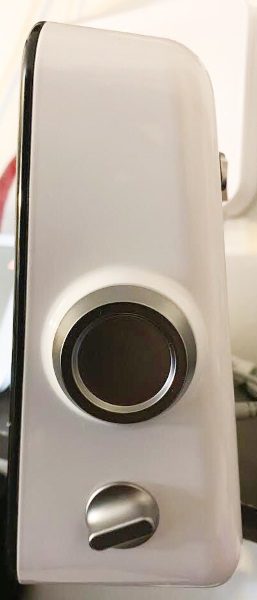
On the right side of the Loop, there is the scroll knob and the channel knob below it.
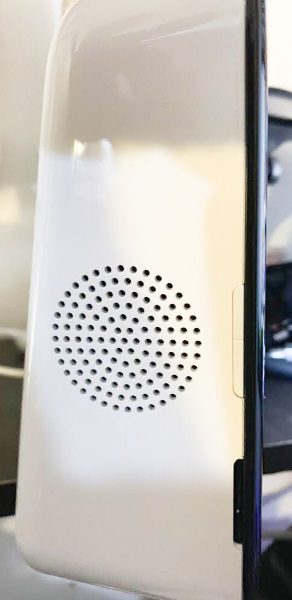
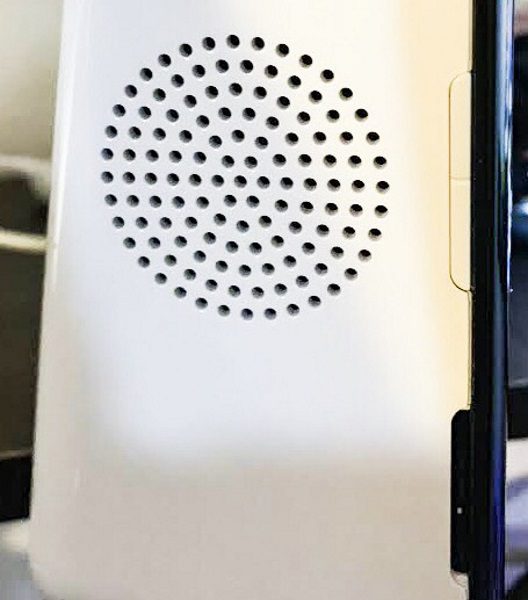
On the left side of the Loop, there is the speaker, the volume up/down buttons and an SD card reader.
Performance
Specifications
Dimensions
Height 7.2 inches / 182 mm
Width 9.5 inches / 240mm
Depth 3.0 in / 78mm
Weight 2.5lbs / 1134 grams
Storage Capacity
Loop comes with 4GB of on-device storage will be expandable in the future.
Display
9.7” inches diagonal
1024×768 pixels
IPS technology
Intelligent dimming
Inputs
Scroll knob
Channel knob
Touch top
Volume buttons
Camera
5 megapixels
70-degree field of view
f2.8 aperture
Audio
50mm speaker
Connectivity
Wi-Fi (802.11 a/b/g/n); dual-band (2.4GHz and 5 GHz)
Bluetooth 4.1
Features
Private photo and video sharing
Video chat
Streaming pictures and video
Social media and cloud storage integration
Voice control (coming soon)
Intelligent dimming (coming soon)
Bluetooth speaker playback (coming soon)
SD card reader (coming soon)
Integrations
iOS Photos
Facebook
Instagram
YouTube
Dropbox (coming soon)
Flickr (coming soon)
Google Photos (coming soon)
Supported formats
All photos and videos that are taken on an iOS device
Image formats supported: .bmp, .gif, .jpeg, .png, .webp
Video formats supported: H.264 AVC – 3GPP (.3gp), MPEG-4 (.mp4), MPEG-TS (.ts, AAC audio only). H.265 HEVC
MPEG-4 (.mp4). MPEG-4 SP – 3GPP (.3gp). VP8 – WebM (.webm), Matroska (.mkv). VP9 –
WebM (.webm), Matroska (.mkv).
Power and Battery
Built-in battery for up to 4 hours of playback
Power adapter for always-on use in the home
Warranty
1 year limited warranty
Requirements
Loop account
Internet connection for continued photo/video updates
Loop iOS app for setting up Loop and adding new content
Android app coming soon
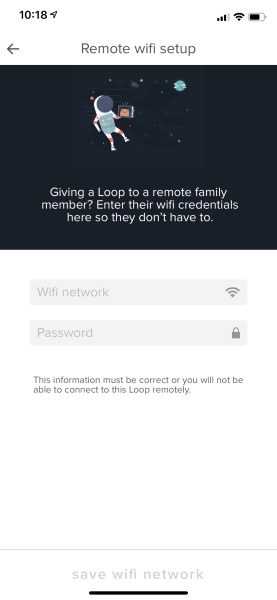
Once you connect the power supply to the Loop and download the app, the setup is easy. You create an account and get right to creating your channels. I created separate channels for my Instagram channel, my kids’ photos, and YouTube videos by selecting the type of pictures I want to see on the display. Once you select the desired channel, the Loop displays the pictures like a slideshow or the videos. It shows all of my Instagram pictures and all of the pictures of my kids/family that I add from my iPhone. I tried the video chat feature between the app on my phone and the Loop and it was nice and clear both in audio and video. As I understand it, you can chat either between the app and the loop or two Loops. You can set up multiple Loops on one account and control them all and share content acting as an Administrator, or you can set up the Loops on separate accounts and then invite each Loop to connect and to share content. A nice feature of this device is that if you have a parent or family far away, you can set up the device to their wifi remotely, and they can see the content you add. This can obviously include family photos and videos, etc.
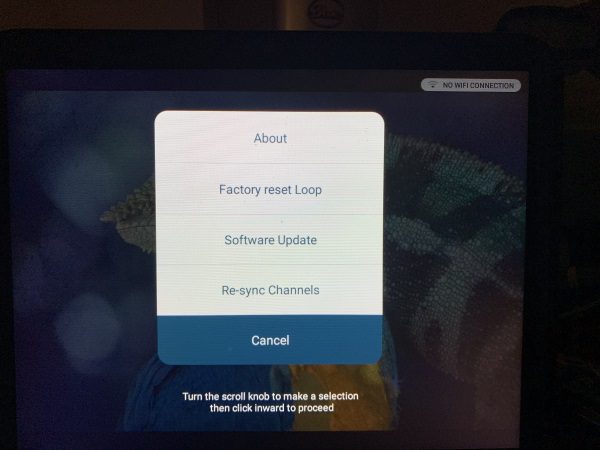
From the Loop, you can press and hold the scroll knob and the volume button up to 5 seconds to bring up the settings menu, and perform specific functions as seen in the photo below.
App
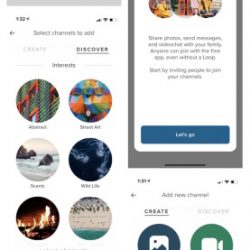
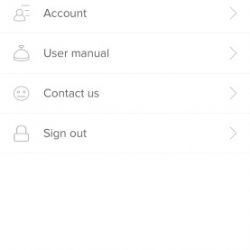
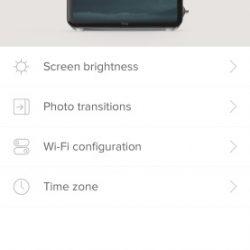
The screenshots of the app below show the various categories and capabilities of the app and device, as well as some of the available customizable settings.




What I like
- The display resolution
- The ability to add channels and therefore add selective content to have at your fingertips
- The build quality
- The audio quality
- The video chat capability
What can be improved
- Touch Screen capability added as opposed to Touch top even though the design is focused on preventing smudges on the screen
- The price
- The size (Thickness)
- If wifi is disconnected because of a reboot of the router, the Loop does not always reconnect automatically
Final thoughts
In my opinion, the Loop device is an interesting device since it allows you to gather quite a bit of online content in one place and at your fingertips, all according to your preference. It also offers the video chat capability that can be set up and given to someone else in a remote location to chat or to share content. It is well built and the display resolution is great. However, I am very “torn” between recommending the purchase of this device versus a device like a 9.7″ iPad for $329. While the Loop does all that it is designed to do quite well, so do many tablets. While the access to the content that you pre-setup on the Loop is specific and quick, the tablet offers the same content availability and much more. I think that the choice to purchase this device would be based on very specific needs and capabilities, and so I will pass on a recommendation and just say that if this works for you, then buy it.
Price: $249 (Includes current promotion for 15% off)
Where to buy: Loop website
Source: The sample for this review was provided by Loop.
Filed in categories: Reviews
Tagged: Audio, TV, Video
Loop personal WiFi display review originally appeared on The Gadgeteer on October 30, 2018 at 10:00 am.
Note: If you are subscribed to this feed through FeedBurner, please switch to our native feed URL http://the-gadgeteer.com/feed/ in order to ensure continuous delivery.
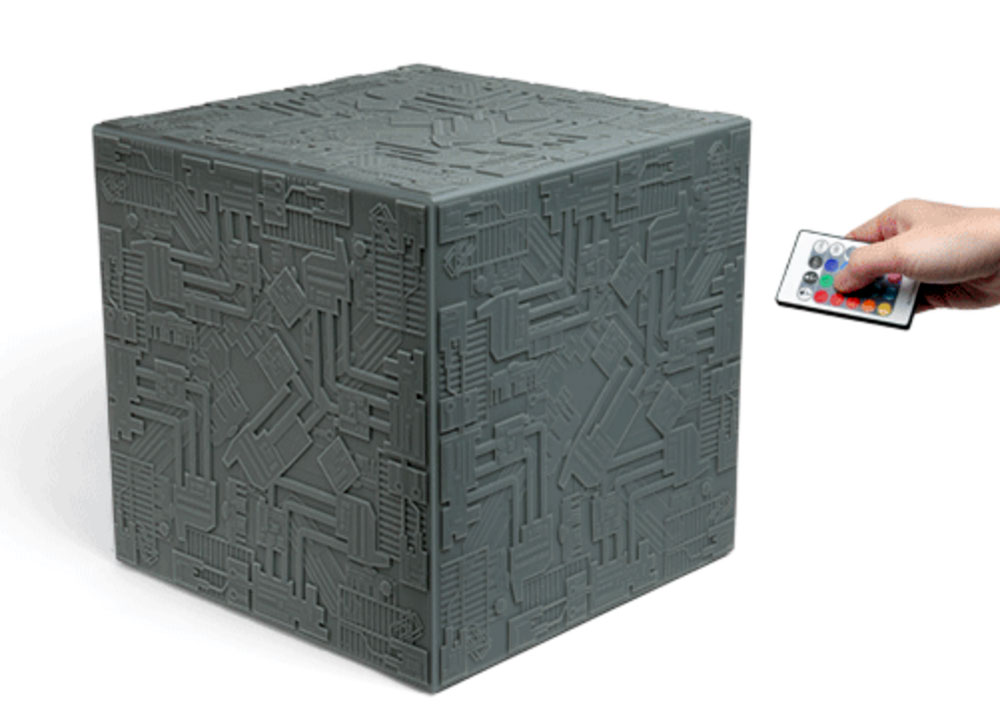 Its internal 2200mAh lithium battery recharges with the included 6 ft. 110V AC power cord (US) and provides up to 8 hours of light at the low setting. It operates in four modes: flash, strobe, fade, and smooth. You select from 16 colors and brightness levels using the included remote.
