
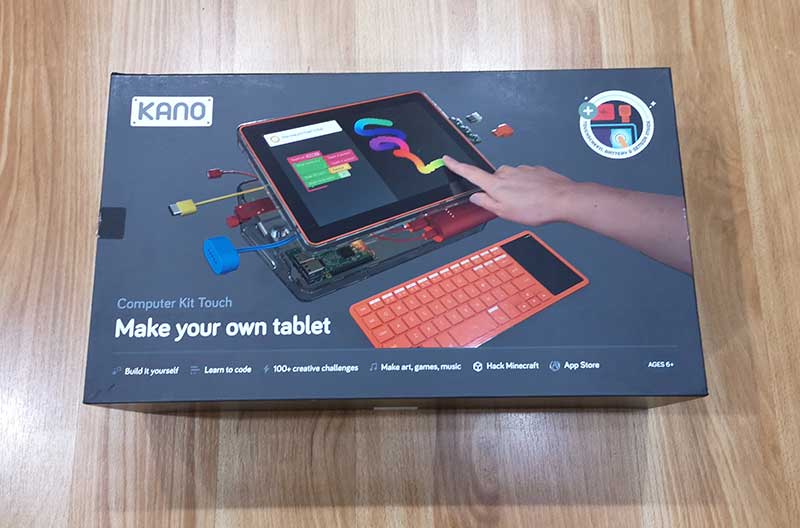
REVIEW – Have you ever wanted to learn to program/code? Or maybe you have a young child who wants to write their own programs. The Computer Touch Kit from Kano will not only help you learn the fundamentals of programming, but it will let you do that learning on a touchscreen computer that you build yourself. How much fun is that? Let’s find out?
What is it?
The Kano Computer Touch Kit is a Raspberry Pi based computer kit that helps teach kids and adults how to program using Python and Javascript programming languages.
What’s in the box?
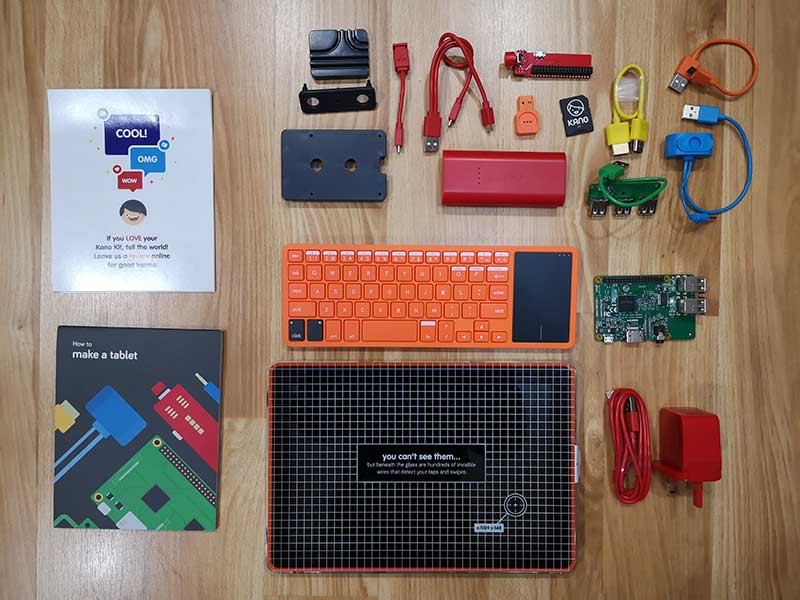
USB Board for connecting other devices
DIY Speaker
HDMI Cable connects the screen to computer
Blocks x3 keeps parts connected
Screen Case protects the screen
Power Cables
Battery
Touchscreen Cable
Custom Raspberry Pi – 1.2GHz quad Cortex A53 – 64bit with 1GB of RAM
Power Board
SD Card
Microphone
Screen
USB Keyboard
Stickers
Storybook / User manual
Build your own touchscreen computer

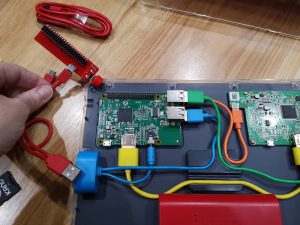
Kano includes everything you need to build a touchscreen computer along with easy to read step by step instructions with clear illustrations. I felt like a little kid spreading all the colorful components on the floor around me as I sat crosslegged flipping the pages in the storybook which lead me through the steps to build the computer.

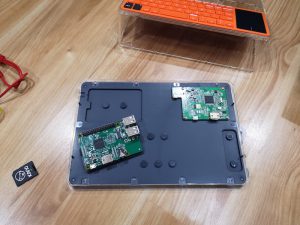
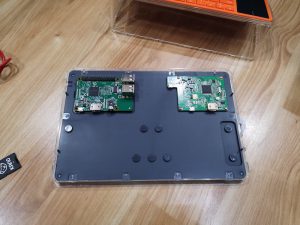
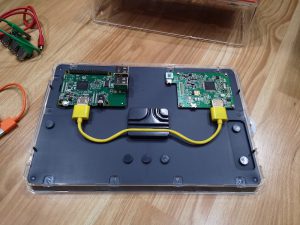
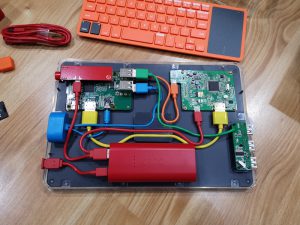
No tools are necessary for the build as everything snaps into place on the back of the touchscreen just like your favorite building blocks. Kano even includes wire routing blocks for the cables to keep everything neat and tidy.
As you place each component on the board, the book explains in basic terms the function for each part without being too technical or boring.
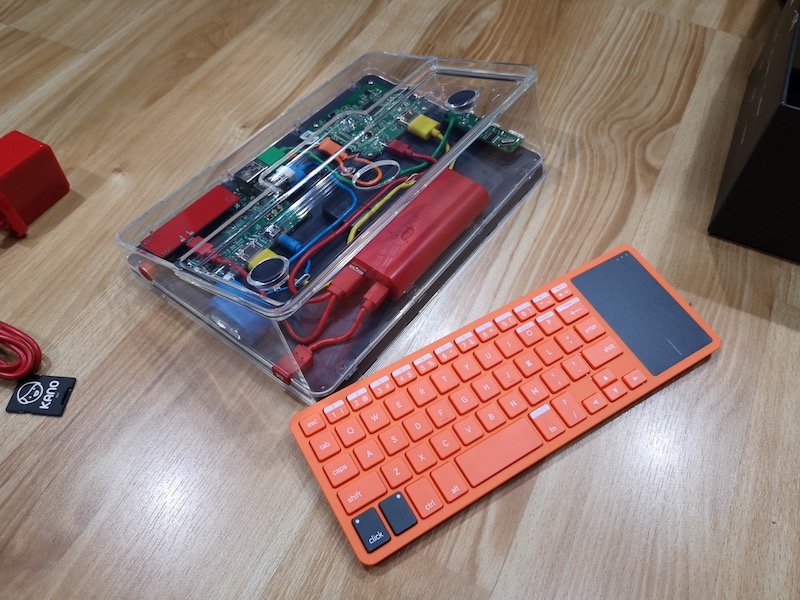
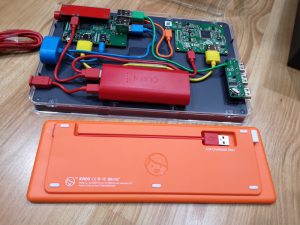
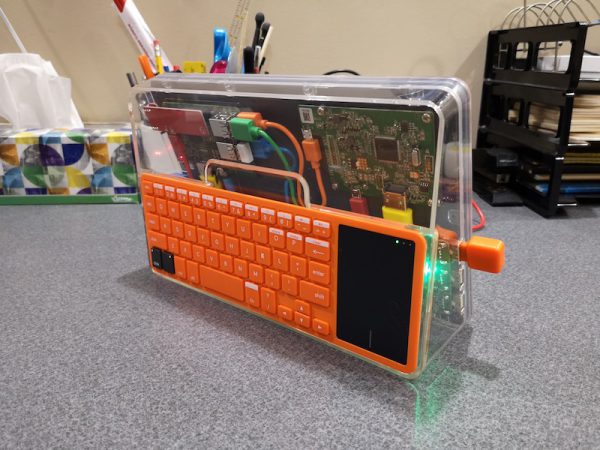
The computer even comes with a plastic case to protect the parts and to give it a finished look that allows you to see your handy work.
The whole setup is pretty impressive and the build process was fun without taking too long. I didn’t time it, but I don’t think it took me more than 30 minutes to put everything together.
I built a computer, now what can I do?
After everything is assembled, it’s time to turn it on and start learning to program. This is the point where I ran into two issues. First of all, the USB power adapter that was included in the package that I was sent, had a European plug style. But you can use any USB adapter that you already have. That’s what I did and it worked fine.
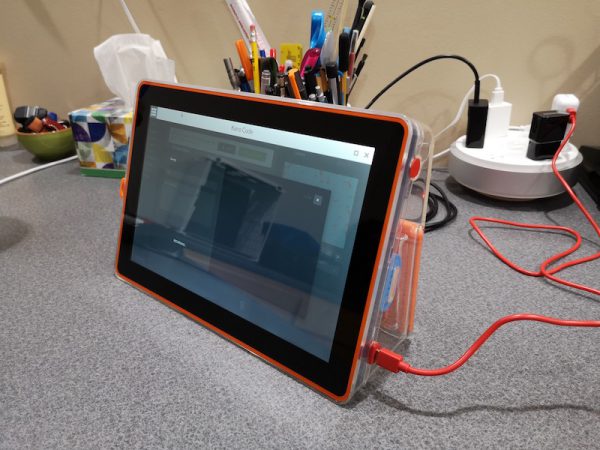
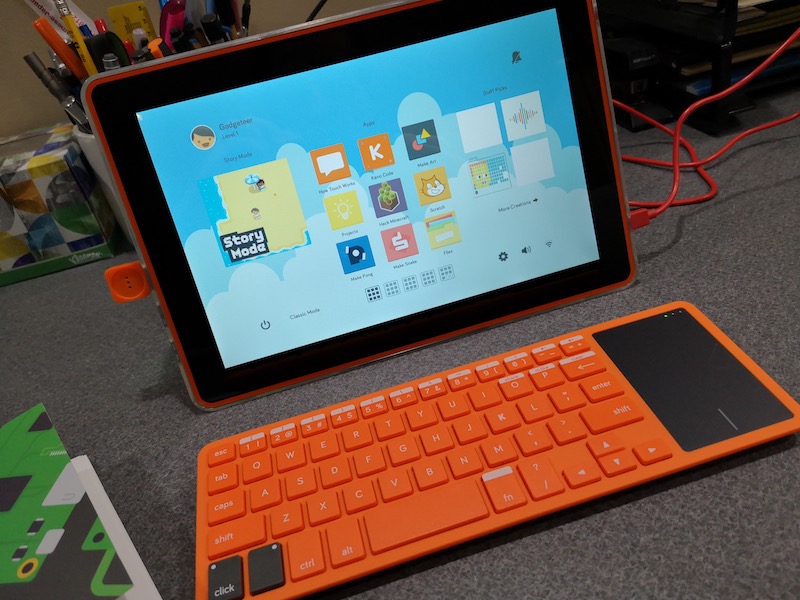
The next problem that really threw me for a loop for a few minutes can be seen in the image above. When the Kano computer powered up, the screen was upside down. I immediately thought that I had assembled the computer incorrectly and started feeling bummed that I would have to take everything apart and go through the building steps again. But then I looked closer at the storybook/manual and saw a small note that said you could go into the settings to flip the screen. Whew! Crisis avoided. But, I think the screen flip option should come up immediately upon bootup instead of having to find the setting once everything is running. Or maybe even have a physical switch on the side that will flip the display.

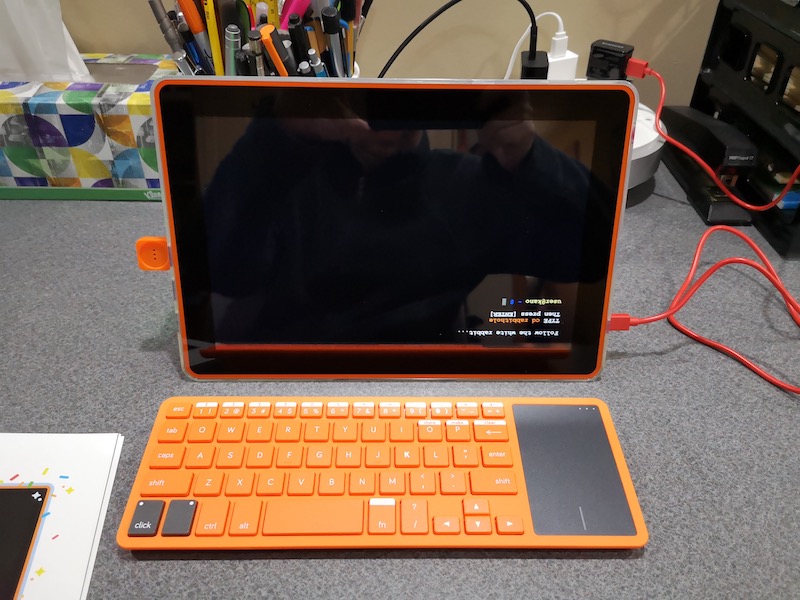
The bootup process starts out at a command line and guides you through typing in a few commands. I liked this part because I’m a Unix nerd and this kind of stuff is right up my alley. Yeah, don’t pay attention to the fact that I left a space out of the command shown in the screenshot above 
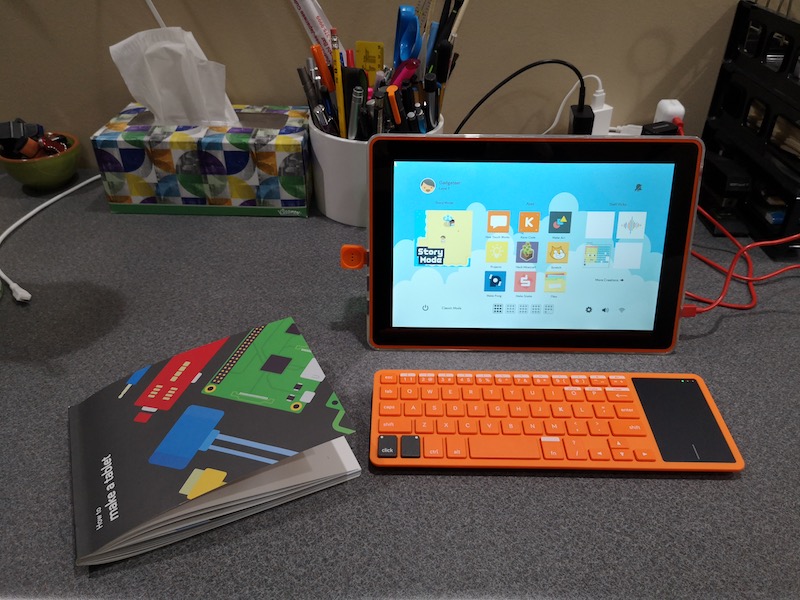
After the OS boots, you’ll be greeted with a more modern interface with menus and apps that you can launch with your finger or select with the included wireless keyboard which has a built-in touchpad.
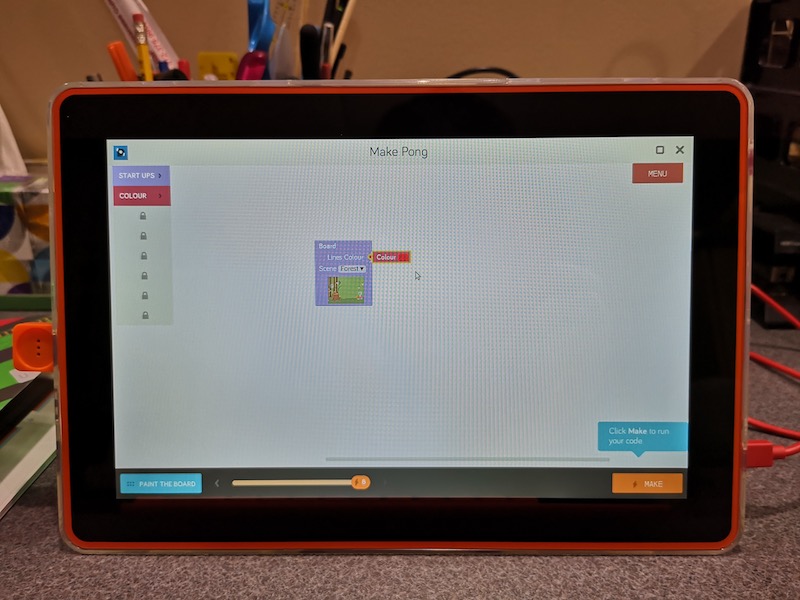
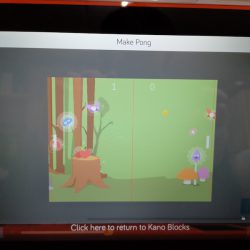
You can learn to program by using the story mode option that lets you wander around a forest to talk to people and go on quests. It reminds me of an old-school Zelda style 8bit video game. The programming sections lead you through learning sessions that help you learn how to use drag and drop modules to build and customize a program.
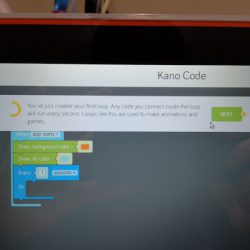

You will learn the fundamentals of building a program including using loops and variables. You can then make the program which will let you compile and run it. Your completed programs can be saved to memory so you can revisit and change them later.
After you go through all the lessons and built-in games, you can add more by visiting the online Kano community for more creations.

The Kano computer isn’t a one trick pony, it’s an actual computer and even comes with other apps like a YouTube viewer and web browser pre-installed.
Be aware that this isn’t going to be a computer that your child or an adult will want to use as a full-time computer because it isn’t very speedy. Certain functions feel sluggish and sometimes I wondered if the computer had crashed because there wasn’t any type of live status message on the screen that indicated that it was still working.
What I like
- Step by step instructions make it fun and easy to build
- Teaches basic programming fundamentals
- The computer can be used for other things
What needs to be improved
- Make the internet browser and YouTube apps optional for a parent to install
Final thoughts
When I was a kid, I would have absolutely LOVED the Kano Computer Kit Touch. Heck, I’m an adult now and I thoroughly enjoyed building the computer and going through the learning quests. The colorful components and step by step instructions made the process fun while injecting STEM (Science, Tech, Engineering & Math) knowledge and skills.
Price: $279.99
Where to buy: Amazon
Source: The sample for this review was provided by Kano.
Filed in categories: Reviews
Tagged: Computer Gear, Educational, Programming
Kano Computer Kit Touch review originally appeared on The Gadgeteer on October 15, 2018 at 3:49 pm.
Note: If you are subscribed to this feed through FeedBurner, please switch to our native feed URL http://the-gadgeteer.com/feed/ in order to ensure continuous delivery.