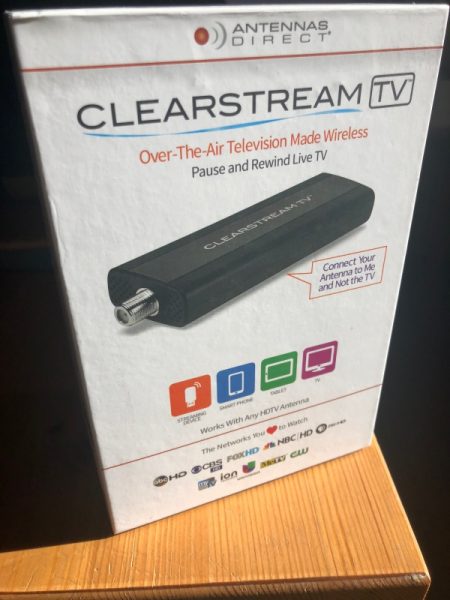
What is it?
The ClearStream FLEX Wireless HD Antenna is a unique cable-cutting solution in that it allows you to receive HD channels over-the-air (OTA) and then broadcast those channels over your WiFi network to be accessible for your other devices. Does it work? Let’s find out.
Hardware specs
Antenna range: 40 Miles
Antenna beam angle: 470 to 700MHz: 70º (horizontal plane) – wide reception pattern
Antenna gain: UHF-3.6 dBi | VHF-2.1 dBi
Antenna dimensions: 12 x 16 x 1/4” (antenna only)
Antenna weight: 6 oz
WiFi range: 20 feet
Requirements: a Wifi network, a compatible smartphone, tablet or streaming media player and the Clearstream TV app (free)
Compatibility: Android 4.2 or above, iOS 8.4 or above, tvOS 10.2 or above, Roku v7.50 b4099 or above, and Amazon Fire devices from 2013 or newer.
What’s in the box?
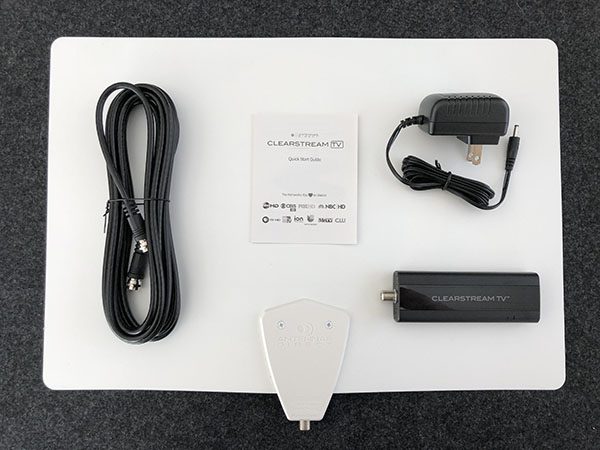
- ClearStream FLEX TV Antenna with Sure Grip
- ClearStream TV WiFi Tuner Adapter
- 12 ft. High-Performance Coaxial Cable
- Power Adapter with 4 ft. Cord
- Step-by-Step Instructions
Design and features
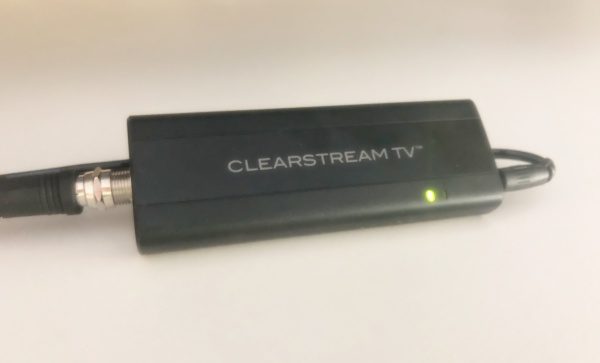
The design is really an exercise in blending in. The antenna is thin and rectangular with one side black and the other white. You can choose whichever side you’d prefer to see and it is paintable so you can really make it blend in. The rest of the elements are meant to not be noticed. The WiFi Tuner Adapter is minimally sized. The power cables can be tucked behind shelves and the coax painted if necessary or replaced with white coax if you have some on hand.
The part of the system you’ll interact with most is the mobile app or a on a streaming device like a Roku, so let’s dive into the setup.
Setup
Let’s set it up. Start by placing the antenna in the best possible location within 20 feet of your wifi router. I was lucky to have a window right next to mine facing the city. You’ll likely end up experimenting with placement so use some painters tape to hang it for now.
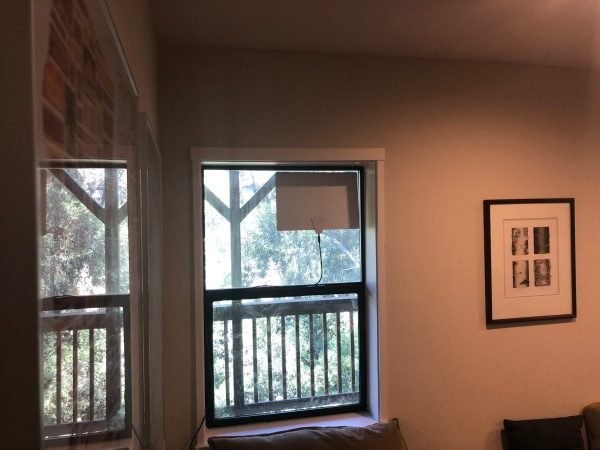
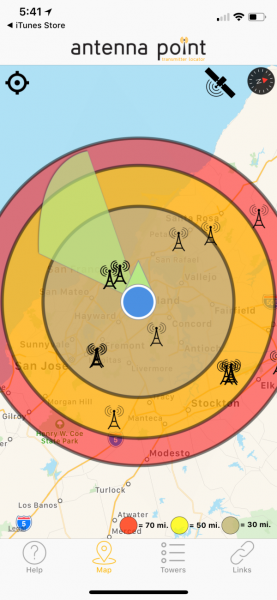
Antennas Direct has an app (and website) called Antenna Point which will help you with placement if you’re unsure. Antenna Point confirmed that I was within about 10º of optimum placement, so I went ahead and used the included clear double-sided tape to secure the antenna to the window. Here’s a screenshot of their app at work.
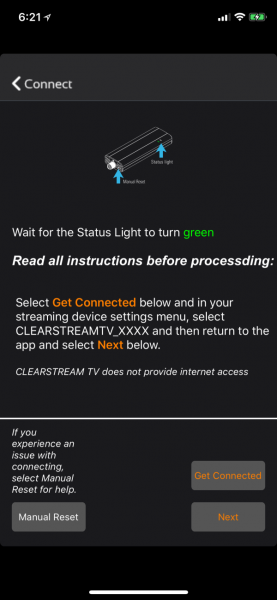
Next, connect the power adapter to an outlet and to your WiFi Tuner Adapter, then connect one end of the coaxial cable to your antenna and the other end to the tuner adapter. The light on the WiFi unit will blink blue and red during startup and then change to a green. That’s your signal to set up WiFi.
Download the ClearStream TV app on your phone or tablet and launch it. It will walk you through the setup which includes connecting to the WiFi broadcast by the Tuner where you can then enter your information to have it connect to your network. When complete, the tuner reboots and you’ll scan for channels. This step is as easy as hitting the scan button and then waiting for the process to finish which is between 15 and 30 minutes.
Performance
The setup was pretty smooth, so I was very interested to see what the rest of the experience had to offer on different devices.
The first thing I discovered is that the setup is only complete for the device I used in the first step. Both Roku and an iPad obviously required downloading their app but also needed to repeat the scan for channels step. Fortunately, that’s only a couple of clicks and another 15-30 minutes one time per device. They also mention that Roku is currently not able to do that initial setup of the WiFi unit, so that should be done with a mobile device.
On iPhone/iPad
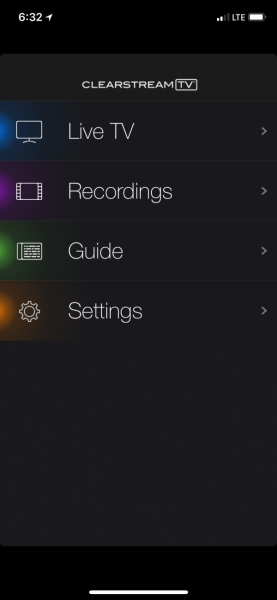
Launch the Clearstream app and you’re presented with four options. Live TV, Recordings, Guide, and Settings. The next few images will bounce back and forth between iPhone and iPad depending on where I took screenshots.
Live TV presents you with a list of channels which in my case are 2-1 (KTVU-HD), 2-2 (LATV) etc. as you can see in the screenshot.
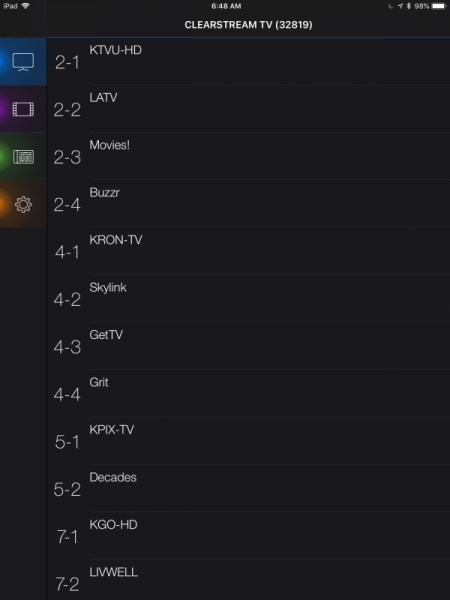
On initial load, that’s all you’ll see, but after a bit, the program information starts to fill in.
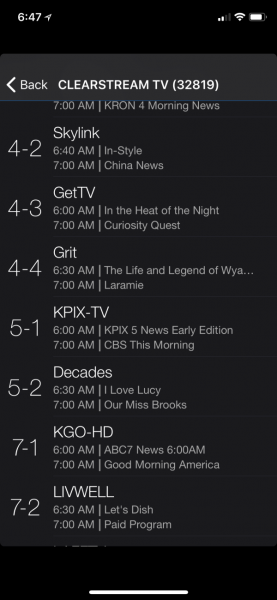
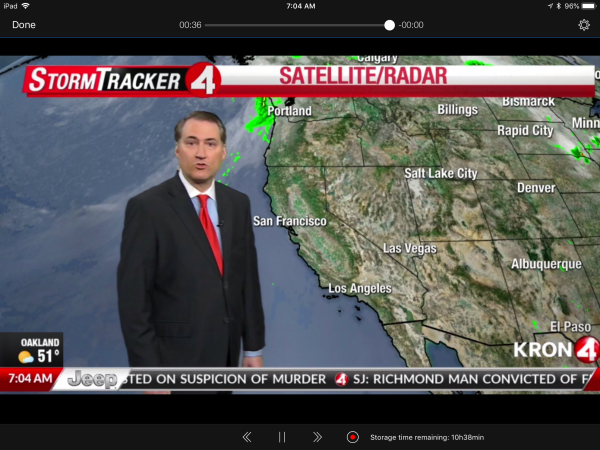
Choose a station and after a few seconds of buffering, the program starts to stream in a small section above the channels. Rotating the device to landscape automatically takes the program full screen. With one tap you have access to play/pause, FF/RW in about 10sec increments and a record button.
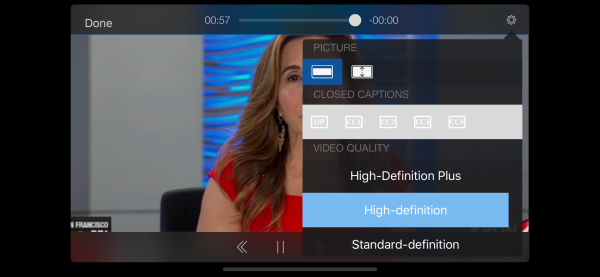
You also have a settings icon in the upper right which provides screen ratios, closed captioning and video quality settings which get applied across all channels.
Tapping the record button starts a recording as you might expect and you’ll see some small text next to the button with recording time remaining. Tapping again stops the recording. You’ll find anything you’ve recorded in the Recordings option from the main screen.
The Guide is surprisingly good although it takes a fair amount of time to update with information as it seems to do so in batches of a few channels at a time instead of grabbing the next two hours for all channels first which is what you’re more likely to want to see. The only other quirk is that once you find what you want to watch, you’ll need to note the channel and bounce back to Live TV in order to launch that channel.
I was able to send the video to Apple TV easily using the mirror function, but the app does not have a built-in cast function for either Apple or Chromecast.
On Roku
Much the same here, but it obviously feels much more like cable when full screen on your TV and a remote in your hand. There are only three options on the main screen as interestingly, recording is not an option on Roku.
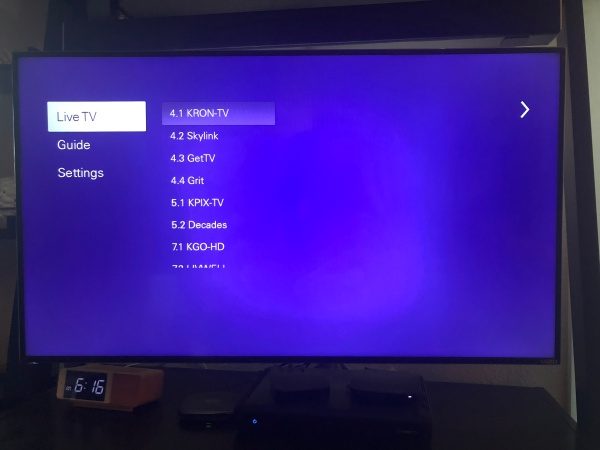
All the settings are done from this menu so the watching experience is really just channel switching and enjoying the picture. The Guide seems to start fresh every session which each channel listing displaying “No information” at first, and if you’re searching towards the end of your channels it might be a while before it updates.
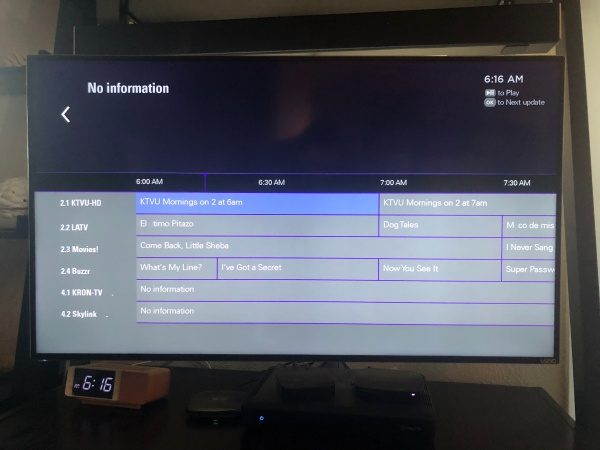
The Live TV screen here is pretty sparse as it does not pull the program information like on iOS. Beyond that, the quirks are about the same.
Overall
The picture is great on all devices, especially if you bump up the resolution to High Definition Plus. The only reason to knock it down would be if your bandwidth is limited. You’re still going to have some channels that stutter, but the majority of the 60 that came in for me were as clear as what I get with DirecTV.
Small catches
The system only supports a single device at a time. I first noticed this waiting to see how long it would take for the program information to fill in on my iPad while I had Roku running. Clicking on the Guide prompted the below message.
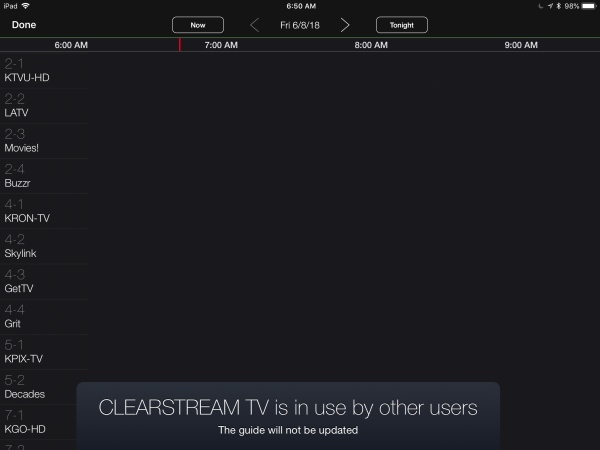
A similar message pops up if you click on Live TV giving you the option to choose “use” which boots the other device off so you can watch.
Recordings are not shared across devices as they are stored locally on the device where your recorded the program.
What I like
- A minimal amount of hardware
- Relatively easy set up
- Great picture
- Channel guide
- Support for different devices
What needs to be improved
- Support for simultaneous devices
- A way to share channel scans across devices
- Chromecast support
Final thoughts
If you’re looking for a way to cut the cord on cable or satellite, this is an option worth considering. The cost is pretty low and a one time fee instead of a recurring monthly charge which seems to be increasingly rare. You’ll need internet and a strong WiFi network with good speed. Lastly, you’ll need to be okay with only being able to watch on one device at a time. This last point is the hardest to overcome if you’ve got a family or roommates, but then again maybe the only time you’d be streaming live TV is for group events like sports so maybe it’s less of a blocker? Head on over to Antennas Direct for additional details.
Price: $119.99
Where to buy: Antennas Direct
Source: The sample of this product was provided by Antennas Direct.
The post ClearStream FLEX Wireless HD Antenna review appeared first on The Gadgeteer.
Filed in categories: Reviews
Tagged: Antenna
ClearStream FLEX Wireless HD Antenna review originally appeared on The Gadgeteer on June 24, 2018 at 10:00 am.
Note: If you are subscribed to this feed through FeedBurner, please switch to our native feed URL http://the-gadgeteer.com/feed/ in order to ensure continuous delivery.
