Oberon Design Sonoma Tote review

Oberon Design is a USA-based company that designs and creates beautiful, useful leather accessories and bags.  The Gadgeteer has reviewed many of their products over the years, and we’ve been selected to put another of their bags to the test.  I was happy to be selected to review the Sonoma Tote when Oberon Design sent us one; it’s just the right size to hold my normal EDC, laptop bag stuff, plus a 13″ MacBook Pro and/or a 12.9″ iPad Pro.

Specs

As specified on the Oberon website, the Sonoma Tote is:

  • High quality; American made
  • Size: 12″ tall x 14″ wide x 5″ deep
  • Weighs 1.8 lb
  • Adjustable length strap handles; maximum 12″ under-arm space
  • Interior 9″ x 7″ zippered security pocket
  • 2 additional interior slip-in pockets and a pen holder pocket
  • Interior keyring hook
  • All seams are triple stitched, taped, and bound
  • Solid brass, durable Sam Browne studs
  • Interior pockets are constructed from spill resistant, top grade ballistic nylon, which is strong and lightweight

Design and features

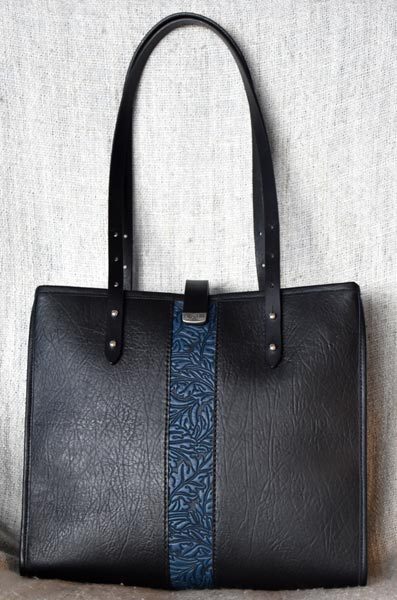
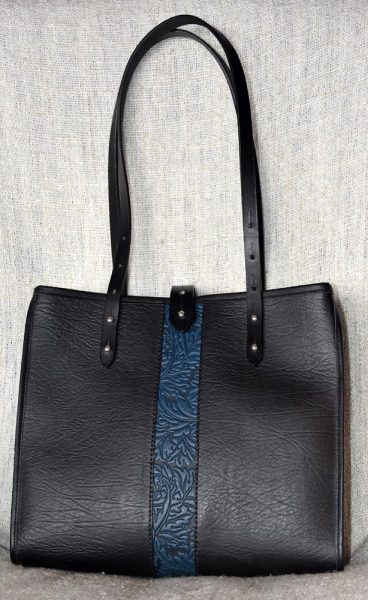
The Sonoma Tote is a new offering from Oberon.  They describe it as a classic tote shape with an Oberon twist.  The twist is apparently a strip of embossed, colored leather bisecting both the front and back of the bag.  The rest of the bag and the straps are black leather, which lets the colored strip shine.  There are five design/color combinations available.  I received the acanthus leaves design in navy.

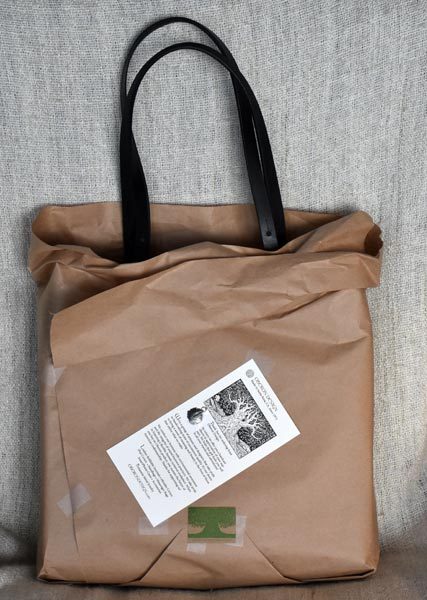
I opened the shipping box to find the Sonoma Tote wrapped in brown paper to protect the leather during shipment.  A thank-you card with a small, handcast charm is taped to the wrapping.
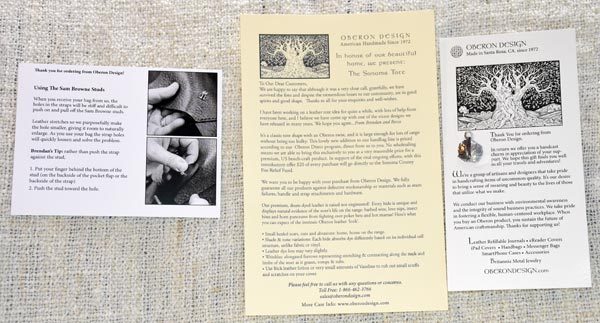


Two other cards shipped with the bag.  The left card explains how to use the Sam Browne studs for adjusting the strap length and closing the bag.  The middle card explains how the design for the Sonoma Tote came about, and it explains the pricing for this bag:  “This lovely new addition to our handbag line will be priced according to our new Oberon Direct program, direct from us to you. No wholesaling means we are able to bring this exclusively to you at a very reasonable price for a premium, US bench-craft product.”  Also, as the bag was designed in honor of Oberon’s home in Sonoma, which was recently devastated by wildfires, Oberon says:  “In support of the vital ongoing efforts, with this introductory offer $20 of every purchase will go directly to the Sonoma County Fire Relief Fund. ”  The card on the right is the previously-mentioned thank-you card with the charm.

Design and features

The front of the bag is seen in the top photo.  The back of the bag is also decorated with the embossed design strip of leather.

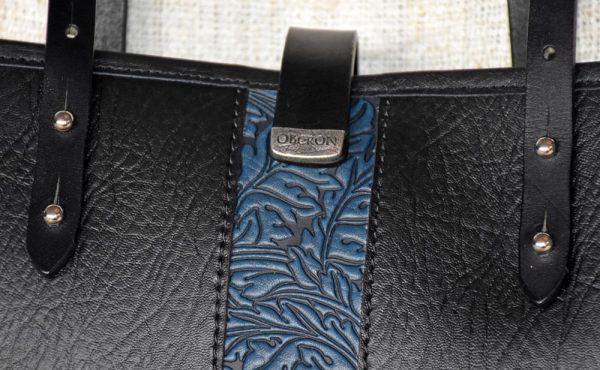
A close-up of the back of the tote shows the beautiful, embossed leather design strip.  You also see the back strap attached with the Sam Browne studs, and the metal piece, with the Oberon name, that attaches the closure strap to the back of the bag.  Note the even, straight stitching and the bound top edge.


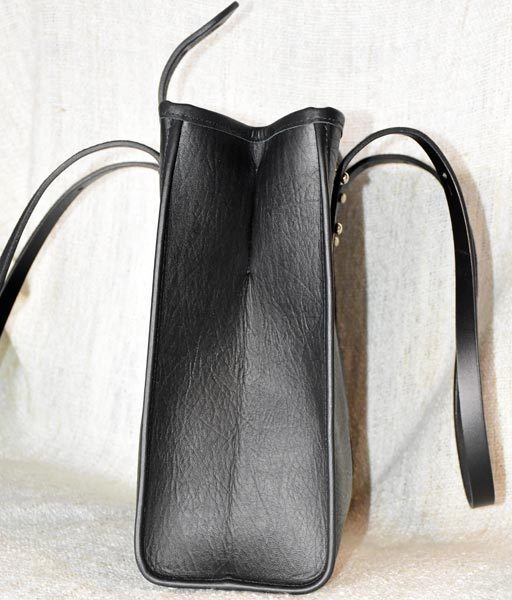
The Sonoma Tote has a rectangular profile when seen from the side.  The bottom is flat, but it has no metal feet to protect the bottom from the surface it sits on.  You can see the bag is sitting up on its own in this picture, and I’m happy to report that the bag sits stably even when fully loaded with all my gear and devices.

You’ll also note that the top of the side panel appears pinched together.  A small section of the top of each side is sewn together to give the tote shape and to slightly divide it into a front an back section.  This slight division works nicely to hold my iPad sleeve in place inside the bag.

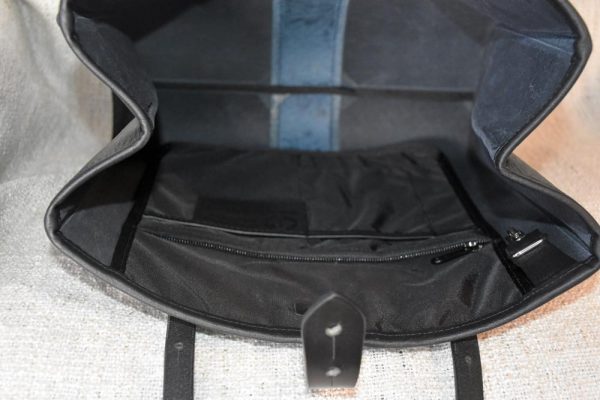
The interior of the bag is empty, except for the pockets on the tote’s back wall.

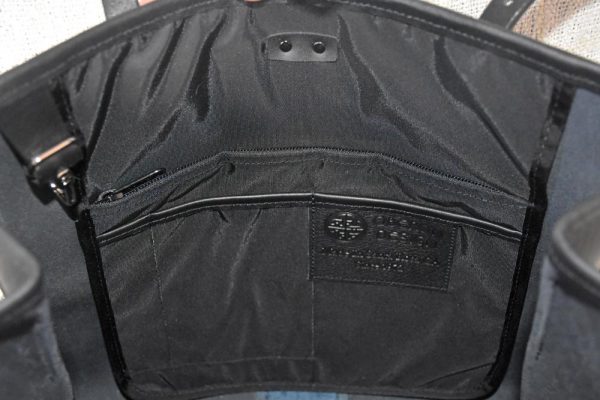
The back wall of the Sonoma Tote has the zippered security pouch, a pen pocket, and two slip-in pockets.  There’s a leather badge sewn on one of the slip-in pockets with the Oberon Design logo.  At the upper left, you will see the keyring keeper.  It’s made with a leather strip and a metal clip, so it should hold your keys securely.

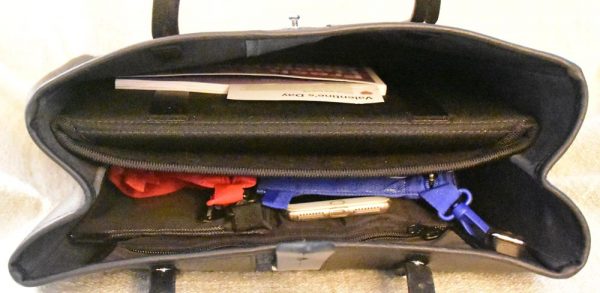
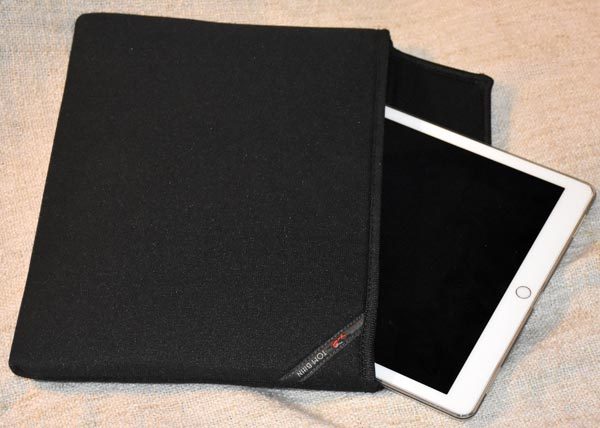
This image is taken with the front of the bag facing up.  That’s the iPad Pro Cache sleeve at the top, with a small catalog between the sleeve and the front wall of the bag.  The Cache fits in that front area like it was made for the Sonoma Tote.

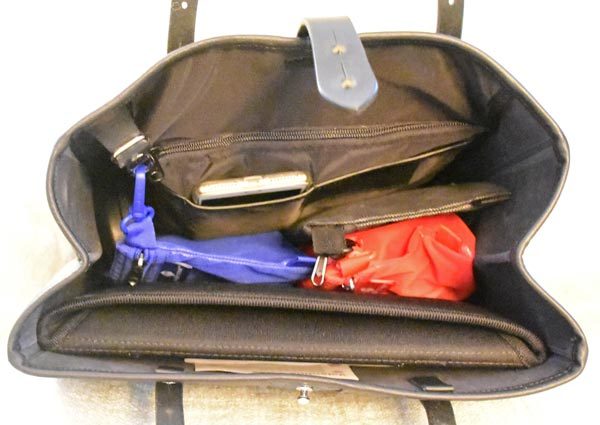
Here’s a view of the zippered security pouch on the back of the bag.  You can see my iPhone 7 Plus in one of the slip-in pockets.  You can also see black and red pouches on the right side of the bag, a blue pouch clipped to to keyring keeper at the top of the bag, and the Tom Bihn Cache at the bottom of this image.

I keep the Tom Bihn Cache sleeve for the 12.9″ iPad Pro into the front area of the Sonoma bag, just behind the Sam Brown stud that holds the bag closed.   This sleeve, with the iPad Pro inside, fits easily in the front section and still allows the bag to close with the stud.  This Cache can actually hold my 13″ MacBook Pro Retina, and the Cache will still fit in the front section and allow the bag to close.  If I needed, I could actually have my laptop in the Cache and slide my iPad between the front of the bag and the Cache – but that makes for a very heavy load.  I’d only take both if I were going on a long trip.  I’d make do with one device for a daily trip.

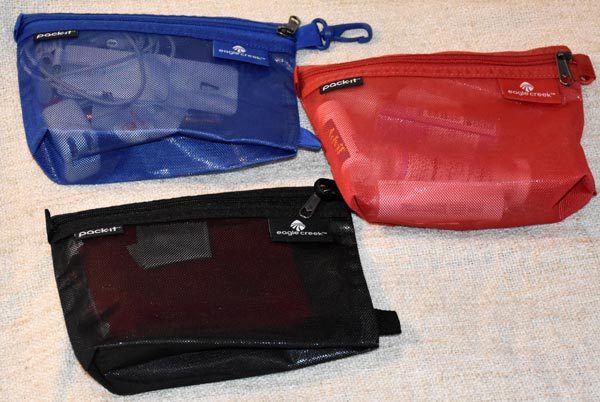
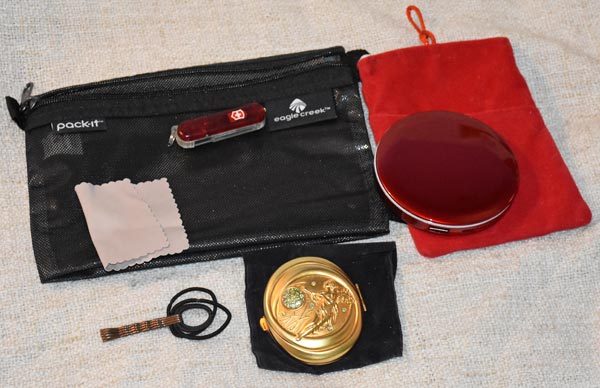
Loose in the bottom of the bag are three Eagle Creek Pack-It sacs, loaded with my small “I’ll take it, just in case” things.  These are the small size sacs, each measuring 6″ x 8″.

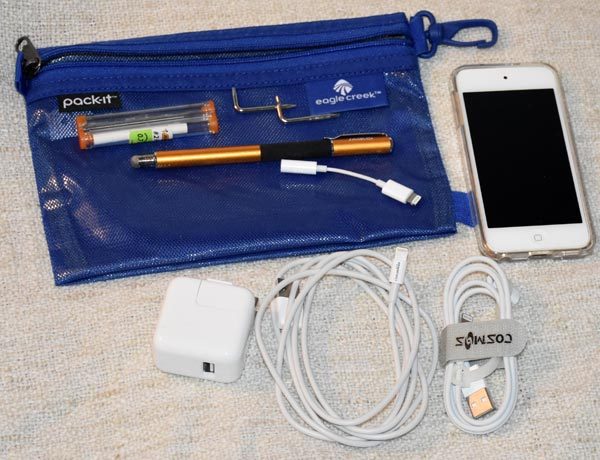
The blue bag holds an Apple USB wall charger, charging cables, stylus, and my iPod touch.

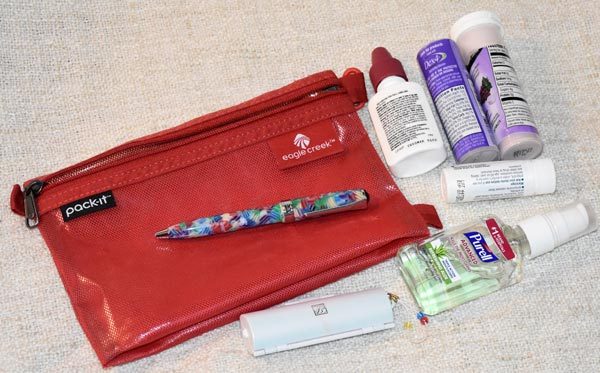
The red bag holds toiletries, and a pen (for some reason…)

The black bag holds a Pearl compact mirror/powerbank, plus a few other small items.

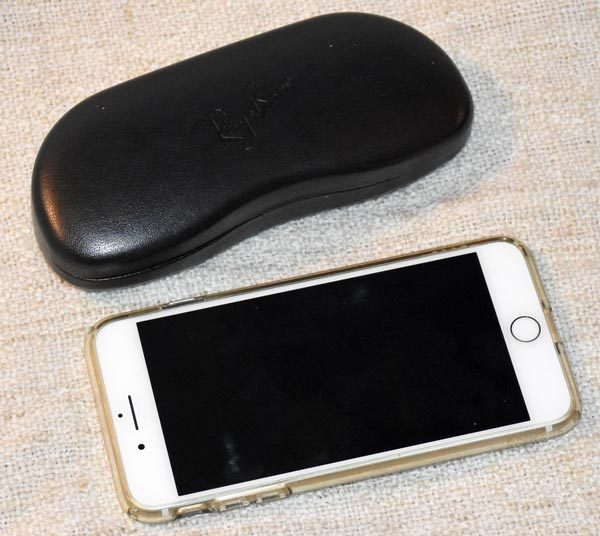
My sunglasses in their case fit into the bottom of the bag, and my iPhone 7 Plus slides into one of the slip-in pockets on the front of the secured zippered pocket.


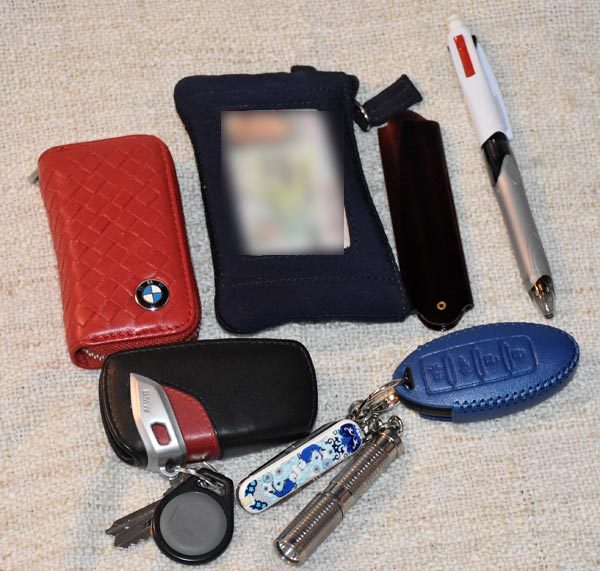
The interior zippered pocket holds my three car fobs, wallet, folding comb, Swiss Army knife, LED flashlight, and a BIC pen.

The Sonoma Tote holds everything I need when I’m having an “everything plus the kitchen sink” day.  I can take my smaller EDC kit and spread it out between my Eagle Creek bags and the secured zippered pocket, or I could even just stick a small purse with my normal carry items in the bottom of the Tote beside those Eagle Creek bags.

The Tote has plenty of room for my laptop and/or my iPad Pro when I need them, but I could easily remove the iPad sleeve and use the Sonoma Tote as a handbag.  It’s beautiful, stylish, and sophisticated enough to complement your nicest business outfit, and no one would think it was a gear bag until they see you pull out a laptop.  My daughter saw me carrying it when we went out to dinner, and she complimented my new handbag; she was doubly impressed when she saw everything I was carrying inside it.

What I like

  • Beautiful design
  • Well constructed
  • Stands on its bottom, even when fully loaded
  • Secure interior pocket to protect small items
  • Key holder at the top of the bag
  • Big enough to hold all my normal EDC things, plus all the cables and accouterments that I keep in my laptop bag, plus a 13″ MacBook Pro Retina or a 12.9″ iPad Pro in Tom Bihn Cache sleeve – or both the laptop and iPad, if needed.

What needs to be improved

  • It would be nice to have feet on the bottom of the bag to keep the leather off the floor

Final thoughts

The Sonoma Tote is just as beautifully designed and constructed as you would expect from Oberon Design.  The bag is big enough to hold everything your laptop bag plus your purse can hold and is beautiful enough to look like you’re carrying a designer handbag.  It fits comfortably on your shoulder, or you can carry it in your hand or on your elbow with ease.  And when you purchase this great gear bag for yourself, you’re helping out the folks who are trying to recover from the devastation of the recent wildfires.

I think this bag is perfect!  I think you’ll like it, too.

Price: $295.00
Where to buy: Oberon Design
Source: The sample of this product was provided by Oberon Design

This travel pillow is a folding shelf for your chin

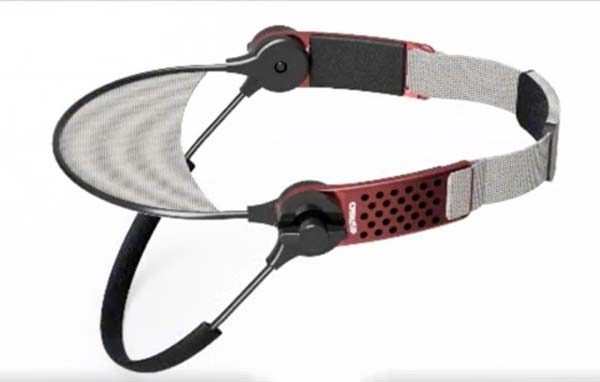
If you travel a lot and like to get a few extra z’s of shuteye while you’re on a plane, train, or automobile, you know how awkward and uncomfortable it can be. I usually end up getting a stiff neck from trying and failing to sit straight up in my chair. The ChinzUP is a specially designed travel pillow that claims to solve the stiff neck travel sleeping problem.

ChinzUP is a pillowless travel pillow that folds up for easy packing in your carry-on bag. When you’re ready for a nap, just pull it out, unfold it. Put it around your neck and under your chin and you will be good to go. The company describes the ChinzUP as an Aeron chair for your head.

If you’re interested, you can pre-order a ChinzUP travel “pillow” for $19.99 through their website at chinzup.com. It’s not clear from their site when this product will ship but I will update this post as soon as I find out.

Turn any power cable into a MagSafe style cable

Introduced in 2006, the MagSafe connector from Apple was a magnetic port on MacBooks that allowed the power cable to easily disconnect from the laptop in the event of someone tripping over it or accidentally tugging it, to prevent damage from pulling the laptop off a table. Apple in their infinite wisdom (or not), discontinued the MagSafe connector a couple years ago, but now you can get the same type of functionality for any cable using the Tug adapter from iLoveHandles.

Tug is a two-piece break away adapter. One part plugs into the wall outlet and the other end part attaches to the end of your power cord. Put them together and you have a MagSafe style connector that you can use for lamps, computers, vacuums, and more. You can buy one Tug for $19.95, or $49.95 for a pack of 3. Find out more at ilovehandles.com

Digital To-Do system thoughts, dash cam reviews, LED floor lamp review, and more – Weekly roundup

It’s time to relax with your computer, tablet, or phone while you browse through a list of everything that we wrote about this week on The Gadgeteer. We have news, we have reviews, and we have articles about your favorite gadgets. Enjoy!

Articles

Julie’s gadget diary – I’m ditching paper and going back to a digital To-Do system

5 awesome gadgets for your kids that they won’t outgrow too quickly

Gadgeteer team: Our mobile home screen setups

News

R2-D2’s dome can blast your tunes or answer your phone!

Forget crystal decanters. Store your whiskey in an oak barrel!

This little iron keeps your collars looking perfect

Namisu X-01 Aluminum rollerball pen: simple, smooth, solid

Own your own copy of the golden records sent out on the Voyager spacecrafts

The ZEEQ pillow helps you get more z’s and snore less

Organize your pocket gadgets with the PocKit Pro EDC organizer from Yellow Birch Outfitters

Forget Murphy beds – check out these Murphy doors!

Mycroft Mark II open voice assistant, KlipAL universal smartphone holder, and more – Notable crowdfunding campaigns

Keep your pet’s water fresh and pure with this fountain

Lightning port charge your iPhone (even in a case) easily with minimalist Hoverdock

WaterField’s new Via wallet retains it sleek profile even when loaded

Organize your nightstand with this glasses case

Enjoy some tunes while protecting your hearing with Plugfones

Mikol adds a touch of class to your desktop with their marble wireless charging pad

Coach introduces new leather bands for the Apple Watch

This Death Star Bluetooth Speaker actually LEVITATES

Easily add a security camera by screwing in this smart lightbulb

Help wanted – I want you to join the Gadgeteer team!

Wrap your Amazon Echo in toast

This little adapter will let you charge your iPhone, iPad, and Apple Pencil at the same time

Reviews

ScanMyPhotos photo scanning service review

Uten Model UCA001 auto DVR Review

Adobe Photoshop Elements 2018 review

Anker Zolo Liberty totally wireless earphone review

AUKEY Floor Lamp (LT-ST35) review

Aukey DR02 Dual dash cam review

Arteck HB030B Bluetooth keyboard review

ScanMyPhotos photo scanning service review

When we wanted to save a moment in time before the days of smartphones, we captured a picture with an actual camera. Inside the camera was a roll of film which had to be dropped off at a drug store or camera store to be developed. A few days later you’d stop at the store and pick up the processed pictures. If you’re old enough, you probably have a few boxes of photos from days gone by collecting dust on a shelf. How can you “backup” those images or share them on social media without manually scanning each individual photo? ScanMyPhotos is a service that will take care of the work of scanning your photos. Let’s take a look.

What is it?

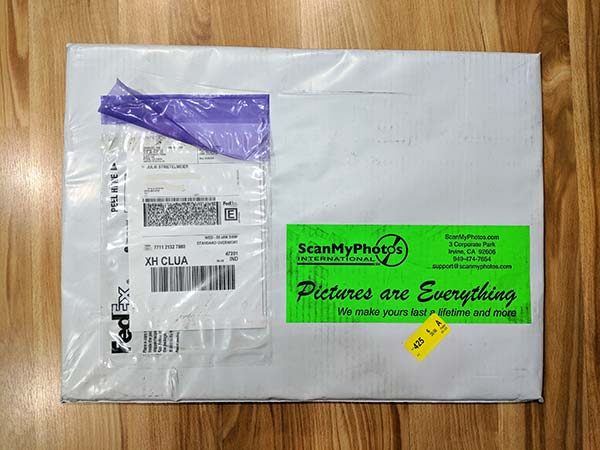
ScanMyPhotos is a service that will send you a postage paid box which you fill with your physical photos and send back to them. They will then scan and send them back to you along with a DVD of the scanned pictures.

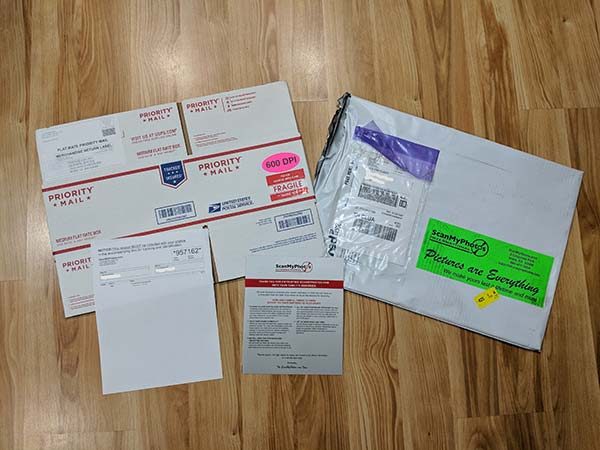
What’s in the box?

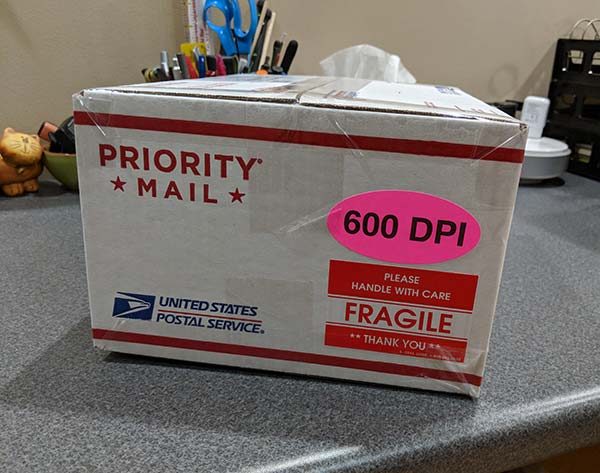
USPS Priority mail box with pre-paid label
Photo prep and packing instructions

Getting your photos ready to ship

The way the ScanMyPhotos photo scanning service works is that you have 6 months to send them your photos.  When you’re ready, you can cram as many of your photos as possible in the box (around 1800 photos) and they will scan and save them .jpg format for one price. The price will depend on the DPI (150 – 600 DPI) you choose and if you want a USB flash drive, the ability to download the files, and other optional add-ons.

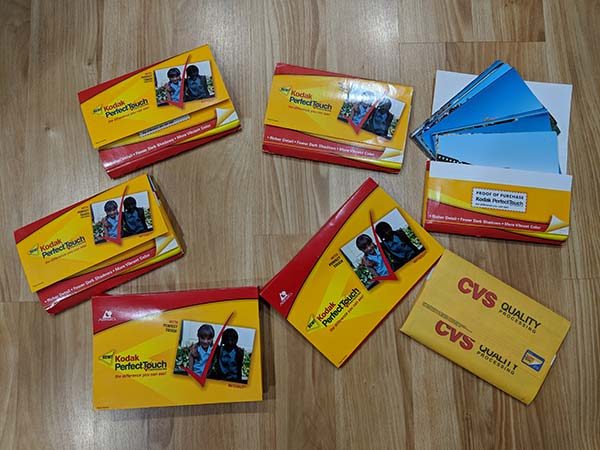
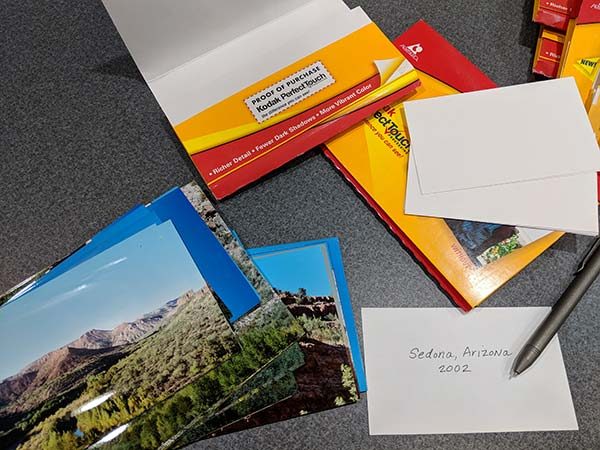
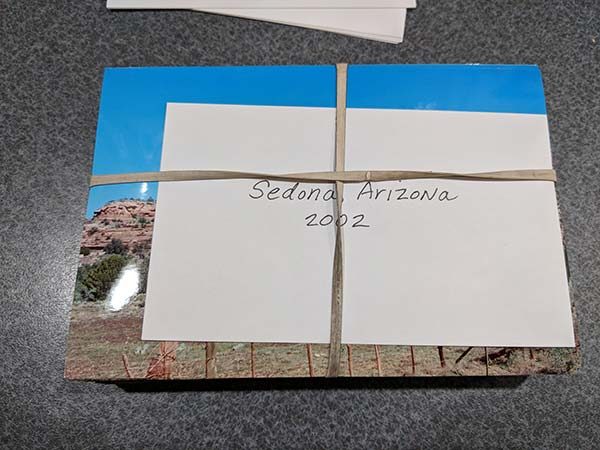
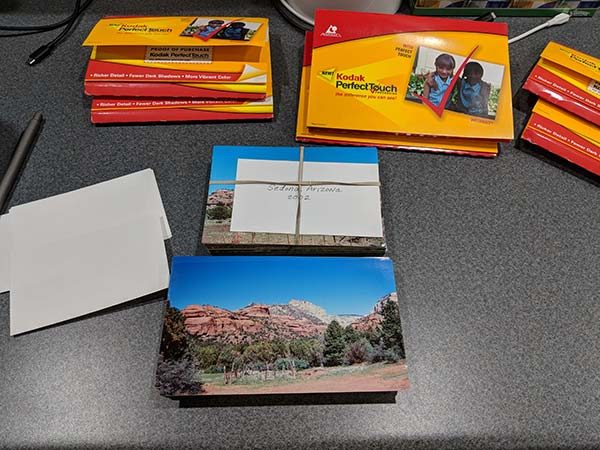
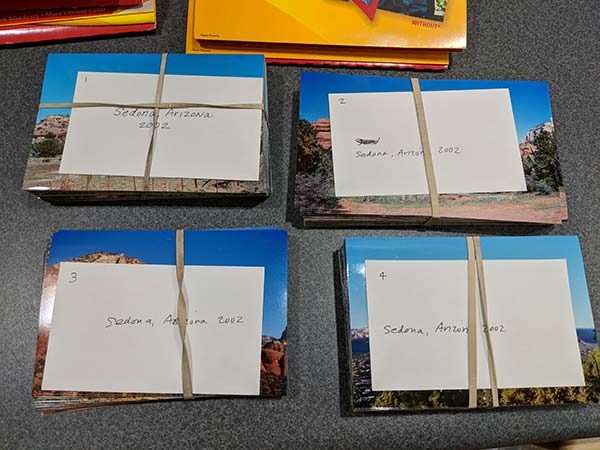
To prepare your photos for shipping and scanning, they should be removed from albums, sleeves, etc. If you want the photos arranged by year, event, trip, or whatever criteria you would like them to be grouped instead of in random order, you will have to pay extra for the scan in order add-on which is an extra $68 per box. You then write the group name on a piece of paper that is about the same size as the photos and rubber band the stacks.

Each bundle should have 100 – 150 pictures.

ScanMyPhotos will scan rectangular photos that are as small as 3 x 3 inches and as large as 8 x 10 inches. The photos can be no thicker than an old-style Polaroid pictures.

The bundles can also be numbered if you have several bundles of images for one event and would like to have them scanned in a specific order.

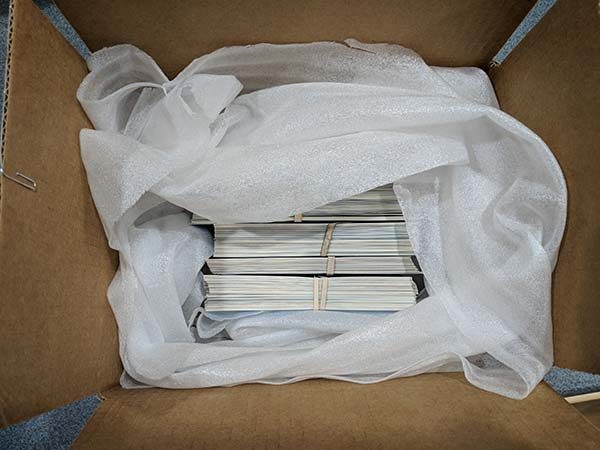
After you’ve grouped all your pictures into labeled bundles, you can put them in the included box with your own packing material around them for cushion.

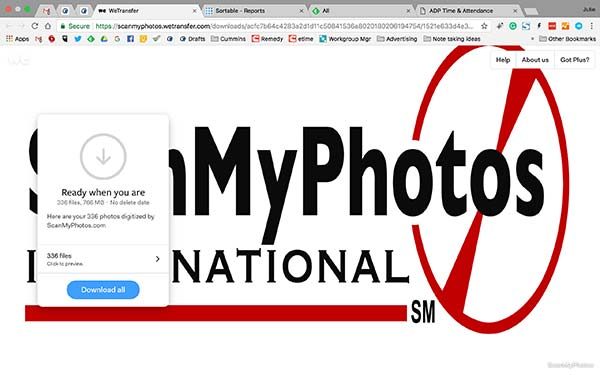
All that is left to do is to seal the box and take it to the post office. The box should arrive within 3 days and once it is received, ScanMyPhotos will send an email when the scanning process has started. I shipped my box on 1/31/18 and received a confirmation email that it was being scanned on 2/6/18 which was 6 days later (there was a weekend in there). The very next day on 2/7/18, I received a link to download the scanned photos on ScanMyPhotos download site and a tracking number for the return shipment of my original photos.

The results

I like the image download add-on feature because it’s convenient to be able to get access to your photos as soon as they’ve been scanned. That way you don’t have to wait for the DVD or USB flash drive to arrive in the mail.

Here are a few examples of the scanned images. Click to see the full size image.


The quality of the scanned photos will only be as good as the original photos. If the photos have are a little faded, so will the scanned images unless you want to pay extra ($84 per box) for the Photo Soap add-on option which will enhance the images to help restore color and contrast.

What I like

  • They send you everything you need including a postage paid box
  • Fast turn around time
  • Ability to download the images for fast access

What needs to be improved

  • Need to include tape to seal the box
  • You shouldn’t have to pay extra for some of the add-ons

Final thoughts

I’m kind of lazy, so I like the idea of shoving a bunch of my old pictures in a box and being rewarded a few days later with digital copies that I can share with friends, to social media, etc. I felt that the pricing was pretty high and asked a photography buddy of mine and he said that he didn’t think it was high as long as the scans were good ones. I’m not a digital scanning expert but from what I can tell, the scans look fine to me. But I do think it’s silly to charge the customer $20 for the ability to download the images when you know that they are already in their system. $68 to scan in order of the bundles with the title cards seems steep to me as well. But when it’s all said and done, if you have the cash and don’t want to spend the time scanning each photo yourself, you ScanMyPhotos is a fast and easy way to bring your physical photo collection into the digital world.

Price: Starts at $145 for 150DPI. As reviewed the price would be $299 for 600DPI + $68 for the scan in order add-on + $19.95 download add-on = $386.95.
Where to buy: ScanMyPhotos
Source: The sample for this review was provided by ScanMyPhotos.