Bezalel Latitute case & Omnia wireless car charger review

I love my iPhone, but the one thing that it has been lacking in is wireless charging. You can get a case with a battery inside that will wirelessly charge, but it adds bulk, and I enjoy the small form factor of the iPhone. I noticed Bezalel had a case solely for wireless charging called the Latitude, so I had to try it out. They also included their Omnia wireless car charger so I could wirelessly charge in the car. Nifty!


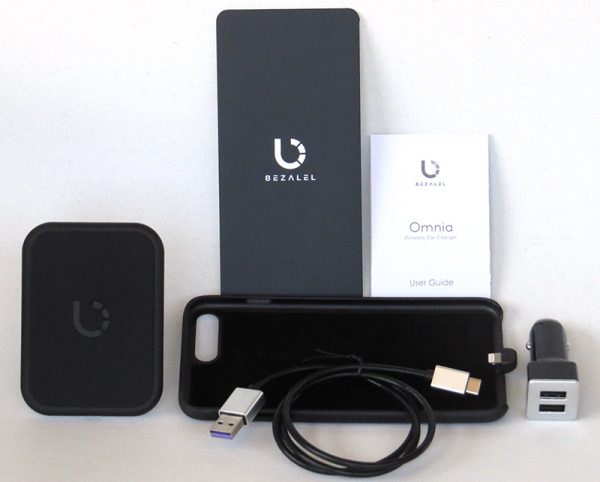
The Latitude case comes with the case and instruction manual, while the Omnia car charger comes with the charging base, 12-24V USB car adapter, USB-C cord, and of course, an instruction manual.

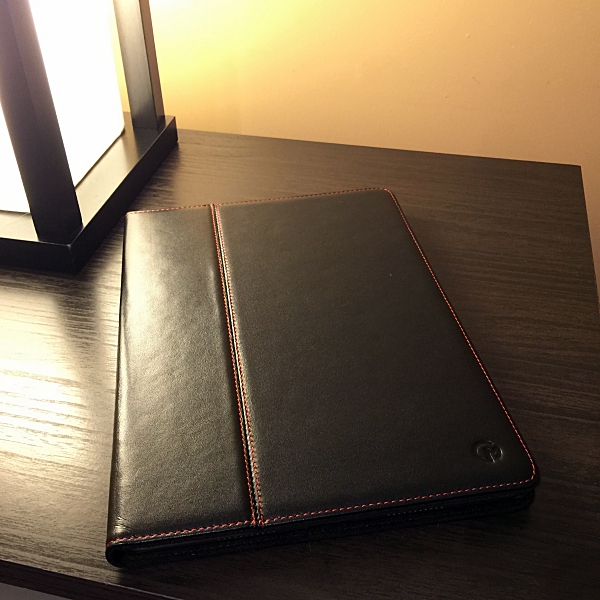
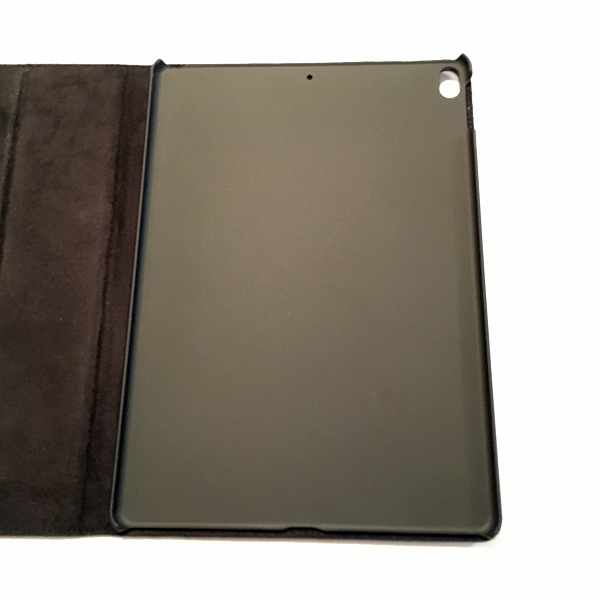
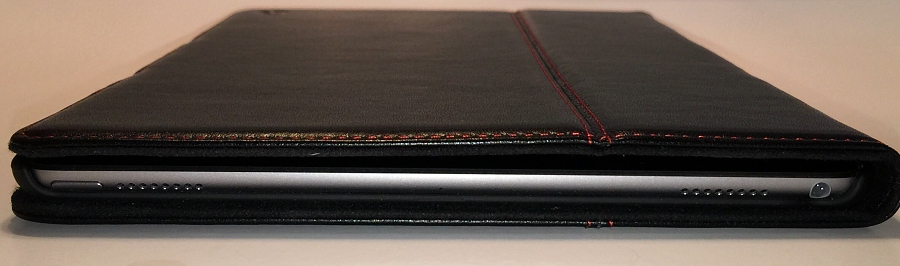
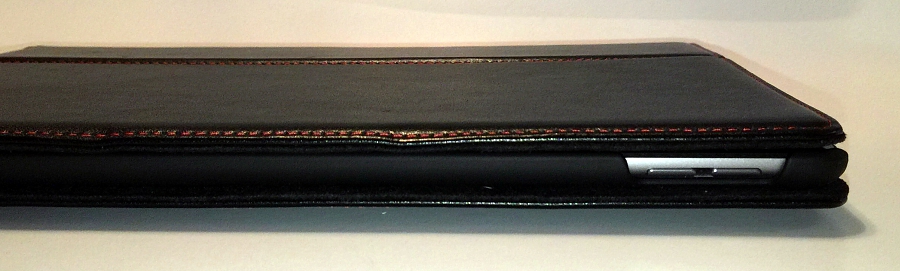
The case itself is pretty basic with a cover/insert for the Lightning port that keeps dust from getting inside as well as attaching the case to the phone for charging. It can be easily removed to use a regular Lightning cable or headphones with. There is a nice soft layer inside to protect your phone from the plastic as well. It was very easy to slide the case on and remove it if necessary, but it was still plenty secure on the phone.

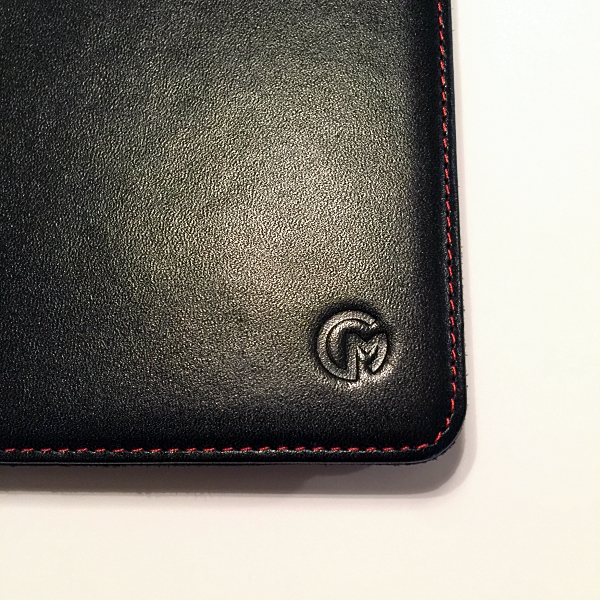
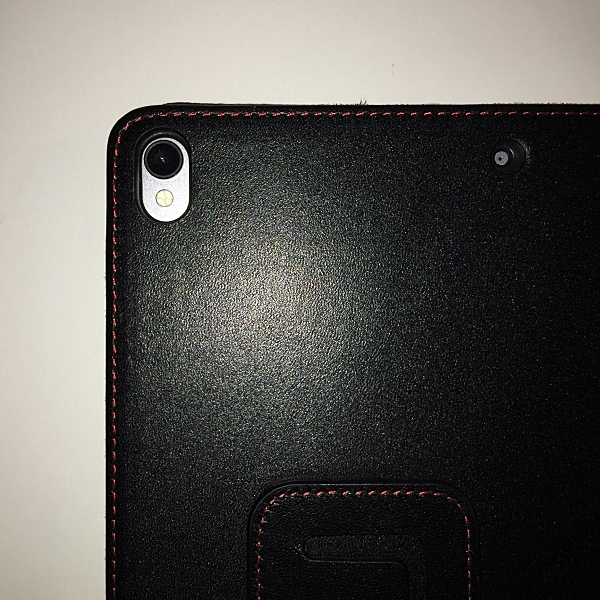
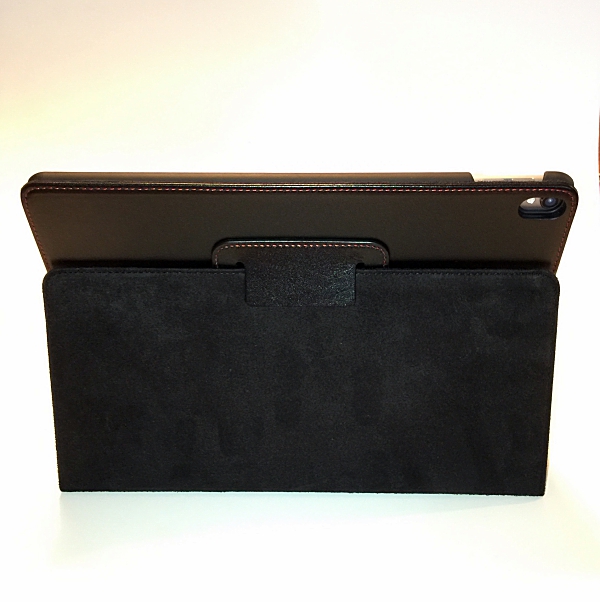
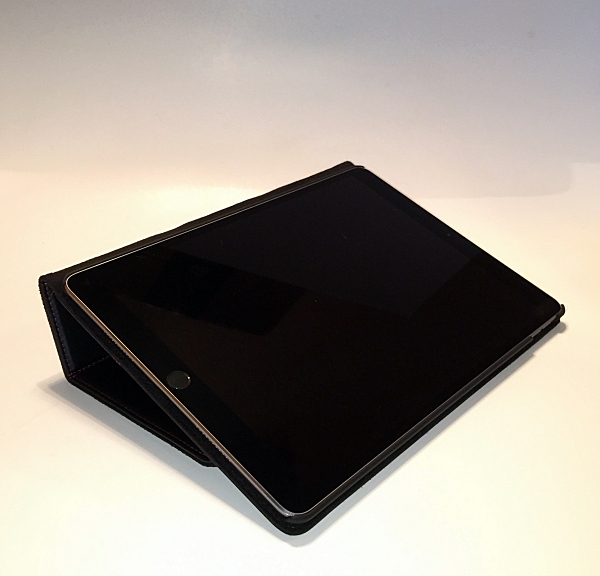
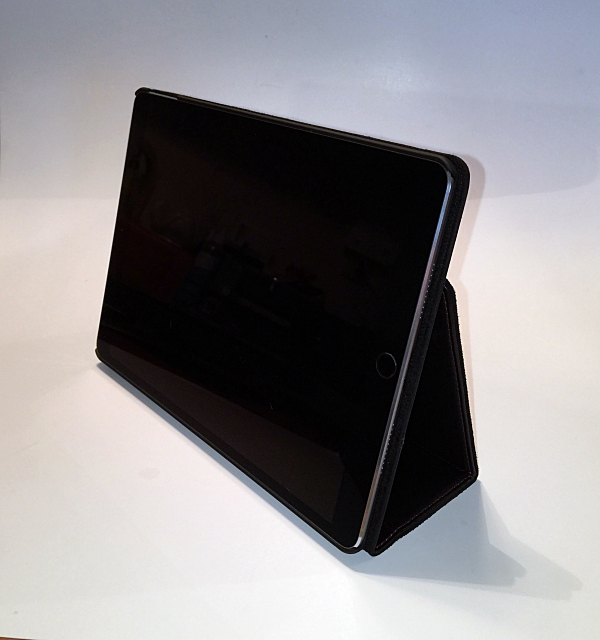
Now, I say the case is basic, but that’s not a bad thing. Sometimes simplicity is better. The case has a nice feel to it and felt nice in my hand, and the logo on the back gives just enough design to keep it from looking boring. The front has a lip to protect the screen… unless you drop it on a rock driveway. It did well at protecting my phone from every drop but that one, but that’s not the case’s fault. It did a good job protecting my phone.

There are no buttons on the case, but the cutouts for accessing them on the phone are cut well and provide good access. The bottom is cut out completely except for the Lightning port insert, and that was a little rough around the edges, but still worked out fine.

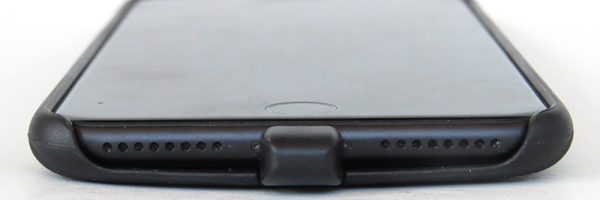
So that’s the case, now let’s talk about the Omnia wireless car charger. This is one solid but well made unit. The only part that was not well made was the USB car adapter. I ended up having to use another one because it would not stay in the socket. Hopefully, it was just bad luck.

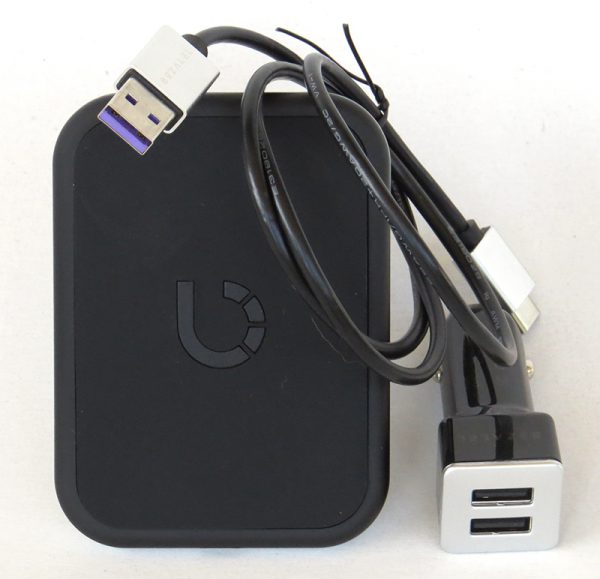
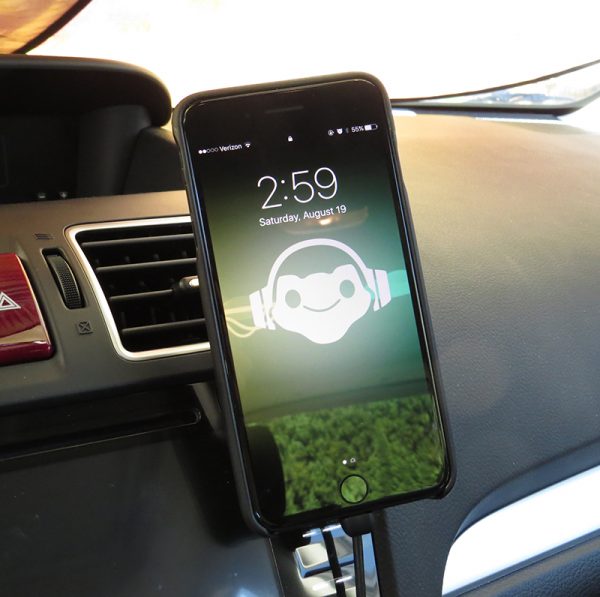
The most difficult part was putting it on the vent. It is difficult to press the button down to open the ‘jaws’ that clamp onto the vent, but it needs to be due to the weight of the charger itself. I really liked how it allowed the phone to be viewed at different angles. I placed it on the vent towards the passenger side of the center console and angled it towards me. This allowed me full use of the touch screen display my car has.

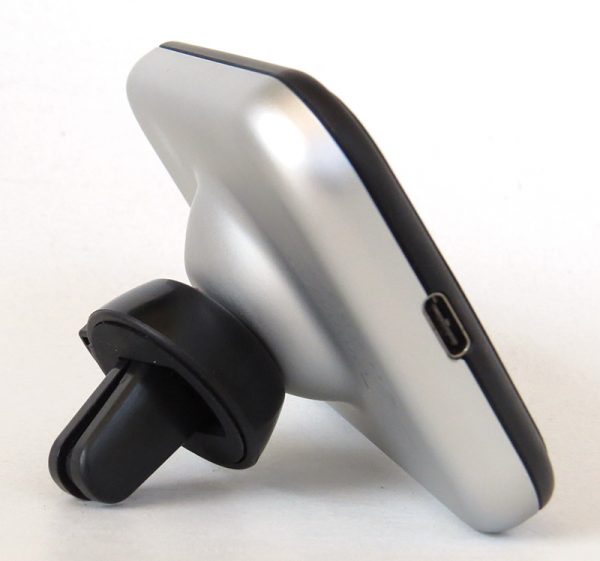
The magnet used to attach the case to the Omnia is strong and it did not detach due to bumps and normal driving. It was very easy to attach and remove the phone from the charger and it took only a second or two for the phone to start charging. It was very easy to keep my phone charged while I drove, especially when I used the GPS.


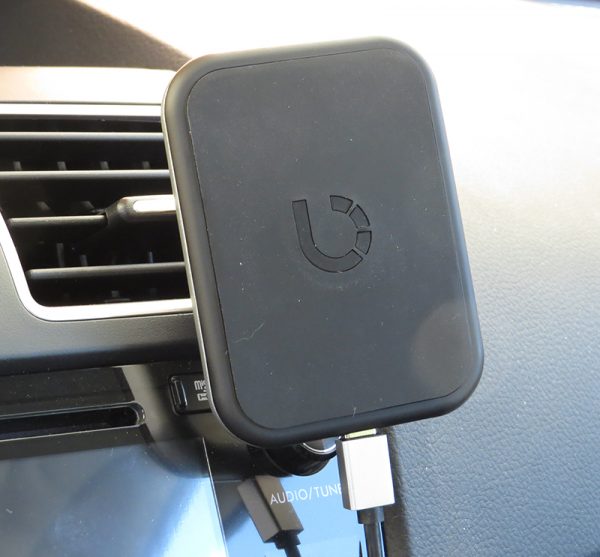
Unfortunately, though, the Omnia is very heavy with the phone attached and after a few days would nearly be falling off of the vent itself, despite the firm grip it had. A couple of times each week I would need to remove it and adjust it again, which was annoying when I happened to be in a hurry that day! If they could lighten the charging base up a little bit, or find a way to keep it firmly in place, this would be an excellent product. As a reference, I have a magnetic base that I used before that stays in the same vent location with no problem at all.

I absolutely loved the idea of allowing wireless charging to come to the iPhone (and yes, I know the newest generation will have it built-in) and I think that Bezalel has done a good job with making a protective case that allows for wireless charging without the bulk. The Omnia car charger could stand to lose a little weight to keep it from falling out of thin vents, but it would be a solid product if it stays put in your car. There is a chance the iPhone 6/7 (non Plus) version of the case could work better with the Omnia, as that would be less weight overall.

Overall, if I looked seriously into wireless charging, I would be tempted with the Bezalel Latitude case. Would I buy the Omnia to go with it? Probably not, though only because it kept falling out of the vent, not because it didn’t charge the phone.

Source: The sample for this review was provided by Bezalel. Please visit their website for more information and Amazon to order.


Product Information

Price: Latitude (iPhone 7 Plus): $59.90 – Omnia $59.90
Manufacturer: Bezalel
Retailer: Amazon
Pros:
  • – Easy to charge your phone while driving
  • – Can have your phone in various viewing angles
Cons:
  • – Falls out of the vent due to weight

Filed in categories: Reviews

Tagged: , ,

Bezalel Latitute case & Omnia wireless car charger review originally appeared on The Gadgeteer on October 2, 2017 at 8:05 am.

Note: If you are subscribed to this feed through FeedBurner, please switch to our native feed URL http://the-gadgeteer.com/feed/ in order to ensure continuous delivery.

Julie’s gadget diary – I’m switching back to Android

It’s been three months since I switched from an LG G6 to an iPhone 7 Plus and I’m ready to go back. Big shock right? Three months might not sound like a long time, but it’s the longest stretch that I’ve had with an iOS device in many years. 

Why am I switching back? It’s not that I don’t like the iPhone 7 Plus. I like it quite a bit. I like the camera, iMessage, AirDrop, and the battery life. It’s a great phone and anyone would enjoy using it. But I’m not really “anyone”. I have a built-in desire to tweak, and bend devices to my own will and that’s tough to do with iOS and the iPhone.

When I switched to the iPhone three months ago, I told myself that tweaking was time-consuming and not necessary. It was the self-talk equivalent to “it’s time to grow up and put away childish things” that a parent might have with their child.

That talk didn’t stop me from being frustrated that I couldn’t rearrange the iPhone’s home screens my way instead of the Apple way.

I also ran into a few instances where I wished I had an Android phone so I could pair a mouse and a keyboard and use it like an ultra-tiny laptop to connect to The Gadgeteer web server while I was at my day job where they block SSH to outside machines.

Then when I wanted to revisit my in-vehicle handsfree media player project from a few years ago I quickly figured out that I can’t do those sort of things with iOS.

But what really did it was when Verizon Wireless sent me a Samsung Galaxy Note8 to review a couple weeks ago. That’s all it took to make me realize that I’m an Android person, not an iOS person and it’s time to switch back.

Now the question is which phone do I switch back to? A Samsung Galaxy Note8? Hmmm…. that’s a nice phone, but I don’t think so. I think I’ll go with an LG V30 or the new Pixel that’s going to be announced on Wednesday. I wish I had Android phone to switch to right now, but I don’t. I hate waiting…

Filed in categories: Articles

Tagged:

Julie’s gadget diary – I’m switching back to Android originally appeared on The Gadgeteer on October 1, 2017 at 12:04 pm.

Note: If you are subscribed to this feed through FeedBurner, please switch to our native feed URL http://the-gadgeteer.com/feed/ in order to ensure continuous delivery.

Arckit GO Colours review

I’ve always enjoyed building sets like models and construction sets from LEGO, Erector, and more. The Arckit GO Colours is a model building system that is used by schools and universities as a classroom teaching tool of STEM concepts for developing fundamental design skills. But is this set fun to build? Let’s find out.

What is it?

Arckit sets are construction “toys” that are in the same general realm as LEGO sets, but Arckits are more architectural in nature and are marketed as STEM toys. STEM stands for Science, technology, engineering, and mathematics. This particular set is rated for kids ages 10 and up.

What’s in the package?

Arckit offers a variety of sets, but I was sent their GO Colours set which includes 175+ pieces.

The larger pieces fill the box and groups of smaller pieces are packaged in clear plastic bags.

The pieces themselves are made of hard plastic and come in various colors.

The pieces either have tiny holes…

Or tiny posts that fit in the tiny holes.

A pictorial instruction sheet is included with the model to help you build it step-by-step.

Let’s get building!

My first thought about the Arckit was that it would be easy to build because they are similar to LEGO sets of which I’ve built many over the years/decades.

I didn’t take long into the task of building the set, that I started re-thinking that notion. First of all the illustrations in the instruction sheet are not that easy to understand because the drawings are too small and it’s tough to see the individual parts.

I constructed the base layer incorrectly twice due to this issue. But once I got the first step completed I thought I was home free. I was wrong.

Building the walls was frustrating because the wall pieces either have straight edges or angled edges. It’s not easy to determine which type is needed by looking at the instructions without using a magnifying glass.

Once I got past the base layer, the rest of the build got wonky really quickly because it’s not easy to seat the pieces with the posts into the pieces with the holes.

Trying to fit the second-floor layer on top of the structure was almost impossible. As you can see from the image above, the posts and holes don’t want to line up together. Trying to force the pieces in place just results in the other end popping up or other parts unconnecting.


This is what the model is supposed to look like when it’s completed. I never got that far.

Final thoughts

I devoted a couple hours to the task of build this model but got aggravated at the 30-minute mark and gave up which isn’t something I usually like to do. I’m an adult and got frustrated really quickly, so I can’t imagine that a 10-year-old child will fare much better.

While I love the idea of these building sets and all construction sets, I think Arckits are too fiddly for the average child (or adult). They are also too expensive compared to other more mainstream model building construction toys on the market.

If anyone out there has tried Arckits and has had a different experience, please let me know. But as it is, I’m not impressed and did not have fun building the set that was sent to me.

Source: The sample for this review was provided by Arckit. Please visit their site for more info and Amazon to order.


Product Information

Price: $59.99
Manufacturer: Arckit
Retailer: Amazon
Pros:
  • Educational
Cons:
  • Expensive
  • Tedious to construct
  • Directions are lacking

Filed in categories: Reviews

Tagged: ,

Arckit GO Colours review originally appeared on The Gadgeteer on October 1, 2017 at 10:09 am.

Note: If you are subscribed to this feed through FeedBurner, please switch to our native feed URL http://the-gadgeteer.com/feed/ in order to ensure continuous delivery.

CaseMade iPad Pro 10.5″ leather case review

One of the first things most of us do after we purchase a new phone or tablet is to shop for a case to protect or add to the look of that shiny new device. There are literally thousands of choices which can make this quite an arduous task. When I purchased my 10.5” iPad Pro I chose to go with Logitech’s Slim Combo case. The main reason I chose it was because it had a keyboard and a holder for my Apple Pencil. I really like the case, but it’s a little bulky to use every day. I wanted another case for everyday use, something that had a nice look and complimented my shiny new iPad Pro. I got the chance to review such a case for the Gadgeteer. The CaseMade 10.5”  iPad Pro leather case. It’s a nice case that met my requirements but it’s not without its faults.

The CaseMade 10.5” iPad Pro leather case is made From 100% Italian cowhide leather. Inside there is a soft-touch polycarbonate mold that snugly holds the iPad Pro. The case also incorporates Apples smart cover sleep/wake technology. This means your iPad will be automatically put to sleep once the Casemade cover has been closed and instantly woken up once the Casemade cover has been opened.

Design

The black 100% Italian cowhide leather and unique red stitching give this case a real sophisticated look. I also like the emblazoned CaseMade logo on the lower left corner of the case. It’s a small detail but adds to the cases rich look. The inside cover has a soft, brushed finish so it won’t scratch your iPad’s screen. Thin and lightweight, this case is a perfect compliment to the minimalistic design of the 10.5” iPad Pro.

The polycarbonate mold inside does a nice job of holding my iPad in place. The material is pretty flexible and each mold is form-fitted to the iPad Pro ensuring a snug secure fit. There are cut-outs on the side and top and bottom to allow easy access to all of the iPad Pro’s external features including the camera, lightning connector, volume buttons and headphone jack. The mold is completely open on both the top and bottom except for the corners. Although the access is nice I would have preferred a little more coverage on the top and bottom to protect my investment.

Functionality

I was happy that this case offered the Apple Smart Cover sleep/wake technology. Every iPad case I’ve owned in the past had this feature and it’s one thing I look for when buying a new case. Unfortunately, this is where one of the faults I mentioned pops up. The feature works, but I have to move the cover around in order for it to lock my iPad. It’s as if the magnet inside the case is misaligned. It’s not a deal breaker, however, if you’re going to use this as a selling point it should work properly.

The case also doubles as a horizontal stand with two separate viewing positions. This is done by folding the case over and sliding the cover into a slot that is sewn into the back of the case. I really like this feature. It provides a nice viewing angle while on my lap and it’s very sturdy when used in the upright position. The lay-down position is perfect for using your iPad on your lap and makes it easy to do some quick typing using the iPad’s on-screen keyboard. The upright position is perfect for browsing the web, checking out social media like Twitter and Instagram or viewing videos and movies.

What I like

I like the look and feel of the 100% Italian cowhide leather. I like the functionality of the two different viewing positions. I like that it’s thin and lightweight.

What I don’t like

I don’t like that the sleep/wake function doesn’t work properly. I don’t like that there isn’t a place for my Apple Pencil.

Overall

I’ve used the CaseMade 10.5″ iPad Pro leather case as my everyday case for the last few weeks and I have to say that I really like it. As mentioned it does have its faults but none of them would keep me from recommending this case. If you’re looking for a nice minimalistic leather case at a reasonable price the CaseMade 10.5″ iPad Pro leather case may be for you. The case comes in 2 colors, black and tan and is priced at $64.95.

Source: The sample for this review was provided by CaseMade. Please visit their site for more info or to order.


Product Information

Price: $64.95
Manufacturer: CaseMade
Pros:
  • 100% Italian cowhide leather
  • Thin and lightweight
  • Doubles as a horizontal viewing stand
Cons:
  • Sleep/wake feature doesn't work properly
  • No holder for Apple Pencil

Filed in categories: Reviews

Tagged:

CaseMade iPad Pro 10.5″ leather case review originally appeared on The Gadgeteer on October 1, 2017 at 9:00 am.

Note: If you are subscribed to this feed through FeedBurner, please switch to our native feed URL http://the-gadgeteer.com/feed/ in order to ensure continuous delivery.

Baron Fig’s new Unfinish notebook is the perfect journal for doodlers

Fans of Baron Fig’s Confidant notebook now have a new version to consider. It’s called the Unfinish notebook because each page in the notebook has an unfinished drawing that invites you to finish it in any way that you can imagine. The drawings are in light blue so you can ignore them if you want to and if you make a photocopy of the page, the blue drawings will not show up on the copy.

The limited edition Confidant Unfinish notebook is 5.4 x 7.7 inch, has 192 pages, and opens flat. It’s priced at $20 and you can find out more at Baron Fig.

Filed in categories: News

Tagged: ,

Baron Fig’s new Unfinish notebook is the perfect journal for doodlers originally appeared on The Gadgeteer on October 1, 2017 at 8:00 am.

Note: If you are subscribed to this feed through FeedBurner, please switch to our native feed URL http://the-gadgeteer.com/feed/ in order to ensure continuous delivery.