REVIEW – If you enjoy the soothing sounds of rain, a fan, the ocean, or perhaps the gentle quiet sound of nature at night, then the Sztrokia Sleep Sound Machine would be a great device for you to have. Whether you like to listen to these sounds while you sleep, study, or just need some kind of distraction in the background, then this sound machine is a perfect companion to achieving that white noise you are looking for.
What is it?
The Sztrokia Sleep Machine is a sound maker that features 10 different sounds from rain to ocean waves to fans to white noise to nature night sounds to help you rest, relax, sleep, study, or meditate. This sound machine also features a USB port on the back of the unit so you can plug in your phone’s USB charging cable. Since you have to plug in the sound machine’s AC adapter into the wall plug you will still have a way to charge your phone or other devices should you need to. Whichever sound you choose, that sound is intended to block out any unwanted noise or just to keep your mind relaxed and focused.
What’s in the box?
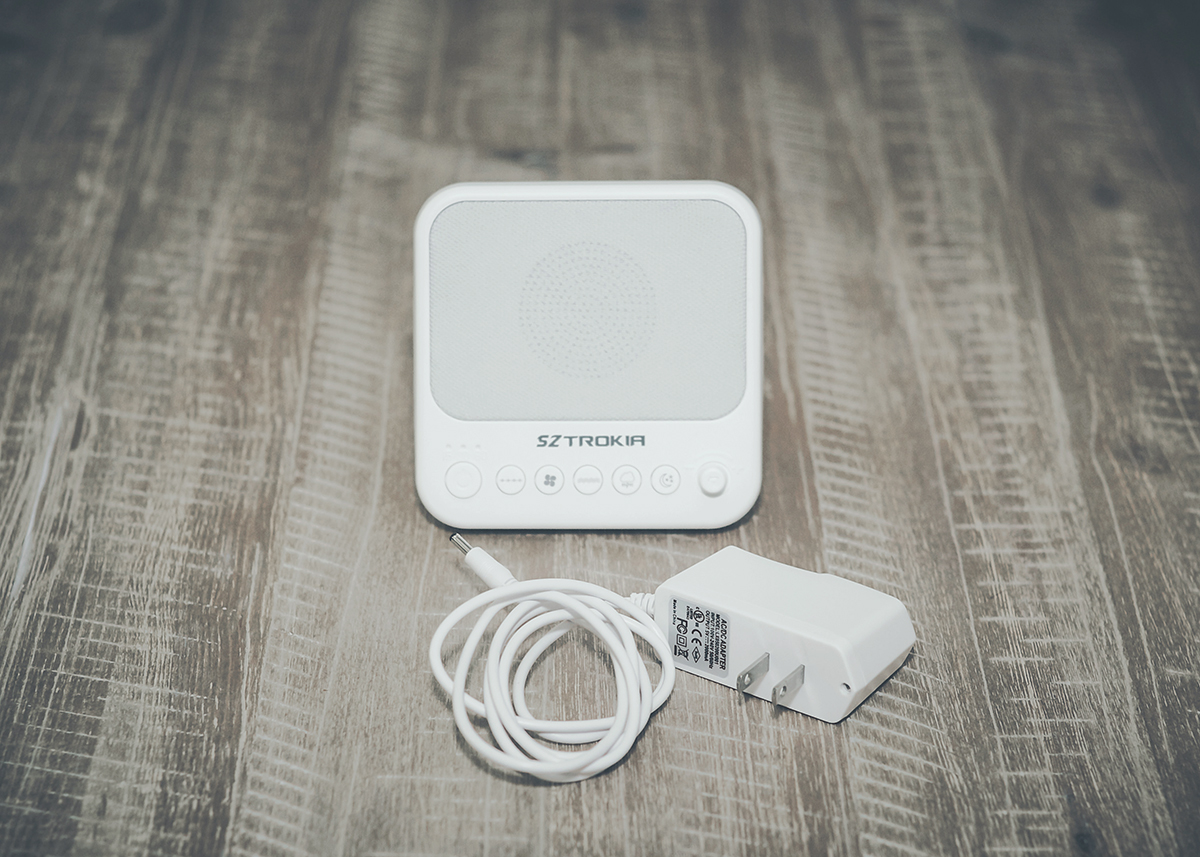
- Sound Machine
- Wall plug adapter
Design and features
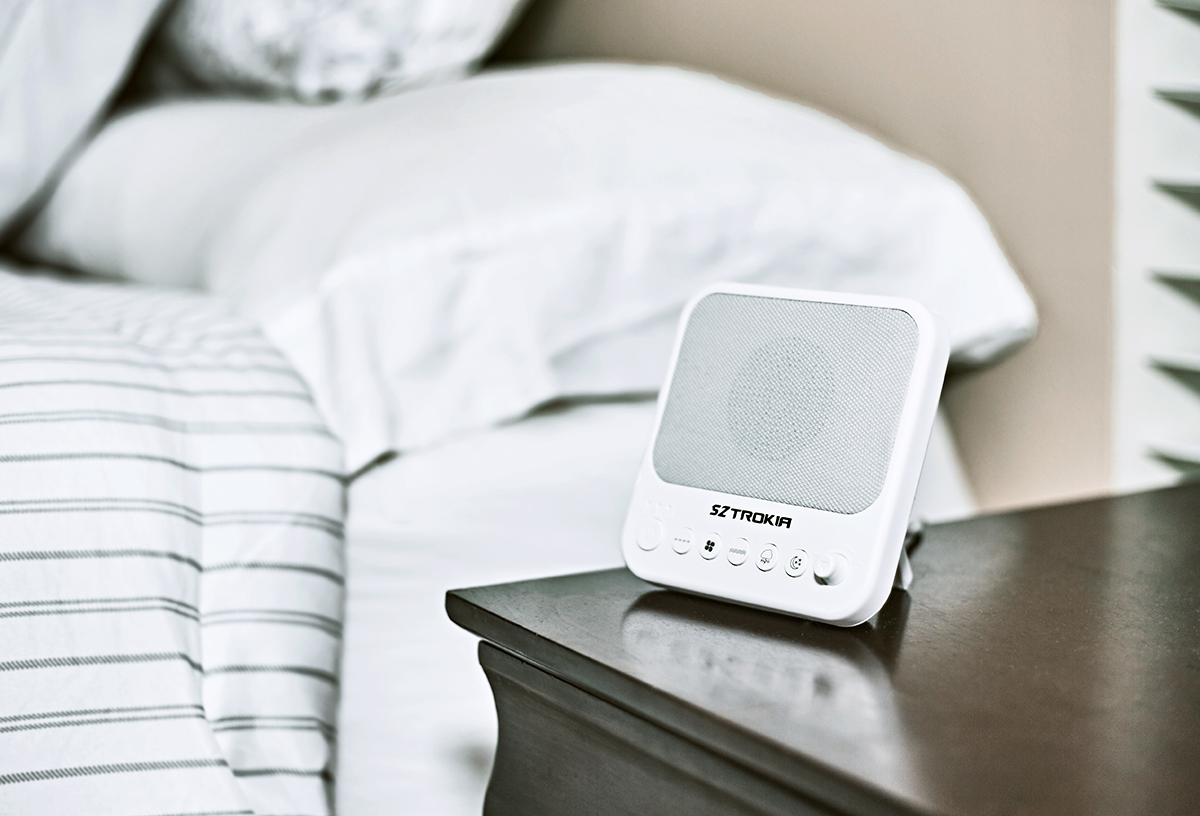
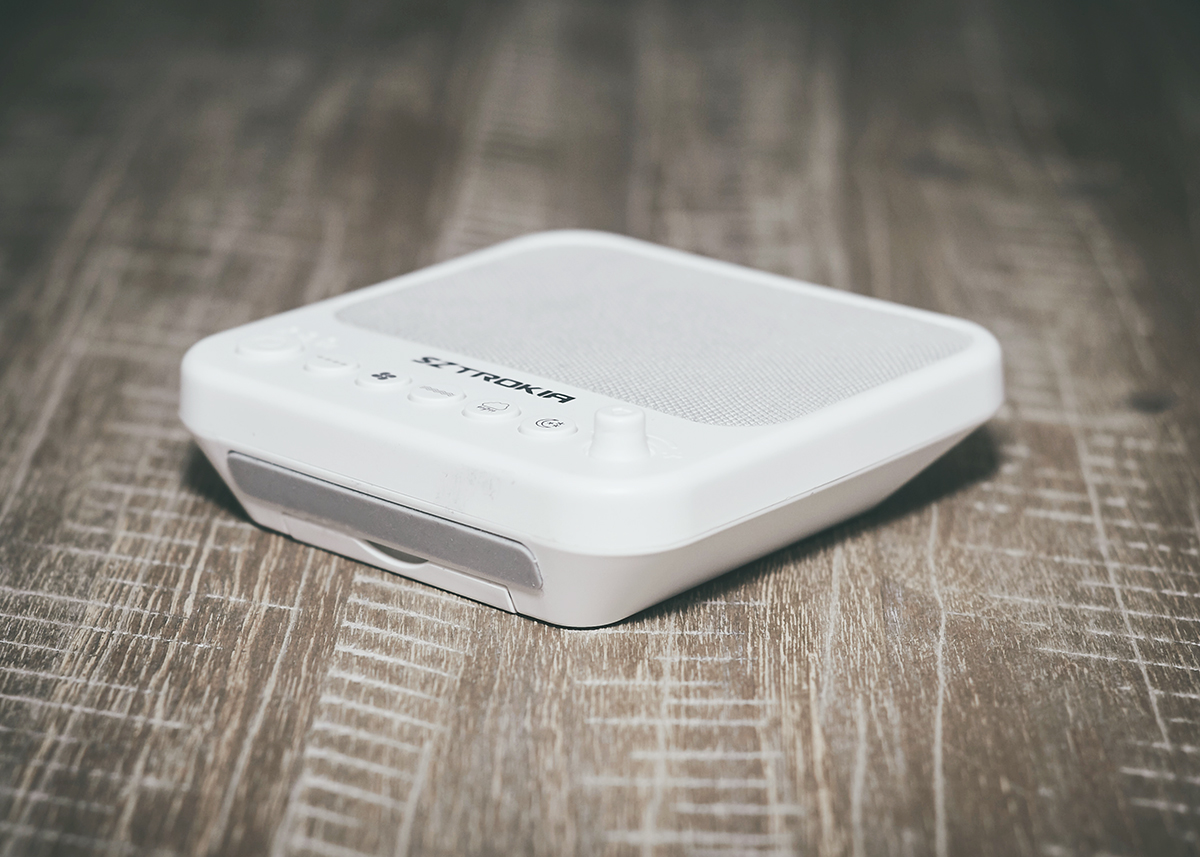
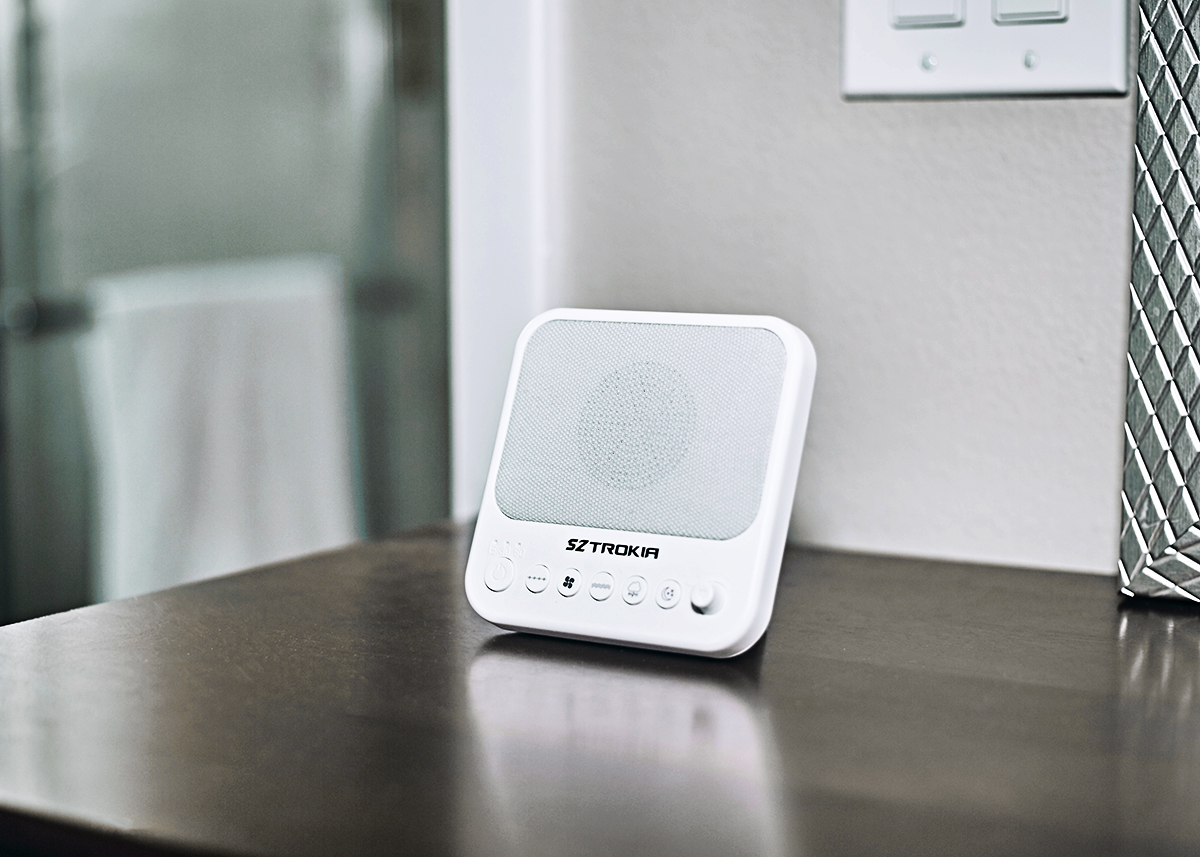
The Sztrokia Sleep Machine is a small sound maker that allows the listener to choose between ten recorded soothing sounds to help you relax, meditate, or focus. This little sound machine is perfect for when you need a little ambient atmosphere to help drown out any unwanted sound or noise while you study, while you read, put a baby down to sleep, meditate, paint, work on the computer, or any other activity that you would want some white noise sound in the background. The sounds that this machine produces is meant to help you block out unwanted or distracting noise. Even if your environment doesn’t have these unwanted noises, this device can be used just as a standalone peaceful sound maker. The dimensions for this machine is 4.6 x 1.2 x 4.6 inches and weighs 5.6 ounces.
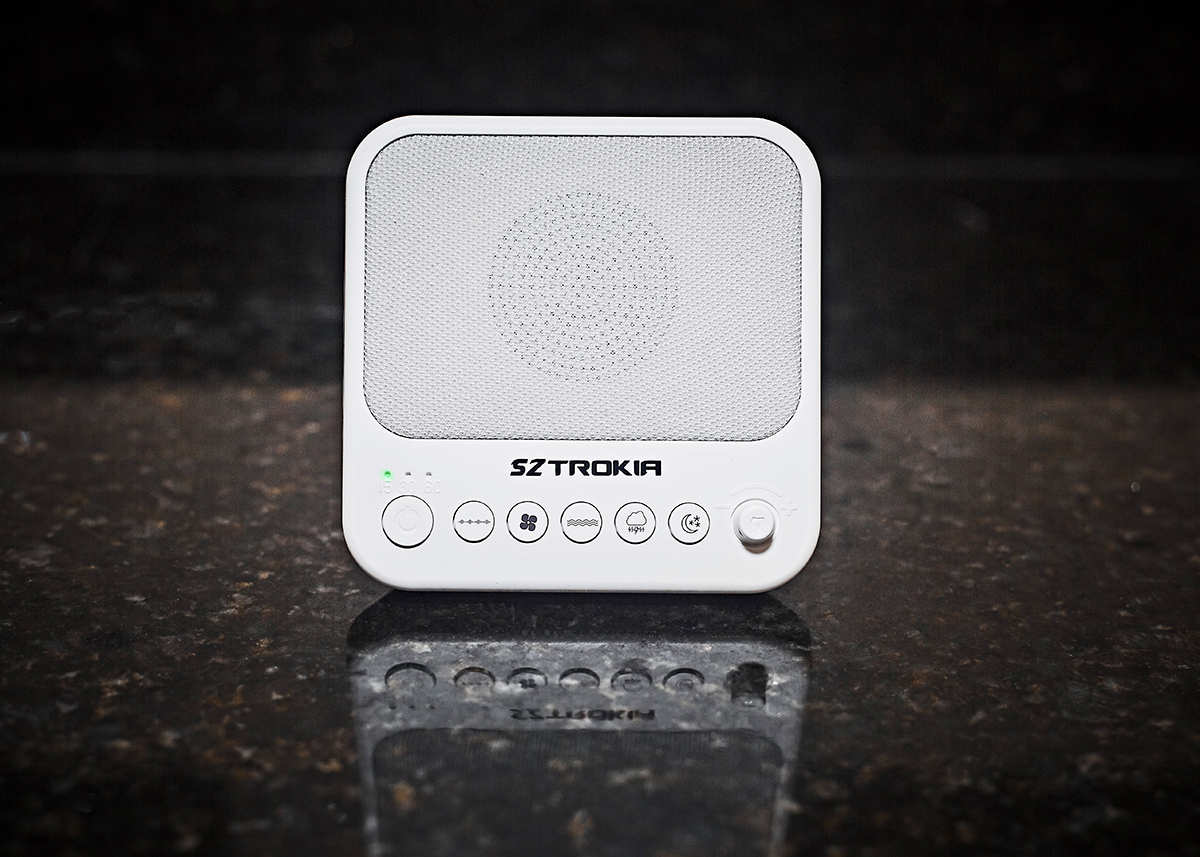
There are five types of sounds to choose from and every sound has two versions each so there are ten sounds in all. The available sounds are rain, fan, night, ocean, and white noise. You can make your selections using the buttons on the front of the sound maker. For each button, you can press it to cycle through the two choices of each sound. It’s nice that the buttons on the front are raised so they are easy to operate. Plus, they have a nice bounce back and sturdy click when you press them. So, you should not have any problems making your sound selection with these buttons. There are also small icons of the corresponding sound on the front of each button so you can tell which button is for which sound.

On the left of the sound buttons is the Power button. The Power button allows you to cycle through three Timer options, 15 minutes, 30 minutes, and 60 minutes. However, the first press of the Power button puts the Sound Machine into an All Night option, meaning that the Sound machine will stay on until you turn it off. Since I like to listen to the Rain sounds for extended times, the All Night setting is best for me. Just so you know which Timer setting the Sound Machine is on, a convenient green light is illuminated directly above the chosen Timer setting. Keep in mind that the All Night option doesn’t have any lights illuminated.
On the right of the sound buttons is your typical Volume knob. Turning it to the left lowers the volume and turning it to the raises the volume. Simple. The thing that I noticed about this sound machine is that it only has one speaker. Although the sound quality isn’t bad, I feel that this sound machine could benefit from a second speaker. It’s hard to get a good sound quality when you only have a mono speaker. I think a second speaker would give more depth and dynamic resulting in a more realistic natural stereo sound.
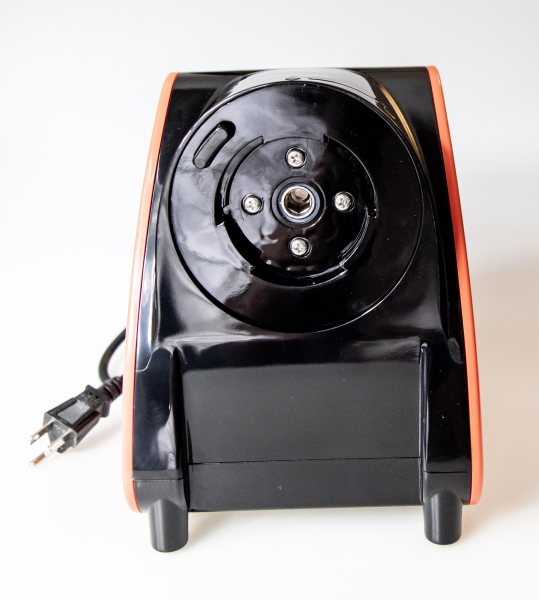
 On the back side is a USB port just above the power plug. The USB port is convenient to have so you can connect the charging cable for your phone or another device that may benefit from the USB port. A bonus to plugging your phones charging cable to the sound machine is that you get extra length added to your charging cable should you need it. Plus, since this sound machine is very light and compact, it is perfect to bring along with you when you travel. It doesn’t take up much space and it’s not bulky at all. In fact, its narrow square shape makes it easy to slip into a small bag or small luggage. And speaking of travel, this would be a perfect companion traveling and you’re staying at a hotel and need to get some sleep or take a nice restful nap. You could skip turning on the TV for the background noise and just turn on this sound machine, select the sound of your choice, and get some peaceful rest.
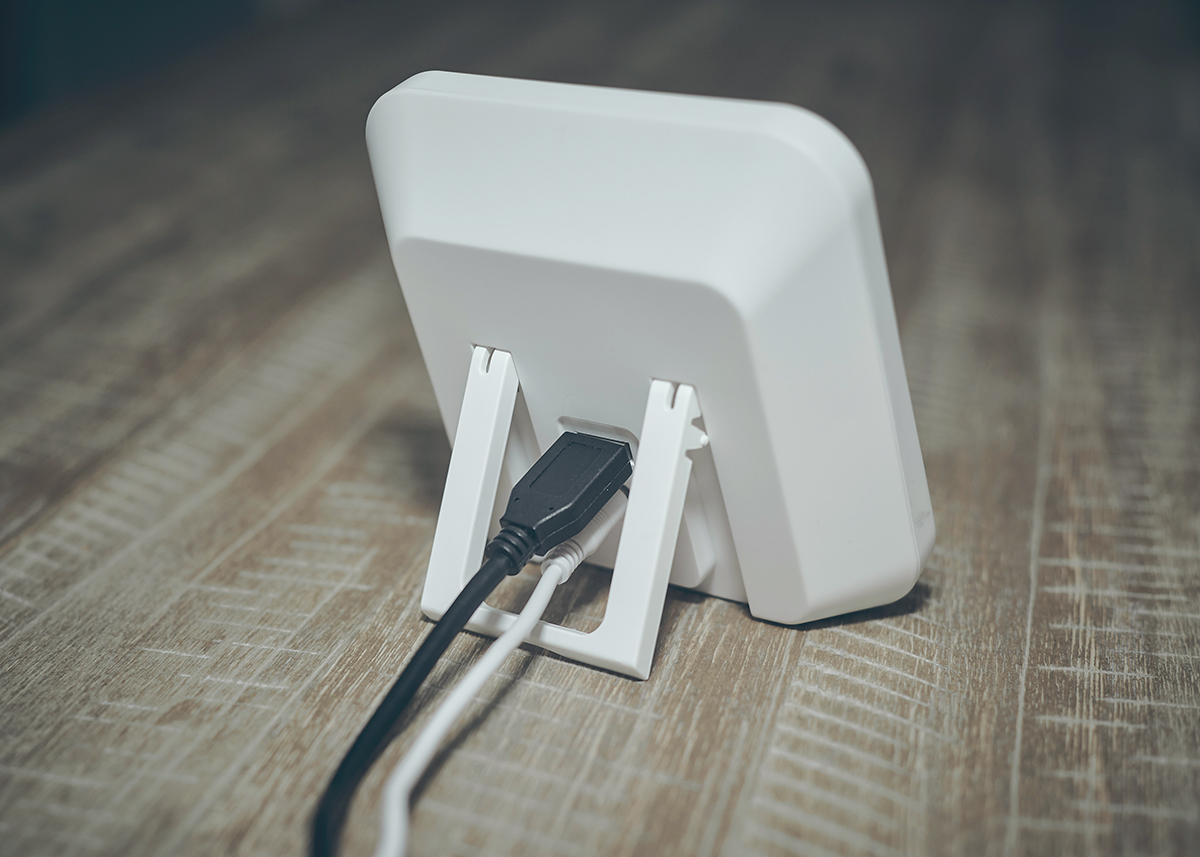
On the back is a small kickstand to prop up the sound machine so you can position it to the desired angle. The kickstand retracts flushed onto the sound machine for maximum storage and portability. On the bottom of the sound machine is a rubber strip pad to help prevent the sound machine from sliding on smooth surfaces. Plus, the rubber pad helps from scuffing those surfaces as well.
Performance
Although the ten pre-programmed sounds are pleasant to listen to, I found that because there is only one speaker this dulls the clarity of the sounds because after all, the sounds are coming out from a single speaker. I think having two speakers will give the sounds more dynamic range and clarity because it seems that the tone of the speaker is low. So, as a result, you would have to turn the volume up to get a cleaner and crisper sound. The downside on that is that maybe you don’t want the volume too loud because then the sound would become distracting rather than welcoming.
For example, say you want to have the sound of a fan in your baby’s room but the sound is soft because the tone is low, so to get a clearer sound you have to turn it up. But then turning up the volume may get too loud for the baby to sleep to. Although it’s a personal preference to have the crisper cleaner sound, the sounds aren’t half bad considering the single speaker.
What I like
- Pre-set settings of 15, 30, and 60 minutes and all night timer.
- USB port on the back.
- Small in size.
- Convenient sound buttons on front.
- Portable for travel.
What I’d change
- I would add another speaker to produce stereo sound.
- I would make the nature sounds such as the rain, waves, and night noises more natural and realistic.
- Include a rechargeable long life battery.
Final thoughts
If listening to relaxing sounds like rain, beach waves, fan noise, or other white noise sounds makes you feel at ease, helps you sleep better, or if you just need some background noise to replace the environmental noise that you’re in, then a sound machine is a great tool to achieve this. There are times when you need some artificial aide to help combat those unwanted background noises or times when you just want some familiar sounds to help you sleep, Having a sound machine like this one is a good companion to keep in your bedroom, baby’s room, office, studio, or even to bring with you while you travel, thanks to the sound machine’s small and compact design.
I really like the Sztrokia Sleep Sound Machine from Sztrokia. Although there are only ten pre-programmed sounds, I do find that the rain and the beach waves are sounds that I generally like to listen to the most so those are sounds are enough for me. However, having the other sounds available could come in handy and maybe a nice change to listen to.
Price: $17.99
Where to buy: www.sztrokia.com and Amazon
Source: The sample of this product was provided by www.sztrokia.com.
Filed in categories: Reviews
Tagged: Sleep
Sztrokia Sleep Sound Machine white noise generator review originally appeared on The Gadgeteer on July 30, 2019 at 9:00 am.
Note: If you are subscribed to this feed through FeedBurner, please switch to our native feed URL http://the-gadgeteer.com/feed/ in order to ensure continuous delivery.
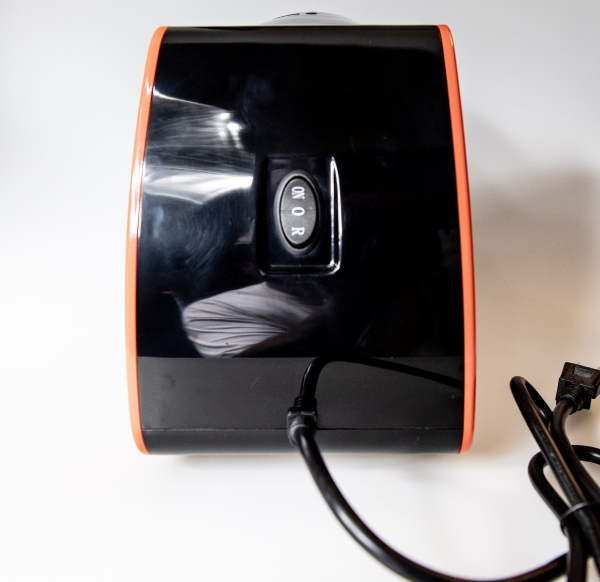
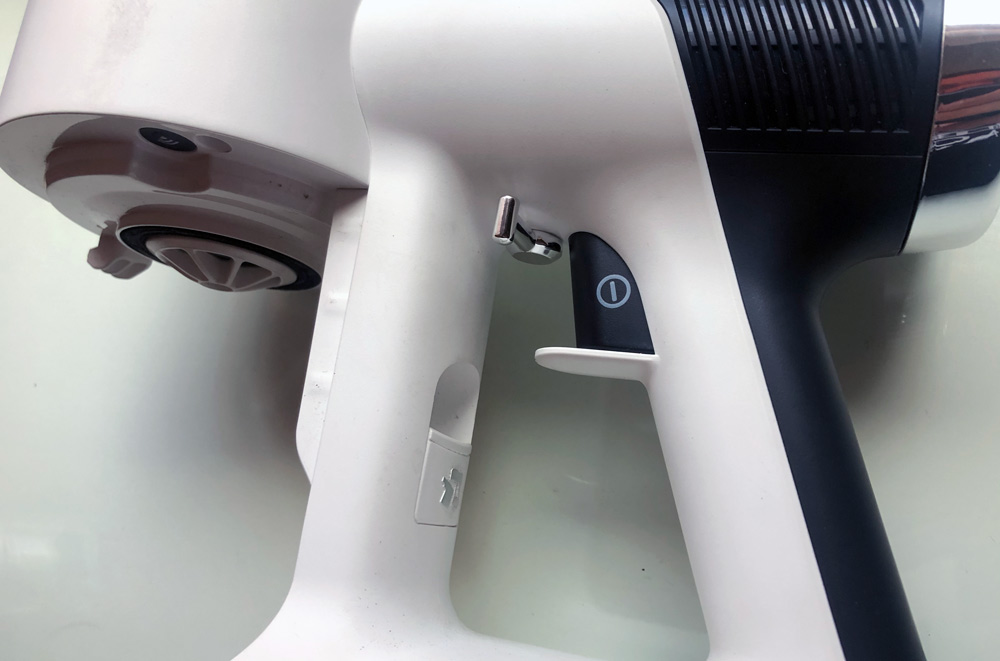
 On the opposite side of the base is the power switch. It includes the on, off and the reverse functions. Below the power switch at the bottom is the built-in power cord.