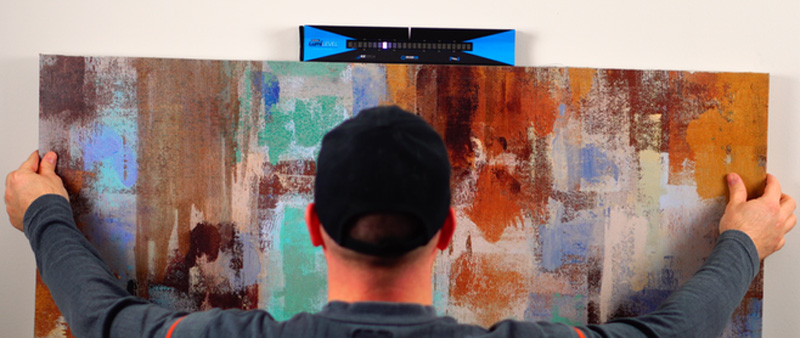
REVIEW – Redecorating generally means there will be math to do. Making sure pictures are hung at the right height is made that much more difficult if there are multiple pieces competing for attention on the same wall. And if you are anything like me, then you revel in OCD, which means you will end up patching holes in the wall as you move things around to get them in the right spot. The Cubit from Plott wants to help you solve this problem so you “hang once and done”. How well does it deliver on this promise? Read on to find out…
What is it?
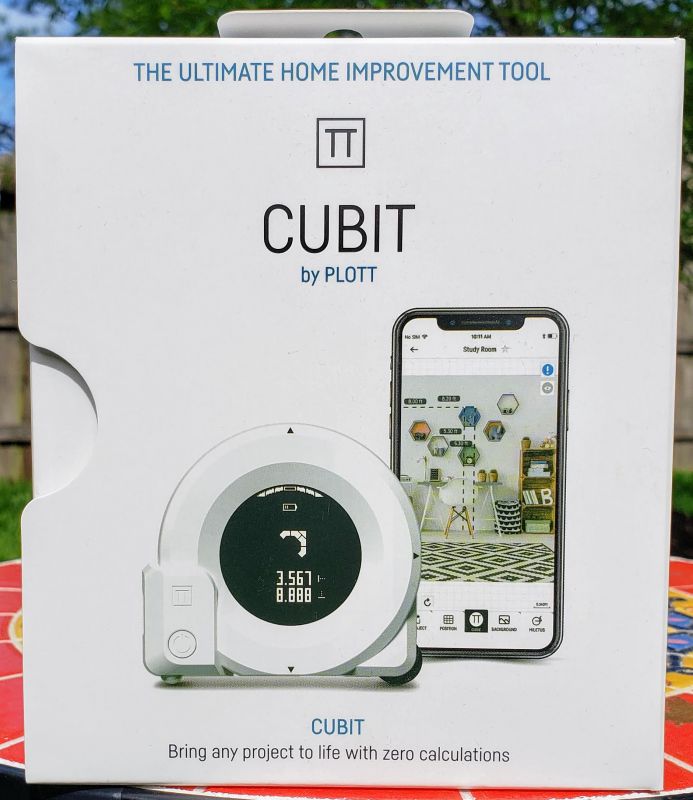
The Plott Cubit is self-described as the “Ultimate Home Improvement Tool”. Pairing up with an augmented reality application on your phone, the Cubit is a connected two-dimensional laser (and analog) measuring tool.
What’s in the box?
- The Cubit measuring tool
- A USB charging cable (you will need a wall transformer if you do not have an open USB port somewhere)
- Some basic instructions
Design and Features
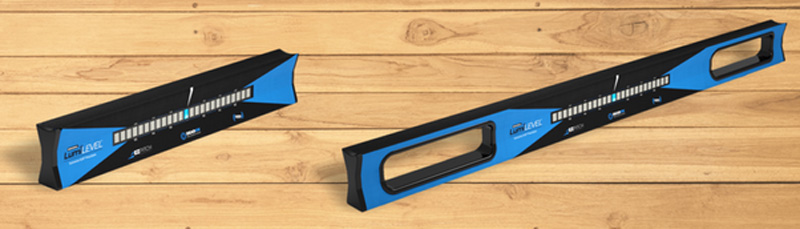
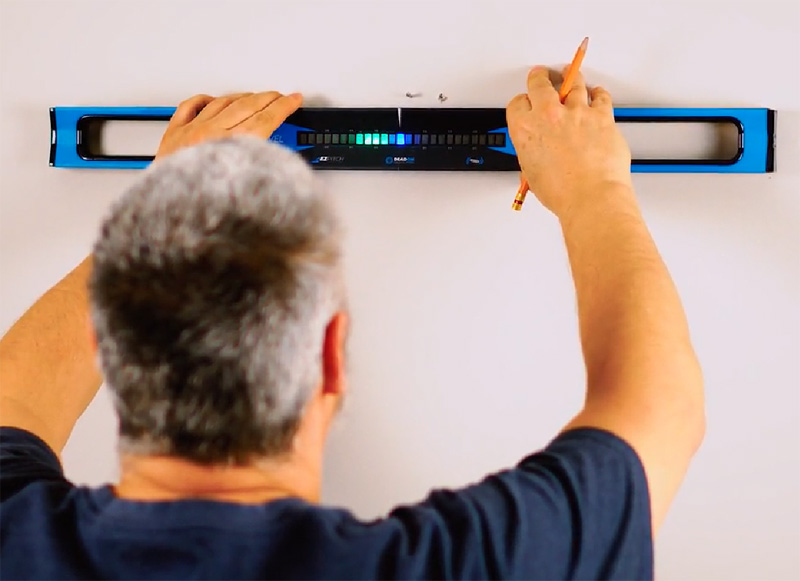
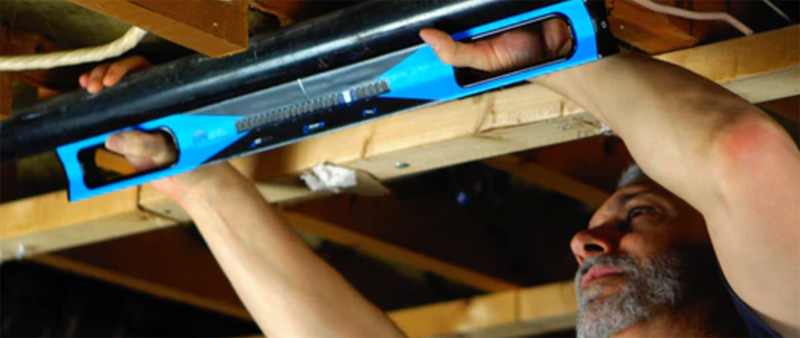
The Cubit has X and Y axis lasers to handle the measuring backed up by an analog roller. Here is the bottom of the device:
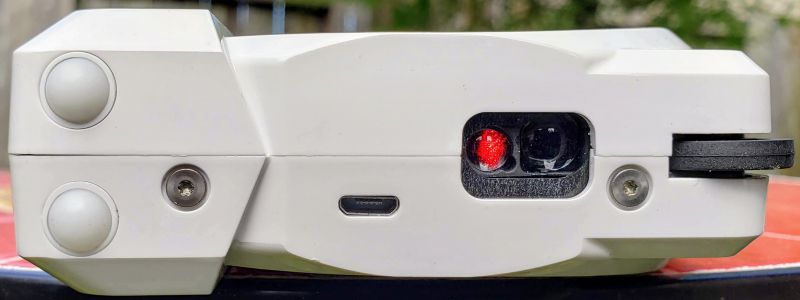
The charging port, the Y axis laser and the analog roller balls are on the bottom of the Cubit. The black wheel on the right side is there as a guide and does not actively measure anything.
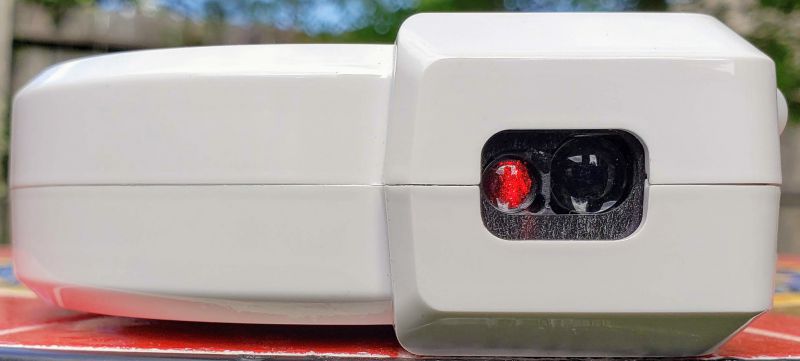
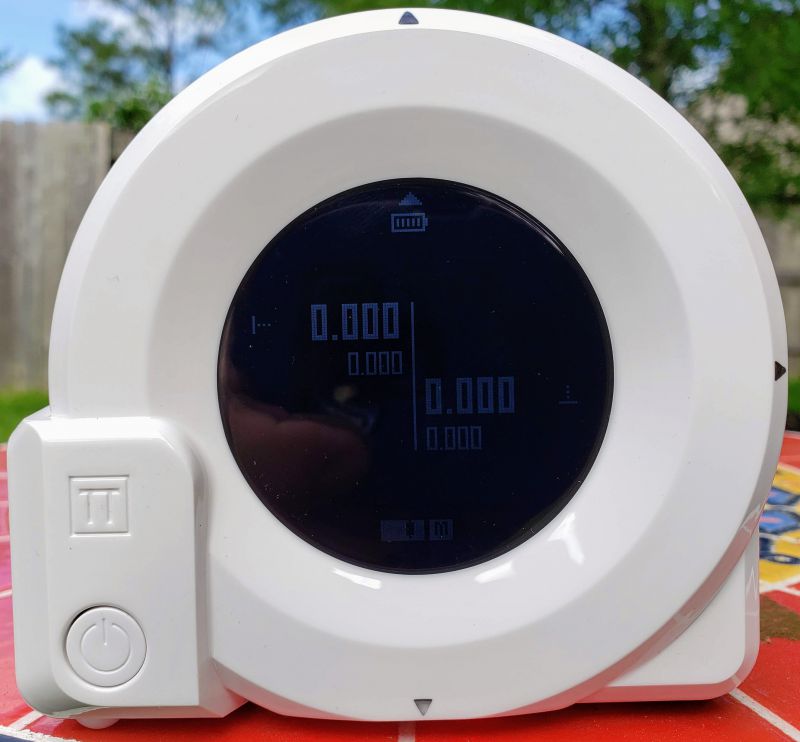
The left side of the Cubit has the X axis laser. As you can see in the first picture above, the Cubit has an LCD screen that shows you the battery state, the level state of the device (to help you move in straight lines – good to have when rolling along the wall, but a traditional level works better when trying to plumb a picture), a unit of measure indicator (so you can tell whether you are using Imperial or Metric measurements), the direction of measurement (up/down/side-to-side) and, of course, the actual measurement. When placing objects in the AR app, the Cubit will also display a directional arrow that helps you get to the nail placement and other real-world locations referenced in your AR design. More on how that works in a moment.
The front also has the main button where you can turn the Cubit on or off, clear the current measurements and change the Guide mode. Non-Guide mode allows you to measure independent of the app and Guide mode helps the app figure out where the device is on the AR surface (aka, your wall). Communication between the device and the app is through Bluetooth, but you pair with the Cubit in the app and not through your Bluetooth connections. That seems to indicate to me it is a Bluetooth Low Energy device, but nothing in the instructions specifically say it is. If you have an older device or one that does not support this standard, this might not work for you.
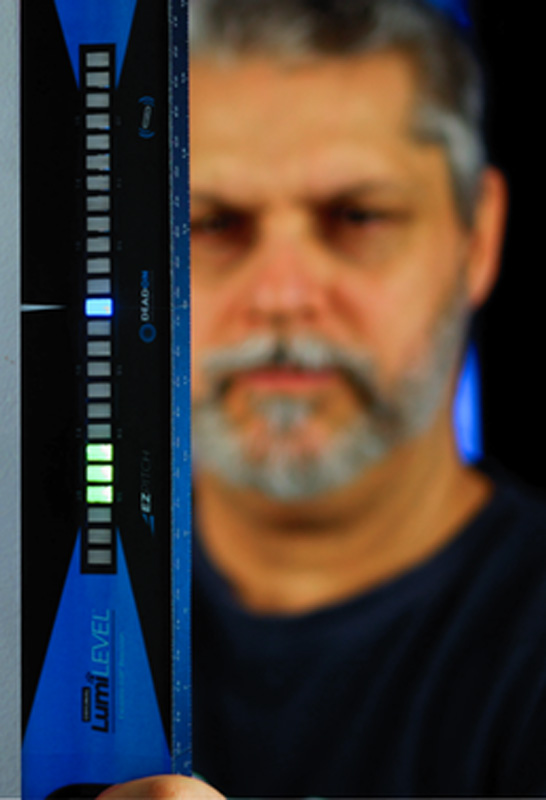
The screen can be a little difficult to read – it is a black and white LCD with pretty low contrast, so if you have a bright room (or use it outdoors), it is hard to see. Also, I often found that I had to move my hand around on the device in order to let the lasers do their work, and sometimes that meant covering the display.
Finally, on top of the Cubit there is a “mark” button used to capture a reading – think of it as a shutter button on your camera that captures a point in time for your measurement.
How it works
After you open the box and plug the Cubit in to charge, head to the Google or Apple app store to download the Plott app. Although there are some measurements you can take using the device without the app, you need the app to fully appreciate the things Cubit can do. Thankfully Plott does not make you sign up for an account – everything happens locally on your phone.
With the app installed and the Cubit charged, we are ready to start. Open the app and select Let’s Plott to begin a project – this button in the app essentially creates a virtual folder on your phone to group the items you create. This is a high-level grouping, though, and not an actual project. Once the container is created, you can start an actual project. If you are a professional interior designer, for example, this could correspond to a client with multiple projects clustered inside for that client. Once you’ve given your container a name, you can start your first project. You are prompted to select an outdoor project where you can use the Carta (a wheeled companion device from Plott that lets you measure and plan walkways, decks, etc.) or an indoor project using the Cubit. Select indoor, give the project a name, and you are ready to start.
The first step is to take a picture of the wall to use as a background for the augmented reality work – and this is where I had my first problem. We have an open floor plan house with 12 foot ceilings, which means our walls are both long and high. There does not appear to be a way in the app itself to stitch together multiple pictures, so at best I can only get a small portion of a wall. This screenshot does not do complete justice to the issue. The picture I took to get here was in landscape mode, and properly cropped before being accepted as the background. In the image below the background is scrollable right and left, so you can see the entire background – but the main work in the app is done in portrait.
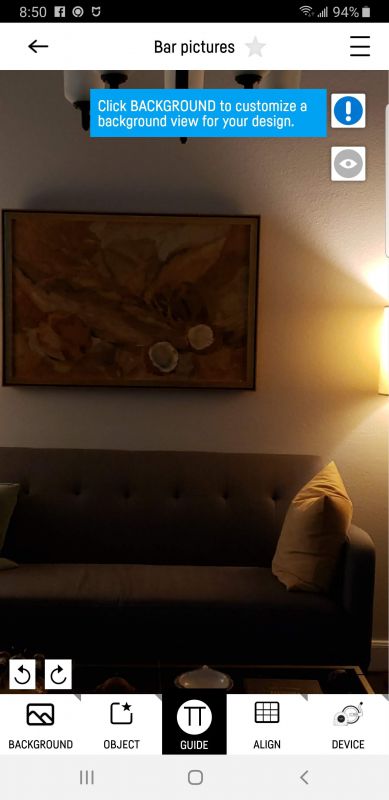
Back to my issue, though. The wall where this is taken is 12 feet high, but I am only able to get back far enough to capture about 6.5 feet. And the entirety of the wall is 21 feet. but I can only grab about 10 feet successfully. There is no ability within the app to take multiple pictures and stitch them together into a complete background. There is an AR mode for setting a background image that could theoretically work, but I could never get it to capture the entire wall. Whether that is because of lighting or something else in the app, every time the app would stop scanning the surface of the wall and just take what it had up to that point. And without an ability to import a self-stitched photo into the project, I ended up having to break up the wall into multiple projects.
And that’s where I encountered the second issue. Because I did not have a solid endpoint (like a corner or doorway) I had to either “eyeball” the reference point where the Cubit could begin measurement of the horizontal and vertical axis’s, or I had to get out a tape measure to figure out where the background edge should start in the real world. Both methods lead to a slight deviation in actual size, so measurements will not be as precise as if you could position the Cubit at an aforementioned origin point like a corner or doorway.
Issues aside, once you have your background selected, the app will ask you for the dimensions of the background, and this is the first place where the Cubit comes into play. You place the Cubit at an appropriate X-Y intersection (like the wall edge and the ceiling) and let the dual lasers measure to the opposite side of the space. Pressing the mark button on top sends the measurement back to the app. Because I was working with segments of my wall, in order to get accurate measurements I had to tape pieces of cardboard at the end of the space in the background image so the lasers would not project to the next wall end.
With the wall now measured, you are ready to add an object like a picture. Press the Object button in the app and add your object – in my case, a framed piece of art. Again, you go back to the camera (or add from the library if you have previously used the app). Once you’ve taken the picture and cropped it, you can roll the Cubit across the edge to capture the height and width of the picture. That information is stored with the image so you can import it into future projects. Next, you have to “flip” the object so you can take a picture of the back. This picture allows you to select the place where you will hang the picture – the wire or sawtooth hardware that the hook rests on.
And your object now shows up on your background. Move it around as you like until you find the place that works for you. Tap the “Change Reality” button once to set the picture where you want it, and in an odd choice, tap the nail indicator on the object and tap the “Change Reality” button a second time. The object is now set in the room, and you can use the Cubit from the X-Y origin point to move to where you will insert the nail.
The final problem – if you use a wire on the back of your picture and a standard picture hook, the app does not compensate for the arc the wire will create, so depending on how much excess wire you have, the picture could end up 1-3 inches lower than expected, perhaps more.
What I like
- The combination roller and laser systems seems suited to measuring physical objects very well – wish the app supported that outside of the auspices of a “project”
- If you are a professional designer and use this often, it could be a great tool with some changes
What needs to be improved
- The app is not very intuitive to use and does not allow common functions like importing existing objects or images
- It is far too easy to have measurements that do not match the real world, making the entire point of the device somewhat moot – you can get measurements with a photo that are sufficient to have custom clothing made, so why can’t this be more accurate without workarounds?
- When used for the primary purpose – hanging a picture – there is no way to adjust for the method in which you hang the picture accurately, so your results may not end up as intended – again, you can’t devise workarounds, but it sort of defeats the point for ease of use
- Even if you are willing to work within these issues, it can be hard finding a retailer who has the Cubit in stock
Final thoughts
I think with some work on the app this could be a very useful device for the professional designer. To me, though, it is a LOT of work over a more manual approach to accomplish what should be a reasonably simple and straight-forward task. If Plott can overcome some of the issues I encountered, this could become a very interesting tool. As it stands now, however, the app and device combination will end up making more work with less desirable results.
Price: $109.99
Where to buy: NewEgg
Source: The sample of this product was supplied by Plott.
Filed in categories: Reviews
Tagged: Do-It-Yourself, Tools
Plott Cubit review originally appeared on The Gadgeteer on May 30, 2019 at 10:00 am.
Note: If you are subscribed to this feed through FeedBurner, please switch to our native feed URL http://the-gadgeteer.com/feed/ in order to ensure continuous delivery.