
REVIEW – One of the first things I always do before going out on a ride on my motorcycle is to check the tire pressure. This means rolling the bike forward or backward to make sure the tire valves are accessible, getting down on my hands and knees, rolling out the compressor hose, and checking the tire pressure. What if I had an app on my phone that would let me see the tire pressure on my bike without having to do all of that? It sounds like an awesome proposition! It could even save me the time of having to start up the compressor if the tire pressure is where it should be. Let’s see if the new Fobo Bike2 TPMS system lets me skip some of my ride make ready process.
What is it?
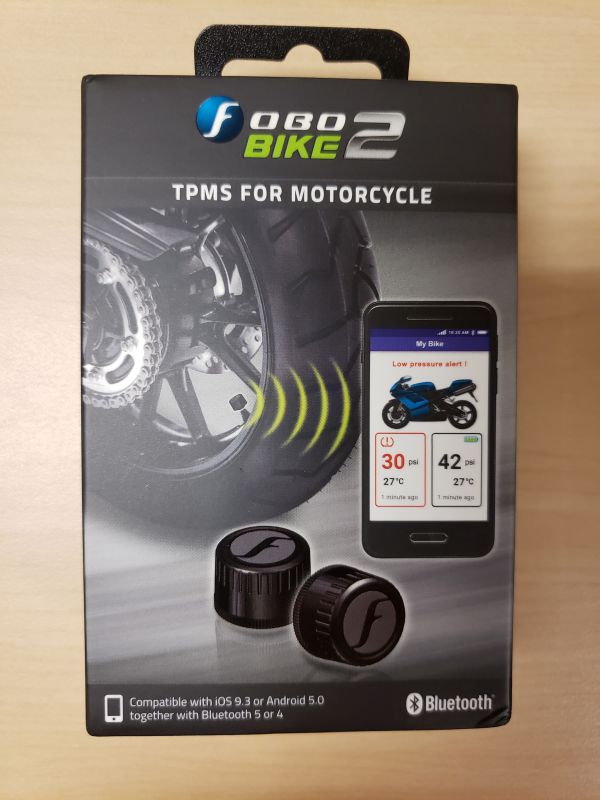
The Fobo Bike2 TPMS system is a tire pressure monitoring system for motorcycles. I have had several bikes in my past that came with built-in TPMS systems. The problem with those systems is that they would not register a tire pressure until the wheels were rolling along at 5mph or faster. This did me no good if I wanted to know if I had good tire pressure before I started my ride. The Fobo Bike2 TPMS comes with an app for Apple or Android that lets you see your tire pressure instantly when you are within Bluetooth 5 range of the bike. It is supposed to monitor the tire pressure throughout the ride and send notifications to your phone if the tire pressure exceeds the maximum or goes below the minimum amounts you set for the tires. It is even supposed to have a feature where it will allow friends and family to track you on your ride.
What’s in the box?
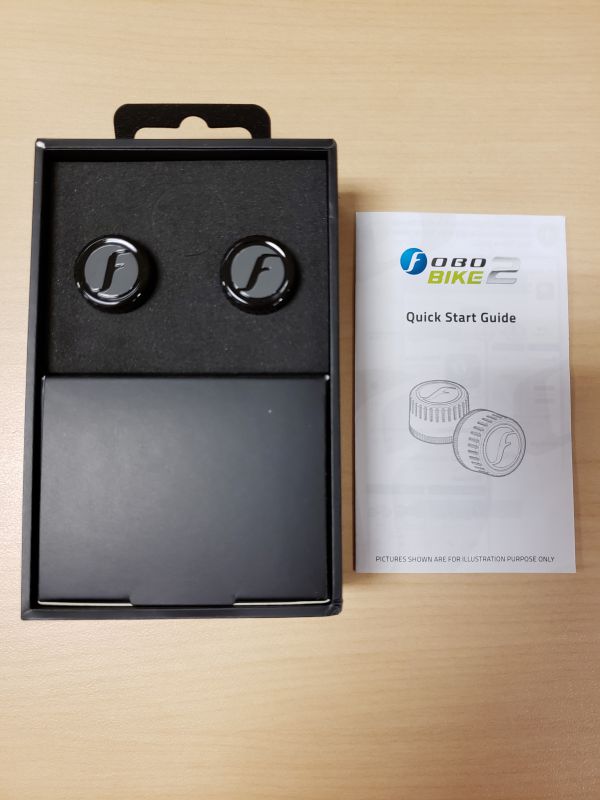
When you slide open the box you are presented with the manual and two tire pressure monitoring modules. They are inserted very nicely into foam pockets. The black part below the foam is a box containing the rest of the accessories.
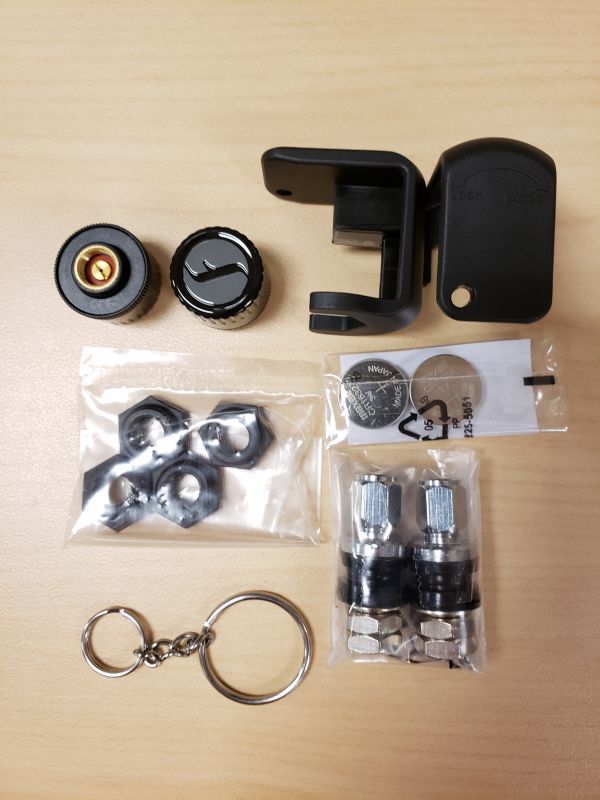
The following items were inside the black box.
- Two tire pressure monitors
- Two of the same tool used to tighten and release the locking nuts
- Two pairs of locking nuts. You only need one pair to install on a motorcycle so the other is a spare
- Two extra batteries. Batteries were already installed inside the TPMS
- A key chain to hold the tool
- Two short valve stems. Some bikes have really long stems and depending on where they sit on the rim, they can cause the Fobo to hit brake calipers or brake rotors.
Hardware specs
- Bluetooth: v5.0
- Transmit Conducted Power: +5.0dBm (sensor)
- Receiver Sensitivity: Conducted Sensitivity -97dBm @ 0.1%BER
- Antenna Return Loss: Typical -9dB
- Operating Frequency: 2.402~2.480 GHz
- Battery Type: CR1632 (sensor). Operating life up to 1 year. (NOTE: The battery operating life varies according to usage and climate temperature)
- Operating Temperature: -40°C to +85°C (sensor), -20°C to +60°C (sensor with common CR1632 batteries)
- Weight: 7.6g (sensor –with battery)
- Sensor Dimension H x D: 13.8mm x 20.2mm
- Maximum Pressure: 800kPa (116psi)
- ESD: 8kV air discharge & 4kV direct contact discharge according to CE standard
- Operating Humidity: up to 90% non-condensing at 40oC
- Dust and Water Proof: IEC60529 compliant to IP57(sensor)
- Sensor structural threshold: 100N ball pressure intensity test
- Mechanical & Environmental Reliability Testing Standards: IEC 60068-2-2, IEC 60068-2-1, ISO 21750, IEC 60068-2-29, IEC 60068-2-5, IEC 60068-2-32, ISO 15184, ISO 2409, SAE J2657, SAEJ113/13
Design and features

The above picture shows the bottom of the TPMS sensor. The manual states that after you screw the locking nut on the valve, you must have at least five threads available for the TPMS to thread onto the valve.
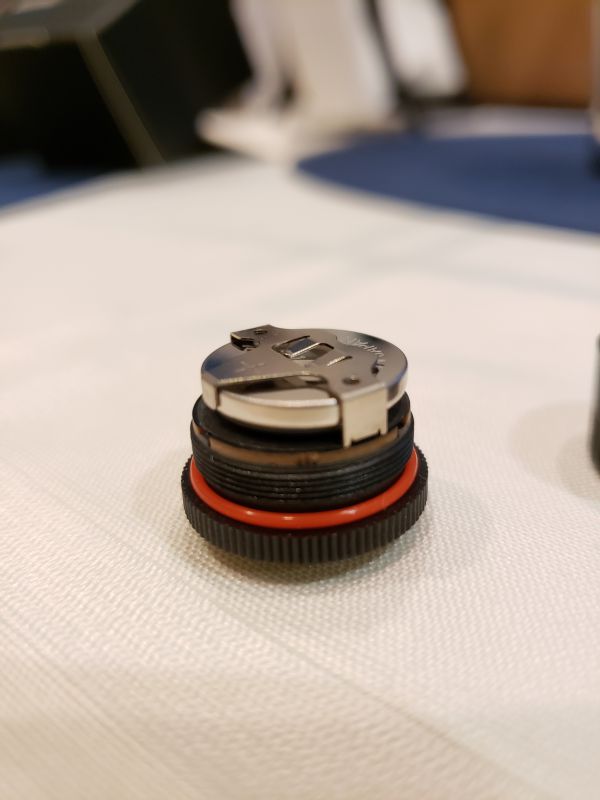
The above picture shows the inside of the TPMS with the cover unscrewed from it. You can see the battery that is installed and the red rubber grommet around the base to keep the dust and water out.
Setup
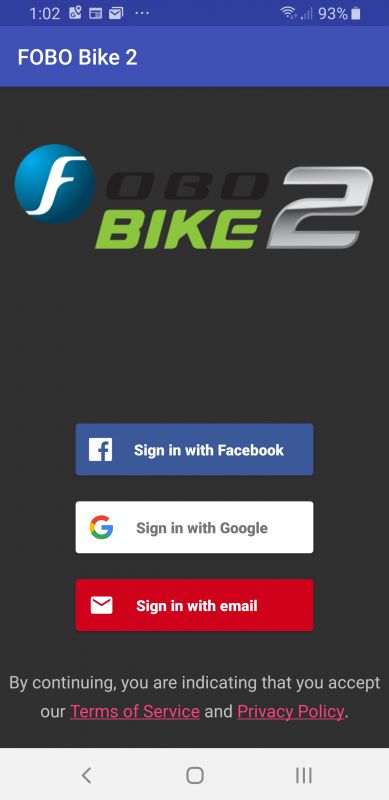
The first thing the manual tells you is to install the app on your phone. The app will work with iOS 9.3 or higher and Android 5.0 or higher. I installed it on my Samsung Galaxy S9. The first screen presents you with multiple ways to create an account. I chose Google.
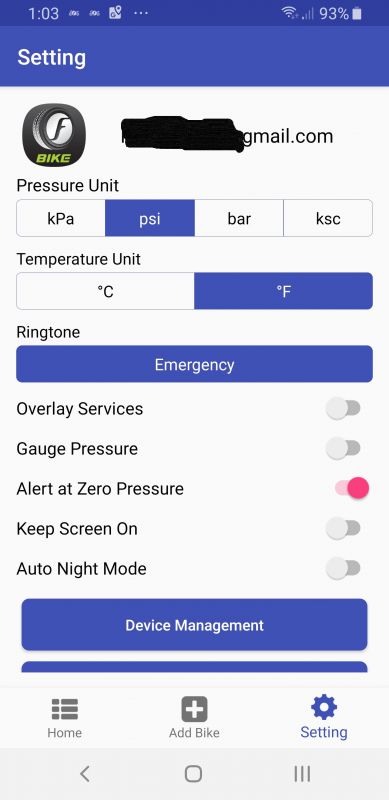
Once signed in, I went to user settings and made sure I was set for Fahrenheit and PSI for pressure. There are several other features in the settings that are available.
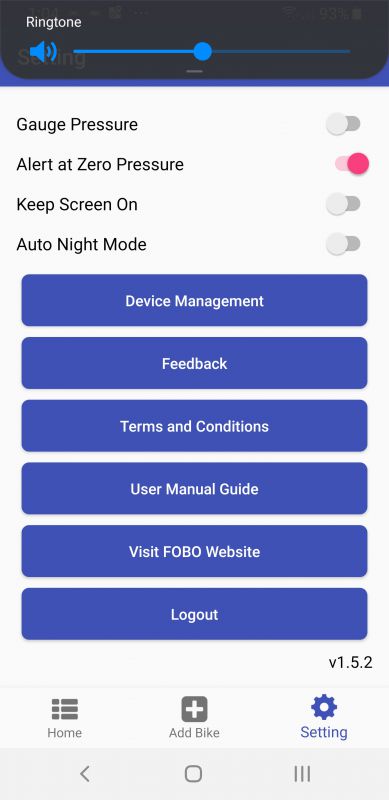
This next screenshot shows you the rest of the options on the app.
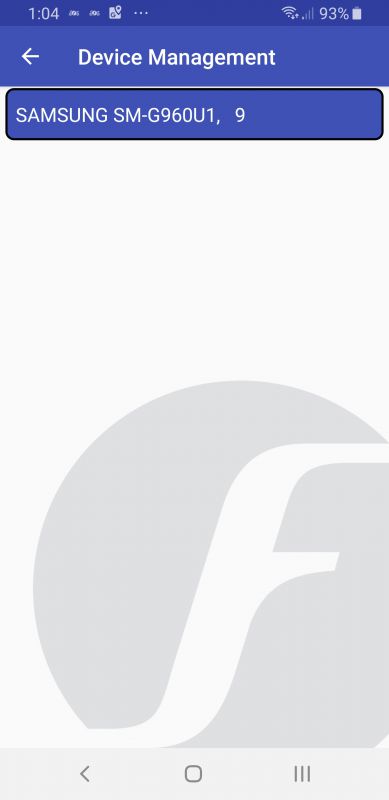
Clicking on device management is pretty worthless. It shows you your phone type, but you can’t do anything else on the screen.
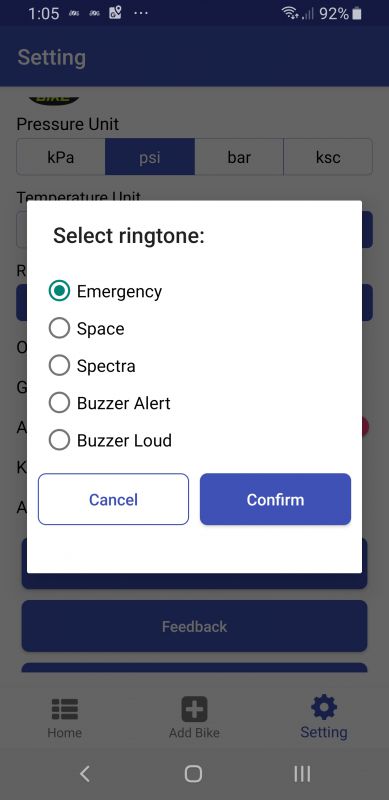
They give several ringtone options. Choosing different ringtones lets you hear the different sounds. I ended up picking ‘buzzer alert’ because it sounds exactly like the claxon from Star Trek TNG. (yes I am a huge Trekkie!).
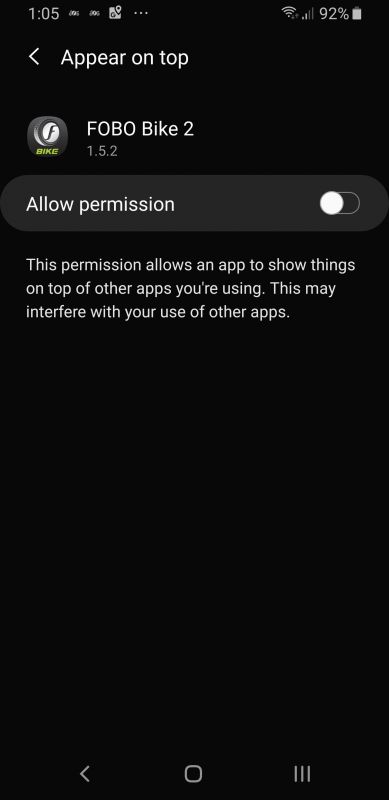
This is the screen for the ‘Appear on Top’ option. I left it off.
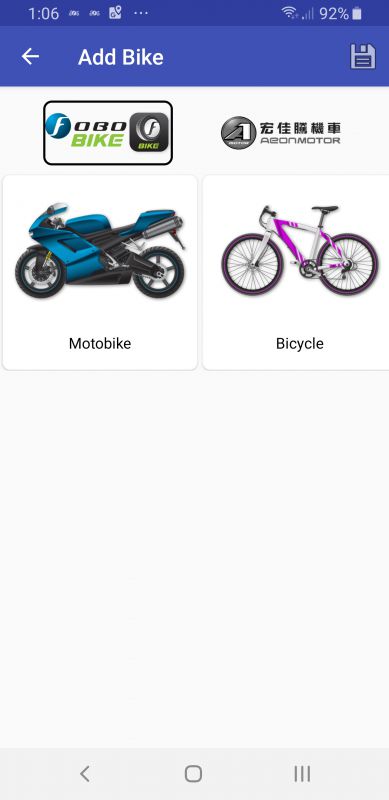
The next thing I did was to click the Add Bike option at the bottom of the screen. I was presented with several options. The screen above shows the first two choices. I find it interesting that anyone would want to put it on a bicycle. Even after one day, a bicycle will lose enough pressure for you to need to put more air into the tires. Any kind of loss of pressure on a bicycle is also pretty noticeable right away. Other choices included trikes with the two wheels in front or back, trikes with airbag suspension, a bike with a sidecar, a single axle trailer, and a unicycle. I, of course, picked Motobike.
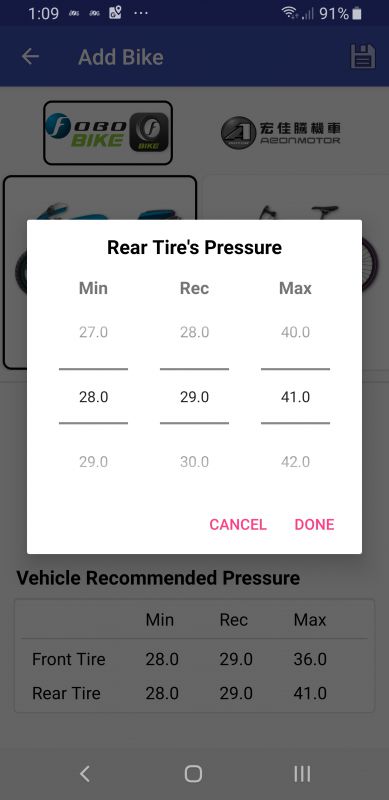
I was immediately presented with a screen where I could add a picture of my bike and then set the minimum and maximum tire pressure settings on my front and rear tires. You will notice on the left side of the tire pressure popup that there is an option to scroll from 27 to 29 PSI. I could never set it any higher than 28 PSI as a minimum. I think that is a flaw in the application. If my rear tire was down to 28 PSI I would be having some serious issues. My rear tire has a recommended cold pressure setting of 41. So technically I should be able to set it at 39 as a minimum.
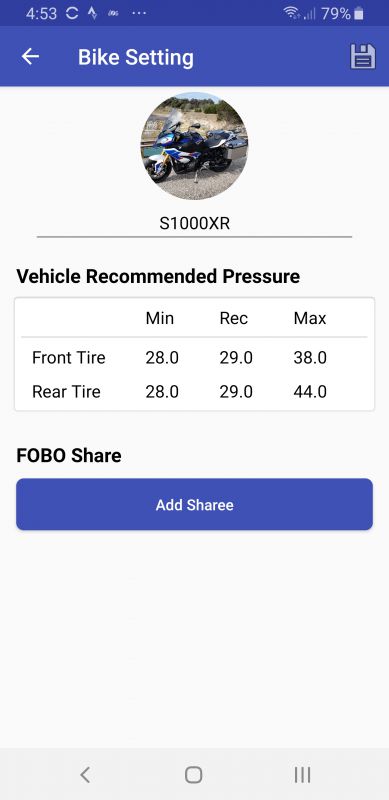
The above pictures show my final settings for the front and rear tires. I really had to guess at the max pressure. The cold pressure settings for front and rear on my bike are 31.6 and 41 PSI. Once the tires heat up, the pressure will rise and I was not really sure what the max pressure should be. I did not want to get a false alert on high tire pressure.
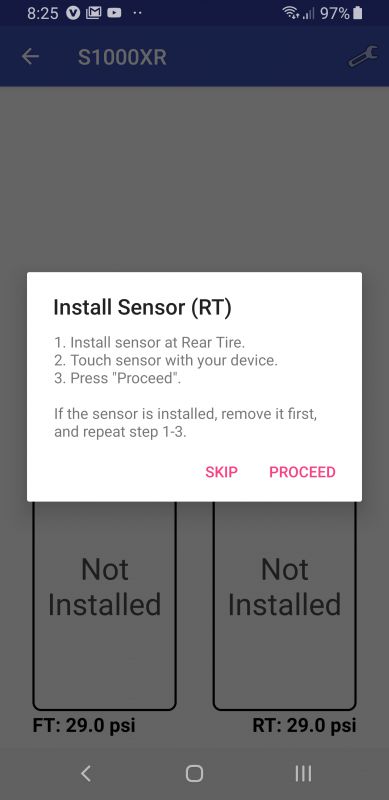
Once I pressed save, I was then asked to install the sensors on the bike. I started with the rear tire first.
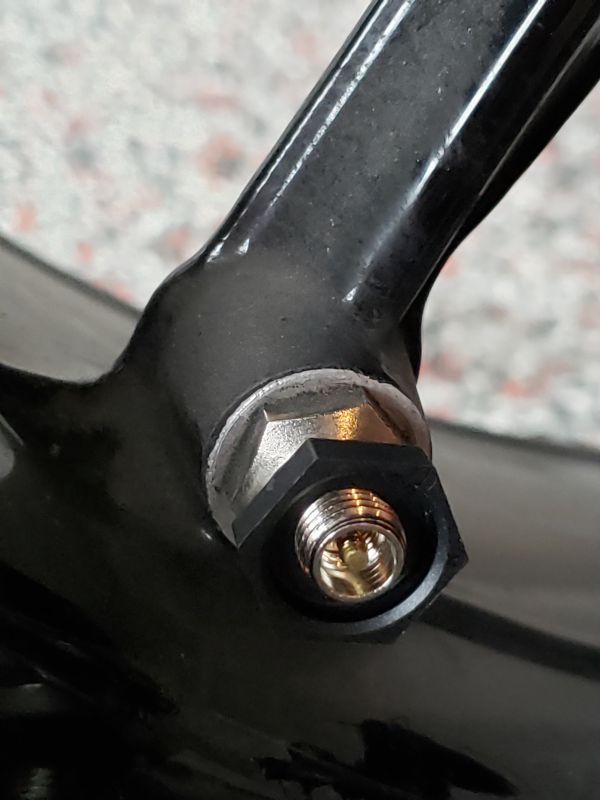
Setup on my bike was fairly simple. I ride a BMW S1000XR. This bike has the valves coming off the side of the spoke and they were already very short. I first screwed the locking nut onto the valve with the bump on the locking nut face down towards the rim.
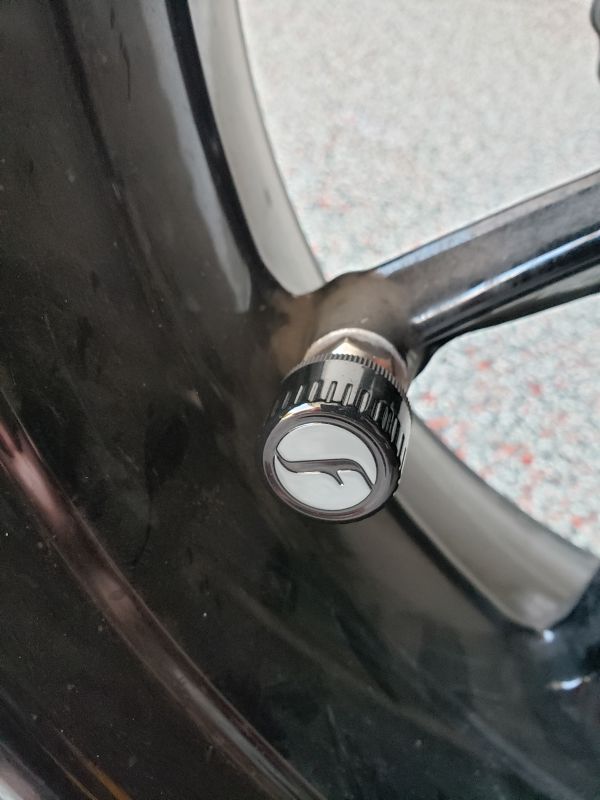
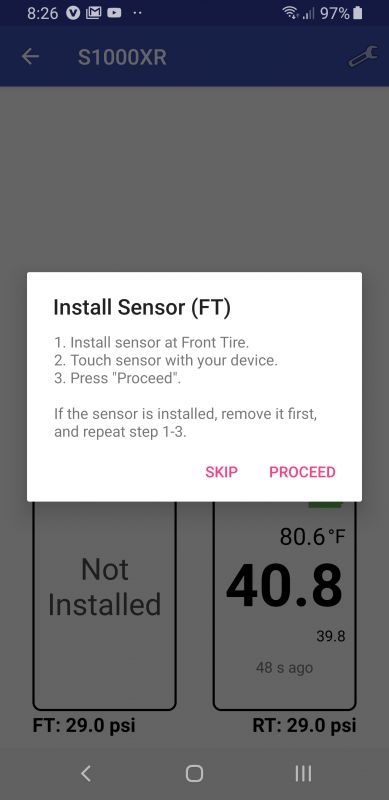
Next, I screwed the TPMS on top of the nut. When I had it as far down as it goes, I used the locking tool to tighten the locking nut up against the TPMS. I then touched my phone to the sensor as directed.

I then clicked ‘Proceed’ in the popup box and got the first response above as it scanned for the sensor.
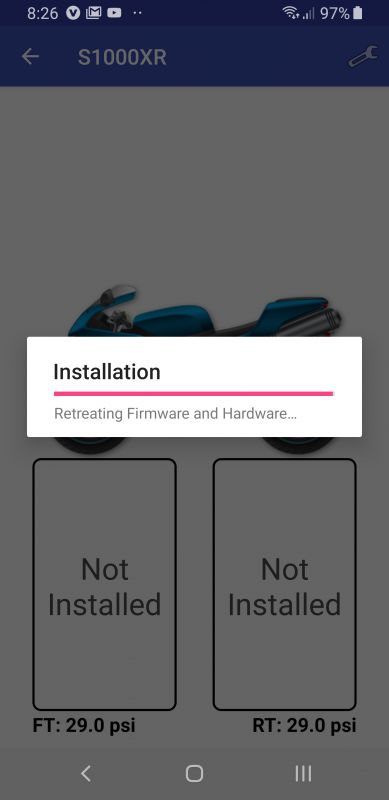
The next screen said it found the sensor and showed the following information. I think there is a bit of a Chinese to English translation issue going on in this screen. I have never retreated firmware and hardware before.
I was then asked to follow the same process on the front tire. Which I did.
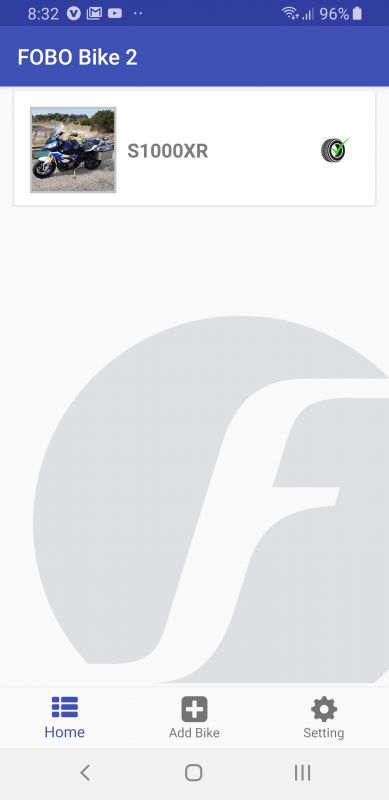
After installation of the sensors, I was taken back to this screen showing a green checkmark next to my bike.
Performance
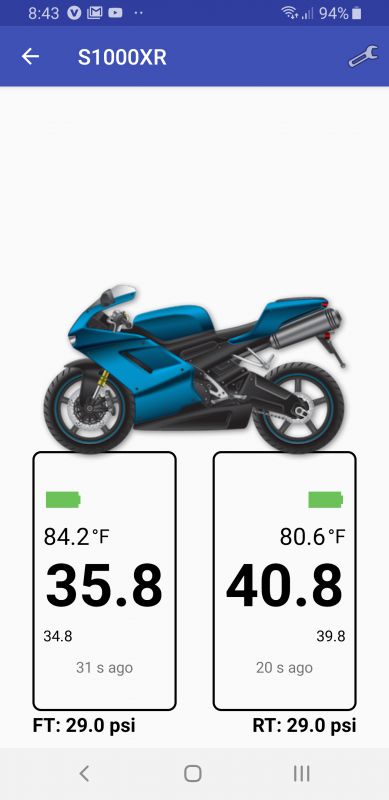
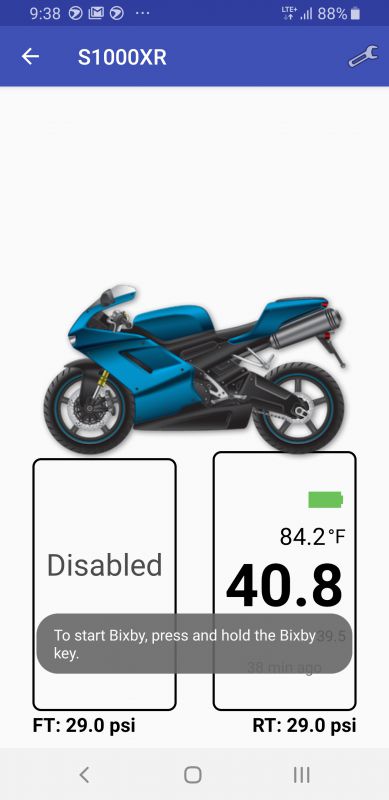
I was a bit leary of trusting the tire pressure presented by the application. The above screenshot shows the tire pressure for both of my tires. I find it interesting that there is almost a four degree difference between my front and rear tire. My bike was in the garage and it was not like I had a fan or a block of ice sitting next to one wheel. I then used a highly accurate tire gauge that I owned and took a manual reading of both tires.


The Fobo said my front tire was at 35.8 PSI but my gauge showed about 36.5. The front TPMS said 40.8 and the gauge was right at 41. That is relatively close.
I started to roll my bike out of the garage for a ride when I ran into an issue. The front-wheel TPMS hit the back of my brake caliper. I ended up having to take it off and disable it. I was really bummed. The short stem that came with the Fobo won’t help as the stem on the rim is already short. They offer a T-Valve option, but I do not want to go with that as I think that may not fit either, and I just would not like how it would look.
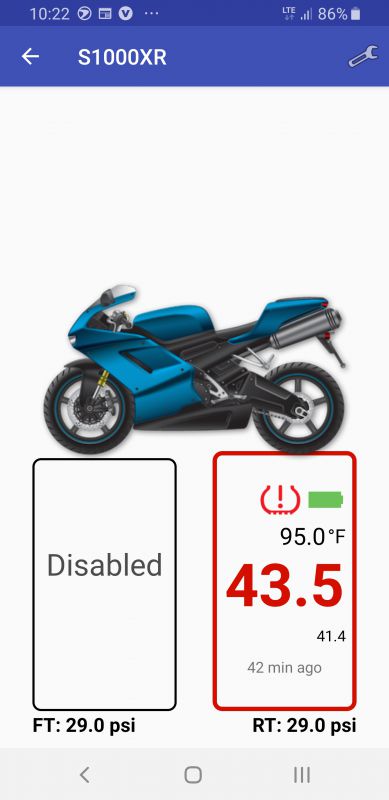
I took the bike out for a 160-mile ride. I like how the app shows the ambient temp along with the tire pressure reading. Notice in the screenshot above that the pressure reading is in red. This was because initially, I had the max pressure set to 43. Remember when I said I had no clue how high to set it? I bumped it up to 44 and it went back to normal colors. The main thing I noticed was the lack of real-time monitoring during the ride. When I was in my garage, the app was updated around every 10 seconds or so. I did have the phone in an aluminum side case, so that was most likely blocking the signal. However, when I stopped for gas, I took the phone out and set it on the seat as I got gas. I spent a good 15 minutes and the app never updated the reading. I even put my phone down by the sensor and tapped the sensor with my phone to see if I could force an update. Two days later, I walked out in the garage with my phone and it gets an instant reading. I am not sure why it would not read while on the road. UPDATE – I took my bike out again this weekend, but this time I left my phone in the pocket of my riding jacket. I am happy to report that when I got off my bike to get gas, the app was showing an updated pressure as of 11 seconds ago. It updated a couple of times during the time it took me to get some gas.
The app also offers a feature where you can send a link to a friend or family member to track you while on your ride. I sent an email to my husband, but when he clicked on the link it just got a ‘page not found’ error message.
What I like
- Pretty easy to set up
- An almost instantaneous PSI reading on my phone when I step into the garage. No having to have the bike roll at 5mph.
- They provide short valve stems as a part of the kit if you need them.
- The Fobo TPMS is pretty secure. To steal it, someone would have to have the tool. Even if they got it off, it would not work for them unless I released the device from my app.
What I’d change
- The app needs a bit more fine-tuning. Some wording as mentioned earlier needs to be corrected. Also being able to set a higher than 28 PSI minimum tire pressure reading would be beneficial.
- I could not get it to fit on my front wheel. Maybe a t-valve would work, but it would really look funky. If they could make it just a little less thick, I am sure it would fit on the bike.
- To actually put more air in the wheel I have to take the Fobo completely off the valve, including the locking nut, which makes it kind of a pain.
Final thoughts
Overall, I would say the Fobo Bike2 TPMS system works well if you can get it to fit on your bike. I want to blame the lack of monitoring during the ride on me having my phone in an aluminum side case since it worked just fine when I kept it in my jacket pocket. I would think for someone with a trike, or someone who has issues getting down on their hands and knees to check tire pressure before every ride, this system would provide them a reading really easily. Lots of bikes have bags and exhausts in the way that make it very difficult to check tire pressure. For $99 this is a fairly easy way to add it to your motorcycle.
Price: $99
Where to buy: Amazon
Source: The sample of this product was provided by Fobo
Filed in categories: Reviews
Tagged: Motorcycle
Fobo Bike2 TPMS (tire pressure management system) for motorcycles review originally appeared on The Gadgeteer on August 19, 2019 at 9:00 am.
Note: If you are subscribed to this feed through FeedBurner, please switch to our native feed URL http://the-gadgeteer.com/feed/ in order to ensure continuous delivery.


