
REVIEW – When I review a gadget, audio gear or household item, I seldom write about a product’s long-term durability. The reason for this is that we at The Gadgeteer strive to write reviews quickly so you can make an informed buying decision sooner. I wish we did, but we don’t have a year to test a product before writing. This review of the Kärcher K2000 electric pressure washer is a bit different. While I don’t have any foreknowledge regarding the K2000’s long-term future, I do have history with Kärcher—and based on that, I have an idea how long the K2000 will last.
What is it?
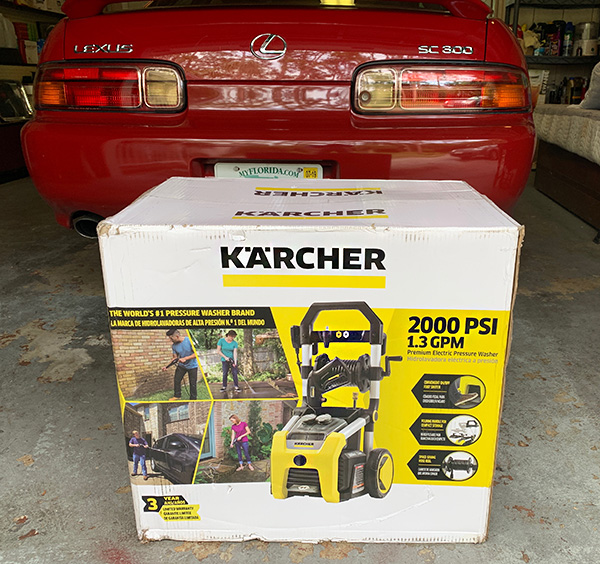
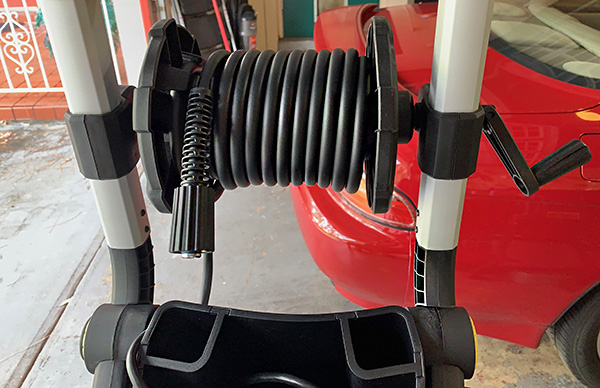
The Kärcher K2000 is an electric pressure washer that has a pressure rating of 2,000 PSI (per square inch) and 1.3 GPM (gallons of water per minute). It has dual detergent tanks, 25 ft. of hose, 35 ft. electric cord with a GFCI plug, a handy, wind-up hose reel and wrap around cord storage. It’s made for home (not professional) use.
Specs
- 120-Volt
- 13 Amps
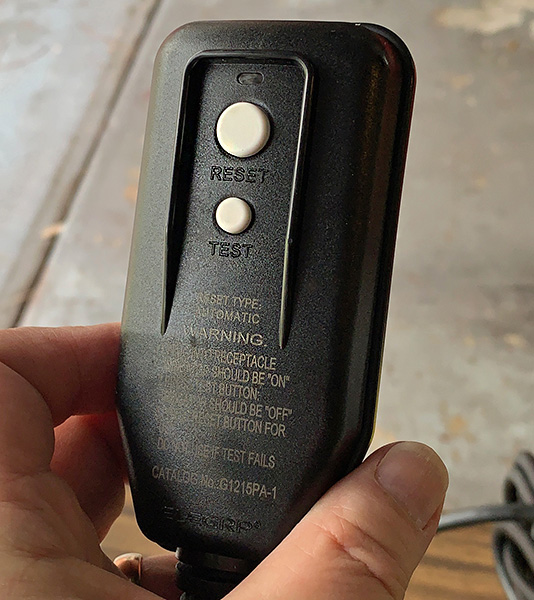
- 35 ft. GFCI cord
- Wobble Pump
- Dual 1 quart detergent tanks
- Cold temperature
- 2000 PSI pressure
- 1.3 GPM water flow
- 25 ft. Hose
- Hose reel
- M22 industry standard hose connection
- 2 wheel cart
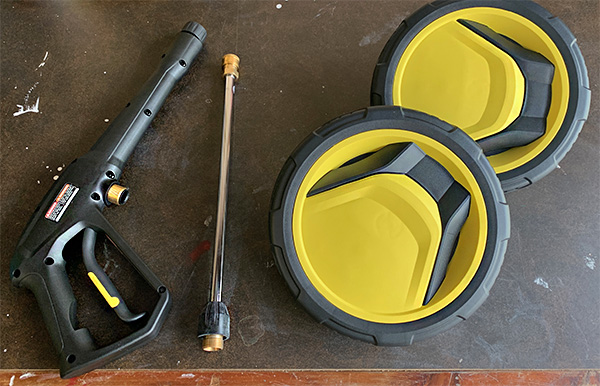
- Spray gun
- Three pressure nozzles
- Weight: 46.4 lbs.
- Length: 22 in.
- Width: 18.25 in.
- Height: 35.5 in.
- 3 Year warranty
Design and features
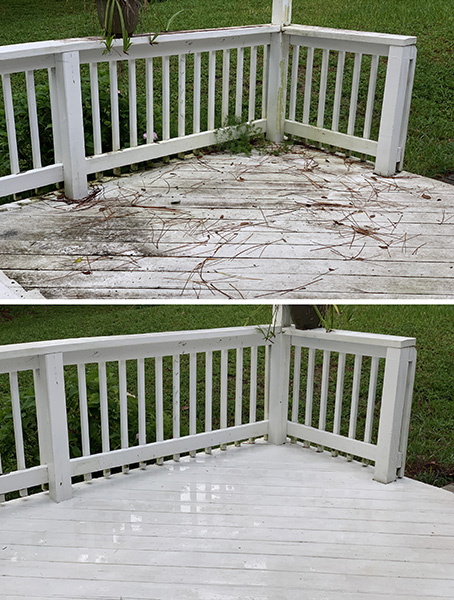
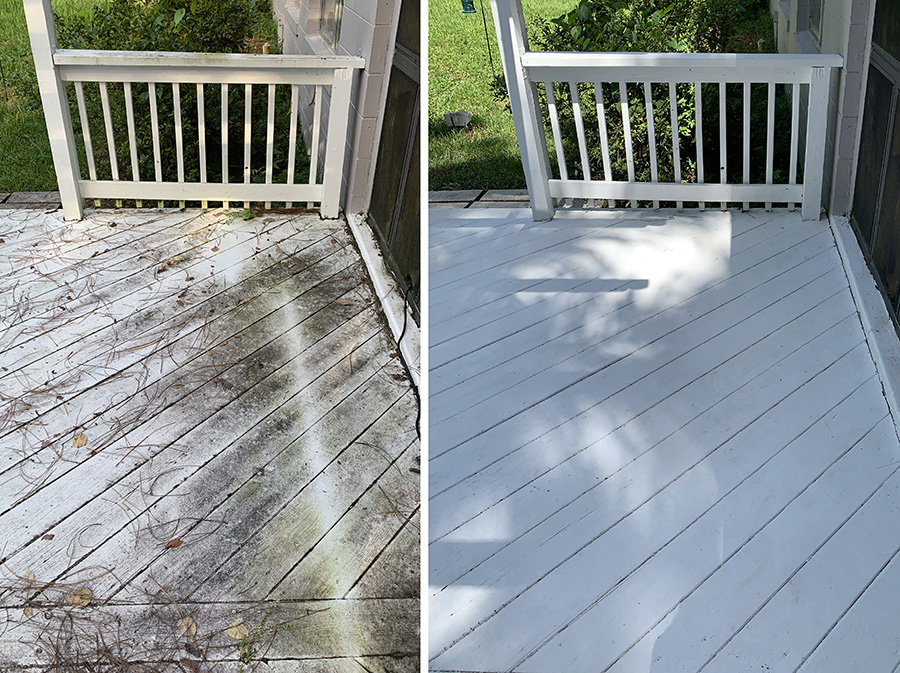
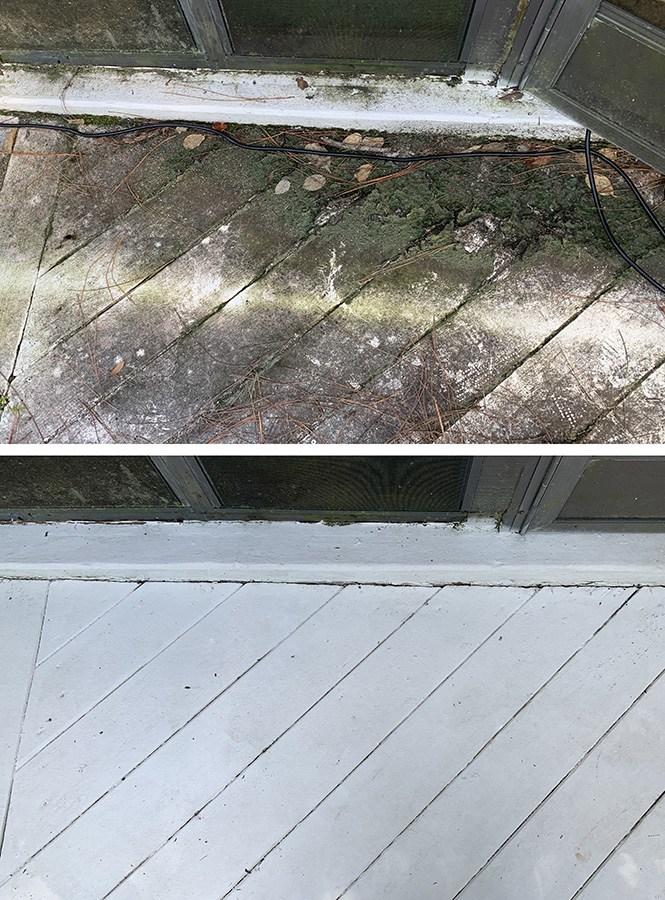
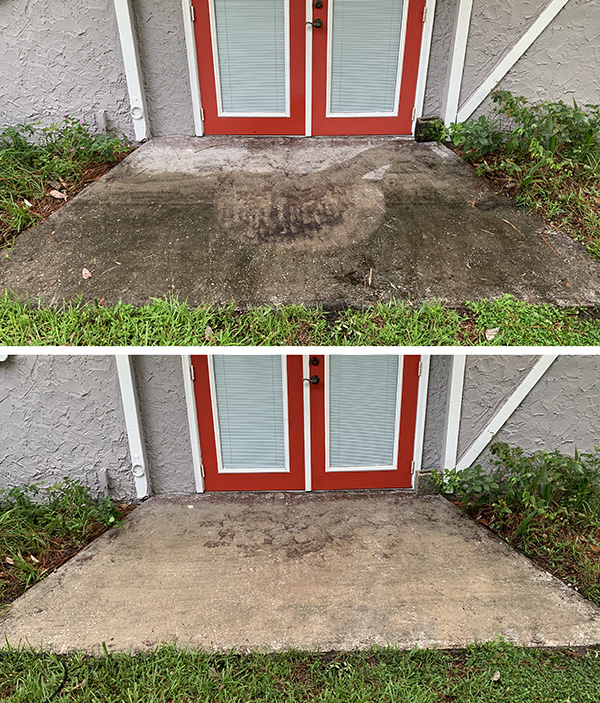
Living in a humid climate means dirt, mildew and other stuff showing up on outdoor surfaces, such as backyard decks, siding and concrete driveways and sidewalks. Only a pressure washer can easily and safely remove this.
For those who’ve never used a pressure washer, think of it as a super-powerful spray nozzle, except that it can actually clean surfaces by blasting away dirt and mildew. I find it kind of therapeutic and fun to pressure wash around my property.
There are two types of pressure washers; gas and electric. I’ve borrowed gas versions from family and friends before and while they are powerful, they drink gas, are loud, stinky and incredibly heavy. Electric models are lighter, quieter and not as powerful as gas, but the gap has narrowed. 2000 PSI on an electric pressure washer is not uncommon and is plenty powerful for home use.
I became familiar with Kärcher when I bought a less powerful pressure washer about ten years ago. That washer was not treated kindly and I lost (and never replaced) the removable water filter long ago, so all kinds of water contaminants were passing through the pump for years. Despite this mistreatment, the Kärcher only became unreliable a few months ago and finally needed replacing. It’s because of the Kärcher’s toughness that I decided to stay with the brand and go with the more powerful K2000.

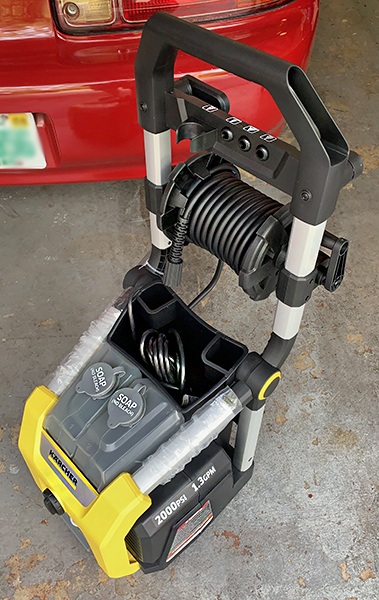
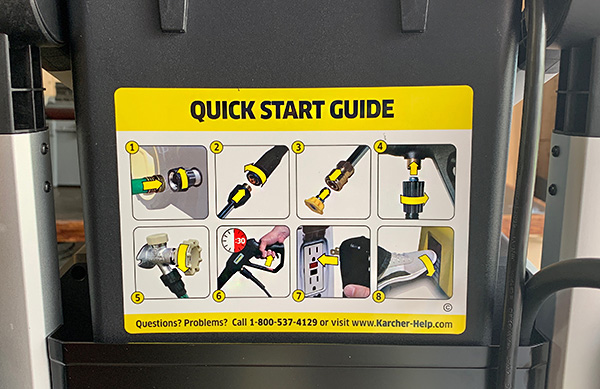
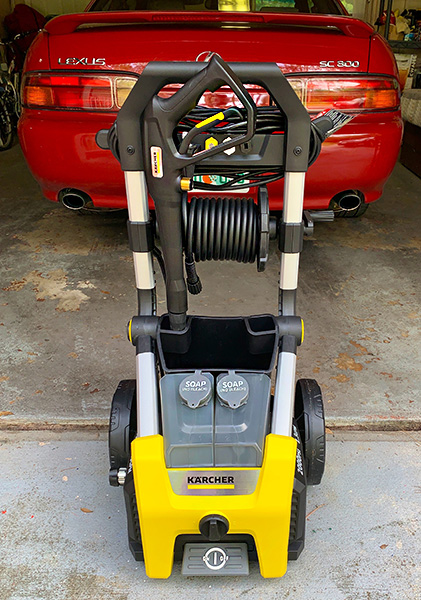
The K2000 pressure washer is extremely simple to set up out of the box—about 10 minutes. Once assembled, just plug it in, connect the hoses and you’re cleaning. The handle quickly folds down so it takes up less space in the garage.
Even though the Kärcher K2000 is much lighter than a gas model, it’s still almost 50 lbs. Two oversized wheels make moving the unit around easier. My older Kärcher had small wheels and a too short handle. You had to bend over to move it. It was—literally—a pain in the back to move.
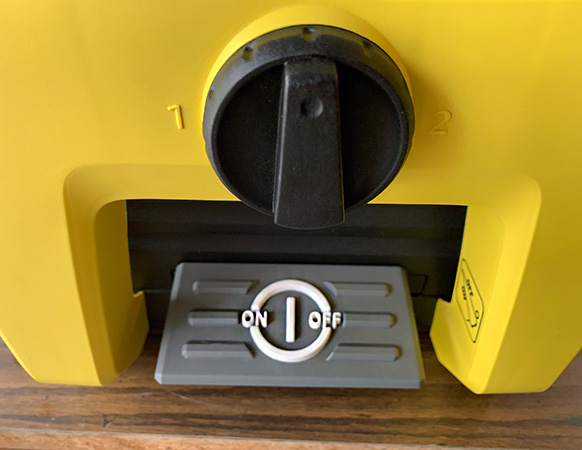
One major change from my previous Karcher washer is a step-controlled on/off switch. This is much more convenient and also easy on the back. There are two large, removable storage bins on the unit for holding detergent bottles for the dual tanks as well as the pressure wand. The dual detergent tanks can be used independently by turning a 1 or 2 dial.
Using the Kärcher 2000 is easy with one notable exception. It takes some effort to squeeze and hold the trigger on the wand handle. All pressure washers I’ve used are like this and I don’t get it. After using a while, fingers and hand muscles can get tired from continually squeezing the trigger. However, there is a way to make this less stressful on your hands. When using the washer, mentally designate a small area to clean. When that’s done, choose the next small area. This breaks up any large job into smaller jobs which helps make things less overwhelming. Plus, it gives your muscles a rest between sections. It’s also best to use a sweeping motion when spraying. Doing it in these smaller areas gives better results.
One thing I like about the K2000 is that as soon as you stop spraying, the motor shuts off until you start spraying again. You don’t have to listen to a loud motor the whole time, as with a gas model. The downside to this is that when you resume spraying, the motor takes a second to rev up to speed. It’s mildly annoying, but you get used to it.
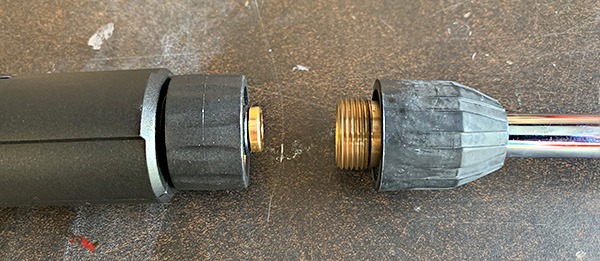
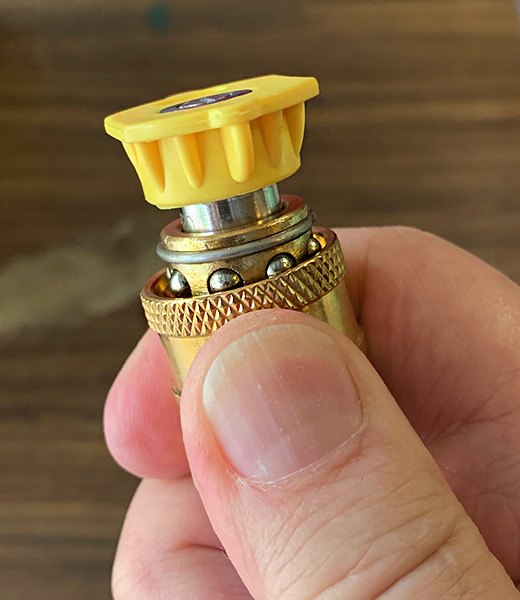
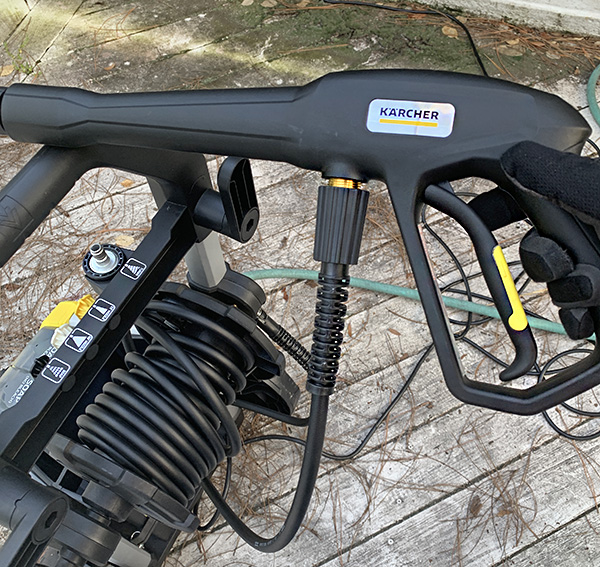
All hoses and nozzles on the K2000 use M22 quick connections. This is an industry standard that allows you to easily swap parts and provides a secure, water-tight fit. It also allows other branded nozzles and hoses to be used with the Kärcher. However, once I wasn’t careful when connecting a nozzle. When I pressed the trigger, the nozzle flew across the yard and I had trouble finding where it landed. I learned my lesson—double check that the connection is secure before using!
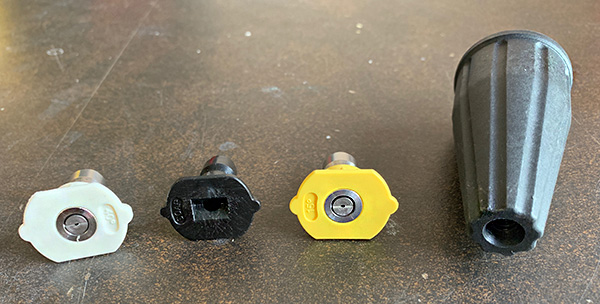
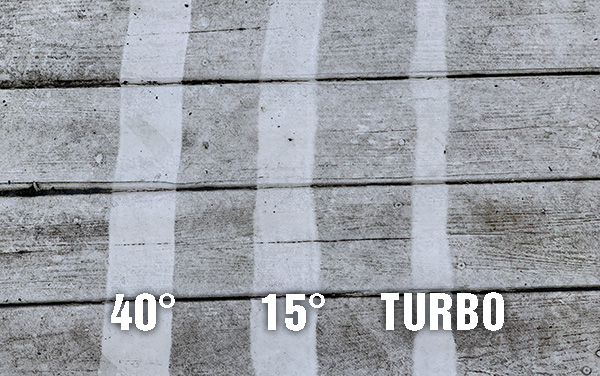
The K2000 comes with three nozzles. The 15° nozzle concentrates more power on a smaller area. This helps with more stubborn dirt or mildew. The 40° nozzle covers a wider area but with a bit less power. It’s a good nozzle for general cleaning and it’s the one I use 90% of the time. Then there’s the turbo nozzle. This nozzle sprays in a cylindrical, cone-shaped pattern that becomes more powerful as the nozzle is moved closer to the surface being cleaned. I’m not a fan of this nozzle because power severely drops off when the nozzle is raised farther away from the surface. It requires too much thinking to use and I like to switch off the brain while pressure cleaning.
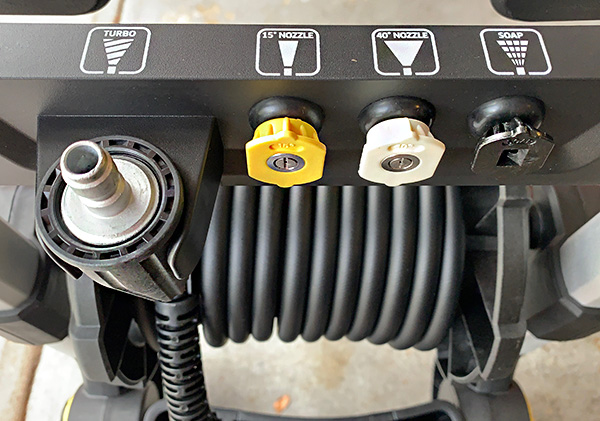
The nozzles snap into a built-in holder on the K2000, making it easy to quickly grab the one you need while keeping the others safe when not in use.
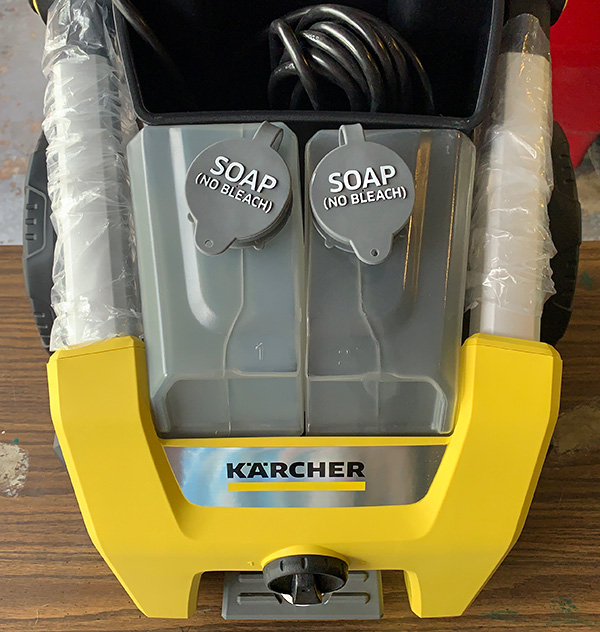
There’s a soap nozzle for applying detergent when washing a car or pre-cleaning a driveway or deck before pressure washing. Speaking of using detergent—I don’t. Never have. I also do not use a pressure washer to wash my car because if you’re not careful, the pressurized water can strip paint if it’s already loose on a bumper or it can force water into areas it shouldn’t. A garden hose spray nozzle can’t do that kind of damage. I realize that some people love using a pressure washer for their cars—I’m just wary of it.
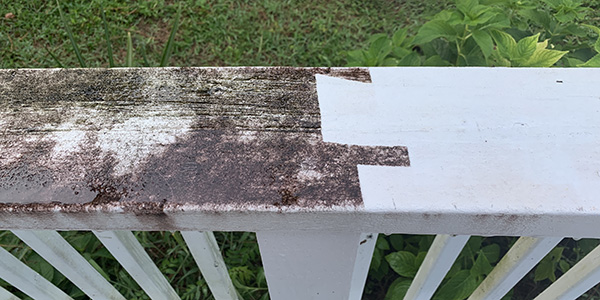
Detergent can help with a dirty deck, but again, I just stick to the 40° nozzle because it works fine as is. Care must be taken with cleaning wooden decks with a pressure washer. The water can damage deck wood if placed too close to the surface for too long.
Kärcher does not supply a sample-sized detergent bottle with the K2000, so it’s an additional purchase if you want to try it. Trust me though, you don’t need detergent to clean concrete—just time, water and pressure.
What I like
- Powerful
- Auto shut-off motor
- Nozzle selection
- Standard M22 connections
- Wheels!
- Relatively quiet for a pressure washer
- Foot operated on/off
- Affordable
What I’d change
- Trigger could be easier to press
Final Thoughts
I’m a fan of Kärcher pressure washers. Kärcher makes many electric models as well as more powerful gas models if that’s what you need. If you’re a homeowner who only needs a pressure washer occasionally, the K2000 is more than powerful enough to get the job done with minimal fuss. It’s affordable and should last a long time—based on personal experience. Plus, it doesn’t take up much room when stored.
Price: $279 US
Where to buy: Amazon
Source: The sample for this product was provided by Kärcher.
Filed in categories: Reviews
Tagged: Cleaning, Home and Kitchen
Kärcher K2000 electric pressure washer review originally appeared on The Gadgeteer on August 2, 2019 at 9:00 am.
Note: If you are subscribed to this feed through FeedBurner, please switch to our native feed URL http://the-gadgeteer.com/feed/ in order to ensure continuous delivery.


