GameSir Marsback Mini Game Arcade review

REVIEW – If you want to relive all of your favorite childhood Game Boy, NES, PS, and other games on your phone, you have to use an emulator, but playing these games with onscreen controls is not fun (at least I don’t think so). The GameSir Marsback Mini Game Arcade is a fun way to turn your Android or iPhone into a tiny retro gaming console. Let’s check it out.

What is it?

The GameSir Marsback Mini Game Arcade is a Bluetooth joystick controller and holder for your smartphone that turns it into a mini arcade machine.

What’s in the box?

  • GameSir Marsback Mini Game Arcade
  • 2 AA batteries
  • Instructions

Design and features

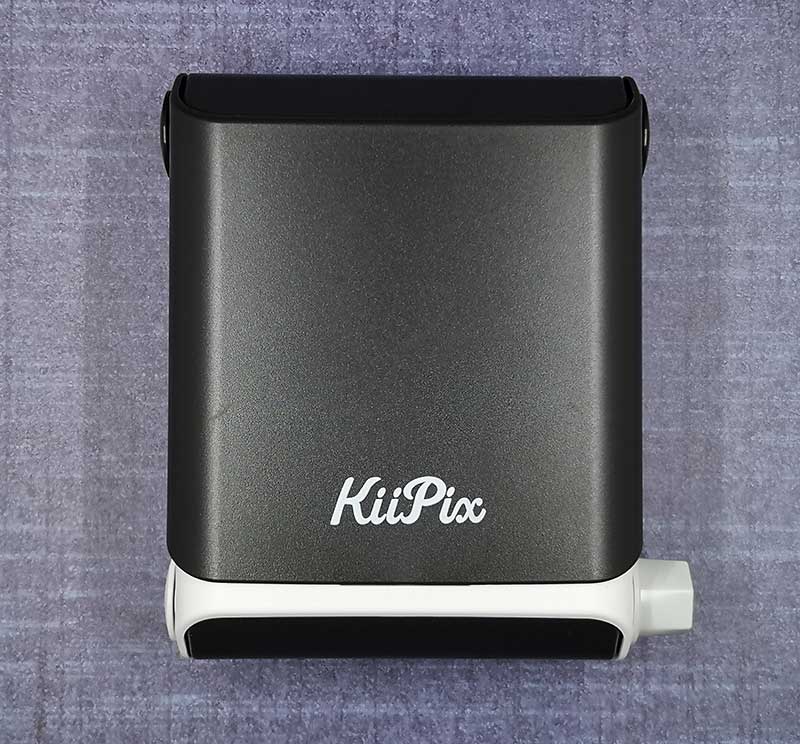
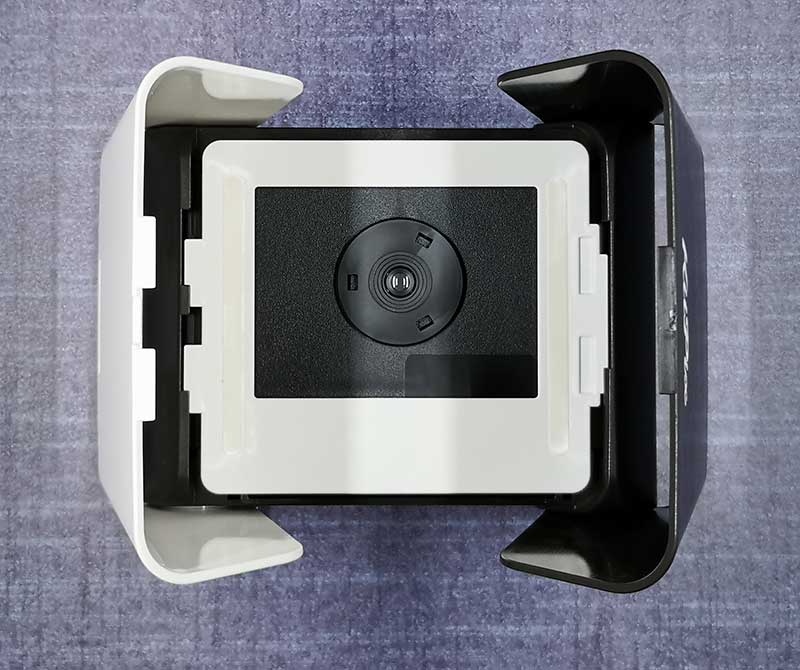
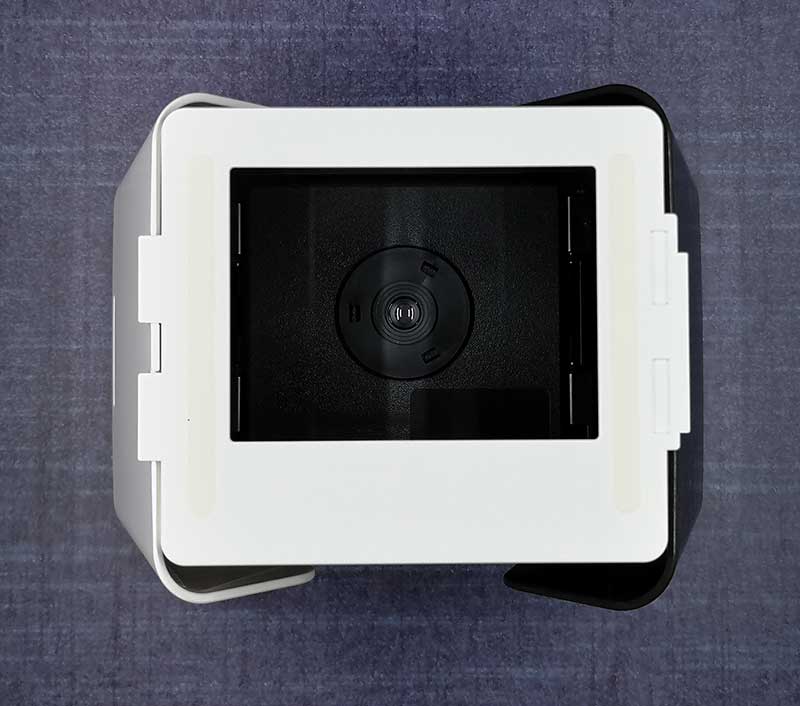
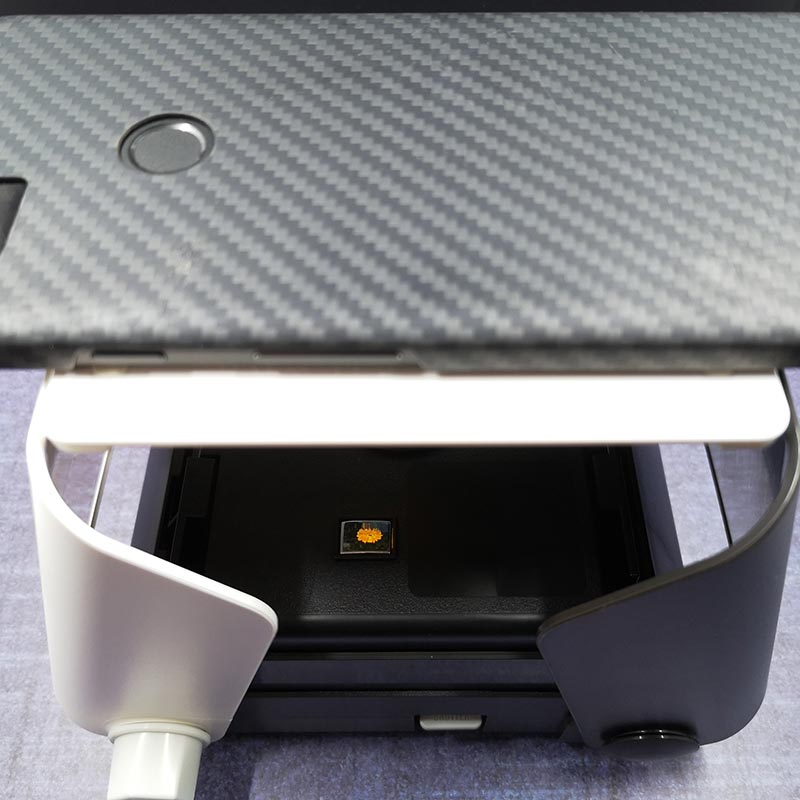
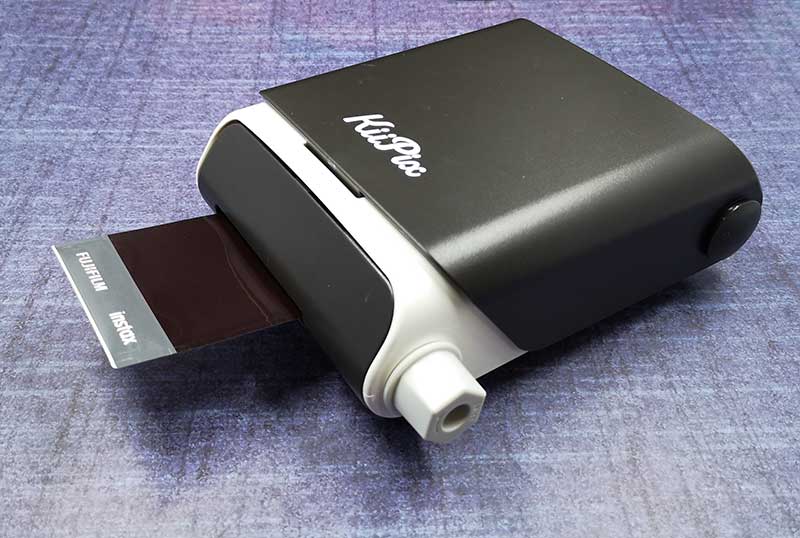
The Marsback (where’d they get that name?) is a square plastic device with a joystick and 6 control buttons on top and a slot for your phone.

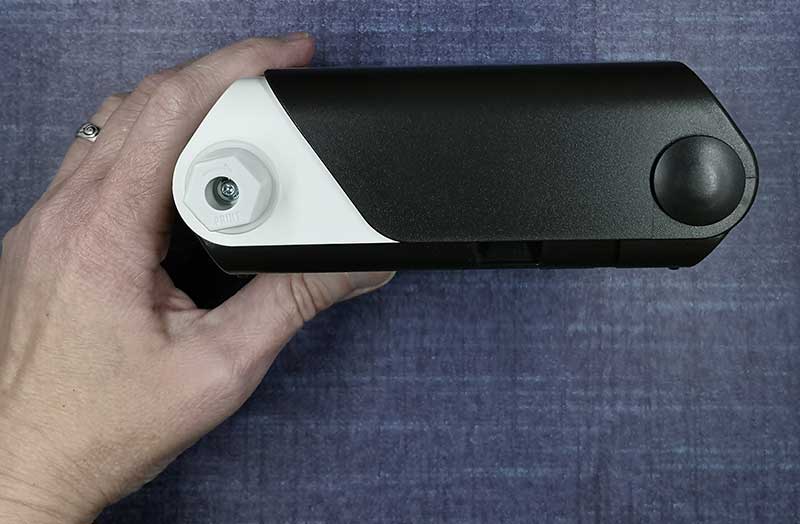
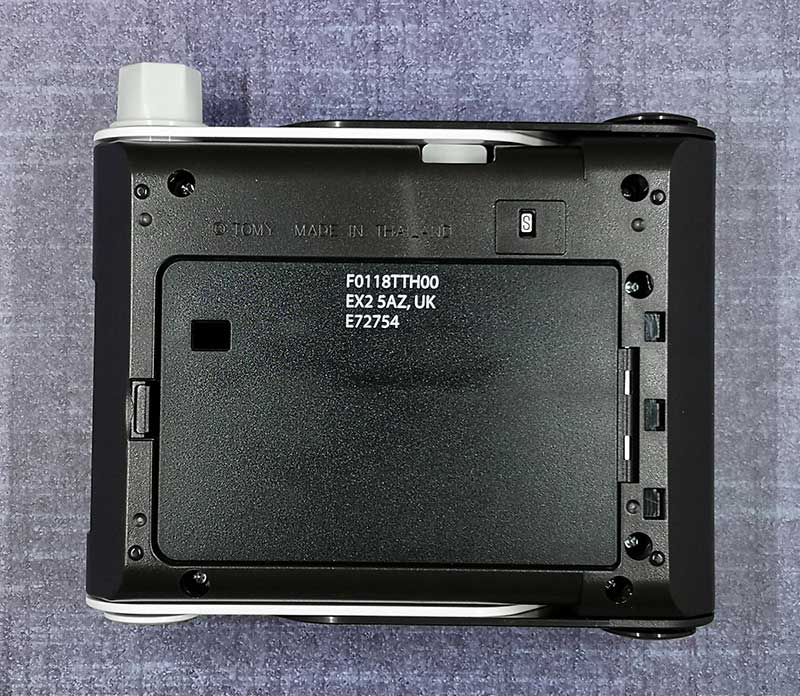
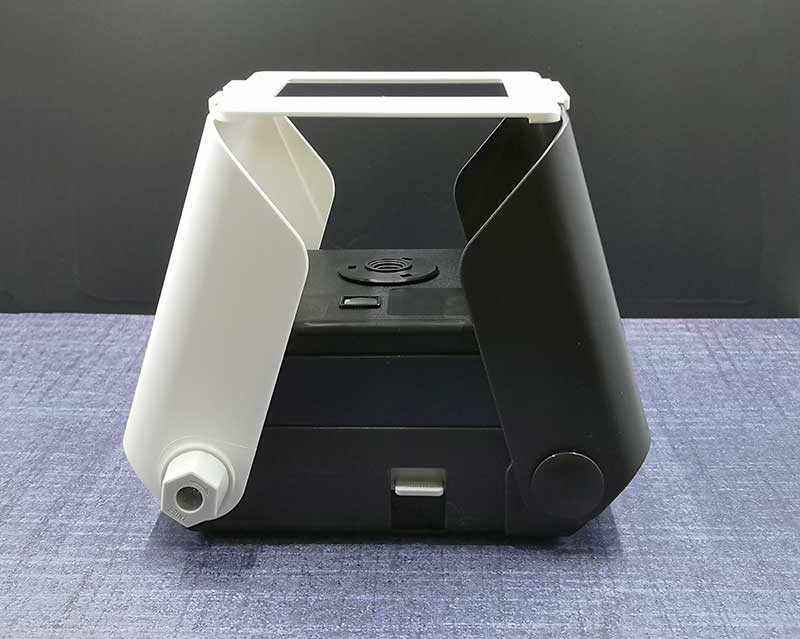
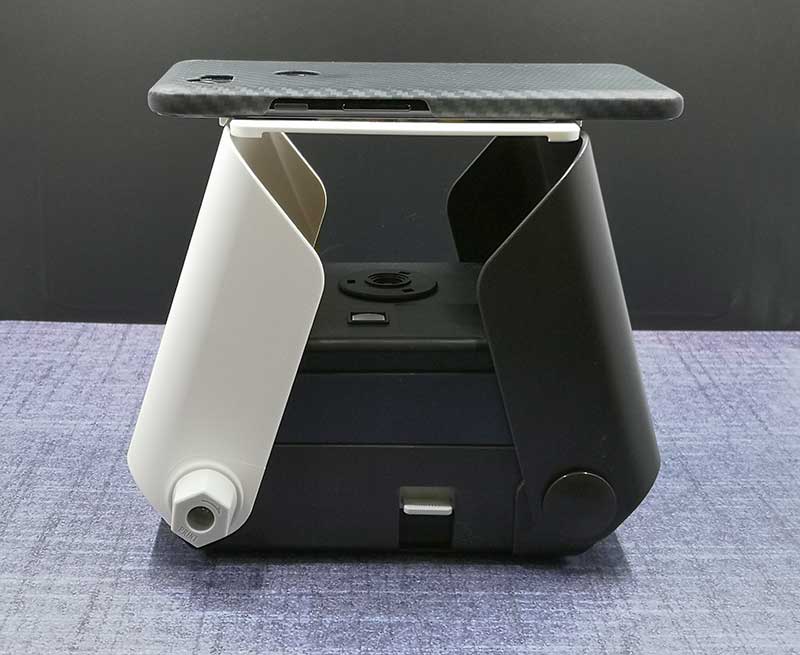
On the bottom are the power switch and battery compartment (2 AA’s are included with the unit).

The device isn’t very large at only 3.25 x 3 x 3.5 inches.

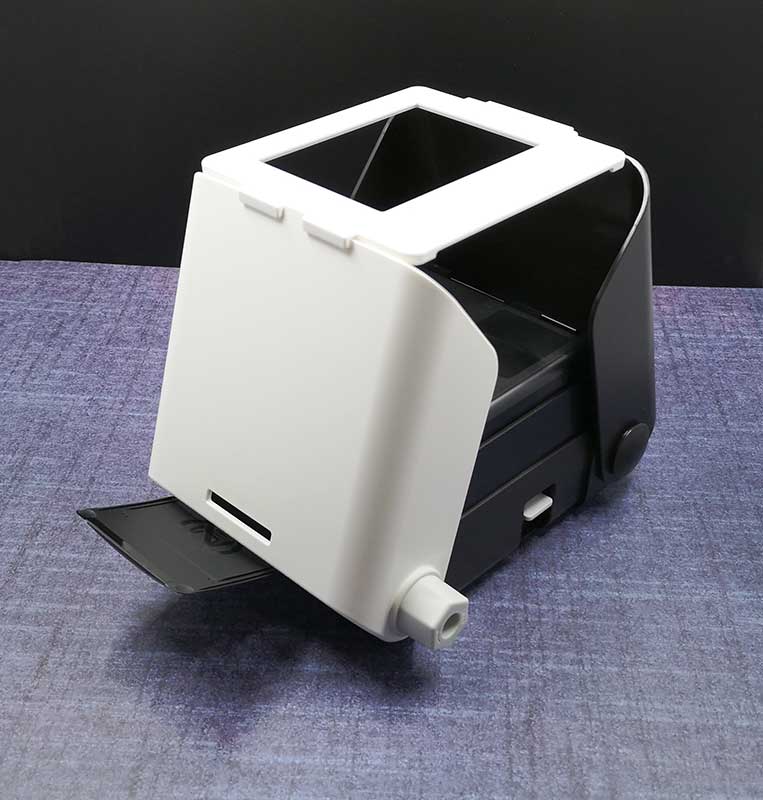
Behind the phone slot is a pull-out backrest if you want to use the phone in landscape orientation with the controller.

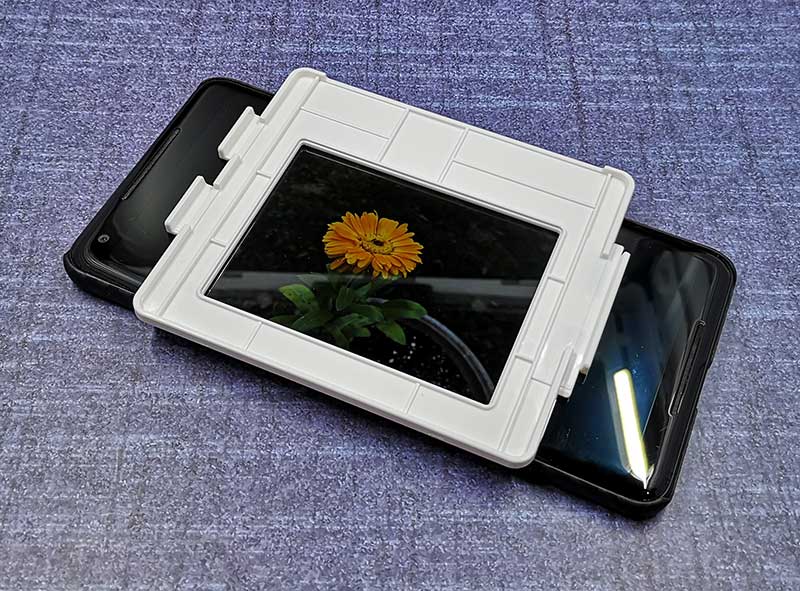
Here we see my Pixel 2 XL resting against the backrest on top of the device. This orientation works fine as long as you are going to play the games on a flat surface. I wouldn’t recommend it if you want to hold the Marsback controller in your hands to play games as there is nothing to secure the phone in place and it could easily fall off.

And here we see the same Pixel 2 XL with a Pitaka case inserted in the phone slot. I think this is the preferred way to play games using the Marsback. Yes, the screen is smaller, but you can hold the whole thing in your hands which makes it more portable.

The Happy Chick app


The Marsback controller does not come with any games, but the instructions that come with the controller instruct you to download the Happy Chick app by using the QR code in the instruction sheet. You can see some of the errors and warnings that my Pixel 2 XL showed when I installed the app. Although these errors make the app look pretty shady, I decided to take a leap and installed it anyway. So far my phone hasn’t exploded. I also have read that lots of people use this app so hopefully, that means it’s not evil.

The app is basically an interface that lets you download and play game ROMs on your device. You can search for your favorite retro titles and find them for a variety of devices like the Game Boy, Game Boy Advance, Game Boy Color, NES, and more.

If you’re thinking that downloading and playing copyrighted game ROMs (if you don’t own them) could be illegal, well yeah, you’d be right. Will you go to jail if you buy and use this device? Highly doubtful.

One of my all-time favorite retro games is Prince of Persia, so I downloaded it first. You can actually use the Happy Chick app all by itself to play games as it has onscreen controls, but when you pair the Marsback controller to your device it works perfectly with these old games.

By default, the games display in landscape orientation, but you can bring up the Happy Chick settings to switch orientations.

In portrait orientation, the layout is perfect for placing the phone in the Marsback phone slot to create a mini arcade machine.

The joystick and buttons are smaller than what you will find on a full-sized gaming controller, but they are responsive and fully functional. Holding a plastic box between your hands to play games can be a little awkward and not nearly as comfortable as using a regular controller. But the idea of the Marsback device is to be a cute nostalgic nod to the standalone arcade games from the ’80s and ’90s.

What I like

  • Cute!
  • Easy to use
  • Phone can be used in either orientation

What needs to be improved

  • Put the power button on top so you won’t forget to turn it off after a gaming session
  • Shady Happy Chick app

Final thoughts

I guarantee if you stick your phone in the phone slot of the Marsback mini arcade device and boot up Pacman, Centipede, Sonic the Hedgehog, Doom, or another iconic game from the past, that anyone who walks by is going to ask you about it and want to take a turn playing the game. The Marsback Mini Game Arcade isn’t the most fantastic gaming controller I’ve ever tested. But it is fun to use and at only $34, it won’t make your wallet cry but it will make you and your friends smile.

Price: $34.00
Where to buy: Vinpok
Source: The sample for this review was provided by GameSir.

Filed in categories: Reviews

Tagged: , ,

GameSir Marsback Mini Game Arcade review originally appeared on The Gadgeteer on February 19, 2019 at 9:00 am.

Note: If you are subscribed to this feed through FeedBurner, please switch to our native feed URL http://the-gadgeteer.com/feed/ in order to ensure continuous delivery.

Zanco Smart Pen review

REVIEW – Zanco, the folks behind the Tiny T1 phone are back with another Kickstarter campaign for a unique phone called the Smart Pen. You can use this device by itself as a 2G phone or you can use it paired with your existing smartphone as a multi-function accessory. Either way, people are going to notice it and you when they see it. They sent me a pre-production sample, so let’s take a closer look.

What is it?

The Zanco Smart Pen is a stand-alone 2G GSM phone or when paired via Bluetooth with your iOS or Android smartphone, it becomes a wireless handset with lots of built-in features like a camera, laser pointer, voice changer, a stylus, and more.

What’s in the box?

  • Zanco Smart Pen
  • micro USB charging cable
  • SIM card tool

Hardware specifications

Frequency – GSM900/1800 or GSM850/100
Display – TFT .96in color, 80 x 160 resolution
Camera – Front 0.3MP, Back 0.3MP
Bluetooth – V3.0
Battery – 400mAh

Design and features

The Zanco Smart Pen is shaped like a large pen but the name is a misnomer because the Zanco Smart Pen really doesn’t have a built-in pen. However, it does have a built-in stylus that you can use on your tablet or smartphone display. The Smart Pen has a small color display with a camera and speaker above it and a panel of function buttons and a phone keypad below it along with a microphone down towards the stylus tip.

On the back of the Smart Pen, you’ll find the back facing camera and a speaker.

On one the side is an attachment for a lanyard, a 3.5mm headphone jack, a micro USB charging port, and a cover for the micro SD card slot and SIM card slot.

One thing I noticed was that the micro SD card slot is not spring loaded, which means it’s a little tough to remove the card once it’s inserted. I actually had to use a sharp pin to pick the edge of the card so I could slide it out of the slot. The SIM card slot, on the other hand, is spring loaded, which confused me even more since included with the Smart Pen is a SIM removal tool which you don’t need.

The top edge of the Smart Pen has a laser pointer which you can toggle on and off by pressing and holding the round multi-function button on the front center of the device.

As a stylus, the Smart Pen works as well as any other capacitive stylus. That said, I would have rather had an actual pen built into the Smart Pen instead of a stylus. Of course, having a pen would mean that they would need to offer refills as well, so I can see why they went with a stylus.

Size-wise, the Zanco Smart Pen is the right length to use as a stylus and the right length to hold up to your ear as a phone.

People will wonder what the heck you’re talking into when they see you using this device as a phone, but it’s actually quite comfortable to use that way.

Built-in features

First of all, the Zanco Smart Pen can be used as a cell phone as long as you have a SIM card for a GSM carrier such as T-Mobile, AT&T, etc. I tested this device with a Mint SIM, which uses T-Mobile. With the SIM installed, pressing any button on the device will wake up the display to show the carrier, signal strength, battery capacity, other status icons, in addition to the date and time. As far as the time and time stamp goes, the device shows the wrong date and the wrong time but you can go into the settings to customize it. I’m not sure why it doesn’t get that info from the carrier.


Other features include a phonebook where you can store your favorite contacts, an MP3 audio player, a sound recorder, voice changer, an FM radio, and a text message app. For texting, you’ll have to brush up on the old school text message typing where you have to press each key multiple times to get the letter you want. For example, if you needed the letter C, you would have to press the 2 key 3 times as the first time would be A and the second press would give you a B.

The Smart Pen also has 2 cameras. One on the front for selfies, and one on the back for everything else. Don’t get too excited though because the image quality will take you back a decade or so. Here are a few example images.


No, these pics aren’t thumbnails that you can click to see the full size. They are full size. Yep, they are 80×160 pixels. There are settings that will let you switch to 640×480 but the setting doesn’t stick. I’m guessing they are still working on the software.

What I like

  • Fun novelty standalone phone or Bluetooth handset for your existing phone
  • Multi-functional
  • Can be used as a real cell phone to make and receive calls or text messages

What needs to be improved

  • Camera quality needs to be improved

Final thoughts

Yes, you can make and receive calls with this phone as long as you have a SIM for a compatible carrier. I used it on the T-Mobile network and it worked fine for my test calls. Would I want to use the Smart Pen as my primary phone? Ummmm, no. Sure it works fine in a pinch, but it ain’t no smartphone. On the other hand, it doesn’t offer all the distractions of a smartphone AND the battery can last for up to 6 days on a charge which is something no smartphone can do. When it’s all said and done, the Zanco Smart Pen is a novelty phone just like their Tiny T1 phone. It’s a fun little conversation starter with a few useful tools built in like the stylus, laser pointer, and the ability to be used as a stand-alone phone or a Bluetooth handset for your existing smartphone.

Price: $49.00
Where to buy: Kickstarter with rewards set to ship in April
Source: The sample for this review was provided by Zanco.

Filed in categories: Reviews

Tagged: , ,

Zanco Smart Pen review originally appeared on The Gadgeteer on January 10, 2019 at 9:00 am.

Note: If you are subscribed to this feed through FeedBurner, please switch to our native feed URL http://the-gadgeteer.com/feed/ in order to ensure continuous delivery.

Bitplay AllClip and Premium HD lenses review

REVIEW – I’m a smartphonographer. What’s that? It’s a person who uses their smartphone as their primary camera. I sold my Canon 70D DSLR last year and have been using my Pixel 2 XL and Huawei P20 for all my photos. Can the addition of add-on lenses from Bitplay take my photos to the next level? Let’s find out.

What is it?

The Bitplay AllClip is a universal smartphone lens holder that is designed to hold Bitplay’s specially designed lenses.

What’s in the box?

I was sent the following items, but they are all separate items and don’t come in a kit/set.

AllClip
HD wide angle lens
HD Macro lens
M52 CPL Filter and adapter

Design and features

I have seen all sorts of add-on lenses for the iPhone which usually require a special case that has a threaded socket over the area of the phone over the lens. That’s great for iPhone users, but what about Android phone users? That’s where Bitplay comes in with their AllClip which is a universal lens mount that is compatible with smartphones that have a width ranging from 58mm – 80mm (2.3″ to 3.2″).

I did all my testing of the AllClip and lenses with my Pixel 2 XL. The AllClip is an expandable holder that has clips on the end that wrap around the edges of the phone to hold it in place. With a case on my Pixel 2 XL, the AllClip was still able to fit over the back of the phone so that I could attach the Bitplay Premium HD lenses to the clip.

The AllClip is a universal Bitplay lens mount that lines up over the phone’s lens. You can adjust the horizontal and vertical alignment of the mount by moving the AllClip up and down and by sliding the mount left or right. Once the mount is over the lens and the AllClip is securely in place, the mount is fixed in position and won’t inadvertently slide around. At least I found that to be true while testing with the Pixel 2 XL.

You will notice that with my phone, the AllClip covers the fingerprint reader sensor and interferes with the flash next to the lens. Depending on the phone, the clip also might cover the power switch, volume buttons, and other controls, so this is something to keep in mind.

With the AllClip installed, you can now attach Bitplay’s lenses. They sent me their premium wide-angle lens, and their macro lens, along with an M52 CPL filter.

The Bitplay lenses have a 13mm threaded mount that screws into the socket on the AllClip. Each lens comes with a protective cover for the mount and for the lens itself. Each lens also comes with a small drawstring pouch to hold the lens when it is not being used.

Attaching the lenses is simple and takes little to no effort.

The AllClip and attached lens definitely add significant bulk to your phone and you probably would not want to stick your phone with the clip and lens in your pocket as it most likely would not fit and the clip could come off.

I said above that attaching and reattaching the lenses and the AllClip isn’t hard, but it can be a little awkward depending on the situation. For example, a week ago, I was in Florida on vacation and thought it would be a perfect opportunity to try out the Bitplay lenses for some beach shots. The problem was that trying to juggle the AllClip, lenses, lens caps, and drawstring pouches without getting sand on them was a bit tedious.

I can’t imagine wanting to carry my phone around with the AllClip and a lens attached to it for very long because I use a fingerprint reader to unlock my phone and with the AllClip on the back, it was covered and inaccessible. But enough whining, let’s take a look at a few picture samples using the Bitplay lenses.

Sample pics

Premium HD Wide-Angle Lens


The difference when adding the Premium HD wide-angle lens is obvious. You can see significantly more of the condo in the photo with the wide-angle lens compared to the photo taken without the lens.


Again, you can tell that you see a lot more of the beach when using the wide angle lens.


I noticed something odd about the wide angle shot above. If you click on it and look at the trees/leaves in the upper left side of the image on the left, they look smeared.

Premium HD Macro Lens

I obviously take a lot of close up shots for my reviews, so I was excited to test the Bitplay macro lens. Unfortunately, it didn’t turn out to be useful to me because it only works well if you can place the lens at an exact distance from the subject. This is aided by the lens design. As you can see, it has a frosted hood. This hood is designed to let light in.


But as you can see, shadows can cause the subject to become too dark.


The close-up images that I was able to take with the macro lens are ok, but that’s only because I took them indoors on a flat surface. When I tried to take some pictures of the same shells out on the beach, it was much harder to get the lens correct distance from the subject and with the sun shining, I wasn’t able to see what I was doing on the phone’s display.

M52 CPL Filter


It looks like a lens, but the M52 CPL is a filter that is made up of 3 parts. The filter itself and an adapter with a silicone ring. attaching the M52 filter to the Premium HD wide-angle lens took some effort only because it didn’t seem to make sense until I read the directions. But even then, the process is a little fiddly and it was not easy to do while I was on the beach.

Once attached, this particular filter is designed to remove glare on glass or water surfaces and improve the capture of blue skies and white clouds by filtering out the unwanted lighting.


The difference between the two images is subtle. You can see that the sky in the image with the filter has more blue. Turning the filter when it’s installed over the lens is supposed to have some effect on the image but I didn’t even know that was something you should try based on the instructions that came with the filter. I just happened upon that info on Bitplay’s site. Unfortunately, it was after I came back from Florida and we haven’t had a sunny day to try it here yet.

What I like

  • Adds extra capability/features to your existing smartphone camera
  • Wide angle lens lets you capture more
  • Macro lens allows you to get very close to your subject

What needs to be improved

  • AllClip can cover some features/buttons
  • Bulky
  • Not sure how useful the macro lens and M52 filter really are

Final thoughts

My smartphone is the best camera I’ve ever owned because it’s always with me. I like Bitplay’s universal AllClip and lenses which provide the ability to extend smartphone camera’s capabilities as long as you are ok with the caveats that come with these accessories. My guess is that I will rarely use the M52 CPL filter and the macro lens going forward, but I can definitely see myself using the wide angle lens, especially when I travel and want to take landscape pictures.

Price: $19.96 for the AllClip, $49.99 for the Premium HD Macro lens, $99.99 for the Premium HD Wide angle lens, $43.99 for the M52 CPL Filter
Where to buy: Amazon
Source: The sample for this review was provided by Bitplay.

Filed in categories: Reviews

Tagged: ,

Bitplay AllClip and Premium HD lenses review originally appeared on The Gadgeteer on November 9, 2018 at 1:21 pm.

Note: If you are subscribed to this feed through FeedBurner, please switch to our native feed URL http://the-gadgeteer.com/feed/ in order to ensure continuous delivery.

KiiPix Smartphone Picture Printer review

REVIEW – I take a LOT of pictures with my smartphone and I like to print some of them to put in my journal to help me remember things that have happened. Small photo printers are cool, but they require an app and have batteries that have to be charged. Is there an easier way to print your favorite pics? Tomy things so with their KiiPix Smartphone Picture Printer. Let’s check it out.

What is it?

The Tomy KiiPix Smartphone Picture Printer is actually a modern take on the iconic Polaroid cameras of the 70’s and 80’s.

What’s in the box?

KiiPix Smartphone Picture Printer
Instructions
*Fujifilm Instax mini film cartridge is NOT included

Design and features

The KiiPix device is made of white and black plastic and features a film ejection dial on one side that is used to advance and eject each print.

The prints eject from the side of the unit.

On the bottom of the KiiPix, you’ll find the printer paper compartment and the print count indicator.

The paper compartment opens to reveal the camera lens. That’s right, this isn’t really a photo printer, it’s actually an instant camera.

To use it, you’ll have to load a cartridge of Fujifilm Instax mini film into the bottom of the KiiPix.

Each Fujifilm cartridge has 10 films inside.

The film cartridge easily snaps in place and the door secures shut with a click.

The next step is to unfold/open the KiiPix by lifting the two “wings”. You will then see a white plastic frame.

The frame lifts out of the camera and is placed over the two wings to create a platform.

The frame is designed so that your iPhone or Android phone’s display rests over the opening so that the camera below it can take a photo of the phone’s screen.

To line up the photo, you need to have it displayed on the phone and then stick the frame (it has sticky strips on the edges to the display.

There’s also a tiny mirror that you can use to line up the image.

I tested the KiiPix with my Pixel 2 XL. Note that you don’t have to pair the KiiPix with your phone or load a special app. All you have to do is display the image on the phone’s screen that you want to print. The KiiPix will then take a picture of the image on the phone’s display when you press the shutter button on the side of KiiPix.

The first time you use the KiiPix, you have to rotate the film ejection dial until the first sheet is ejected.

Then you can take an actual picture and it will eject from the KiiPix when you turn the dial.


The 3.4 inch x 2.1 inch print comes out black, but the image will become visible within a few seconds.

Within about 90 seconds – 2 minutes, the 2.4 inch x 1.8 inch image will be fully visible. Check out the video below that shows the film developing over time.

The resulting photo quality was a mixed bag. My first image can be seen above and in the video had strange black arcs on the side and the whole print got much darker as time went by. Here are some more prints that I made.

My first two images were really dark, and then I read that you’re supposed to turn the phone’s brightness to the max. But even then, I still felt like the images were darker than I would like. I also ran into issues where I accidentally pressed the shutter button twice. Can you see which image that was? Yes, it’s the one with double flowers. That’s actually a cool “feature” that can allow you to make some creative photos by having double exposures. Then there’s the issue of the screen rotating when you don’t want it too like the selfie at 9 o’clock where you can see black bars on the side. That image is supposed to be oriented the other way…

What I like

  • No cables, no Bluetooth, no batteries
  • Doesn’t require an app

What needs to be improved

  • Doesn’t come with a Fujifilm Instax Mini print pack
  • Print quality isn’t very impressive

Final thoughts

The KiiPix has a few things going for it when compared to the more expensive small photo printers like my favorite HP Sprocket. First of all, the KiiPix costs about $90 less than the HP Sprocket. The KiiPix also doesn’t need to be charged, paired, or used with an app. But both printers require that you buy film/photo packs. I like the Zink prints from photo printers like the HP Sprocket better than the Fujifilm Instax Mini prints because the Zink prints have peel and stick backs which make it much easier to put the photos in a journal. The Fujifilm prints are also thicker and have a large white frame around them instead of the image being edge to edge like the Zink prints.

But when it comes right down to it. I prefer the smaller HP Sprocket style printer because I don’t have to line up the camera on top of the printer itself and the print results are much better and don’t depend on how bright the screen. In my opinion, the Tomy KiiPix Smartphone Picture Printer is more of a toy than a photo printer. Yes, it prints photos, but the results won’t impress.

Price: $39.99
Where to buy: Amazon
Source: The sample for this review was provided by Tomy.

Filed in categories: Reviews

Tagged: , ,

KiiPix Smartphone Picture Printer review originally appeared on The Gadgeteer on October 26, 2018 at 10:00 am.

Note: If you are subscribed to this feed through FeedBurner, please switch to our native feed URL http://the-gadgeteer.com/feed/ in order to ensure continuous delivery.

The Monet grip adds 3-in-1 functionality to your smartphone

NEWS – There is a multitude of smartphone grips on the market today. The Monet 3-in-1 smartphone grip is just a little different. It not only acts as a grip for your smartphone but, it also doubles a wallet and kickstand.

Monet is made of leather and adheres to the back of your smartphone using a 3M adhesive backing that won’t leave residue when removed.

The slim profile wallet pocket is capable of holding up to 3 cards or cash. And the slide-out grip slides flat when your phone is in your pocket.

The grip can also be used as a convenient kickstand. Perfect for video calls or watching movies or videos.

Because the Monet 3-in1 grip is made of leather, it adds a bit of luxury to your phone. And it’s available in a bevy of different colors to match your phone or case. The colors include Dark Teal, Lilac, Peach, Steel Grey, and Underwater Blue.

The Monet 3-in-1 smartphone grip sells for $19.95 and is available on The Grommet.

Filed in categories: News

Tagged:

The Monet grip adds 3-in-1 functionality to your smartphone originally appeared on The Gadgeteer on August 22, 2018 at 8:00 am.

Note: If you are subscribed to this feed through FeedBurner, please switch to our native feed URL http://the-gadgeteer.com/feed/ in order to ensure continuous delivery.