ZAGG InvisibleShield Glass+ VisionGuard iPhone Xs Max screen protector review

REVIEW – The new iPhone Xs Max costs a trillion dollars so you better protect it, especially the display. One solution is a ZAGG InvisibleShield glass screen protector, but the one I’m going to tell you about isn’t just any ordinary screen protector. This one also blocks blue light. Let’s check it out.

What is it?

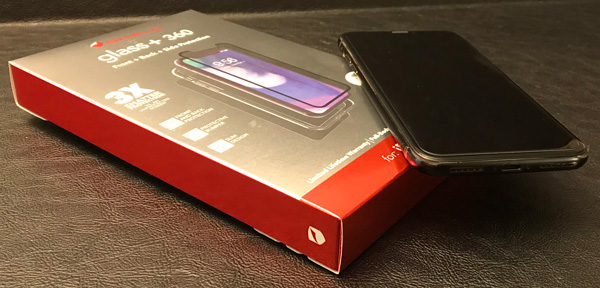
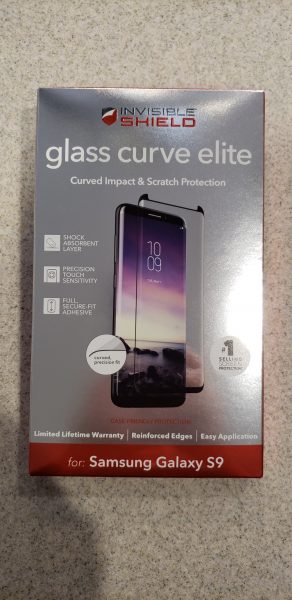
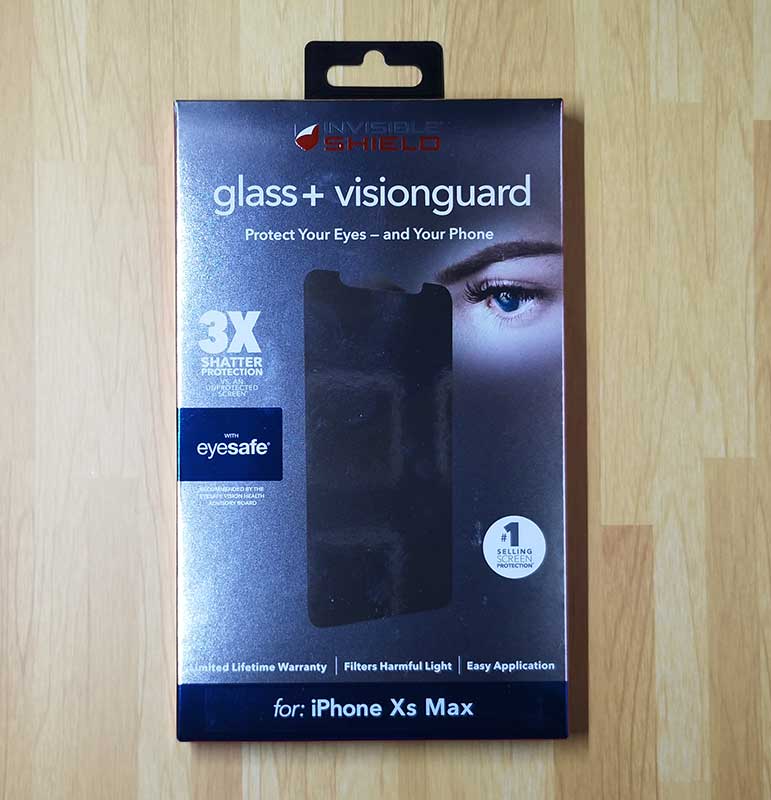
The ZAGG InvisibleShield Glass+ VisionGuard is a glass screen protector for the iPhone Xs Max and other phones.
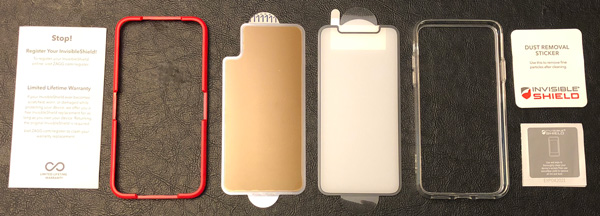
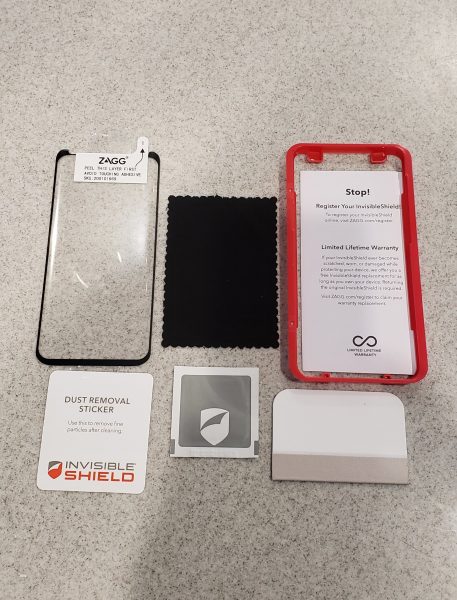
What’s in the box?

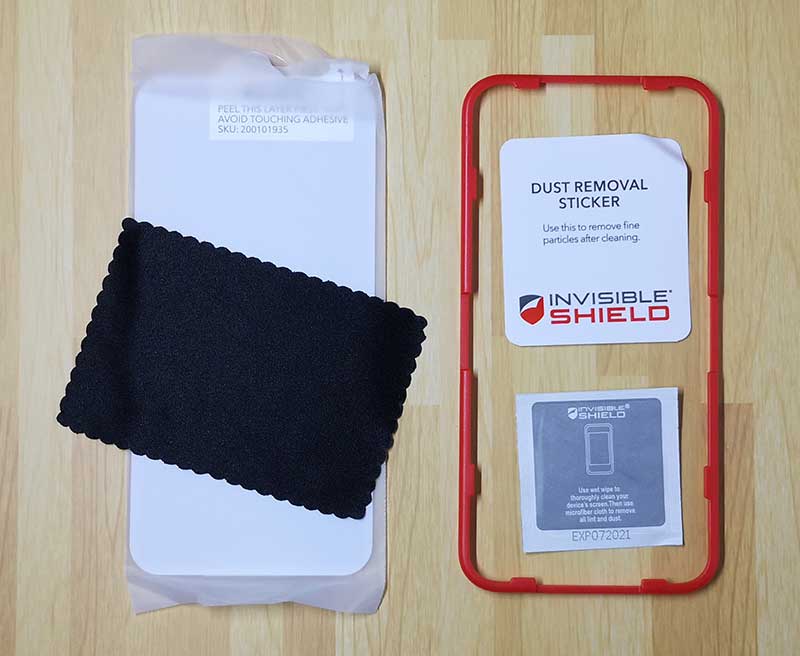
InvisibleShield Glass+ VisionGuard screen protector
Instructions
EZ Apply tray
Microfiber cloth
Cleaning wipe
Dust removal sticker

Installation

I went into this review expecting to be disappointed because every screen protector that I’ve either installed or had someone install for me has resulted in at least a few specs of dust or bubbles under the glass. But ZAGG sent me this protector without even asking if I was interested in reviewing it. And as fortune would have it, a few days later my iPhone Xs Max arrived just begging for protection. So I thought what do I have to lose?

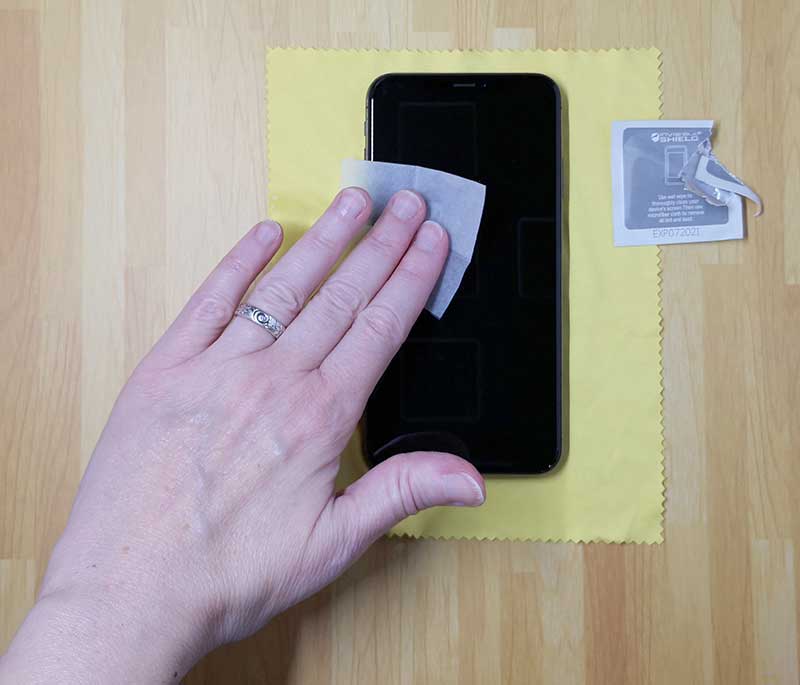
I followed the instructions which tell you to clean the screen with the included wipe. I then used the bright lights of my SHOTBOX to make sure the screen was completely free of dust specs.

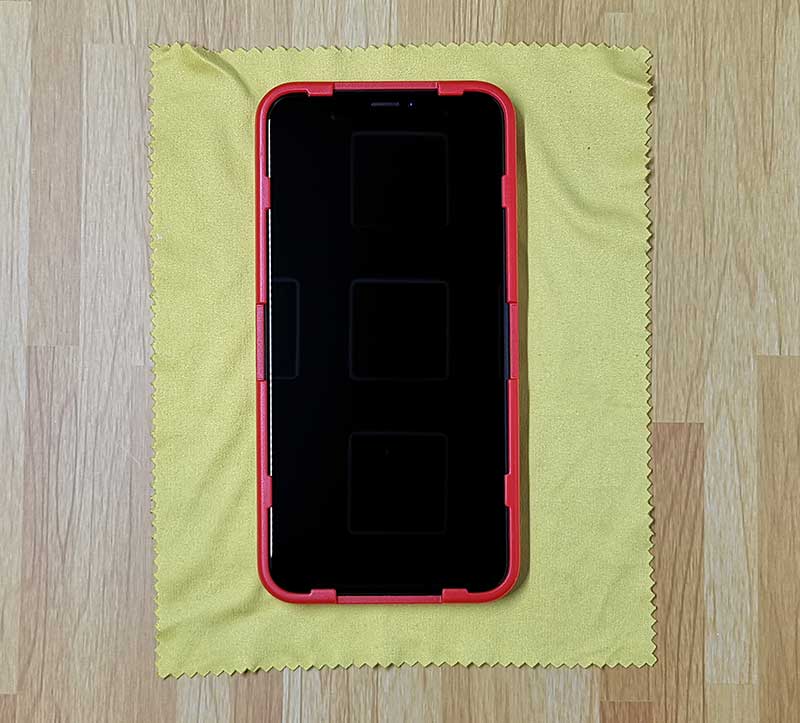
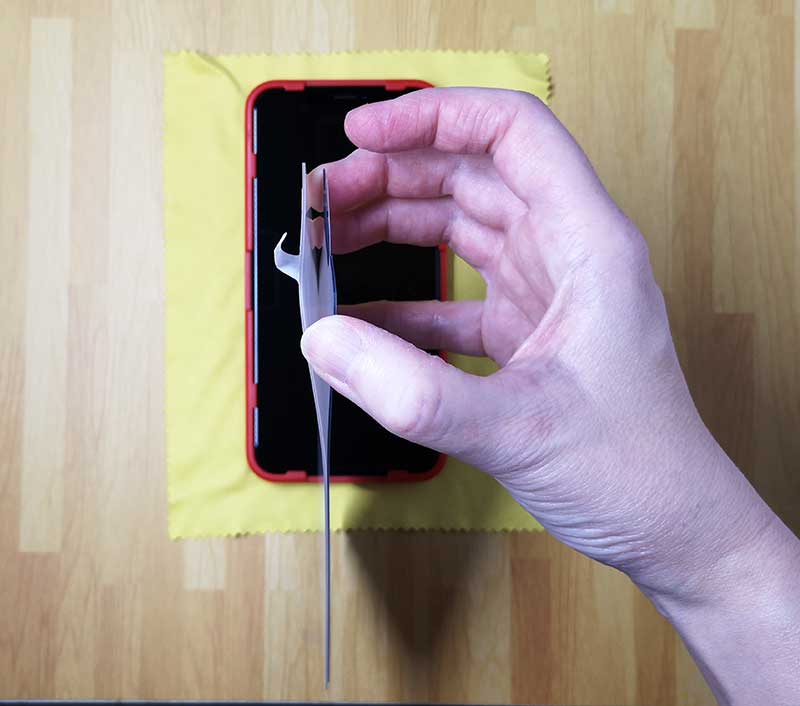
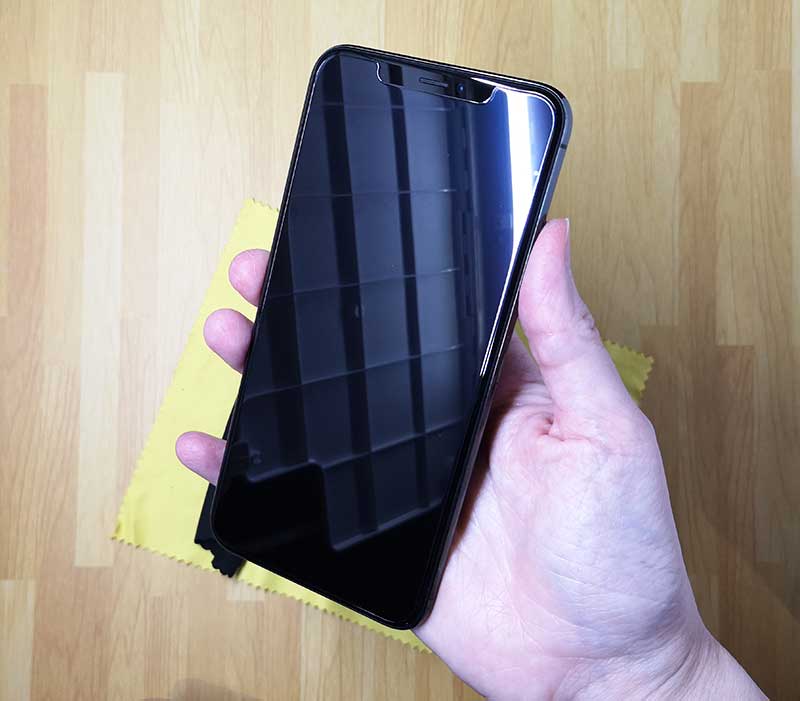
For the next step, I placed the EZ Apply Tray over the iPhone like you see above. That yellow cloth under the iPhone does not come with the screen protector, that’s just a glass cleaning cloth that I use to keep things clean.

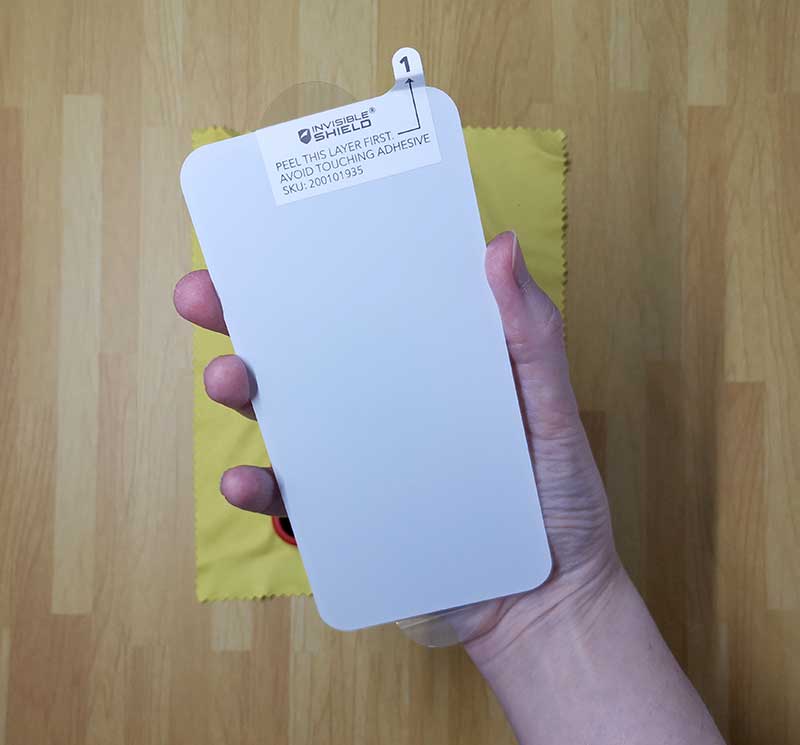
The next step instructions you to peel the #1 protective liner off the InvisibleShield.

This protective liner is as thick or thicker than the actual screen protector and I felt like I was going to snap the glass protector in half trying to remove the line because pulling the two pieces apart caused both pieces to flex. But the glass didn’t snap, so on to step four.

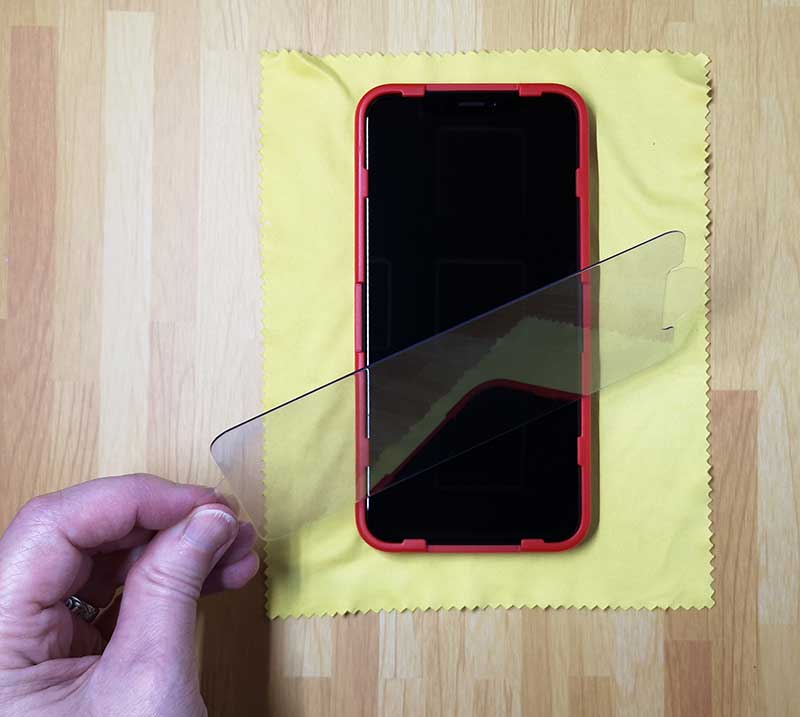
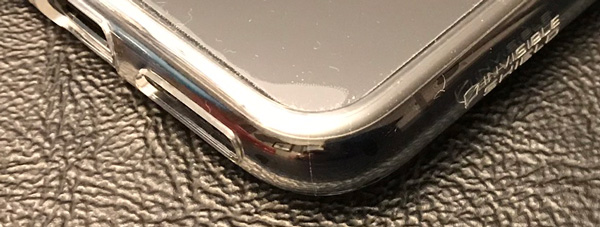
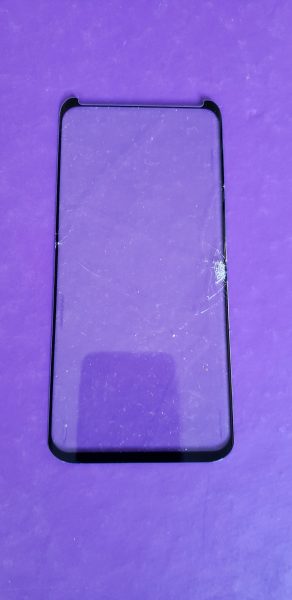
Here’s the InvisibleShield with the protective liner removed. The trick is to place it quickly before any dust can fall on it or the phone’s display.

Luckily the EZ Apply Tray makes positioning the screen protector pretty much fail proof. One the protector is placed, you just touch the center of the protector and it applies itself. Seriously. It was that easy.

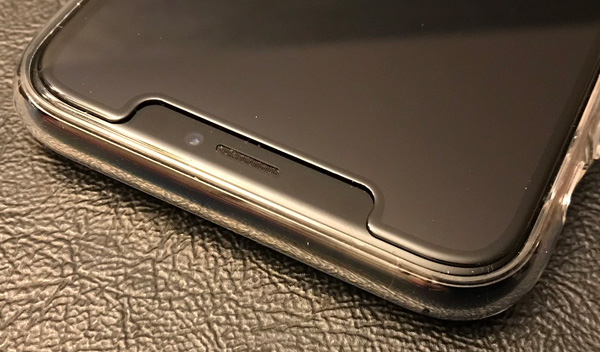
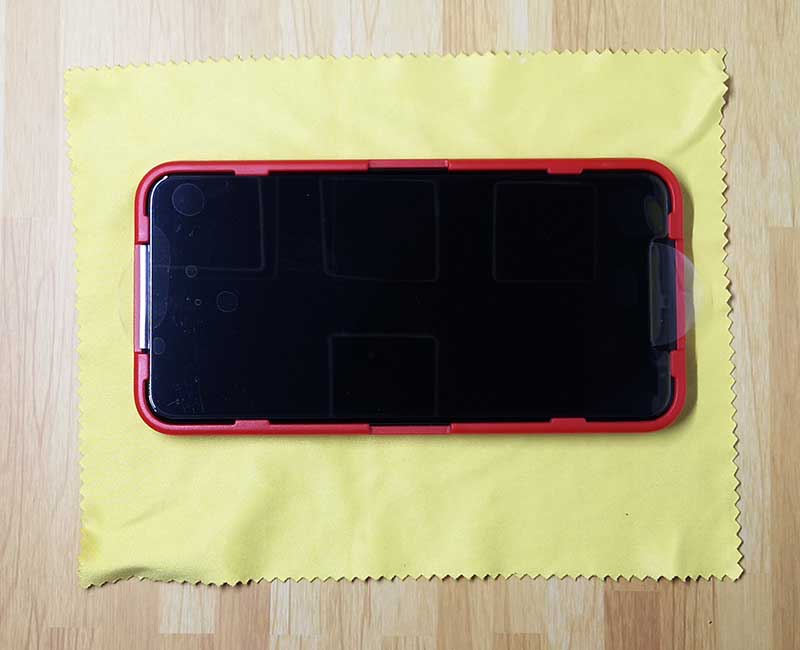
My first EVER perfectly applied screen protector. No dust, no bubbles, no ugly halo around the edges that won’t stick. It was perfect and has turned me into a screen protection advocate when I have been a dissenter in the past.

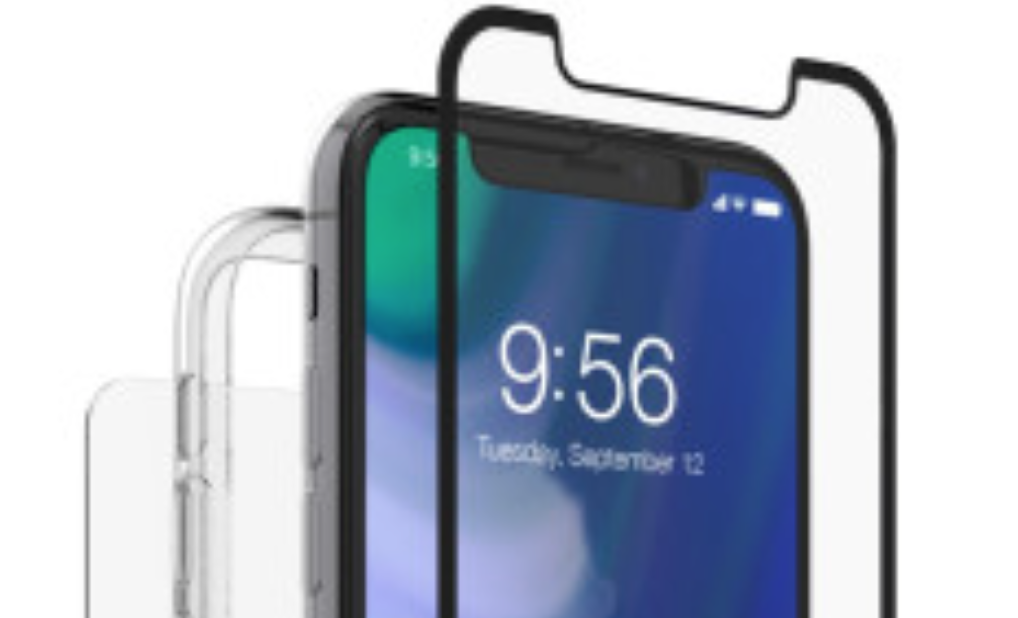
In addition to the easy application, the InvisibleShield screen protector offers a feature that I’ve not seen offered with other screen protectors. It has a special EyeSafe layer that filters out blue light which is known to cause eye irritation, sleep disruption, blurred vision, and more.

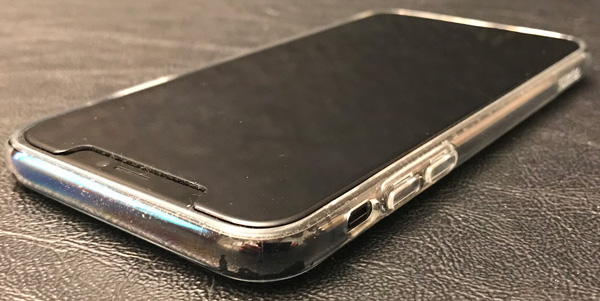
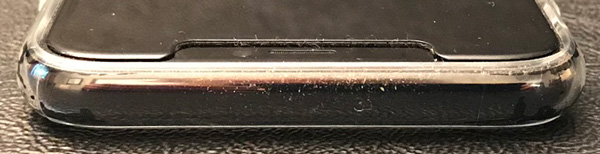
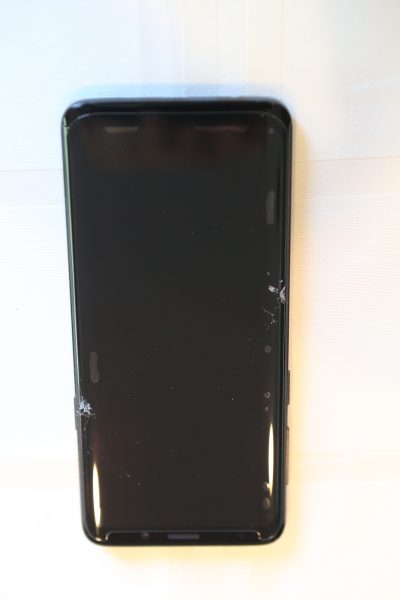
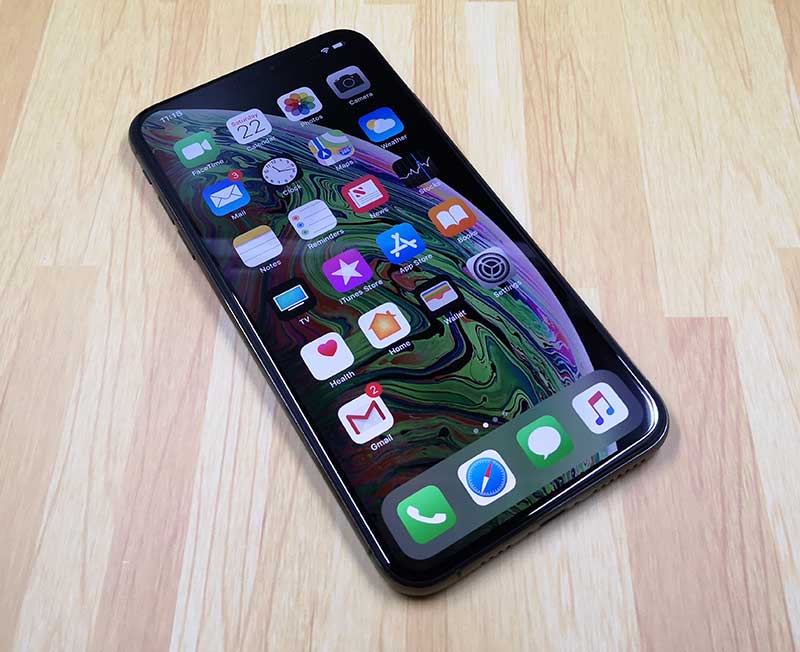
The image above shows the iPhone’s display before the screen protector was installed and the picture below is with the screen protector installed.

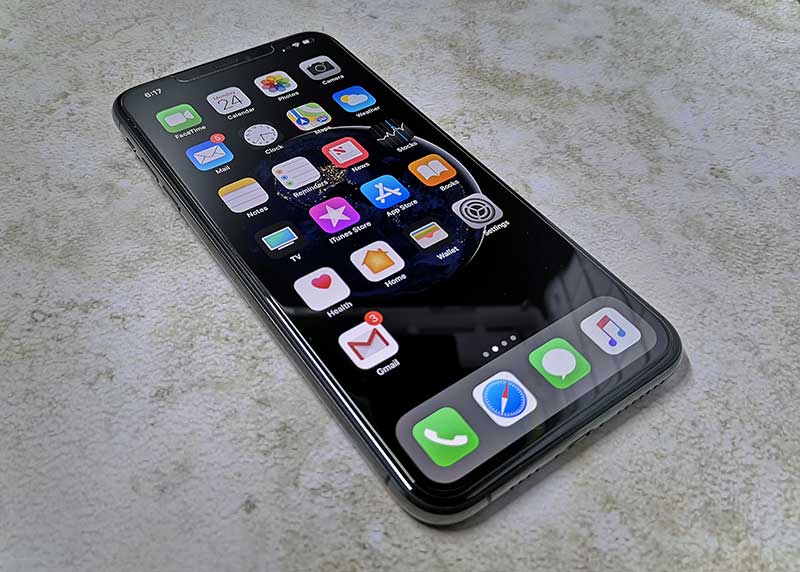
I thought it might make the screen look dimmer or even amber colored, but nope, the built-in blue light filter layer does the job without affecting the way the screen looks at all. True colors are preserved, even blues. Color me impressed.

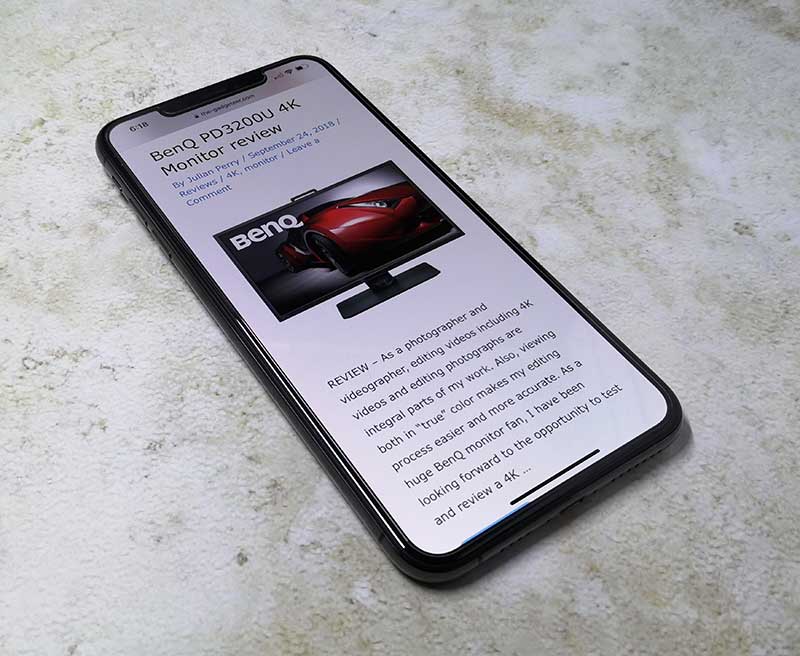
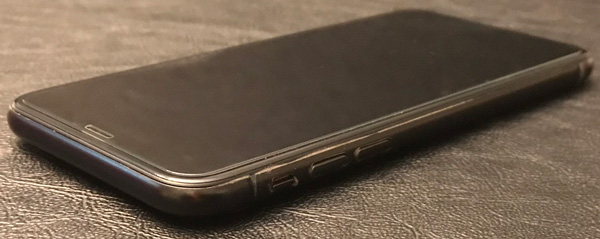
To my eyes, the iPhone Xs Max display with or without the screen protector looks the same which is all I can ask of a screen protector. This protector doesn’t hinder touch sensitivity either. It provides 3x the shatter protection vs. an unprotected screen and it resists smudges too.

What I like

  • Simple to install
  • Filters blue light without affecting True Color
  • Lifetime warranty

What needs to be improved

  • Expensive

Final thoughts

I didn’t think I’d ever sing the praises of a screen protector but after my experience with the ZAGG InvisibleShield Glass+ VisionGuardscreen protector for the iPhone Xs Max, I think I’ve become a convert. Now if they can just get the price down a bit. $45 is a lot to pay, but if that’s the cost for peace of mind, I suppose it isn’t completely out of line.

I ended up returning the iPhone Xs Max to Apple, but I look forward to trying another ZAGG screen protector for my next phone so that I can provide a long-term review update.

Price: $44.99
Where to buy: Amazon
Source: The sample for this review was provided by ZAGG.

Filed in categories: Reviews

Tagged:

ZAGG InvisibleShield Glass+ VisionGuard iPhone Xs Max screen protector review originally appeared on The Gadgeteer on October 18, 2018 at 12:00 pm.

Note: If you are subscribed to this feed through FeedBurner, please switch to our native feed URL http://the-gadgeteer.com/feed/ in order to ensure continuous delivery.

ZAGG InvisibleShield glass+360 screen protector review

REVIEW – I’m a huge screen protector advocate. I can’t tell you the number of times they have saved my, my wife’s, and many other clutzy friend’s and family’s smartphones. It is amazing how well they work, taking the bullet for your precious device, leaving your screen alive and well. In this case, ZAGG has released a whole-phone, barely-there solution, protecting not only the front and back glass but the sides and edges of your phone as well. The InvisibleShield glass+ 360 is engineered to protect your entire iPhone in hardened tempered glass and a minimal rubber bumper case.

What is it?

As I stated above, the ZAGG Glass+ 360 provides whole-phone, relatively unobtrusive protection to your all glass and metal iPhone X. The Glass+ 360 has three components: smooth tempered glass on the front, hybrid glass on the back, and a clear, durable bumper that protects the sides and corners of your phone from bumps and drops.

Let’s face it, as smartphones have evolved into something we tech/sci-fi-nerds only dreamed of a decade ago, they have become increasingly slippery, fragile, and very expensive to repair or replace. The iPhone is a prime example of this; even though Apple continues to harden their smartphones…gravity and concrete typically win.

Design and features

ZAGG has engineered the InvisibleShield glass+360 to complete encase and protect your very expensive iPhone from the outside world.

What’s in the box

  • Glass+ 360
  • EZ Apply Tray
  • Cleaning Wipe
  • Microfiber Cloth
  • Dust Removal Sticker
  • Instructions

Installation

ZAGG includes their EZ Apply technology to help you install the screen and back protectors. This system includes the red EZ Apply Tray seen above.

The tray and wings on each of the sheets of glass are supposed to help you align and set the protectors on your smartphone perfectly on the first try…at least that is the hope/theory. For me, the tempered glass front went on seamlessly.

But try as I may, I could not get the back glass on the InvisibleShield glass+ to adhere to the bottom corners and edge. Lynn had similar issues when reviewing the ZAGG’s InvisibleShield curved glass screen protector for the Samsung Galaxy S9That said, the problem does not seem to be getting worse and the bubble has not become any bigger or gotten dust between the protector and the back glass of the iPhone X.

I have installed nearly a hundred of screen protectors in my day from the plastic film on my Palm Vx to the high-tech curved glass of today. I do this for myself, family, friends, coworkers, etc. Not to toot my own horn but I’m a screen applying ninja…no dust or bubbles while getting the placement/alignment spot on more often than not. So, I was frustrated and disappointed I could not get the back protector to seat properly no matter what I tried.

The front glass is perfectly sized for the screen with a black edge and cutout for the notch camera assembly. The surface coating they use on the glass is silky smooth and extremely smudge resistant. I can’t say the same for the back ‘hybrid’ glass, that is a fingerprint magnet. But that is a minor thing being the back vs the screen.

The left side of the bumper case has a cutout for the mute switch and push-throughs for the volume buttons.

The right side has a push-through for the power button.

The base has cutouts for the iPhone’s lightning port and speakers.

As you can see, dust and bits collect under the clear bumper case. This is the situation after about a week of living in my pocket. But the case itself can be easily removed, cleaned, and reinstalled.

The bumper case extends past the front and back of the iPhone providing extra protection for both faces.

What I like

  • Well designed
  • 360 protection
  • Includes EZ Apply technology
  • Excellent feel and smudge resistance
  • Lifetime warranty
  • Compatible with wireless charging

What needs to be improved

  • Expensive
  • Back glass failed to seat correctly

One More Thing…

The InvisibleShield glass+360 is expensive to say the least…$70 for two pieces of glass and a rubber bumper case. I grant you the whole system is well engineered with excellent material quality but just the same, that is seriously insane in today’s world. Where you can find the pieces to create your own ‘system’ on Amazon for about 10 bucks. Before I received the Glass+360, I had been using a $3 screen protector (actually a 3 pack for $8) and Slickwrap film on the back I bought on sale for $8 for two (pictured above). About as minimalistic as you can get.

And as the story goes, this extremely minimal setup was not only inexpensive but effective. It protected my iPhone X from several serious falls. One of the times, I dropped my iPhone from approximate six (6+) plus feet off of an elliptical machine, where it bounced off various parts of the machine before coming to rest on the concrete floor below. I thought I was totally horked seeing the carnage the screen protector had taken, but low and behold once I removed the glass protector and back film the phone looked new/untouched. Now that is rock solid, barely-there, nearly naked protection.

Once I got home, I slapped on another $3 protector from the box, applied the spare film and I was good to go…

Final thoughts

Even at half the cost, I would have a difficult time recommending the ZAGG InvisibleShield glass+360 case and screen protector system to anyone. It is just too expensive with issues adhering to some of the surfaces. I grant you it feels very nice on the iPhone X, is well made, easy to install, insanely clear, and comes with a lifetime warranty but still. I have used many ZAGG products over the years and they rarely disappointed me and really the InvisibleShield glass+360 doesn’t either…it really just comes down to the bang for the buck.

Price: $69.99
Where to buy: InvisibleShield Glass+360 is available from ZAGG.
Source: The sample of this product was provided by ZAGG.

The post ZAGG InvisibleShield glass+360 screen protector review appeared first on The Gadgeteer.

Filed in categories: Reviews

Tagged:

ZAGG InvisibleShield glass+360 screen protector review originally appeared on The Gadgeteer on July 5, 2018 at 9:00 am.

Note: If you are subscribed to this feed through FeedBurner, please switch to our native feed URL http://the-gadgeteer.com/feed/ in order to ensure continuous delivery.

ZAGG InvisibleShield Glass Curve Elite Samsung Galaxy S9 screen protector review

I have used many different screen protectors on my phones, watches and digital camera screens over the years.  The majority have been the peel and stick type that you apply with a water base.  I have used tempered glass screen protectors and a couple of phones and currently on my Garmin Fenix 5s.  I do not, however, have a screen protector on my current phone which is a Samsung Galaxy S9.  I have been hesitant to put one on because I figured that curved screen would give me issues.  Does the new  InvisibleShield Glass Curve Elite from ZAGG make this an easy task?  Let’s find out!

What is it?

The ZAGG Glass Curve  Elite is a tempered glass screen protector.  The one I have was made specifically for the Samsung Galaxy S9.  They make it for the S9 Plus and several other models of Samsung including the S8,  S8 plus and the Note 8.

Hardware Specs

  • It has a custom curved fit to specifically fit the model of phone it was made for.
  • It has a built-in shock absorbent layer that helps prevent the impact of an unexpected drop from shattering your phone.
  • Smooth tempered glass that does not impact the clarity of the screen.
  • Provides impact and scratch protection
  • Provides for precision touch sensitivity (you do have to increase the touch sensitivity in your phone settings before installing the protector)
  • It has a smudge-resistant finish

What is in the box?

  • The screen protector
  • A micro fiber  cloth
  • An alcohol wet wipe
  • Instruction book
  • Plastic template to help install the protector on your phone
  • Dust removal sticker
  • A stiff card with cloth on one end to help set the glass to the phone.

Installation process

First off, and I cannot say how important this is, please be sure you are in the most dust free area in your home.  Unlike the peel and stick type protectors, if you get a dust particle under the middle of the protector you will have little to no chance to get it off without breaking the protector.  You can pull back the edges pretty easily to fix bubble and remove dust, but to pull it back all the way to the middle really risks cracking the glass.  That is essentially what happened to me on the first time I tried to install it.  The next time I used the tried and true method of using the bathroom.  I ran the hot shower for a few minutes to steam up the room and remove the dust particles from the air.  I then followed the next steps of shutting the phone off, wiping it down with the alcohol wipe and then wiping with the micro fiber cloth.  I finally used the dust removal sticker and went over the entire screen with it.

The next step was to place the red plastic template over the phone.  In the picture above it goes over the top of the phone exactly in that layout.  It really does help you to position the protector exactly where it should be on the phone.   I then peeled the back sticker off the protector and used the two tabs on the top and bottom of the front of the protector to position the protector.   Once in place, I pulled the top sticker off the top of the template holding it in place on the bottom of the screen.

At this point, you take the hard card and using four fingers, slowly slide the cloth side of the protector towards the top of the phone.  Once the middle of the protector is set, you flip the hard card over and use the non-cloth covered side to slide up the edges.   Watch the video below to see how the installation should work.  They certainly make it seem easy!


What I like

I love the idea of having a tempered glass screen that will fit the curve of the newer Galaxy phones.  I often find that the peel and stick type protectors leave the screen feeling slightly ‘funny’ and it was really noticeable on my Note phones when I used the stylus.  Glass protectors also tend to be much clearer and less susceptible to scratches and ‘dents’ that the plastic type protectors would often get.

What needs to be improved

Unfortunately for me, even with three different tries on installing this protector it just did not work for me.  The first time I will totally blame myself.  In my excitement, I tried to install the protector in my breakfast area.  We have a Shetland sheepdog in our home and he is a walking dust magnet.  Even going through the whole alcohol wipe, microfiber wipe, and dust sticker, I still had a ton of dust under the protector.  The sides also failed to seat at all and that could have been due to the amount of dust.   My second attempt I used the bathroom process described above.  I was getting bubbles under the corners and having some difficulty again trying to get the sides of the protector to seat on the phone.  Somehow in the process of trying to seal it the screen cracked on the side.  You can see a picture of it below.

Third time is a charm, right?  Well NO, darn it.  Things were really going well this time.  I was still having issues trying to get the sides to seal on the phone.  I had flipped the card around to the non-cloth covered side and was repeatedly trying to push down and get those sides to de-bubble.  I guess I must have been too firm and I got a crack again.  You can see where I had bubbles on the sides of the phone on the top right and just above the other crack on the left.  For a protector that costs $50 you want to get it right the first time.

Final thoughts

I really wanted this screen protector to work.  Even with three attempts, I could not make it work.  This screen protector is extremely expensive at $50 and I would have spent $150 and still had no protection on the screen of my phone.  The video makes it seem effortless, but I did not find it to be that way at all.  I just can’t recommend this protector unless you feel like you have that special touch and really want to try it yourself.

Price: $49.99
Where to buy: ZAGG and Amazon
Source: The sample for this review was provided by ZAGG.

The post ZAGG InvisibleShield Glass Curve Elite Samsung Galaxy S9 screen protector review appeared first on The Gadgeteer.

Filed in categories: Reviews

Tagged:

ZAGG InvisibleShield Glass Curve Elite Samsung Galaxy S9 screen protector review originally appeared on The Gadgeteer on May 28, 2018 at 10:00 am.

Note: If you are subscribed to this feed through FeedBurner, please switch to our native feed URL http://the-gadgeteer.com/feed/ in order to ensure continuous delivery.