The Monster Vision 1080p+ is an action / sports camera that can capture video at 1080P resolution. I recently reviewed my first action cam (the Andoer 4K action camera) and wasn’t overly impressed. When I was offered the chance to review another camera by a well-known name, I was happy to check it out. Let’s take a look.
What is it?
The Monster Vision 1080p+ action cam is a 1080P camera that can capture video with audio, and images. This camera can also be used as a dashcam.
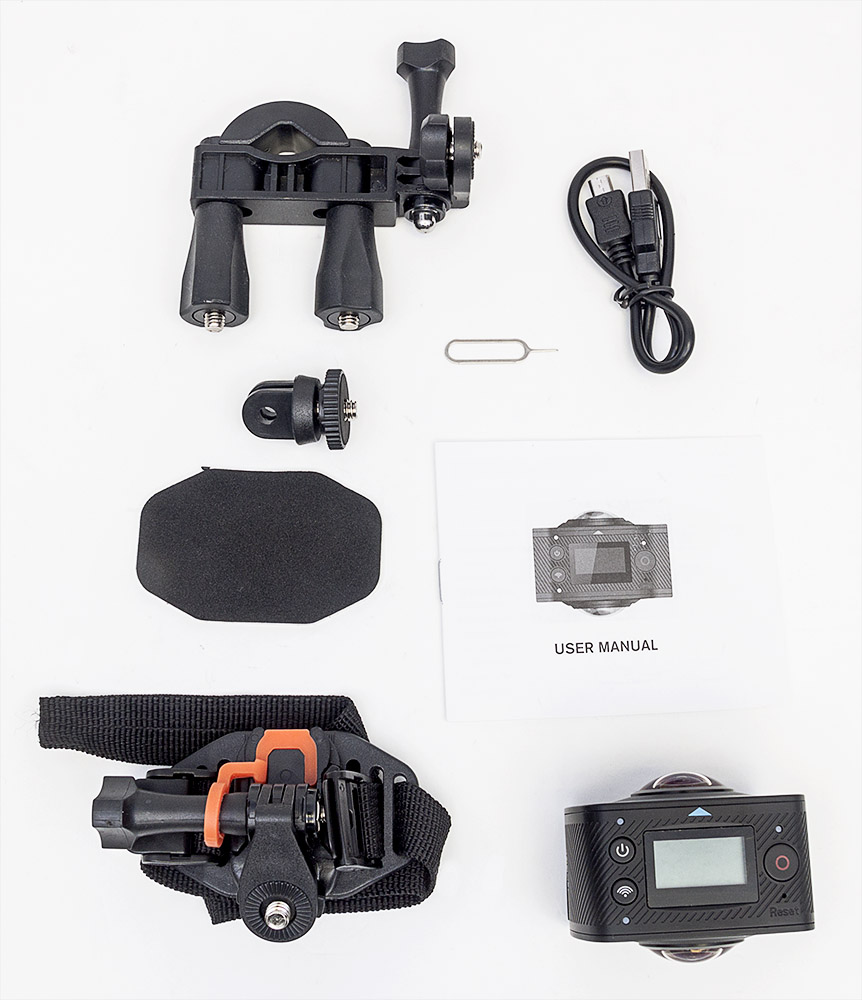
What’s in the box?
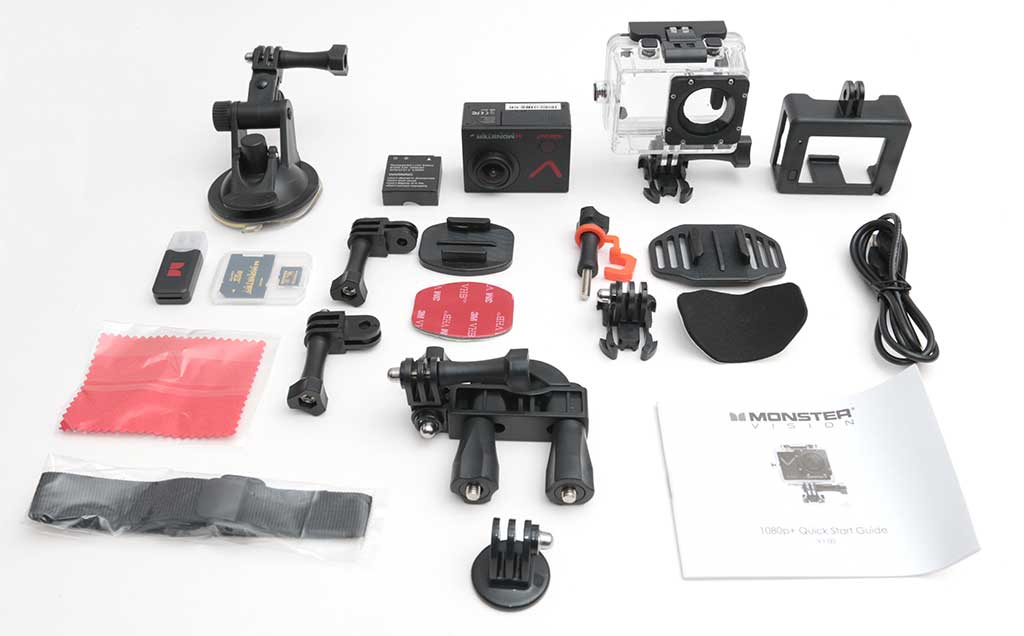
Monster Vision 1080p+ action cam
16GB micro SD flash card
micro USB charging cable
Waterproof housing
Variety of mounting hardware for handle bars, tripod, window and more.
Quick start guide
Hardware specifications
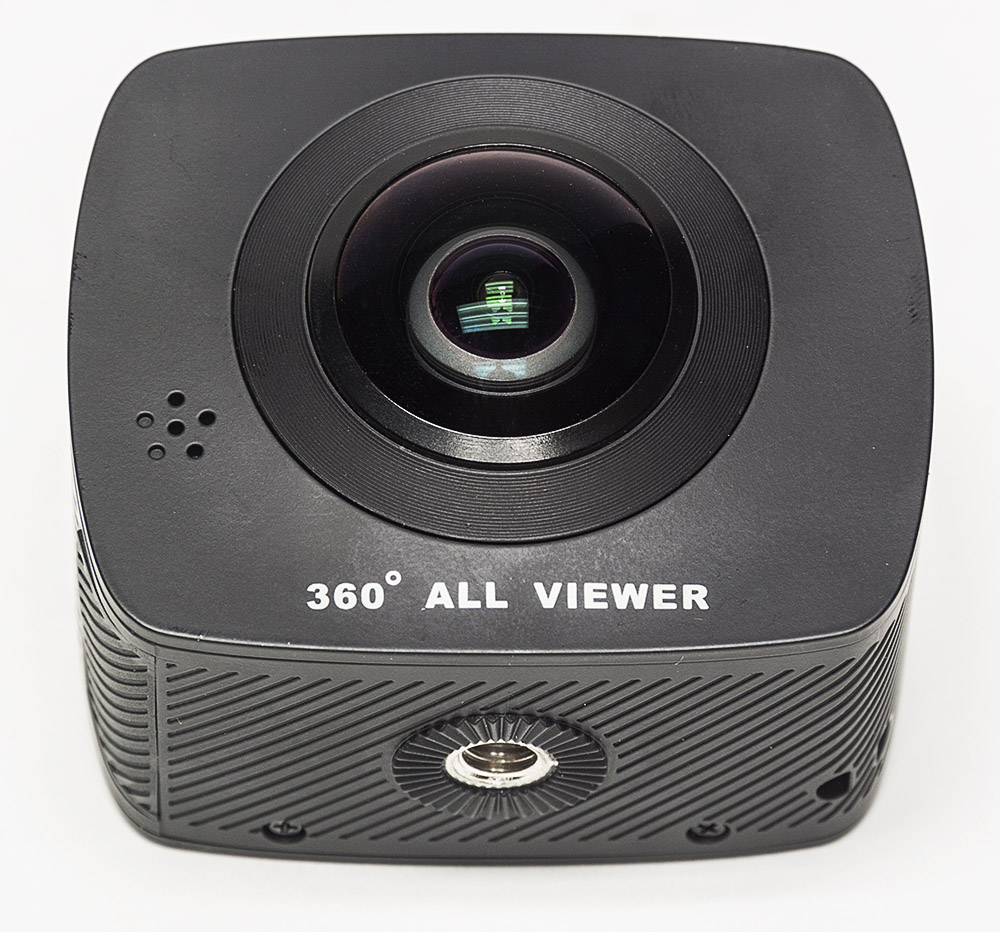
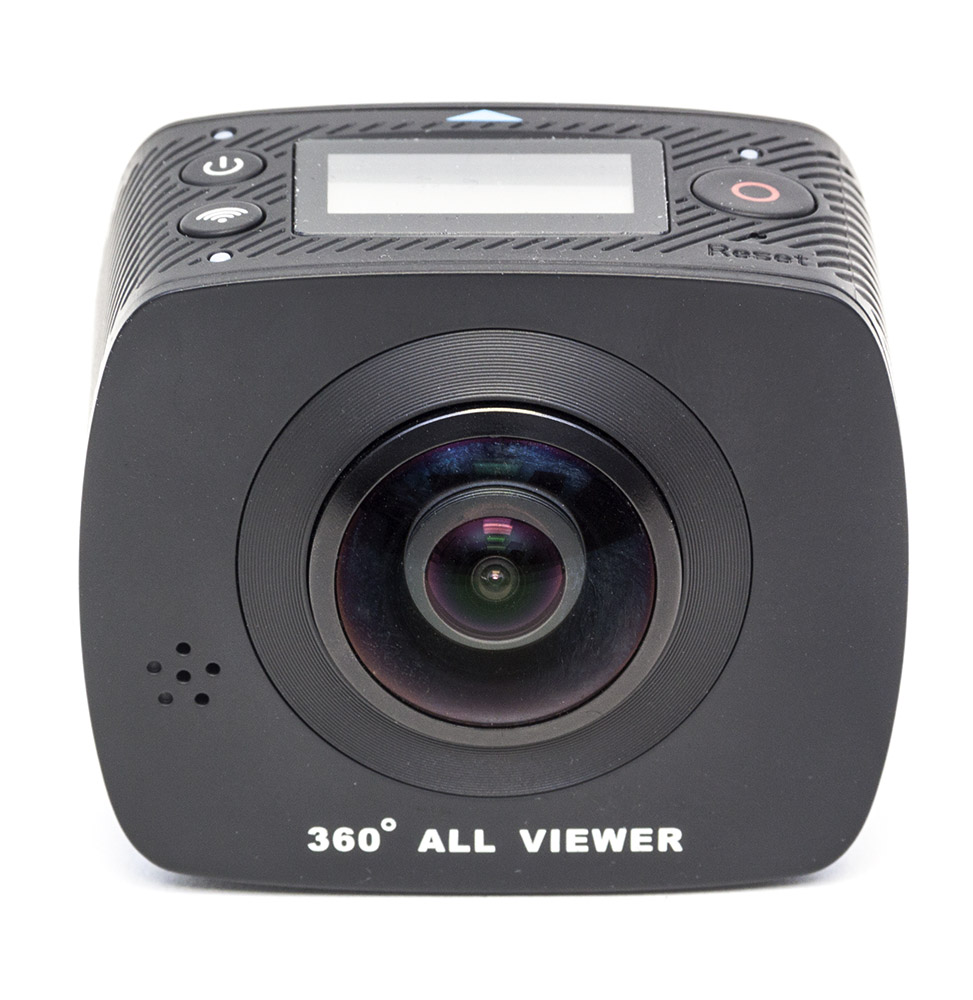
Optics: 8MP CMOS 170 degree wide angle lens
Video: 1440p 1920×1440 30fps, 1080p 1920×1080 6fps, 720p 1280×720 60fps & 120fps
Video Format: MOV (H.264)
Photo: 3,5,8,10 & 12MP
Photo Format: JPEG
WiFi control via mobile app
Memory: 16GB micro SD card is included
Battery: Li-ion 1200mAh
Design and features

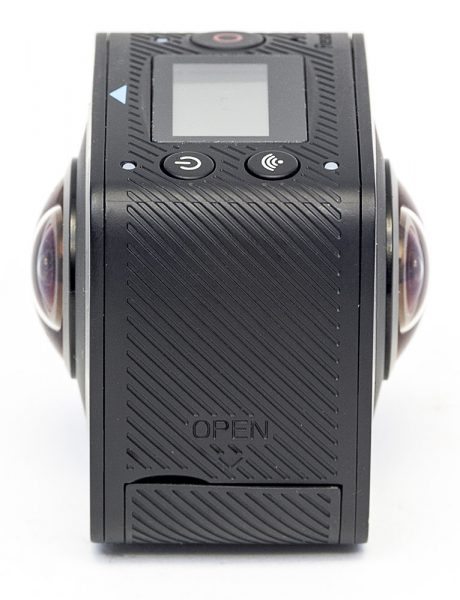
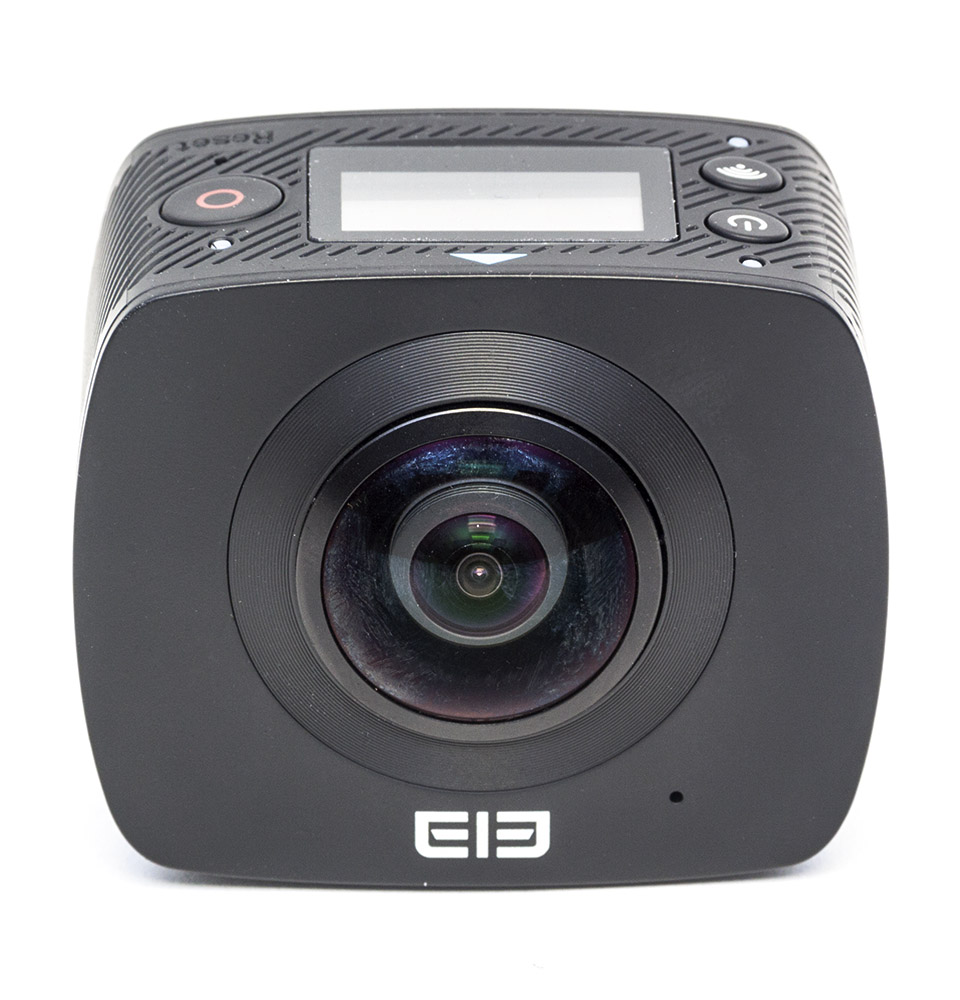
The Monster Vision 1080p+ action cam looks very similar to the 100’s of other action cameras on the market. It’s a rectangular black plastic camera with a lens on the front. Also on the front in the lower right corner is a charging and recording status LED. It lights up in blue while charging and blinks red while recording.

On the left side of the camera is the WiFi toggle button which doubles as the down button when navigating through on-screen menus.

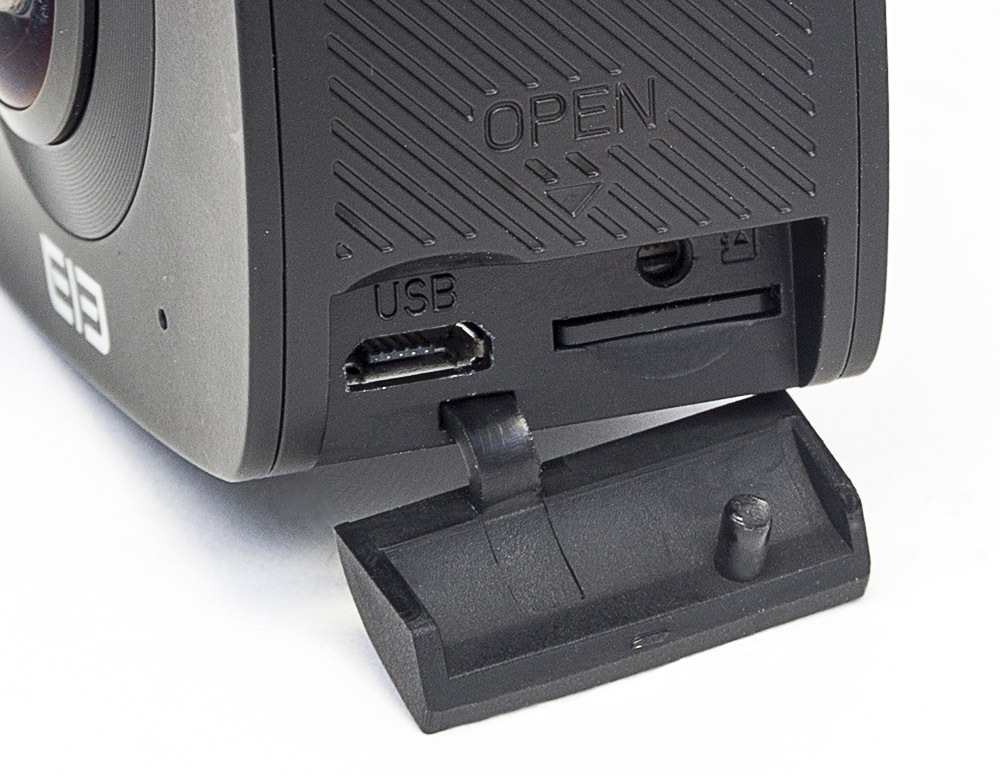
On the opposite side of the Monster Digital action camera, you will find a speaker at the top and a micro SD card slot below it. A 16GB card is included with the camera. There’s also a micro USB port for charging and a mini HDMI port if you want to connect the camera to a display. Note that a micro HDMI cable is NOT included with the camera.

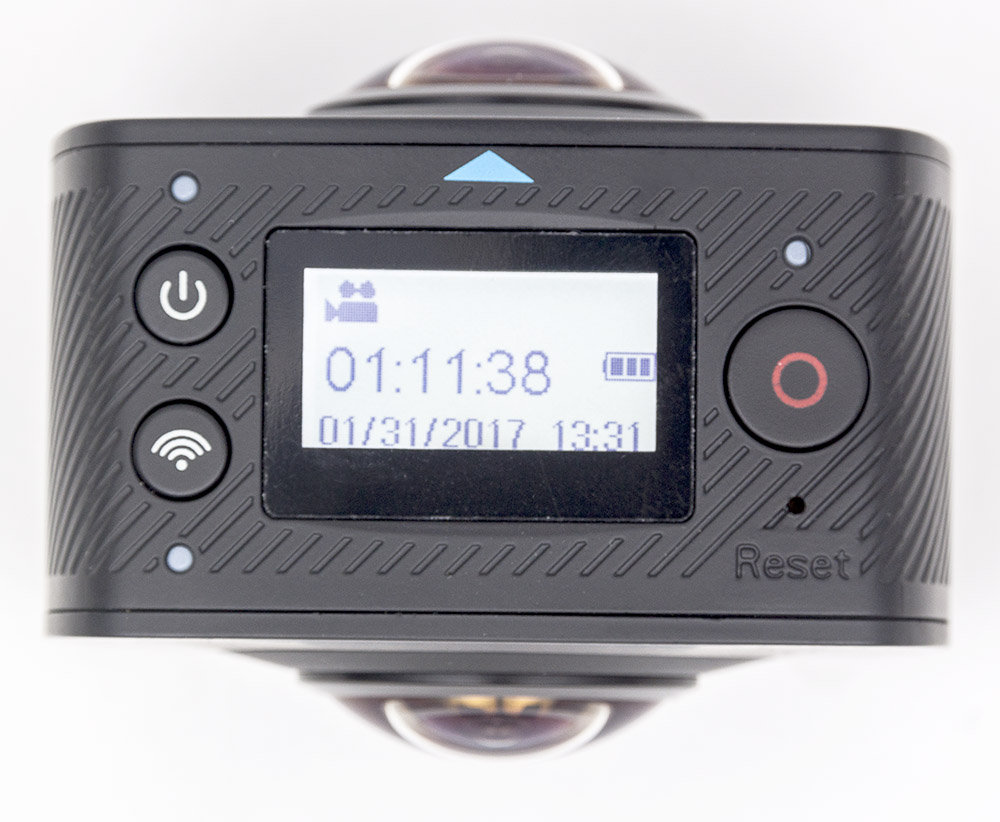
On the back of the action camera is the 2-inch color LCD display. In the upper left corner is the Power / recording status LED which glows solid red with the camera is powered on, and blinks while recording. On the right side of the LCD display is the Display / Menu button. This button can be used to toggle the display off and on and brings up the camera’s settings menu when you’re not recording video.

The menus are pretty standard for an action camera. You can switch video modes, resolutions, tweak white balance, etc.

On the bottom of the camera is the battery compartment. Note that the battery is rated for only about 1 hr and 75 minutes of video capture per charge and it takes 2-4 hrs to recharge it.

And on top is the power / mode button and the OK button which is used to select items in the menus.


Operating the camera
Like most action cams, operating it is pretty simple. Just get in the mode you want and start recording. For the Monster Digital camera, you can switch modes just by pressing the power / mode button on the top of the camera. Holding down the button for a few seconds toggles power and when the camera is on, pressing the button will cycle through video, photo, dashcam and playback modes. The camera is supposed to remember which mode you were in and will start back in that mode upon cycling power. I found this to be true, but only for video and dashcam modes. If you turn off the camera in photo or playback mode, it starts back up in video mode.
Controlling the camera via WiFi and the Monster Digital mobile app


To control the camera remotely, you have to install the free Monster Digital mobile app, turn the camera on, press the WiFi button on the side, switch to that WiFi connection on the mobile device, type in the password and go back to the app. You’re then able to remotely change settings, see a live view of the camera, snap photos, capture video and even play back photos and video.

Playing back video is a little wonky though. Most of the time I could hear the audio, but the image remained black.
Sample images


The photo capturing capability of the Monster Digital 1080p+ is ok. I wouldn’t consider using it as my primary camera, but in a pinch, it’s better than no camera at all.
Close up images like the first image on the left will show some slight bulging due to the wide angle lens. You don’t notice this with longer range shots.
Sample videos
I think this camera’s video quality which I had set at 1080p 60fps is pretty good. I’m not going to say that it blew me away because I feel like my Nexus 6P smartphone does a much better job capturing super clear video. But for a $100 camera, it’s not bad.
There are a couple things to mention though. First of all, the camera has an image stabilization feature that can be toggled on and off in the menus. I captured video with it enabled and disabled and could not tell any real differences. In the video sample above, the feature was enabled as I was walking around in the woods with the camera attached to the IK Multimedia iKlip Grip Pro. I was also not overly impressed with the audio capture quality as it sounds a bit fuzzy and muffled to me.
Final thoughts
Is the Monster Vision 1080p+ the best action camera on the market right now? I think it’s safe to say that it isn’t. But when it’s all said and done, I do think the Monster Vision 1080p+ action cam is a decent sports / action camera that is easy to use, captures good quality video and isn’t overly expensive.
Source: The sample for this review was provided by Monster Digital. Please visit their site for more info.
Product Information
| Price: | $99.99 |
| Manufacturer: | Monster Digital |
| Pros: |
|
| Cons: |
|
Filed in categories: Camera Gear, Reviews
Tagged: action camera
Monster Vision 1080p+ action cam review originally appeared on on March 3, 2017 at 7:06 am.
Note: If you are subscribed to this feed through FeedBurner, please switch to our native feed URL http://the-gadgeteer.com/feed/ in order to ensure continuous delivery.