AUKEY Floor Lamp (LT-ST35) review

I spend a lot of time looking at devices like smartphones, tablets, and laptops that provide their own light. But for those times when I am flipping through an actual magazine or book or writing in my notebooks, I like to have some extra light to help me see what I’m doing. This is especially true when I’m sitting on the couch where I don’t have a ceiling light shining directly down on me. For this reason, I’ve been on the lookout for a small floor lamp for a long time and was happy to accept an offer from AUKEY to review their space-saving LT-ST35 floor lamp. Let’s check it out.

What is it?

The AUKEY Floor Lamp (LT-ST35) is an adjustable floor lamp that uses long-lasting power-saving LEDs instead of fluorescent style bulbs.

Specifications

Model: LT-ST35
Lumens: 1000
Color Temperature: 3000K/4500K/6000K
Color Rendering Index: >80 Ra
Input: AC 100–240V 50/60Hz
Power Consumption: 12W
LED Type: SMD 5730
Materials: ABS, steel, and silicone
Lamp Height: 1.80m / 70.9″
Lamp Base Diameter: 270mm / 10.63″
Weight: 3.2kg / 7.05lb

What’s in the box?
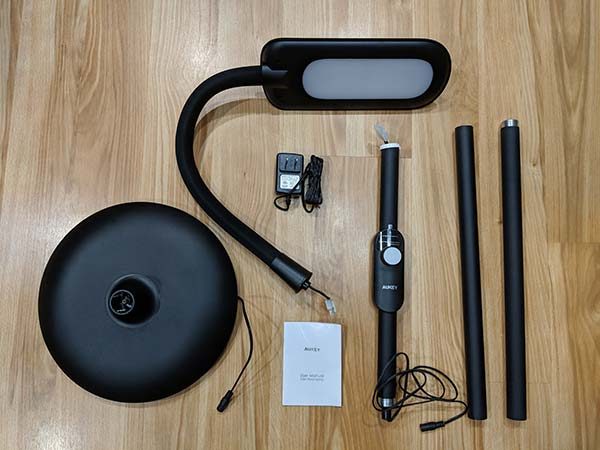
Parts to assemble the floor lamp
Power adapter
Assembly instructions
User manual

Let’s build a lamp!
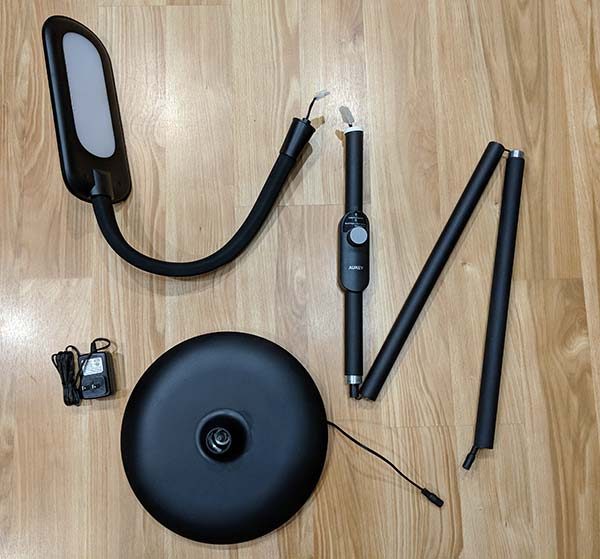
Assembling the AUKEY floor lamp is easy and requires no special tools other than your two hands and the ability to follow the included instructions. The lamp goes together like I’ve laid it out in the image above. The lamp is made up of 5 sections including the base. All you have to do is make sure you put them together in the correct order with the power cable going from the lamp head to the base.
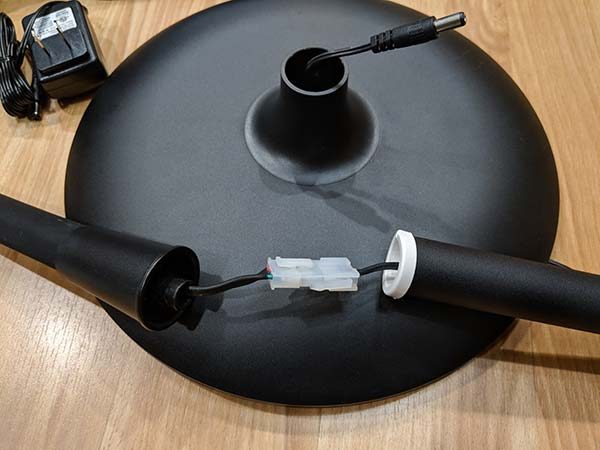
The first step is to plug the top most lamp section with the LEDs to the controller section. The hardest part of this step is to connect the two cable connectors.
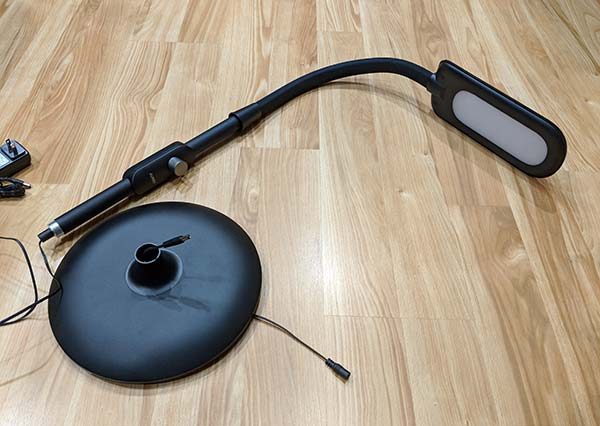
When you’re done with step one, this is what you have.
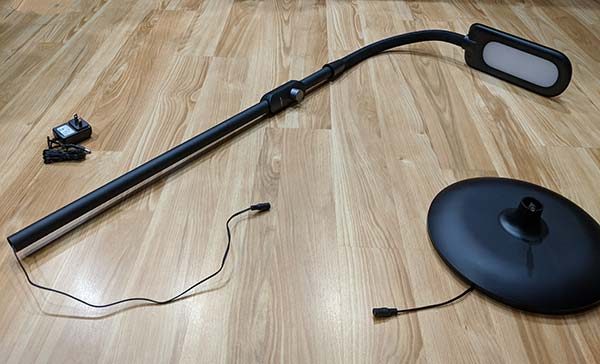
Then you screw in the next section of the lamp making sure that the power cable is inserted through the hollow steel black powder coated tube.
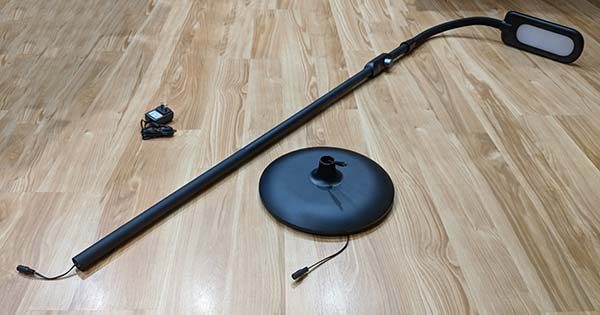
Then you screw in the final pole section of the lamp.
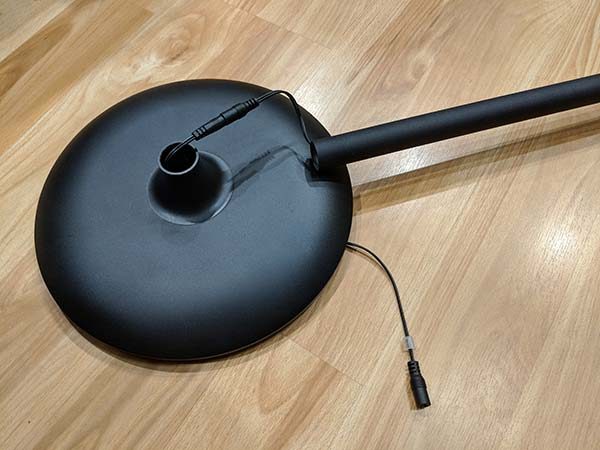
Connect the power cable from the last tube to the base and screw the assembly into the base.
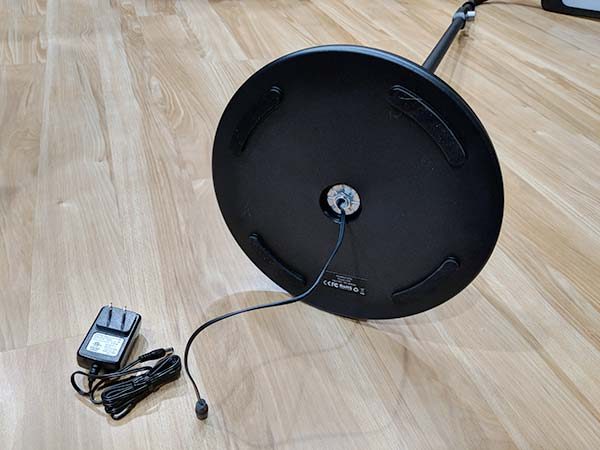
A short length of the power cable extends from the bottom of the base. This cable has a connector at the end that accepts the cable from the included power adapter. So all you have to do is connect the cable to the adapter and you’re done. Assembly completed.
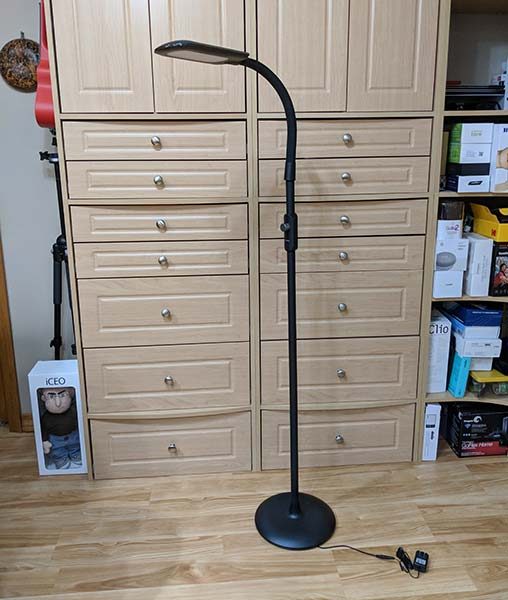
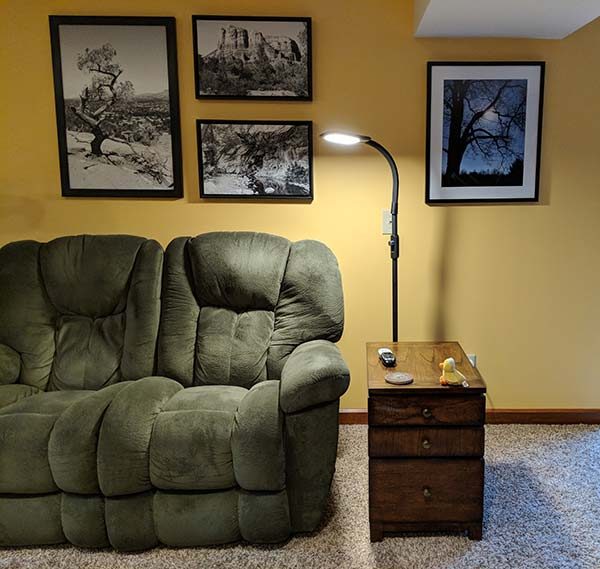
Here’s the assembled AUKEY LT-ST35 floor lamp. The whole assembly takes about 10 minutes or less. You don’t want to speed through it because it’s possible to cross thread the lengths of tubing or kink the power cable which would not be a good thing.

How well does it work?
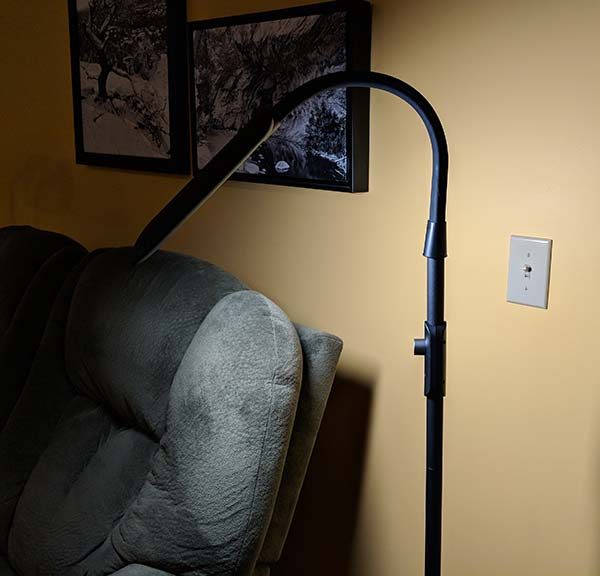
You can easily adjust the angle of the lamp head just by bending it in the desired direction or angle.
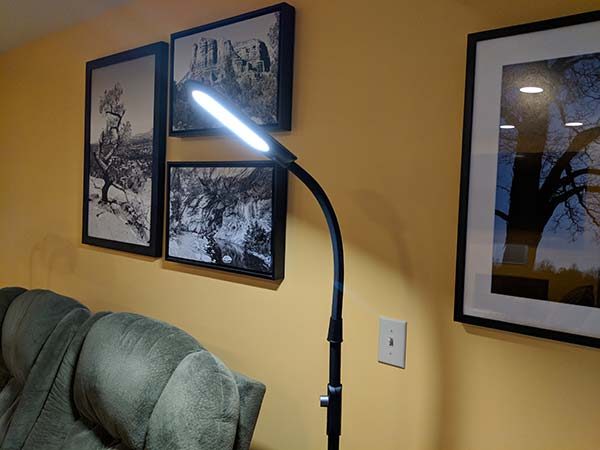
To turn on the lamp, you just press and hold the control knob for a couple of seconds. Then you can turn the knob to adjust the brightness level or quickly press the knob to adjust the color temperature.
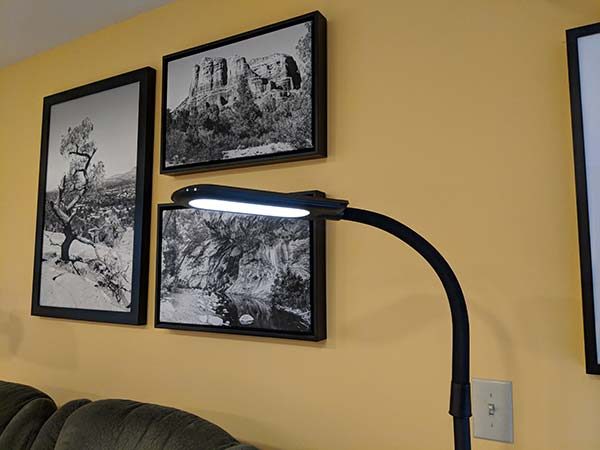
The color temperature for the LEDs can be set to cool white, nature white, or warm white and the lamp will remember the brightness and color temperatures settings after cycling power with the control knob.

The 1000 lumen version of the AUKEY space saving floor lamp puts out ample light without much heat. I left the lamp set on at full brightness setting for over an hour and was able to touch the lamp head with no problems. It was warm, but not hot.

What I like

  • Easy to put together
  • Easy controls
  • Light temperature and brightness are adjustable
  • Doesn’t put out much heat

What needs to be improved

  • Nothing

Final thoughts

I really like this lamp. It is easy to assemble and just as easy to operate. It’s a simple lamp, but it provides a lot of light with the ability to adjust the brightness, color temperature, and the angle of the lamp head. The fact that it’s an energy efficient LED lamp means that you won’t need to buy replacement bulbs as it should last for many years to come.

Price: $69.99
Where to buy: Amazon
Source: The sample for this review was provided by Aukey.

Aukey DR02 Dual dash cam review

I drive one of the smallest cars on the road, so I leaped at the chance to review the Aukey Dual camera dash camera.  I drive a Smart. It’s 8’3”, but being so small comes with a price – bullies!  I’m a very conservative driver (I’m old) and each week, I get tailgated, cut off, and even flipped off, FAR more frequently in my tiny Smart Car than in a year of driving my gigantic Nissan Armada. I’m not doing anything wrong, but my car seems to bring out the worst in some. Aukey’s DR02 dual camera system is just what the doctor ordered to bring peace of mind to happy motoring.

What is it?

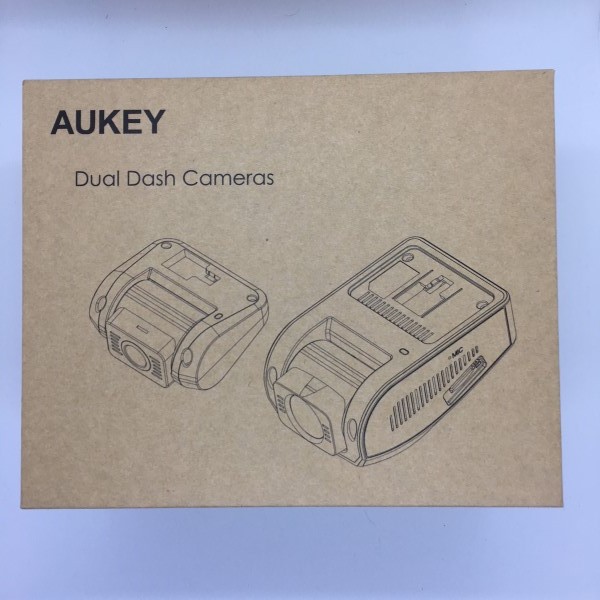
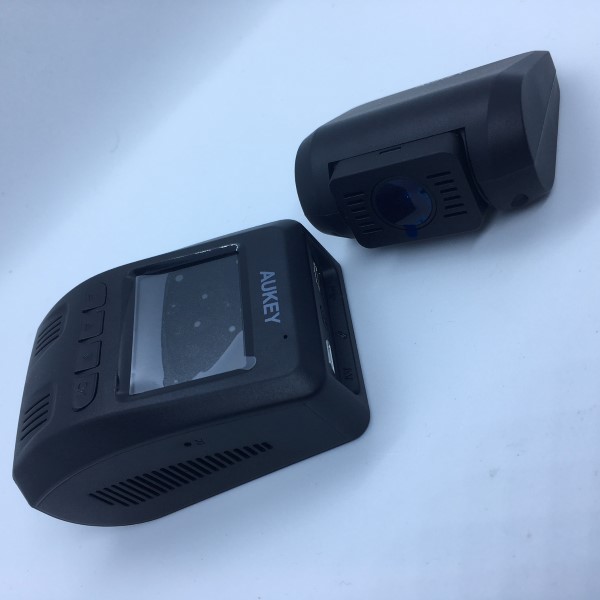
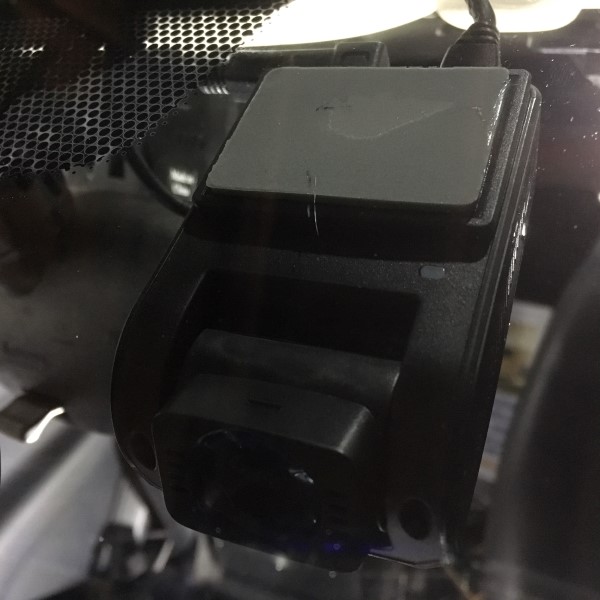
The Aukey DR02 is a dual-camera dash cam featuring a primary main unit for front recording, and a secondary camera for rear-view recording. It captures video simultaneously from both cameras in 1080P and has a set of features.

Hardware Specs

Sony Exmor Sensors in both cameras capture super-sharp 1080p video (accompanied by optional in-car audio) and perform well for nighttime driving

Full Six-Lane View: The wide-angle  170° front and 152° rear fields of view monitor vehicle movements and other activity in front, behind, and even towards the sides

Emergency Recording & Loop Recording: Emergency Recording automatically captures unexpected driving incidents and protects the recordings. Loop Recording allows continuous use by writing over old, unneeded footage. Connect to the AUKEY GM-32 GPS Antenna (sold separately) to embed location & speed data for trip tracking and greater protection.

What’s in the box?

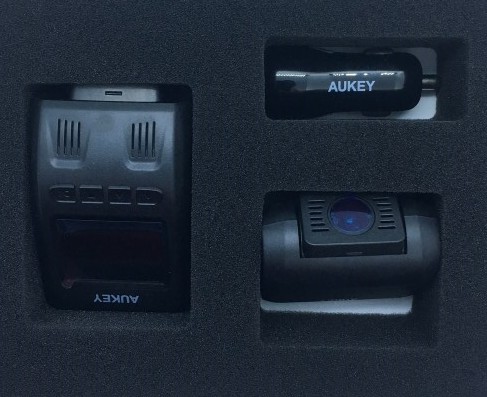
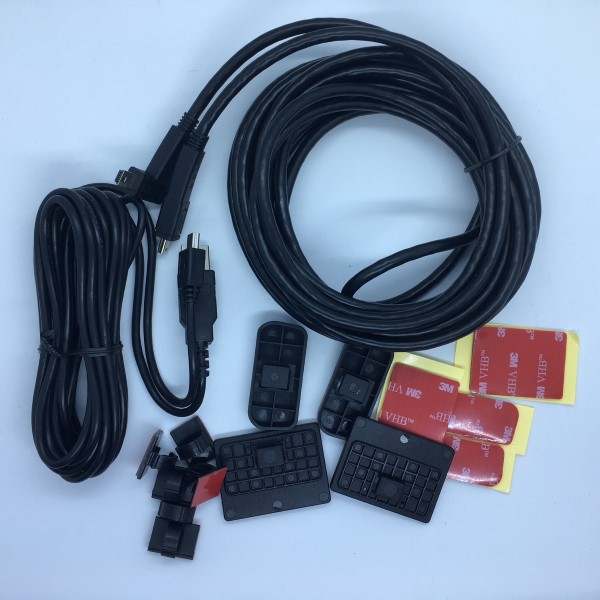
Dual Dash Cameras (front and rear camera), Dual-Port USB Car Charger, 4m / 13ft USB Mini-B Cable, 6m / 20ft USB Mini-B Cable, Two Sticker Mounts, Six 3M Stickers, Six Cable Clips, User Manual, 45-Day Money Back Guarantee and 24-Month Product Replacement Warranty Card

Design and Features

The cameras arrived in a well-padded box with USB plug adapter, power and video cables, instructions, mounting plates for front and rear, and cable clips. I carefully read all of the instructions and jumped into the installation process.  Because I planned on making this a permanent fixture in my Smart Car, I went a few steps further, removing all of the internal body trim panels to hide the wires and make the installation as professional looking as possible.

I even cut a small notch into one of the trim panels to hide the somewhat bulky cable connector for the rear-facing camera. The system can be powered up by the car’s ignition but has the option of wiring it always on, triggering by motion detection. I chose the former.

After running the power and video cable to the rear camera and plugging in a 128GB SD card, I powered up the system for the first time and an image appeared on the front camera, but I was unable to access any camera functions. I found the main camera would function unless the rear camera was connected. As soon as I plugged in the rear camera, all of the lights would come on indicating everything was correctly powered, but the image and all of the functions on the main camera would lock up. After many hours of troubleshooting, Aukey graciously sent me a replacement.

I had a few issues running the cables – the cable is a 10 conductor Mini-USB male. You read that correctly, a 10-conductor oddball, not the run-of-the-mill 5-conductor connectors that were used everywhere as a precursor to the Micro-USB. It would have been ideal to purchase another cable and move the cameras from one vehicle to another, but this isn’t an option. I contacted Aukey’s customer support to inquire if spare cables and mounting plates could be purchased, but they are unavailable apart from the kit. Bummer.

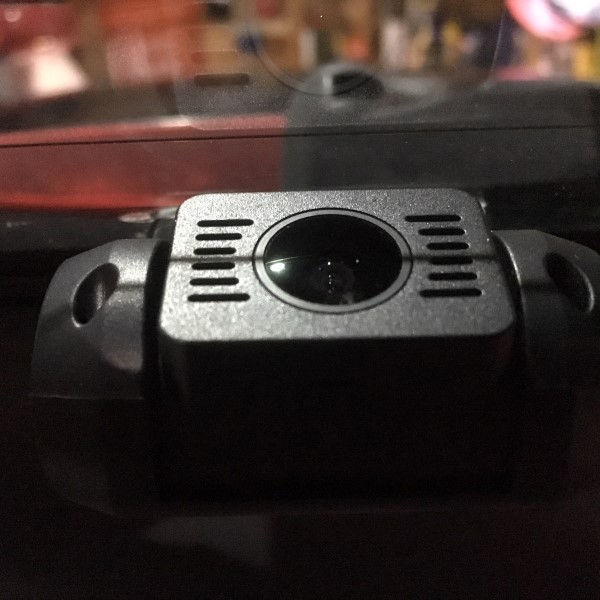
Next, the connectors, particularly on the rear-facing camera have bulky, inflexible strain reliefs with very a wide bend radius, so I found routing them through existing cable paths was VERY challenging. Admittedly though, if I had just used the included cable clamps and double-sided tape, this wouldn’t have been an issue.

Because of the density of the rear-facing camera cable and the rigidity of the connectors, coupled with my Electrical Engineering background, I have some concerns that any lateral forces applied to the cable when being plugged into the cameras could result in broken connectors on the cameras, so care should be taken not to apply any stress. Been there, done that. It’s no fun.

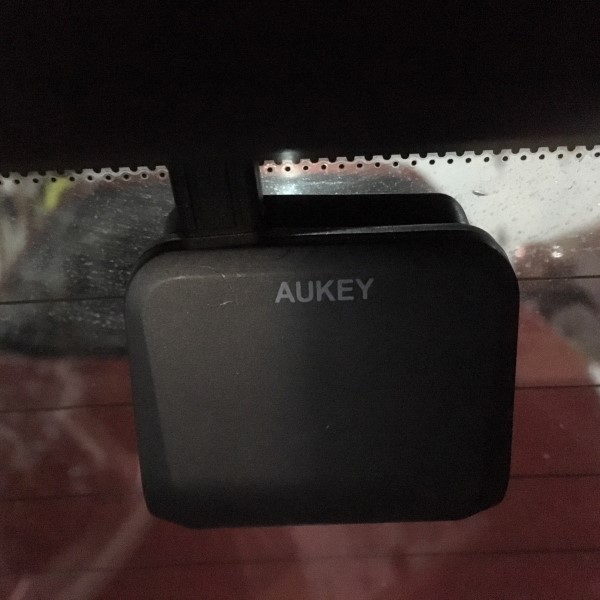
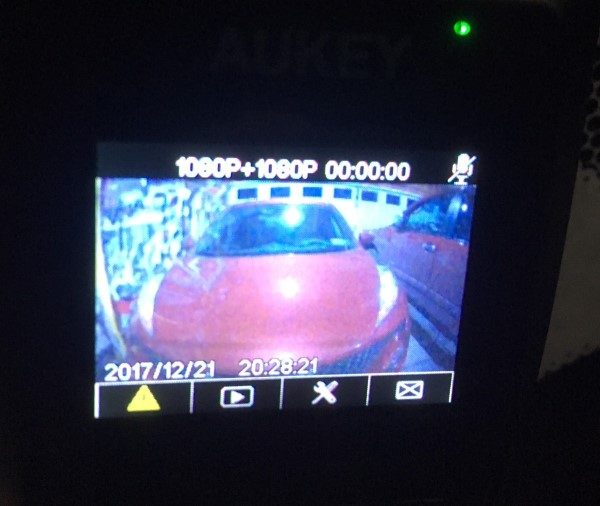
Since everything was wired and ready when the replacement arrived, installation of the front and rear cameras only took a few minutes. I reformatted the card, chose 10-minute loop recording, no audio, and the rear camera as the display, and went for a drive. The system records 1080P from both cameras simultaneously which could prove invaluable in a fender-bender. It’s also fun just to review the recordings just to see things you missed while paying attention to the road like a well-behaved motorist should.


For the most part, the videos were crisp and clear, but on occasion, the screen would lock up, display a corrupted or pixelated image. I found with one of my SD cards, I would get frequent “Memory Error” errors and the corresponding files could not be viewed. This was particularly disappointing as I had an incident where I was tailgated and passed by a truck, on the right, that ran a red light in front of several other drivers, putting several lives in jeopardy. It really should have been reported to the police, but without the video evidence, there’s not much point.

Final Thoughts

I really liked the features, video quality, compact size and dual-cameras in this system and will definitely keep it running at all times while I’m in the most bullied vehicle on the American roads. Having a record of my surroundings will be used with the inevitable interactions I will have with my insurance company.  As an entertaining bonus, I can keep an eye on the driving habits of my 16-year-old daughter and I’m looking forward to preserving picturesque drives through the mountains of Vermont.

Positives

  • Small size
  • Good video quality
  • Lots of features

Negatives

  • Bulky cables
  • Expensive
  • Sometimes glitchy recording
  • Has some trouble starting when the weather is extremely cold

Price: $129.99
Where to Buy: Amazon
Source: The sample for this review was provided by Aukey. Please visit their site for more info.
Arteck HB030B Bluetooth keyboard review

Keyboards, they come in many sizes and shapes, with endless features, but what do I really need in a keyboard? That was the question I was recently confronted with when I changed over to an iOS iOS only user. What I was looking for was a keyboard that was portable, Bluetooth, and rechargeable. I also needed a keyboard that would not break the bank. I found the Arteck HB030B Bluetooth Keyboard a multi-featured, affordable, portable keyboard.

What is it?

The Arteck HB030B Bluetooth Keyboard is a compact, rechargeable, backlit, Bluetooth keyboard, with multiple backlight color options and and two backlight brightness settings.

Hardware Specs

  • 9.3” length
  • 5.3” width
  • 0.24 thick
  • 0.37 pound
  • Lithium battery

What’s in the box?

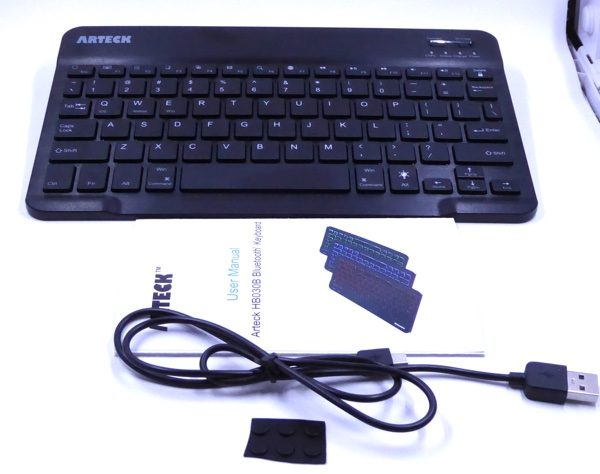
Arteck HB030B Bluetooth Keyboard
Micro USB to USB cable
User manual
6 3M rubber feet dots

Design and features

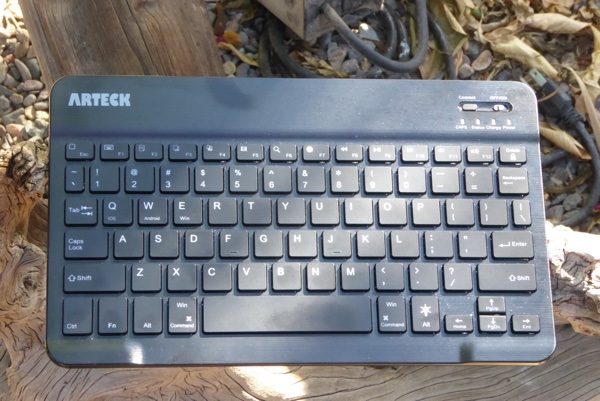
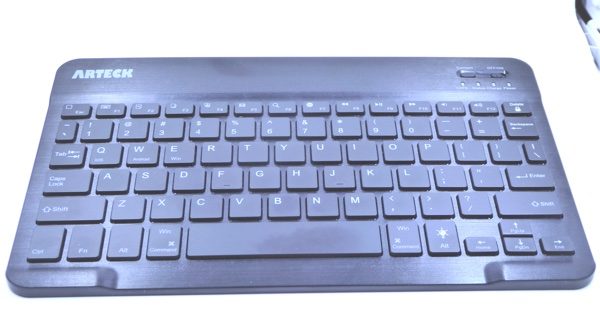
The top view of the Arteck HB030B Bluetooth Keyboard shows the key layout, the on/off switch, the connect button, and the indicators LEDs (CAPS, Status, Charge, and Power).

Other than the Micro USB charging port on the right hand side of the keyboard there are no features on the front, back, sides and bottom of the Arteck HB030B Bluetooth Keyboard.

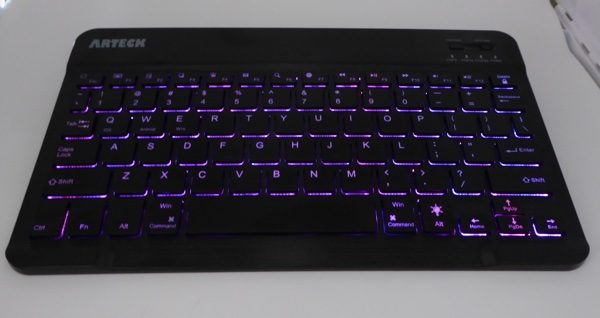
Two things you should notice in the above pictures. First is the backlit keys. The key colors that I can see are purple, turquoise, green, blue, red and light blue. I did notice another green in the rotation but I cannot tell if it is any different from the first green color. Along with the color options, you have two brightness levels for the backlit keys, as well as the ability to turn the backlight function off. The second item of note in the above picture is the key size on the keyboard. The keys are smaller than my Apple Magic keyboard and the reason why will be evident in the next picture. For me, the key size is not a major issue but for some, it may be.

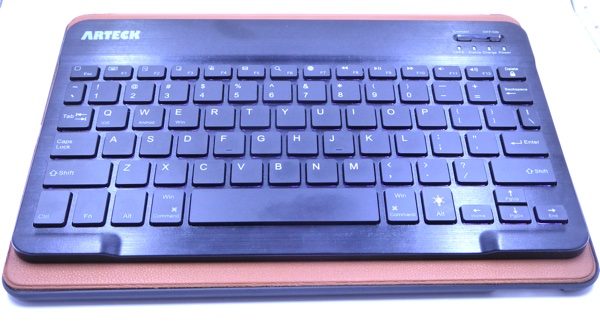
As you can see from the above picture this keyboard is smaller than my 10.5” iPad Pro. This makes the Arteck HB030B Bluetooth Keyboard a perfect travel companion. The 500mA rechargeable Lithium battery means I should never be without a useable keyboard.

What I like

  • The keyboard is compact enough to be a great travel keyboard
  • The price of $19.99 on Amazon makes it a winner
  • The 24-month warranty is better than almost any of its competitors
  • Rechargeable battery
  • Metal construction

What needs to be improved

  • Not all of the iOS functions work
  • I could not use the keyboard while it was charging
  • The keyboard could use the ability to set the keyboard on an incline

Final thoughts

So, what do I think of the Arteck HB030B Bluetooth Keyboard? So far I think it is a winner. Size, price, and features all make this keyboard a favorite, and the two-year warranty doesn’t hurt. I will be honest though while researching this keyboard I did see some complaints about the keys coming off of the keyboard but the overwhelmingly positive reviews on Amazon made me willing to take a risk on it (did I mention the two-year warranty?). Now, if you are a finicky typer this keyboard may not be for you, but if you can accommodate for smaller keys in a smaller footprint you may want to take the Arteck HB030B Bluetooth Keyboard for a spin.

Price: $19.99
Where to buy: Amazon
Source: I bought this keyboard with my own money.

Aurochs Gravity Wallet review

Looking to upgrade that ratty old wallet you’ve been lugging around since college? I’ve got a good one for you. Aurochs is a Pakistan-based company that makes small carry products featuring vegetable tanned leather. This is definitely a cut above your 

What is it?

It’s a full-grain leather wallet designed and manufactured in Pakistan. The Gravity model is based on a traditional bifold design, with some nice additional features to help manage your cards, cash and extra bits like coins and a SIM card.

Hardware specs

  • 4x easy access card slots for your frequently used cards
  • One card drawer with pull out ‘gravity strip’ which can hold 4-6 extra cards
  • An expandable pocket for all your bills and currency notes (folded)
  • A pocket for your coins
  • A small slot for your iPhone/Android sim ejector
  • Made of premium quality full grain vegetable tanned leather
  • 112mm x 80mm

What’s in the box?

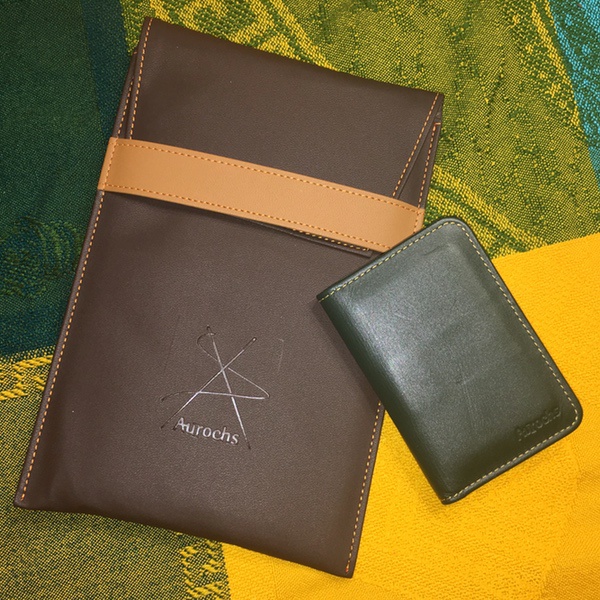
Rather than using industrial paper/plastic packing, Aurochs ships their products in custom made padded fabric pouches as seen below. Not only does it add a touch of class to the packaging, but you could use it as an organizer pouch to add to your bag. Of course, the wallet also comes in the package.

Design and features

From materials choices to design details, you get a sense for the quality and craftsmanship that went into producing the Aurochs Gravity wallet from the moment you open the package. It’s an impressive piece of gear.

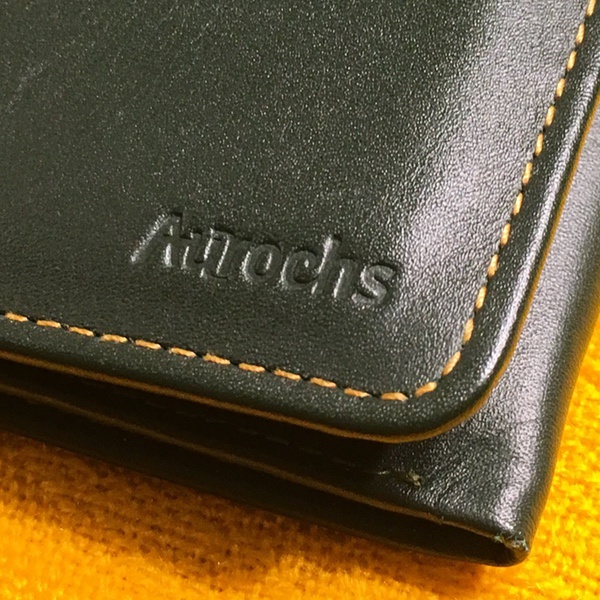
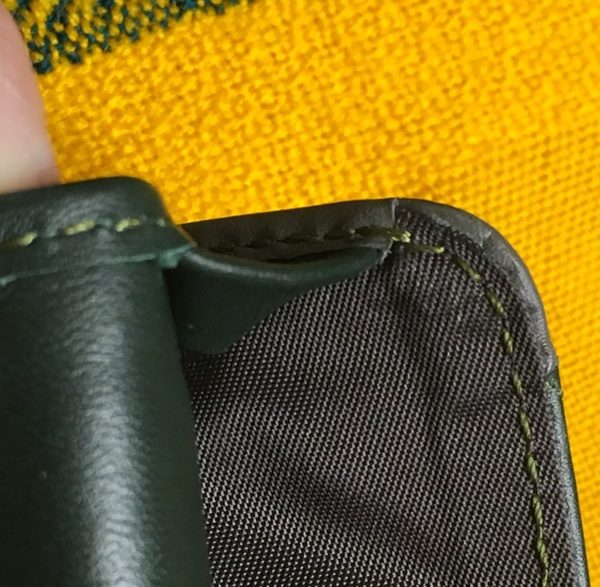
It all starts with the leather, which is excellent. The Gravity features full-grain vegetable tanned leather, a process that takes more time and skill to produce. The results are well worth it: the leather is thick, durable, and has a luxurious hand feel. Mine’s the green model, and the deep-penetrating dye work passes the scratch test without showing any change in color below the top layer. There’s also no dye bleed, so the color doesn’t rub off on your clothes.

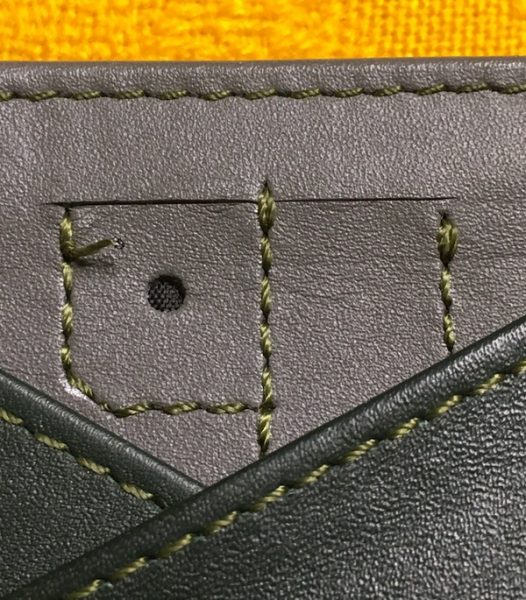
The construction in the Aurochs Gravity wallet matches the leather quality. Stitching and assembly are tight throughout, with tan thread used on the exterior that compliments the green leather nicely. The interior uses a grey thread and grey leather accents to add additional visual appeal. The leather is backed by a grey textured fabric that facilitates sliding your cards in and out of the pockets, and there’s nice reinforcement at all the key stress/use points. I don’t foresee the pockets stretching or separating on this wallet after years of use.

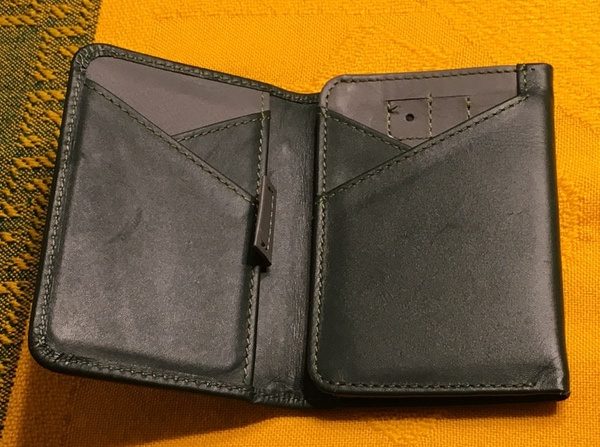
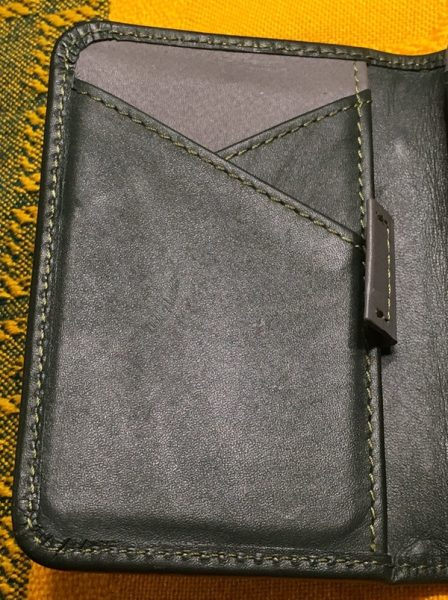
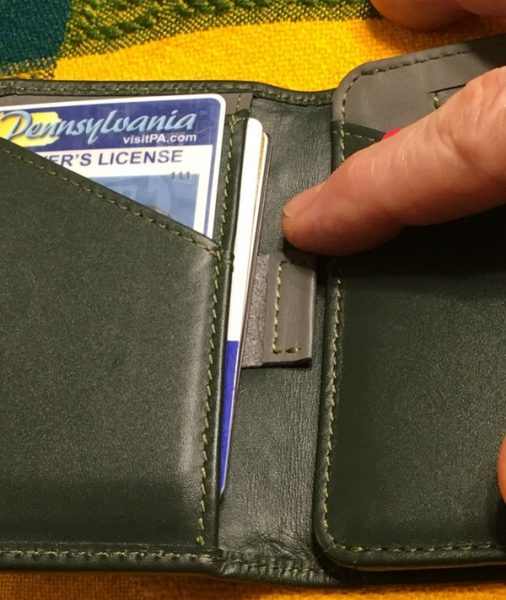
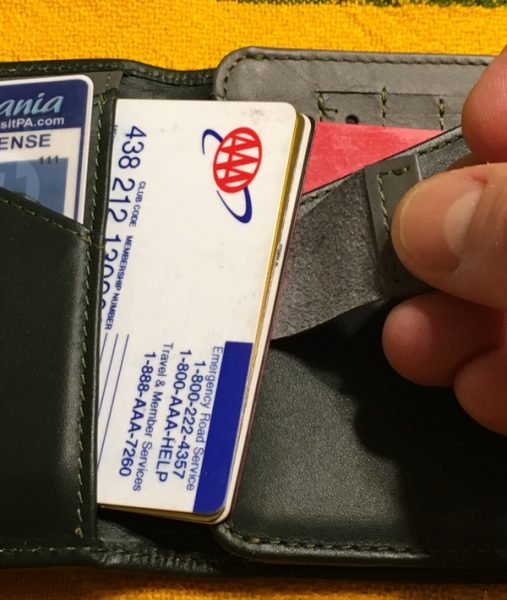
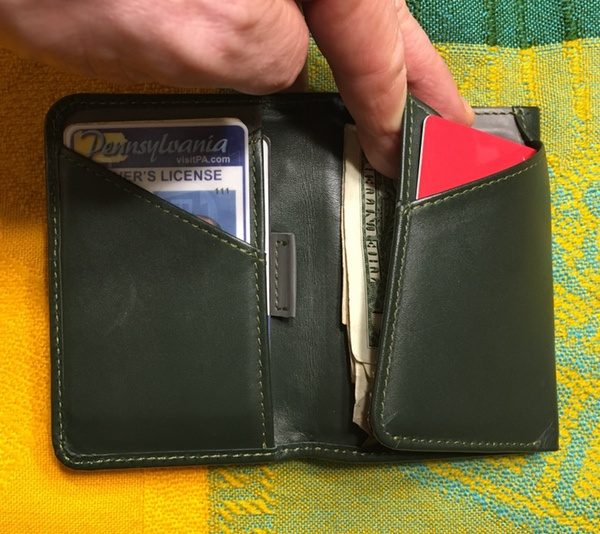
The Aurochs Gravity wallet offers multiple slots and pockets for organization. For your quick grab cards, you’ll find a pair of card slots on each panel cut at opposing angles to promote easy access. Behind the left panel is a clever “gravity slip” pocket: tuck 4-6 cards in the pocket and a strip of leather with a pull tab enables you to pull them out when needed. The right panel has an expandable cash pocket that will fit a nice chunk of folded U.S. bills.

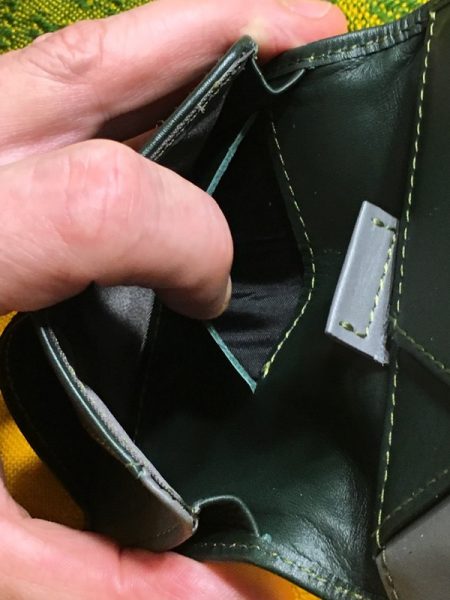
There are also a set of additional bonus slots for smaller items. The back card slot on the right panel features pair of tiny slots designed to stash a SIM card and wire SIM card ejector. The expandable cash pocket and also has a slot where you could stash some coins, a key, or a small memory stick.

While this may sound a bit complicated, the Aurochs folks have done a really nice job of assembling the package with a simple, streamlined design. The little extras don’t impede the normal use of the wallet and stay nicely tucked away when not needed. It’s a superbly functional layout.

Performance

The Aurochs Gravity wallet is an excellent day-to-day accessory. I’ve been using it continuously for a month now, and it has become my new favorite wallet. Aurochs does an excellent job of emphasizing simple, practical execution in this design.

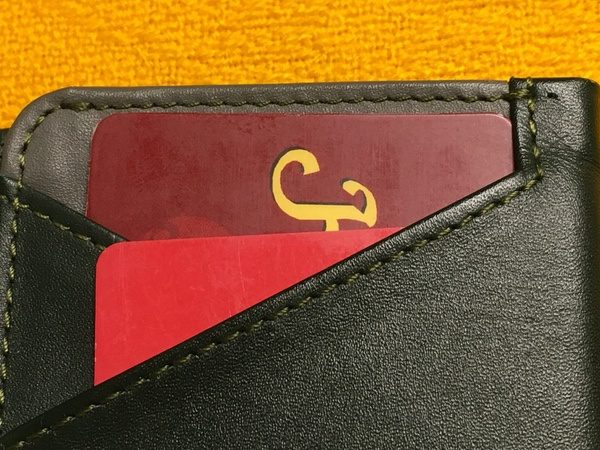
I really like how the wallet manages the organization of commonly used items. I’ve got my badge swipe for work, my license, 6 cards, and a wad of cash loaded up… and there’s room for more. Check out the two pics below to see how it all disappears:

It’s a nice, streamlined package, but allows for quick and easy access to any specific card or item that I might need.

The extra reinforcement on the card slots is also very good. They keep your cards snug, and can even hold an extra card or two if needed. I’ve also noticed that, despite regular use, they are not showing any signs of stretching that would cause the cards to slip out.

 While I don’t have much use for the extra slots for change and the SIM card, they are nicely executed and don’t get in the way of regular use. I don’t know that I would keep coins on the inside pouch due to the extra bulk, but I would absolutely use it to stash an emergency key if I was traveling. You could even stash a small memory stick in there if needed.

Good leather wallets are always going to bulkier than synthetic products, but the Aurochs wallet is not excessive in my opinion. The leather is thick, but not so thick that the wallet feels (or looks)  like a brick in your pocket.

What I like

  • Great vegetable-tanned leather.
  • High-quality materials and assembly.
  • Excellent usability with nice attention to the design details.

What needs to be improved

  • SIM card slot may not be useful to everyone, but it doesn’t impede regular use.

Final thoughts

Wallets designs can be all over the place with respect to quality, so I wasn’t quite sure what to expect with the Aurochs Gravity wallet. I’m really impressed with what Aurochs is doing here; they are serious about details and craftsmanship. The leather is excellent, and they aren’t cutting any corners on the details. Usability is excellent, with plenty of useful spots to organize your cards and cash. If you’re looking for a quality mid-sized bifold-style wallet to upgrade to your day-to-day EDC, the Gravity will do the job well and serve you for a very long time. I’m looking forward to seeing more from Aurochs in the future.

Price: $54 with free standard shipping.
Where to buy: Aurochs
Source: The sample of this product was provided by Aurochs.

Skyroam, Contour Design Unimouse, Ember Mug, and more – Review updates

Today we have another selection of past reviews that we’ve updated. What are review updates? They are quick blurbs added to the end of our past reviews where we comment about how the product has performed since the review was originally posted or since the previous update. You can click the links below and scroll to the bottom to see the newest update.

RapidX Ferrino gaming and lifestyle chair review by Julie Strietelmeier

Skyroam SOLIS 4G LTE Global WiFi hotspot review by Julie Strietelmeier, update by William Ray Jr.

Contour Design Unimouse mouse review by Julie Strietelmeier

CanDroid Review by Julie Strietelmeier

Ember Ceramic Mug review by Julie Strietelmeier

Posted by / February 2, 2018 / Posted in Reviews