LifeShield DIY Home Security System review


REVIEW – For many years, I have been a firm believer in having a home security system not only for protection from theft but also from fires and other important events that can occur without warning. The LifeShield Security System seems to be feature packed and seems to have the potential to be the security system of choice for my home.

What is it?

The LifeShield DIY Home Security System is an all-in-one Do It Yourself security system that offers entry/exit protection, protection from fires and carbon monoxide (not offered as a device), video recording and image snapshots, as well as live monitoring.

What’s in the box

Depending on the package you order, the system comes in a large box that contains designated smaller boxes based on function. For this review, there are 4 boxes within the main box.

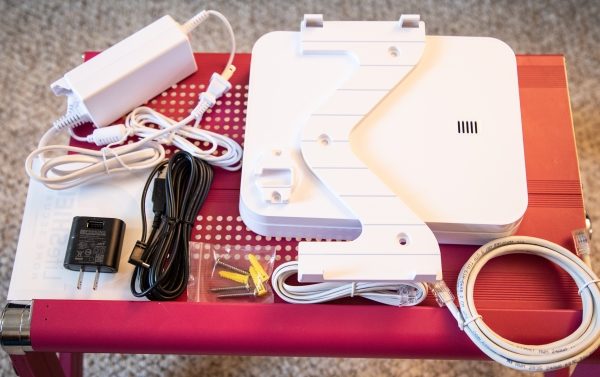

1 x Base Unit
1 x AC Power Supply Adapter
1 x Ethernet Cable
1 x Wall Mounting Bracket
1 x Phone Cable
1 x Wall Mounting Bracket
1 x Packet Wall Anchors and Screws
1 x Power cable and Wall Wart (Actually belongs to a component in Box 2 but came ion Box 1)
1 x Instruction Booklet
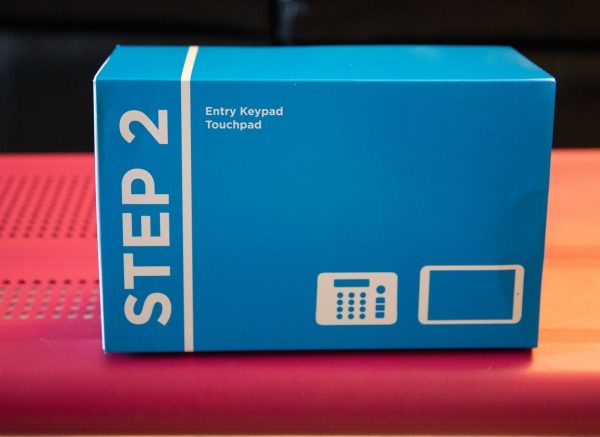
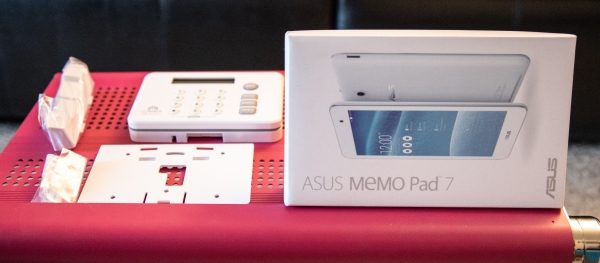

1 x Entry Keypad
1 x Stand
1 x Wall Mount
1 x Asus Tablet (Touch Control Panel)
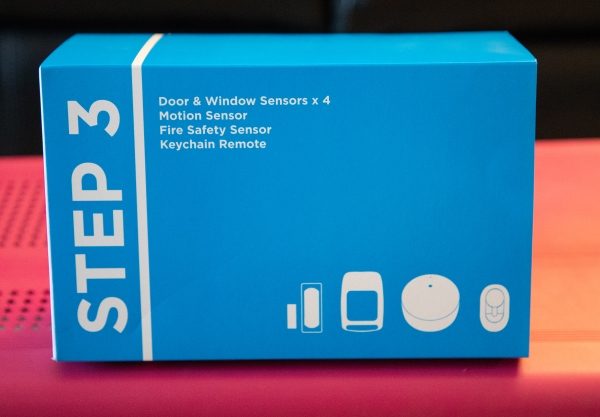


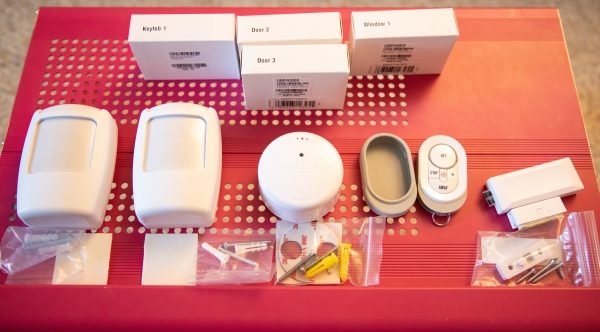
2 x Motion Sensors
3 x Entry/Exit Sensors
1 x Keyfob Alarm Control
1 x Keyfob Case
1 x Fire Safety Sensor
Wall Anchors and Adhesive Mounting Strips
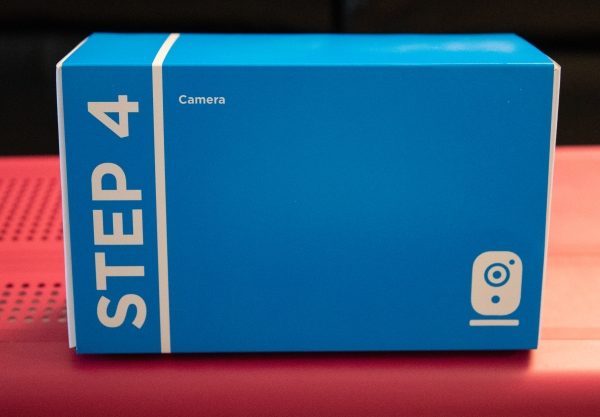
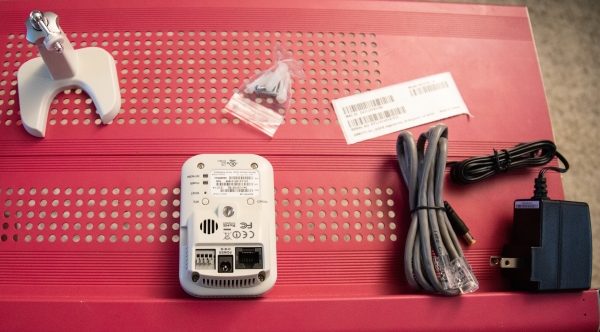

1 x Indoor Security Camera
1 x Camera Mount
1 x AC Adapter
1 x Ethernet Cable
1 x Wall Anchors and Screws

Design and features

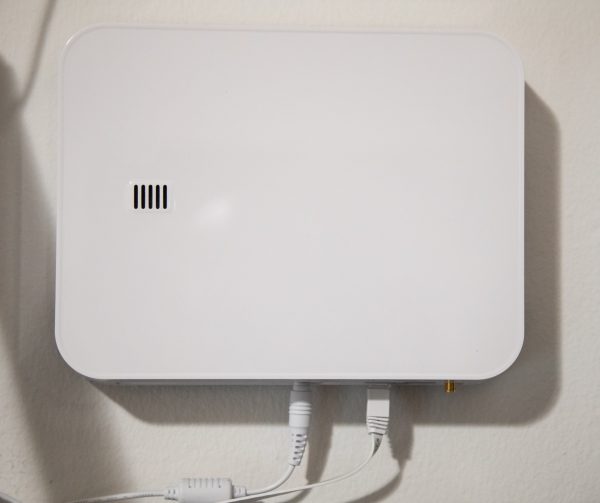
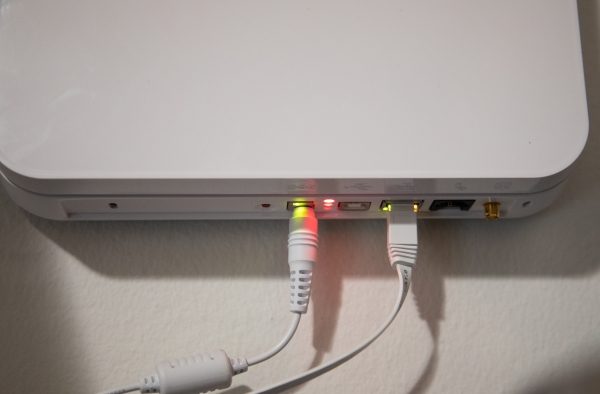
Starting with the base unit, there is a mounting bracket that you attach to the wall and the base unit attaches to the bracket. You can also place the unit on a horizontal flat surface if you prefer not to mount it. At the bottom of the base unit, there is the AC power port, the Ethernet port, a telephone port, and an antenna jack. Neither the telephone port nor the antenna jack was used for this test and review.
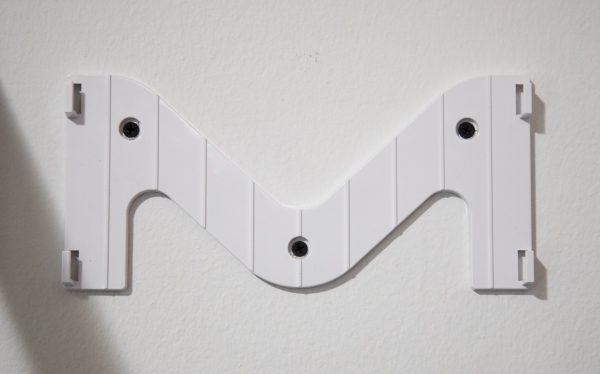


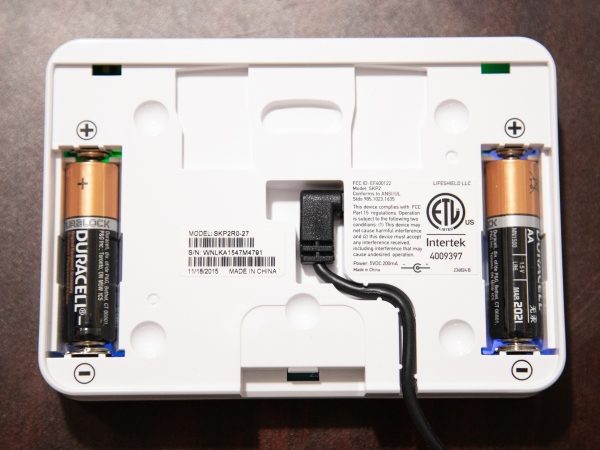
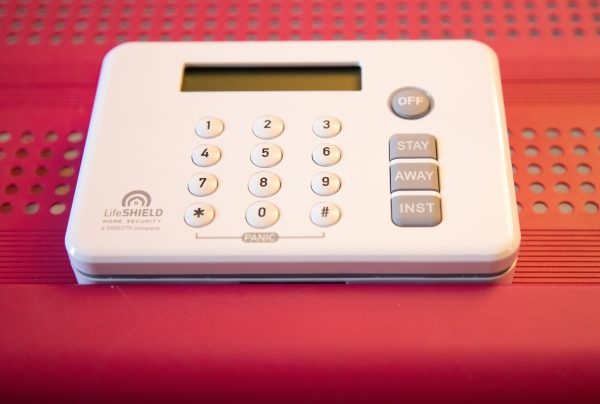
The security pad also comes with a wall mount bracket that I decided to mount as well. I chose an appropriate area near my front door. At the back of the security pad, there are two back up AAA batteries and the AC adapter power jack. Conduits are built into the back of the unit to route the AC wire. On the front of the security pad, there is a numeric pad, one-touch function buttons, and the LCD status display screen.



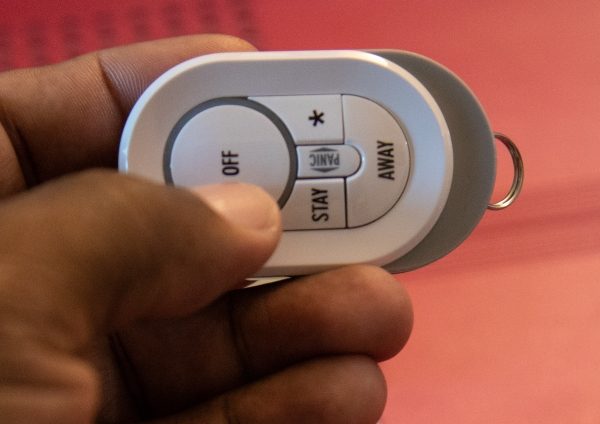
A Keyfob remote control is also included. It allows you to arm and disarm the system, and to trigger the panic mode if necessary.

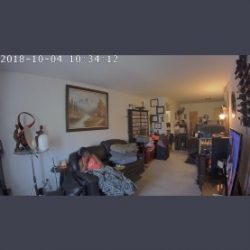
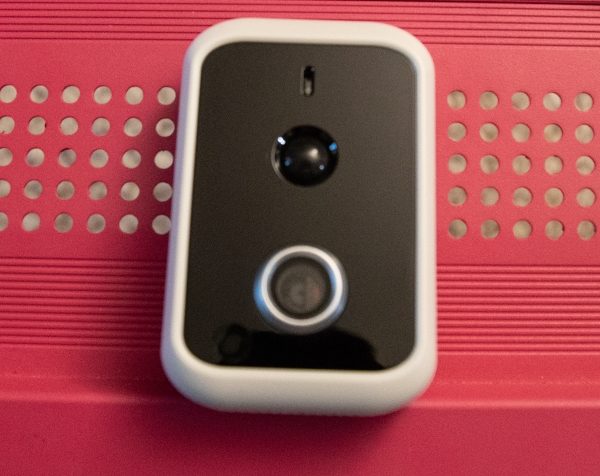
On the front of the included camera are the microphone, the lens, and the infrared sensor. This camera produces clear HD images that can be viewed as a single image or as a video via the app.


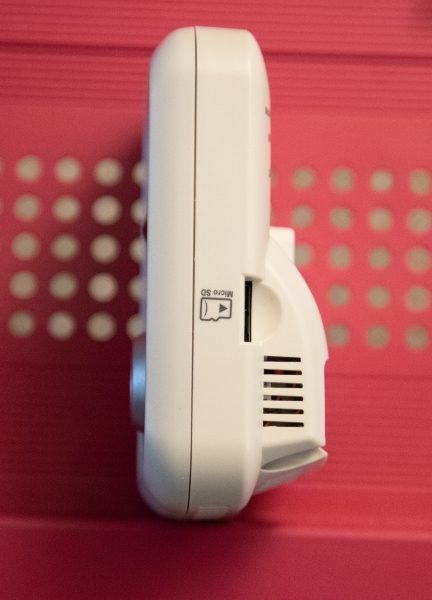
On the right side, there is a micro SD card slot for onboard recording. Much like cloud recording, the onboard SD card records based on your custom setup which can be set to record at specific dates and times or when a sensor is triggered.

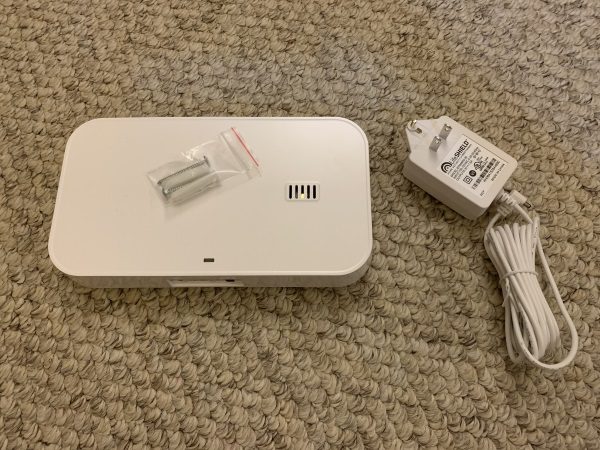
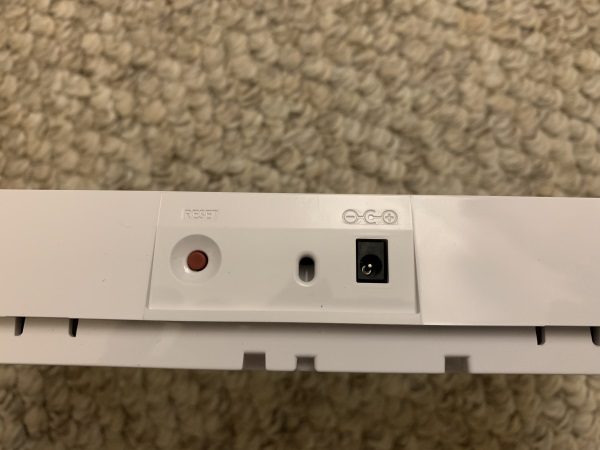
LifeShield also sent a repeater with a built-in sounder to ensure that there is a strong signal from the base unit to all of the sensors and that the alarm is loud enough to attract the desired attention. On the surface of the repeater, there is a status LED and a sound vent. On one side, there is a reset button and the AC jack.
Performance

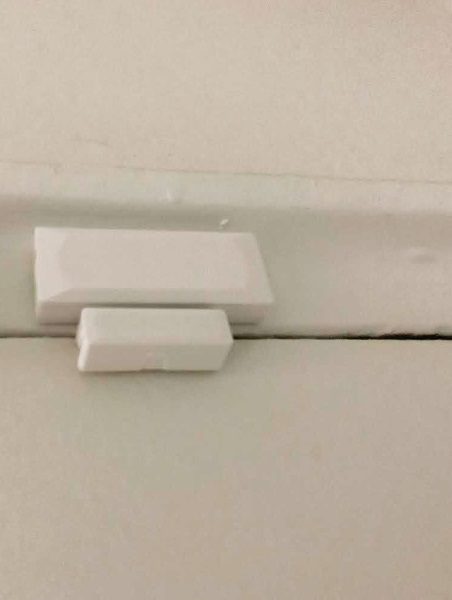
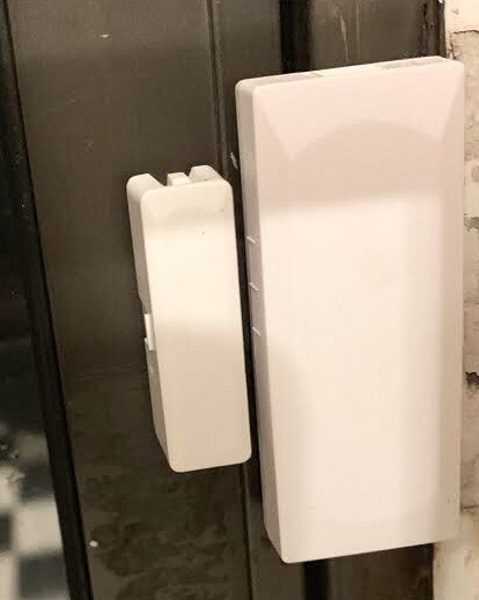
The alarm system arrived with all of the included sensors already paired to the base unit. The instructions are clear which makes the DIY process simple enough for anyone to accomplish the installation. The hardest part is figuring out the best location in your home for mounting the camera and the motion sensors. The entry/exit sensors go in the obvious places that would protect the exterior access to your premise. Three entry/exit sensors were included. In my case, I installed one on my front door, and one on my fire escape window. Since I live five floors up, the other windows are inherently safe. I decided to use another sensor on the door to my equipment safe. I have a few safes, and I am still contemplating the placement of the third sensor.
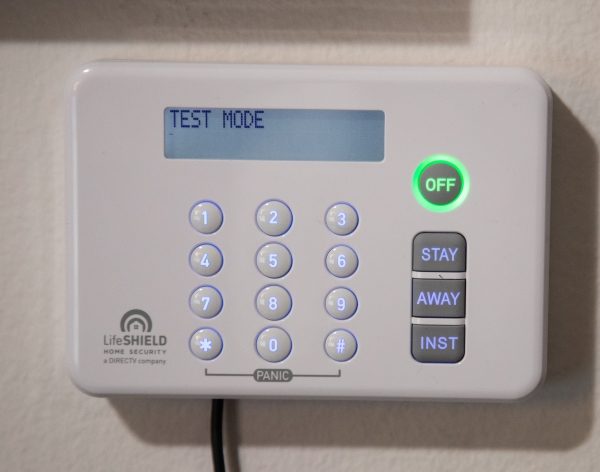
I installed the base unit first, and then in order, followed the instructions to set up the included tablet touchpad. There are packages that come without the Touchpad, so I would assume that if yours does not have the touchpad, you would move right on to the security pad. As you can see in the picture below, when you first install the system is in test mode. It remains this way for the first 7 days while you learn to use the system and become familiar with it. The security pad has the keypad to enter your security code, and buttons to are the systems in the available modes and also to disarm it. As a side note, you are also required to set up an account online via the following link: https://login.lifeshield.com/#/login

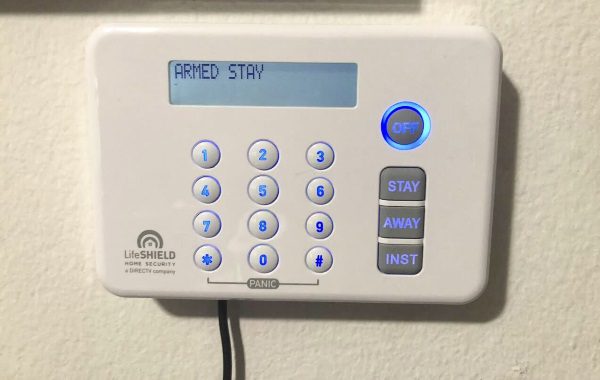
When the system is active, the LED around the “off” button turns blue.

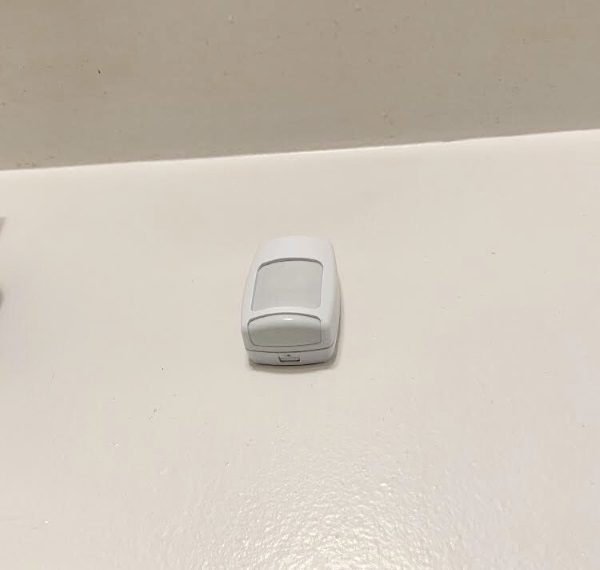
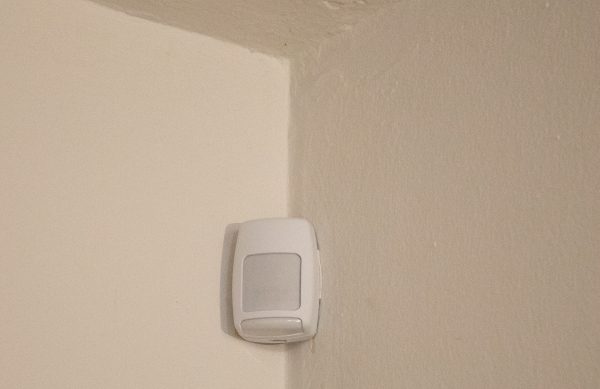
I mounted one motion sensor on a corner wall of my living room and the other in the kitchen.


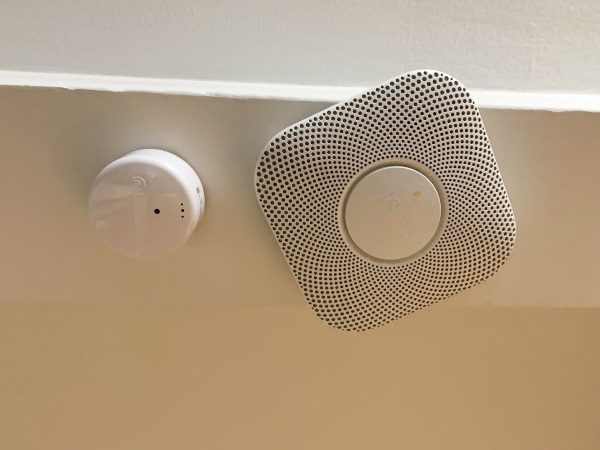
The Fire Saftey Sensor recognizes the alarm sound from your existing fire/Carbon Monoxide Sensor to trigger the Lifeshield alarm and to alert the live monitoring station. I use a Nest system, and I mounted the Fire Safety Sensor next to one of the units. The manufacturer suggests a distance of approximately 3 inches between the sensor and your smoke alarm unit.

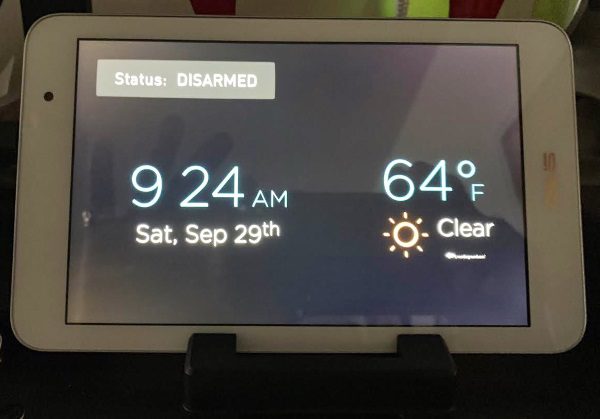
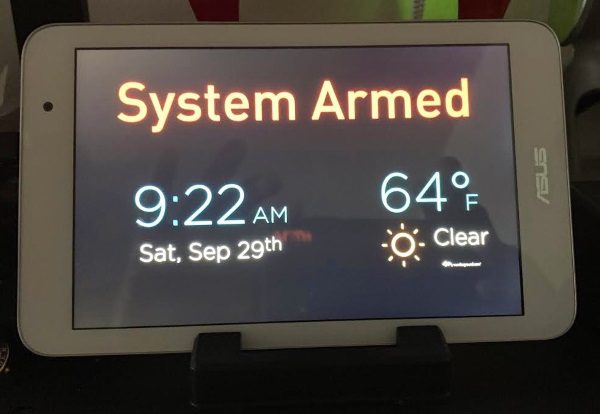
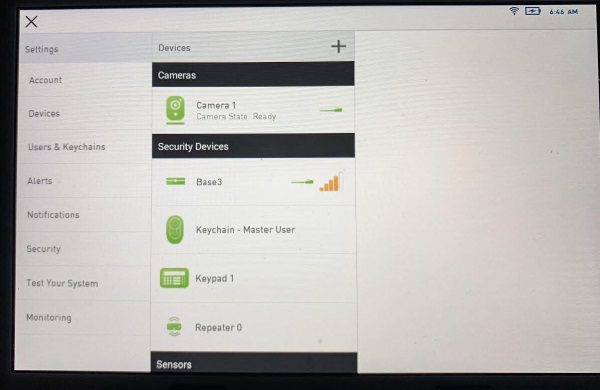
Below are pictures of the touchpad that once setup allows you to control all of the functions and settings of the system.
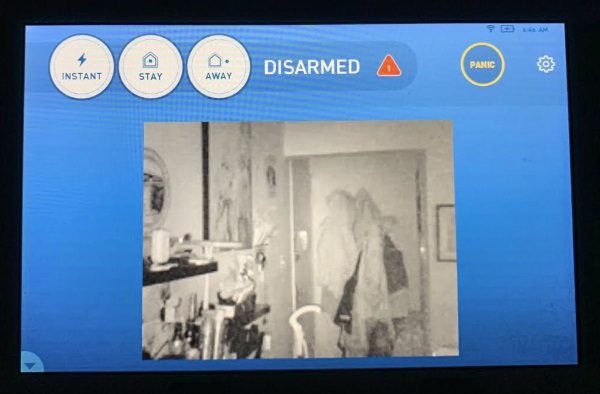

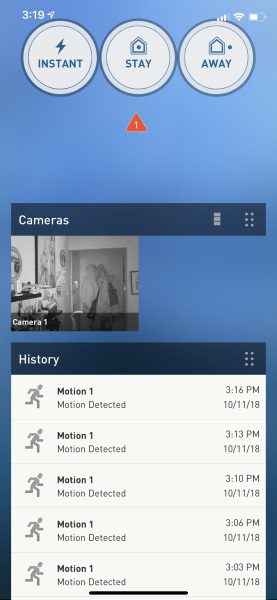
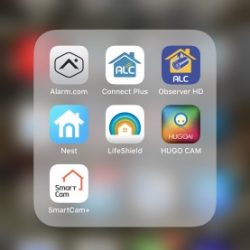
App Screenshots


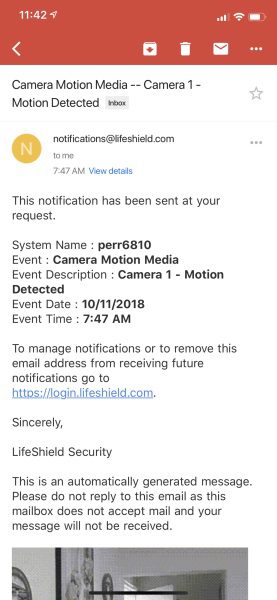
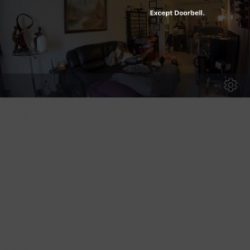
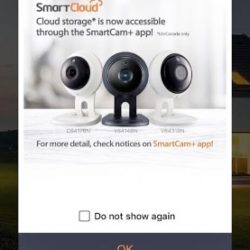
Notification Screenshots

What I like

  • The build quality of all of the components
  • The capabilities and flexibility of the system
  • The professional and prompt customer service
  • The types of integrated components that are available, like the Touchpad
  • The expansion capabilities

What can be improved

  • The package should include an integrated fire/carbon monoxide sensor unit
  • Possibly a slightly lower monthly live monitoring cost

Final thoughts

LifeShield DIY Home Security System is really a very easy system to set up and includes all of the necessary functionality to manage the system both locally and remotely via the app. There were a few times when I had to reach out to their customer service, and they were extremely responsive. The system is very responsive and while I did not trigger a real emergency response for obvious reasons, I did test the sensors in Test Mode. I do believe that the live monitoring would work well. This is a very good security system, and the quality of the included components is great. Overall, it gets two thumbs up!!

Price: 24/7 Professional Monitoring at $39.99 per month for 36 months. (Equipment included for free)
Where to buy: Lifeshield Website
Source: The sample for this review was provided by LifeShield.

Filed in categories: Reviews

Tagged:

LifeShield DIY Home Security System review originally appeared on The Gadgeteer on October 17, 2018 at 9:00 am.

Note: If you are subscribed to this feed through FeedBurner, please switch to our native feed URL http://the-gadgeteer.com/feed/ in order to ensure continuous delivery.

Kobo Clara HD eBook reader review

REVIEW – Carrying a whole library of your favorite books in the palm of your hand is a glorious luxury and a lot of us do just that on our smartphones or tablets. But there is an alternative to reading on your iPhone or Android device; a dedicated eBook reader like the Kobo Clara HD. Why would you want a separate device? Keep reading to find out.

What is it?

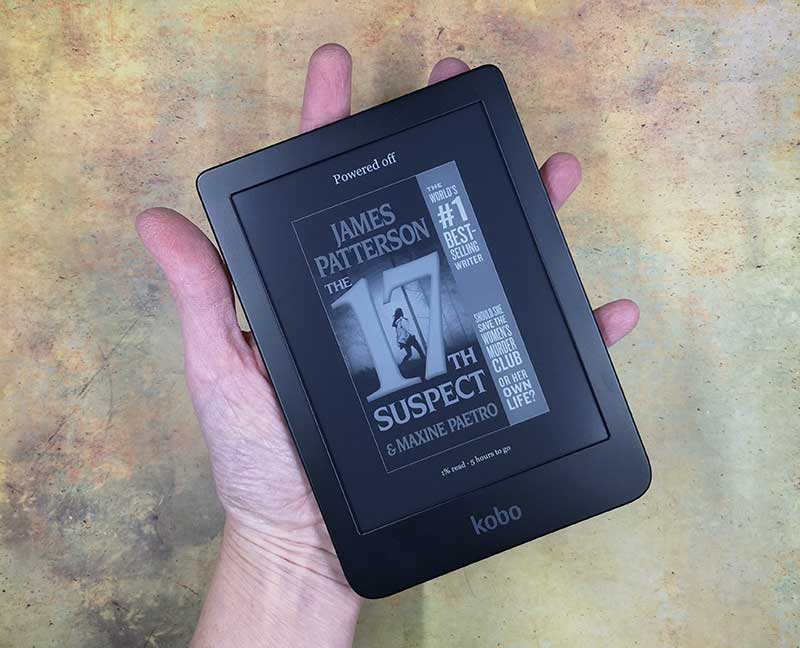
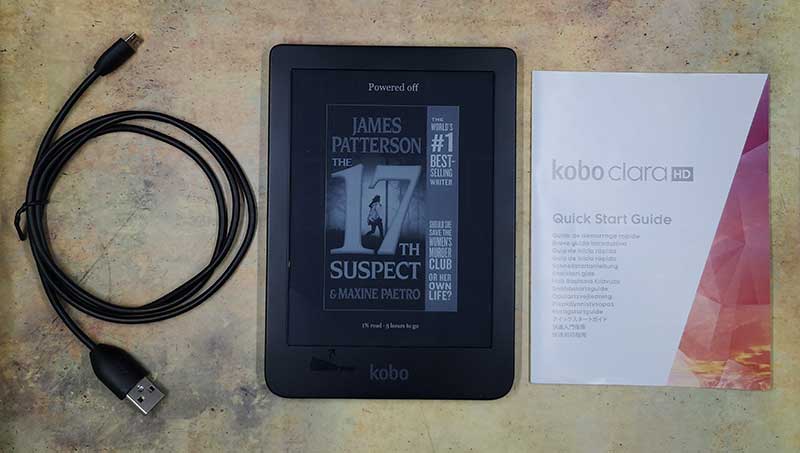
The Kobo Clara HD is a small handheld eInk eBook reader.

What’s in the box?

Kobo Clara HD eReader
micro USB charging cable
Quick start guide

Hardware specs

Screen: 6” Carta E-Ink touchscreen, 300 ppi, print quality
Storage: 8 GB of on-board memory, holds up to 6,000 eBooks
Front-light: ComfortLight PRO – Reduces blue-light exposure for more comfortable nighttime reading
Customizability: TypeGenius: 11 different fonts and over 40 font styles
Supported formats: 14 file formats supported natively (EPUB, EPUB3, PDF, MOBI, JPEG, GIF, PNG, BMP, TIFF, TXT, HTML, RTF, CBZ, CBR)
Read eBooks borrowed from Public Library
Connectivity: WiFi 802.11 b/g/n, Micro USB
Battery Life: Up to weeks of battery life depending on usage
Languages: English, French, German, Spanish, Dutch, Italian, Brazilian, Portuguese, Japanese, Turkish
Weight: 166 g
Size: 159.6 x 110 x 8.35 mm

Design and features

The Kobo Clara HD eBook reader is almost pocket sized. It actually does fit in a cargo pocket in a pair of my pants. It’s almost exactly the same height as my Pixel 2 XL, but its black plastic case is half again as wide as the Pixel. Front and center below the 6-inch display is the Kobo logo, but otherwise, this device is low key when it comes to style, which isn’t a bad thing.

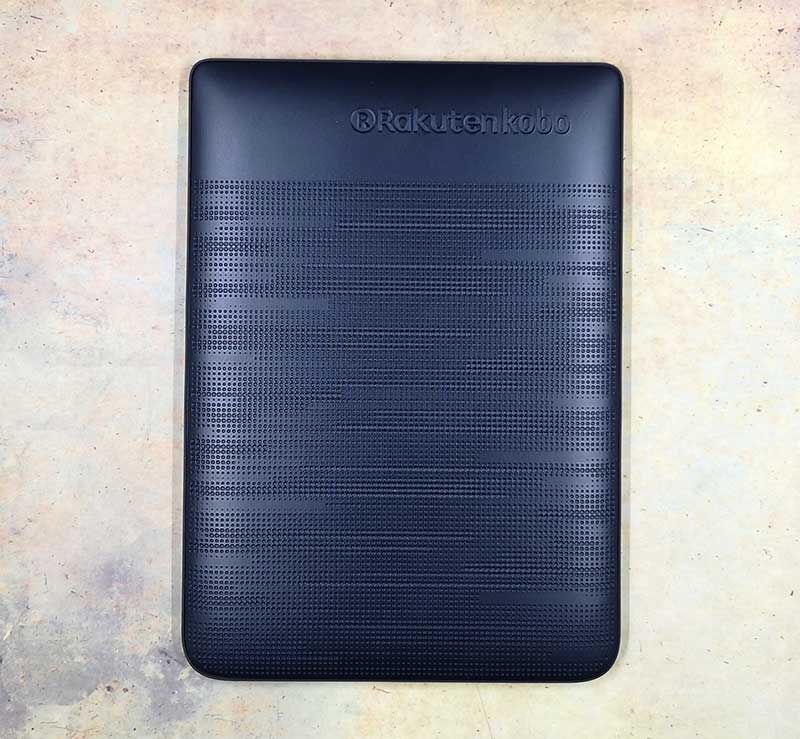
The back of the eReader has an interesting pattern etched in the rounded back case that adds a minimum amount of grip to this small device.

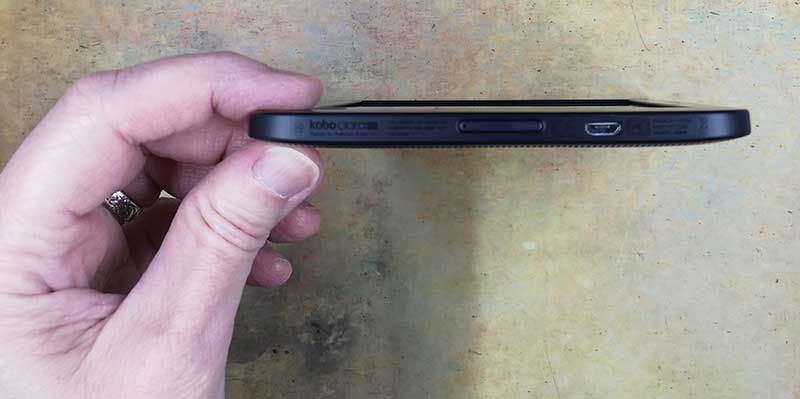
Along the bottom edge of the Clara HD is a small power button with a micro USB port next to it that is used to both charge and transfer files to the device with the aid of a computer.

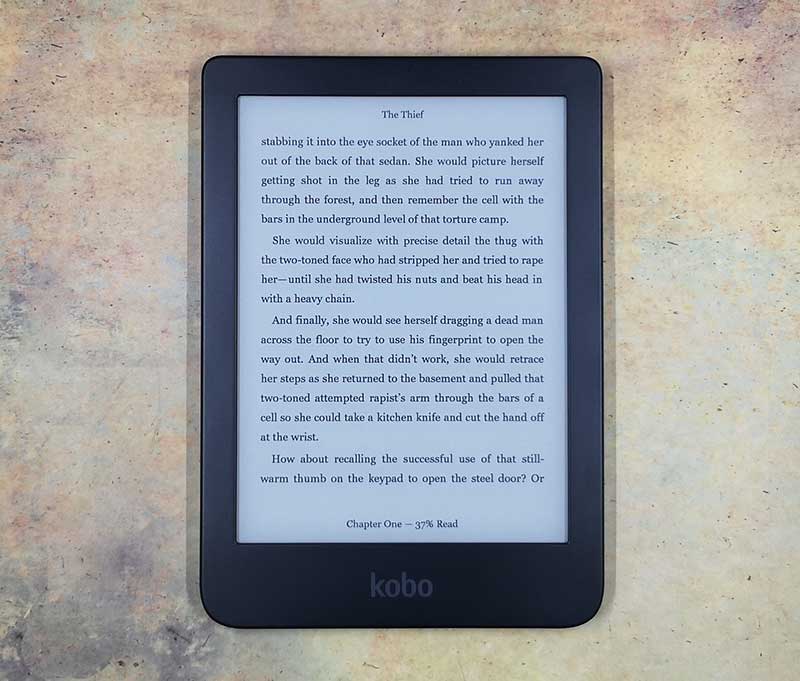
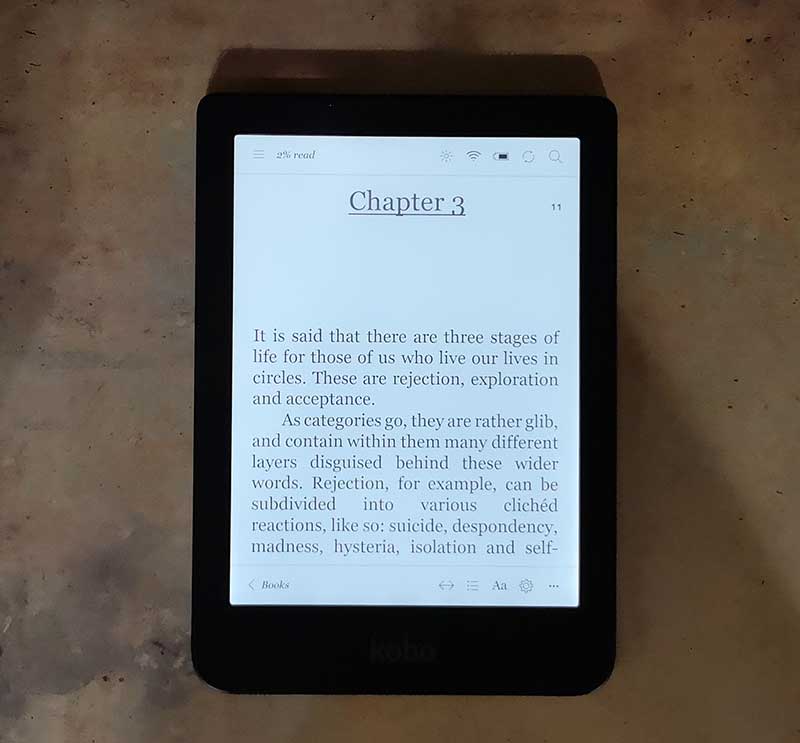
The e-Ink touchscreen display is easy on the eyes with or without the automatic backlight on. Text is perfectly crisp and clear just like printed text on paper.

This type of display has a much lower power consumption than the displays that we have in our phones and tablets. This little eReader can be used for a couple of weeks with one charge instead of a few hours with a phone. It’s also perfectly readable in the full sunlight which one of the main reasons that I still find dedicated eReaders compelling. If you’ve ever tried to read a book outside on a smartphone on a sunny day, you know that the results aren’t great.

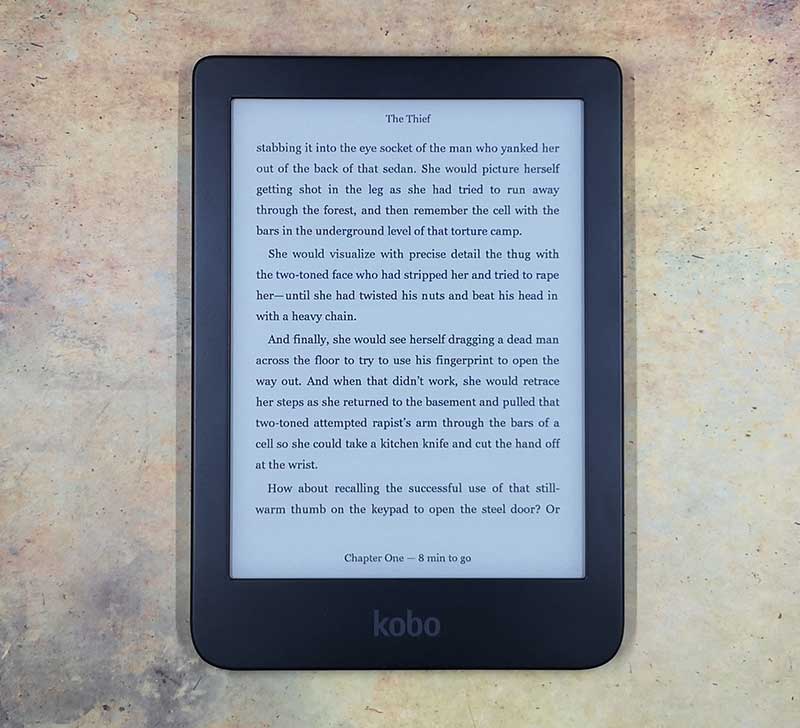
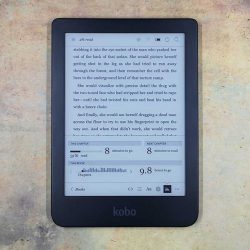
The Kobo’s interface is meant to be simple so that it doesn’t get in the way of the job of this device, which is to let you read a book with zero distractions. It displays the page in the book with your choice of reading status lines at the bottom of the page like the percentage read.

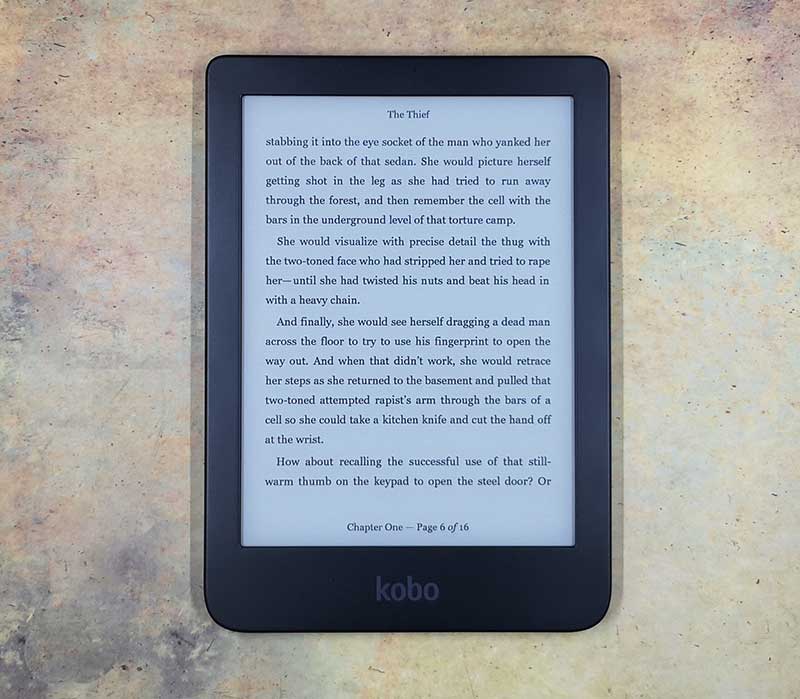
Another option is to show the current page number and total pages.

Or even how many minutes or hours it will take to finish reading the current chapter or the entire book.

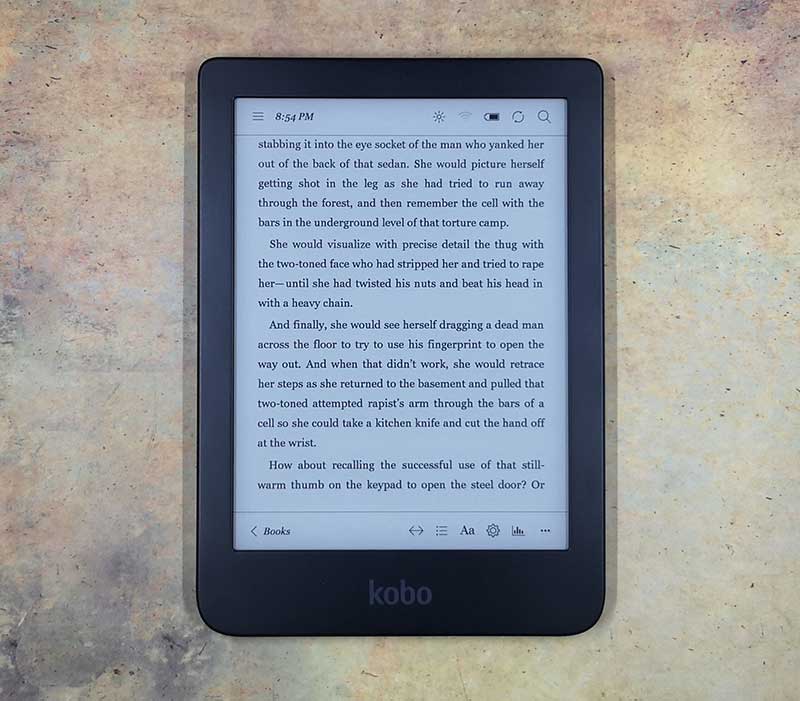
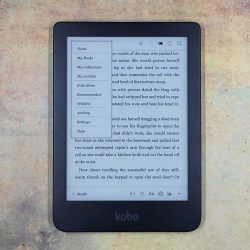
Tapping the screen will bring up a status bar at the top and bottom from which you can access the main menu and various customization menus.


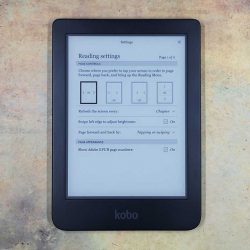
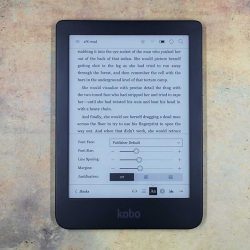
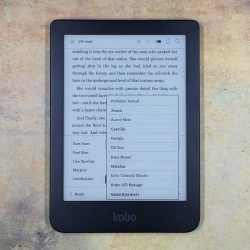
You can customize the line spacing, where to tap to advance to the next page, brightness levels, fonts and more. As far as fonts, Kobo’s TypeGenius offers customizable font options, which include exclusive weight and sharpness settings, with the choice of 11 font types and more than 40 font sizes.

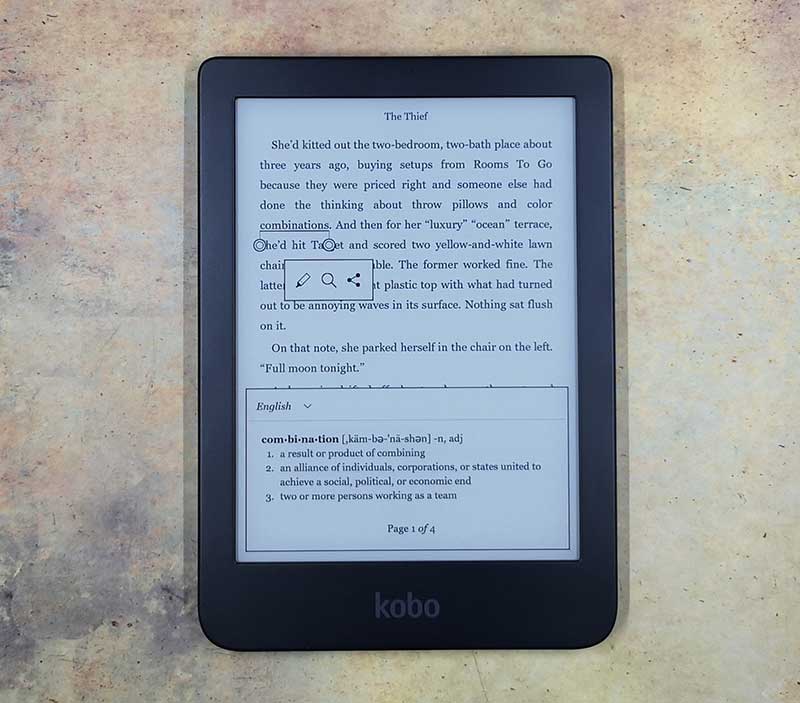
In addition to choosing a font, you can also adjust margins, highlight passages, write notes, and look up words with the built-in dictionary.

The Clara HD eReader also features a ComfortLight PRO backlight that automatically softens the brightness and blue-light exposure as the day progresses into the night so using this device will not affect your sleep.

Adding books to the Clara HD eBook reader


You can buy new books directly from the reader itself when you connect to WiFi and browse the built-in storefront. Other ways to add books is to connect the reader to your PC or Mac with the included USB cable. From there you can drag and drop EPUB, EPUB3, PDF, MOBI, TXT, HTML, RTF, and other formats. For DRM books that you own, you will need to install the Adobe Digital Editions application on your PC or Mac and use that to transfer books to the Clara HD. Another way to add books to this reader is with Overdrive which is an account that uses your local library to borrow books.

Another cool feature is that you can install the Kobo app on your smartphone, tablet, PC, or Mac which lets you start reading with Kobo Clara HD and pick up on your smartphone or tablet or vice versa as your place in the book syncs across devices.

What I like

  • Small size
  • Long battery life
  • Clear crisp text

What needs to be improved

  • eBook prices are too expensive but this isn’t limited to Kobo

Final thoughts

Dedicated eBook readers are not extinct yet. There is still a place for them on the market. Especially for people who want a distraction-free method of reading on an eye-friendly display. When you read on your phone or tablet, you can get distracted by notifications, text messages, and other apps, but on a device like the Kobo Clara HD, you won’t be bothered with a notification that it’s your turn to play Words with Friends or that your frenemy just tweeted something annoying on Twitter. Nope, you’ll be happily engrossed in your favorite book that you can continue reading it outside on a bright sunny day without having to worry about finding an outlet to charge it in a couple hours.

Price: $129.99
Where to buy: Rakuten Kobo
Source: The sample for this review was provided by Rakuten Kobo.

Filed in categories: Reviews

Tagged:

Kobo Clara HD eBook reader review originally appeared on The Gadgeteer on October 16, 2018 at 12:00 pm.

Note: If you are subscribed to this feed through FeedBurner, please switch to our native feed URL http://the-gadgeteer.com/feed/ in order to ensure continuous delivery.
Wisenet Smartcam N2 Indoor Security Camera review

REVIEW – I am one of those gadget nerds that really likes all types of gadgets, and really likes security cameras that offer security features like face recognition, the option of onboard and/or cloud storage, and programmable notifications.  In addition, the ability to hear and see what is going on remotely, and to communicate verbally completes the desired package. Let’s see what the Wisenet Smartcam N2 Indoor Security Camera can do.

What is it?

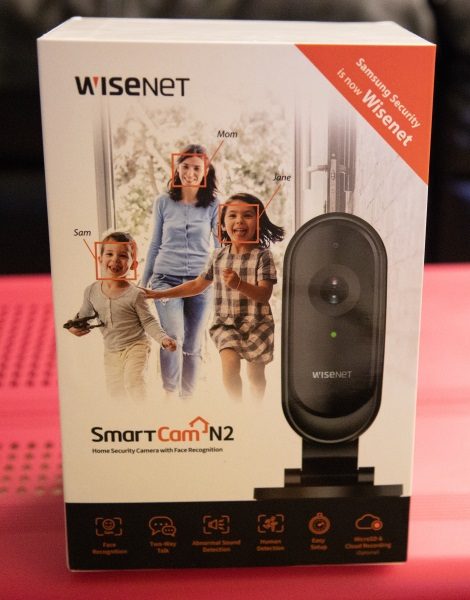
The Wisenet Smartcam N2 Indoor Security Camera is a wireless security camera that is capable of abnormal noise recognition and face recognition, has onboard and cloud storage capabilities, and can send notifications whenever a relevant event occurs.

What’s in the box


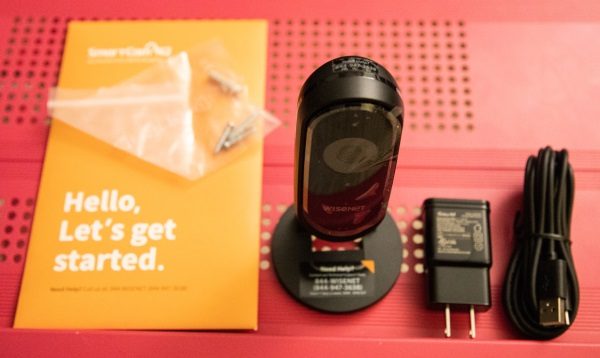
1 x Smartcam N2
1 x Power Adapter and Micro USB cable
1 x Wall Anchors and Screws
1 x Instruction Packet (Quick Start Guide, Warranty Card, GPL License)

Design and features

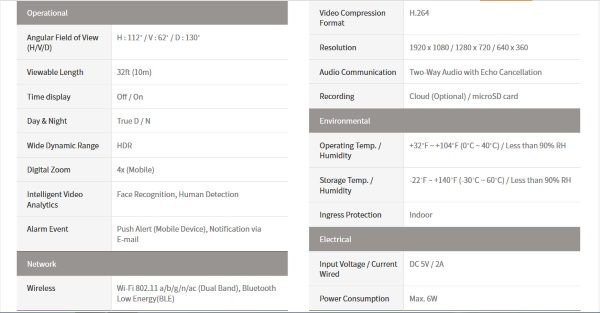
Specifications:
Additional features

    • The SmartCam N2 only distinguishes human activity, eliminating false alert triggered by your pets.
    • The SmartCam N2 includes Motion Zone Selection that allows you to create up to 3 customizable areas in your camera’s view through the App. When it detects movements within the Motion Zone Selection area, you receive a notification on your mobile device.


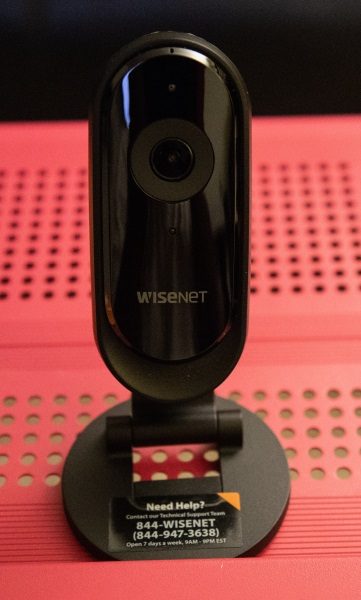
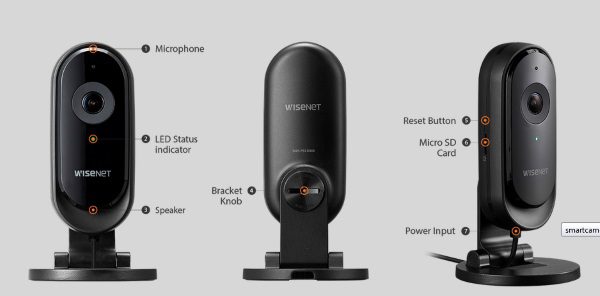
On the front of the camera from top to bottom, there is the microphone, the lens, the LED status indicator, and the speaker.


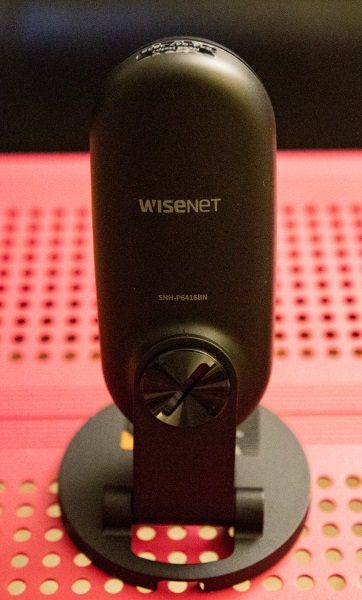
The back of the camera is plain, other than the connector to the stand that allows you to rotate and secure the camera at multiple angles.


When facing the front of the camera, there is a reset button and a micro SD card slot on the left side. The Sd card slot allows you to use a micro SD card for onboard recording which like other cameras can be triggered via motion.
Since the camera is all black and the ports are harder to see, the following picture from the manufacturer’s website shows all of the physical ports and features:

Performance

This camera performs quite well, with a stable wireless connection that has never disconnected thus far, and it produces great images. It has great sound detection and it even recognizes out of the ordinary sounds which it categorizes as abnormal sounds. Its face recognition works even in very low light and once you enable the feature, it sends notifications upon detection.


The Smartcam works on both Android and IOS devices, and via the app, you get very clear and detailed images and video.


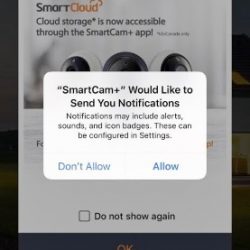
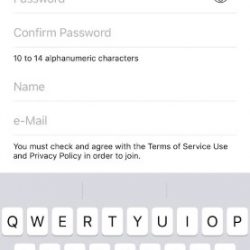
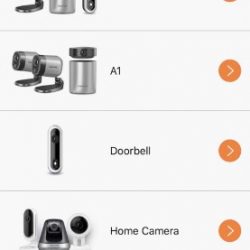
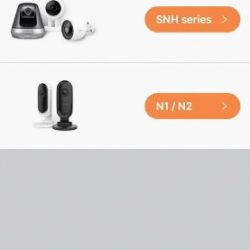
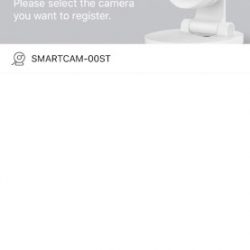
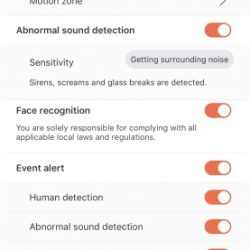
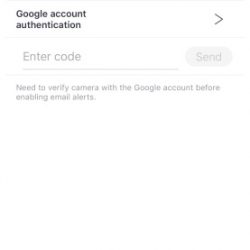
The following is a random selection of some of the numerous screens that you encounter when setting up via the App.


What I like

  • The size and design that allows the camera to be inconspicuous
  • The features
  • The lightweight but good build quality
  • The app

What can be improved

  • The price

Final thoughts

Like many of the wireless security cameras that I have tested and reviewed, this camera offers similar features and delivers very well on its specifications and promises. I really do like this camera, and while it is a solid performer, I do hesitate a bit when recommending it only because of its cost relative to other available cameras with similar features. Nevertheless, it is a well built and very functional camera, and therefore for its performance, it gets two thumbs up!!

Price: $199.99
Where to buy: Amazon
Source: The sample for this review was provided by Wisenet.

Filed in categories: Reviews

Tagged:

Wisenet Smartcam N2 Indoor Security Camera review originally appeared on The Gadgeteer on October 16, 2018 at 9:00 am.

Note: If you are subscribed to this feed through FeedBurner, please switch to our native feed URL http://the-gadgeteer.com/feed/ in order to ensure continuous delivery.
Kano Computer Kit Touch review

REVIEW – Have you ever wanted to learn to program/code? Or maybe you have a young child who wants to write their own programs. The Computer Touch Kit from Kano will not only help you learn the fundamentals of programming, but it will let you do that learning on a touchscreen computer that you build yourself. How much fun is that? Let’s find out?

What is it?

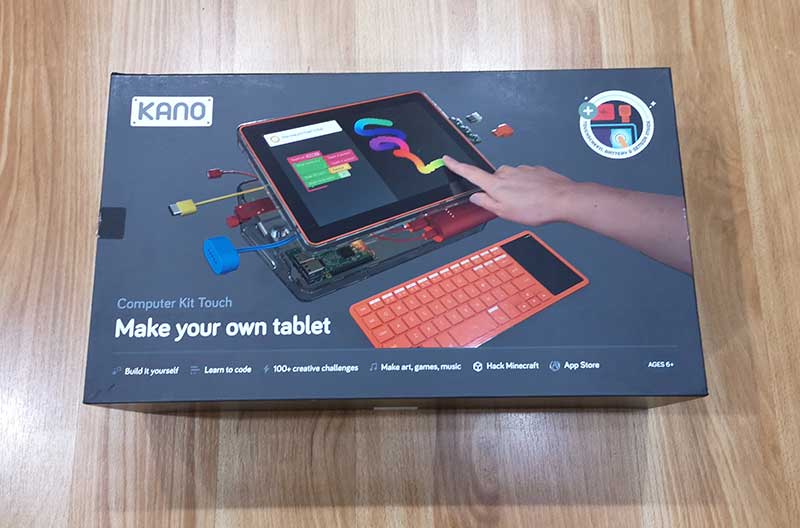
The Kano Computer Touch Kit is a Raspberry Pi based computer kit that helps teach kids and adults how to program using Python and Javascript programming languages.

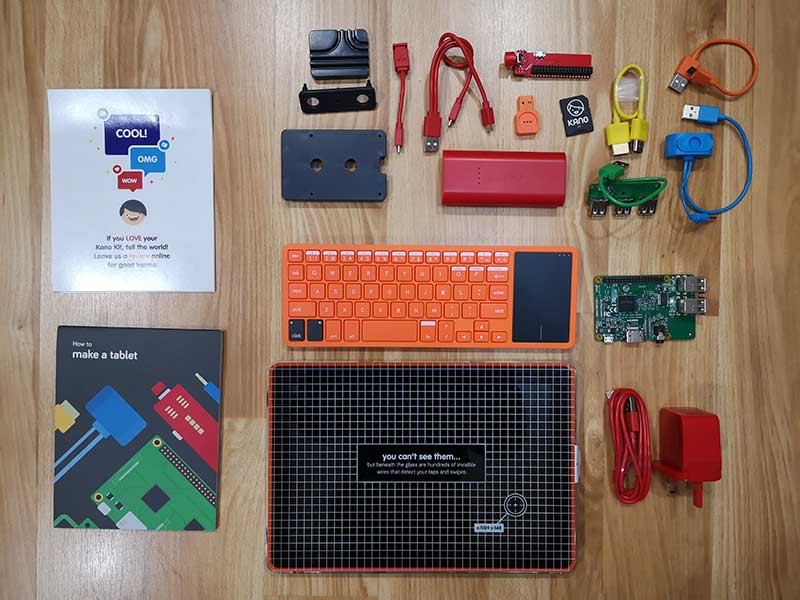
What’s in the box?

USB Board for connecting other devices
DIY Speaker
HDMI Cable connects the screen to computer
Blocks x3 keeps parts connected
Screen Case protects the screen
Power Cables
Battery
Touchscreen Cable
Custom Raspberry Pi – 1.2GHz quad Cortex A53 – 64bit with 1GB of RAM
Power Board
SD Card
Microphone
Screen
USB Keyboard
Stickers
Storybook / User manual

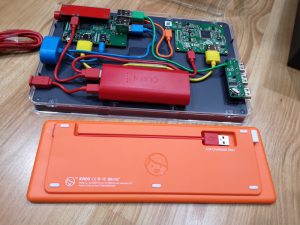
Build your own touchscreen computer

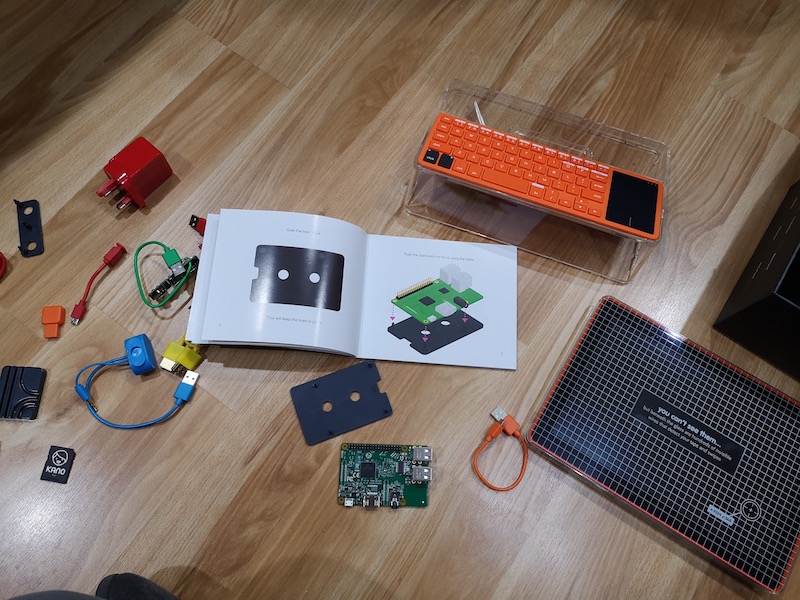
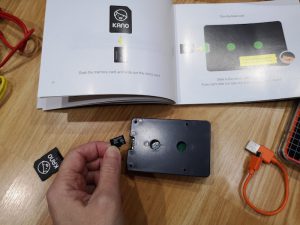
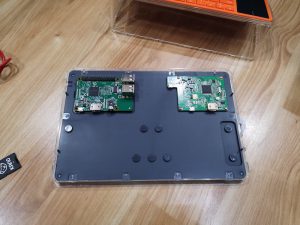
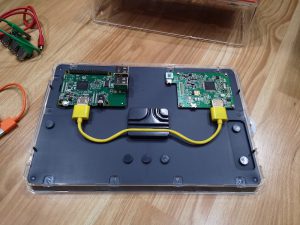
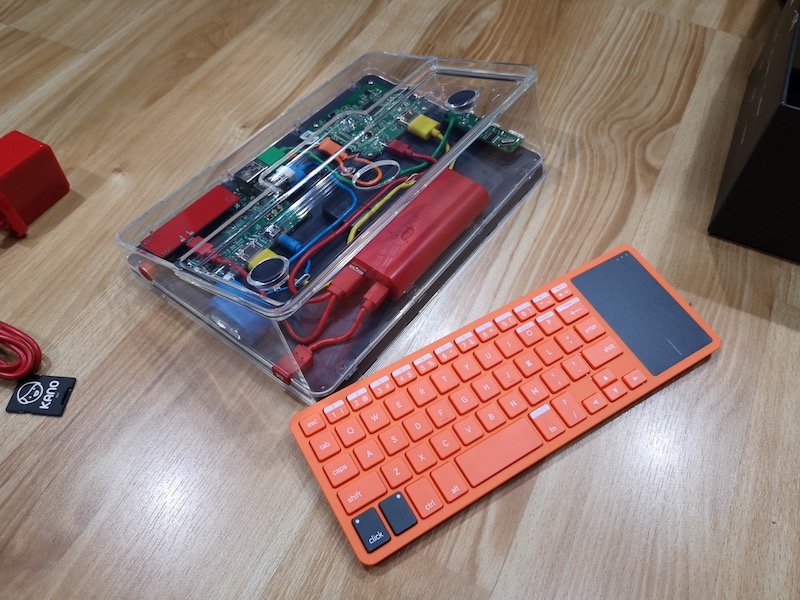
Kano includes everything you need to build a touchscreen computer along with easy to read step by step instructions with clear illustrations. I felt like a little kid spreading all the colorful components on the floor around me as I sat crosslegged flipping the pages in the storybook which lead me through the steps to build the computer.


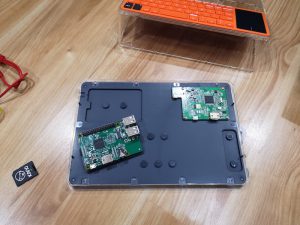
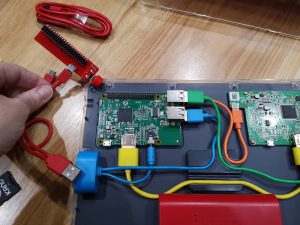
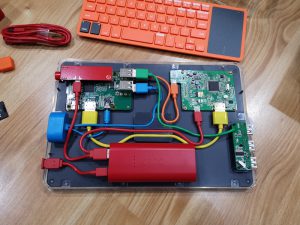
No tools are necessary for the build as everything snaps into place on the back of the touchscreen just like your favorite building blocks. Kano even includes wire routing blocks for the cables to keep everything neat and tidy.


As you place each component on the board, the book explains in basic terms the function for each part without being too technical or boring.

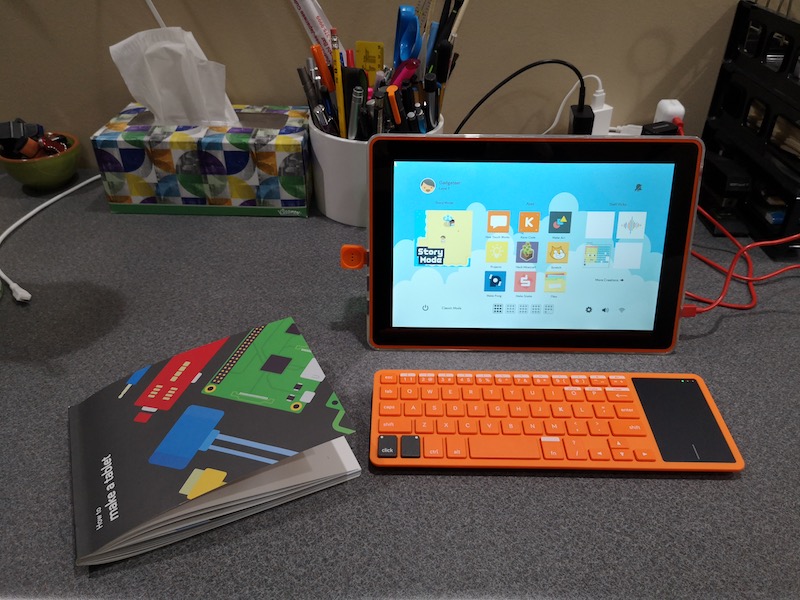
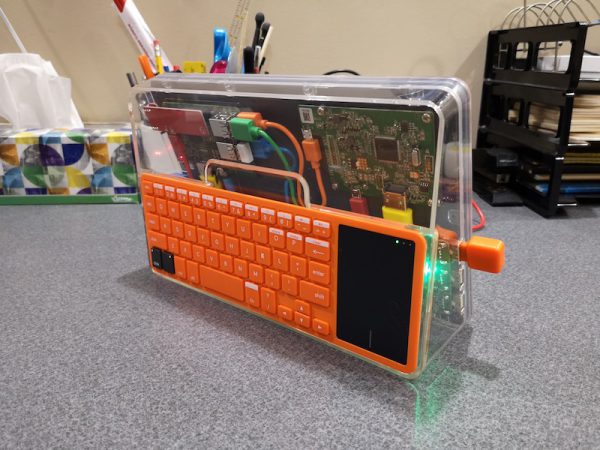
The computer even comes with a plastic case to protect the parts and to give it a finished look that allows you to see your handy work.


The whole setup is pretty impressive and the build process was fun without taking too long. I didn’t time it, but I don’t think it took me more than 30 minutes to put everything together.

I built a computer, now what can I do?

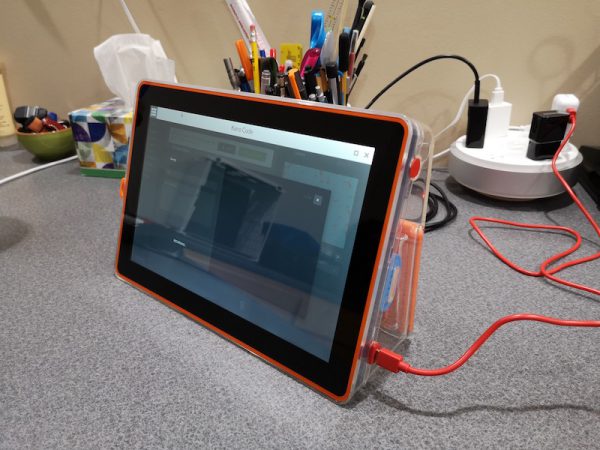
After everything is assembled, it’s time to turn it on and start learning to program. This is the point where I ran into two issues. First of all, the USB power adapter that was included in the package that I was sent, had a European plug style. But you can use any USB adapter that you already have. That’s what I did and it worked fine.

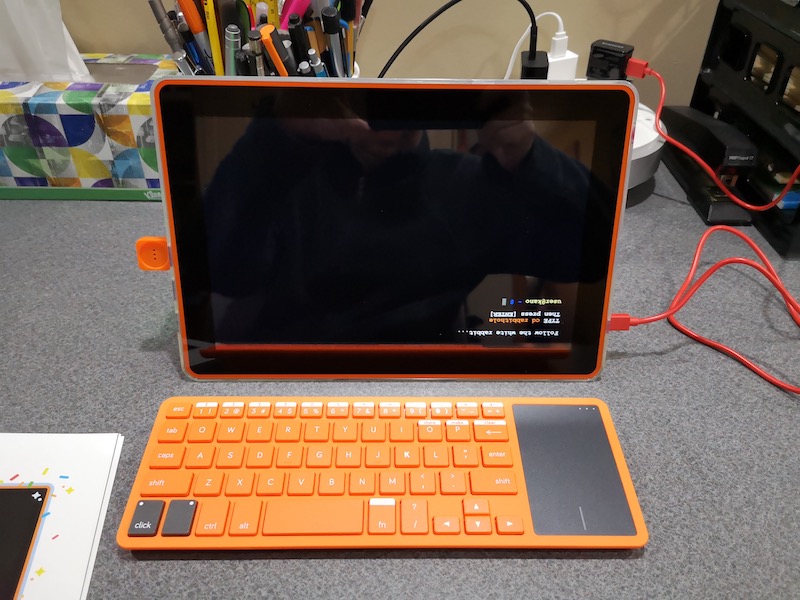
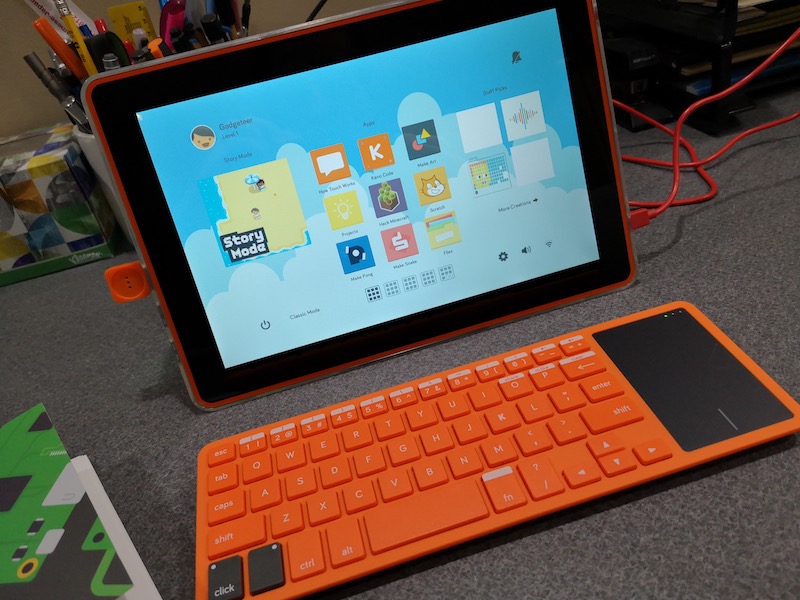
The next problem that really threw me for a loop for a few minutes can be seen in the image above. When the Kano computer powered up, the screen was upside down. I immediately thought that I had assembled the computer incorrectly and started feeling bummed that I would have to take everything apart and go through the building steps again. But then I looked closer at the storybook/manual and saw a small note that said you could go into the settings to flip the screen. Whew! Crisis avoided. But, I think the screen flip option should come up immediately upon bootup instead of having to find the setting once everything is running. Or maybe even have a physical switch on the side that will flip the display.

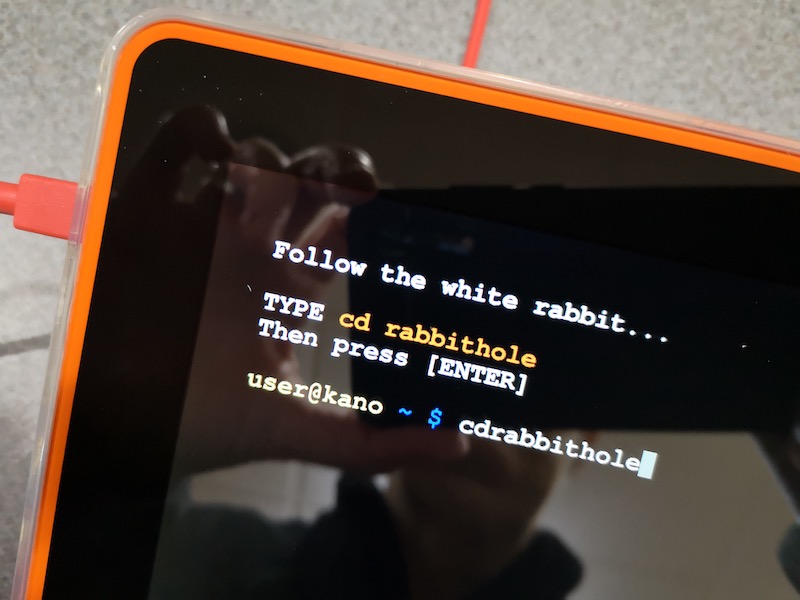
The bootup process starts out at a command line and guides you through typing in a few commands. I liked this part because I’m a Unix nerd and this kind of stuff is right up my alley.  Yeah, don’t pay attention to the fact that I left a space out of the command shown in the screenshot above 😉

After the OS boots, you’ll be greeted with a more modern interface with menus and apps that you can launch with your finger or select with the included wireless keyboard which has a built-in touchpad.

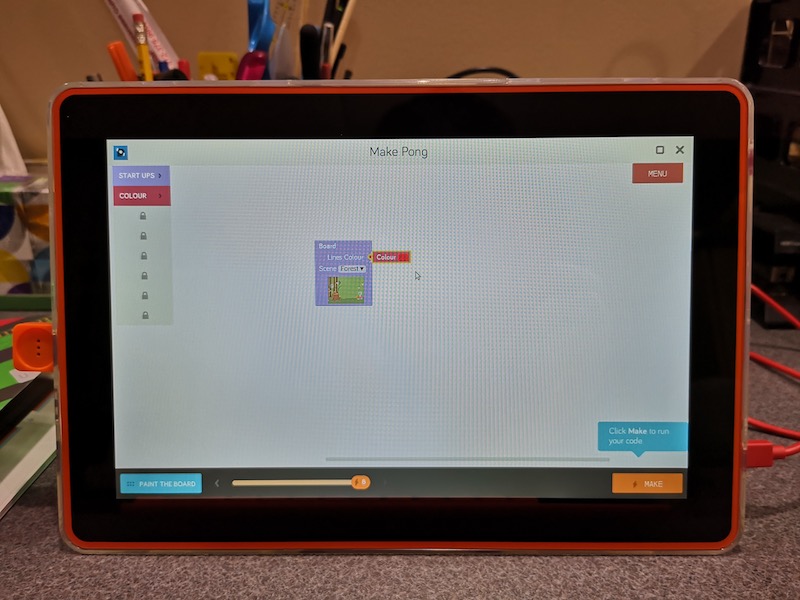
You can learn to program by using the story mode option that lets you wander around a forest to talk to people and go on quests. It reminds me of an old-school Zelda style 8bit video game. The programming sections lead you through learning sessions that help you learn how to use drag and drop modules to build and customize a program.


You will learn the fundamentals of building a program including using loops and variables. You can then make the program which will let you compile and run it. Your completed programs can be saved to memory so you can revisit and change them later.

After you go through all the lessons and built-in games, you can add more by visiting the online Kano community for more creations.

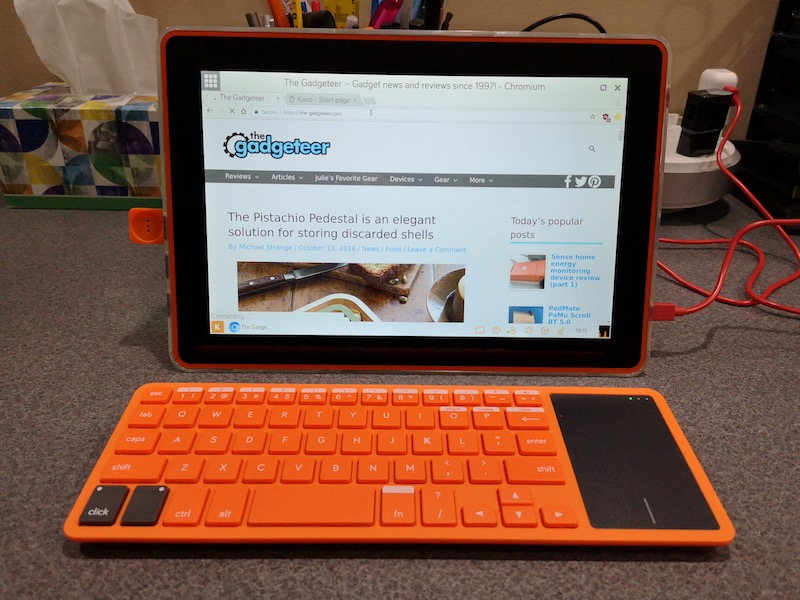
The Kano computer isn’t a one trick pony, it’s an actual computer and even comes with other apps like a YouTube viewer and web browser pre-installed.

Be aware that this isn’t going to be a computer that your child or an adult will want to use as a full-time computer because it isn’t very speedy. Certain functions feel sluggish and sometimes I wondered if the computer had crashed because there wasn’t any type of live status message on the screen that indicated that it was still working.

What I like

  • Step by step instructions make it fun and easy to build
  • Teaches basic programming fundamentals
  • The computer can be used for other things

What needs to be improved

  • Make the internet browser and YouTube apps optional for a parent to install

Final thoughts

When I was a kid, I would have absolutely LOVED the Kano Computer Kit Touch. Heck, I’m an adult now and I thoroughly enjoyed building the computer and going through the learning quests. The colorful components and step by step instructions made the process fun while injecting STEM (Science, Tech, Engineering & Math) knowledge and skills.

Price: $279.99
Where to buy: Amazon
Source: The sample for this review was provided by Kano.

Filed in categories: Reviews

Tagged: , ,

Kano Computer Kit Touch review originally appeared on The Gadgeteer on October 15, 2018 at 3:49 pm.

Note: If you are subscribed to this feed through FeedBurner, please switch to our native feed URL http://the-gadgeteer.com/feed/ in order to ensure continuous delivery.
Jamie Clawson leather iPhone Xs Max skin review

REVIEW – As some of you may have read, Julie and I purchased and reviewed Apple’s latest and greatest smartphone, the iPhone Xs Max. And where Julie returned hers, I continue to love using mine with zero buyers regret. Even though I got AppleCare Plus, I hesitate using the Max without protection (aka naked). The iPhone X(s) is slippery and very droppable, the Max’s larger form factor makes it even more so. From the beginning, I’ve debated case vs skin vs nothing but a screen protector. For this review, I am trying out a handmade leather skin from Jamie Clawson’s workshop in black cowhide.

What is it?

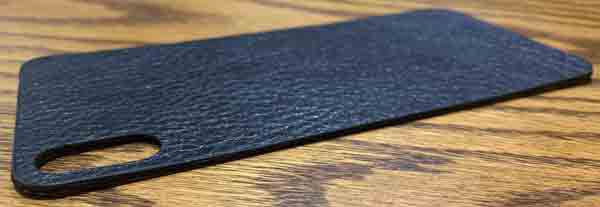
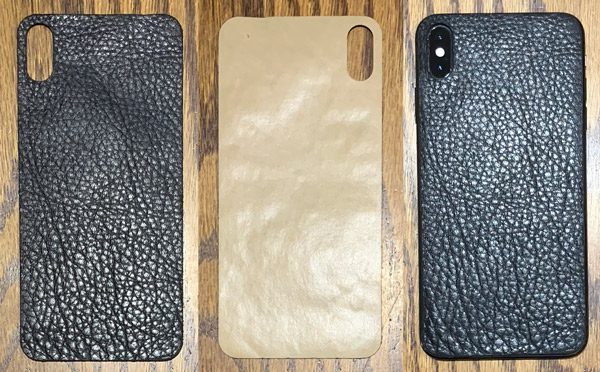
The leather skin is made from a single piece of leather that adheres to the back of your iPhone adding protection and grippability to the very slick piece of metal and glass.

Design and features
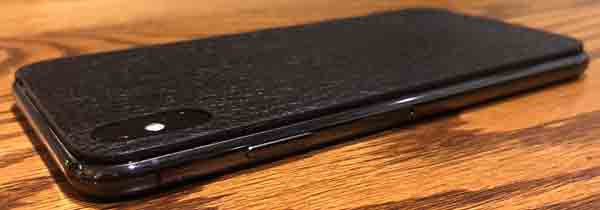
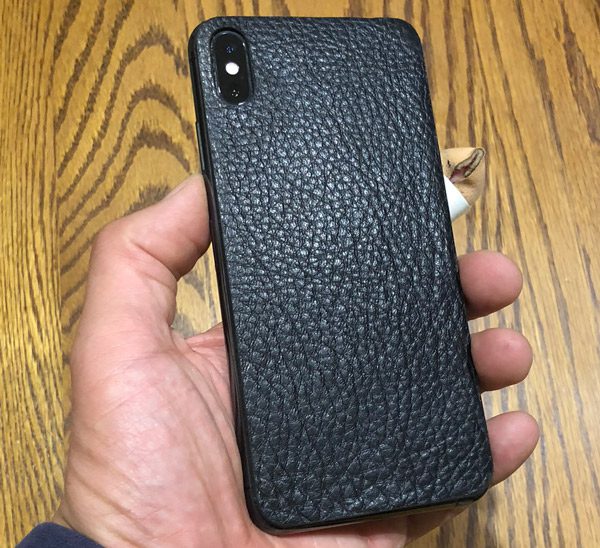
The leather skin is handmade, laser cut, and fits the back of iPhone Xs perfectly. The skin protects the Max’s very expensive to replace glass back.

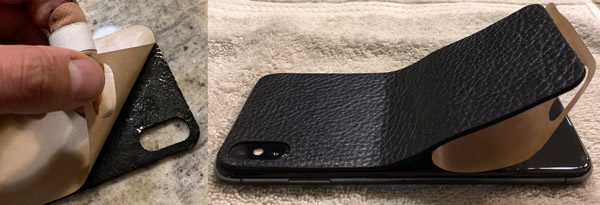
The adhesive Jamie uses is made by 3M “specifically for our products”. Installing the skin is quick (less than a minute) and easy. And as I said, the leather is perfectly sized/shaped for the iPhone.

The skin is surprisingly thick, approximately 1/4 the thickness of the iPhone Xs itself. My fear is that the high edge of the leather will catch on something or the constant taking the phone in and out of my pocket will cause the edges of the skin will stop sticking/fail. Unlike Slickwraps and Brandb skins much longer warranties, Jamie only provides a 7-day guarantee against defects vs any sort of failure to adhere. 

There is no way you could put your iPhone into a case with this skin on…or at least not a very form-fitted one. Supposedly you can remove and reapply it as long as you keep the sticky side clean and schmutz-free. I will be testing this out in the next few weeks, I have several cases inbound where I will have to remove this skin when I start my reviews.

The leather skin feels great on my iPhone Xs Max and adds solid grippability to the sleek and slim device. I was a bit worried the height of the leather being an issue or irritating but surprisingly its not. Based on how I hold my iPhone, other than feeling the leather, the edge doesn’t really affect the form factor of the smartphone when in use.

What I like

  • Precision fitted for the iPhone
  • Made from high quality leathers
  • Adds excellent feel and grippability to the slippery device.
  • Protects the iPhone’s glass back

What needs to be improved

  • Surprisingly thick
  • No warranty

Here you can see just how handmade and personal Jamir Clawson’s products are…right down to the handwritten note thanking me for my order (to the best of my knowledge, he had no idea I was planning on reviewing it 😉 ).

Jamie Clawson makes his skins out of a multitude of leathers including genuine premium cowhide, calf, crocodile, ostrich, pony hair, python, stingray, etc.

Final thoughts

I have been using Jamie’s leather skin for a few weeks now and it continues to get the job done. The edges remain firmly stuck to the glass back of my iPhone Xs Max. And while the skin provides minimal overall protection, it does add grippability and provides decent protection for the back of the smartphone. With it, a tempered glass screen protector, a sure set of hands, and AppleCare Plus…I believe my fancy new $1500 tech-toy, not only feels as Jony Ives intended but is protected enough to face my hectic go, go, go lifestyle.

Price: $25
Where to buy: jamieclawson.com
Source: Purchased with my own funds from jamieclawson.com.

Filed in categories: Reviews

Tagged: ,

Jamie Clawson leather iPhone Xs Max skin review originally appeared on The Gadgeteer on October 15, 2018 at 11:00 am.

Note: If you are subscribed to this feed through FeedBurner, please switch to our native feed URL http://the-gadgeteer.com/feed/ in order to ensure continuous delivery.