How to Remotely Shut Down or Restart Your Windows 10 PC

A remote shutdown or restart comes in handy when you have several PCs set up in different rooms and don’t want to keep visiting each machine to shut down or restart it physically. Thankfully, Windows 10 offers a utility through which you can shut down or restart PCs connected to your network. This includes the Shutdown.exe utility that simply shuts down or restarts Windows 10 PCs in your local network once they’re configured accordingly. From here on it’s only a matter of seconds to perform the tasks remotely. Here’s how to remotely shut down or restart your Windows 10 PC. Related: How to Lock PC… Read more

Plugable NVMe SSD Enclosure review

REVIEW – Last year I designed a custom gaming PC and had my local computer shop build it for me.  It was the first time that I had designed a computer that did not have a traditional hard drive; instead, it used a super-fast 500 GB Samsung NVMe SSD 960 EVO M.2.  To maximize performance, this little card—it looks more like a memory card than a hard drive—doesn’t even use a cable; it connects directly to the motherboard.  But what if I decided to build a new computer and needed to quickly copy some files from the old SSD drive?  Or what if I worked in an IT shop where I regularly dismounted these SSD drives from old computers so that I could wipe them before surplus?  If you find yourself needing to quickly mount and dismount SSDs like this, Plugable has a gadget for you.

What is it?

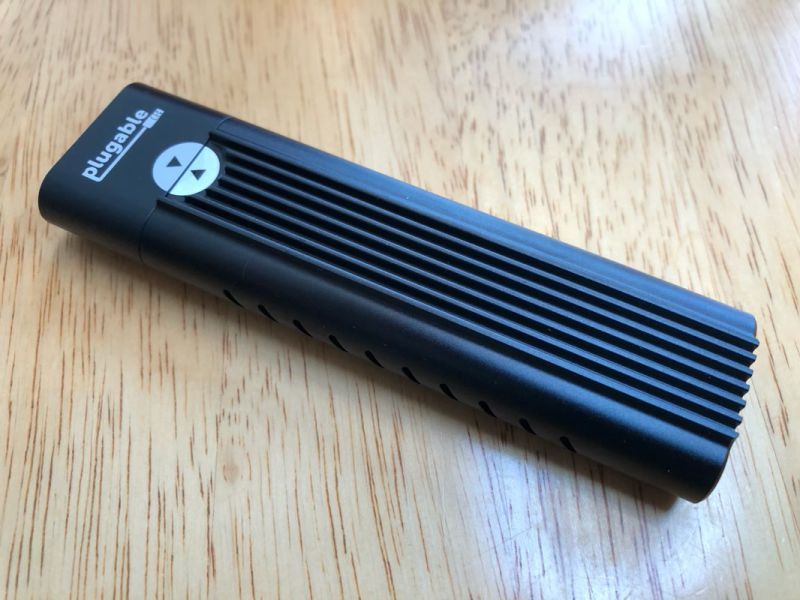
The Plugable NVMe SSD Enclosure is an enclosure for NVMe M.2 SSDs.  It allows you to quickly mount and dismount them without having to use any tools.

What’s in the box?
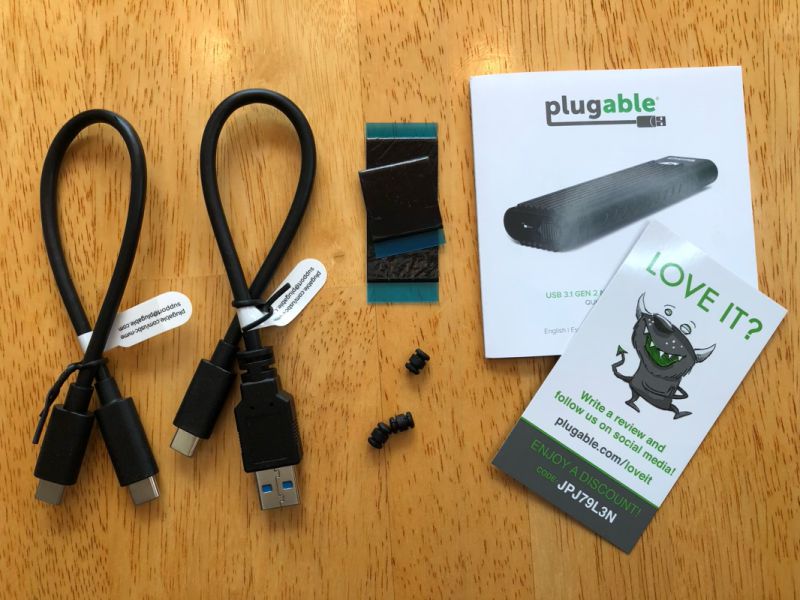
  • The enclosure
  • USB-C to USB-C cable
  • USB-C to USB-A cable
  • 3 extra rubber standoffs
  • 3 adhesive thermal pads
  • A customer care card
  • A manual with 1 page of English instructions

It should be noted that this enclosure doesn’t come with an SSD; that has to be bought separately.  The Plugable site has several compatible recommendations, anywhere from 120 GB to 2 TB in size.

Hardware specs

The case is made of aluminum and looks a bit like a giant heat sync with holes cut in the side for extra ventilation.  When used for extended periods of time, SSD drives like this can get rather warm, so this design is intended to keep things cool.  It’s probably a good idea to make sure it has plenty of air flow.
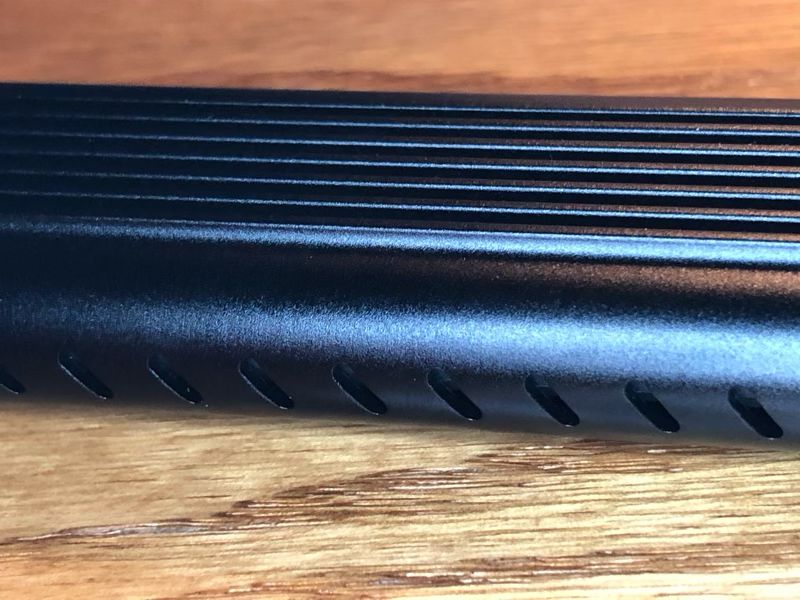
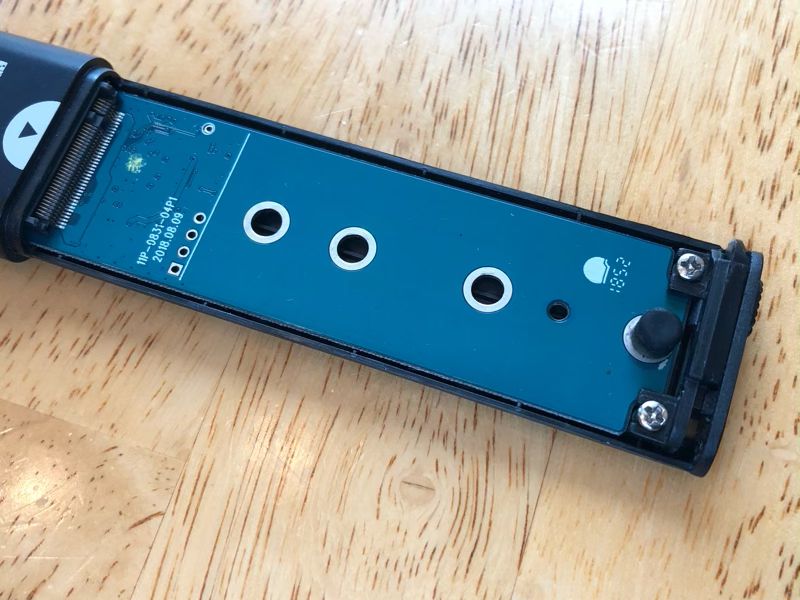
The enclosure is designed to work with SSDs that are of form factor 2230, 2240, 2260, or 2280.  M.2 SSDs come in a variety of widths and lengths, but Plugable’s product only works with those that are 22 mm wide and 30, 40, 60, or 80 mm long.  If you look at the enclosure without an SSD, you can see that there are 4 holes, one for each of the four lengths.  The longest currently has a rubber standoff already in it.  To use a shorter SSD, move the standoff to the corresponding hole.
The drive should work equally well with Windows, macOS, or Linux.

Setup

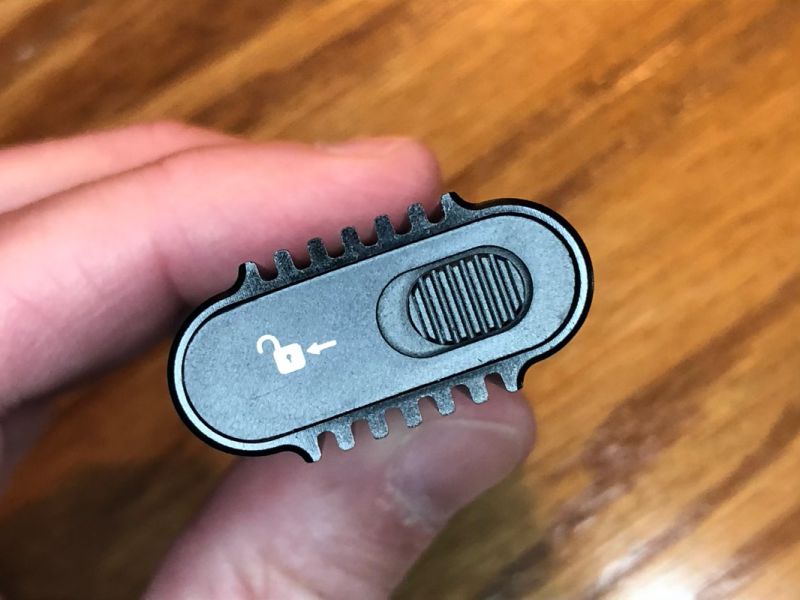
To open the enclosure, push the unlock button on the end and then slide the cover off.
Carefully insert the SSD at a 30-degree angle.
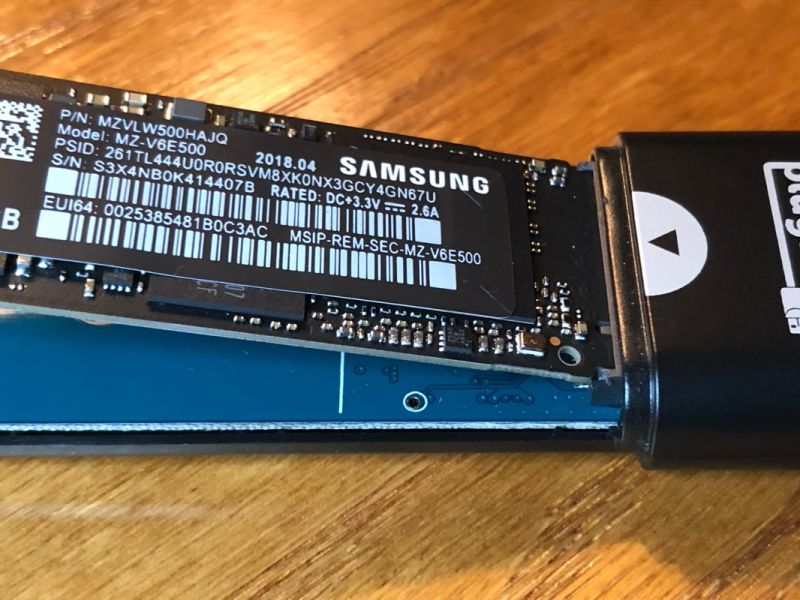
Gently push the other end down and use the rubber standoff to hold it in place.
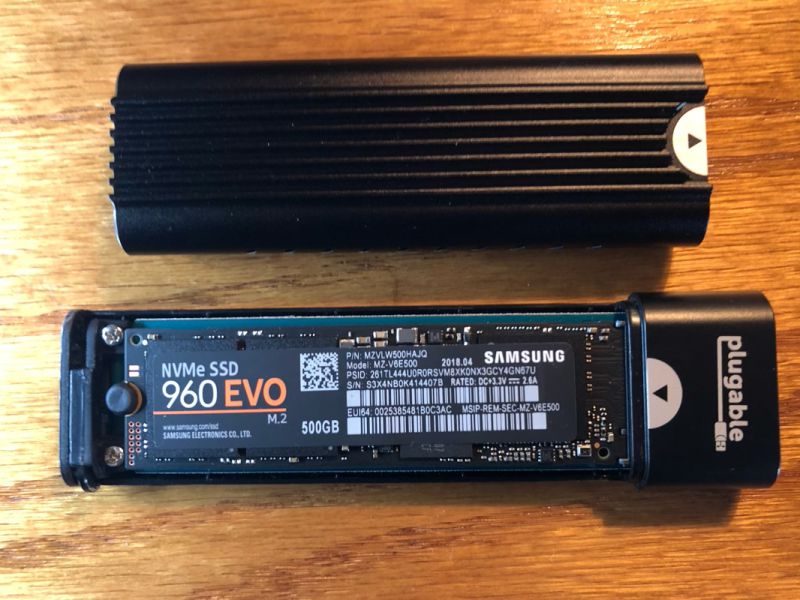
Slide the cover back on, and then use one of the USB cables to connect it to your computer.  Easy!

Design and features

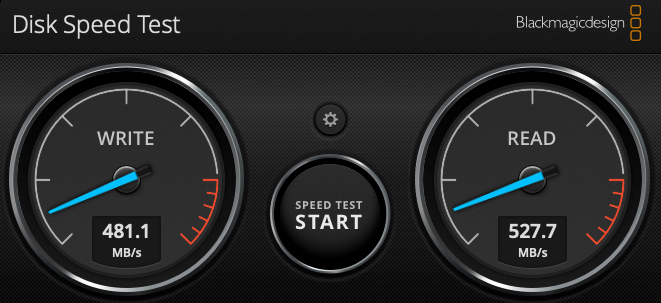
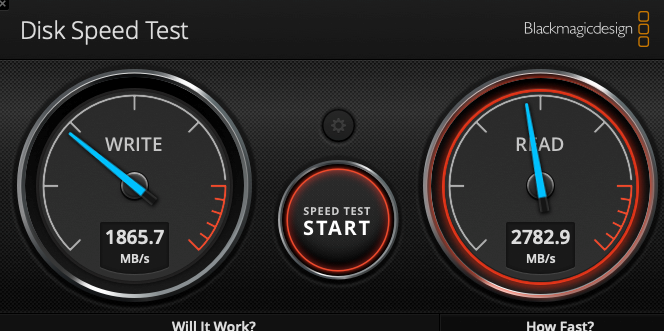
Plugable makes a big deal about how fast their device is, so I decided to run a little speed test to see how it performed.  The host was a 2018 Mac mini with a 3.0 GHz 6-core Intel Core i5, a speedy little machine.  I installed BlackMagic’s Disk Speed Test and ran it against Plugable’s enclosure (with a Samsung 960 EVO NVMe M.2 SSD inside).  For comparison, I also ran it against a SanDisk Extreme Portable External SSD, which I use around the house for data backup.  I tested both using the 5 GB test file size while connected via the USB-C connector.

SanDisk’s drive average write speed was 481 MB/s, and its average read speed was 527 MB/s.  The SanDisk has a serial ATA drive inside, and SanDisk estimates that its max read and write speed is 550 MB/s; thus, this is a respectable score for this gadget.
Plugable’s enclosure smoked it.  Its average write speed was 1865 MB/s, and its average read speed was 2782 MB/s.  That write speed is slightly higher than Samsung’s estimated max (1800 MB/s), though the read spec falls off a bit from its estimated max (3200 MB/s).  Plugable’s gadget is allowing the speed of the SSD inside to come blazing through.
The enclosure comes with 3 extra rubber standoffs.  While these standoffs are the best thing about this enclosure—they eliminate the need for any tools—they may also be a cause for concern.  Why does it need 3 spares?  A couple possibilities come to mind.  One, they are small, so they might be easy to lose, especially if you’re constantly moving them back and forth between the different lengths.  Two, they might wear out easily.  Though I personally didn’t have any problems with them, it’s something to keep in mind.

The enclosure also comes with 3 adhesive thermal pads.  If your enclosure gets hots, Pluggable gives these instructions:  “Locate the thermal pads included with the USBC-NVME, remove backing to expose adhesive, and affix to the controller chip and flash memory module(s) on your NVMe SSD.”  This should improve heat transfer and keep your SSD cooler.

What I like

  • Quick and easy to mount and dismount
  • Super-fast

What needs to be improved

  • Nothing

Final thoughts

The primary purpose of this gadget is to quickly and easily mount and dismount SSDs.  Other storage solutions may be smaller, cheaper, or more ruggedized, but Plugable’s enclosure makes swapping SSDs a breeze.  It also helps that it’s very fast.  It’s the perfect solution for those who need it.

Price: $49.95
Where to buyAmazon
Source:  The sample for this review was provided by Plugable.

Filed in categories: Reviews

Tagged:

Plugable NVMe SSD Enclosure review originally appeared on The Gadgeteer on April 12, 2019 at 11:00 am.

Note: If you are subscribed to this feed through FeedBurner, please switch to our native feed URL http://the-gadgeteer.com/feed/ in order to ensure continuous delivery.

SpaceX sticks the landing – the world’s first triple booster landing

NEWS – April 11, 2019, I got to watch history – at least part of it, as SpaceX launched its second Falcon Heavy from the Kennedy Space Center at Cape Canaveral.  I did this from my driveway – or more correctly, a friend’s driveway down the street, which is pretty darn cool.

Disclaimer – most photos are from February 2018’s Falcon Heavy launch, where I was in Titusville, Florida, much closer to the Cape.

The launch went off without a hitch and we were able to clearly see the launch from roughly 90 miles to the west.  The better part was that we could also clearly see the reentry burn on the two side boosters as they stabilized prior to their freefall back to the Cape This happened about eight minutes after launch.

The two side boosters travel relatively slowly when they separate, allowing them to return directly to the Cape.

The center booster travels too fast at separation to return to the Cape.  That booster is supposed to land on a drone platform out in the Atlantic ocean.  That was the plan last year as well, but the booster missed the platform and not only was lost but flooded and sunk the platform as well.  This time, all that changed as all three boosters worked exactly as designed and nailed perfect right-in-the-center landings.

This is from SpaceX’s twitter feed right after the landing, showing the main center booster on the drone platform.

The tech behind all this is staggering.  Think about controlling three objects, all weighing thousands of pounds, freefalling from space, and guiding them, essentially without a motor, and landing them all so softly that you can use them again.  That’s what SpaceX brought to the table tonight.

The mission continued, successfully launching the Arabsat-6A satellite into geosynchronous orbit. This means that SpaceX has completed its first commercial launch of the Falcon Heavy rocket.

It is an exciting time for the US space program.  Who knows how this tech will lead to other new developments?

Filed in categories: News

Tagged:

SpaceX sticks the landing – the world’s first triple booster landing originally appeared on The Gadgeteer on April 12, 2019 at 10:00 am.

Note: If you are subscribed to this feed through FeedBurner, please switch to our native feed URL http://the-gadgeteer.com/feed/ in order to ensure continuous delivery.

Mohu FirstStage Amplifier review


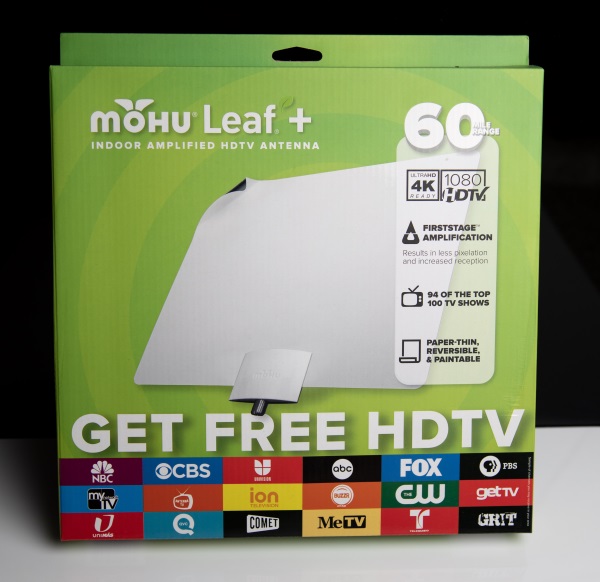
REVIEW – During the past year, I have become a really big fan of Over-The-Air Antennas, and of exploiting all possible options in an effort to receive the maximum number of OTA channels that are available in my neighborhood. Up to a few weeks ago, I was using a Mohu antenna that has been working quite well with my AirTV box. Now I have the opportunity to test and review the Mohu Leaf Plus which now comes with their built-in FirstStage amplifier. Hmm!! I wonder how many more channels I can get and if I can get a better quality picture too!

What it is?

The Mohu FirstStage Amplified Antenna is an over the air HD antenna that is designed to receive high definition TV channels that are being broadcast over the air for free. FirstStage was designed to improve antenna performance with better reception and less pixelation than other similar antennas.

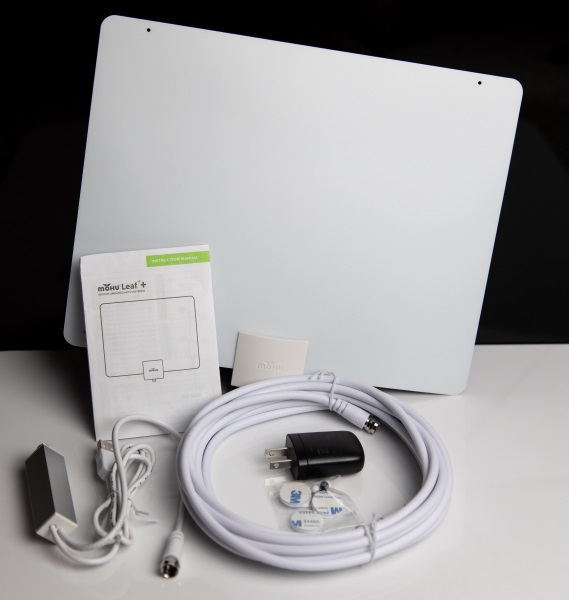
What’s in the box


1 x Leaf + Antenna
1 x Power Injector
1 x 16′ Coaxial Cable
1 x USB Power Adapter
1 x Set of Push Pins and Loop Tabs

Design and features

The FirstStage is integrated and built into the Mohu Antenna. The integration reduces cable loss, making it ideal for those using longer lengths of coax cable. Also designed to make installation as easy as possible, FirstStage amplified antennas don’t need a power source at the amplifier end of the cable, so placement is more flexible.

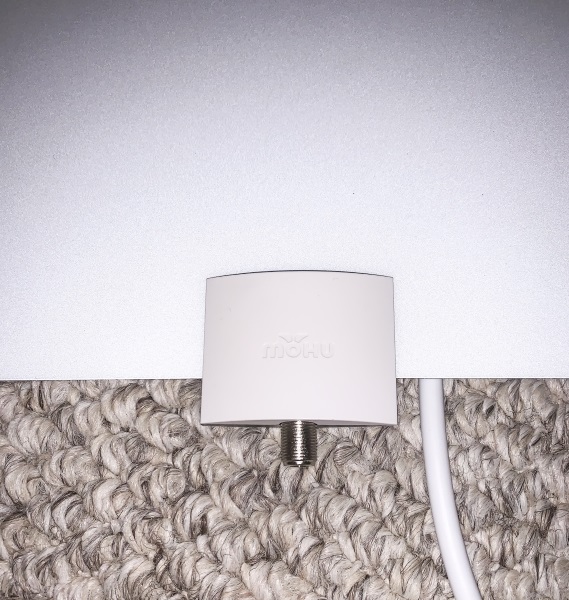
The material used for the antenna makes it lightweight and flexible, and the only built-in connection is the coaxial jack.

Performance

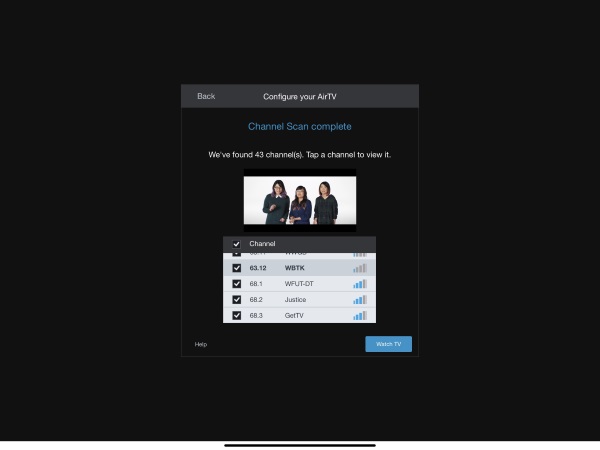
Setting up this OTA antenna is very easy. Before I started the setup, I used the SlingTV app on my iPad to scan the OTA channels on my AirTV box to see how many I was receiving. As shown below, I was receiving 43 channels.

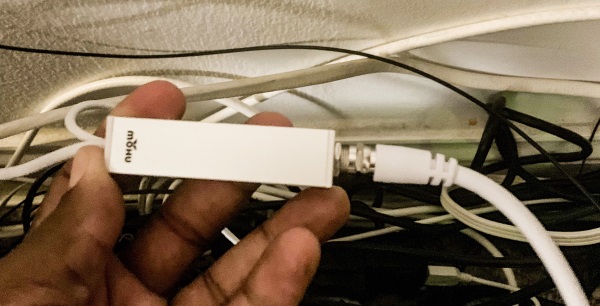
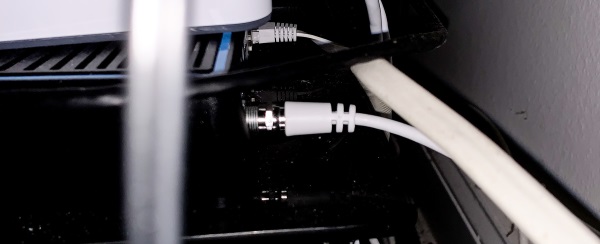
Using the provided or your own coaxial cable, you connect one end to the Power injector and the other end to the antenna. Then you connect the coaxial cable that is built-in to the Power Injector to your OTA TV device. In my case, I used my AirTV box.


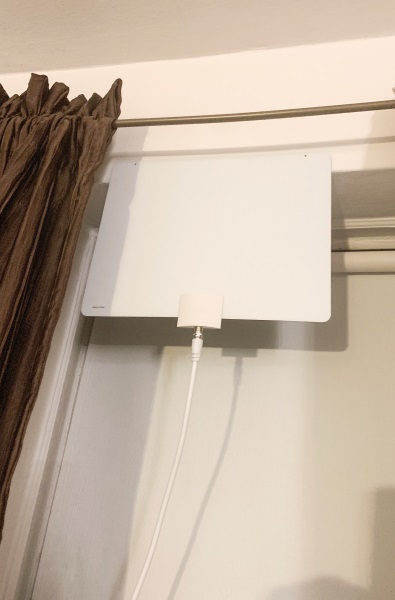
Once the cables are connected, you plug the USB cable that is attached to the Power Injector into the USB power adapter and then into an AC outlet. For my installation, I connected 3 of the 4 provided velcro adhesive loop tabs across the top rear of the antenna and attached it to the edge of the wall in front of a window.

Once everything was connected, I performed a new scan to see if there was any benefit of additional channels. As shown below, the new scan found 47 channels which are 4 more than the number of channels received via the previous model OTA antenna.


The following screenshots show the list of channels I receive with this antenna:


A sample of the quality of the picture from the channels received is shown below.


What I like

  • That is it lightweight
  • The built-in amplifier means no additional hardware
  • It can be easily mounted and hidden
  • It provides access to more channels than my previous model

What can be improved

  • A longer coax cable should be included to allow for more placement options

Final thoughts

While I am yet to come across anyone who has been able to actually receive as many channels as any of Over The Air antenna promises, I do understand that almost no one has completely ideal placement conditions. This antenna is simple and easy to set up and for a device with a relatively low one-time cost of $60, I am consistently getting 47 HD quality channels. That is good enough for me to give Mohu two thumbs up!!

Price: $59.99
Where to buy: Mohu website and B&H Photo Video
Source: The sample for this review was provided by Mohu

Filed in categories: Reviews

Tagged:

Mohu FirstStage Amplifier review originally appeared on The Gadgeteer on April 12, 2019 at 9:00 am.

Note: If you are subscribed to this feed through FeedBurner, please switch to our native feed URL http://the-gadgeteer.com/feed/ in order to ensure continuous delivery.

Ember introduces a larger 14oz version of its popular temperature controlled ceramic mug

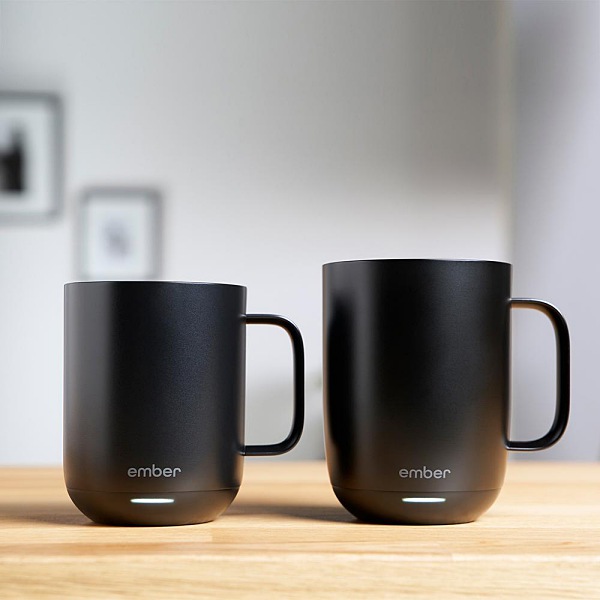
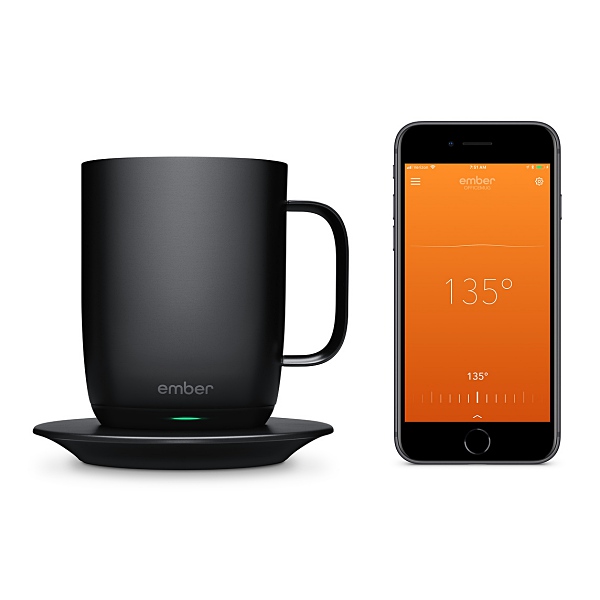
NEWS – Ember recently launched a new 14oz version of its Ember Ceramic Mug in the U.S. Previously the mug was only available in a 10oz size. The new larger mug works exactly like its little brother. Using the Ember app, you can select your desired temperature, choose and save presets for different drinks, and customize the mug’s LED.

The mug has a one-hour battery life but will keep your coffee or tea warm all day long if you use the included charging coaster.

The big news here is the size difference. With 4 more ounces, the mug will let owners enjoy more of their favorite coffee or tea. This should make owners that complained about the 10oz mug being too small happy.

More Joe equals more dough

Of course, along with the larger capacity comes a larger price tag. The new Ember mug will cost you $129.95, that’s a whopping $50 more than the 10oz version.

So, if you want to drink more Earl Grey, you’re going to have to pay.

Currently, it looks like the 14oz mug is only available in black.

Both sizes of the Ember Ceramic mug can be purchased from Ember or The Apple Store.

Filed in categories: News

Tagged:

Ember introduces a larger 14oz version of its popular temperature controlled ceramic mug originally appeared on The Gadgeteer on April 12, 2019 at 8:00 am.

Note: If you are subscribed to this feed through FeedBurner, please switch to our native feed URL http://the-gadgeteer.com/feed/ in order to ensure continuous delivery.