REVIEW – There are a ton of different ways to cook. You can fry, air fry, grill, barbeque, boil, stir fry and so on. One of the trendiest cooking methods today is sous vide (pronounced soo-veed). Sous vide is French for under vacuum. Sous vide cooking places the food in vacuum bags that are immersed in a precisely temperature-controlled water bath. For years, this cooking method was primarily confined to high-end restaurants because it took costly, dedicated equipment to achieve the required temperature precision, and, it takes time. In recent years, that has changed as a number of affordable sous vide cookers have hit the market.
What is it?
The Febote 1000W sous vide cooker is a standalone cooker that clamps into your 5 – 6 gallon pot. It circulates and heats water to maintain a precise cooking temperature for a programmable amount of time.
What’s in the box?
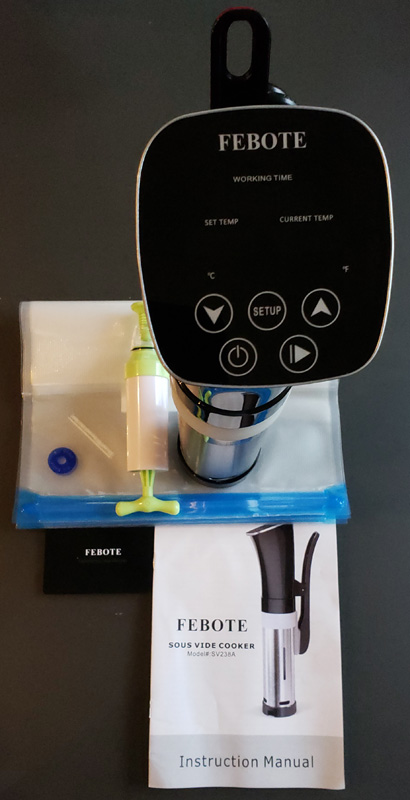
- Sous vide cooker
- Instruction manual
- Five cooking bags with vacuum port
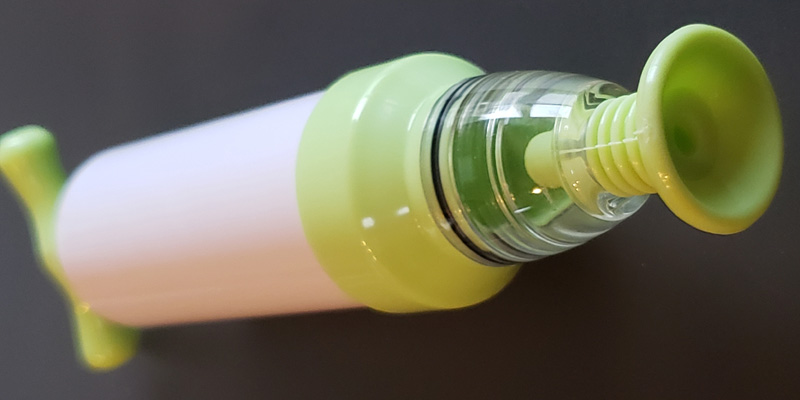
- Bag air removal pump
- Bag clip (not visible)
- Warranty and contact card
Hardware specs
- Dimensions: 3.2 x 14 x 6.5 inches
- Weight: 3.8 pounds
- Cooking power: 1000 watts
- Temperature range: 32° F – 203° F
- Temperature accuracy: +/- 1° F
- Minimum water depth: 2.6 inches
- Maximum water depth: 5.0 inches
- Pump speed: 7 – 8 liters per minute
- Maximum recommended water tank capacity: 5 – 6 gallons
- Input voltage: 100V to 120V AC
- Power cord length: 39″
Design and features
The cooker comes with several accessories. The first is a set of five cooking bags.
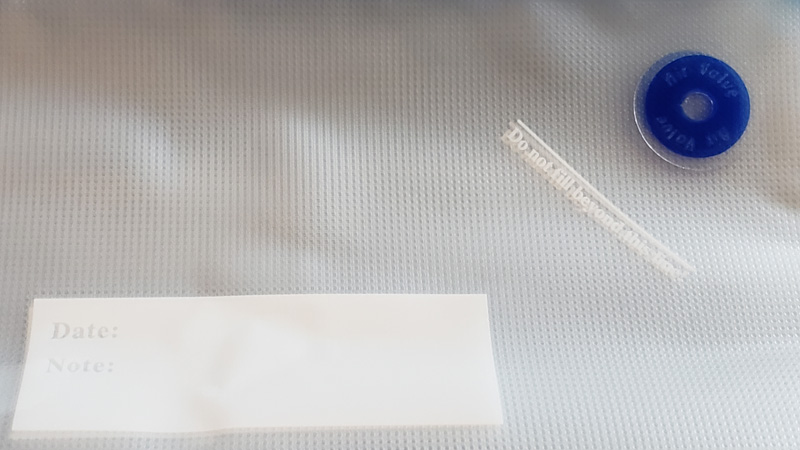
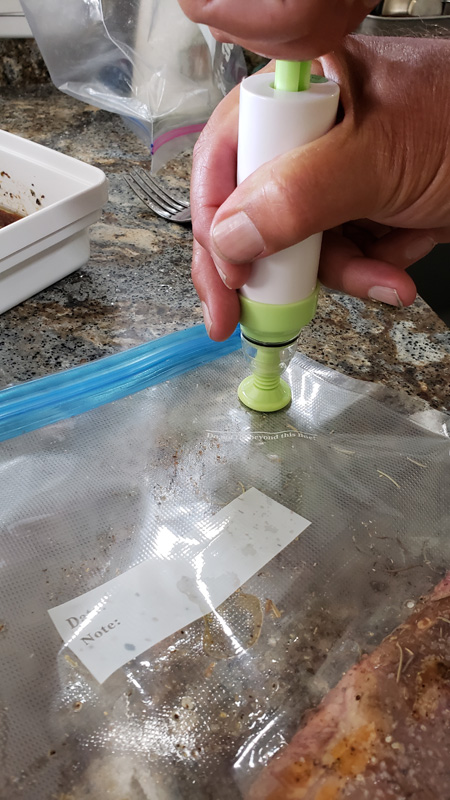
The bags have a space to write the date the items were cooked and a note. This is great if you want to prep a bunch of food and freeze it. The blue circle is the air removal port. To remove the excess air from the bag, you place the included pump over the port and repeatedly pull the handle to suck out the air.
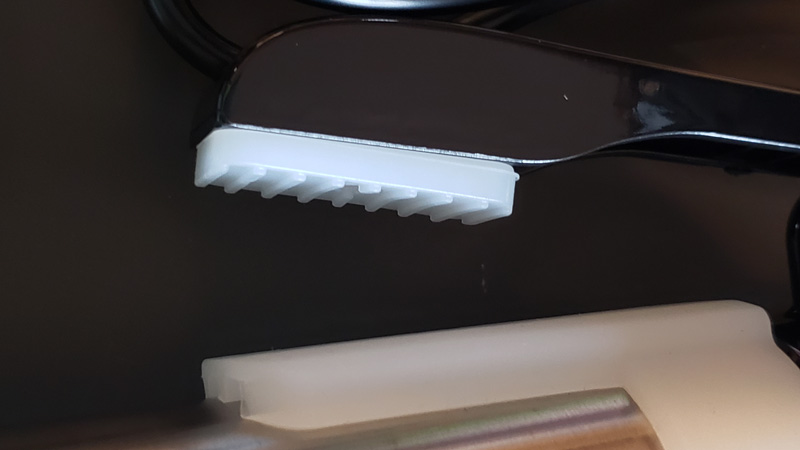
The cooker clips onto the side of your pot with the attached clamp with silicone pads.
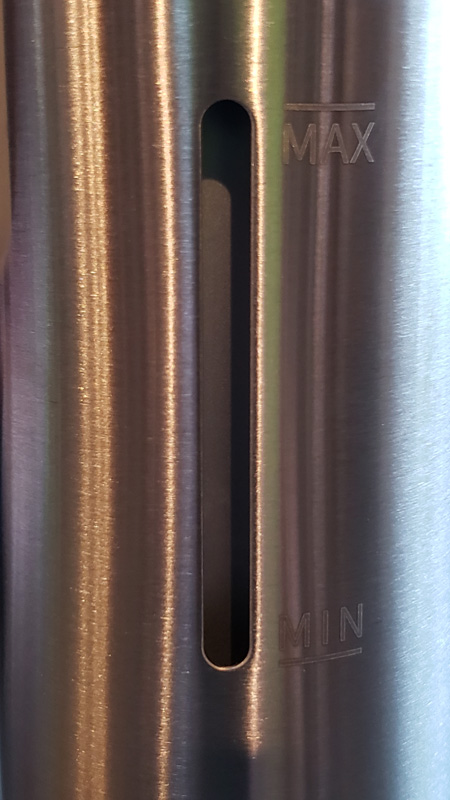
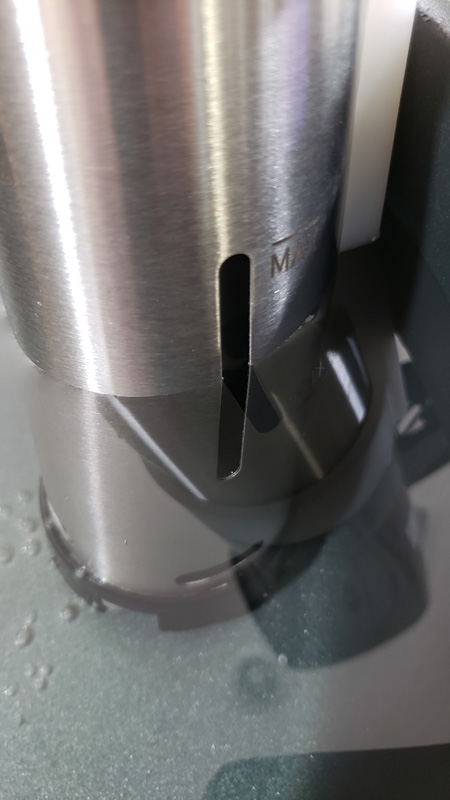
The metal column has etched markings to identify the appropriate water level.
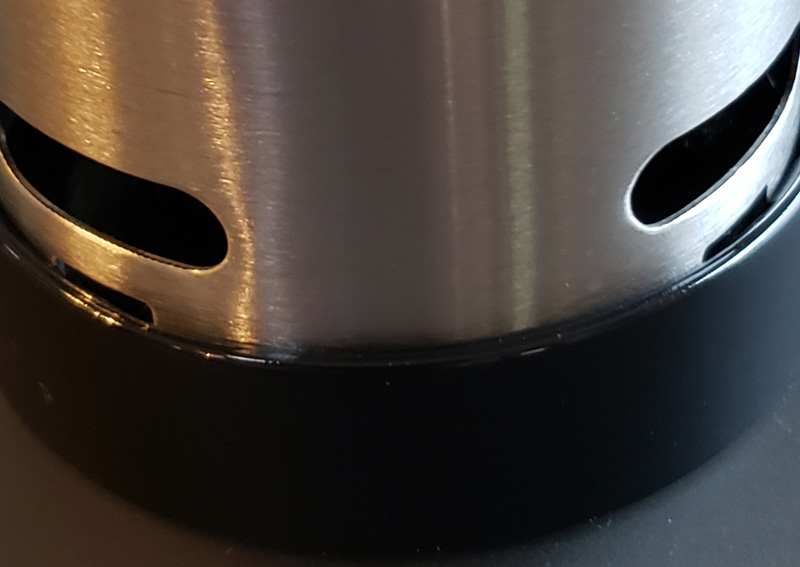
At the bottom of the column, we find several circulation ports where the water is pulled in, heated, and then expelled.
The control panel is located on the top and is shiny black with touch-sensitive buttons and multiple LED displays.
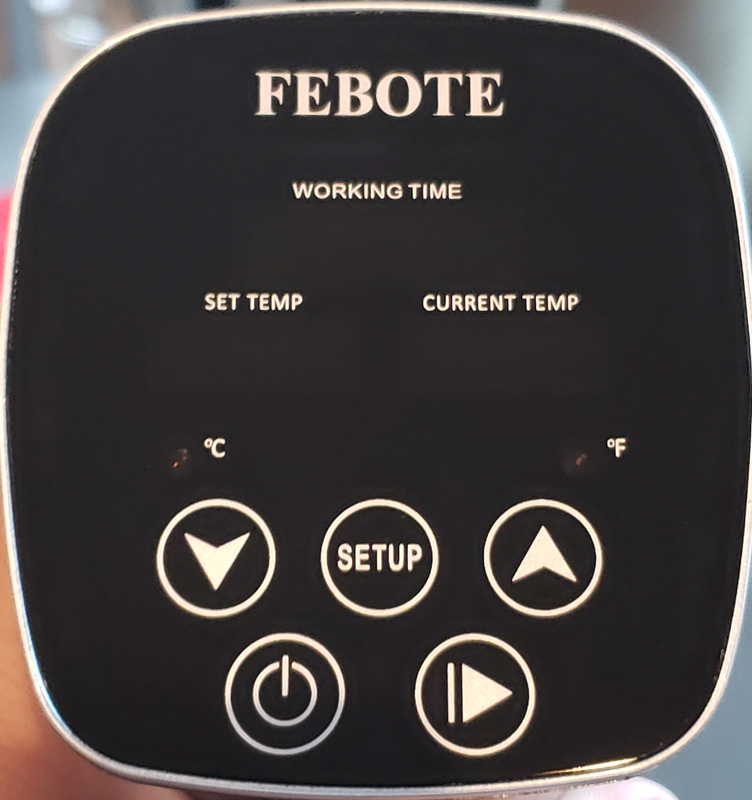
The buttons are used to turn the power on/off, enter the setup mode where you use the up/down arrows to raise or lower temperature and cook time and start cooking.
The LED displays show the current temp, set temp, cook (working) time, and a couple of LEDs that indicate whether the displayed temps are Fahrenheit or Celcius.
Performance
Plugging in the cooker, the current temp display comes on as does either the Celcius or Fahrenheit indicator LED.
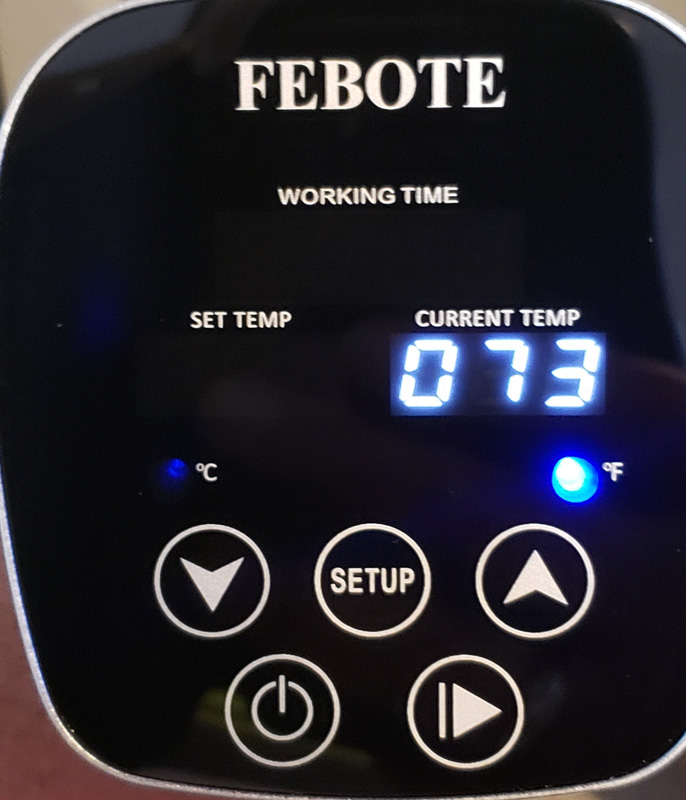
Pressing the setup button takes you into the setting mode where you can set the cooking temperature and the cooking time. You use the up/down buttons to change the values and the setup button to cycle through temp/hours/minutes. The active field flashes to indicate you can set it. Holding the setup button for three seconds toggles the unit between Fahrenheit and Celsius.
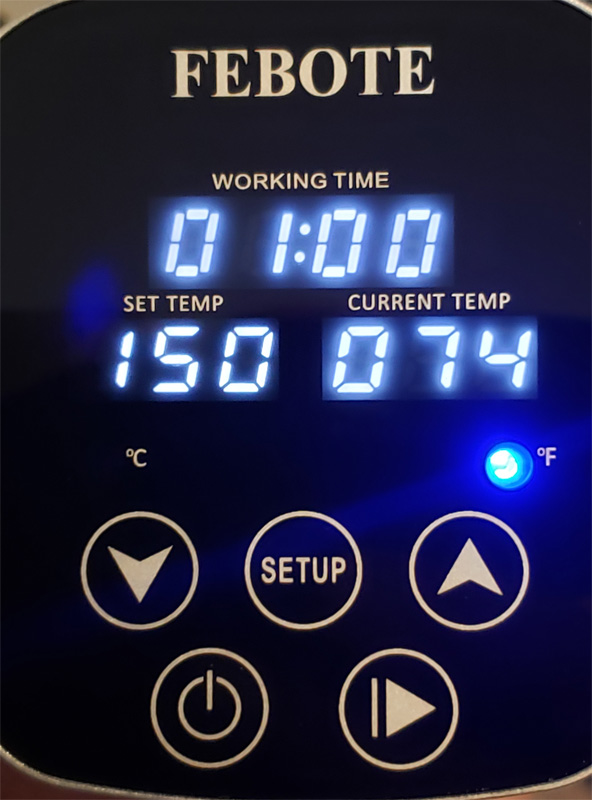
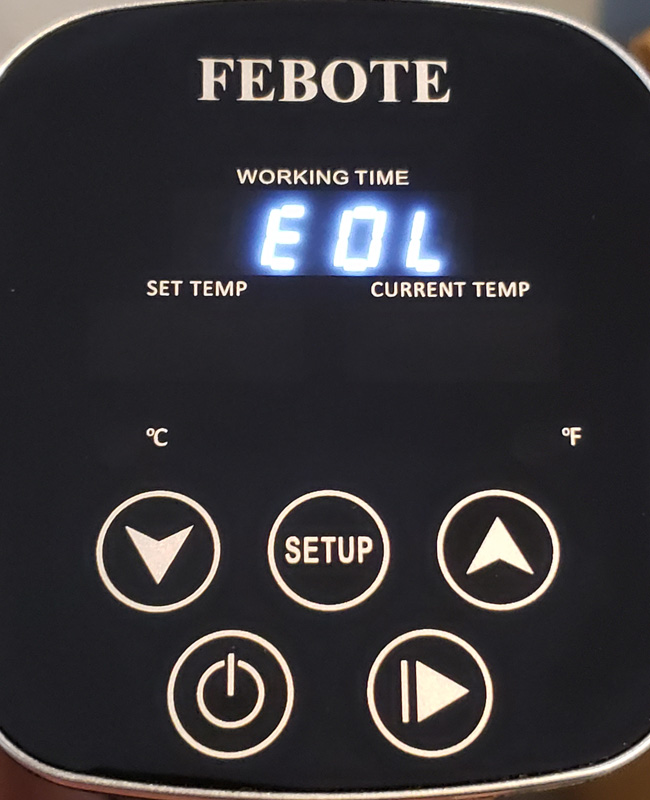
Once you have everything set up for your specific cook, hit the start button and the cooker will start circulating and heating the water. If your water level is too high or too low, the display will show EOH or EOL and force you to power down and back up.
Once you have successfully started the cooker, it’s time to prep your food, since you have to wait for the water to reach cooking temperature. Place your food, along with any spices or other flavor enhancers into the cooking bags and press out as much air as possible. Then, use the pump to remove the rest.
Once the water reaches cooking temp, the cooker will sound a one-minute alarm to alert you. At this point, place the bags into the water and use the included clip to hold them in position so the food remains fully submerged. After that minute is over, the cooker will go into cooking mode and the cooking timer will begin counting down.
Some commentary here:
Sous vide is not fast. At all. If you’re looking for a quick meal, look elsewhere. Think of it like a low-and-slow smoker, but without the smoke. But, sacrificing speed gets you a pretty good and precise cook to your food. You absolutely cannot overcook. If your target temp is 160° F and your water bath is precisely maintained at 160° F, the food simply cannot cook beyond 160° F. It’s that simple. And, since your food is essentially vacuum sealed, it cannot dry out. That’s the attraction to sous vide – you can perfectly prepare food, but it takes a little longer. Once the cooking is done, most cooks then typically do a finishing sear on a hot cast iron pan, final broil, or other technique to finish the food.
Now, back to our regularly scheduled review…
The cook
We bought some nice sirloin strip steak and got to work. My wife marinated the steak for flavor for a few hours. I filled the pot to midway between the min/max markings.
As soon as you plug in the cooker, the display comes on with the water temp,
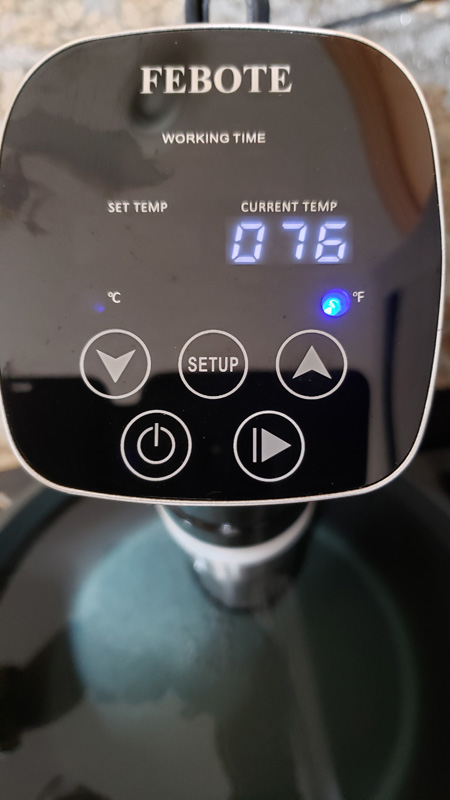
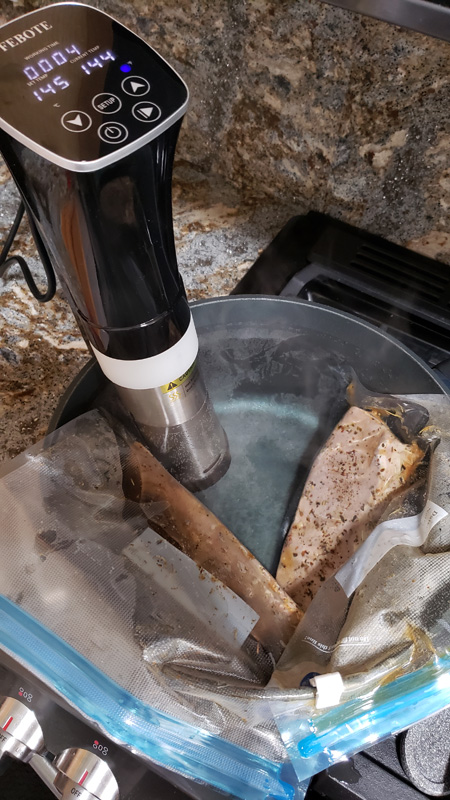
I set it for 1:30 cooking time and 135° cook temp and hit start. The cooker started softly whirring and the water started circulating.
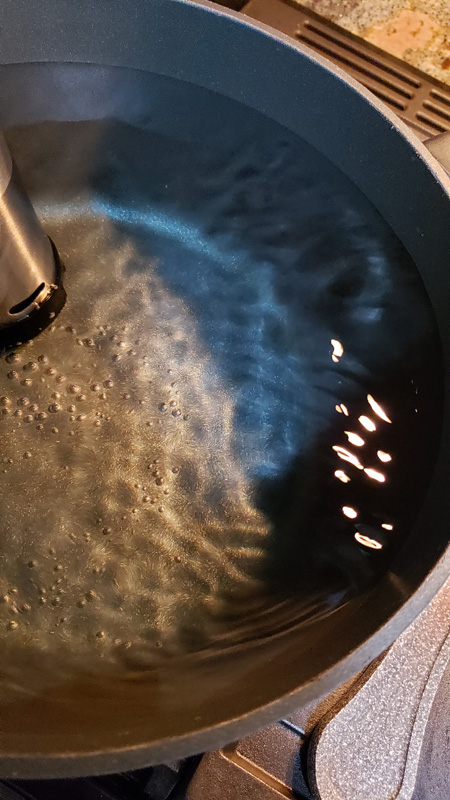
One thing to note is that the power cord is about 39″ long. This means that you have to have a power outlet within that distance from wherever you plan to cook. Since the cooker generates all the heat, you don’t need to cook on the stove, so that shouldn’t pose an issue. Just place your pot on a hot pad or trivet near a power outlet.
While the water heated up, I pulled the steaks from the marinade, put salt and pepper on both sides and put them into the cooking bags with a little rosemary and thyme. Once in the bags, I put the vacuum pump over the blue valve and pulled out the remaining air.
A note here – there were no instructions on how to use the bags and pump included in the instruction manual. Granted, it isn’t exactly rocket science, but for those unfamiliar with things like this, putting it in writing would be nice.
The included bags and pump worked well, but you can use any zipper seal bag by using the immersion vacuum method. Partially seal the bag and slowly immerse the bag into a water bath. The water pressure will force out the air in the bag. When the bag is nearly submerged, finish sealing the bag and you’re good to go.
The cooker took about ten minutes to heat the water. Not too shabby. About five degrees before it hits temp, it beep-beeps for a minute to let you know the cooking time is about to begin. Personally, I think the beep is pretty soft and could use a little more volume to be able to be heard easily if you’re not right next to the stove.
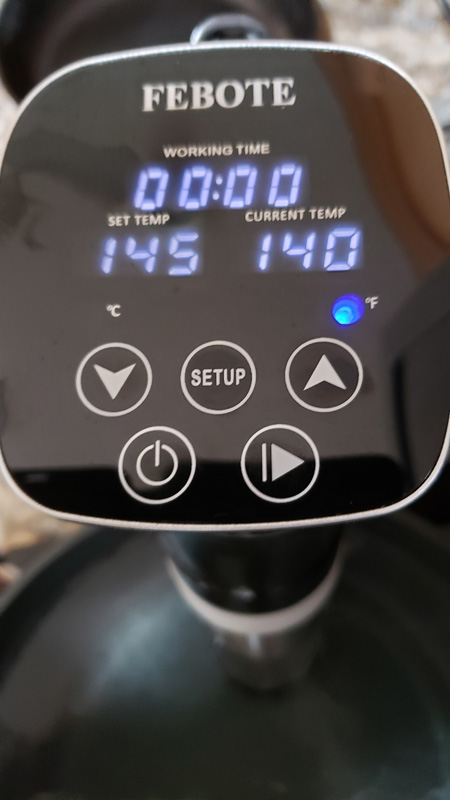
I clipped the two bags on the pan to keep the meat submerged as the cooker started timing. Rather than a countdown, the timer is a count-up, so you have to remember how many minutes you set it to know how much more cooking time is left. I didn’t like this. In my opinion, it should count down to zero, not up to the cooking time.

Now, the ID-10-T error. If you’re not familiar with that error, read the error code without the dashes as all letters. I’ll swear the recipe said 145° for medium. Nope – it said 135°. Whoops. So, I hit the start button, hit setup and then changed the temp down to 135° and hit start again. Unfortunately, this restarted the cooking timer. Dang. But, there’s no way that in a few minutes the steaks were up to 145°. And, since you really can’t overcook via sous vide, we should be all good.
Just before the cooking time ended, I cranked up the cast iron fry pan on the stove and got it toasty hot with a nice layer of bacon grease bubbling away. Once the timer beeped, I pulled out the steaks, patted them dry and flopped them in the sizzling fry pan for a minute or so on each side and a few seconds on each end to give everything a good sear. After shutting off the burner, I tossed in some mushrooms and onions for a quick saute and placed the steaks on the plates to rest for a couple of minutes. This is an important step as it lets the fibers in the meat contract a bit to hold in the juices, keeping the meat moist. Here is the end result.
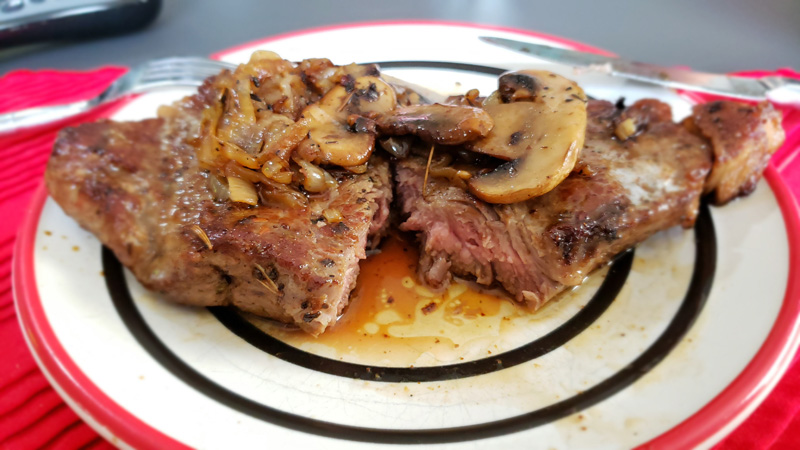
The steak’s color was uniform throughout the steak. It was very moist as well. I’d venture to say it was moister than a grilled or smoked steak. Overall, it was a nice meal.
One thing I don’t like about sous vide cooking is that since the food is in a sealed bag, there is no way to test the meat with an instant-read thermometer to verify that the desired temperature is reached. That isn’t a criticism of the Febote cooker – just a byproduct of the sous vide method. There are many websites devoted to sous vide cooking where you can get cooking time suggestions for a variety of food.
Speaking of sous vide websites…I spent a bunch of time there looking for cooking suggestions for the steaks. Why, you ask? Febote doesn’t include any recipes with the cooker. I think this is the first food prep kitchen appliance I have ever gotten without recipes. Air fryer? Yup. Food processor? Yup. Instant Pot? Yup. Blender? Yup. Febote sous vide? Big ol’ nope. And, for me, this was an issue, since this is a very different cooking method with different prep methods and cooking times.
What I like
- Fast heating time
- Super quiet operation
- Vacuum bags and the vacuum pump worked well
What needs to be improved
- The cooking time beep could be louder
- The cooking timer would make more sense as a countdown
- No recipes included
- No instructions for the included vacuum bags and pump
- No way to check food temp – an issue with sous vide cooking and not the cooker
Final thoughts
Sous vide is an interesting addition to our cooking repertoire. We already smoke/barbeque, pressure cook, air fry, and all the usual bake, broil, stir fry options. It will be interesting to try chicken breasts as they notoriously dry out on grill or smoker.
As far as this specific sous vide cooker goes, it was easy to use, and based on our cooking results, worked perfectly. If you’ve got the time to cook using sous vide, don’t mind the count-up timer, and are adept at finding your own recipes, the Febote sous vide cooker might be the right choice for you.
Price: $79.99 direct, or $72.99
Where to buy: Direct from Febote.com and Amazon
Source: The sample of this product was provided by Febote.
Filed in categories: Reviews
Tagged: Cooking, Food, Home and Kitchen
Febote 1000 watt sous vide cooker review originally appeared on The Gadgeteer on May 17, 2019 at 9:00 am.
Note: If you are subscribed to this feed through FeedBurner, please switch to our native feed URL http://the-gadgeteer.com/feed/ in order to ensure continuous delivery.

