iClever Wi-Fi smart outdoor outlet review

REVIEW – Holiday lights, landscape lighting – what do they all need?  Power!  Beyond that, we want those lights to turn on and off – sometimes on a schedule, sometimes with the sun, and sometimes, just because we want them to.  In the ancient past, we had to rely on outdoor power strips and timers, or, heaven forbid, walk outside and throw the switch ourselves! Well, no more!  The iClever smart outdoor power strip aims to end all that drudgery.

What is it?

This is a two-outlet power strip certified for outdoor use in wet spaces.  It connects to your Wi-Fi network and allows you to remotely control each of the two outlets independently.

What’s in the box?
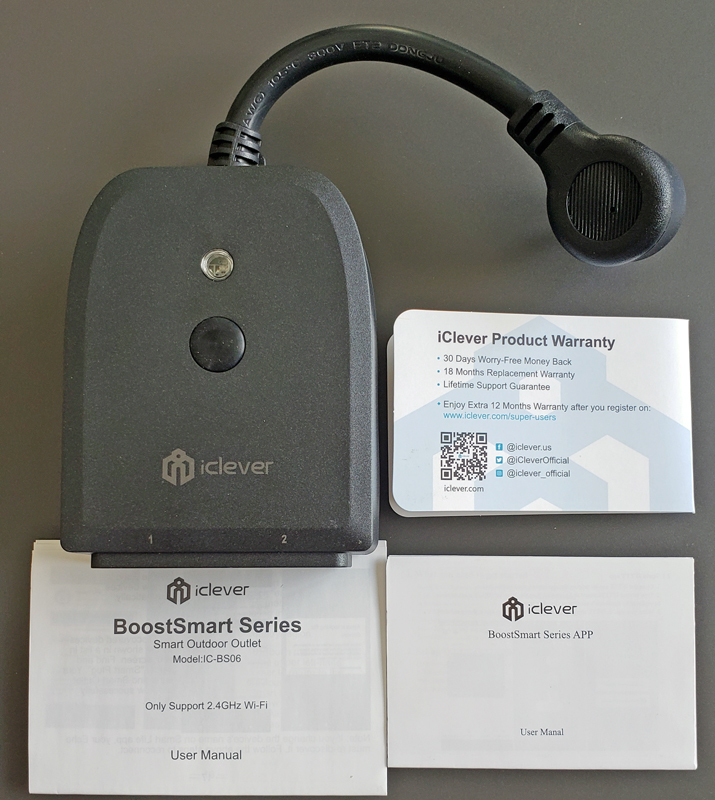
  • iClever plug
  • Warranty card
  • User manual
  • App user manual

Hardware specs

  • Wi-Fi Frequency: 2.4GHz only
  • Output: AC 125V/16A
  • Max Power: 2000W
  • Outlet Type: 2 x 110VAC outlet
  • Material: Flame-Retardant Polycarbonate (PC)
  • Waterproof level: IP44 (protected against solid objects that are bigger than 1mm and water splashing from all directions)
  • Weight: 211g/7.4oz
  • Power Cord Length: 12cm / 4.7 inches
  • Size: 7.87 x 2.75 x 0.98 inches(200x70x25mm)

Design and features

The power strip has two independently controlled outlets.
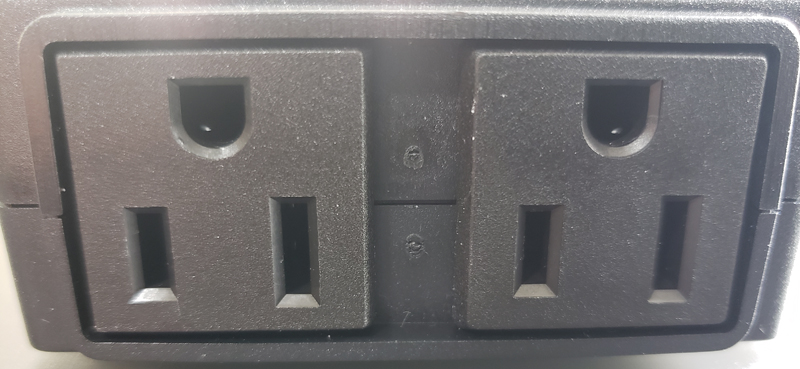
They are conveniently labeled with a “1” and “2” on the face of the strip.
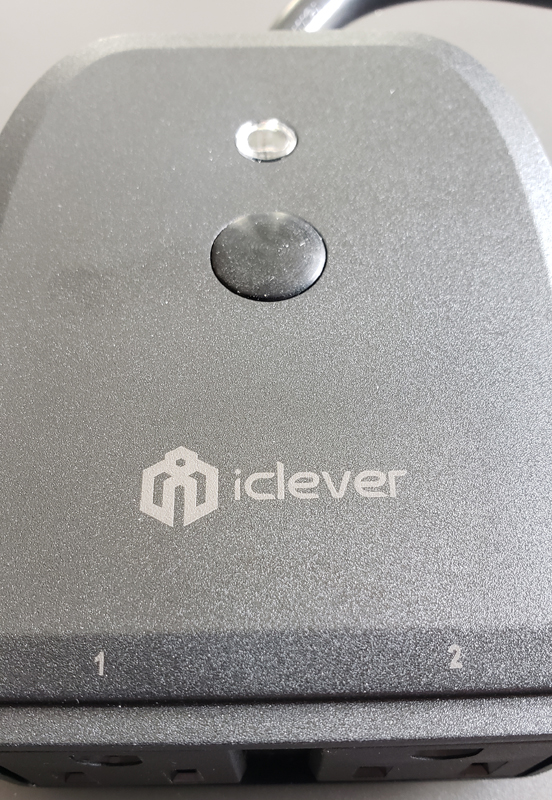
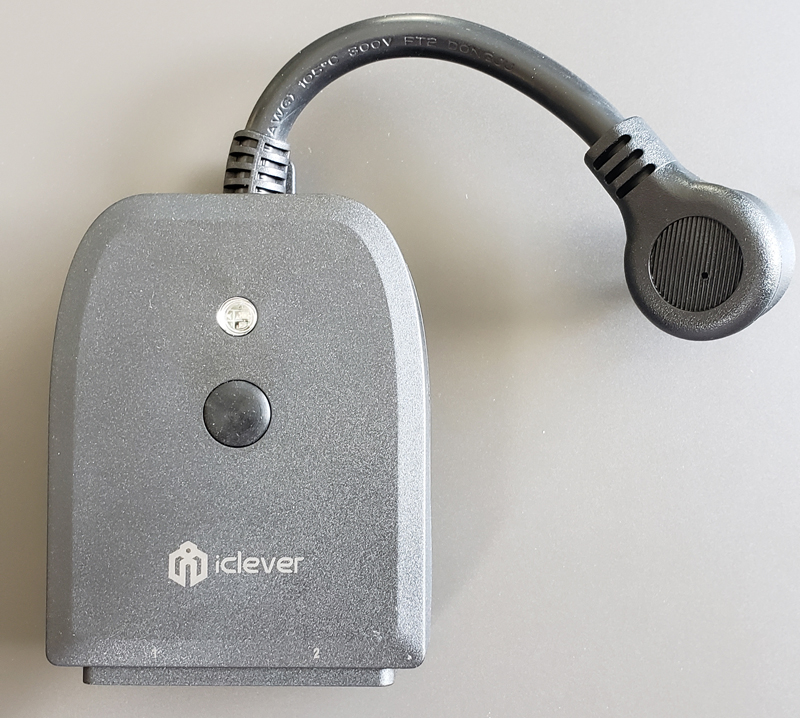
The round black button is the master power on/off button and the Wi-Fi setup button. The small circle above that is the LED indicator.
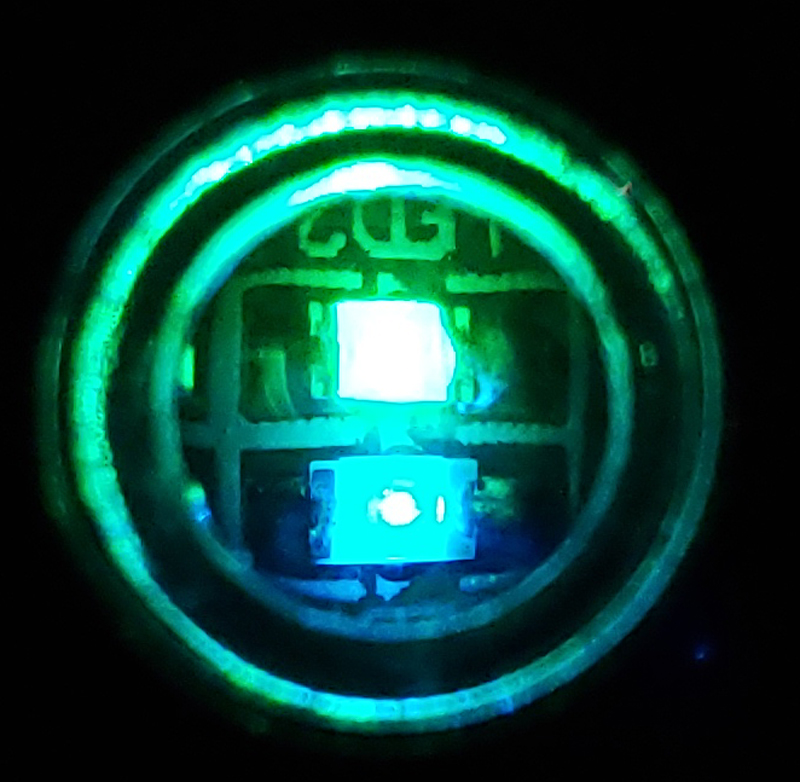
Inside, we see two LEDs, one green and one blue.  Green only indicates power on to the unit.  Blue/green indicates that one or both of the outlets are energized.

At the top of the back is a hanger for mounting the stip to the wall.
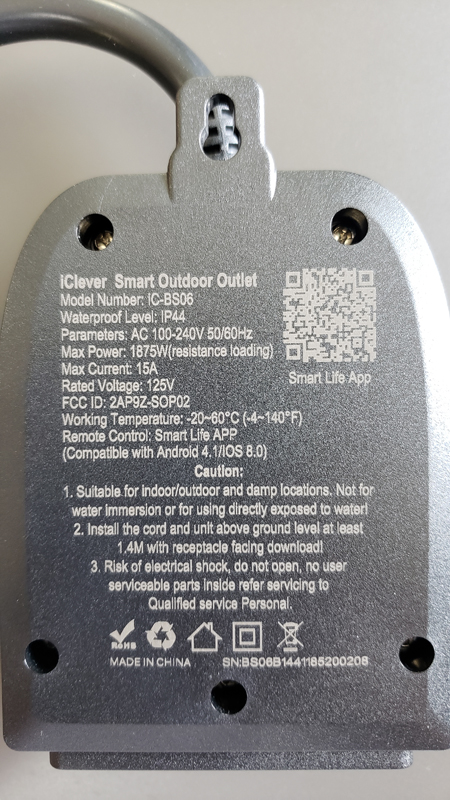
I can’t tell you what the QR code is as my phone wouldn’t scan it successfully.

Setup

Setup involves plugging the strip in, downloading the Smart Life app, setting up a Smart Life account and then adding the device to the app.
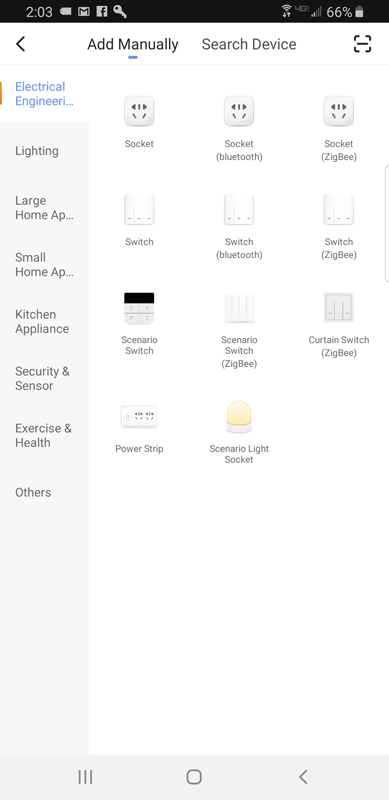
After holding down the power button to put the strip into the Wi-Fi pairing mode, I tried searching for a device without success.  I finally switched to manual mode and chose “Power Strip” from the large list of supported devices. Once I chose my Wi-Fi network and provided credentials, it successfully attached to my Wi-Fi network.

After adding the strip to the app, it showed up and can be controlled and configured. The two outlets have default names of “Switch” and “Switch 2”.
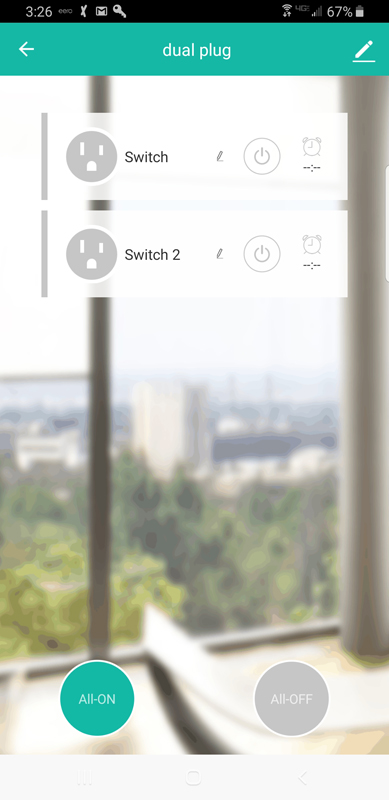
I clicked on the power button on the screen for switch 2 and it energized the outlet and turned the icon teal in the app.
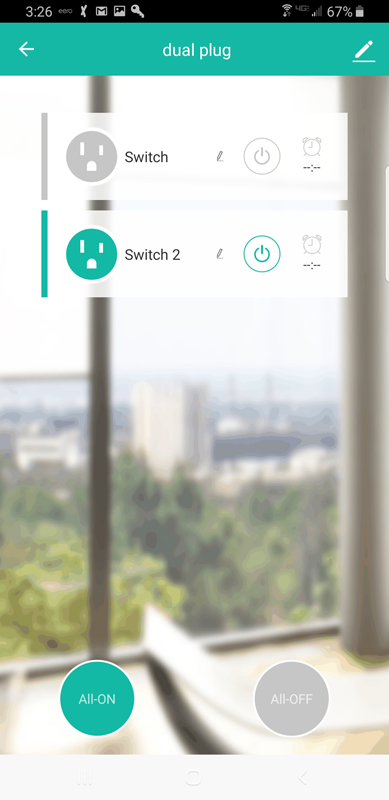
The app also has an All-On and All-Off button at the bottom of the screen if you want to flip both outlets at the same time.

Performance

The real power with this strip and the Smart Life app is automating lighting tasks.

The app allows for scene creation.  For this device, you are limited to eight possible scenes:

All on
All off
#1 on, #2 off
#1 off, #2 on
#1 on, #2 unchanged
#1 off, #2 unchanged
#1 unchanged, #2 on
#1 unchanged, #2 off
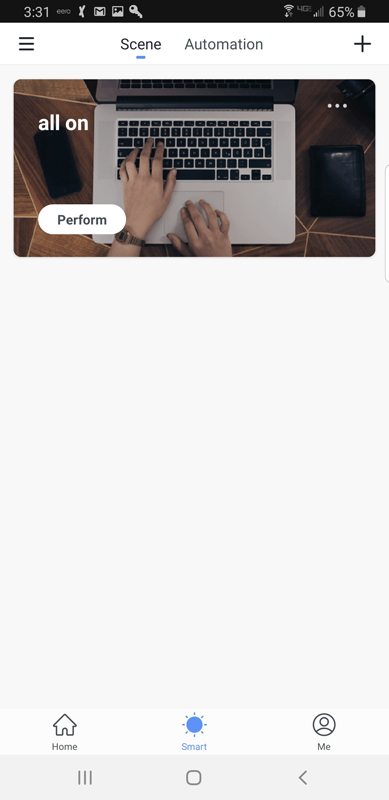
Scenes show up in the Smart screen and can become part of automation routines and can also be executed manually.

Automation is pretty powerful in this app.
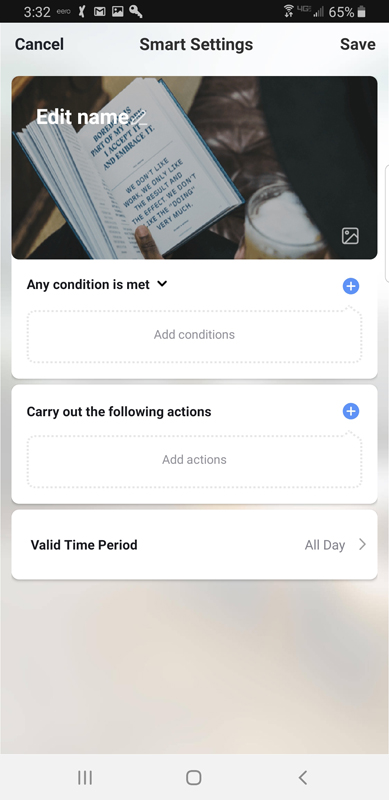
You can set one or more conditions to be met and then carry our automated actions.  You can also provide time windows for those automations to happen,

The list of conditions is pretty comprehensive and can even tie in local weather.
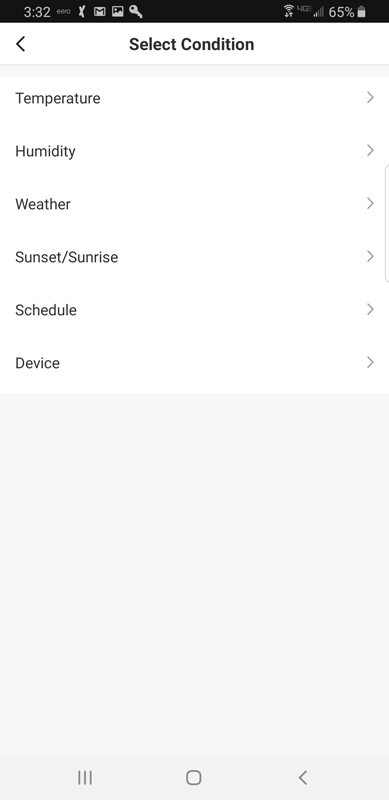
Finally, the Smart Life app supports a bunch of automation tools like Google Home, Alexa, and IFTTT.
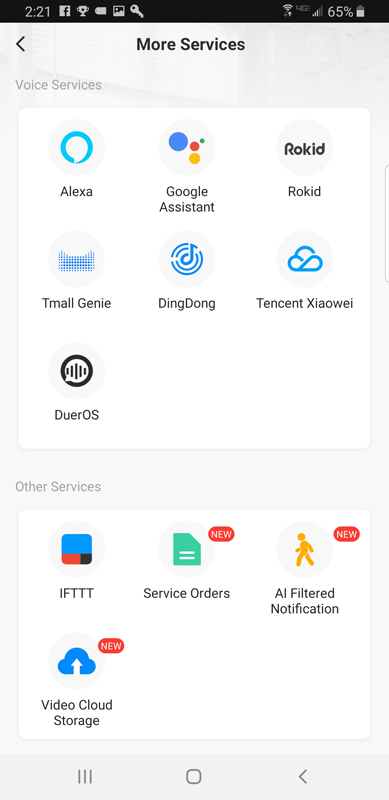
Before I connected in the Smart Life skill to Alexa, I renamed the two outlets.
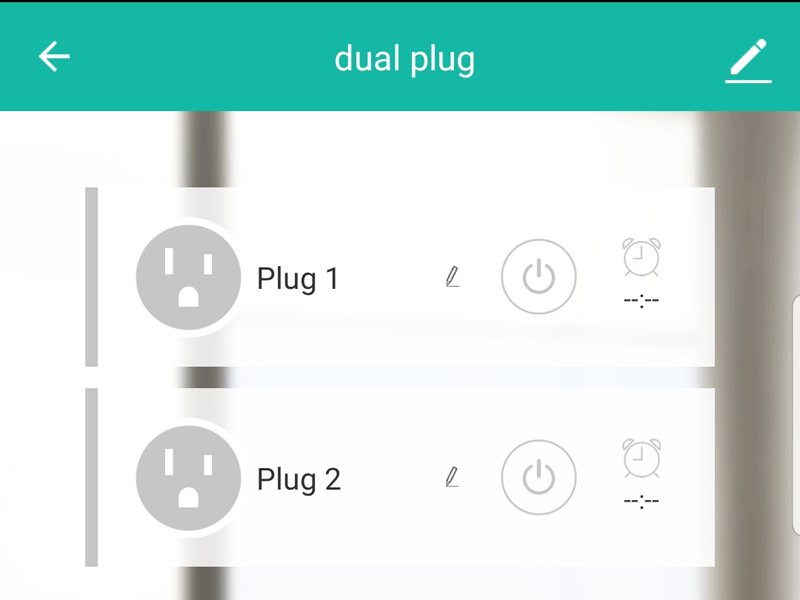
As you can see, after many hours of thought, I cleverly named them, “Plug 1” and “Plug 2”. OK, OK, I know they are actually outlets or sockets, and plugs go into sockets, but “Plug 1” is just easier to say.

After adding the skill to Alexa, I could say things like:

Alexa, turn on Plug 1
Alexa, turn on dual plug (turns on both )
Alexa, turn off Plug 2

What I like

  • Good for outdoor use
  • Great automation and integration options

What needs to be improved

  • LED status indication is not very distinct
  • The automated setup didn’t work for me

Final thoughts

This is a great little power strip.  Being to independently control each outlet brings flexibility to your outdoor power needs.  With comprehensive scheduling and home automation integration options, the iClever Wi-Fi smart outdoor outlet deserves a place in your outdoor power arsenal.

Price: $28.99
Where to buy: Amazon
Source: The sample of this product was provided by iClever.

Filed in categories: Reviews

Tagged:

iClever Wi-Fi smart outdoor outlet review originally appeared on The Gadgeteer on June 14, 2019 at 9:00 am.

Note: If you are subscribed to this feed through FeedBurner, please switch to our native feed URL http://the-gadgeteer.com/feed/ in order to ensure continuous delivery.

Longer Home 3D Printer Cube review

REVIEW – I’ll admit that I am a novice when it comes to 3D printing, but I do have an expert on call in my teenager (he built his own printer). We’ve been playing with the Longer Home 3D Printer Cube, which Longer says is an ideal starter printer for kids and adults. How does it measure up to my expert’s standards? To the review!

What is it?

It’s a starter 3D printer for kids, designed to be cost-effective and easy to use.

What’s in the box?

You’ve got everything you need to get started in the package, including:

  • The printer, pre-assembled and ready for work
  • A stand/spool for the filament roll
  • A small roll of starter filament
  • Some tools to make adjustments
  • An SD card pre-loaded with the software

An instruction sheet is also included in the package.

Hardware specs

  • Base unit is 9.5″ by 9″ by 10.5″, with a weight of about 8 pounds
  • Operating Temperature:5-35; Relative Humidity:30%-90%
  • Electricity:Input:110-240VAC 50-60Hz; Output:24V 3A. MaxPower:72W
  • Build Volume:140mm(L)*120mm(W)*105mm(H)
  • Layer Thickness:0.1-0.3mm. Printing Speed: 30-60mm/s
  • Heated Bed: NO
  • Filament Diameter:1.75mm.Filament Type:PLA
  • Compatible Software:Cura, Repetier,etc
  • Operating Systems:Windows/Mac/Linux
  • File Format: Gcode,STL
  • Connection:SD card

Design and features

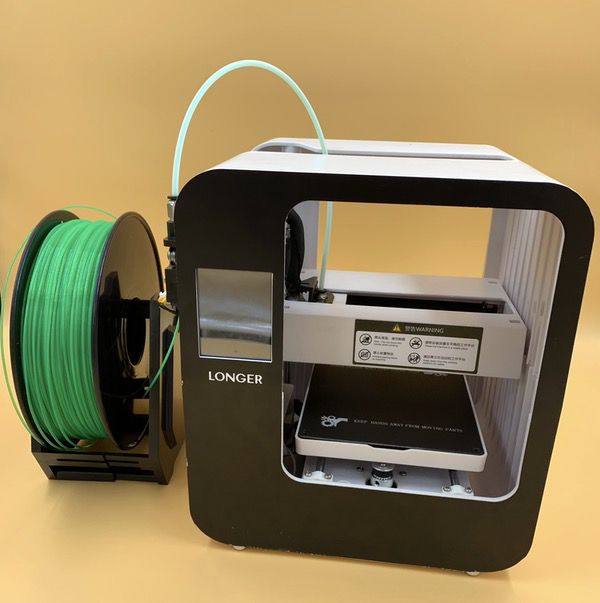
The Longer Home 3D Printer Cube is designed for ease of use. The footprint is about 9″ by 9.5″ by 10.5″ deep, so it fits neatly on the corner of a desktop or counter. It also comes pre-assembled in a complete unit. Here’s the front face:

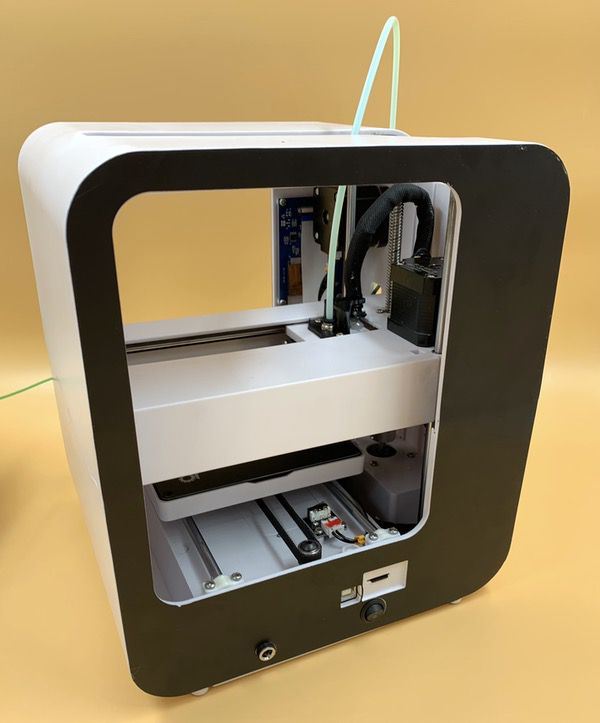
The rear face of the unit is where your power cord goes, and where the SD card port is to upload your models:

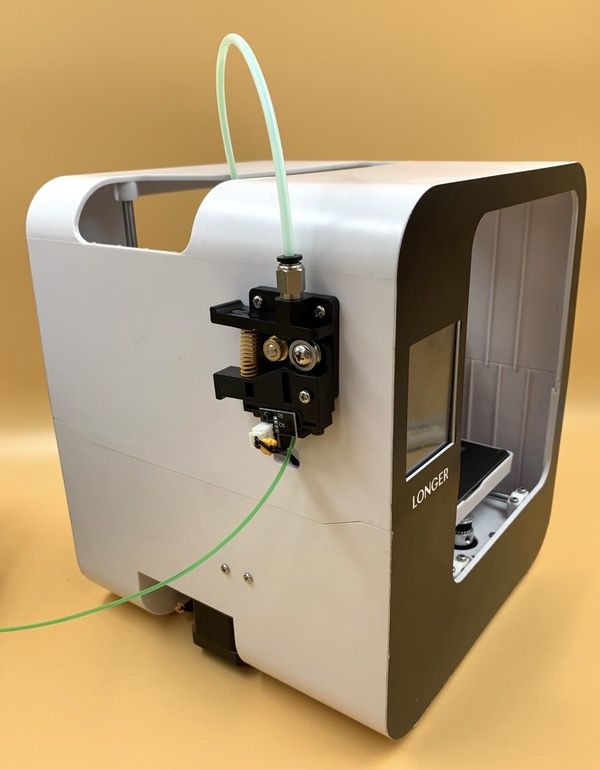
The left side of the unit is where you’ll find the filament feeder:

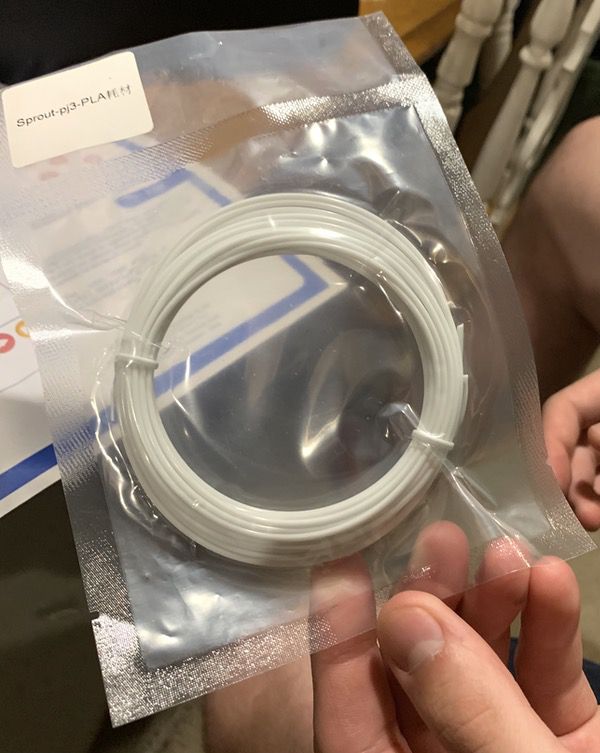
Longer also does a nice job of supplying everything you need to get going on your first printing projects. You need filament to print, and they give you a small sample roll to get going.

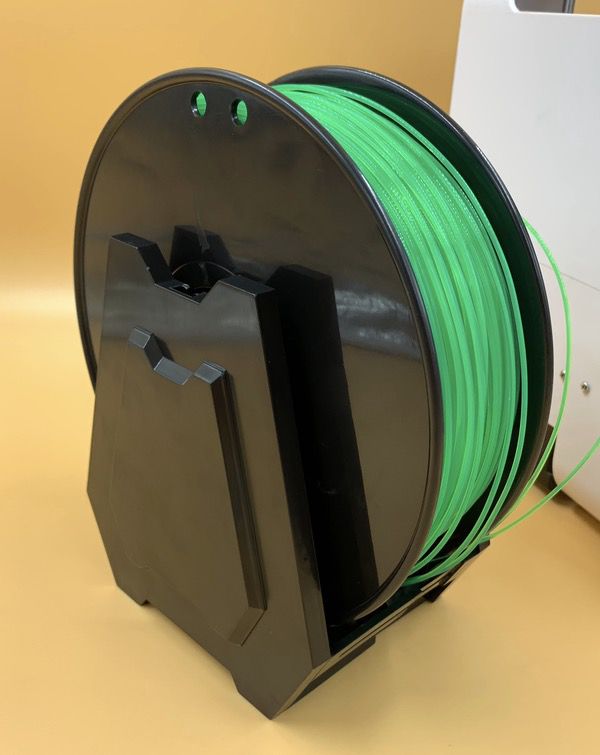
One of the things that you’ll find out quickly when doing 3D printing is that you’ll need lots of filament. You can buy all kinds of colors and types in larger spools, and Longer provides a spool stand that ensures your filament wont get tangled while the printer is doing its work. It takes big rolls too, as shown with the roll my son provided for some of our tests:

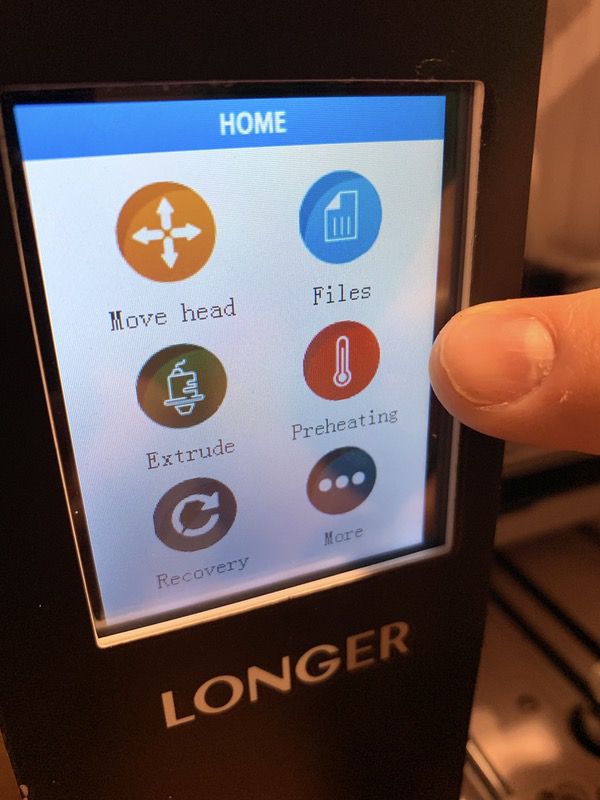
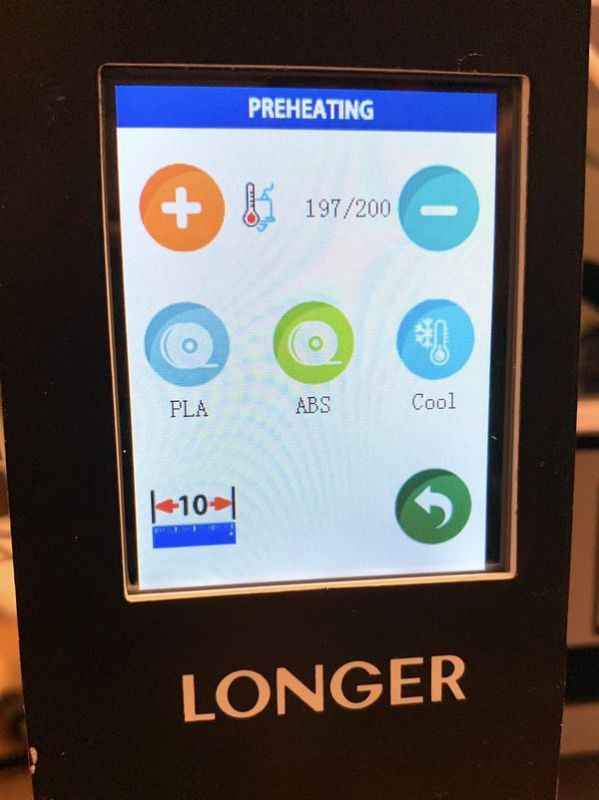
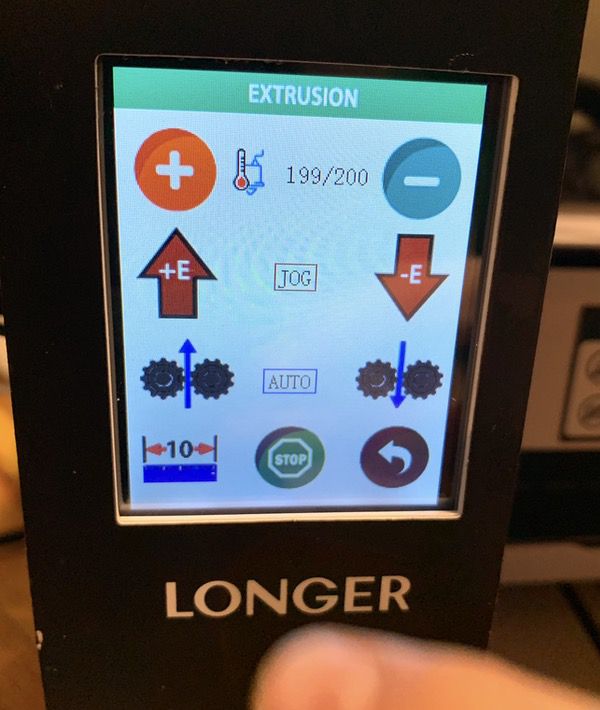
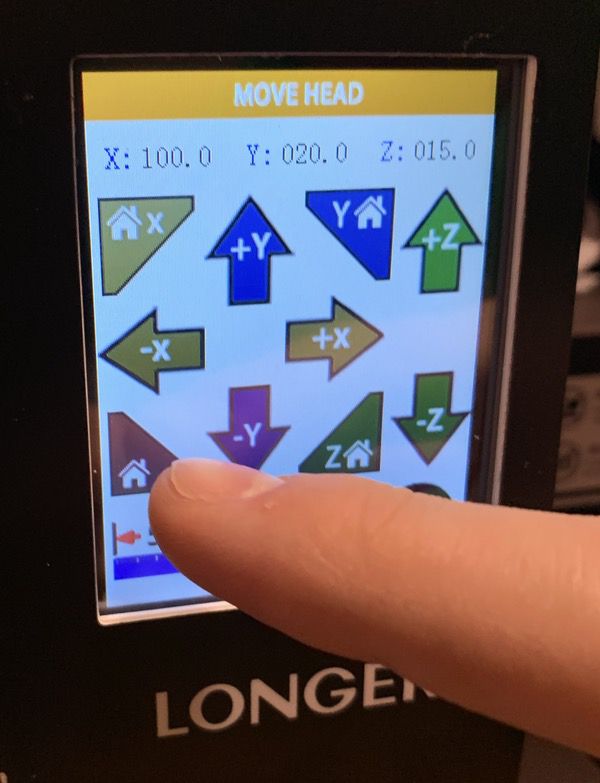
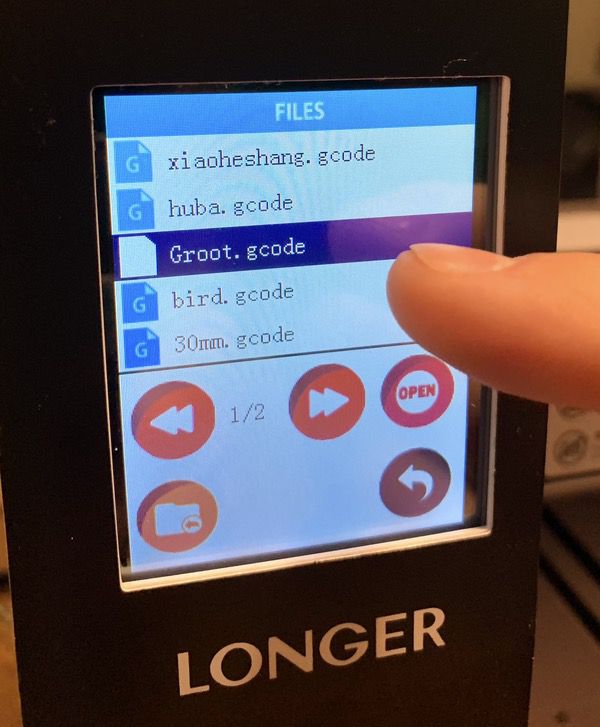
A bright color touch screen display is used for all functions. The interface is friendly and easy to follow for beginners and experts, and the touch screen interface responds well to even the clumsiest of fingers. Some sample shots follow:


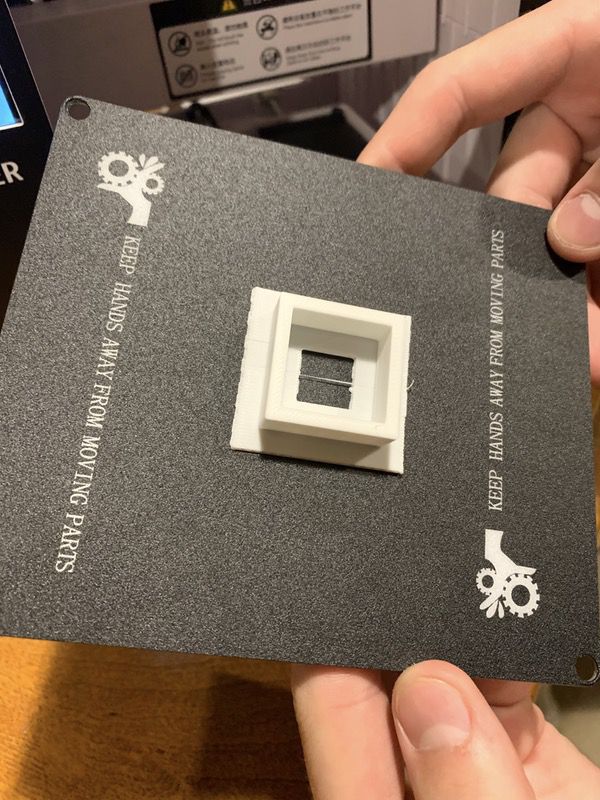
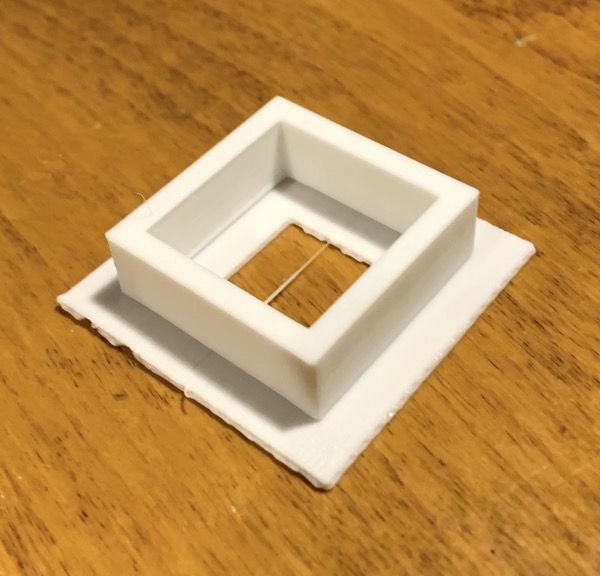
The printing surface is magnetic, flexible, and removable. This is a very good thing for a 3D printer, as you typically have to separate the finished product from the print surface. Here you can just pop off the plate, and remove your finished product. Here’s a geometric test sample we printed on the unit in progress:

When it was completed, we popped the printing surface out so that we could easily remove the finished piece. Simple and convenient.

You’ve also got a SD thumb drive that includes modeling software, the full documentation, and some sample models that you can start with.

From a basic configuration standpoint, my in-house expert is impressed. You’ll often find 3D printer kids that require some modification or upgraded parts to be reasonably functional. This unit comes with quality components right out of the box. Let’s have a look at getting ready for your first print job.

Setup & Operation

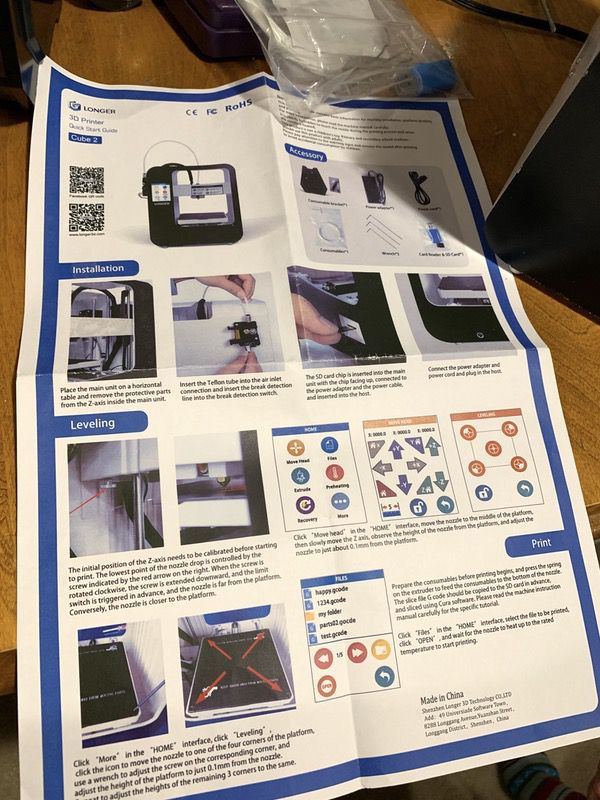
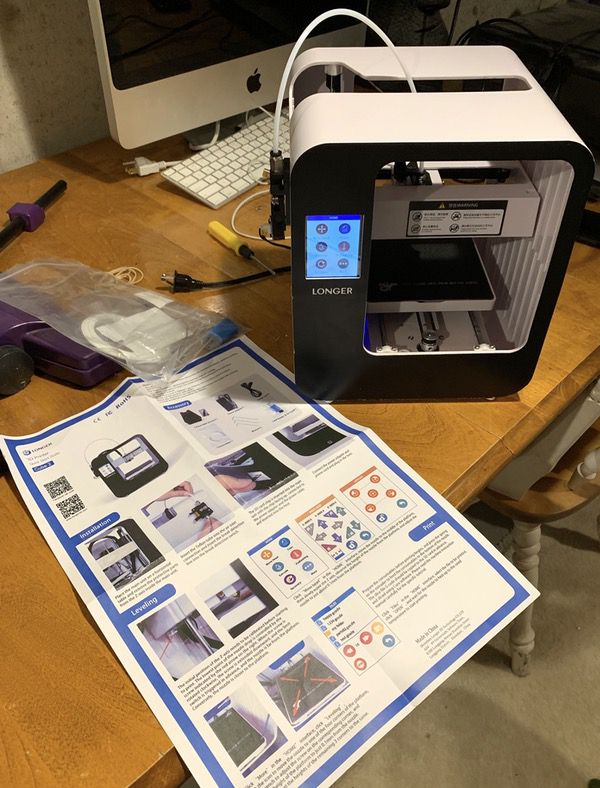
The first thing we found out when we started the setup was that the instruction sheet isn’t great. It covers all the bases, but the English translation of the instructions is a bit unclear. The full docs are on the SD card and are excellent, however. I’d suggest orienting yourself to the setup process with the card, but go to the digital docs for the details.

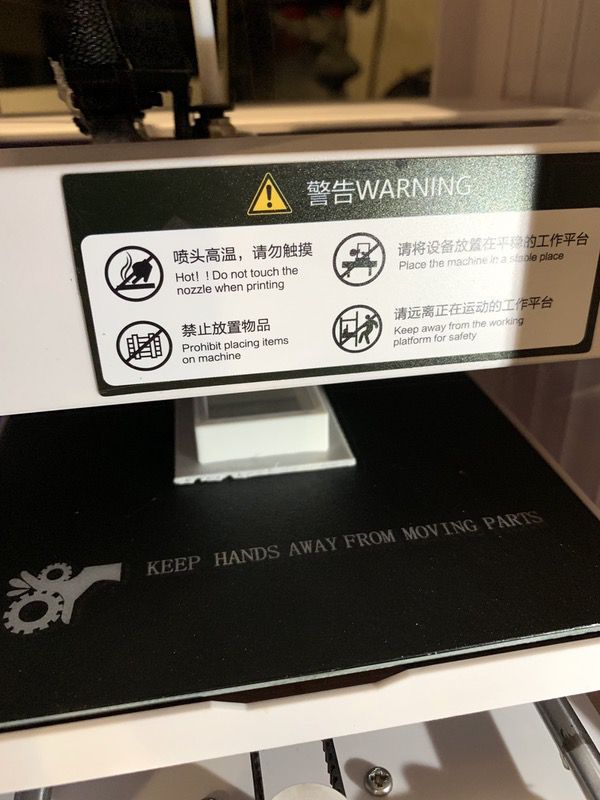
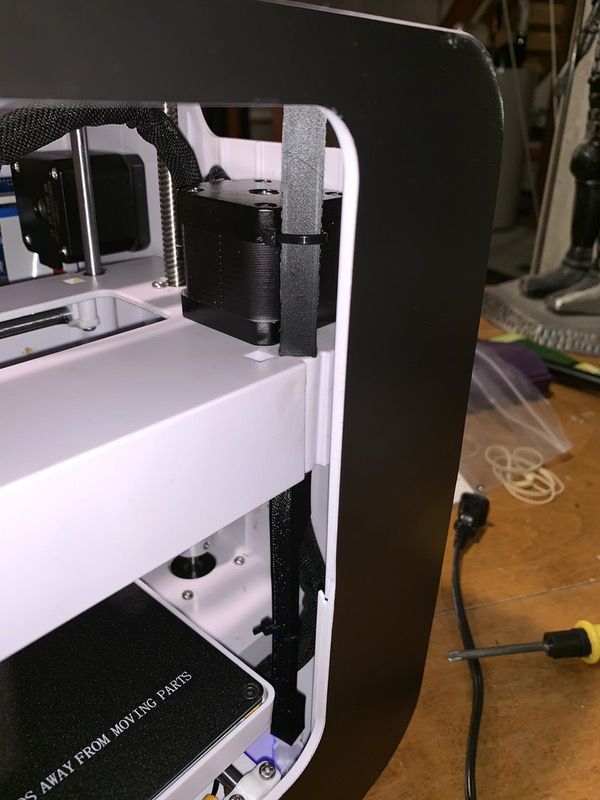
You’ll start by removing the packing material that stabilizes the unit for shipping. You can see them in this pic in the middle of frame, connected to the rods by zip ties. The pop off with a few quick snips.

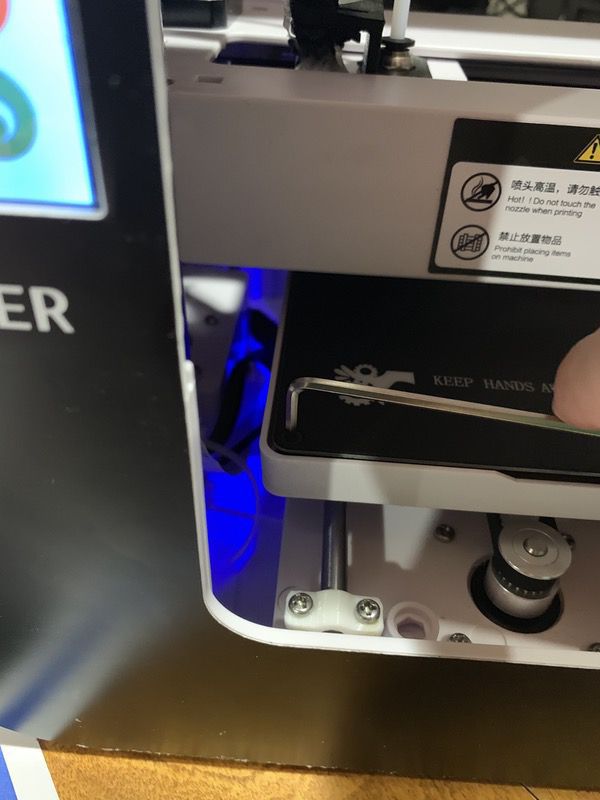
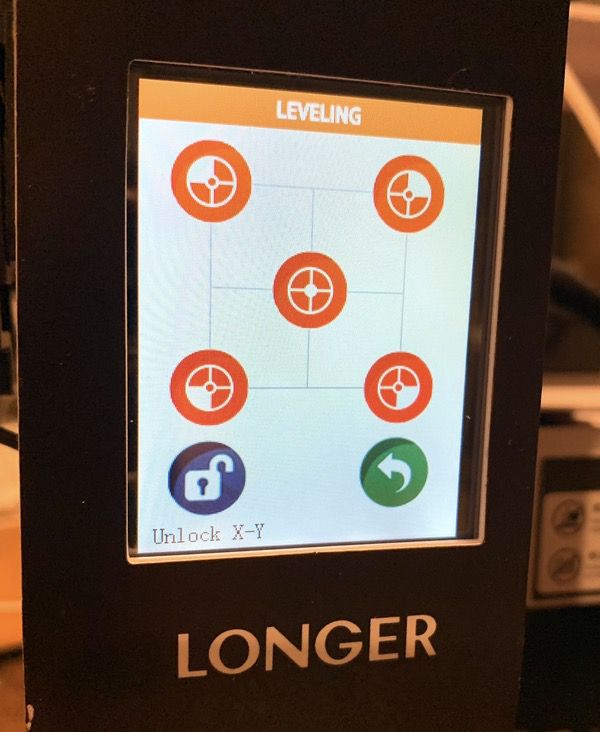
Next up is leveling the base. You’ll use the Alan wrenches included in the kit along with the leveling screen on the device to lock your settings. The instructions walk you through the process.

You’ll also need to orient the printing head to the the four corners of the printing pad. Again, the instructions get you there pretty efficiently.

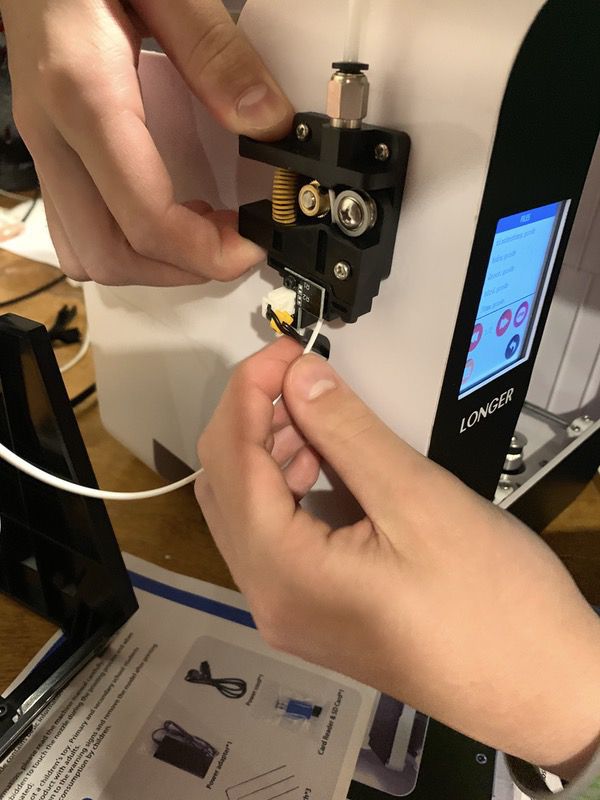
The next step is to insert the filament into the feeder on the side of the device. Follow the instructions to load it and run some test material, and you’re good to go.

The printing process is all about uploading the desired model. The included software on the SD card allows you to convert 3D computer models you’ve made or acquired into the GCode format for printing. It also has some preloaded models to play with. You select the model from the card with the settings desired (such as printing speed; see the instructions for details), and off it goes!

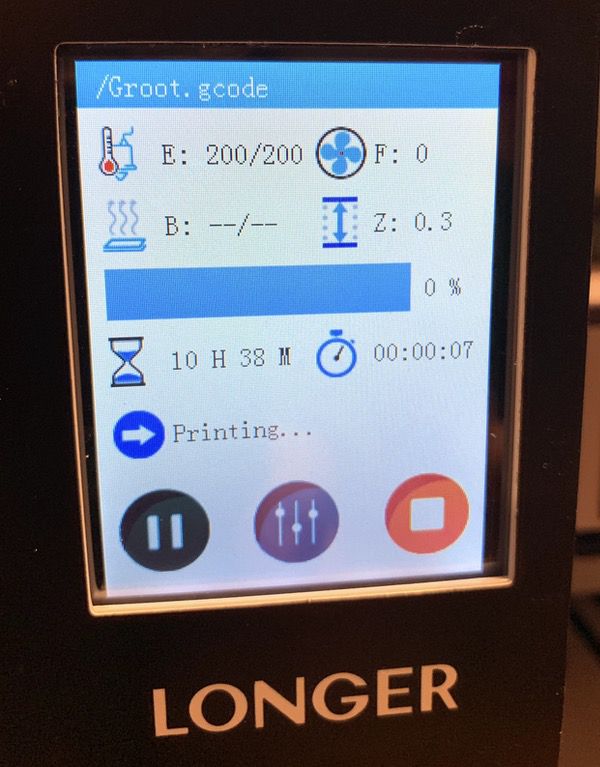
A status screen keeps you up-to-date on the printing process, time remaining, and all of that good stuff. It’s got some nice features like the ability to resume printing if you run out of filament or lose power. But once it gets going, you’ll pretty much let it do its thing until the job is done.

Note that there is no modeling software included in the package; the software converts other 3D models to the GCode format. The included software is PC-only, but you could get your own software to create/convert models to the GCode format on Mac or PC. Note that the version of the software included is outdated, but an update is available online for download once you install it.

Performance

My son is a 3D printing veteran, having built his own printer and modded it a number of times. He’s been very impressed with the overall quality of the unit. For a beginners model, the printing space is quite generous. The removable base plate is a nice feature for removing models after printing. The color touch screen controls are also a nice plus from what you’ll find in many inexpensive printers, with full control over all aspects of the printing process like filament flow rates, temperature control, etc.

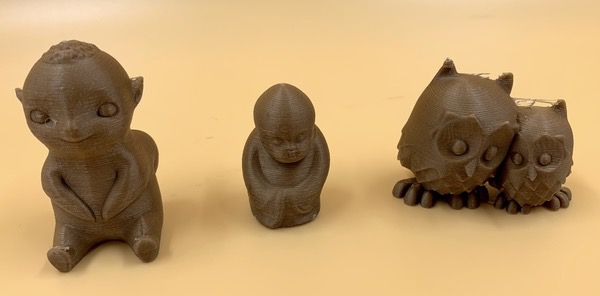
Printing quality is outstanding for a beginner’s model. You’ll find some cute little models to play with on the SD card to warm up:

Bu the real ability of the printer to handle detail work starts to shine with more complex models. Check out our little tree-friend from a galaxy far away. The detail in the wood & facial features is excellent.

And have a look at this close up on the top of his head. All those little nooks and crannies come out super clean with very little residue:

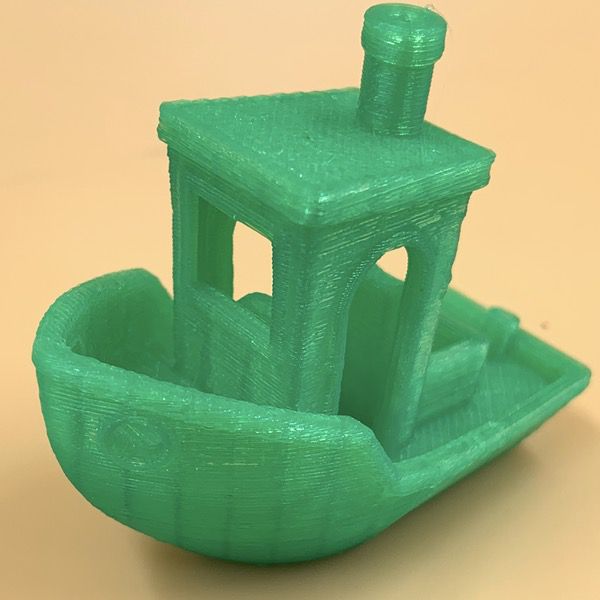
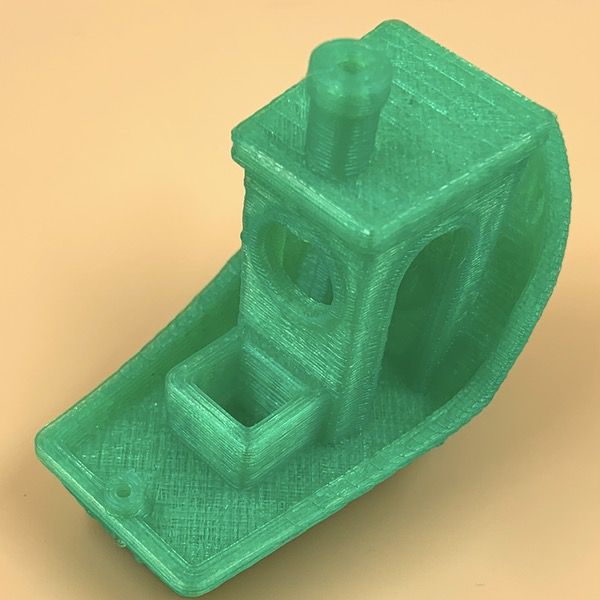
After the initial tests, my son queued up a few models specifically designed to test the printer’s ability to handle fine detail like textures, overhangs, and layer/edge transitions. This boat is one common model used for testing. Have a look at the edging detail around the windows, the side arch, and the rails!

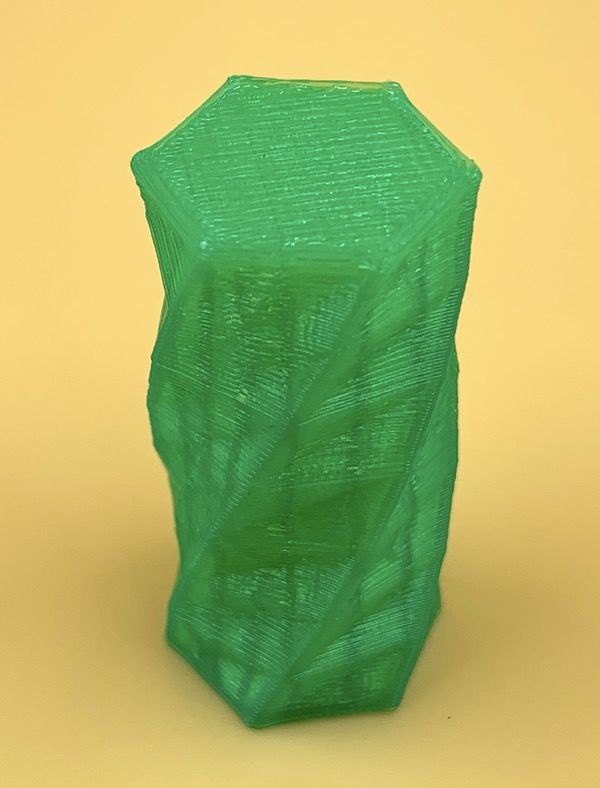
Next up was a texture test that shows how the printer handles gentle curves and detail. Again, I’m told this is a really good demonstration of rendering those little elements that can show up as clumsy on lower quality printing units.

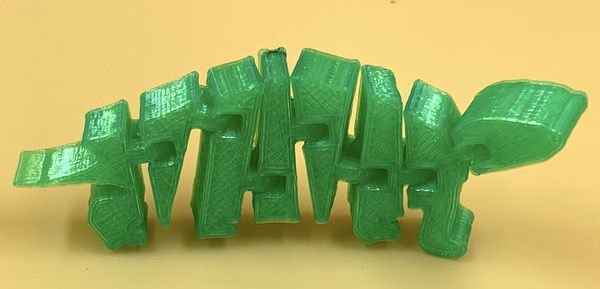
Finally, we have this articulated dinosaur model. The initial print is one solid piece. The rods and holes that allow the pieces to swivel are all printed together with the pieces as a single unit, with little strands of plastic between the pieces that allow the printer to run the whole thing in one job. If the detail capability of the printer is good, you should just be able to twist and crack those little tabs and end up with a model that allows free movement of each piece, so additional assembly required. The Longer Home 3D Printer Cube nailed it:

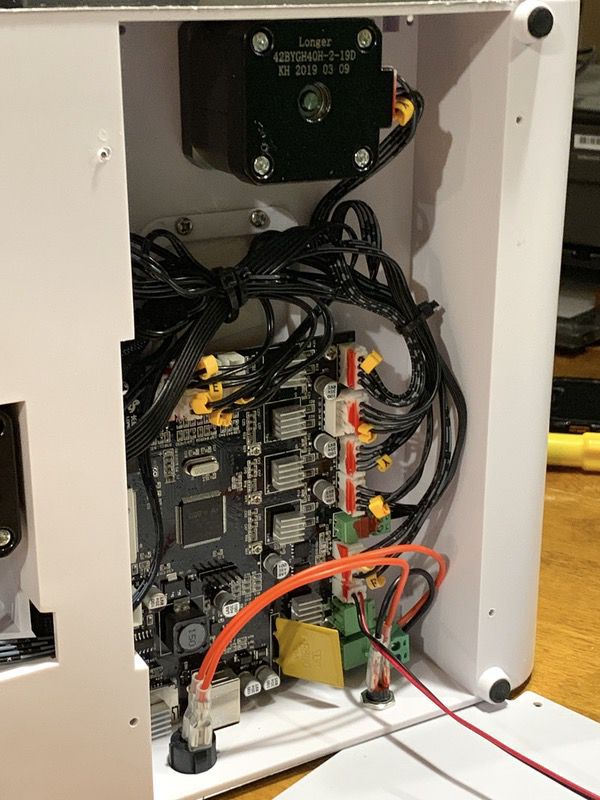
We did have a few issues we identified during the testing process. We encountered a weird buzzing noise from the cooling fan during setup & testing. It looks like an adhesive bit that keeps the wires from sitting on the fan had come loose in shipping. The good news is that you just unscrew one panel on the bottom to get to the innards, and everything is neatly organized. It was a one-minute adjustment.

We also noted some dings in the housing that you can see in the pictures. It’s entirely possible that these were the result of our tester being an evaluation unit.

What I like

  • Nice desktop-friendly footprint
  • Very easy to operate out of the box
  • Excellent quality for a starter 3D printer

What needs to be improved

  • Setup could be easier; don’t rely on the printed instructions

Final thoughts

I think that the Longer Home 3D Printer Cube mostly lives up to the promise of being a great starter kit if you and your kids want to get into 3D printing. It’s fairly easy to set up and operate, and is perfectly sized for most desktop surfaces. Just keep in mind that there is a learning curve around the technologies and tricks associated with any 3D printer kit. As far as most options go, however, it’s a good one with high quality components at a very good price for a pre-assembled unit.

Price: Under $200
Where to buy: Amazon.
Source: The sample of this product was provided by Longer.

Filed in categories: Reviews

Tagged:

Longer Home 3D Printer Cube review originally appeared on The Gadgeteer on June 14, 2019 at 8:00 am.

Note: If you are subscribed to this feed through FeedBurner, please switch to our native feed URL http://the-gadgeteer.com/feed/ in order to ensure continuous delivery.
Google Would Rather You Use Apple’s Sign-in Button than Continue to Use Passwords

While Google and Apple have had their battles over the years as they fight to be the top dog in the technology space, they can work well together. They can also appreciate the advances that the other makes. This is the case with Apple’s upcoming mobile update, iOS 13. At this month’s Worldwide Developer Conference (WWDC) they announced a new sign-in button that allows you to bypass the Facebook and Google sign-in buttons. While you may think that is upsetting to Google, that’s not necessarily the case. Google’s Appreciation of Apple’s New Sign-In Button The Verge recently interviewed Google’s product management director, Mark Risher, about… Read more

Posted by / June 14, 2019 / Posted in News

Are Private Email Services Worth the Money?

Comparing private paid email services like Proton Mail and free services like Gmail, for those concerned about privacy and disturbed by Google’s giant database of deeply personal information, are private email services worth the money? What Free Email Services Do With Your Email While free email services don’t often “read” your emails, they do spy on your content in a slightly less Orwellian but no less effective way. That’s how apps like Gmail can offer clever integrations like automatically adding flight data to your calendar or providing a tracking link without opening an email from a retailer. So free email services like AOL, Yahoo, and… Read more

4 Must-Have File Conversion Apps for Android

Did you get a docx file and need to convert it into a PDF file? Sure, there are apps you can use to do this on your computer, but that won’t be necessary. There are various apps to convert those files to another format by using your Android device. All of the apps on the list are free, so if one is not what you are looking for, you only need to uninstall it, unlike like other apps that offer the same features but make you pay for them. At least with these apps you don’t have to go through the refund process. 1. VidCompact… Read more